
Elder Scrolls V: Skyrim Special Edition Guide Quests Dungeon Quests and Other Activities
Shroud Hearth Barrow: Wilhelm’s Specter
Shroud Hearth Barrow: Wilhelm’s Specter*
Ivarstead (Vilemyr Inn)
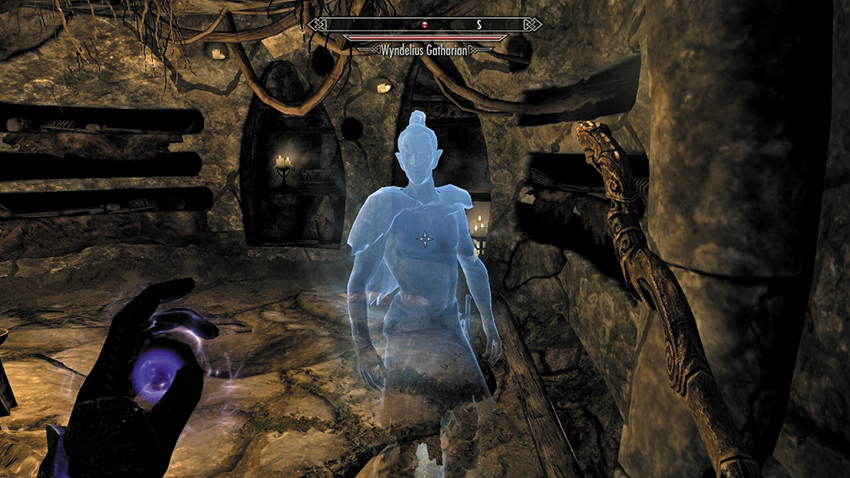
Visit the Vilemyr Inn and speak to Wilhelm, who believes a ghost haunts Shroud Hearth Barrow, the ruin atop the hill. Offer to look into it for him.
- Miscellaneous Objective: Investigate Shroud Hearth Barrow
Shroud Hearth Barrow (Interior)
Head down the spiral steps to find a closed portcullis, where a specter urges you to leave. After he delivers his ghostly warning, move into the next room, which has four levers.
Puzzle Solution: Three of the four levers move one or more of the portcullises (there are three ahead of you in the junction). The fourth, on the far right, launches darts at you, so always ignore it. To open the two portcullises ahead (southwest) of you, make sure levers 1 and 3 are up and 2 and 4 are down.
As you head deeper into the ruins, the ghost you saw earlier attacks! Kill him...and notice that his body suddenly looks a lot more substantial. The “ghost” of the barrows turns out to be treasure hunter Wyndelius Gatharian, who Wilhelm may have mentioned. The journal on the table explains everything: Wyndelius has been using a unique potion, the Philter of the Phantom, to impersonate a ghost and keep the townsfolk at bay while he searched for a way into the ruins, but the potion seems to have driven him a bit mad. Take the journal, then return to Wilhelm at the Vilemyr Inn.
- Wyndelius’s Journal
- Philter of the Phantom (2)
- Miscellaneous Objective: Bring Wyndelius’s Journal to Wilhelm
Puzzle Solution: At the four levers, you’ll notice the portcullis back to the surface is stopping your progress. Place all four levers in the down position to raise the portcullis, allowing you to exit.
Ivarstead (Vilemyr Inn)
Show Wyndelius’s Journal to Wilhelm at the Vilemyr Inn to receive the Sapphire Dragon Claw you need to explore the interior of the barrows.
- Sapphire Dragon Claw
Shroud Hearth Barrow (Interior)
Retrace your steps, opening the portcullises as before, then head southwest to a Nordic Puzzle Door.
Puzzle Solution: The door consists of three large, rotating rings. Each ring has three animals symbols plated into it. The puzzle solution is actually on the palm of the Sapphire Dragon Claw; rotate it in your inventory to see the three circular petroglyph carvings on the Claw’s palm. Move the rings so the Moth, Owl, and Wolf appear on the outer, middle, and inner rings, respectively. Then insert the Sapphire Dragon Claw into the keyhole.
In the next chamber, the portcullises slam shut on you as the Draugr begin climbing out of their sarcophagi. Fight them if you wish, but use the lever in the northeast alcove to open the portcullises, allowing you to continue.
After defeating the skeletons in the pool of oil and the trap-filled crypt, you’ll enter another crypt where the doors shut and lock on you. Slay the last Draugr in front of the locked iron door to claim the key to the door, or just unlock it yourself (Expert). Then head into a canal area, with another puzzle to solve.
- Shroud Hearth Barrow Key
Puzzle Solution: To lower the bridge over the canal, open the double wooden doors. Step into the inner chamber and stand on the pressure plate. Four stone walls begin to turn, eventually revealing a carving in each alcove. Note the carvings, and turn the pillars outside to match that sequence. Or simply ignore this and twist the pillars so that the following are shown from left to right: Whale, Hawk, Snake, Whale.
Shroud Hearth Depths (Interior)
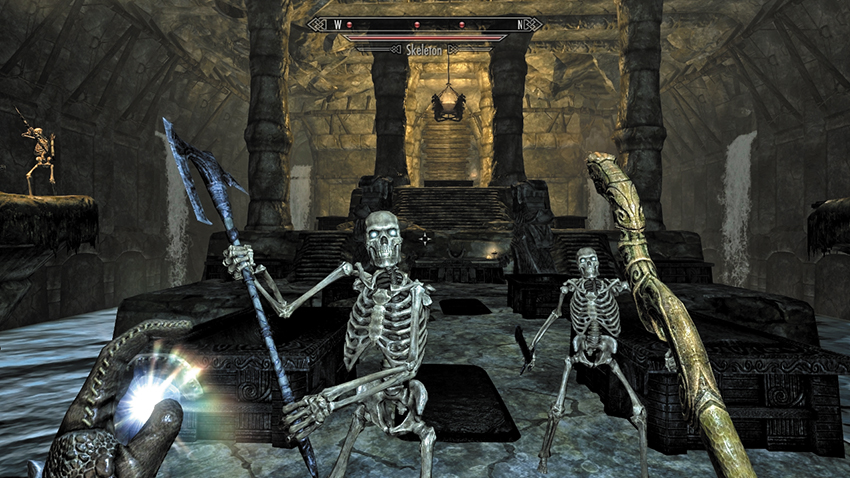
Inside the stepped tomb chamber, skeletons and Draugr emerge from their coffins to face you. As you cut them down, more emerge, until the final high-level Draugr clambers out of the tomb at the top of the structure.
Kill him, lowering the bridge and a stone door on the other side. Beyond is a large treasure chest and a Word Wall. Then exit via the iron door to the northwest.
- Word of Power: Kyne’s Peace