
Elder Scrolls V: Skyrim Special Edition Guide Quests Daedric Quests
Daedric Quests: Discerning the Transmundane
Discerning the Transmundane
Acute Occult Ruminations
There are two ways you can begin this quest:
1. During Main Quest: Elder Knowledge, you are sent to the College of Winterhold in search of an Elder Scroll. Approach the entrance and speak to Faralda about gaining admittance.
2. Otherwise, you must locate Septimus Signus’s Outpost on your own. Skip to the section marked ‘Puppet of the Abyss’ instead.
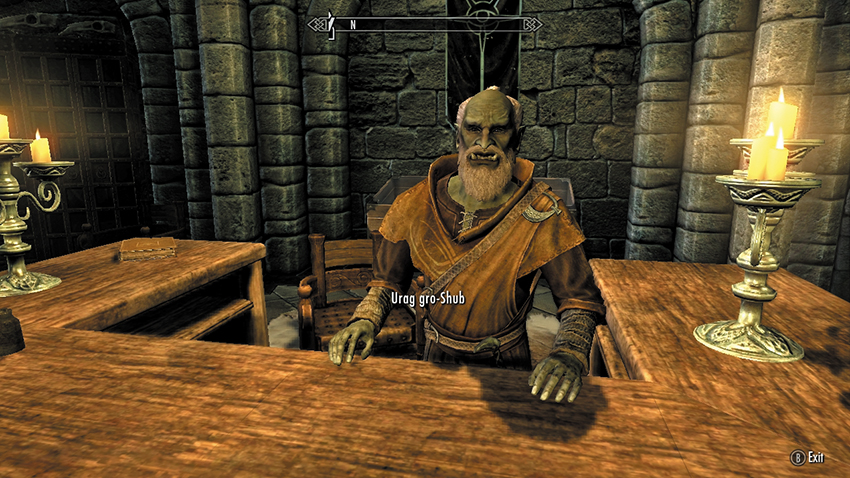
Enter the College and head into the Arcanaeum. Look for the Orc Mage named Urag gro-Shub, who runs the Arcanaeum. Although you can ask to assist him in College business (which allows you to accomplish several College-related tasks unrelated to this quest) and ask about the library, you’re here to talk about the Elder Scroll. Urag isn’t too happy with you offhandedly asking about such a powerful artifact. You may listen to an overview of the Scrolls before asking if there’s an Elder Scroll you could use. Urag laughs at this question; he wouldn’t show it to the likes of you, even if he obtained one. Ask if he at least has any information on them. He agrees to locate a couple of arcane tomes that may have some clues. But mostly they contain ravings leavened with rumor and conjecture.
Urag gro-Shub locates and places two tomes on the nearby desk: Effects of the Elder Scrolls and Ruminations on the Elder Scrolls. After reading both books (which you may keep or leave on the desk), you find that the Ruminations tome is the work of a madman. Daedric Quests: Discerning the Transmundane now begins, and your objective updates:
- Effects of the Elder Scrolls
- Ruminations on the Elder Scrolls
Tell Urag that the Ruminations book is incomprehensible. He doesn’t seem surprised; after all, this book was the work of Septimus Signus. Although Signus was a master on the nature of Elder Scrolls, Urag tells you that he’s “been gone for a long while.” You suspect he means both mentally and physically. Signus currently resides north of the College in the treacherous Ice Fields.
Puppet of the Abyss
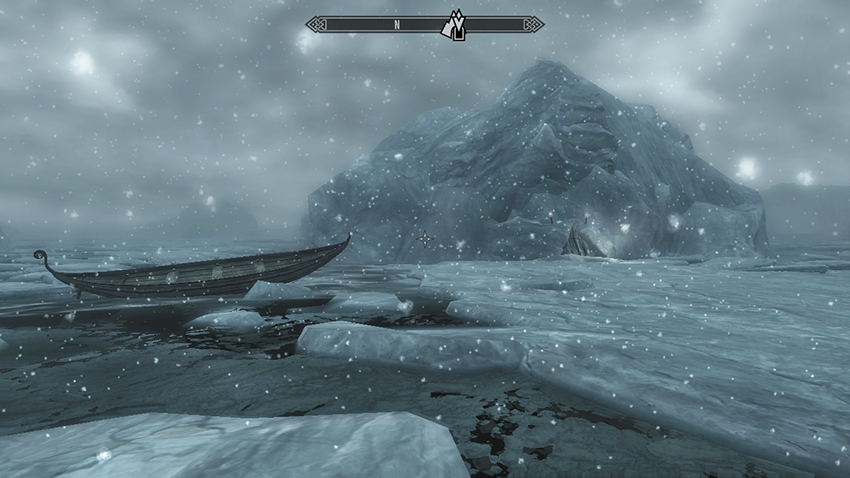
The giant chunks of ice floating off the Sea of Ghosts are your next destination. Exit the College and run to the frigid waters. Hop across the floating ice, making your way north. Expect to slice into a few wild animals along the way. Septimus Signus’s Outpost is an odd little door cut into a hill-sized iceberg, close to a moored rowboat. Climb down the ladder and the slope to reach a lone mage in a chamber of ice, alone with his books and thoughts. He appears to be studying some kind of Dwemer box about the size of a house.
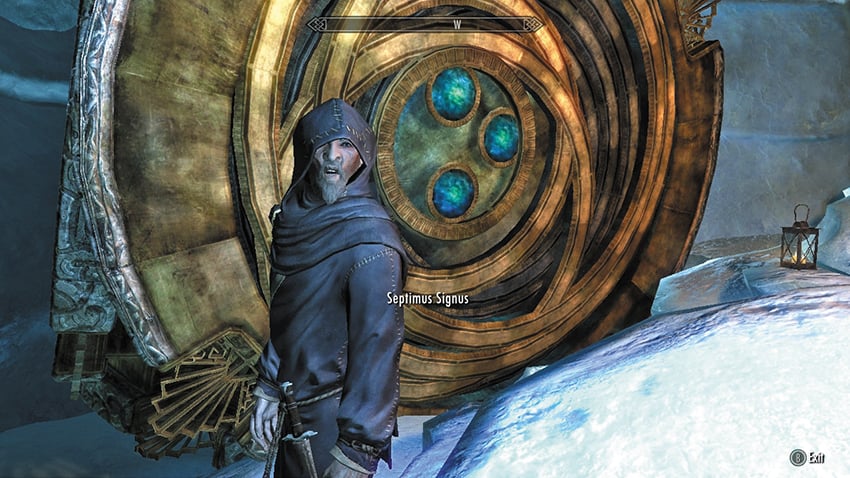
Ask Septimus about the Elder Scrolls if you want him to deliver a rapid-fire barrage of knowledge on the subject. Ask where the Scroll is again, and after receiving moderately useless information, ask once more (either pleasantly or with a more threatening tone). Septimus agrees to tell you, but in return, you must venture into Blackreach, a giant underground Dwemer city that lies below several Dwarven ruins hidden across Skyrim. Ask about getting into Blackreach, and Septimus keeps up his riddle-based prattling and hands you two items: The first is an odd-edged lexicon, used by the Dwemer for inscribing. The second is an Attunement Sphere, which apparently “sings” when you near an important Dwemer door. Once these are in your grasp, your Main Quest updates. Stay and speak further with Septimus if your sanity can stand it.
- Attunement Sphere
- Blank Lexicon
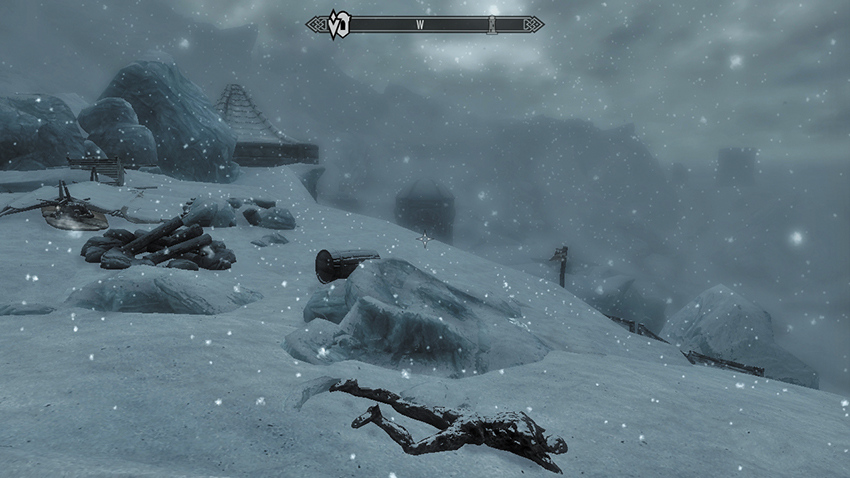
After you secure the Attunement Sphere and Blank Lexicon from Septimus, locate Alftand on the glacial mountains southwest of Winterhold. Enter and head through the Alftand Glacial Ruins, battling Dwarven Spheres and Dwarven Spiders. Maneuver through the tower and connecting chambers of the Alftand Animonculory (opening the elevator back to the Glacial Ruins as you go), and battle the Dwarven Centurion in the Alftand Cathedral to reach an elevator (opening the exit back up to the surface first). Descend back into the cathedral and use the Attunement Sphere to activate the Dwarven Mechanism to access the hidden entrance to Blackreach.
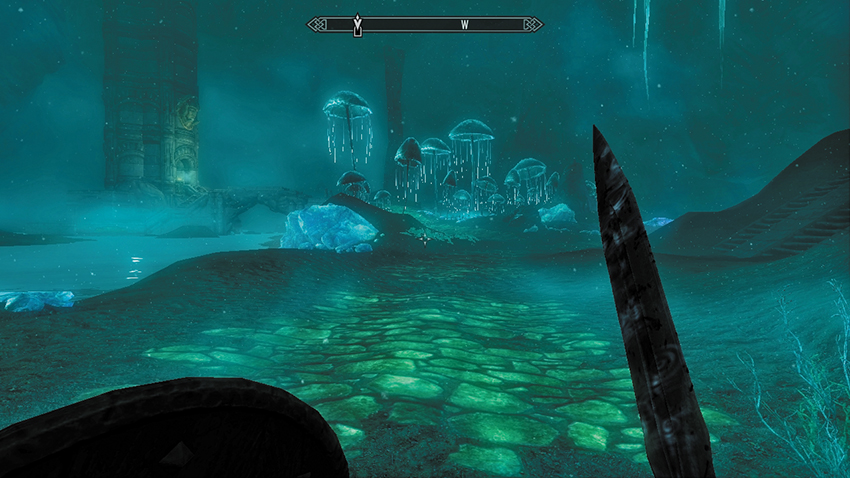
Enter Blackreach and keep a steady pace along the cobblestone pathways, heading in a westerly direction. You’re looking for a massive vertical stone elevator shaft that pierces the roof of this massive underground complex. When you find it, pull the lever and head into the Tower of Mzark. Venture into a gigantic, circular Aedrome chamber, which is dominated by a huge sphere. This appears to be some kind of massive Oculory, with a variety of focusing lenses and other golden machinery attached.
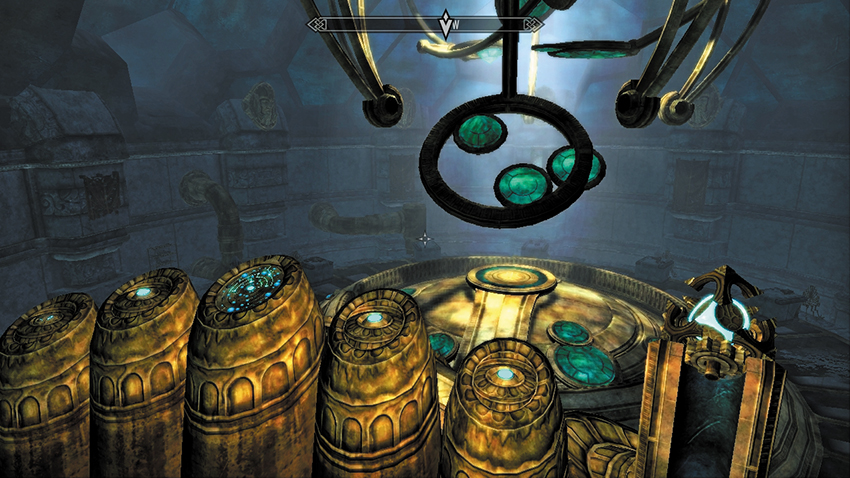
Head to the cluster of controls on the platform above the Oculory. The controls are comprised of five cylindrical devices: a Lexicon Receptacle and four positioning buttons embedded in pedestals. There is a knack to using these devices to produce something hidden in one of the lenses.
Puzzle solution: Activate the Lexicon Receptacle, so the Blank Lexicon rests on top of it. The two pedestals to the Receptacle’s right—the only ones currently active—open and close the Oculory lenses. Press the taller of the two pedestals (right of the middle one with the lens chart on it) three or four times, until the pedestal with the blue button to the left of the middle one starts to glow. Move to this new pedestal. At this point, the Blank Lexicon will also be glowing blue. The two pedestals to the Receptacle’s left—the taller of which is now active—control the ceiling lens array. Press the button of the taller, left pedestal twice, until the button on the far-left smaller pedestal begins to glow. Now press that button, and a large set of lens crystals descends from the ceiling, stops, and the main crystal rotates and splits apart to reveal some kind of tubelike carrying device.
Drop from the balcony controls, and approach the open lens crystal. Take the Elder Scroll from its elaborate compartment. Once you’ve taken the Elder Scroll, your path diverges, but only if Main Quest: Elder Knowledge is currently active. If it is, Main Quest: Alduin’s Bane begins, and your next plan is to take the Scroll to the summit of the Throat of the World, and read it there. However, for this quest, Septimus is more concerned with the transcription etched onto the Lexicon. Retrieve the Lexicon from the receptacle; don’t leave without it!
- Elder Scroll
- Runed Lexicon
Blood Harvest
Leave the Tower of Mzark by the elevator at the end of the corridor under the pedestals, which ascends to Skyrim’s surface. Trek back to the Sea of Ghosts and enter Septimus Signus’s Outpost. Septimus is still happily talking to himself; interrupt so he talks to you, and tell him you’ve inscribed the Lexicon. Apparently, the sealing structure interlocks in the tiniest fractals. That obviously means something to Signus, who needs Dwemer blood to loosen these interlocking hooks. However, as the Dwemer are long dead, your next task is to search for a panoply of their brethren. Septimus wants blood! He hands you an Extractor and lists the races related to the Dwemer of which he requires blood. Before you leave, you may ask him further questions about the giant box he paces beside.
- Essence Extractor
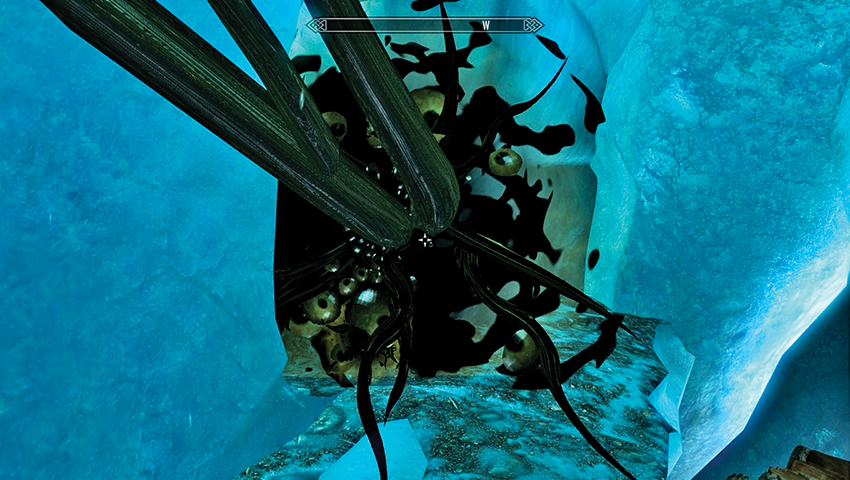
As you reach the Outpost exit, you see a strange mist that quickly congeals into a frightening void. This is the Wretched Abyss, and it coaxes you forward, wanting you to bask in its presence. When you ask what it is, it replies that it is but an aspect of Hermaeus Mora, who has been watching you. He tells you that once the giant Dwemer lockbox has been opened, Septimus will have outlived his usefulness. When that time comes, you may take his place as Hermaeus Mora’s emissary. You can agree or refuse. Either way, you won’t need to choose until after you open the box. The Abyss retracts, allowing you to leave.
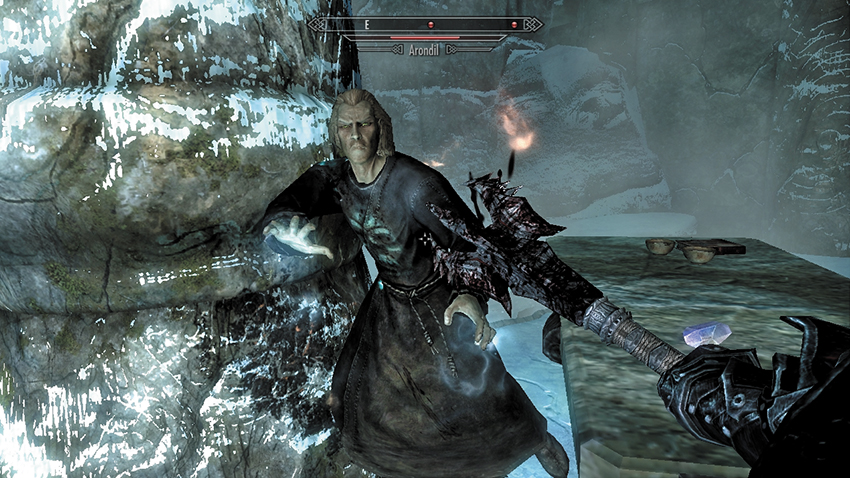
At this point, you may wish to continue other quests; finding all this blood is an adventure unto itself, and one that is much easier once you realize where you can harvest with impunity! Obviously, the danger comes with slaughtering an innocent in broad daylight, and usually within a Hold City’s walls, which isn’t recommended at all. For this reason, there are other possible places look:
| Race | Optimal Locations | Notes |
|---|---|---|
| High Elf | Hob’s Fall Cave, Yngvild, world encounters, any Warlock lair | High Elves appear as Warlocks, so slay enemies rather than townsfolk. |
| Dark Elf | Hob’s Fall Cave, Yngvild, world encounters, any Warlock lair | Dark Elves appear as Warlocks, so slay enemies rather than townsfolk. |
| Wood Elf | Pinepeak Cavern or any hunter camp | You can find a dead Wood Elf lying on the rocks just outside the entrance to Pinepeak Cavern, across the bridge from Ivarstead. When assaulting a hunter camp, one in four hunters is a Wood Elf. |
| Falmer | Blackreach, Falmer Hives, any Dwarven Ruins | You can return to Blackreach easily, making this blood simple to spill. |
| Orc | Cracked Tusk Keep, Rift Watchtower, or any bandit camp | Slay the hostile Orcs in these locations, rather than the friendly Orcs in Strongholds. |
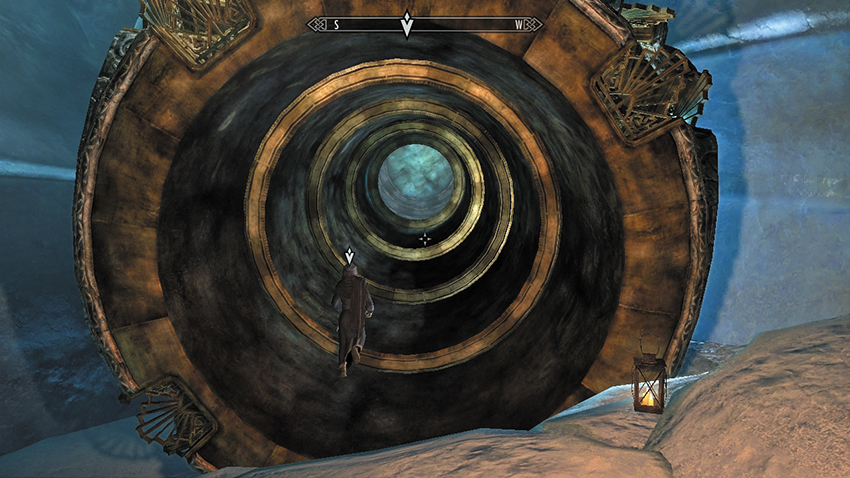
Once your blood-siphoning trek is complete, return to the iceberg on the Sea of Ghosts, and revisit Septimus once more. Inform him that you have the blood samples he requires. He takes them and quickly mixes them up before approaching the massive Dwemer box. It rotates, and telescopes open into an otherworldly passage. Septimus races up this corridor, into a chamber of circles, and approaches an odd book. He reaches out to take it but suddenly disintegrates into a pile of ash.
Quest Conclusion
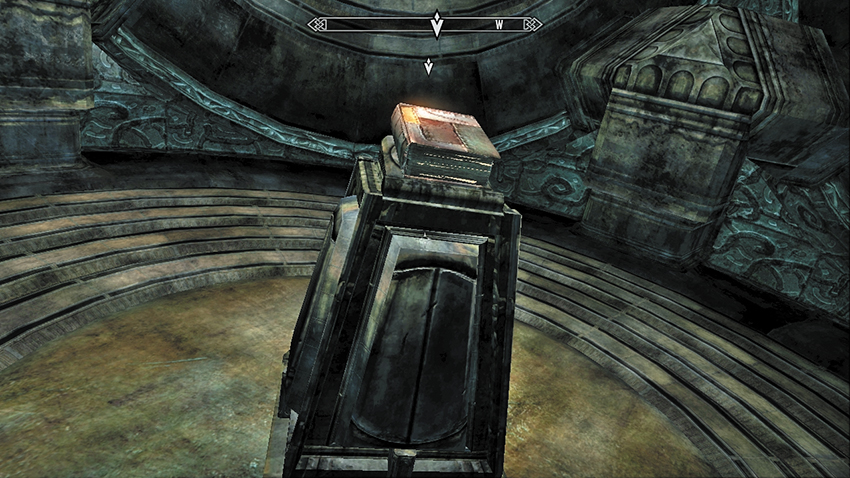
Step into the chamber and take the book. You are instantly bombarded with a knowledge intake that could hemorrhage the brains of lesser mortals. You may look into this unspeakable tome and live, or choose to close the book. Your knowledge is increased by an impressive amount, and this translates into skill increases for associated abilities. Here’s how this breaks down:
- Elect not to read: No benefits.
- Read the Path of Might: +5 in all skills of this path (Smithing, Heavy Armor, Block, Two-Handed, One-Handed, Archery)
- Read the Path of Shadow: +5 in all skills of this path (Light Armor, Sneak, Lockpicking, Pickpocket, Speech, Alchemy)
- Read the Path of Magic: +5 in all skills of this path (Illusion, Conjuration, Destruction, Restoration, Alteration, Enchanting)
As you try to leave the box, the Wretched Abyss appears. You can elect to work wonders together as Hermaeus Mora’s champion or disavow any agreement with the Daedric Prince.
Postquest Activities
You can embrace Hermaeus Mora, or deny him all you want; you are still doing his will.