
Elder Scrolls V: Skyrim Special Edition Guide Dragonborn Quests Solstheim Side Quests
Solstheim Side Quests: Retaking Thirsk
Retaking Thirsk
The Bewildered Bujold
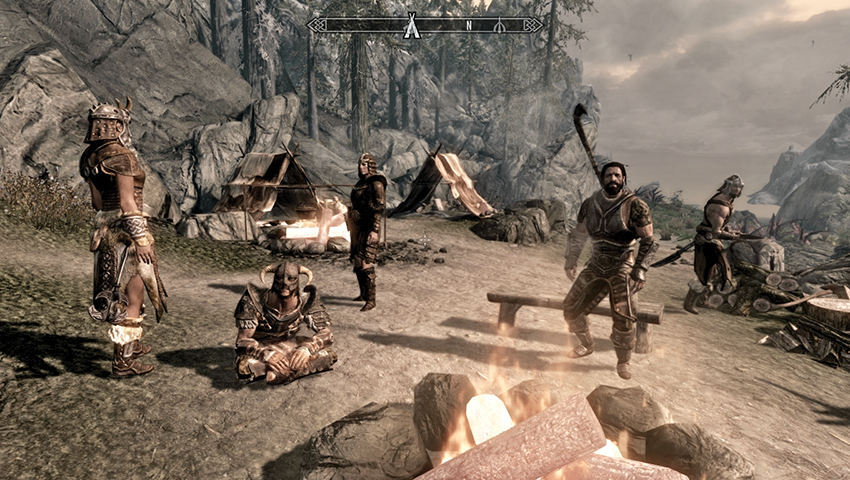
Thirsk Mead Hall is an ancient and venerable structure built by the Nords and nestled in the snowy foothills to the east of the Temple of Miraak, just east of the Beast Stone. East of it, on the coast, is the small camp known as Bujold’s Retreat. Approach this encampment, and you’ll overhear a group of Nords moaning about a recent routing they suffered. You can stand back and listen to the conversation or speak to any of the Nords. The situation is tense, and any of the Nords you speak with refer you to their leader, who goes by the unfortunate title of Bujold the Unworthy.
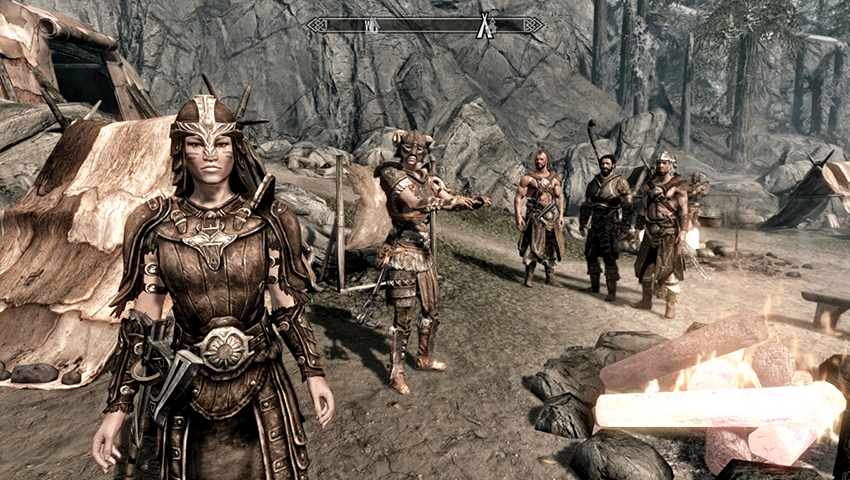
Talk to her, asking any questions you wish, and she explains her members fled from the Mead Hall after a cunning Riekling attack. As the words “cunning” and “Riekling” aren’t usually used in the same sentence, Bujold explains a combination of too much mead and too few battles had made her tribe complacent. Now they wait and regroup in this coastal camp. Ask if she’s interested in one more warrior (you), and confirm you’re happy to help her. She convenes a tactical talk around the fire. Goading her party not to have their spirit outstripped by some wanderer, she whips everyone up into a bloodthirsty frenzy. The assault (and this quest) begins now!
Bludgeoning the Blueskins
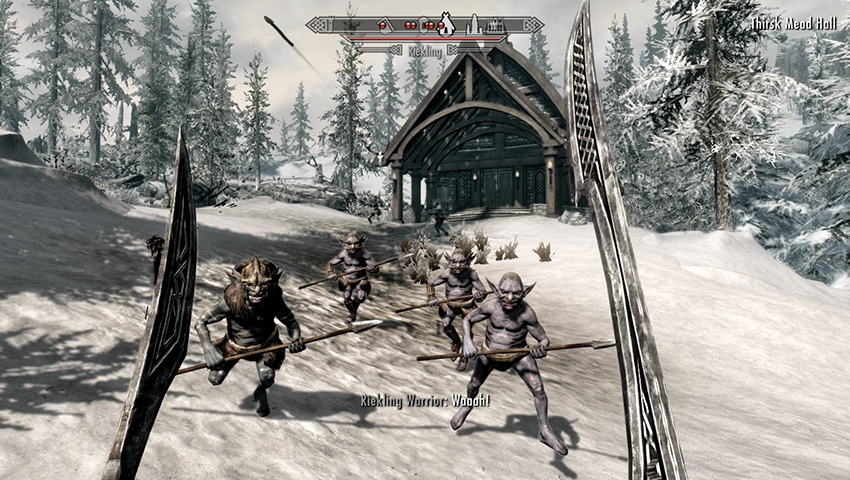
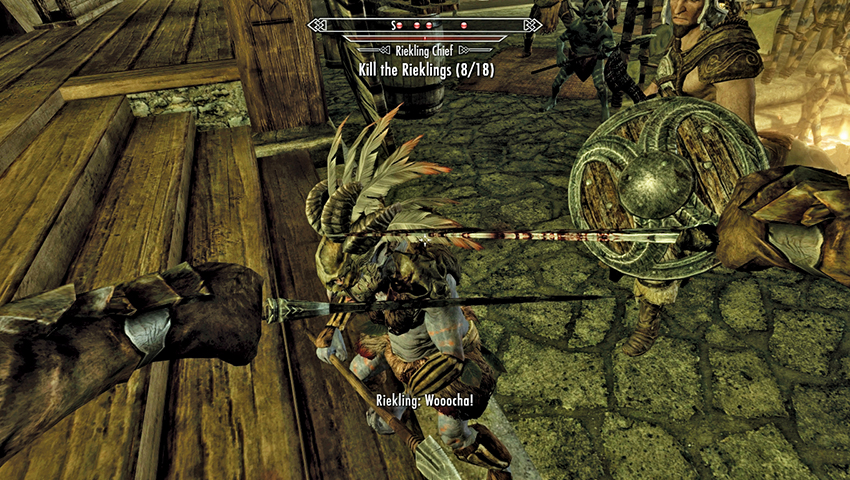
Head north and west, up the rough path in the rocky embankment that leads through the snow and toward the Mead Hall. As the spears come flying toward you, concentrate on the foes around the front door of the place, then around the sides. Then move into the hall and look for the chief, who can cause problems for your Nord friends; step in to prevent your fellows from falling to his attacks.
Obviously, you can tackle each Riekling in any way you wish, but defeating them when they’re already engaged with an ally will keep you from harm. Be wary of using spells with a wide radius of effect, or you may catch your friends in the blast. This fight shouldn’t be too demanding; any Rieklings slain by Nords are also added to your death total.
With Riekling blood fresh on your blades, locate Bujold (who’s usually inside the mead hall surveying the damage the Rieklings inflicted on her clan and home). She asks you to serve as her second as she proves her worthiness to lead once more. Inquire about where you’re both headed, and she tells you that to take up residence here, she needs to receive the blessings of Hrothmund, the ancient leader of her tribe.
Hrothmund’s Disgust
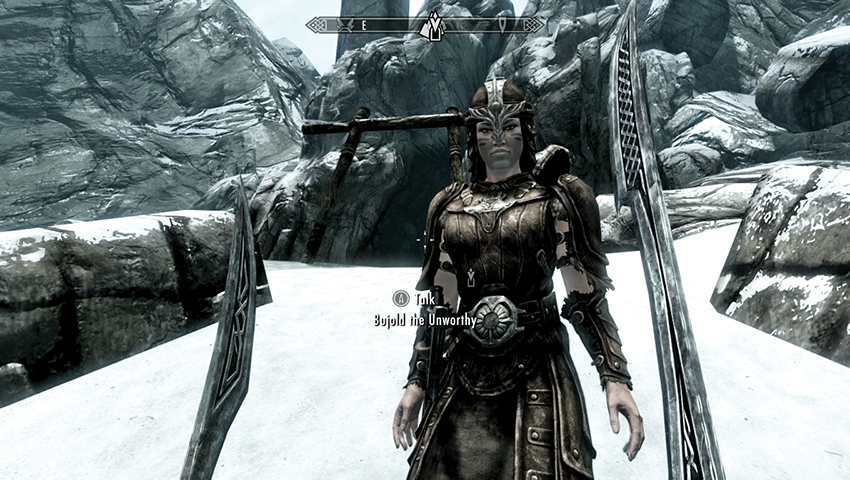
Just east of White Ridge Barrow in the northern climes of Solstheim, among the wild animals and fallen henges, is a makeshift cave entrance below a towering totem stone. Bujold is already waiting for you here when you arrive. Speak with her, and she explains she needs to prove her mettle by taking hold of Hrothmund’s axe, which is embedded somewhere inside this tomb. Then she will be judged by Hrothmund’s spirit. Enter the barrow.
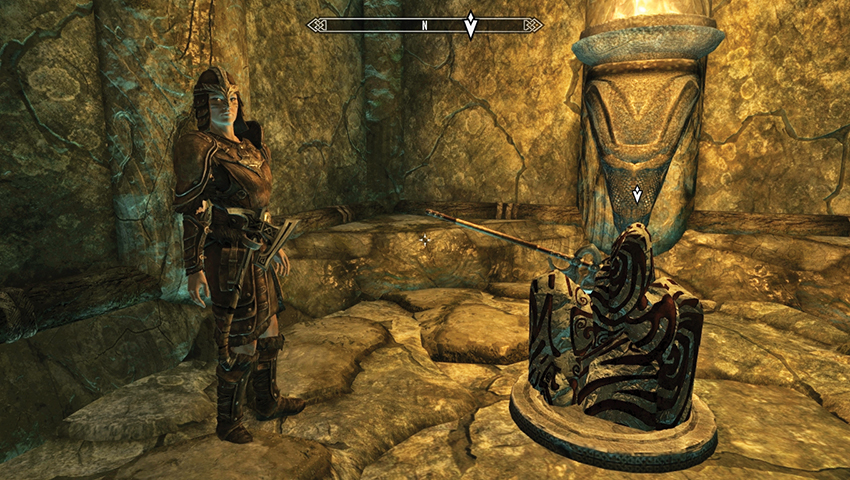
Climb the stone steps, push open the iron door, and enter the ceremonial (and waterlogged) long chamber, which drains as you descend and head north-northeast. Follow the path and lit torches to the far end, where an ancient two-handed axe lies embedded into petroglyph stone. Loot either of the two chests whenever you wish, then let Bujold approach the axe and get a good grip, ready for the heave....
Quest Conclusion
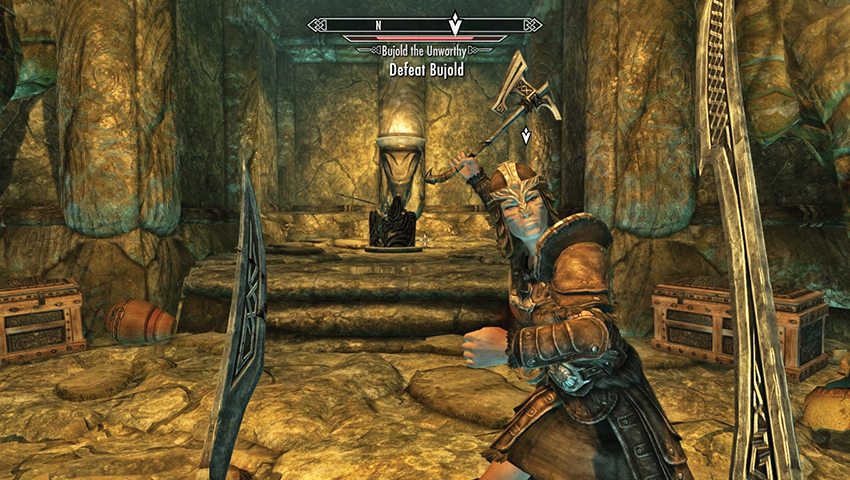
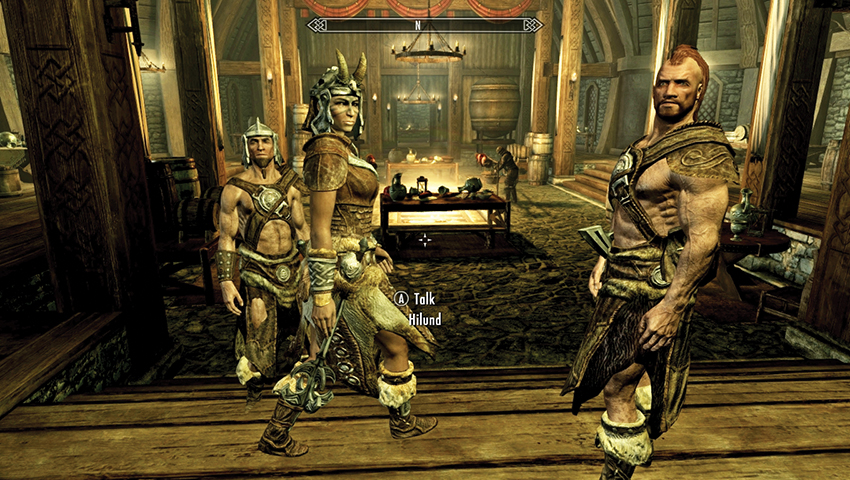
Oh dear. It appears Hrothmund’s Spirit is extremely unhappy with the way Bujold has been leading her warriors. His words echo through the chamber, sternly calling her soft. Furthermore, no one among her crew is fit to serve, either! For a band in the wilderness, Hrothmund tells her it is better to have no leader than a poor one. Bujold is left wondering what to do next. Speak to Bujold, choosing either conversation option. Bujold thinks it is better that the tribe has her for a leader and to go against Hrothmund’s wishes. This leads to one of two choices you can make:
- Agree with Bujold, keep this embarrassment quiet, and return to Thirsk Mead Hall. The quest concludes.
- Disagree with Bujold, forcing you both into combat with each other, and the objective “Defeat Bujold” appears. Once she is slain, the quest concludes.
Postquest Activities
Return to Thirsk Mead Hall at any time to tie up a few loose ends. The Mead Hall is now tidied up, with a working forge and beds you can sleep on. As you enter, Bujold’s husband, Kuvar, steps forward to greet you. If you kept Bujold alive, he mentions that Bujold said you served her well. You can:
- Lie and tell him it was an honor to stand with her. You are free to speak to all the tribe.
- Tell the truth and speak of her rejection. Kuvar is disgusted, speaks to Bujold about it, and then banishes her from the hall. Kuvar isn’t happy with you, but you can speak with the rest of the tribe.
If you killed Bujold, he asks of his wife’s whereabouts. You explain the situation, and Kuvar banishes you from the Mead Hall, only forgiving you because you acted on Hrothmund’s wishes. Kuvar isn’t happy with you, but you can speak with the rest of the tribe.
After this, more Thirsk Mead Hall Favors are available if you speak with Elmus, Halban, or Hilund. You can sleep in the beds here, too.