
Elder Scrolls V: Skyrim Special Edition Guide Quests Side Quests
Side Quests: Blood on the Ice
Blood on the Ice
Murder Most Foul
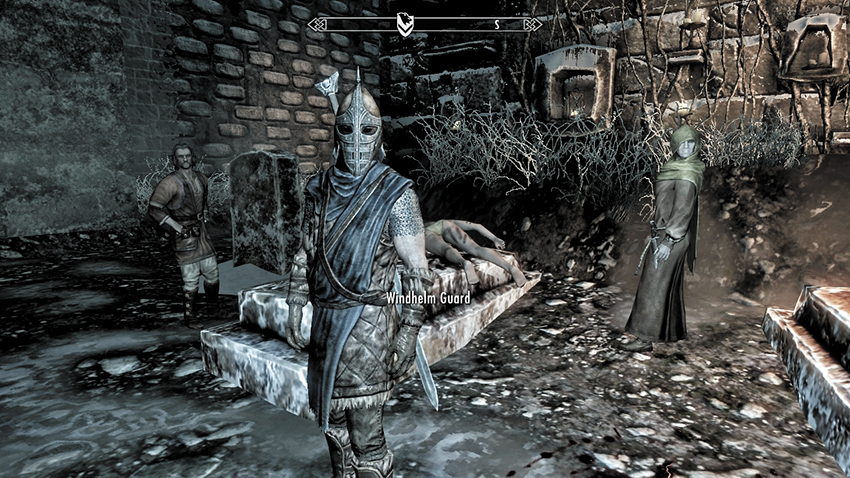
When walking the Stone Quarter of Windhelm (west of the entrance gate), you stumble across a shocking scene. In the graveyard near the Hall of the Dead, the freshly slaughtered corpse of a woman lies draped over a grave. As the stunned onlookers assemble, go speak with the Windhelm Guard. He tells you another girl has been killed; this one is Susanna from Candlehearth Hall. When you ask, he admits she’s the third young girl to be killed here, at night, and with her body cut and torn. Without time to investigate these heinous crimes, ask if he requires any help. He points you to the onlookers who might have some information to share.
There are three witnesses to speak to:
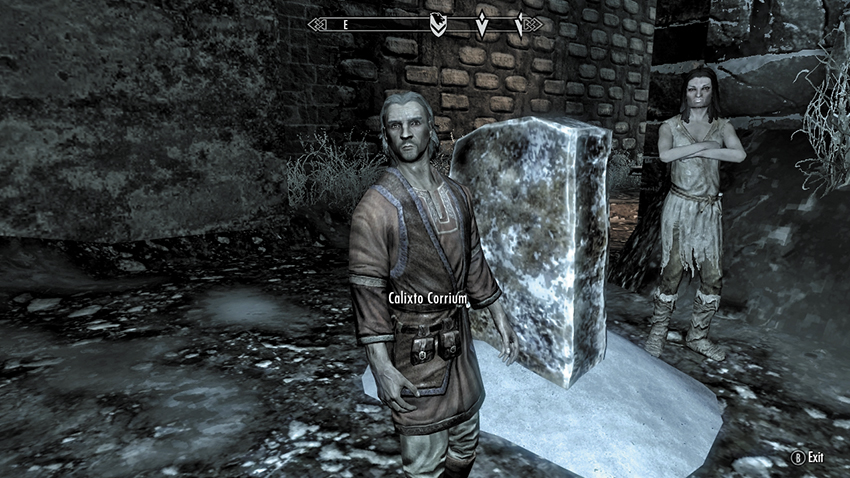
Calixto Corrium: The owner of the House of Curiosities in town. He thought he saw someone running away but didn’t get a good look at him.
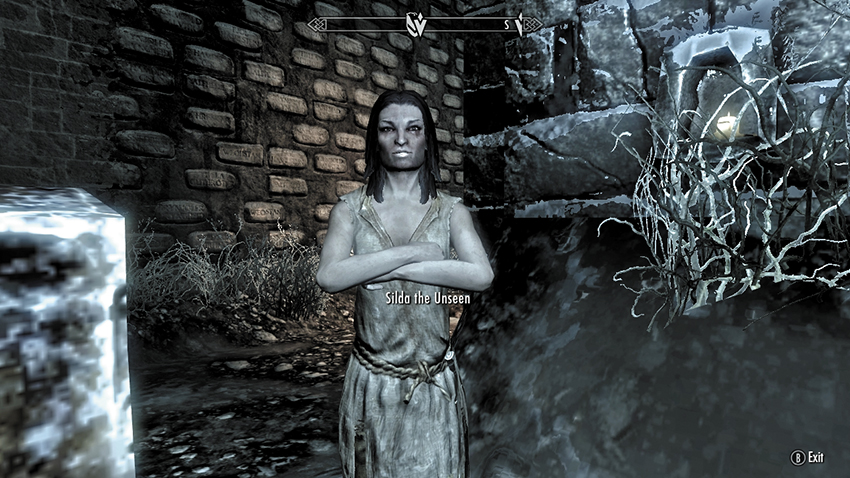
Sidla the Unseen: A beggar living in the Stone Quarter marketplace. She heard a scream and came running, but Susanna was already dead.
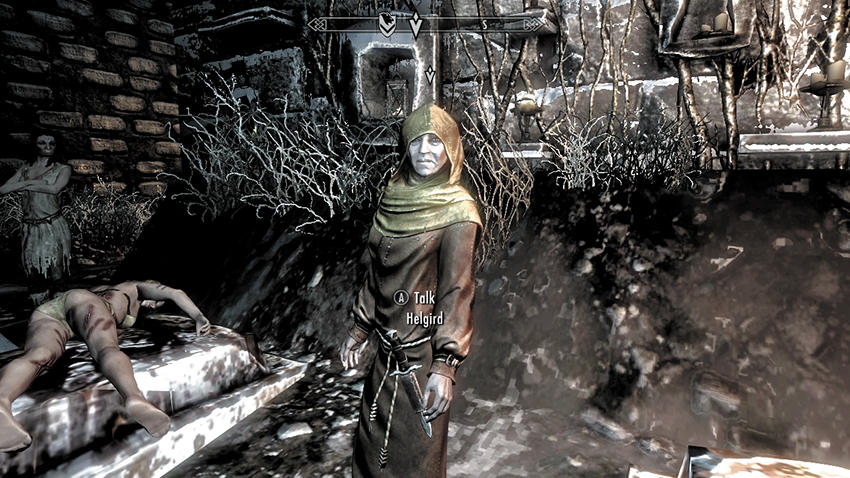
Helgird: The Priestess of Arkay from the Hall of the Dead. She noticed the woman’s coinpurse was still on the body, so this wasn’t a robbery.
Head back outside, and follow the trail of blood. This leads up the stone steps, around the corner to the north into the Valunstrad District, up more steps, and ends at a firmly locked (Master) front door to a building named Hjerim.
Accessing Hjerim can be tricky, as it can require a little asking around among the inhabitants of Windhelm. You can:
(Lockpick) Unlock the door (Master) using your considerable lockpicking prowess.
Ask around town. Speak to a guard or a local, and ask how you can enter Hjerim. You’re told this used to belong to Friga Shatter-Shield and has been abandoned ever since she was killed. Apparently, her mother, Tova, has the key.
With nobody knowing (or saying anything), when you report back to the guard, he’s suitably frustrated. Offer to investigate, and he points you in the direction of the Palace of the Kings, so you can talk to Jorleif. The steward of Windhelm will officially deputize you to conduct the investigation.
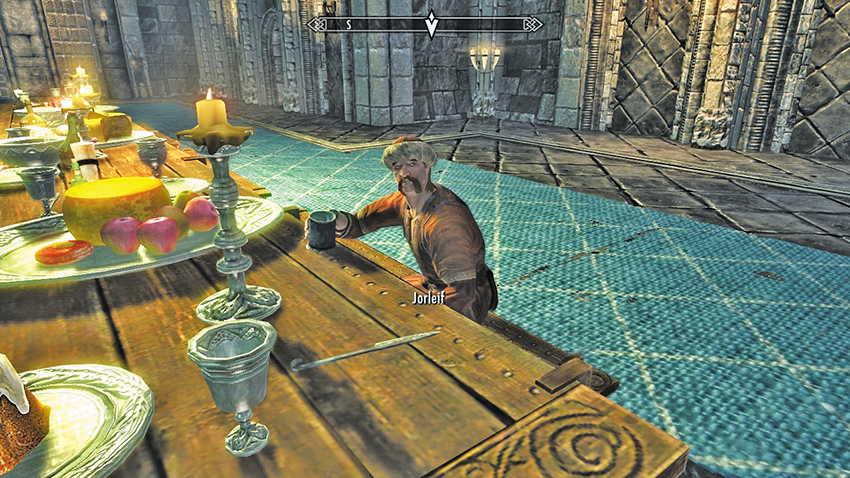
Visit the Palace of the Kings, and contact Jorleif. Tell him you’ve heard about the murders. He gladly accepts your aid and tells the guards to assist you as necessary.
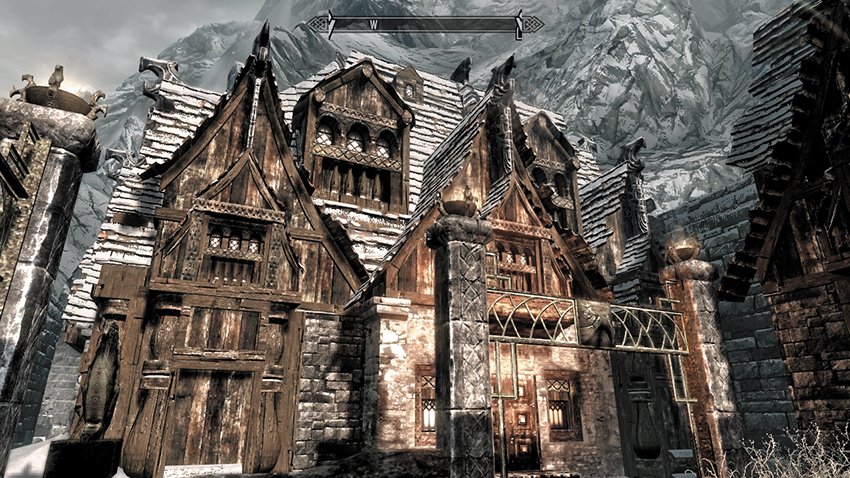
Return to the coffin where the body of Susanna was dumped. You notice there’s blood pooling on the coffin lid and stains that match a dragging. The guard mentions the blood if you speak to him, too. Look west, and you’ll see a trail of it. The guard also mentions that Helgird has taken the body into the Hall of the Dead to prepare it for burial. She might know something. The entrance to the Hall of the Dead is on your right (northwest) as you face the trail of blood. Head into the gloomy crypt, and after quizzing Helgird again, she reveals the cuts on the corpse were made with some kind of curved blade the Nords used to embalm their dead.
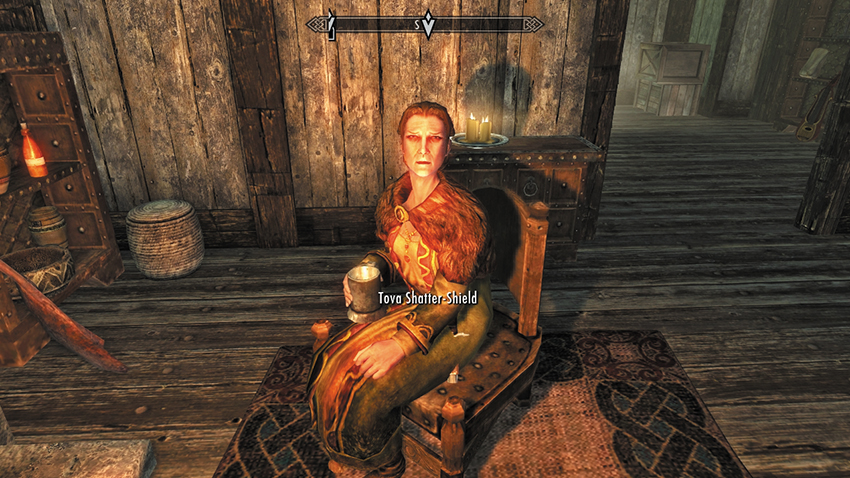
Tova Shatter-Shield is usually at the market in the southwest Stone Quarter or walking nearby. At night, she heads to the House of Clan Shatter-Shield. You can pick the lock (Master) to enter, or wait until morning until she unlocks the house; speak to her then or when she leaves. Tell her you have some questions about her daughter. Choose any conversation response regarding the finding of her daughter’s killer, and let her know you need a key to investigate her house. She hands the key over. Take it, head back to Hjerim, and open the front door.
- Key to Hjerim
A Butcher’s Handiwork
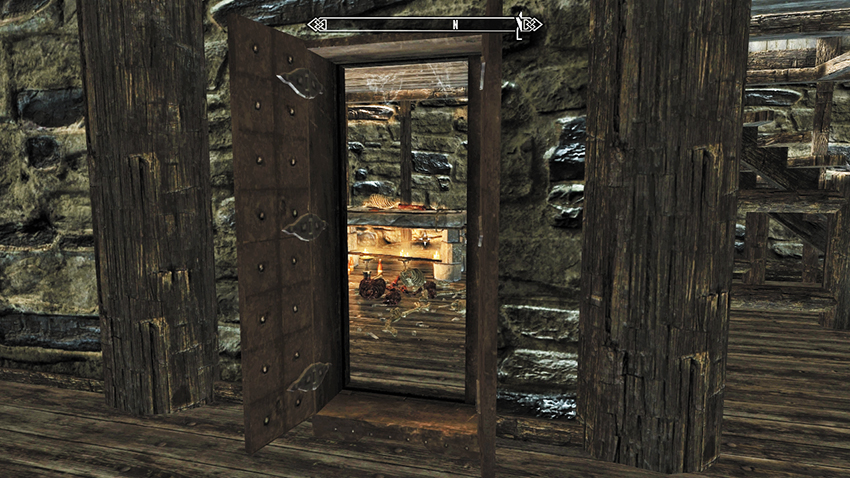
Inside, the place has been cleared out, and cobwebs blanket the corners. The place is seemingly deserted, but a thorough inspection reveals the following:
Front room (north): The pots and pans here haven’t been used for ages, judging by the skeever droppings and cobwebs inside.
Front room (entrance): The chest has splatters of blood and was recently pushed against the wall. Search it after inspecting it to reveal almost a dozen leaflets warning of a “butcher.” The name “Viola Giordano” is mentioned on the leaflet. There is a journal to view, too. It makes grisly reading and seems to indicate necromantic activity.
Front room (entrance): The scattered mead bottles are from the previous occupants.
Front room (west wall): The low shelf by one of the wardrobes is filled with more leaflets warning about the Butcher. Remove the leaflets, as one of the piles is misshapen. Underneath, you find a strange (and exceptionally valuable) amulet! Inspect it in your Items > Apparel menu.
Front room (back wardrobe): One of the wardrobes at the back of the room has been nailed to the wall. Open it and slide the false panel back. You find a disgusting sight: a small makeshift altar and antechamber strewn with body parts. Check the altar, and you confirm it is being used for some unknown magic. A second Butcher Journal can be taken from here. It seems to contain ingredients, both body parts and an incantation.
Upstairs: Only the bed and chairs, which have been weirdly positioned, can be inspected.
- Beware the Butcher! (19)
- Butcher Journal #1
- Butcher Journal #2
- Strange Amulet
Leave the house and consult with any guard in Windhelm. Two new topics of conversation are available (assuming you found at least one leaflet and the Strange Amulet):
Ask about the “Butcher”: Viola Giordano posts these all over the city, and someone keeps removing them.
Ask about the amulet. The guard hasn’t seen anything like it, but Calixto at the House of Curiosities has a good eye for such trinkets.
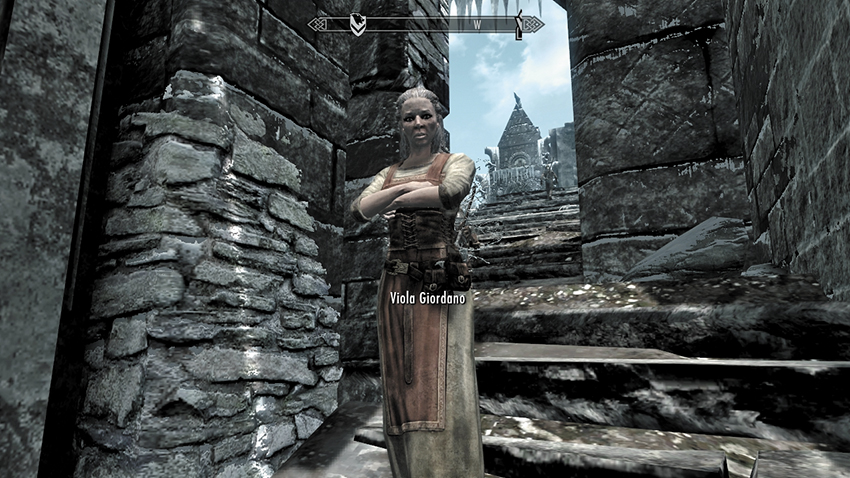
Viola Giordano: Here Her Hearsay
Search for Viola wandering the streets of Windhelm. Ask her about the Butcher; she’s been searching for him for months and then mentions the poster leaflet you found in Hjerim. She echoes the guard’s information, that someone has been taking them down as quickly as she posts them around the city. She recommends you meet her at Hjerim for another inspection. You can follow her if you haven’t uncovered the amulet. Otherwise, you are free to visit Calixto, too.
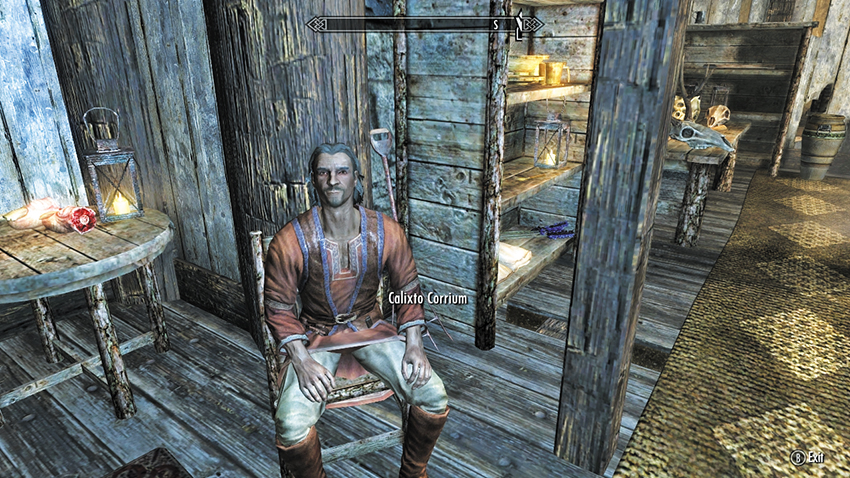
Calixto Corrium: Curiouser and Curiouser
Head to the southeast part of the Stone Quarter and enter Calixto Corrium’s House of Curiosities. Aside from taking a tour, you can ask him about the amulet you found. He cheerfully inspects the amulet, telling you it’s a Wheelstone, an heirloom symbol of the power of Windhelm and traditionally carried by the court mage. He’s interested in the piece and offers you 500 gold. You can:
Agree, and sell the piece.
Ask whether the court mage should have it instead, and keep it.
Or hold on to it.
- 500 gold pieces (if sold)
Whatever your choice, the next place to head is Hjerim, where you should have agreed to meet Viola.
Revisiting the House of the Dead
Viola is ready to inspect the house when you arrive. After she sees the altar and is sickened by the “Butcher’s” activties, her reactions are similar but depend on how thorough your previous search has been and whether you’ve met with Calixto.
If you already found the gruesome altar and spoke with Calixto about the amulet, Viola believes that Wuunferth the Unliving—the court mage in the Palace of the Kings—is the likely culprit and urges you to tell the steward Jorleif.
If you already found the gruesome altar and didn’t speak with Calixto, speak to Viola.
If you haven’t found the gruesome altar yet, Viola leads to you the strange cabinet and forces you to open the false back and discover the altar. When you take the Butcher’s Journal and read the scribbling about necromancy, speak to Viola about it. Apparently, Wuunferth the court mage is a dangerous man; that’s why he’s called “the Unliving.” She worries about approaching him directly. She urges you to approach Jorleif about him.
At this point, with the evidence you’ve accumulated, you have two possible ways to complete this investigation, and both involve heading into the Palace of the Kings. You can speak to Jorleif, or you can check in with the suspect, Wuunferth himself.
Epilogue: Wuunferth: Wrongly Accused?
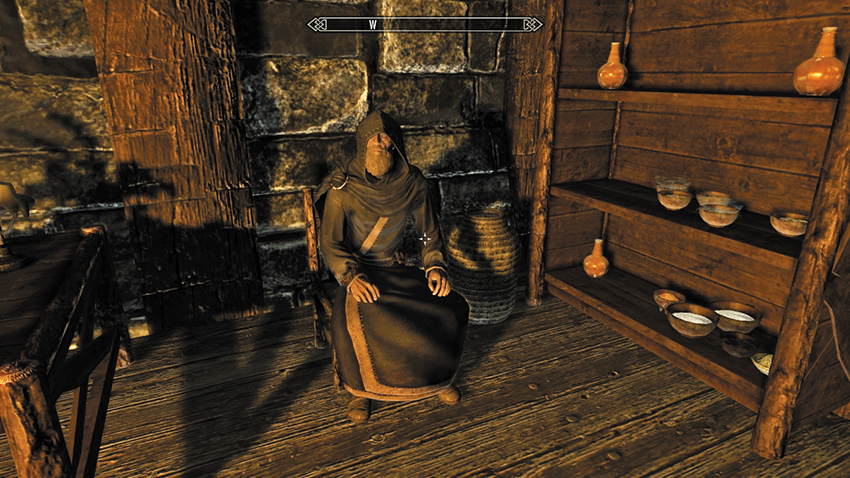
Bypass Jorleif, ignoring Viola’s instructions, and enter the upstairs part of the Palace of the Kings, to your left (west) as you come in. Head upstairs, turn left (south), and open the door at the corridor’s end, leading into Wuunferth’s private chamber. He may also be sitting in the Palace’s great hall or wandering the building. Tell him you hear he dabbles in necromancy. He indignantly denies such a spurious accusation; he’s a member of the College of Winterhold in good standing. When you mention the journals and amulet, Wuunferth wants to know what the amulet looks like. After you describe it, he knows it to be the Necromancer’s Amulet, a legendary item. Wuunferth has been noting that the killings are tied to some kind of necromantic ritual—tomorrow night, in the Stone Quarter, in fact!
Epilogue: Wuunferth in the Wrong
Tell Jorleif that you believe Wuunferth the Unliving is the killer. Jorleif wants to know if you have any proof, so explain you’ve evidence of the necromancy in Hjerim and the amulet that looks to belong to him. Jorleif doesn’t want to believe this, as Wuunferth has been a trusted friend to Ulfric for many years. But it seems those whispers around town had some truth to them. He thanks you for your diligence at solving this matter. The quest concludes, and Jorleif takes a guard and heads to the upstairs chamber where Wuunferth resides. He puts him in chains and takes him down to the Bloodworks prison in the Palace. You can watch if you wish; the old necromancer splutters indignantly about his innocence.
Three days pass. Return to Windhelm again and listen to the townsfolk. It appears that the Butcher has struck again! Move to the crime scene, where you can speak to a city guard who wonders why this has happened, considering your investigation. You’re told to head to the prison and speak to Wuunferth. He’s obviously in some way responsible. But how?
Wuunferth openly mocks your terrible detective work when you tell him the killer has struck again. Request that he helps you find the real killer, and he asks why you thought Wuunferth was responsible in the first place. Mention the journals and amulet, and he angrily replies that he’s a member of the College of Winterhold in good standing. Furthermore, he never kept a journal. He wants to know what the amulet looks like; after you describe it, he knows it to be the Necromancer’s Amulet, a legendary item. Wuunferth has been noting that the killings are tied to some kind of necromantic ritual—tomorrow night, in the Stone Quarter, in fact!
Quest Conclusion
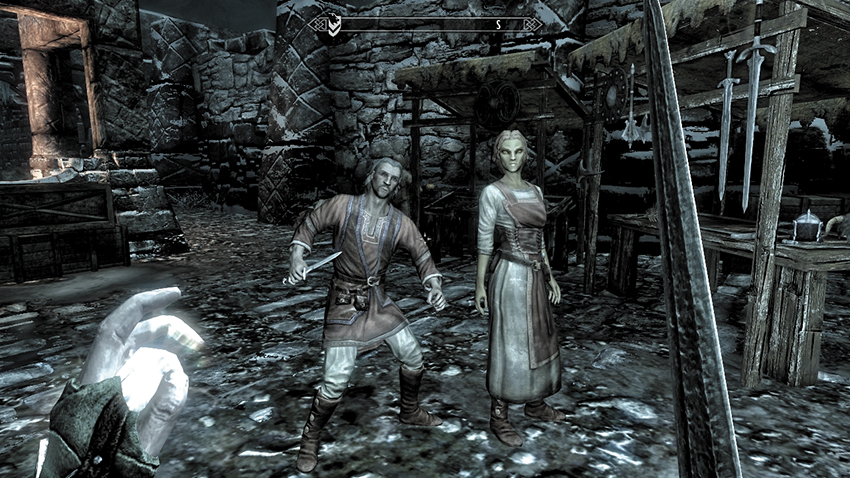
Wait until nightfall the next evening. The place is unusually quiet, until you stumble upon Calixto Corrium speaking with a woman (usually in the market area). A moment later, he attacks her. Stop that murderer!
Race after Calixto. If you’re too slow, he runs back to his butchering place, into Hjerim where he makes his last stand. Otherwise, he won’t go down without a fight. You can kill him using your favored weapons or beat him to his knees using your fists. When Calixto is safely dealt with, head to Jorleif. He thanks you profusely for finally solving this murder (and a little less profusely if he has to go and release Wuunferth). You now receive the following rewards:
- The Necromancer’s Amulet, if you sold it back to Calixto (which you can then sell again for even more profit!)
- The title “Special Investigator of Windhelm.”
- A free “cleaning” of Hjerim, so the gruesome antechamber has the flesh and bones removed from it, whether you own the house or not.
- Necromancer’s Amulet
Postquest Activities
It is now wise to purchase Hjerim if you wish to.