Elder Scrolls V: Skyrim Special Edition Guide Dragonborn Quests Dragonborn Main Quest
Dragonborn Main Quest: At the Summit of Apocrypha
At the Summit of Apocrypha
Storn’s Sacrifice
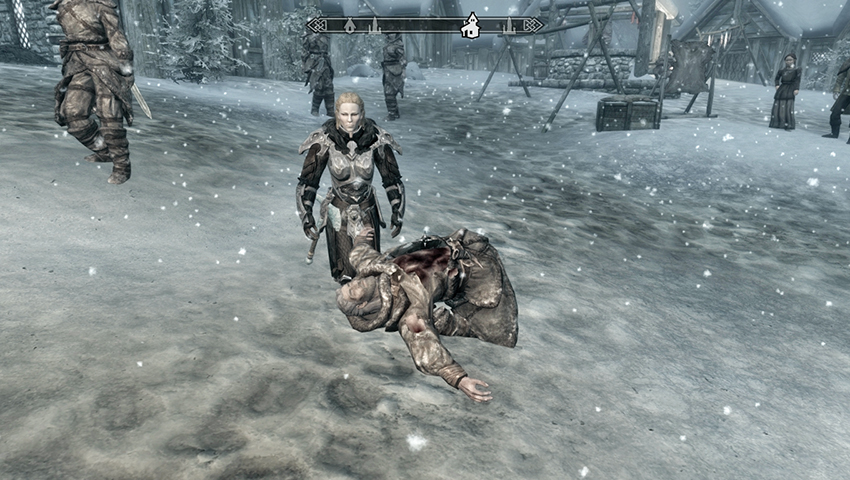
As the rest of the Skaal villagers look on incredulously, Frea kneels beside her father’s corpse. It falls to you to prove his death was not in vain. First, unlock your “Bend Will” Shout by accessing the Magic > Shouts > Bend Will menu option. Spend a Dragon Soul (or two) to fully unlock this Shout. You need not equip the Shout yet, but you do need to expend a Dragon Soul. Ready yourself for a long and dangerous journey. And then, when you’re ready to face Miraak in Hermaeus Mora’s world, read Black Book: Waking Dreams from your inventory.
Chapter I: The Word of Lore
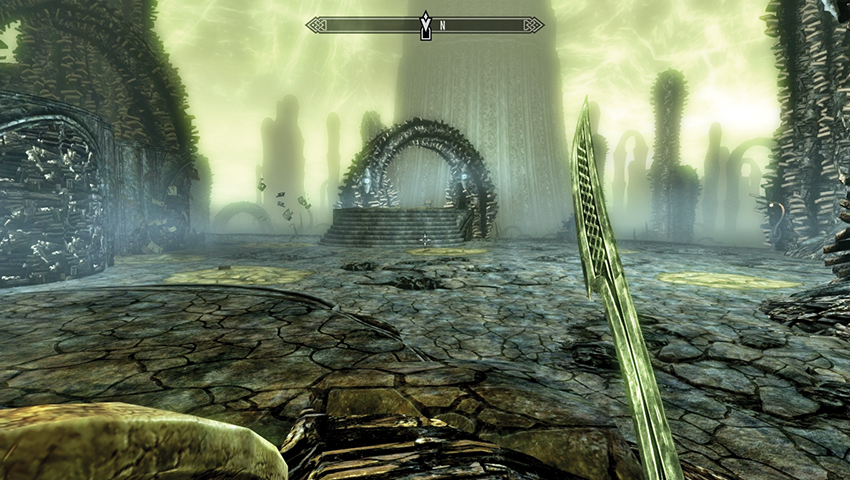
Waking Dreams returns you to an area of Apocrypha you visited once before, where you heard Miraak mock you while you knelt and could not move. Check the table to the south for a trio of books. There’s also a pod to open along the left and right (east and west) walls. Scan a second table for a Soul Gem, and then stride north, passing two Magicka fonts, and open Chapter II.
Chapter II: Preferred Reading—Boneless Limbs
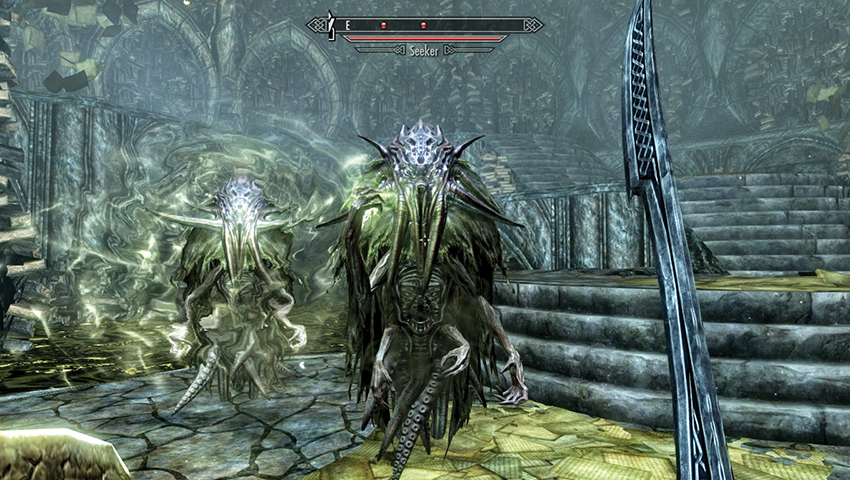
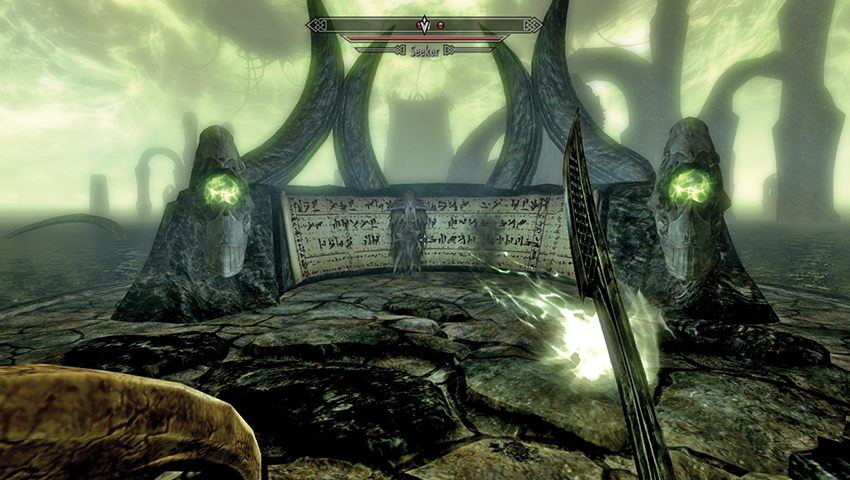
Climb the first set of stone steps, watching for a Seeker or two to materialize around or behind you. Check the nearby table for a book before ascending farther and heading left (north) around the edge of this large, cylindrical chamber—Miraak’s Tower. Pass the table with the Heavy Armor Forging Skill Book and around to a small bridge to your left (south). There are also some steps not yet elongated into a staircase position. At this point you may wish to look up: You’ve got some climbing to do!
- Heavy Armor Forging (Smithing Skill Book)
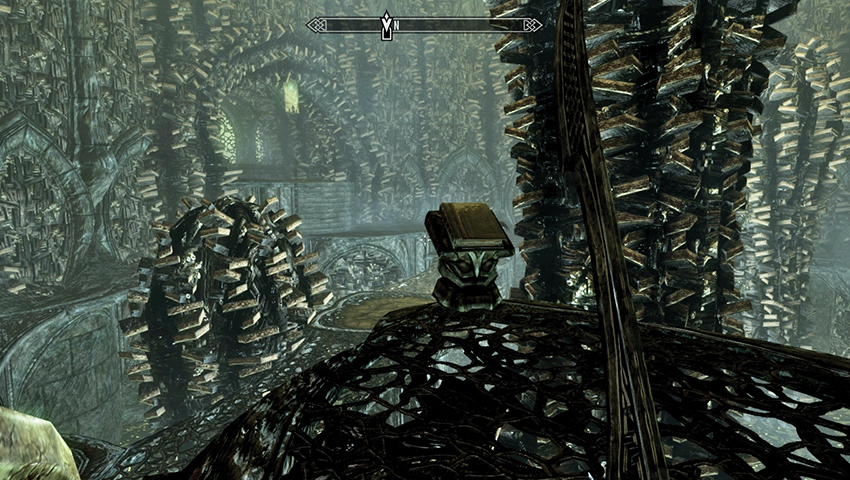
Cross the bridge and climb the stairs to the plinth that holds a cracked and ancient book called Boneless Limbs. This is vital to your progress, so take it. Optionally read the short rhyme inside:
A writhing mass of heaped appendage
Slipping grasp the squirming slick
Extend the reach to touch the face
Burn the mind, reveal the quick
Taking this book extends the steps at the initial side of the bridge, so cross over, head up the steps to the north, and out the open archway doors to view a vast ocean of filth. Turn right (northeast) and begin Chapter III.
- On Apocrypha: Boneless Limbs
Chapter III: Preferred Reading—Delving Pincers and Prying Orbs
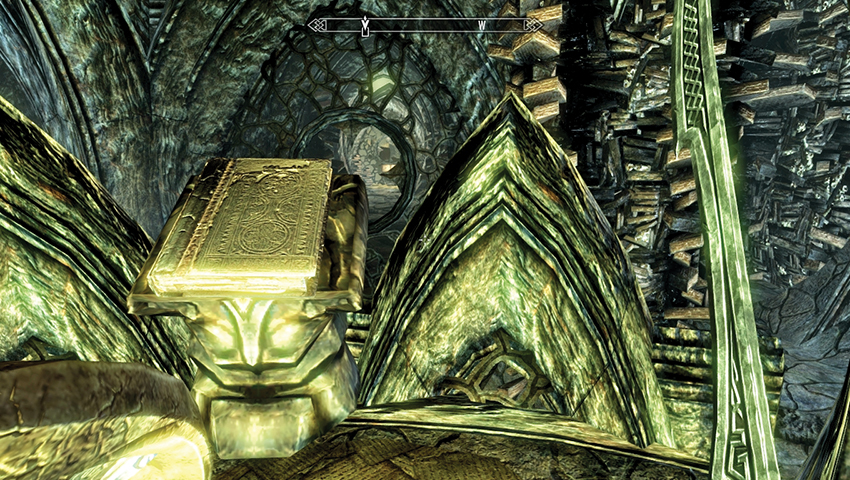
Enter the tunnel that leads roughly northeast, passing a door to your right that you can’t open yet. The corridor splits to a left and right route with two or three Seekers that appear and a couple of pools with whipping tentacles to dodge. There are two Magicka fonts if you need them, and both corridors merge at some steps up to a platform and a table with Song of the Alchemists (Alchemy Skill Book). Turn around, and on a stone plinth lies another ancient book called Delving Pincers. Inspect this book for its strange poem:
Crushing razors, hollow shells
That snap, that twitch, that cinch and rend
To hold the subject, bodily,
’Til mind blows soft and life meets end
- Song of the Alchemists (Alchemy Skill Book)
- On Apocrypha: Delving Pincers
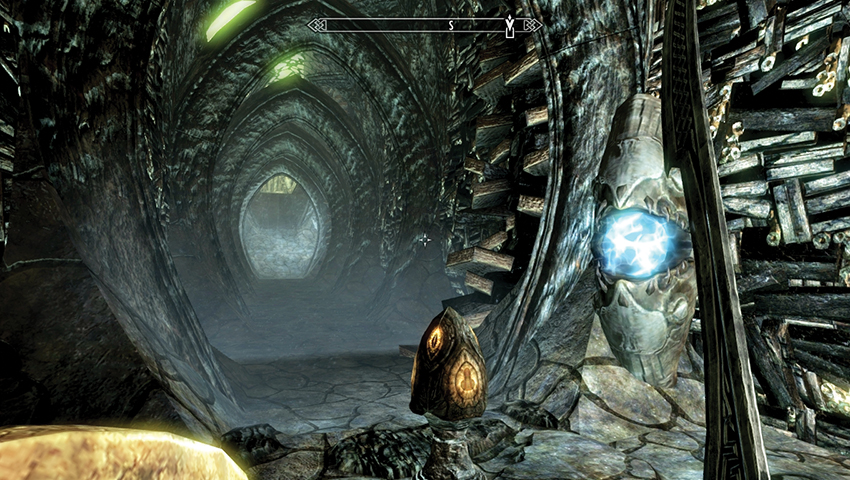
Retrace your steps along the corridor (southwest), to the book that leads back to Chapter II. Don’t read it, but instead look left (southeast) as the previously closed door opened when you took the ancient book. Step inside and activate the Scrye. This stretches out the corridor ahead of you. Head past a Magicka font, then another, stopping at the junction to inspect a table containing Catalogue of Weapon Enchantments (Enchanting Skill Book) and other books. Pass a Stamina font, and head right (southwest), back into Miraak’s tower chamber.
- Catalogue of Weapon Enchantments (Enchanting Skill Book)
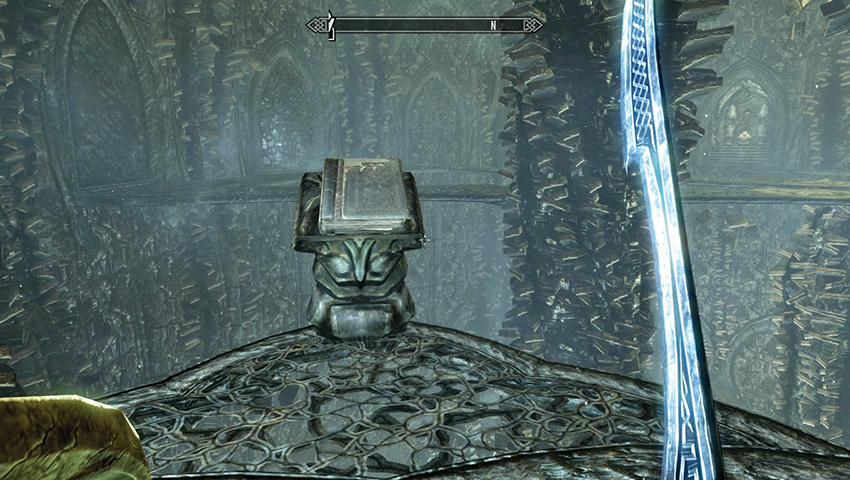
You’re a level above on a series of crisscrossing platforms. Head left (south), opening a pod and activating a nearby Scrye, which opens a door to the northwest (this leads to a small alcove with a vessel you can search for items). Now head along the main bridge platform, moving south and then right, passing a pod to a plinth with a Magicka font and another ancient tome. Remove Prying Orbs from its plinth, reading its strange inscription:
What takes the world in lightened sense
Can also seek the outward gleam
They rob the all of essence to
Report the nothing they have seen
Removing the book and pocketing it opens a gate in the western part of the chamber. After a Magicka and Stamina font, you reach Chapter IV.
- On Apocrypha: Prying Orbs
Chapter IV: Preferred Reading—Gnashing Blades
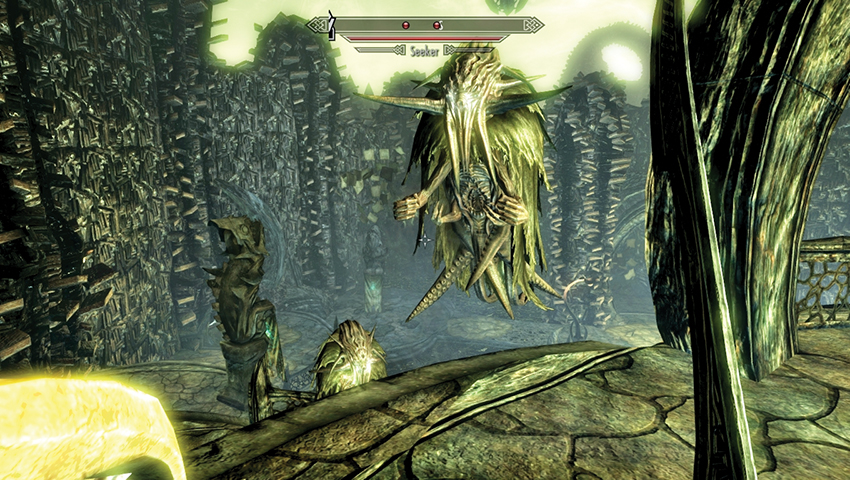
From your high position above a multitude of steps and shifting tunnel walls, turn right (west) and head down the steps, pausing to grab at the Stamina font above you. Directly in front of you is a low balcony fence, below which is a second Stamina font; access that from the top of the steps too. Then descend on either side, facing down two or three Seekers as you go. Don’t forget a pod on a southwest platform.
Head past the black table and the selection of books, then to the lower ground and a tattered banner. Enter the tunnel to the south, moving around the long left curve to a junction with a black table and two very long passages ahead (east) and right (south). The tunnel ahead with the Magicka and Stamina fonts retracts as you move down it, forcing you right, where a similar retraction occurs. Backtrack to the initial tunnel; it has turned to the opposite (south) direction, allowing you to move into an open area to face two more Seekers and traverse a stepped area to the west.
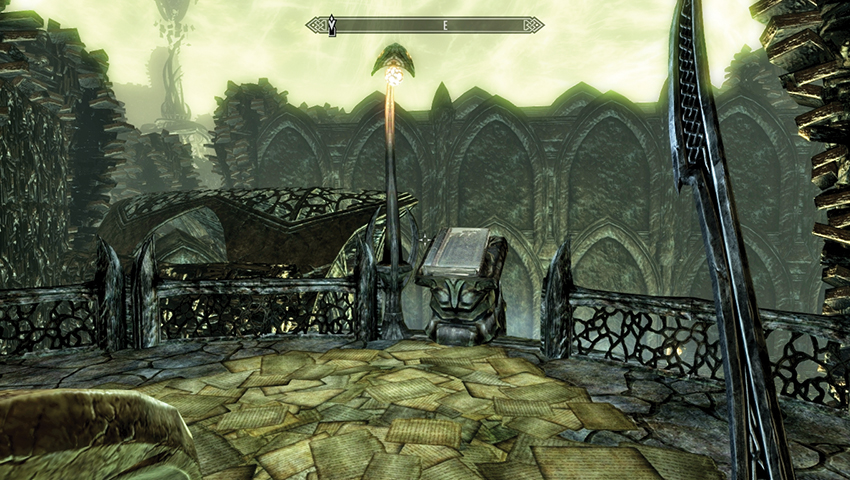
Climb the steps, passing two tables (one houses some scrolls) and a Magicka font near your fourth and final ancient book, nestled on a plinth just above a Stamina font (access it from up here). Grabbing Gnashing Blades opens a new path. Before you head down it, partake in a swift reading:
Bone extrusions gash and grind
In moistened depths of smacking heat
While tearing flesh from averse bone
The body while prepares to eat
- On Apocrypha: Gnashing Blades
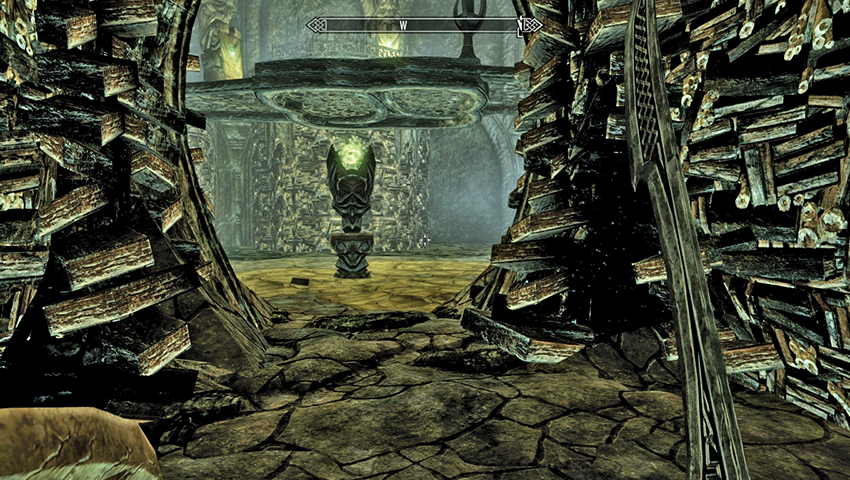
Move down the steps and head right (southeast) into a newly opened tunnel. This ends in a junction with an alcove to your right (south) with two black tables and a corridor that expands when you enter it, near two additional tables with more books to leaf through. Move ahead (east) down the long corridor to a pair of Stamina fonts and a pod. Continue down the left turn and into another chamber with a Stamina font under a walkway.
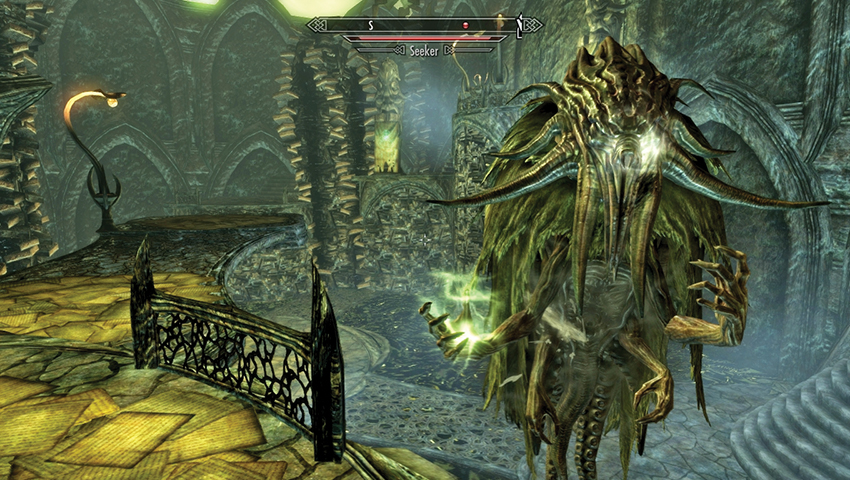
Avoid the black tentacles as you head northwest across the ground bridge, and engage two or three Seekers on the initial stepped balcony. Pass a black table, working your way along an upper bridge heading south and up more steps to a Scrye, which maneuvers a tunnel down below. Descend and enter the tunnel (heading east). Go down the long left curve past a small tentacle pool and up into a Lurker-summoning chamber. As the name suggests, one of these beasts is summoned as you near the circular black ooze in the middle.
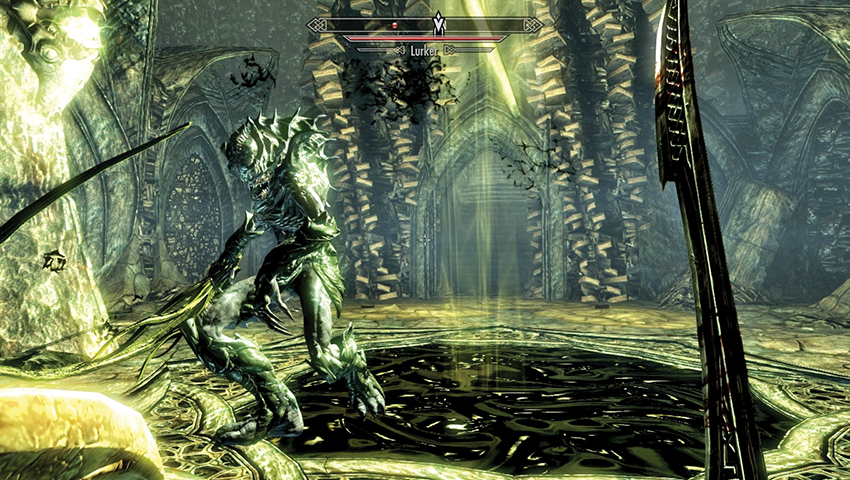
Aside from the Lurker to slay, there’s a Scrye in the northwest corner of the chamber that opens a cubbyhole with a vessel and black table in an adjacent corridor farther northwest (head around the corridor entrance to access it). Just before that cubbyhole is a second Scrye. Activate that and the chamber’s main door to the north swings open. Flee if you’re having trouble killing the Lurker, or slay the horror before proceeding. At the end of the corridor to the north is a Magicka font and access to Chapter V.
Chapter V: The Penultimate Chapter
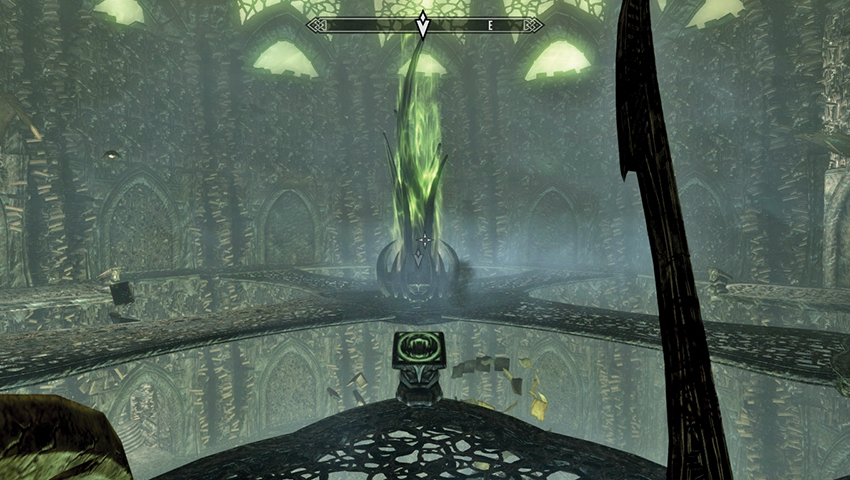
You are farther up in Miraak’s Tower. Begin by siphoning the Magicka font near the open book, before following the corridor up the steps, past a Stamina font, and out onto the upper walkways of the central tower chamber. Concern yourself with two immediate problems:
- Slay the three or four Seekers.
- Don’t fall off the walkways around the edge or middle of this chamber!
Once you’re successful with this plan, you can inspect the room at your leisure. The plinth in the central spine of the chamber houses access to Chapter VI. You need to access it by placing each of the four Apocrypha Books on their correct pedestals. Simply read the clues from the books and the books’ names and lay the tome on the image best associated with each book.
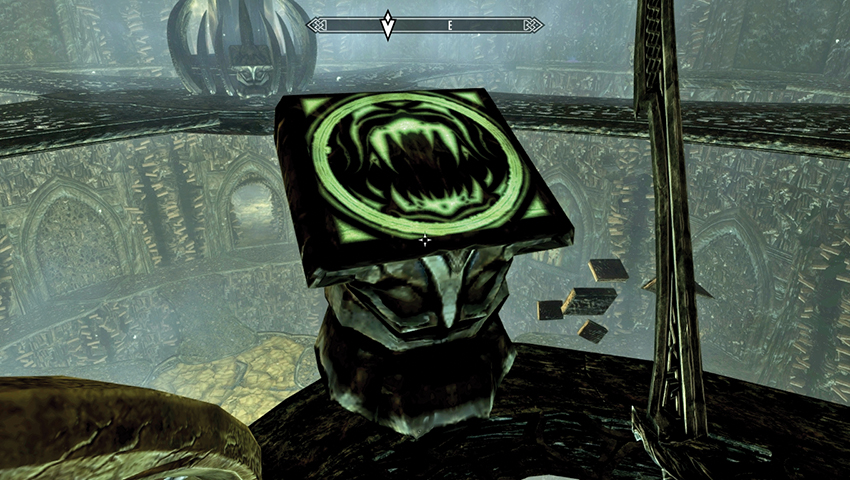
The pedestal with the fishlike gaping maw is closest to you. Place “Gnashing Blades” here.
The pedestal with the two claws is nearby. Place “Delving Pincers” here. Expect Seekers to attack at this point.
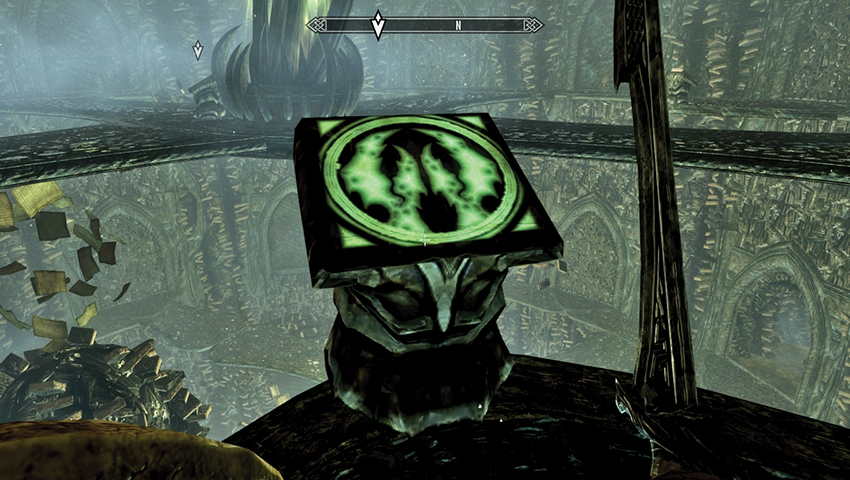
The pedestal with the mass of writhing tentacles is opposite the entrance. Place “Boneless Limbs” here.
The pedestal with the strange evil fishlike eye is the last of the plinths to find. Place “Prying Orbs” here.
Chapter VI: Bending the Will of Sahrotaar
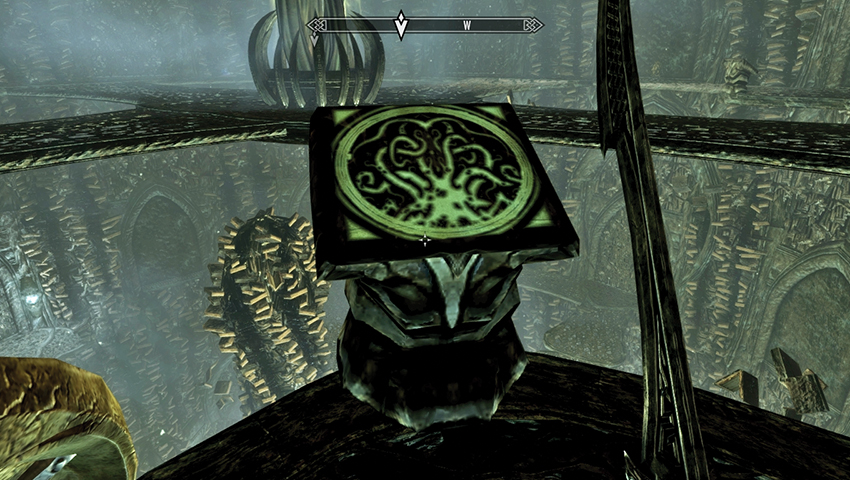
Exit via a small double corridor leading to a single tunnel. Grab The Art of War Magic (Destruction Skill Book) from the black table as you go. You emerge onto a large exterior platform amid the unspeakable ocean, bereft of life until you pass two Stamina fonts. Investigate two more and the curved stone edifice at the opposite end. This is a Word Wall!
- The Art of War Magic (Destruction Skill Book)
Approach the Word Wall and defeat the two Seekers that are summoned to prevent your progress. Learn the powerful new Thu’um, part of the Dragon Aspect Shout, and your objective updates.
- Word of Power: Dragon Aspect
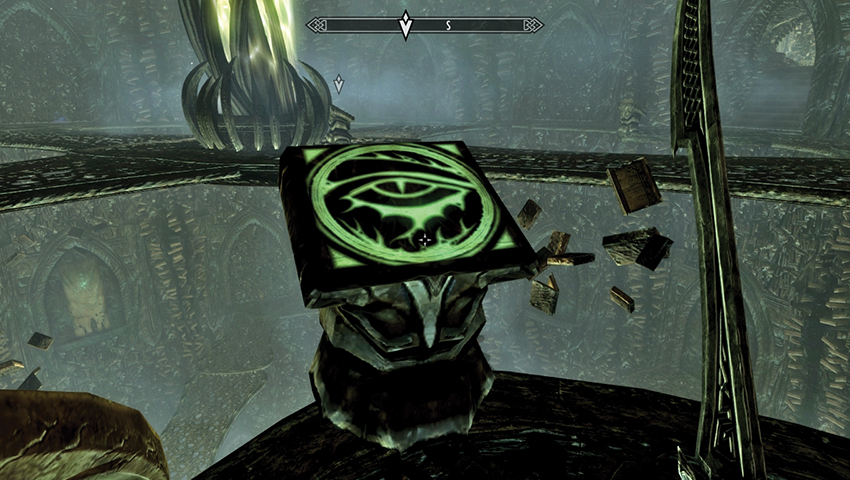
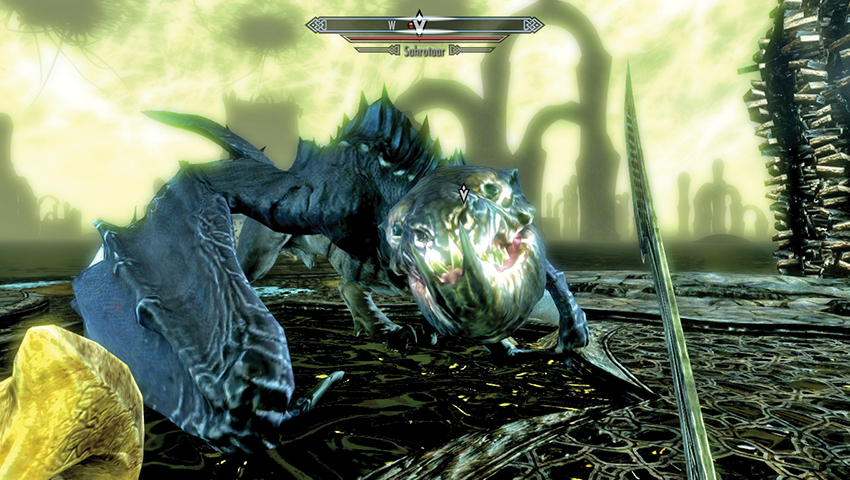
The moment you absorb this Shout, the mighty serpent dragon Sahrotaar swoops down to attack! Bellow the full Bend Will Shout (all three Words of Power) at the beast, and he lands, drops his head submissively, and offers to carry you to Miraak. Climb aboard and prepare to face your nemesis!
Chapter VI: First and Last and Always
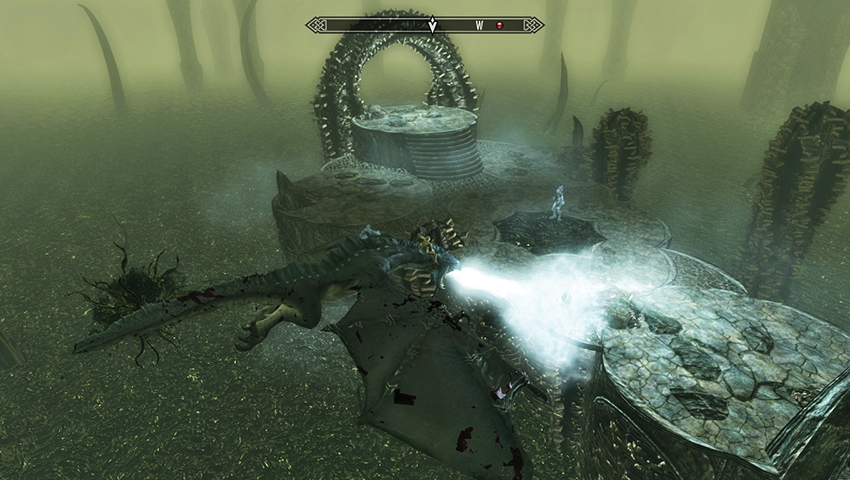
You have a brief flight to reach the pinnacle of Miraak’s Tower. During this time, you are free to attack the various outcrops with Seekers and Lurkers within the unspeakable ocean. Remember you can:
- Lock on to a target and fire at it using your dragon’s ranged attack and your own ranged strikes.
- Switch targets and command your dragon to swoop in and attack a target.
After some one-sided razing, your mount glides toward a deranged high tower of epic dimensions and lands at the summit.
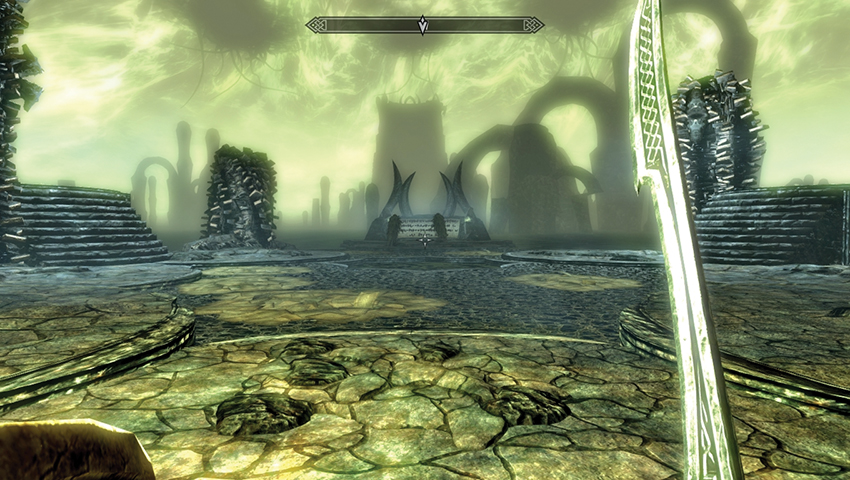
Miraak spits furious verbal bile at his disloyal mount as you land on the platform, then turns his attention to you. Whether it is the First Dragonborn or the Last Dragonborn, only one shall survive the epic battle at the summit of Apocrypha! After remarking that you are both here in your full power, he declares that he will be free of Hermaeus Mora once and for all. He calls the mighty dragons Kruziikrel and Relonikiv to his side, and the titanic struggle begins!
Initial Preparations
Prior to facing your nemesis, you must understand the magnitude of the foe you’re about to face:
- A Heavy Inventory: Miraak is formidable, so you should have stocked up on Health, Magicka, and Stamina potions before proceeding into this realm.
- A Poisonous Preamble: Although powerful, Miraak is still human and can be harmed by poisons. Paralysis will not affect him, but damage-health poisons are an excellent way to increase your melee damage.
- Roll Out With Your Scroll Out: The black tables throughout the previous chapters of Apocrypha included several Fast Healing scrolls that may come in handy during the fight.
- Know Your Scroll: That collection of scrolls you probably aren’t using or were saving for the perfect battle? Bring them along! Use any ritual or summoning scrolls (such as Scrolls of Fire Storm, Blizzard, or Dragonhide) you’ve been hoarding.
- Secrets of the Skaal: Before entering Apocrypha for your final battle with Miraak, visit the All-Maker Stones you freed from his influence during Dragonborn Main Quest: Cleansing the Stones. Their powers are formidable and can give you an edge in the battle against him.
- Long Flight to the Summit: There’s no rush to reach the top of the tower and face Miraak. The Bend Will Shout you just used on Sahrotaar has a very long cooldown time, so letting your mount meander and take a longer path to the tower will give you some time to recover.
Battle Tactics: Drawing First Blood
- Raising Your Defenses: Just prior to the battle commencing, Miraak takes a few moments to inflict a few verbal jabs. Use this chatter to your advantage by preparing your defenses; ideally strike with your most powerful spell, sneak attack, or power attack before he can react.
- Dart in Before Dragon Aspect: One of Miraak’s many powers is his Dragon Aspect Shout, which also raises his defenses. Striking with an excellent hit before he utilizes it is extremely beneficial.
- Showdown on Sahrotaar: You may wish to ride your mount during this battle. If you primarily cast spells, this is an excellent way to avoid receiving damage for a while. Employ Chain Lightning or Fireball spells, and rain down destruction from the sky. Also remember to use Shouts while riding your dragon.
Battle Tactics: Miraak’s Attacks