
Elder Scrolls V: Skyrim Special Edition Guide Training Training Part 3: Adventuring Across Skyrim
Other Sites of Interest
Other Sites of Interest
Dragon Mounds
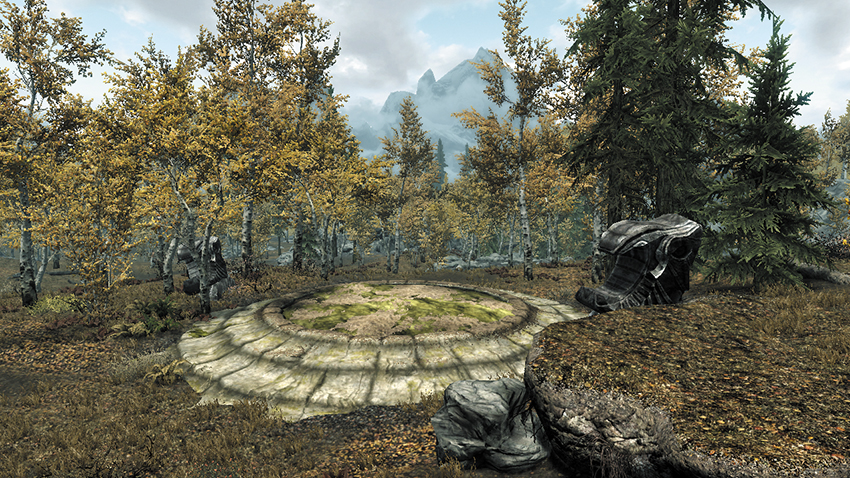
Dotted across the fells and forests and the plains and snowlines of Skyrim are strange circular mounds, surrounded by a scattering of standing stones. These are ancient dragon burial mounds, the final resting places of these creatures when they were slain centuries ago. But now the dragons are back! Alduin the World-Eater, a terror out of the most ancient legends, has returned to Skyrim, and over the course of the Main Quest, he opens these mounds and resurrects the dragons within, calling them forth to wreak havoc once more!
How Dragon Mounds Open
There are 22 Dragon Mounds scattered throughout the Nine Holds of Skyrim, and two more on the isle of Solstheim. When you encounter one (all are listed in the Atlas and marked on the Hold maps), it will be in one of four states. Over the course of the Main Quest, these mounds gradually open, releasing the dragons trapped within.
State I: Dormant
Each Dragon Mound opens in response to a specific objective in the Main Quest. Before that point, the Dragon Mound is dormant. The ground is covered, and the site could easily be mistaken for an ancient Nordic burial mound, as the two are quite similar.
State II: Deserted
As the Main Quest develops, you may find some mounds that have been opened but have no dragon nearby. This means Alduin has visited this site, resurrected a dragon from the mound, and both creatures have flown away. There is little for you to do here. But look around carefully—you may well spot the dragon at a nearby Dragon Lair!
State III: Awakened
As the Main Quest goes on, you will find more and more mounds in this state. Alduin has visited the site, resurrected the dragon from the mound, and flown away. Meanwhile, the reborn dragon remains here, gathering its strength and waiting for a chance to strike. Slay the beast and claim its soul to unlock your power as Dragonborn!
State IV: Resurrection
And in a few cases, if you stumble across just the right mound at just the right time, you may encounter Alduin himself! If you watch, Alduin will resurrect the dragon before your eyes, then fly off to his next destination. Attack, and Alduin roars into the skies, mocking you, before making his escape (he cannot be harmed). Meanwhile, the resurrected dragon will turn and attack! If you miss this opportunity, the mound will change to State III, with the newly resurrected dragon remaining near its mound until you arrive to challenge it.
Dragon Mound Stages Chart
The following chart lists (by Hold) all of the Dragon Mounds, when they are opened, and what state the mound will be in when it opens.
| Name of Dragon Mound | Hold Location | State | Dragon? | Main Quest Notes |
|---|---|---|---|---|
| [2.C] Dragon Mound: Karth River Forest | Hjaalmarch | II | No | Opens during Act II: Diplomatic Immunity |
| [2.G] Dragon Mound: Robber’s Gorge Bluffs | Hjaalmarch | III | Yes | Opens during Act II: Diplomatic Immunity |
| [2.P] Dragon Mound: Labyrinthian Peaks | Hjaalmarch | II | No | Opens during Act II: Elder Knowledge |
| [3.D] Dragon Mound: Sea Shore Foothills | The Pale | III | Yes | Opens during Act II: Elder Knowledge |
| [3.M] Dragon Mound: Shimmermist Hills | The Pale | III | Yes | Opens during Act II: Elder Knowledge |
| [3.Q] Dragon Mound: Yorgrim Resurrection | The Pale | IV | Yes | Opens during Act II: Elder Knowledge. Visit this location before Act II: Alduin’s Bane is complete in order to witness the resurrection! |
| [5.B] Dragon Mound: Reachwater Pass | The Reach | III | Yes | Opens during Act II: Elder Knowledge |
| [5.I] Dragon Mound: Ragnvald Vale | The Reach | III | Yes | Opens during Act II: Elder Knowledge |
| [5.T] Dragon Mound: Karthspire Bluffs | The Reach | III | Yes | Opens during Act II: Alduin’s Wall |
| [6.B] Dragon Mound: Rorikstead Resurrection | Whiterun Hold | IV | Yes | Opens during Act II: Alduin’s Wall. Visit this location before Act II: Elder Knowledge begins in order to witness the resurrection! |
| [6.K] Dragon Mound: Great Henge Resurrection | Whiterun Hold | IV | Yes | Opens during Act II: Diplomatic Immunity. Visit this location before Act II: Alduin’s Wall begins in order to witness the resurrection! |
| [6.O] Dragon Mound: Lone Mountain | Whiterun Hold | III | Yes | Opens during Act II: Alduin’s Wall |
| [7.H] Dragon Mound: Kynesgrove Resurrection | Eastmarch | IV | Yes | Opens during Act I: A Blade in the Dark. You will visit this location during Main Quest: A Blade in the Dark, witness the resurrection, and kill resurrected dragon. |
| [7.L] Dragon Mound: Bonestrewn Crest | Eastmarch | II | No | Opens during Act I: Dragon Rising |
| [7.N] Dragon Mound: Witchmist Grove | Eastmarch | II | No | Opens during Act I: The Way of the Voice |
| [7.T] Dragon Mound: Mzulft Foothills | Eastmarch | II | No | Opens during Act I: Dragon Rising |
| [8.A] Dragon Mound: Bilegulch Ridge | Falkreath Hold | II | No | Opens during Act II: Alduin’s Wall |
| [8.L] Dragon Mound: Evergreen Woods | Falkreath Hold | III | Yes | Opens during Act II: Alduin’s Wall |
| [8.AI] Dragon Mound: Bloodlet Peaks | Falkreath Hold | II | No | Opens during Act II: Alduin’s Wall |
| [9.F] Dragon Mound: Autumnwatch Woods | The Rift | II | No | Opens during Act II: Diplomatic Immunity |
| [9.M] Dragon Mound: Autumnshade Woods | The Rift | II | No | Opens during Act I: Bleak Falls Barrow |
| [9.Q] Dragon Mound: Lost Tongue Pass | The Rift | II | No | Opens during Act II: Diplomatic Immunity |
| [S.NN] Dragon Mound: Frozen Shoals | Solstheim | III | Yes | Opens during Act I: Dragon Rising |
| [S.SK] Dragon Mound: Temple Foothills | Solstheim | III | Yes | Opens during Act I: Dragon Rising |
Standing Stones
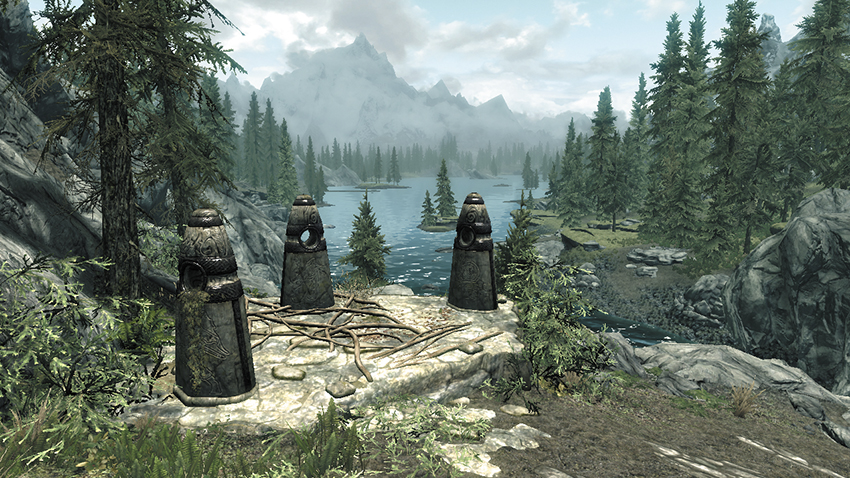
Throughout the wilderness of Skyrim, you can find 13 of these ancient and powerful standing stones. Etched into each is the sign of one of the major constellations known throughout Tamriel. Touch the stone, and you can choose to receive its blessing. You’ll focus the stone, and a bolt of pure magic arcs to the heavens. This blessing is now permanent, until you visit a different stone and receive its blessing, which supersedes the previous one. You may have only one blessing at a time. Standing stones can be divided into two major sets: 4 Skill Improvement stones, and 9 other stones.
Skill Improvement Stones
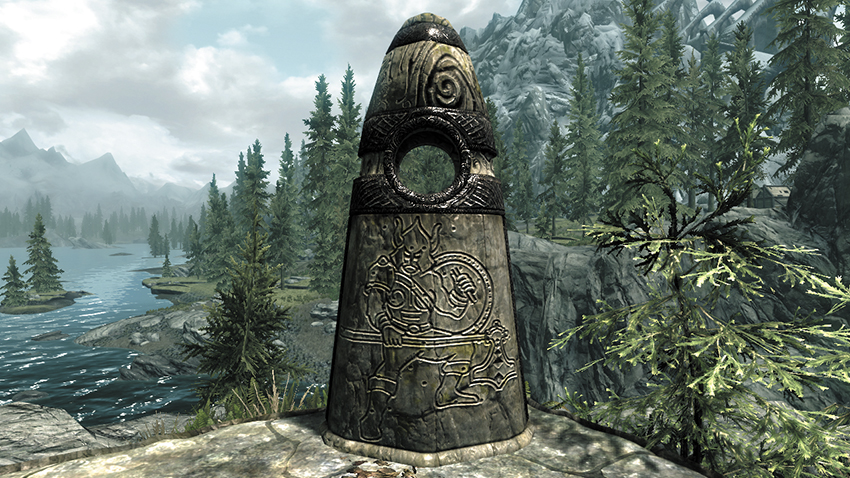
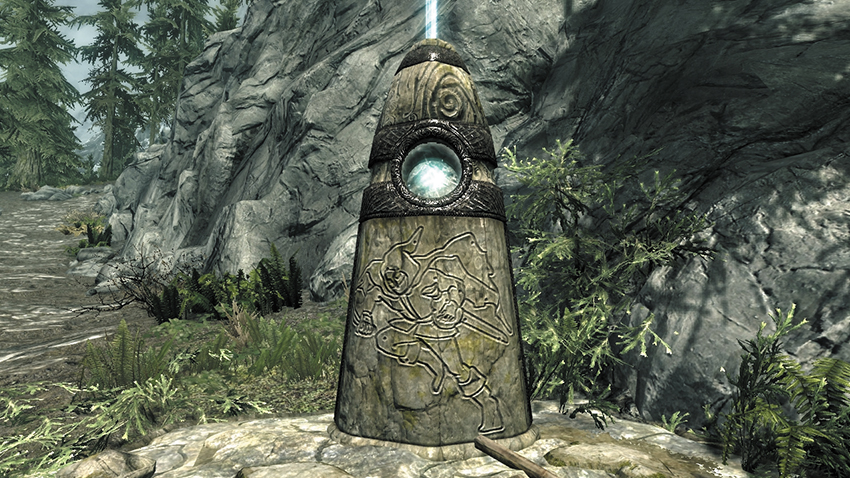
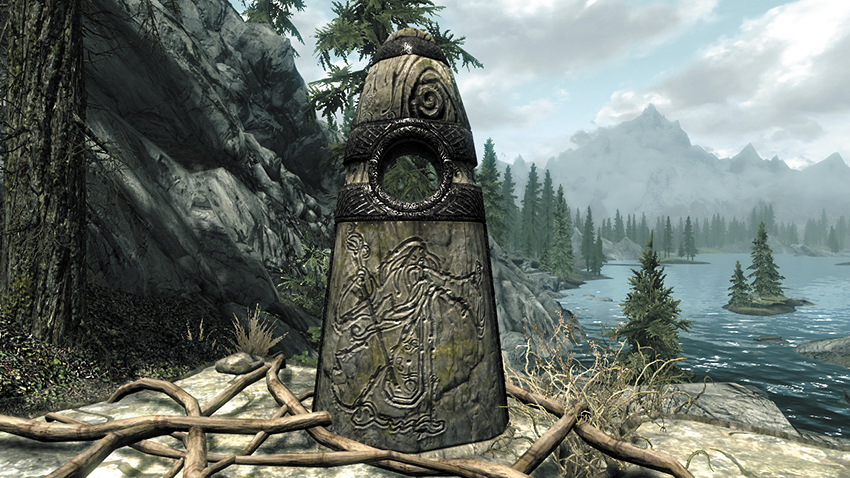
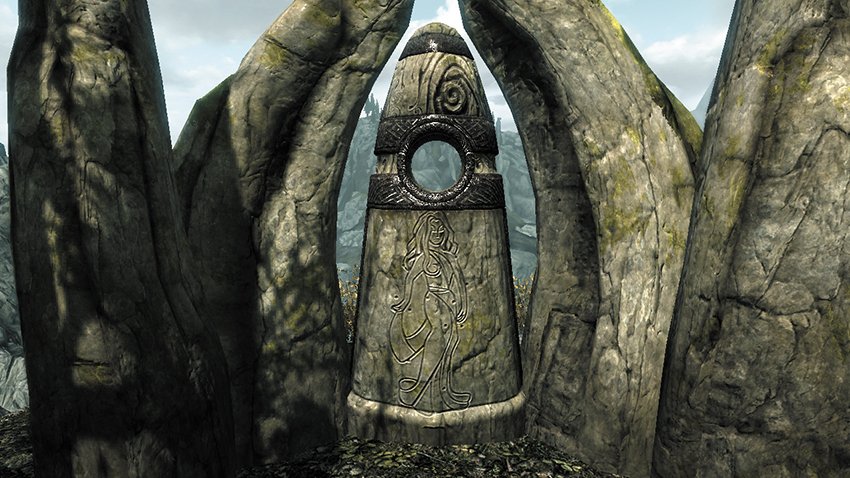
Four standing stones—Warrior, Thief, Mage, and Lover—increase the rate at which your skills improve. The choice to use or not to use these stones is more important than you may think.
Accept one of these stones’ blessings if:
- You crave high-level spells and perks and want access to them as quickly as possible.
- You want to trek through high-level dungeons (such as Dwarven Ruins and Dragon Priest crypts) as soon as you can.
- You’re trying to maintain a second set of skills that you don’t use as often: For example, your primary focus might be as a warrior, with a secondary interest in stealth. You may want to take the Thief Stone just to help your stealth-based skills keep pace.
- You want to quickly increase a skill or set of skills that you haven’t used before or that you’ve neglected: For example, if you decide to add Restoration spells to your Warrior’s repertoire or if you want to pick up some Illusion Magic to complement your Thief’s skills, the Mage Stone will help you master them more quickly.
Resist these stones’ blessings (and choose one of the other stones) if:
- You want to make your adventure as long and rewarding as possible and want to see and do everything you possibly can in Skyrim. Your adventure is most entertaining when you’re below Level 50. Impatience isn’t rewarded....
- You’re more interested in experimenting with the dramatic and varied effects that the other stones can have on your style of play, rather than accepting these “hidden” bonuses.
Other Stones
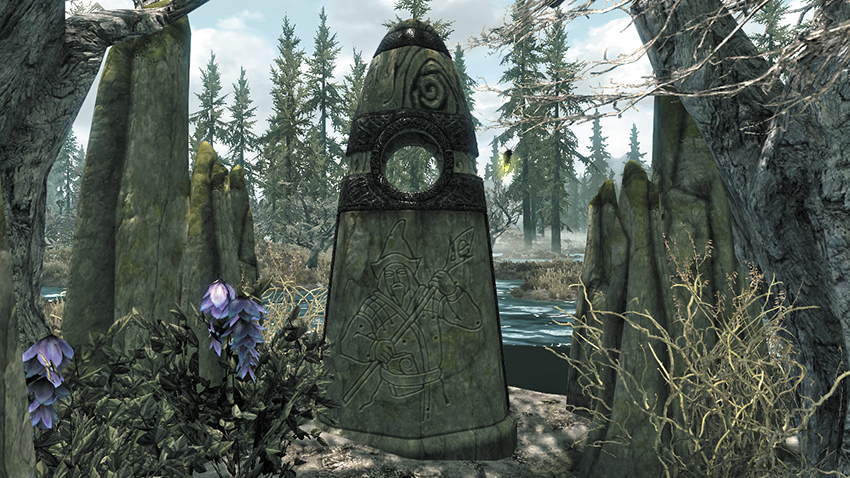
This stone offers a slightly risky option for Mages who find themselves running out of Magicka too frequently or for Battlemages who don’t want to sacrifice the protection of their armor for the Magicka Regeneration bonuses of mage robes. The weakness to Magicka is a real liability—especially in warlock or vampire dungeons, where almost all of your foes cast spells—but it can be offset by having a summoned creature or Follower to help soak up the damage. For Bretons, this weakness is also offset by your racial Magic Resistance, making it much more palatable.
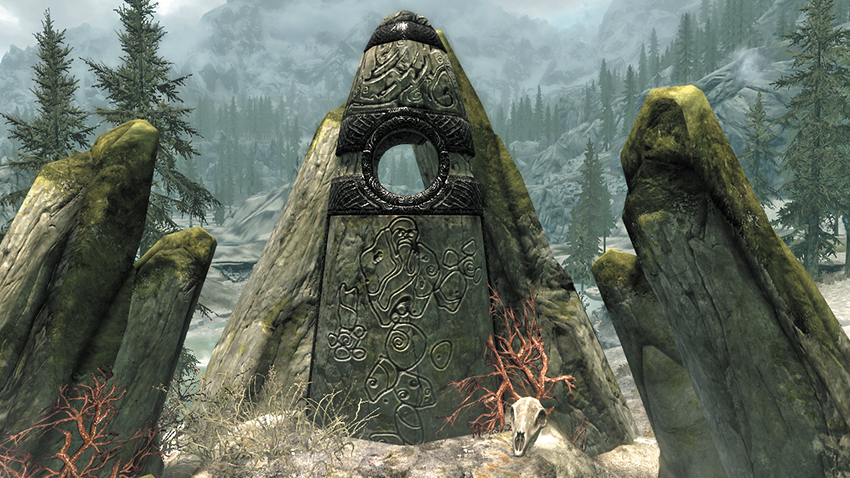
This gives you the benefits of two of the best racial abilities—the High Elves’ Highborn Magicka and the Breton’s Dragonskin (as a constant effect)—with the huge drawback of halved Magicka Regen. You can easily offset or overcome this drawback by equipping mage robes or other items that increase your Magicka regeneration rate.
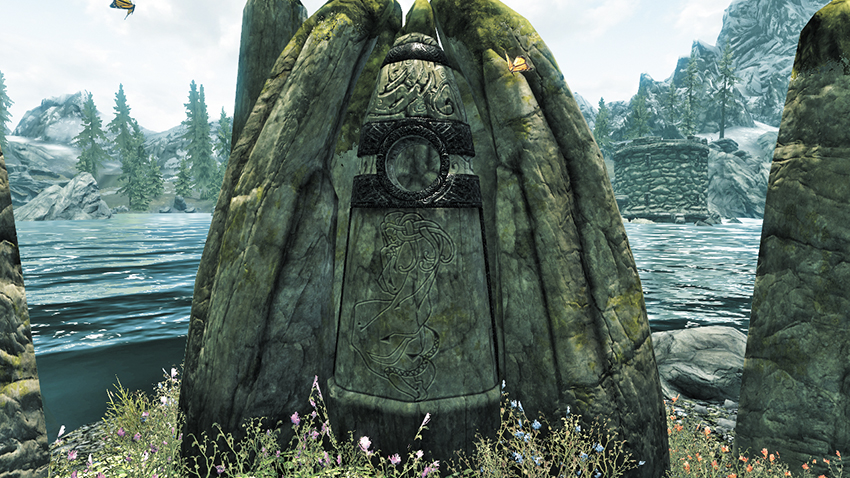
This is a solid, effective choice for offensive warriors. The bonus isn’t spectacular, but it will give you more staying power in combat. It’s also an excellent choice for vampires, as it can offset your Health and Stamina regeneration penalties while in sunlight.
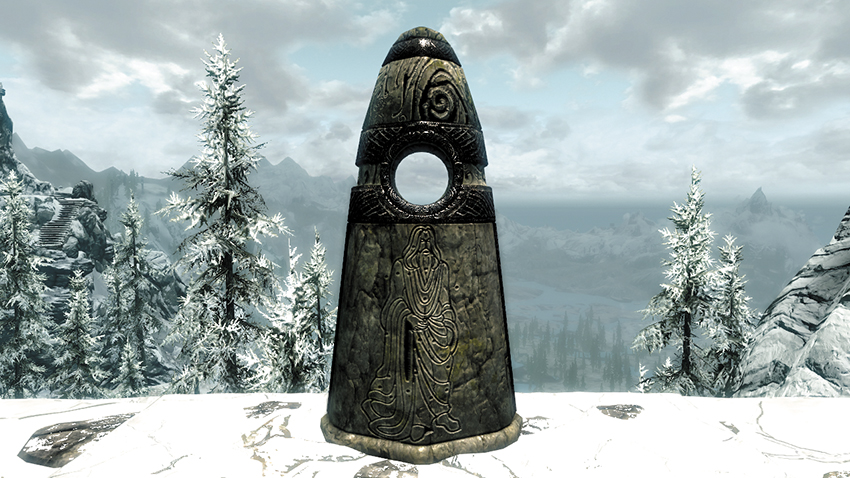
This grants you two excellent resistance bonuses in one! The damage resistance bonus is the equivalent to 50 points of armor, which is like giving your robed mage a Daedric Cuirass (and makes an already well-armored warrior even more resilient)! The magic resistance bonus is also solid, cutting spell damage by a quarter. Overall, this is a good choice for any character who wants to shore up their defenses.
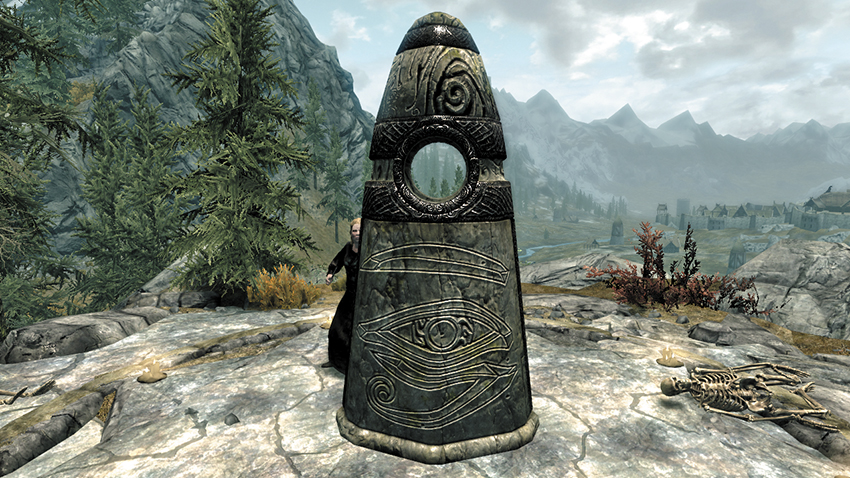
Arguably the most entertaining, and one of the most useful blessings, the Ritual Stone grants you a power that raises all the dead around you—from the mightiest Draugr Deathlord to the lowliest chicken—and causes them to fight for you. Useful in a wide range of situations, this power really shines in the large-scale battles at the end of many dungeons, where you can find yourself quickly raising 5 to 10 corpses to take on their former allies!
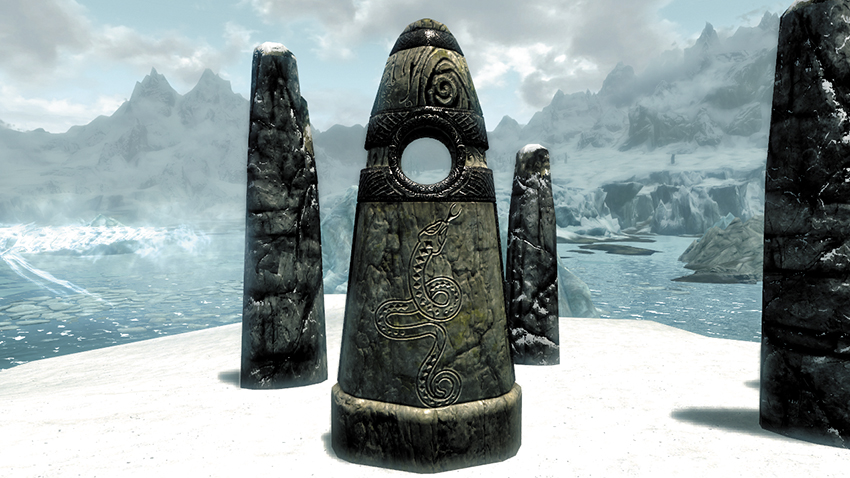
Paralyze is a useful ability to have on hand, allowing you to quickly score multiple hits on a foe before they can recover, take one enemy out of the fight so you can deal with others, or simply buy yourself a few seconds to retreat and regroup. It’s especially useful when fighting individual, high-level foes. However, you can achieve the same effect with a spell or poison, so this power may be less useful at higher levels once you have other options at your disposal.
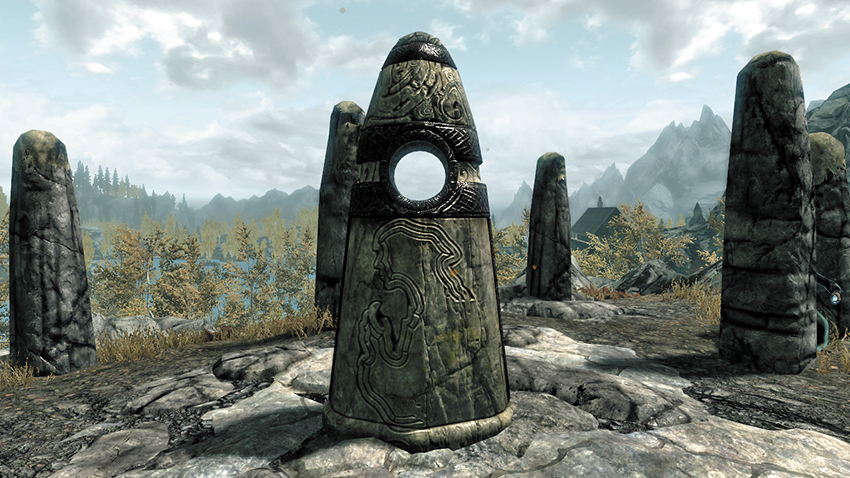
This power is exceptionally useful for a stealthy character. It can be invoked instantly, silently, with no Illusion skill or casting time required. You can achieve the same effect with a spell—and you definitely want that spell—but even after obtaining it, the Shadow Stone’s power can still be useful to keep around as a backup.
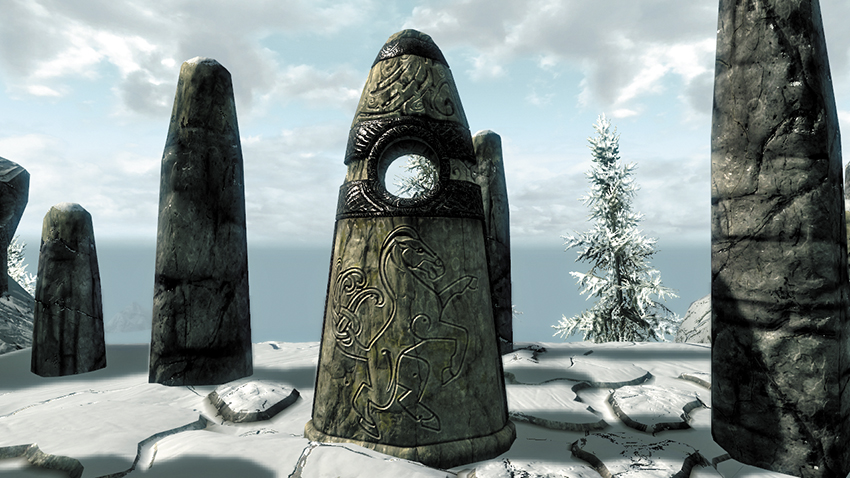
Although this blessing doesn’t bring you the instant gratification or protection of those that help you in combat, it is worth considering the Steed Stone’s ability if you rely on heavy armor: You’ll appreciate the extra mobility and Carry Weight it affords you. It’s also worth trying this ability before taking the Conditioned (Heavy Armor) or Unhindered (Light Armor) perks; you may even want to take it instead of those perks and select another perk.
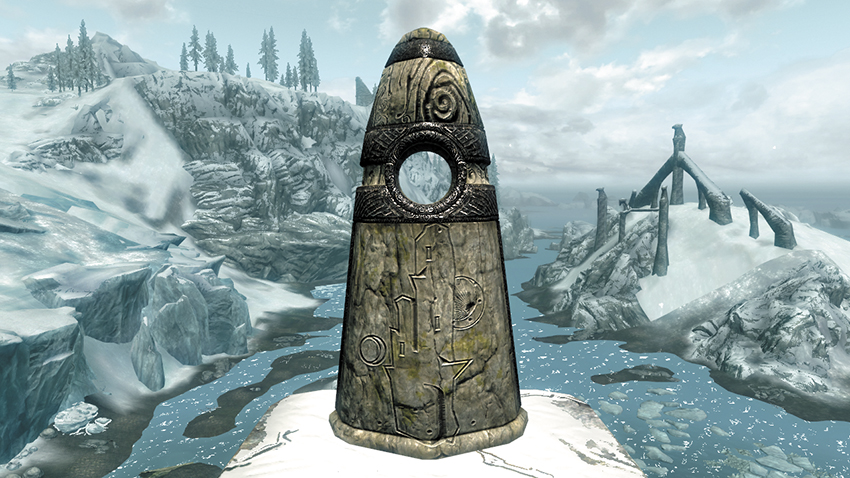
If you constantly find yourself out of lockpicks or simply don’t enjoy lockpicking, the Tower Stone’s power will help you open one locked door or treasure chest per day. For everyone else, there are more useful abilities to choose from.
 Sacred Stones (All-Maker Stones)
The Skaal of Solstheim revere six Sacred Stones, symbols of their bond with nature and the All-Maker. These places of power are being corrupted by Miraak, who is compelling the people of Solstheim to rebuild them to strengthen his own power.
In order to draw upon their magic, you must first cleanse them of Miraak’s influence by using the Bend Will Shout on them. Doing so destroys the shrine, frees the people enslaved by Miraak’s power, and releases a powerful Lurker that attacks you.
Blessings of the Sacred Stones
Thereafter, you can interact with each Sacred Stone once per day to receive its blessing: it fully heals you and grants you a potent single-use power. Once you expend it, you must return to the Sacred Stone to acquire this power again.
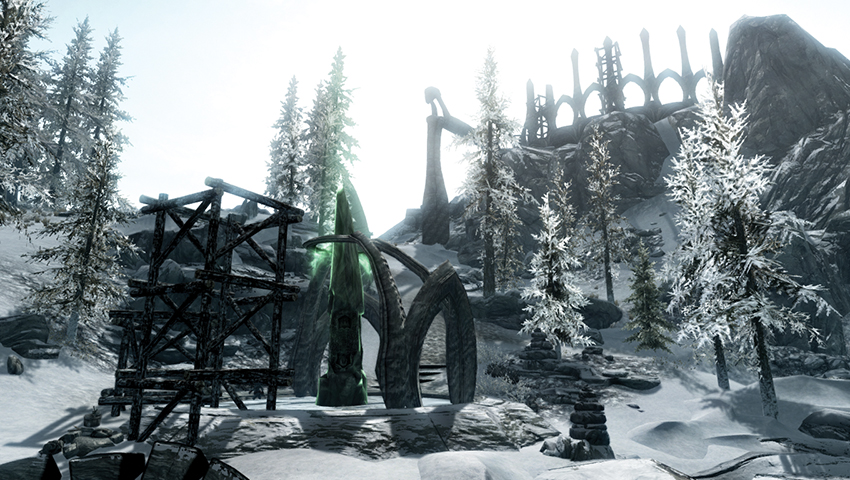
Beast Stone: Grants you the Conjure Wearbear power, which summons a werebear for 60 seconds wherever the caster is pointing.
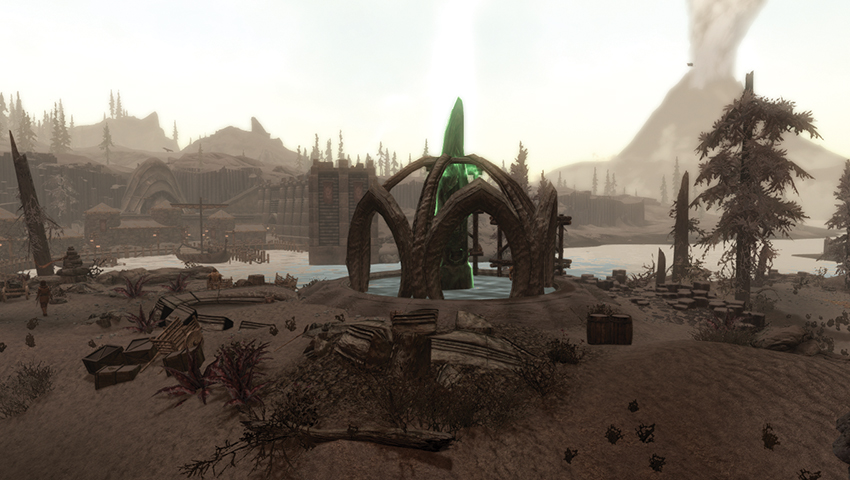
Earth Stone: Grants you the Bones of the Earth power, which protects you from 80% of all physical damage for 30 seconds.
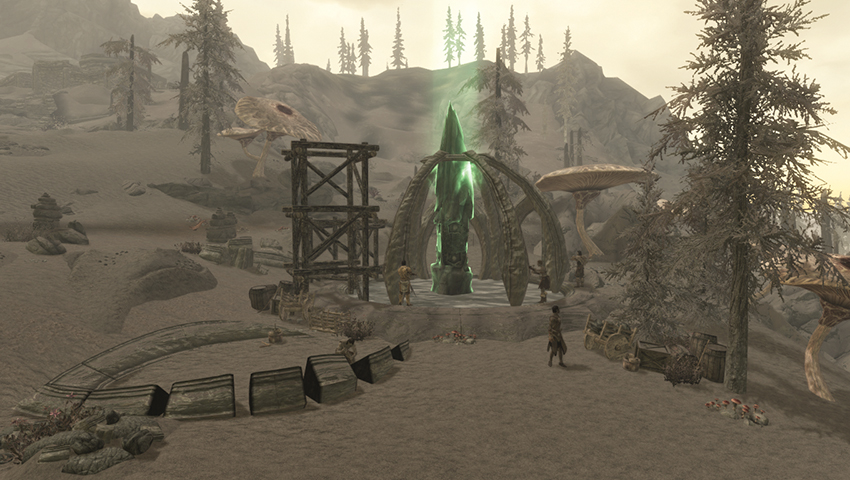
Sun Stone: Grants you the Sun Flare power, a 100-point fiery explosion centered on the caster. Does more damage to closer targets.
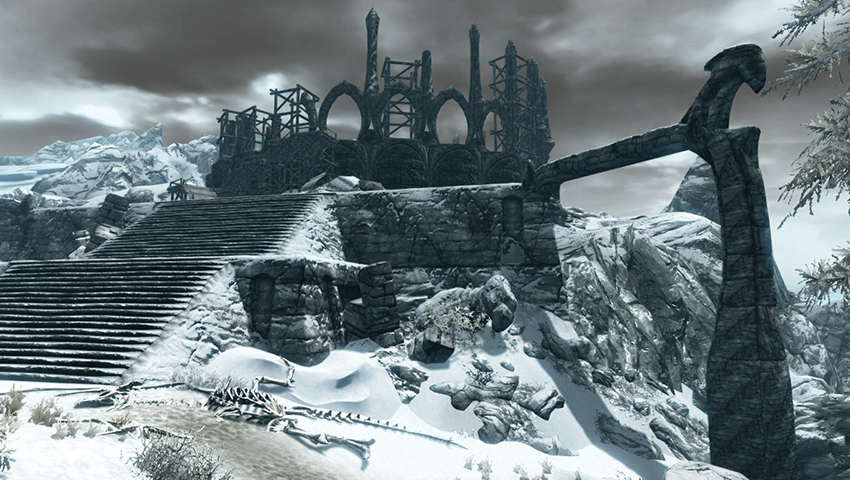
Tree Stone: Grants you the Root of Power, which causes all spells to cost 75% less for 60 seconds.
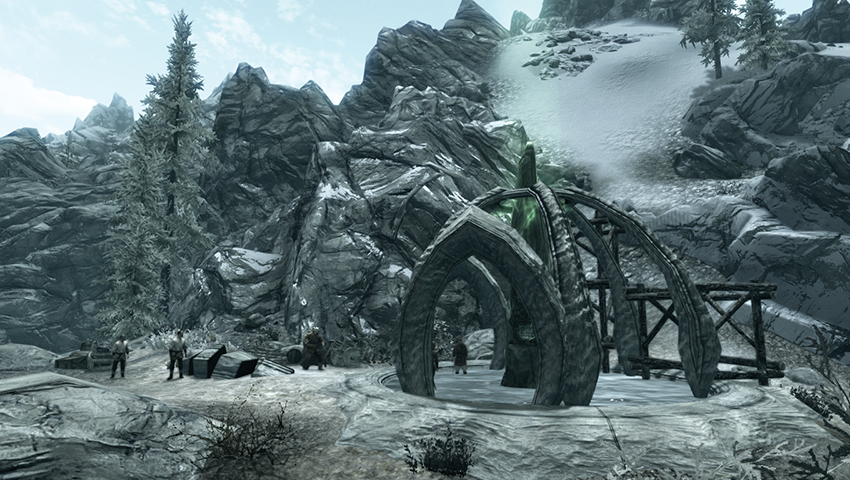
Water Stone: Grants you the Waters of Life power, which heals everyone close to you for 200 points.
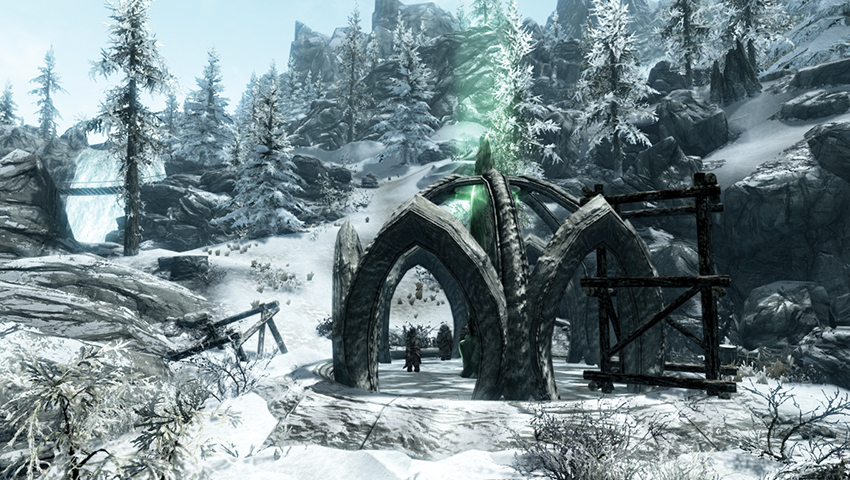
Wind Stone: Grants you the North Wind power, which does 20 points of frost damage to all enemies within range for 10 seconds.