
Elder Scrolls V: Skyrim Special Edition Guide Quests The College of Winterhold Quests
College of Winterhold Quests: Under Saarthal
Under Saarthal
A New Vision for Saarthal
This quest begins immediately after you complete the College of Winterhold Quests: First Lessons. Completing this is also part of Side Quests: Forbidden Legend. Check that quest for more information.
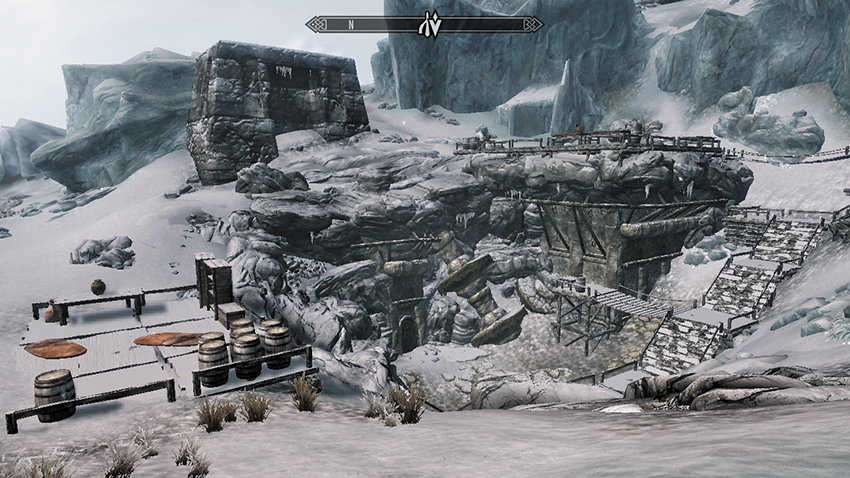
Tolfdir has already made preparations to take his Apprentices (including you) to Saarthal—the remains of an ancient Nordic burial site of great importance and unknown depths and the site of an ongoing excavation by the College. Saarthal is southwest of Winterhold, in a treacherous part of the mountains where wolves like to roam. If you reach the entrance first, wait for the others; they may have been held up by an unexpected encounter. You may converse with any or all of them, but let Tolfdir know when you’re ready to begin the exploration. Find out more about the site by asking him, too. Then follow him into the Saarthal Excavation.
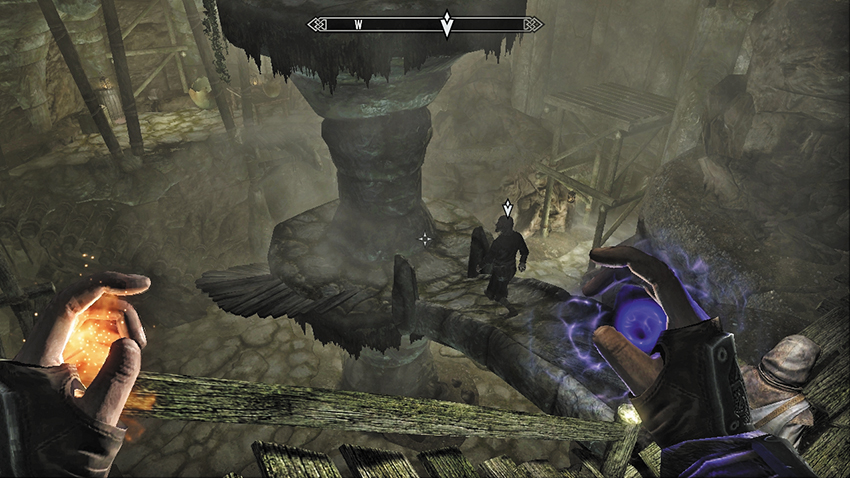
Tolfdir descends the rickety steps into the entrance chamber, explaining that Saarthal was one of the earliest Nord settlements in Skyrim, and the largest. It was sacked during the infamous Night of Tears, but little else is known about what happened to the settlement. After some further instruction, ask Tolfdir what he needs, and he asks you to help Arniel Gane catalog some finds and locate enchanted items.
Follow the path of lanterns along the passages and into a multifloored chamber with wooden scaffolding. Drop from the bridge, and find Arniel Gane in a side corridor. He instructs you to look around the chambers to his north and to be careful.
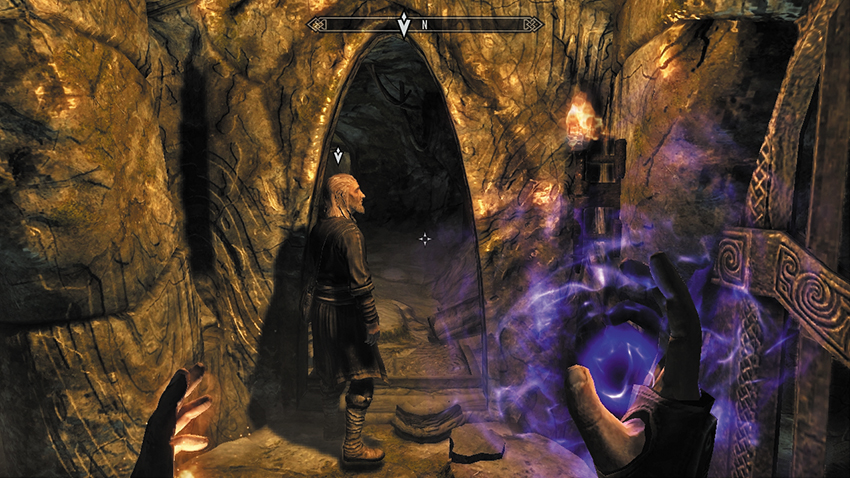
The intersecting passages north of Arniel Gane aren’t dangerous, but the enchanted items dotted around here may be difficult to spot. Make slow, deliberate sweeps of each area until you find the items in question. Once you have the first three easy-to-spot items, head to this strange, torch-lit carved arch with the Saarthal Amulet on it. Grab it, and you immediately hear strange, scraping sounds. You triggered a spear trap. Tolfdir appears to see if you’re all right. Explain what happened, and he suggests using it in some way.
- Enchanted Ring (3)
- Saarthal Amulet
Select the Saarthal Amulet from your inventory and wear it. Tolfdir remarks that the wall from which you took the amulet may be susceptible to your magic. Launch a Firebolt (or other target-based spell) at the carved wall section, and it shatters back into an unexplored passage. The spear trap recedes. Instead of rushing through, wait for Tolfdir to approach, and follow him into the rocky tunnel. As Tolfdir plods ahead, he wonders why this place was sealed off. You both step into a small mausoleum chamber, where Tolfdir tells you to be on your guard.
The Saarthal Discovery
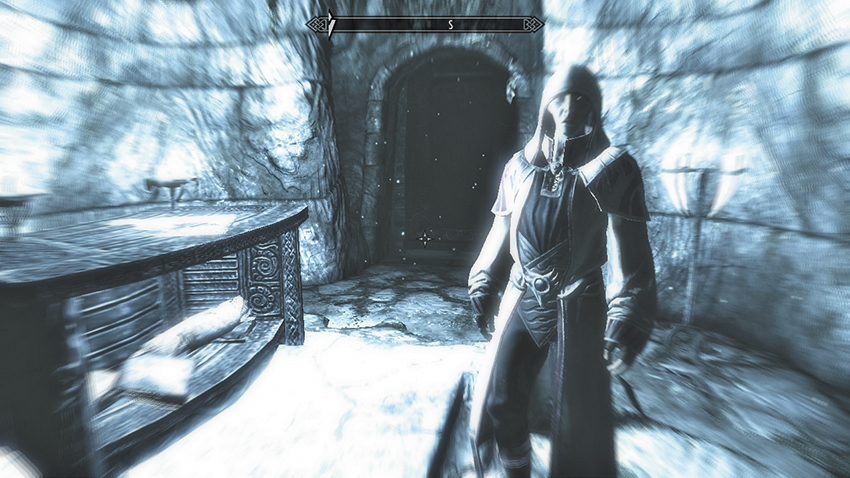
A moment later, an apparition named Nerien appears in a startling vision. He is unknown to you, and you appear to be the only one who is communicating with him. He mutters a warning that the events you’ve set in motion cannot be undone. But judgment on you will be based on your forthcoming actions and how you deal with the dangers ahead. The Psijic Order believes in you. You alone have the ability to prevent disaster. Take great care, and know that the Order is watching....
Immediately inform Tolfdir about your vision, and the message. Tolfdir thinks this is all very odd, as the Psijics have no connection to these ruins, and no one has seen their order in a long time. He suspects the coffins embedded around this room are connected to deeper chambers. His excavation techniques are quickly abandoned as a Draugr breaks through from the other side. After dispatching the Draugr, follow Tolfdir into another newly discovered passage beyond.
Pull the lever at the bottom of the passage to open the portcullis. This leads into a grand, circular chamber with a bridge crossing a chasm. Fortunately, grating prevents you from plummeting to your death. Around the chamber are coffin alcoves. The Draugr start to stir. Back Tolfdir up as you bring your magic (or other attacks) to bear on the advancing undead. Once you down the Draugr, Tolfdir begins inspecting the chamber in greater detail and wishes to remain here. You’re tasked with finding out what terrible dangers the Psijic Order mentioned in your vision. On your own...
Awakening the Scourge of Skyrim
Head north, removing the spear bars and portcullis from the iron door by activating a lever on both sides of the door. Step into Saarthal itself, and work your way through a grand burial crypt. You awaken the Draugr, so expect them to step out of their wall coffins as you progress. Head up the wooden steps, inspect the raised sarcophagus near the iron door, and pass through into a sloping stone burial tunnel. Watch for traps of a flame and dart-based nature. Then enter the crypt corridor of carvings.
At this corridor’s far end is a barred archway with a lever on a pedestal. Activate the lever, and you’re struck by darts. Along the sides of the corridor are a total of six pillars, each with a trio of animal petroglyphs carved into them.
Puzzle solution: The trick here is to notice a smaller carving above each pillar. Make sure that the pillar below matches this smaller carving. Along the north wall from left to right, adjust the pillars so the following animal forms are facing out: Whale, Snake, and Hawk. Along the south wall from left to right: Hawk, Hawk, and Whale.
Inside the two-level ceremony room beyond, you encounter a power Draugr close to the wooden side steps. Battle it, then take the upper door exit past the treasure chest. Avoid the runic traps and reach a second puzzle passage. Expect a dart trap if you pull the lever before correctly positioning the four carved pillars.
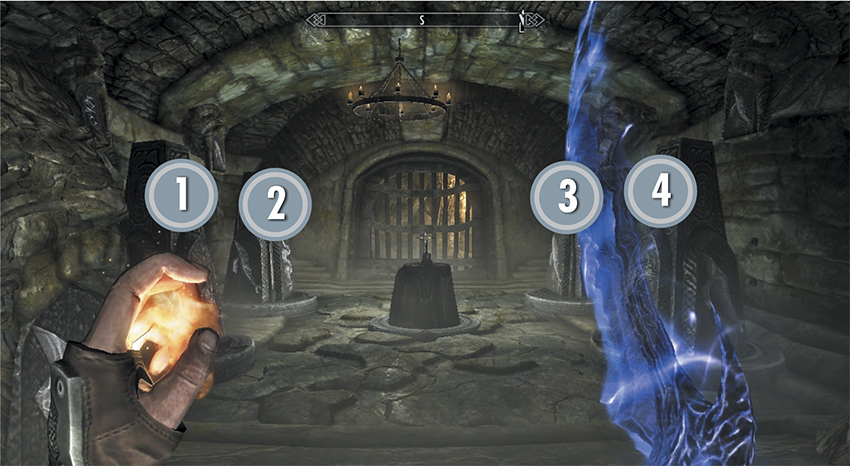
Puzzle solution: The four correct positions are displayed in the large carved mouths on each side of the passage and behind each movable pillar. On the west wall from left right: Hawk and Whale. On the east wall from left to right: Snake and Whale. Each pillar makes several other pillars move too. This causes no end of adjustment problems if you don’t know how many pillars move during each activation (look at the nearby picture, which has each pillar numbered):
- Pillar 1 (Whale): Activate it to move all four pillars.
- Pillar 2 (Snake): Activate it to move pillars 2, 3, and 4.
- Pillar 3 (Hawk): Activate it to move pillars 3 and 4.
- Pillar 4 (Whale): Activate it and only it moves.
The solution is deceptively simple: Turn the pillar that rotates the most number of pillars first, and continue activating pillars that rotate consecutively fewer pillars until the puzzle is solved. That way you affect fewer pillars as you go. Face the portcullis archway (to the south):
- Activate pillar 1 to show the Whale.
- Activate pillar 2 to show the Snake.
- Activate pillar 3 to show the Hawk.
- Activate pillar 4 to show the Whale.
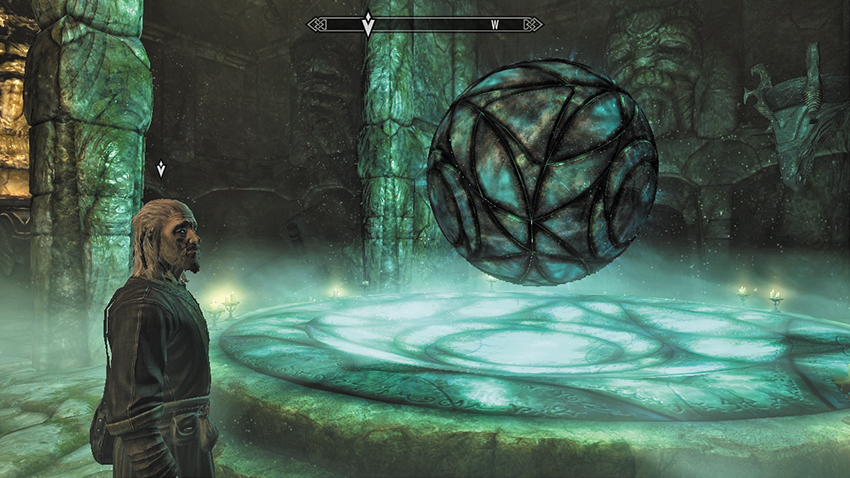
Watch for more runic and dart traps as Tolfdir catches up with you. He finds all of this fascinating. You can ask him further questions about the Psijic Order and then continue exploring. Open the iron door and enter the chamber of Jyrik Gauldurson. Tolfdir is transfixed by a massive ten-foot glowing orb, floating in a bubble of writhing magic, at the room’s opposite end. It is pulsing and made of some strange, unknown material. Tolfdir averts his gaze when a ferocious-looking Draugr rises from his eternal throne chair; you’re about to face Jyrik Gauldurson. This most evil of Nords was sealed down here to prevent his reanimation. Not anymore!
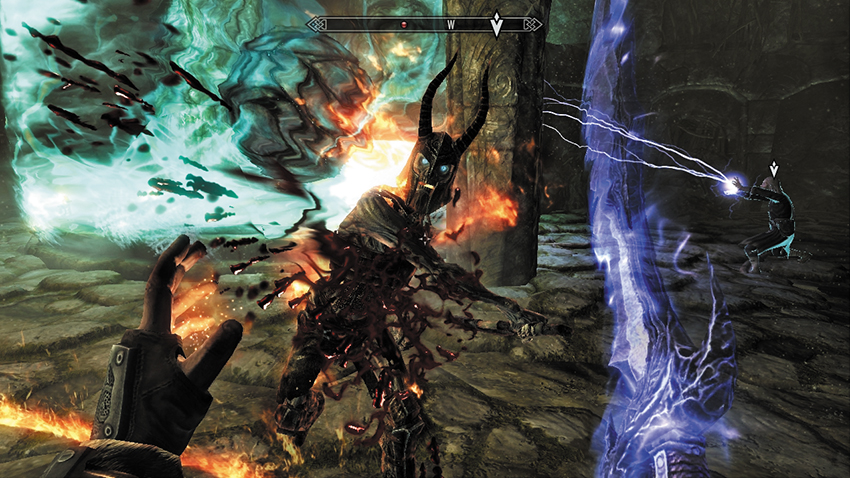
Jyrik Gauldurson is coursing with evil magic, and for the first ten seconds of the battle, he is utterly impervious to any attacks. Use this time to step behind cover, or let any summoned creatures or Followers bear the brunt of his attacks. Eventually, Tolfdir realizes that all your combined offensive capabilities aren’t having an effect, so he turns to the Eye and focuses his attacks on the crackling globe. A few seconds later, he yells that Jyrik is vulnerable. Attack!
To further complicate matters, Jyrik is bathed in an elemental shield that cycles through the different elements; he is impervious to attacks from the same element. So, if he’s bathed in fire, then any Flame-based spells have no effect on him. Use attacks from any other element instead. If you have only one type of elemental magic (i.e., only Fire), wait a few seconds until Jyric’s shielding changes elements and then strike!
Quest Conclusion
With Jyrik Gauldurson gurgling his last curse, turn your attention to the giant orb. Tolfdir agrees that the Arch-Mage at the College of Winterhold should be informed immediately. Use the iron door behind the orb to exit the chamber, which leads to a fern-filled grotto and an ancient Word Wall. Absorb the power before you return to the excavation site, releasing the portcullis exit with a wall handle, and leave Saarthal.
- Gauldur Amulet Fragment
- Word of Power: Ice Storm
- Writ of Sealing
- Staff of Jyrik Gauldurson
Return to the College and seek out Savos Aren, either in the Hall of Countenance or Hall of the Elements. You may ask him about the Psijic Order, but you’re here to speak to him about the Saarthal discovery. Savos Aren is taken aback by your findings and believes more research is needed while he journeys to Saarthal to inspect the orb. You are rewarded for your efforts.
- Staff of Magelight
Postquest Activities
The College of Winterhold Quests: Hitting the Books begins immediately. You can now speak to each of Tolfdir’s three students and Arniel, and engage in some more Radiant Quests from this point on.