
Elder Scrolls V: Skyrim Special Edition Guide Dawnguard Quests Dawnguard Main Quest
Dawnguard Main Quest: Touching The Sky
Touching the Sky
Auriel’s Odyssey
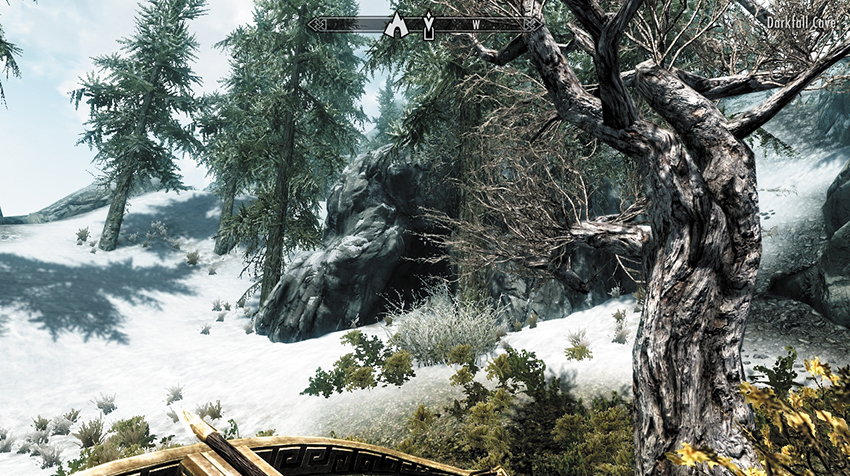
After defeating (or fleeing from) the “unwelcoming committee” that confronts you as you leave Ancestor’s Glade, head outside, then look to your world map. Your next destination, Darkfall Cave, is located south of Mor Khazgur and north of Druadach Redoubt, in the northern part of the Reach. The cave entrance protrudes from the snow level, above some sloping and uneven ground dotted with trees.
Once inside the cave, follow the narrow tunnel around the waterfall, past a Frostbite Spider and web-spun alcove, before heading west across a rickety wooden bridge. The trail goes cold here, until you look down. The way forward lies in the fast-flowing water below.
Face south and drop into the underground torrent, riding it into a plunge pool and over a waterfall to a pair of rushing streams. A few Frostbite Spiders follow you into this dark and dank environment. Deal with them now, as there’s a Giant Frostbite Spider in an alcove to the east (it guards a skeleton draped over a chest), a little farther along the cavern. Continue north, following the tunnel as it narrows. Follow the trail of torches up to a campfire. A dead Breton lies here next to a chest. He carries a note detailing his inability to deal peaceably with trolls.
- Darkfall Cave Note
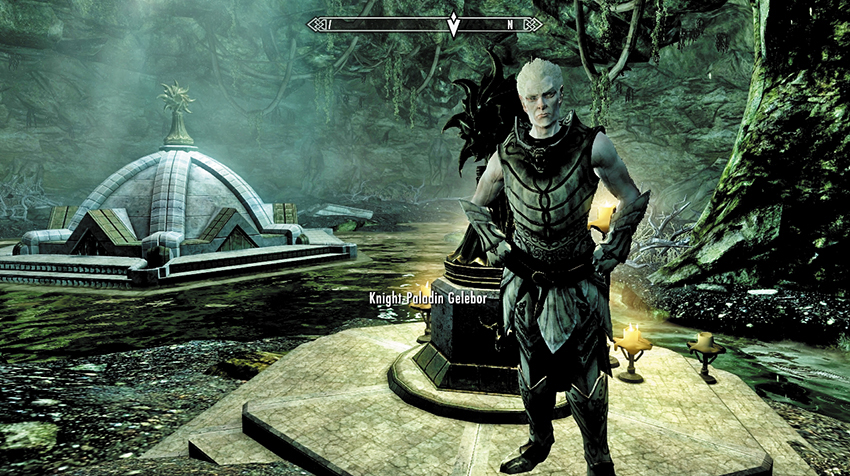
There’s a tunnel that slopes up to the west (which returns you to Skyrim’s surface), but you should head down, to the east. Avoid the trip wire (unless you enjoy being bruised by falling rocks), and follow the tunnel as it bends around to the north and opens into a larger, waterlogged cavern. Amid the gloom, stare north to some bloody remains, a torch, and a chest guarded by two trolls. Ignore or defeat them (a little too late for the Breton whose corpse you just rifled through), and splash through the rest of the cavern heading west. It is here you spot a very pale elf, standing in worship to an effigy of the sun. Gelebor beckons you forward; you have nothing to fear here.
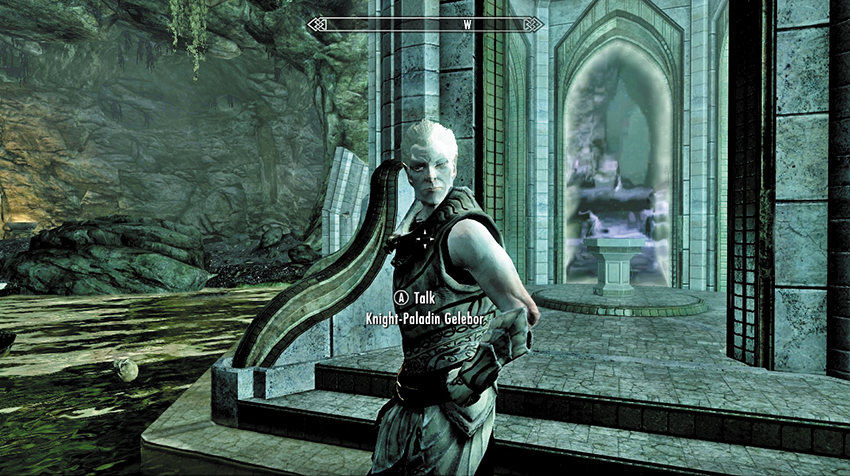
Knight-Paladin Gelebor welcomes you to the Great Chantry of Auri-El, otherwise known as Alkosh, Akatosh, or Auriel; there are many names for the foremost of the gods. Gelebor is among the last of his race, a Snow Elf not “turned” or betrayed like the rest of the Falmer you have faced. Gelebor knows why you’re here, but before he grants you clues to the Bow’s location, he requires your assistance: You must kill Arch-Curate Vyrthur, his brother.
Gelebor believes the Betrayed (Falmer) have done something to Vyrthur, and previous Falmer incursions have resulted in much loss of life: The Falmer stormed the Inner Sanctum of the Chantry and (Gelebor believes) corrupted his brother. Gelebor cannot go to his brother’s aid, as he has vowed never to leave the Wayshrines unguarded. With that, Gelebor conjures a ball of light and casts it at the carved sun in the center of the pool. A large, elven-made shrine rumbles out of the ground. Impressive. Gelebor explains that this Wayshrine was used for meditation and transport long ago, when the Chantry was a place of enlightenment.
Serana asks about the basin, which was used by initiates once their mantras were spoken. They dipped a ceremonial ewer into the basin at each Wayshrine before proceeding to the next. Upon reaching the sanctum, the initiates could present their ewer, filled with the water of all the Wayshrines, allowing them to enter the temple and gain an audience with the Arch-Curate himself. Serana isn’t too interested in this symbolism. However, you’ll have to be, as this is the only method of accessing the Sanctum to reach Vyrthur! There are five Wayshrines to find, and each requires you to use the ewer to retrieve and mix the sacred waters. You’re handed the ewer, and Gelebor wishes you well.
- Initiate’s Ewer
Before you depart, you can speak to Gelebor at length about the spectral Prelates who guard each Wayshrine, find out more about the Chantry, and learn more about the Snow Elves. Then step into the first Wayshrine (which you don’t need to extract water from) and into the Portal to Darkfall Passage.
Seeking Passage and Light
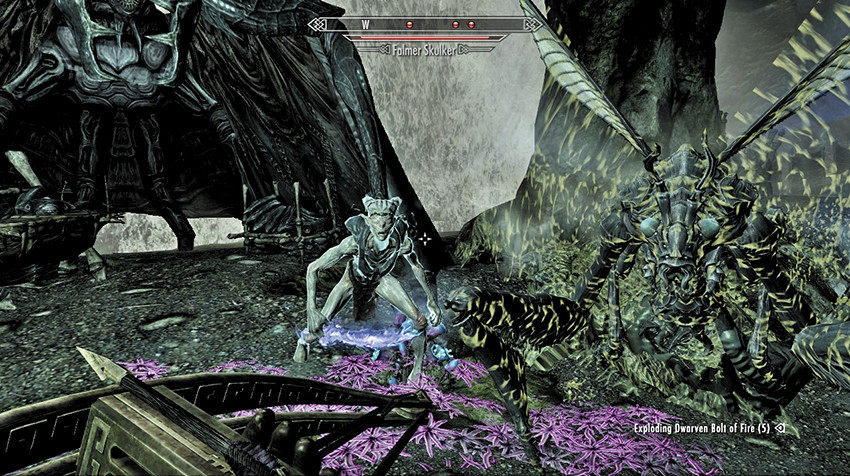
Stepping into Darkfall Passage, head down the narrow tunnel. The odd, luminous fungus plants recede as you approach, plunging you into gloom. These plants retract when you approach or strike them, reducing the light level in their immediate vicinity. Depending on your combat style, you may wish to keep your Vampire’s Sight or a light spell active to improve visibility, or take advantage of the darkness by sneaking past the enemies that lie ahead. The Falmer, being blind, are unaffected by the light, but you may find it slightly easier to sneak by the Chaurus in darkness.
Keep your wits about you as a Chaurus Hunter bursts from its ground cocoon. Strike down two Falmer as you reach a small grotto where you must defeat another of the Betrayed, along with a couple of their Chaurus pets. Head down the tunnel to the west, turning north and avoiding the trip wire or you’ll receive a Falmer claw trap to the face.
The tunnel turns to the southwest, opening up to a Falmer camp. Make short work of the four or five Falmer foes here, along with another Hunter as you close in on a subterranean waterfall. Then maneuver around to the waterfall’s opposite side, edging along the ledge and heading north to a second Falmer camp. After you clear this immediate area of another couple of foes, inspect the chest below the Falmer bridge. Harvest the Gleamblossom if you wish, but remove the chest’s trap trigger [Apprentice] or face a skewering from a trap.
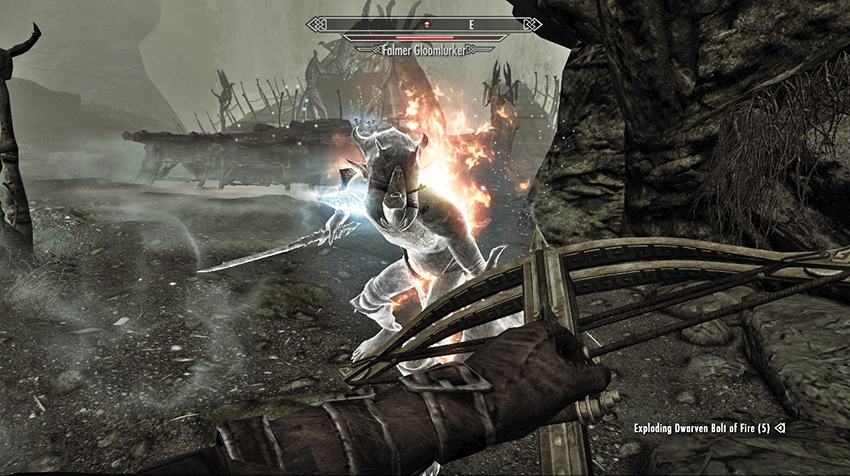
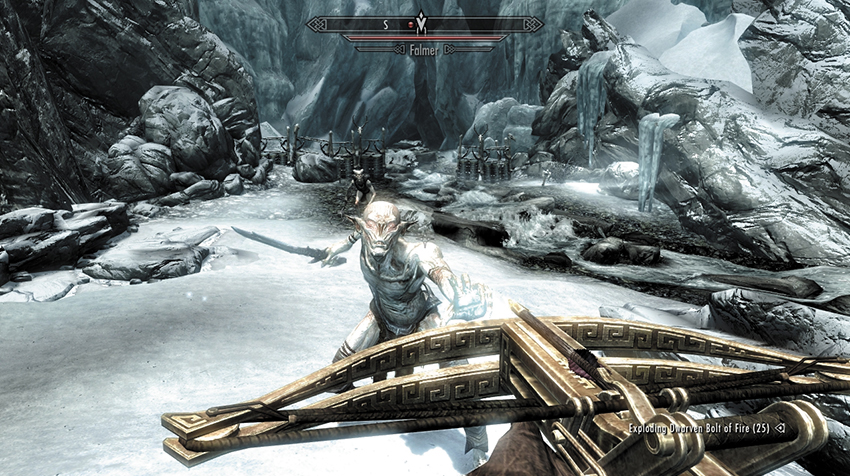
Cross the bridge to the makeshift altar of skeletal remains, repelling four more Falmer foes as you head west, avoiding the bones that alert foes ahead. Pass the large glowing crystals, moving south and then east up a tunnel to another Falmer camp. This area has a Chaurus pen (attack the two beasts from range for easy takedowns) and a toughened Falmer to face. Then drop two more Falmer who enter via both of the two waterfall bridges behind the hut. With the coast clear, head through the water (or drop to a lower ledge, which is flagged in the Atlas). To the southeast is a dead-end chamber with a trip wire and claw trap and Chaurus Hunters to fight. You don’t have to go this way; continue past the skeletal remains and down the windy tunnel.
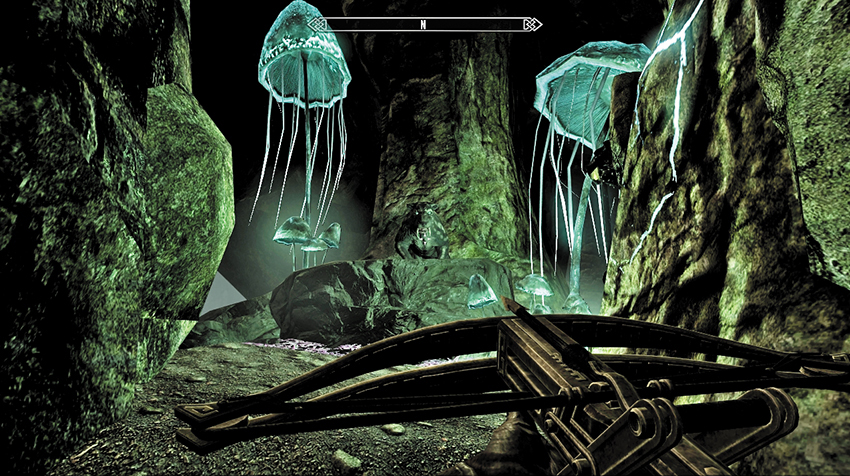
Finally, you reach two rope releases, and some traps set into the ceiling. Serana comments that whatever is on the other side of this, the Falmer wanted to keep it there. Activate the left rope release, and a rock wall to the right (north) rumbles open. Ahead is a strange, catlike predator. Either react and kill it immediately, or pull the other rope release and hope to skewer it with the multitude of traps (a claw, spears, and darts) it lets loose. You’ve brought down a Vale Sabre Cat. Now to find out what it was guarding....
Wayshrine of Illumination: Into the Gloomy Grotto
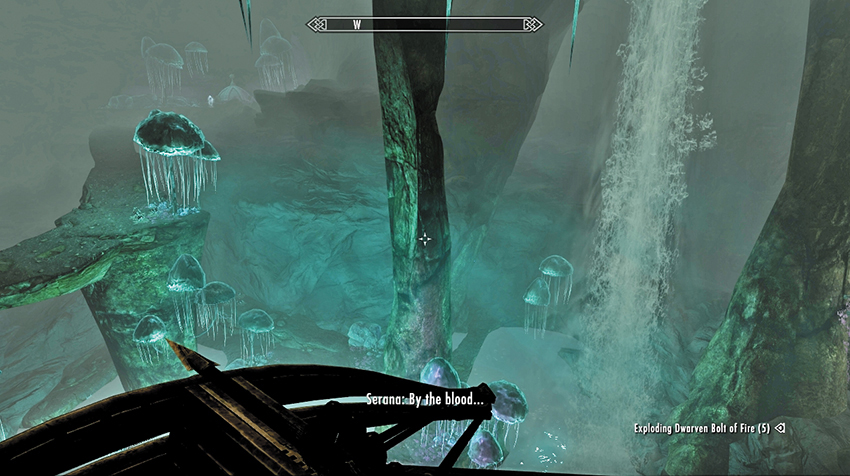
Step through into the giant Darkfall Grotto. Serana is suitably impressed. Stop at the initial vista point and look to the west. On the grotto’s other side is a Wayshrine! To reach it, you can dive off into the water below, risking a death plummet, and then scramble onto dry land. Or, you can take a more sedate (and safer) route to the right (northeast), heading down the sloping path, past some glowing plants and crystals, and startling some Vale Deer (which are skittish but not hostile). Follow the narrow path across the grotto water and up to a shallow cave bathed in purple light, where you must face another Vale Sabre Cat. Wind your way north, to the grotto’s opposite side, where your quest finally updates:
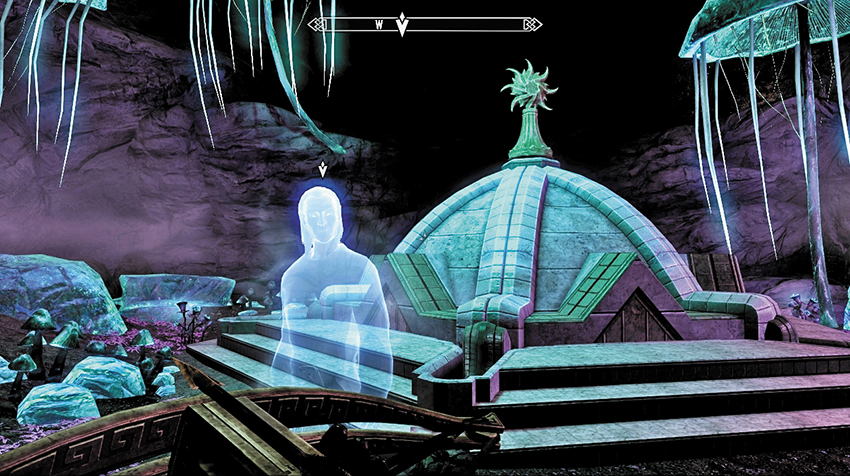
You are greeted at the Wayshrine by spectral Prelate Sidanyis. He welcomes you to the Wayshrine of Illumination. Answer that yes, you are prepared to honor the mantras of Auri-El and fill your vessel with his enlightenment. He raises the Wayshrine. Step inside and draw water at the basin (this is very important!). Then step through the Portal to Forgotten Vale.
- Objective Complete: Fill the Initiate’s Ewer (1/5)
Wayshrine of Sight: A Whole Other World
- Regional Activity: Ancient Falmer Tomes*
- Regional Activity: Paragon of the Frost Giants*
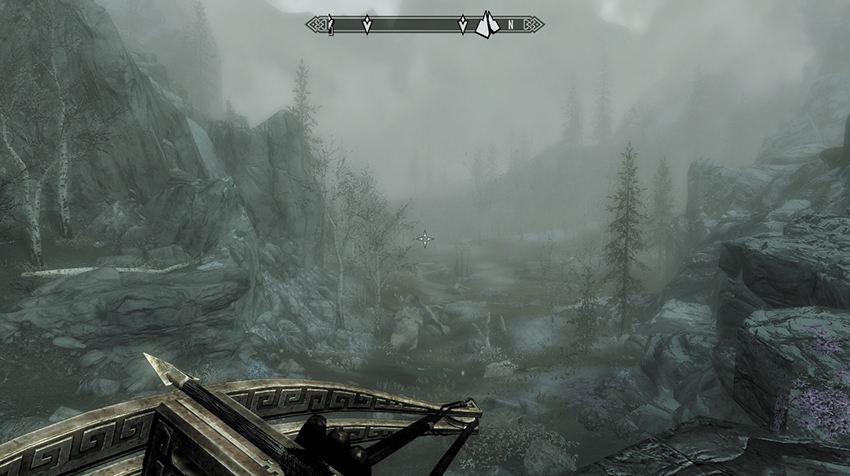
You’re now in completely unfamiliar territory, somewhere beyond Skyrim’s western borders and seemingly in the middle of a giant, rocky pit. Pass the luminous rocks and plants as you wind through the tunnel. You end up at the top of the pit and out into Forgotten Vale itself. The initial valley is usually shrouded in faint mist, with Vale Deer (and the odd Vale Sabre Cat) to do with as you wish. If you want to explore a bit, a Frost Troll lives in a small den up the snowy foothill to your left (southwest). But mainly stay on the valley floor, heading northwest through the old archway ruin and up the rough steps before turning right (northeast). Serana spots a second Wayshrine.
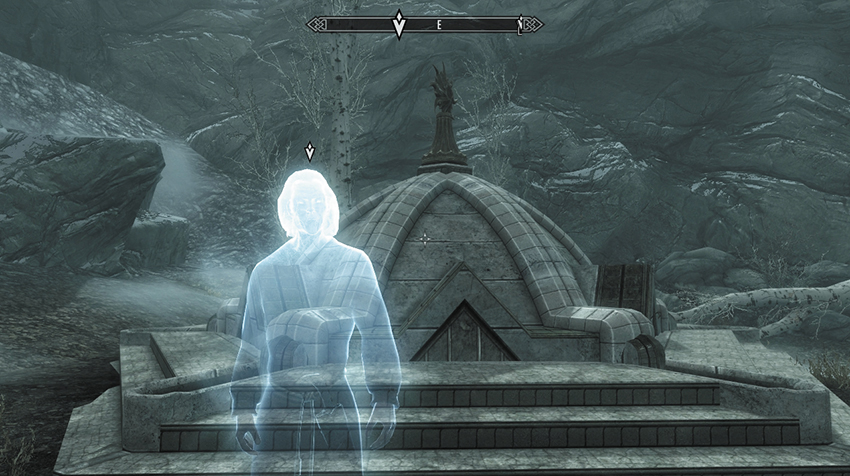
You are greeted by Prelate Athring, who welcomes you to the Wayshrine of Sight. Answer that you are ready to fill your vessel and the prelate opens the Wayshrine. Dip your ewer into the water basin before heading back down the hill. Don’t return to Darkfall Cave; instead, press on, exploring farther into the Forgotten Vale.
- Objective Complete: Fill the Initiate’s Ewer (2/5)
Wayshrine of Learning: A Vale Revealed
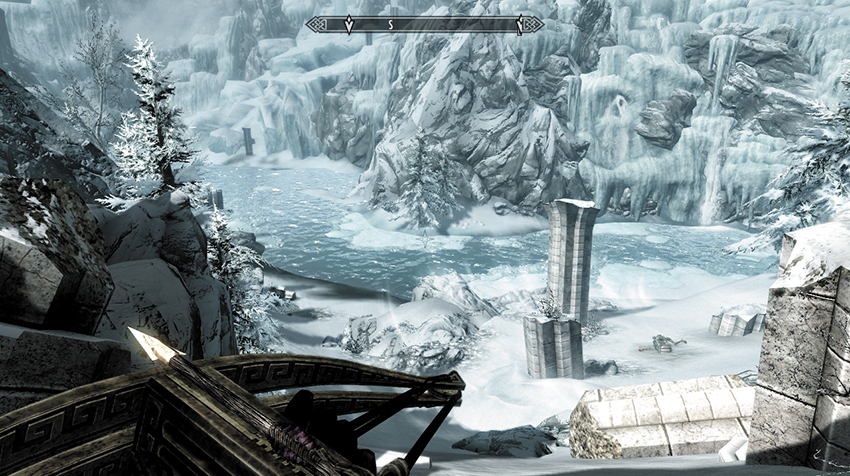
Head down the hill to the southwest, through another archway and up a hill encased in snow. A group of Frostbite Spiders (and a bigger one behind them) stand between you and the opening to the rest of Forgotten Vale—a massive and sprawling ice-encrusted land dotted with the remains of Snow Elf architecture. It is easy to get lost in this huge valley, with a massive frozen lake to the southwest and many more surprises to come.
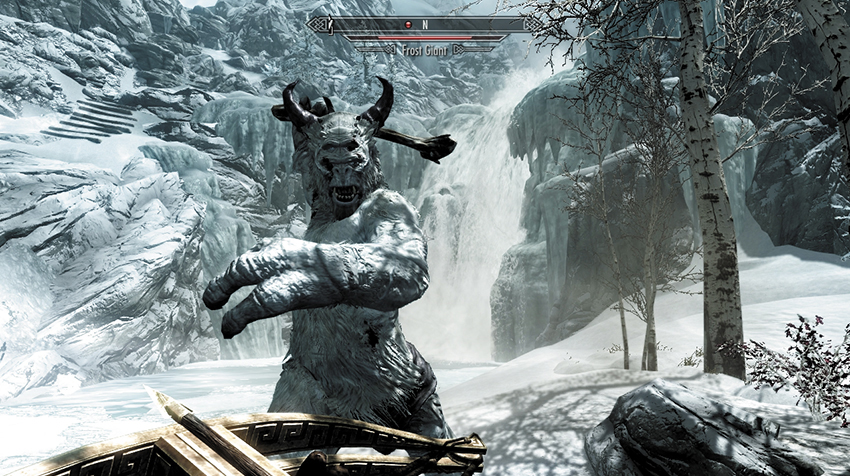
Head south down the slope toward the water’s edge. Along the way you’ll spot a skeletal corpse sprawled over a chest ([FV2.A] Snow Lake Entrance: The Sprawled Skeleton). Close to the chest is a strange book; this is one of four unknown books you can gather while you’re here, as part of the Regional Activity: Ancient Falmer Tomes.* You can optionally turn right (northwest), working your way to the lake’s northwest end. Here, you’ll face the first of five Frost Giants (as part of Regional Activity: Paragon of the Frost Giants*) close to a waterfall. Claim the Amethyst Paragon from its corpse. There’s a snowy path northwest of here, but you’re missing some crucial locations if you take it.
- Unknown Book, Vol. I
- Amethyst Paragon
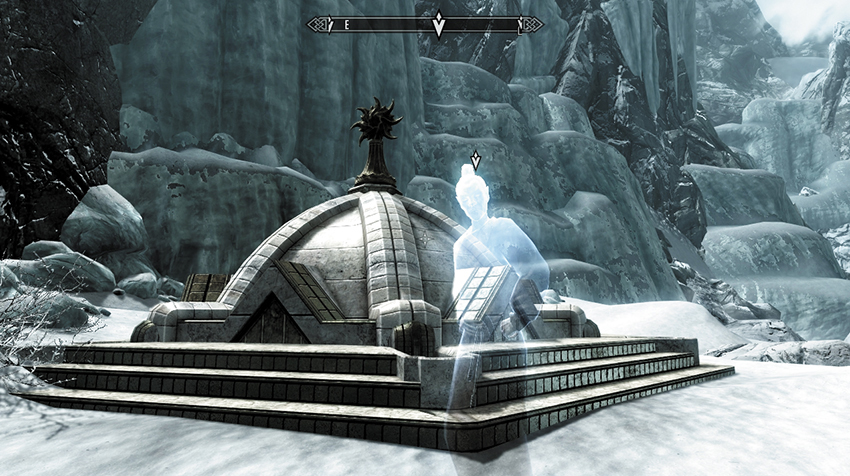
For now, head to the lake’s edge and look to the left (south). Search for the pointed archway ruin ahead of you, along the lake’s left side, and head toward it. Just before you pass through it, there’s a Wayshrine on a snowy bank to your left. This one is guarded by the ghostly form of Prelate Celegriath. He welcomes you to the Wayshrine of Learning. Agree to fill the vessel, step into the Wayshrine once it is revealed, and draw from the basin.
- Objective Complete: Fill the Initiate’s Ewer (3/5)
Wayshrine of Resolution: Awake at the Lake
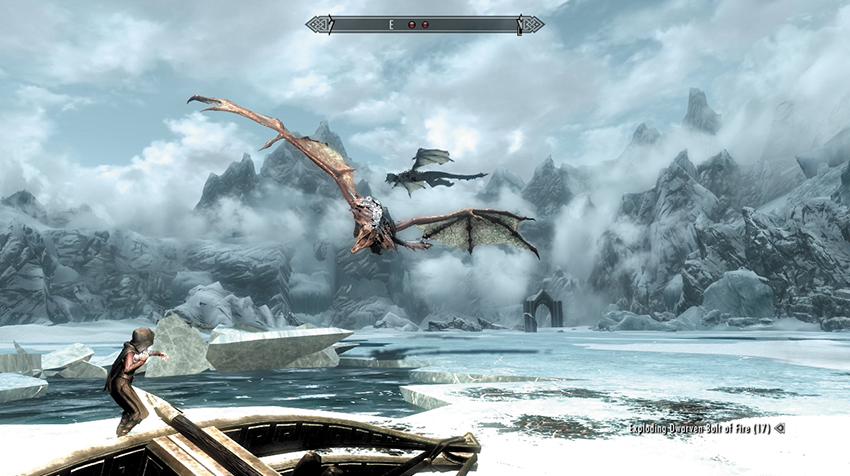
From the last Wayshrine, look to the southwest, toward a snaking snow path up through the frozen rocks. This is your next destination, although you can investigate a waterfall to the southeast, which empties the water from the lake down into a subterranean area with Falmer to face and a final watery plummet back down to Darkfall Grotto and the Wayshrine of Illumination. If you fall down the waterfall, use the Wayshrine portal to return to the third Wayshrine, instead of traipsing all the way back.
Now climb the snaking snow path to the giant frozen lake on a huge plateau overlooking the water below. Gaze above to Auriel’s Chapel Temple Balcony, visible high on the cliffs to the south. But not before the guardians of the lake make their appearance! The following combat is optional (as you don’t need to investigate the frozen lake) and occurs only if you’ve completed Main Quest: Dragon Rising.
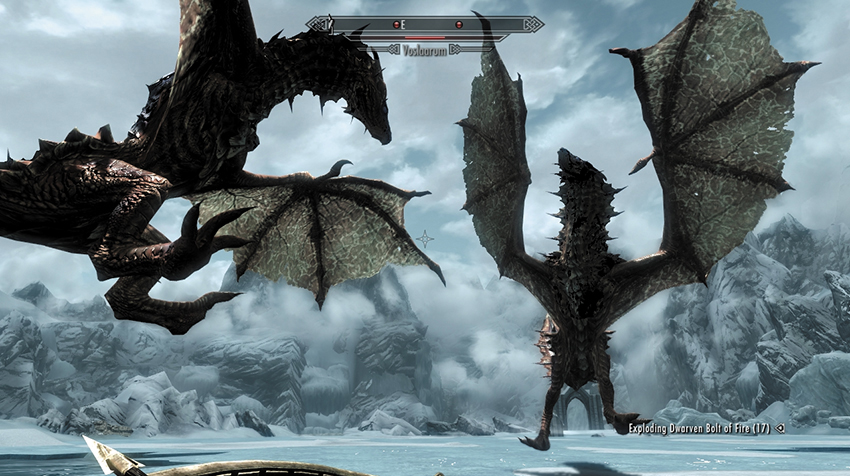
A wary Serana notices a rumble below the ice, and moments later, two dragons—Naaslaarum and Voslaarum—burst up through the lake and begin to dive-bomb the ice, and your position! This combat is tricky, as you are fighting two dragons simultaneously, in an area where you have no cover but they often do (as they dive through the ice). After you slay both dragons, investigate the rock formation on the eastern edge of the frozen lake, close to the waterfalls. A Word of Power is seared into the stone.
- Dragon Soul (2)
- Word of Power: Drain Vitality
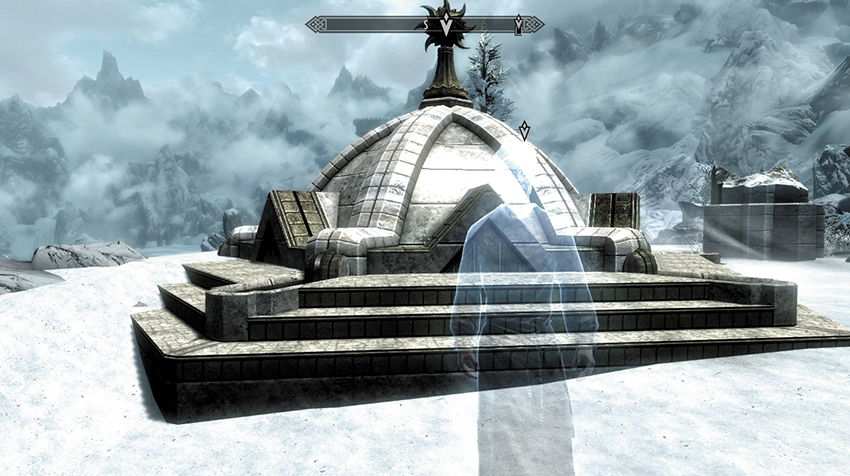
Head north and northwest to the opposite end of the frozen lake, looking for an arch and steps to climb. North along the path, past the skeletal remains and other ruined debris, is your next Wayshrine. Greet Prelate Nirilor in the usual manner, requesting he raise the Wayshrine of Resolution. Then fill your ewer for the fourth time.
- Objective Complete: Fill the Initiate’s Ewer (4/5)
Wayshrine of Radiance: An Epic Trek
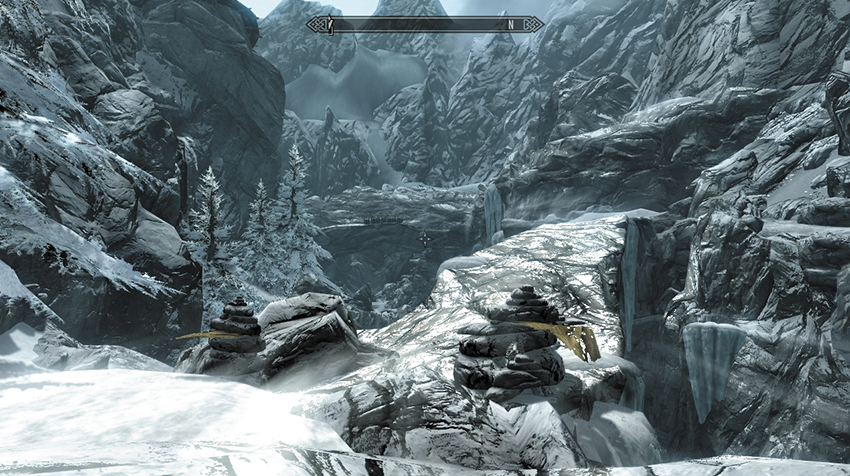
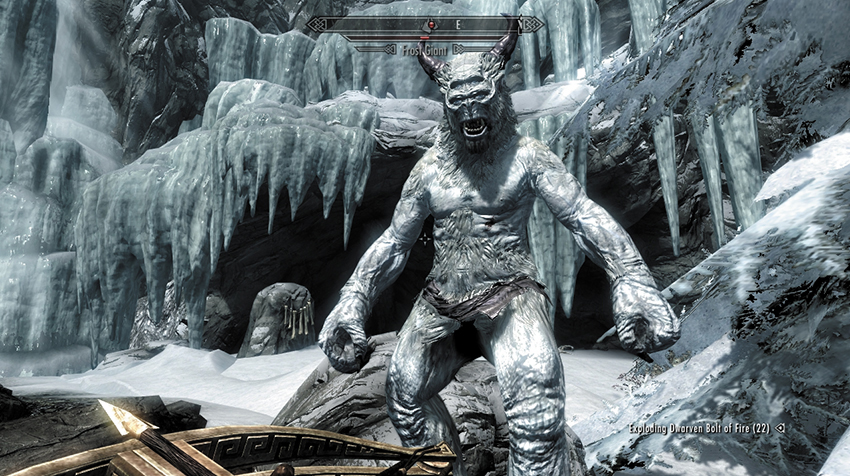
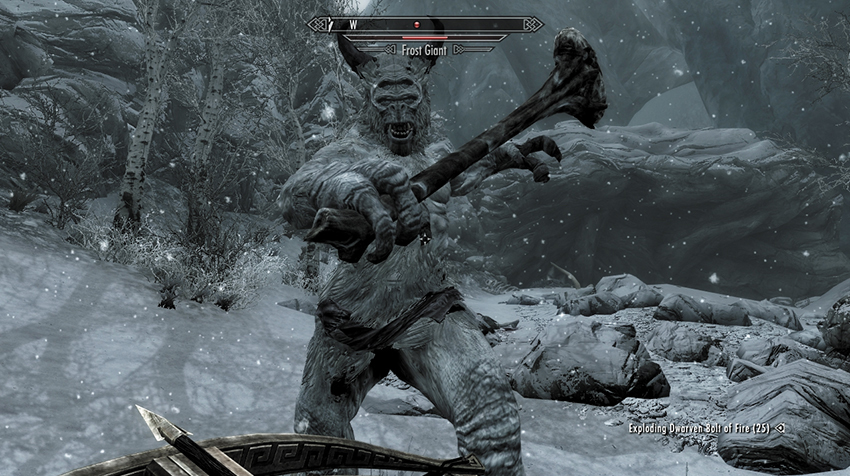
The final Wayshrine requires a considerable trek, so take a moment to survey the scenery. Head north, toward a natural bridge, and cross it (picture 1). At the other side of the bridge, you can optionally turn right (southeast), head along the previously unexplored path, and turn left (east) to follow a narrow path over the ridgeline. Move through the rocky outcrops to an area above the waterfall where you slew your first Frost Giant, where the snowy path links up. There is a second waterfall here, along with a shallow cave and a second Frost Giant to slay (picture 2). Remove the Sapphire Paragon from the corpse. Both Paragons can be used on the Snow Elf Paragon Portal on the river’s northwestern side, across from the shallow cave. Where you end up is revealed in Regional Activity: Paragon of the Frost Giants.
- Sapphire Paragon
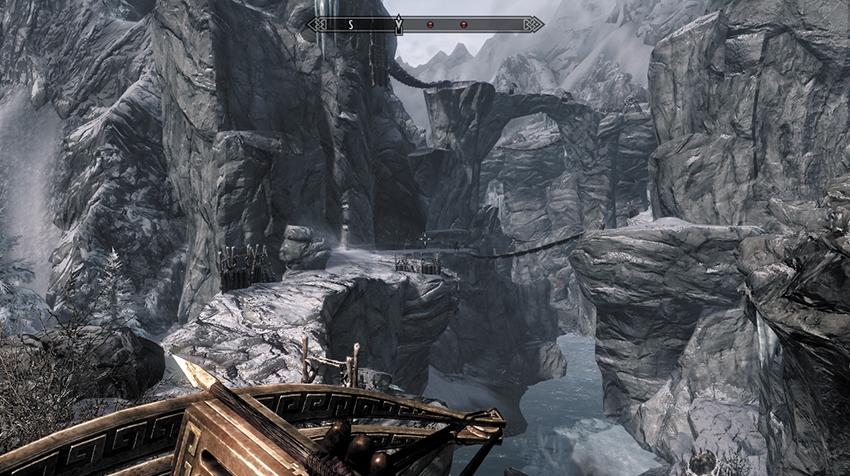
Backtrack to the natural bridge and head west, down the rocky ledge to a Falmer hut. Although you can continue to slog your way upstream (and locate Falmer firing down on you from above, Chaurus Hunters hatching on the banks of the rocky river, and the entrance to Sharpslope Cave), it is safer and easier to turn northeast, open the Falmer gate, and follow a zigzagging path to a second hut, killing Falmer as you see them. Then swing around to face the southwest (as shown). A series of treacherous cliffs and rickety bridges await!
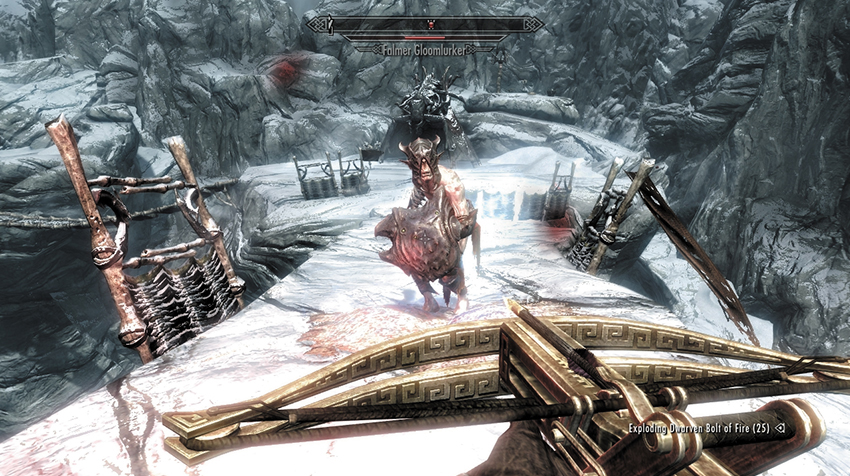
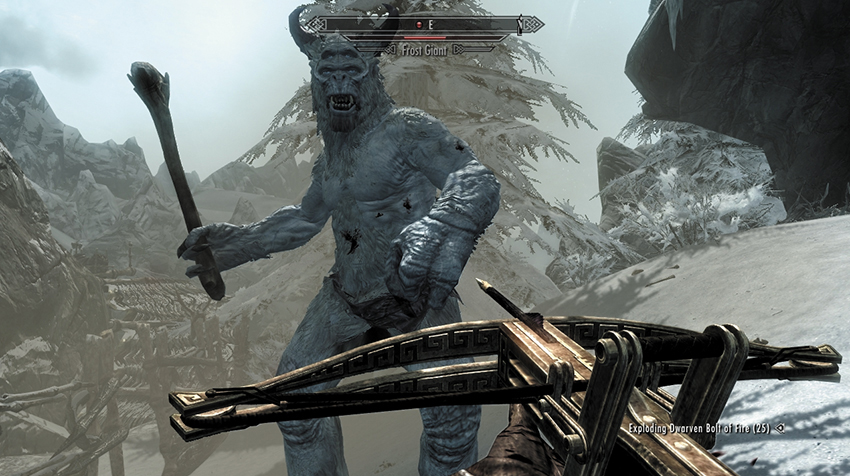
Expect Falmer bowmen along the rock ledges, bridges, and crags as you progress southwest. You cross a rickety bridge and a rocky bridge heading west. At the flapping banner (marking the upper entrance to Sharpslope Cave), turn and look southeast. The Falmer have been busy creating bridges and huts throughout this gigantic fissure. Clamber slowly down to a bridge with a hut at the far end (picture 1). Then climb the steep, rocky path to the northeast. There are chests and long-range takedown options along the way. At the top is a circular path to the right (south) leading counterclockwise past a shallow cave with a third Frost Giant to face (picture 2). This foe carries the Emerald Paragon.
- Emerald Paragon
Continue counterclockwise, past the precariously placed chest. Head roughly west across a rickety bridge, then to a rock bridge to a Falmer hut. Cut down the Falmer that emerges before crossing another bridge to the south. There are two more huts (check the bridges to come and the general area for foes as you progress) and more Falmer bridges downhill heading east, past another hut. Then switch back to the west, to a dead-end ledge with another hut (which has Unknown Book, Vol. III inside). Now descend south, to the river’s edge. To the east is a snowy hill you can climb to find Moonstone Ore Veins and a great view of the Frozen Lake. But your main path is upstream, south past a trio of Falmer, toward a thin gap in a giant glacier hanging over the river. Enter the Glacial Crevice.
- Unknown Book, Vol. III
Glacial Crevice: An Icy Pilgrimage
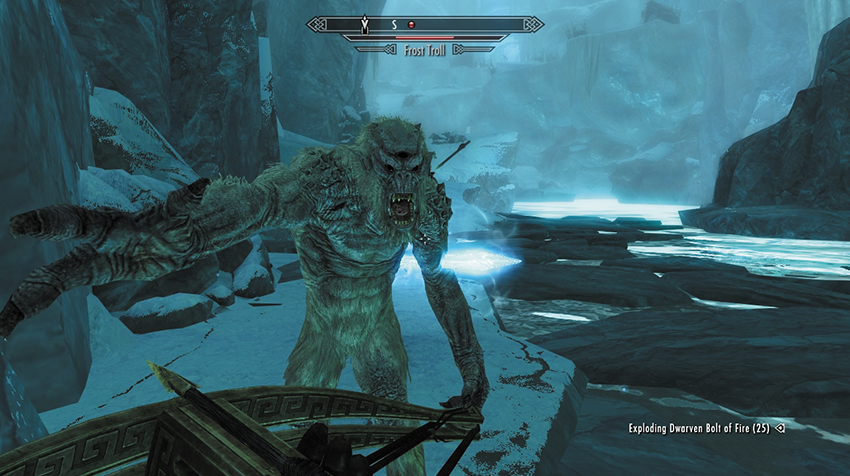
Wade south through the waist-deep icy water until the tunnel opens up to a massive interior chamber. Up ahead, a Frost Troll is stomping around, and two Falmer appear on the snowy bank on the left side. Wait for them to fight it out, then finish up the remains. Continue up the snowy bank to the remains of the bridge. Cross it to the icy ledges and work your way along the path, past two huts with Falmer to deal with, and into a tunnel with a gate at the far end. This brings you out at an incredibly tall ice fissure with water at the bottom. Step over or deactivate the trip wire so you aren’t clawed. Then head west along the fissure ledge.
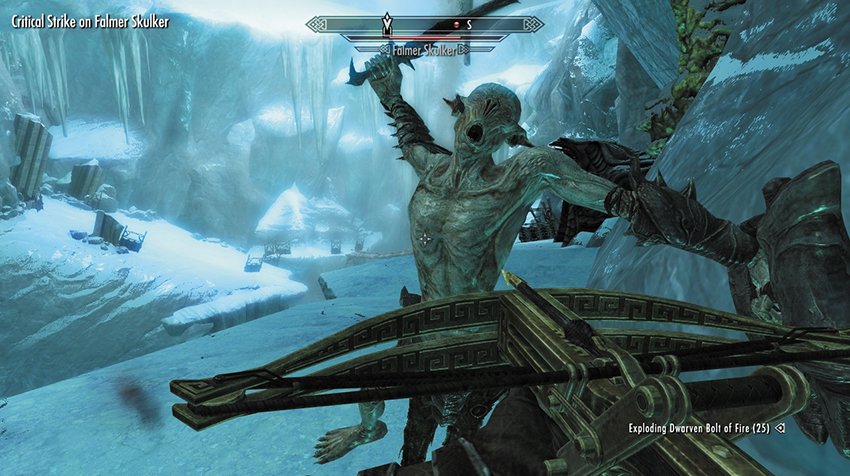
Remove the Giant Frostbite Spider blocking the ledge in front of you. Then scan the Falmer hut and bridge at the fissure’s far end, tackling the two foes patrolling. Cross to the opposite side, optionally heading back to a dead end and another foe. Push open the gate in the fissure’s northern wall, entering a narrow L-shaped tunnel with a trip wire in the middle (watch that claw!). Head into the next section of the crevice, killing two more Falmer. You can then descend to more huts for more combat or head east through another gate.
This leads to a hut and a path curving around to the east and out to another large crevice area with a huge drop to your left. You have excellent visibility for long-range strikes. There are also two huts to inspect, a bridge to fight your way across at the far end, and one more tunnel section to the east, which finally brings you out into Forgotten Vale again.
Return to Forgotten Vale
Face your fourth Frost Giant on steep, rocky ground. Welcome to the Falmer fissure, a set of narrow crags where the Falmer have constructed numerous bridge pathways. But first, inspect the path leading north, past a strand of bones and up through a gate to a steep ravine with a Frost Giant tending to his bone collection at the top. Slay him, and any Falmer in your way, and claim the Diamond Paragon from the corpse.
- Diamond Paragon
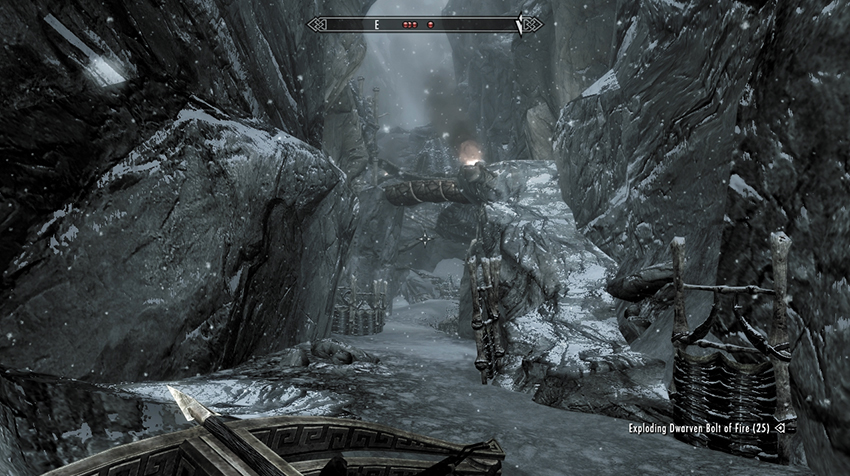
Return to the fissure and inspect the first two huts for items. Then drop down to ground level and gaze east; there are a couple of trip wires (and claw traps), as well as Falmer that attack from their upper walkways. Slowly fight your way along this narrow pass, killing Falmer as you go and checking huts for items and using them as cover. There’s Quicksilver Ore to mine at the far end under the huts, but the exit is up above.
Take the walkway southeast to the second part of the fissure, with four huts to ransack and a group of Chaurus Hunters to remove from their nests below. Check the hut on the upper walkway at this area’s far eastern end; there’s an Unknown Book to claim here. Then drop down and find the gate into a sloping tunnel to the south. Climb the sloping tunnel, passing a hut and a Quicksilver Ore Vein, and trigger the trip wire so the subsequent rockfall passes harmlessly by. There are more Hunters to face, and more Ore Veins, as you reach the tunnel summit.
- Unknown Book, Vol. IV
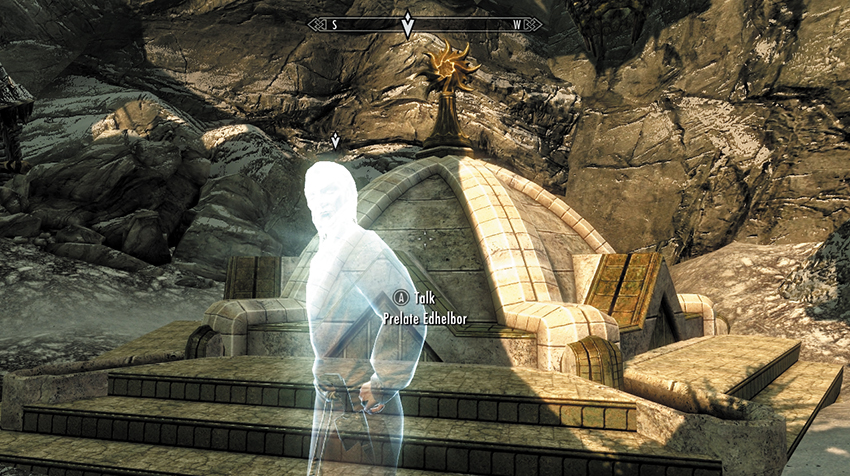
The last Wayshrine lies under some Falmer walkways and huts. It is tended by Prelate Edhelbor. Agree to his request, and he opens the Wayshrine of Radiance for you. Dip the ewer into the last basin: You now have the offering needed to unlock the door to the Inner Sanctum. Then inspect the Falmer huts above the Wayshrine; the top one has potions to grab.
Purging the Inner Sanctum
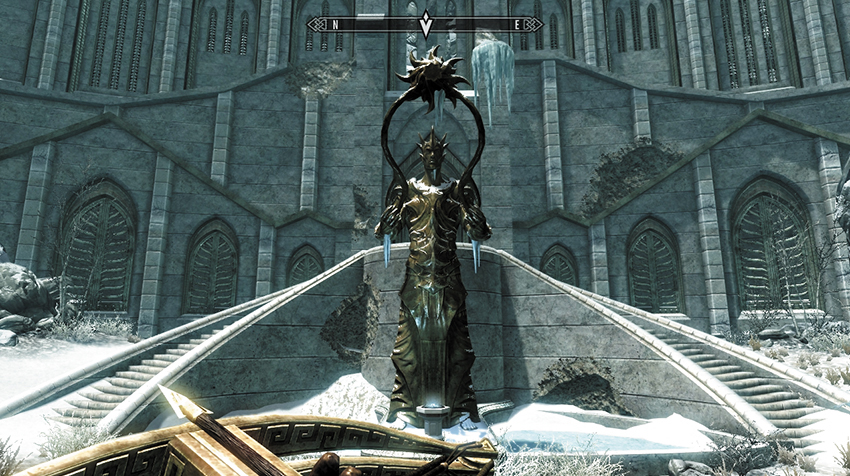
It is but a short walk to the magnificent Inner Sanctum of the Snow Elves. Cross the bridge, which is still mostly intact, and enter an ornate courtyard. While in decay, the place still holds a sense of grandeur, in part due to the statue of Auriel that dominates the temple grounds. Climb the curved steps behind the statue, and empty the ewer into the water basin. The ceremonial water runs down three channels, to Auriel’s crest, and a faintly green light shines forth, unlocking the Sanctum’s entrance.
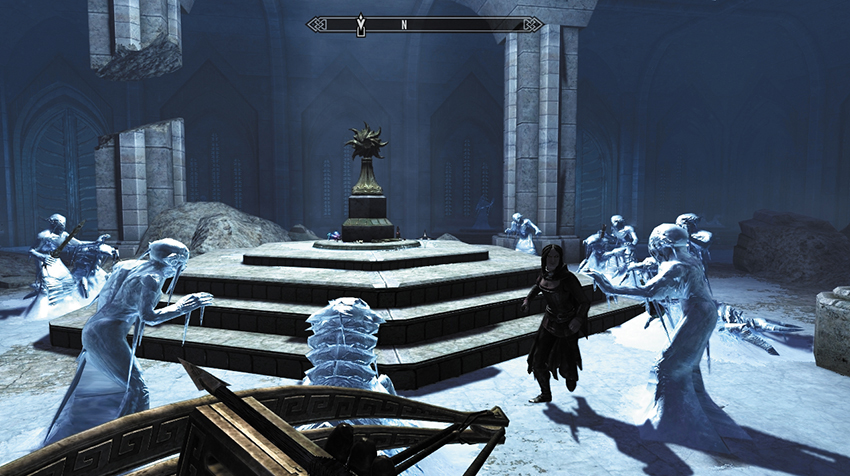
You’re greeted by a multitude of Falmer. But fortunately, these hapless Betrayed have been frozen in ice and pose no immediate threat. Many are clustered around a central shrine to Auriel. There are gifts to Auriel that you can take at the foot of the pedestal, as well as items to pry from the hands of the Falmer. But be warned—your actions may rouse them from their torpor, causing them to attack!
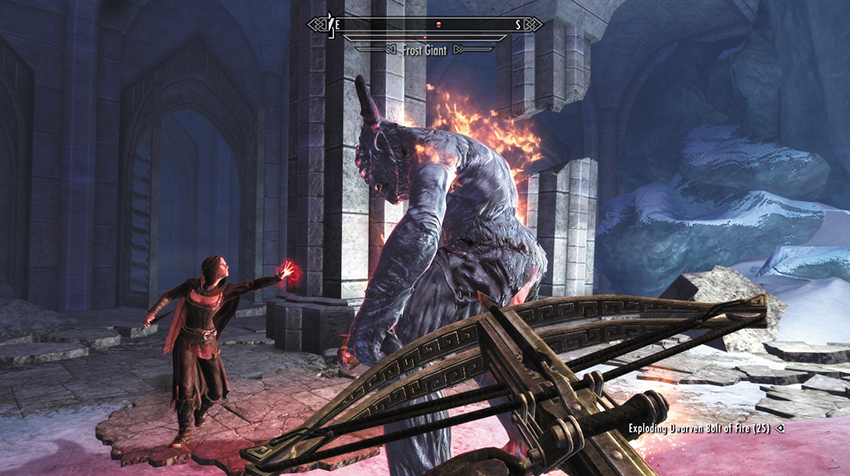
Next, inspect an altar along the western wall of the temple entrance. Activate the altar, and you place your ewer onto it; this opens a secret door directly ahead of you. Step through, then turn around and grab the ewer and step back before the door closes. Now investigate the secret passage you’ve found; it leads to an ice cave where the fifth and final Frost Giant dwells. Claim the Ruby Paragon from his corpse, then activate a second altar in the northern wall. Place the ewer on the altar to access a second, smaller hidden chamber with a chest, a variety of potions, and Elven Arrows. Check the entire area for skeletal remains and other items, before returning to the first secret door. Place the ewer on the side altar (grab it again afterward!), and step back through into the main temple entrance.
- Ruby Paragon
- Elven Arrows (30)
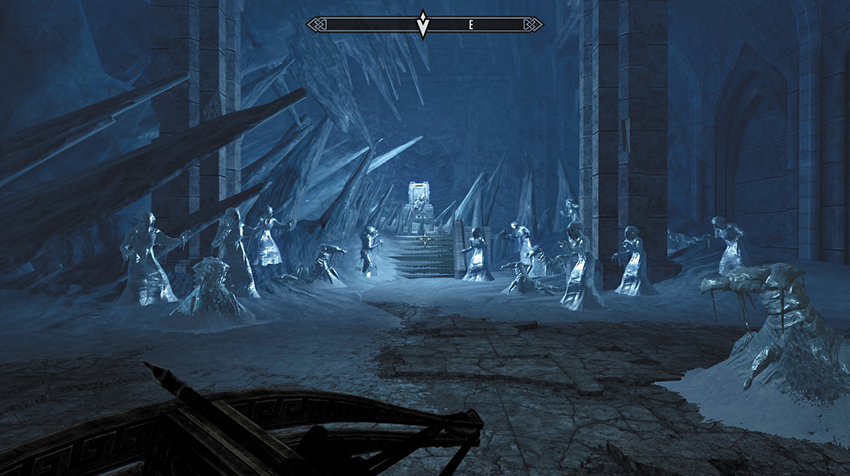
When you’re ready to proceed, open the ceremonial doors in the northern wall and head through, following the large corridor past more frozen Falmer. They each carry items that may interest you, though again, disturbing them may cause them to awaken. Check for a chest along this corridor, too, and continue winding through the corridor to an icy hole in the northwest corner as the corridor’s structural integrity increasingly weakens.
Head into a rocky passage with a side cave to your left (southeast) containing a chest. Then continue down the passage and into Auriel’s Chapel. The icy passage drops into frozen ruins and a very narrow corridor to your left (northeast). Step out into the chapel, where Arch-Curate Vyrthur is waiting on his throne, surrounded by frozen Falmer.
Vyrthur’s Minions: Chapel Battle
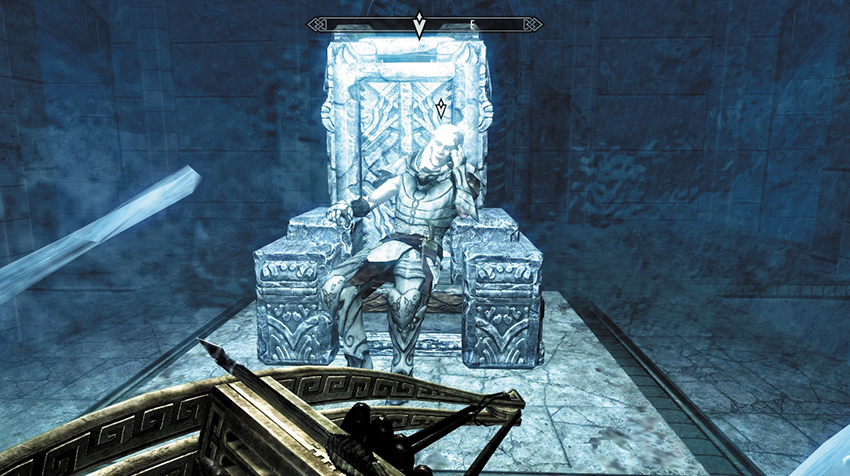
Vyrthur has sealed himself behind large shards of ice and a magical barrier. As you approach, he mockingly refuses to hand the bow over and is actually happy you’ve brought your “fetching companion” to him. What he wants with Serana is something of a mystery, but there’s little time to ponder as he waves his arm and many of the previously frozen Falmer shatter back to life!
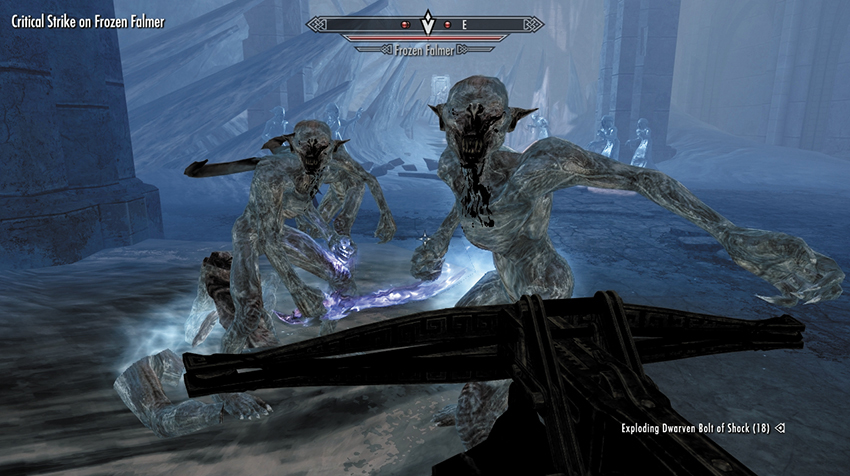
You’re immediately assaulted by around eight Frozen Chauruses. Use the relatively large size of the chapel to your benefit, staying on the move while slaying each Chaurus one at a time. Vyrthur then activates six Frozen Falmers; you must deal with them quickly, using swift movement to dodge their attacks. Once you dispatch these initial waves of foes, Vyrthur calls your combat a wasted effort. The battle intensifies!
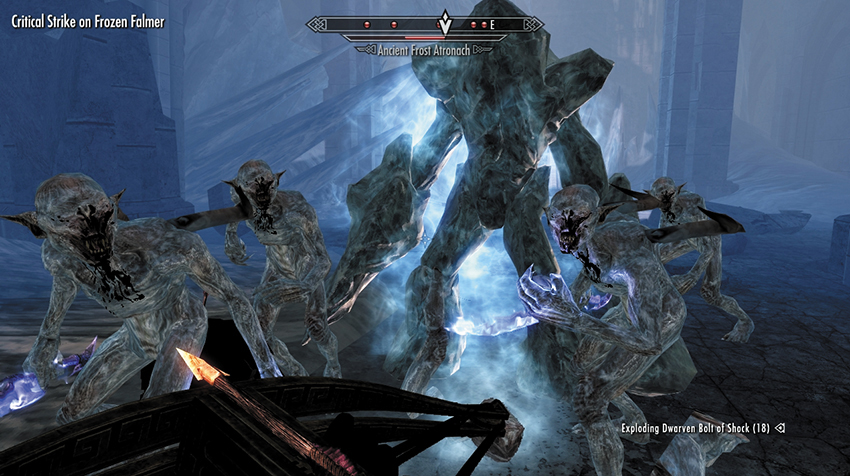
When Vyrthur begins to pull down the ceiling, dodge the falling debris, then repel five more Frozen Falmer (including a Shaman) before more sections of ceiling and support columns come crashing down. Fend off the next wave of Falmer, and Vyrthur conjures an Ancient Frost Atronach, along with around eight remaining Falmer. Combat becomes exceptionally fraught at this point, as you battle to slay all the frozen foes you can. Aside from being swift of foot, you may wish to attempt some of the following tactics to gain the advantage:
When Vyrthur starts pulling down the ceiling and destroying columns, he only does it if you move to a new part of the chapel. So if you can focus the fight in one part of the room, you won’t have to worry about him dropping the ceiling on you.
Alternatively, if you can coax the Falmer (and the Ancient Frost Atronach) and maneuver them around the room correctly, you can actually get Vyrthur to pull the ceiling and columns down on his own minions: Let them take the damage, instead of you.
If you’re having trouble with the Ancient Frost Atronach, employ both strategies. Focus the early stages of the fight in one area of the room; then when he is summoned, begin pulling him under the fallen roof and column masonry that are being destroyed.
The narrow entrance hall can be a death trap (as it’s a dead end), but it does force the enemy to fight you one at a time. It’s worth firing on your foes from here (as you won’t be struck by falling chapel sections) and then backing up if you’re swarmed.
If you have access to Rune Spells (especially the Fire Rune spell), you may wish to lay some at the foot of the throne steps so the Ancient Frost Atronach suffers damage after being summoned. If you’re in the entry corridor, firing from range and casting exploding runes, you can severely weaken your foes before they reach you.
If all else fails, stay close to Serana, then step behind her so she absorbs most of the enemy aggression. She soon stumbles, but this can afford you some time to heal or launch your own attacks.
Let Twilight Fall and Blood Spill: Temple Balcony Battle
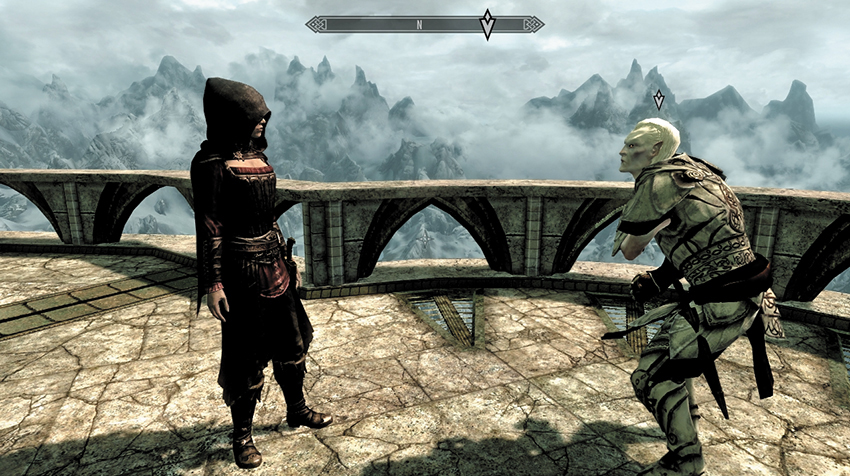
When all of Vyrthur’s minions have fallen, the Snow Elf is most put out and intends to bring the entire chapel down around you all. Before you can react, he does just that. Serana helps you to your feet as you follow her toward a sealed Wayshrine and the Temple Balcony, which overlooks the frozen lake far below. But you’re not here for the vistas: Head up the steps to the balcony edge, and watch as Serana firmly requests the bow.
A wounded Vyrthur spits back that Gelebor’s story (that Vyrthur had been corrupted by the Betrayed) is nothing close to the truth: A look into Vyrthur’s eyes verifies he is actually a vampire! The moment he was infected by one of his own initiates, he tells you both that Auri-El turned away from him. Vyrthur sought revenge on the god, not by facing Auri-El directly but by chipping away at the god’s influence across the world. He needed the blood of a vampire and the god’s own weapon—Auriel’s Bow. And thus the prophecy was born; the Tyranny of the Sun was created by Vyrthur but lacked a vital ingredient: the blood of a pure vampire. The blood of a Daughter of Coldharbour! It seems a final combat is inevitable, as Vyrthur suddenly breaks free of Serana’s grasp.
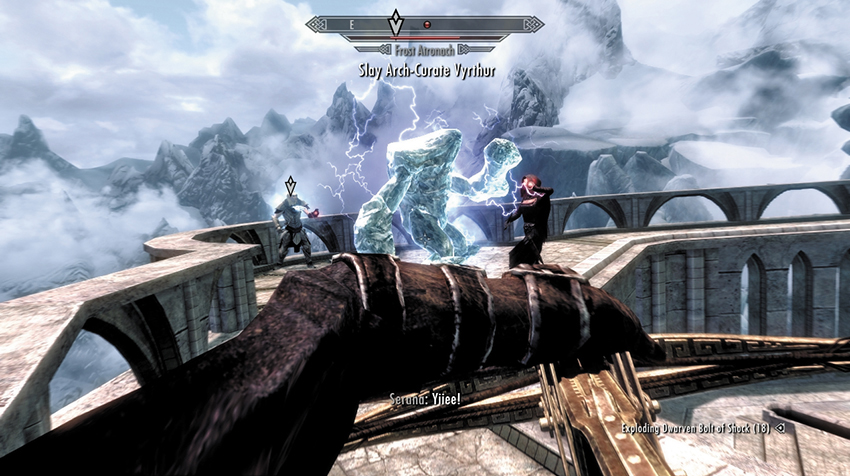
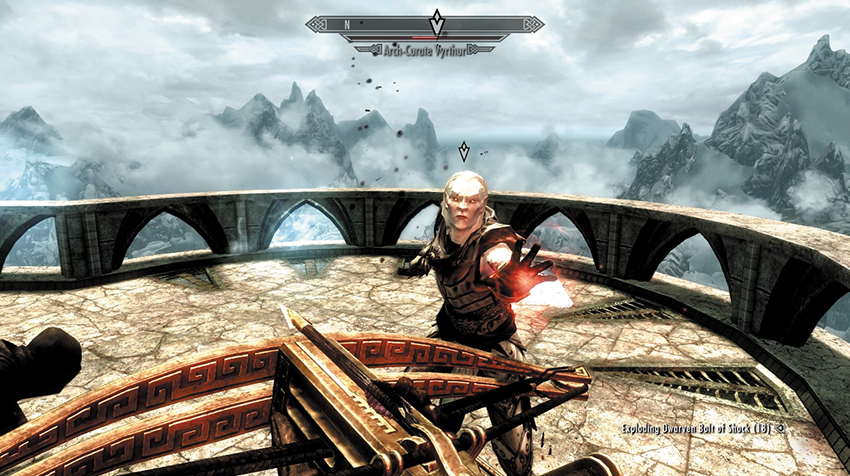
Vyrthur has an extremely nasty shock attack that can floor you in seconds. But the advantage here is that he’s outnumbered: Provided you can dispatch any creatures he conjures, you can work together with Serana to bring him down. Step behind her if you need a moment to heal or recover, and use your own healing spells to keep her on her feet. Ranged weapons are easy to hit with, but watch out for Vyrthur’s dagger assaults if you choose to face him in melee. Eventually the Prelate falls. Inspect his form before heading down the steps to find Gelebor waiting for you.
Quest Conclusion
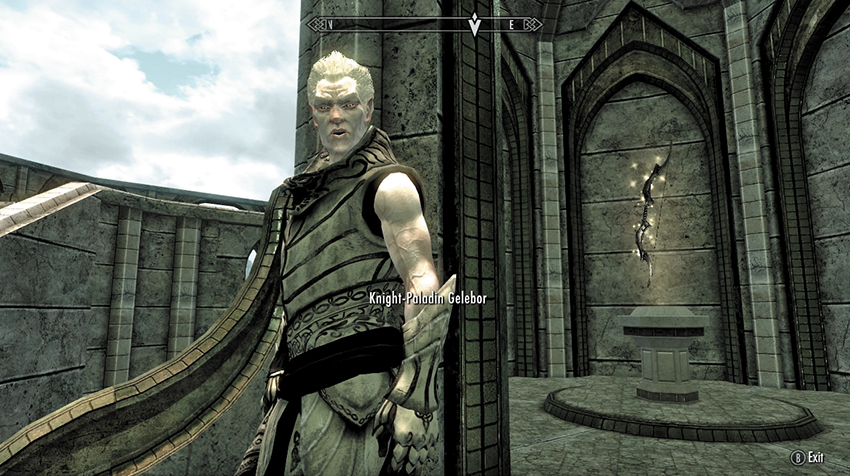
Speak to Gelebor, who has summoned the Wayshrine at the temple balcony. He knows that the restoration of this Wayshrine means Vyrthur must be dead. After you explain the Betrayed weren’t to blame, Gelebor is actually pleased, as he hopes his brethren might shed their hatred and believe in Auri-Ei once again. As for now, you’ve restored the Chantry, you have the right to wield Auriel’s Bow, and Gelebor is happy to help bless any Elven Arrows you have, transforming them to fabled Sunhallowed Arrows!
You can question Gelebor further about what his plans are, but to finish this quest, claim the sparkling bow in the Wayshrine. Have Gelebor create Sunhallowed Arrows (from Elven Arrows in groups of up to 20 at a time). Ask Gelebor about Auriel’s Bow once you have it, and you’re told that vampire’s blood can also affect arrows fired from this bow. Speak to Serana (after starting the next quest), and she (reluctantly) agrees to treat any Elven Arrows you may have with her blood, creating Bloodcursed Elven Arrows (in groups of up to 20 at a time).
- Auriel’s Bow
- Sunhallowed Arrows (20 or more)
- Bloodcursed Arrows (20 or more)
Postquest Activities
Dawnguard Main Quest: Kindred Judgment begins the moment you speak to Serana. You’re also free to complete any remaining Regional Quests before leaving Forgotten Vale (don’t forget to insert all five Paragons into the portal). The fourth Unknown Book (Vol. II) is located in an area only accessible via the Paragon Portal.