
Elder Scrolls V: Skyrim Special Edition Guide Quests Dark Brotherhood Quests
Dark Brotherhood Quests: Hail Sithis!
Hail Sithis!
Death to the Emperor
This quest begins once you complete Dark Brotherhood Quests: Death Incarnate.
Only Nazir and Babette remain, as you come to grips with your Family’s slaughter. Babette will follow Nazir’s lead, so speak with him; he dejectedly believes this is the end for the Dark Brotherhood. But tell him the Night Mother has spoken to you again, and the original contract must be carried out. You’re to speak with Amaund Motierre, and the true Emperor must be assassinated. While you muster a second attempt at regicide, Nazir recommends moving the Dark Brotherhood’s Sanctuary to the one near Dawnstar, where you followed Cicero. You’ll meet Nazir there afterward, ideally with a barrel full of gold.
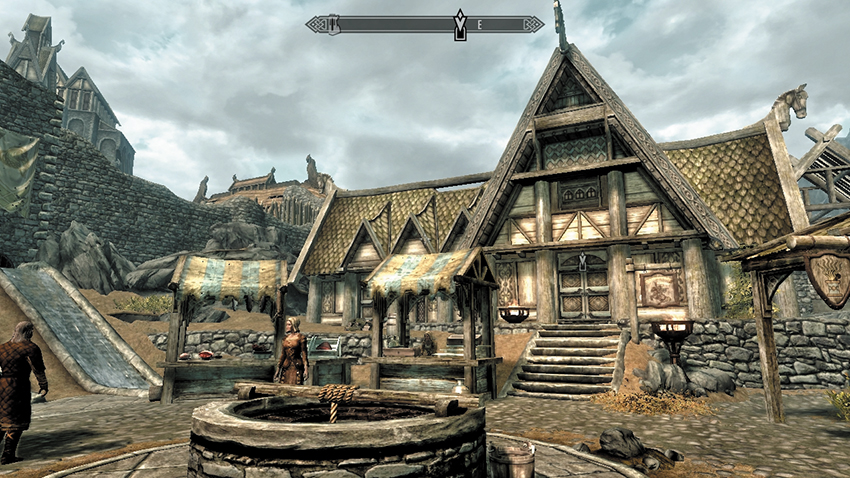
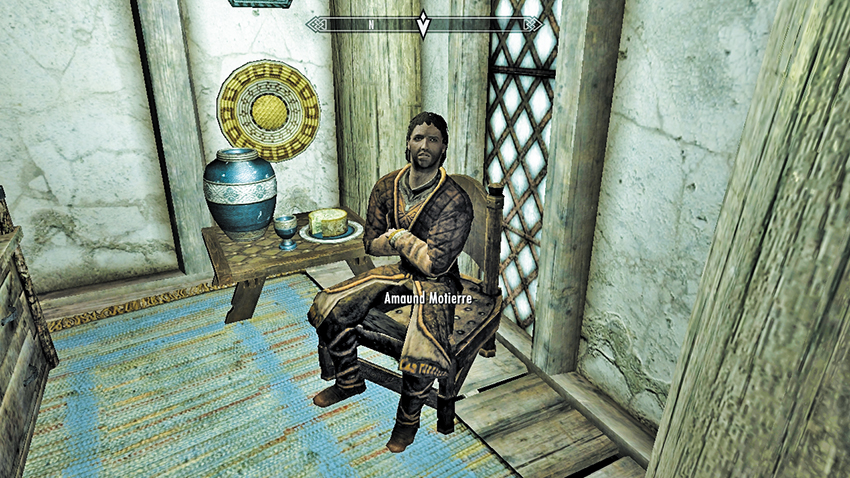
Amaund Motierre has taken up residence in the Bannered Mare, over in Whiterun. Travel there, and open the door to the room at the rear of the tavern. He’s more than a little startled at your arrival, considering the news about the sacking of the Sanctuary. He babbles about having nothing to do with the violence to your Family and still wants the Emperor dead. You are here to honor your contract, so ask him where the Emperor is. Amaund tells you he’s aboard his ship, the Katariah, now moored in the Solitude inlet. Upon your return after a successful assassination, Amaund will reveal the location of the dead drop that holds your payment. Ask him additional questions (about security and getting aboard the ship) if you wish. Demanding to know where Commander Maro is nets you an optional objective.
(Optional) Additional Executions I
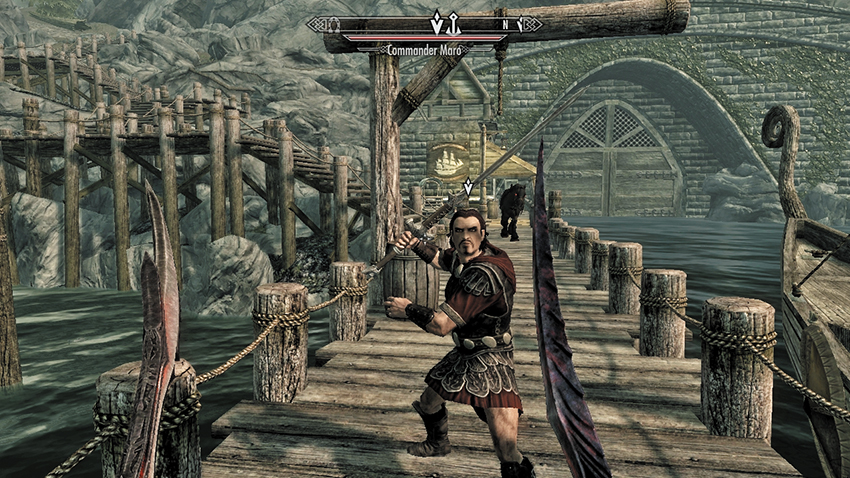
Travel to Solitude’s docks, close to the East Empire Company Warehouse, and search the wharf for the Commander. There’s no time or point in talking; simply approach and kill him with a charge, sneak attack, long-range magic, or bow fire. Expect the nearby Solitude Guards to try and stop you. Fleeing the scene is usually the best option if you’re spotted; the alternatives are to give up and go to jail or raise your bounty in this Hold considerably.
Bringing Down an Empire
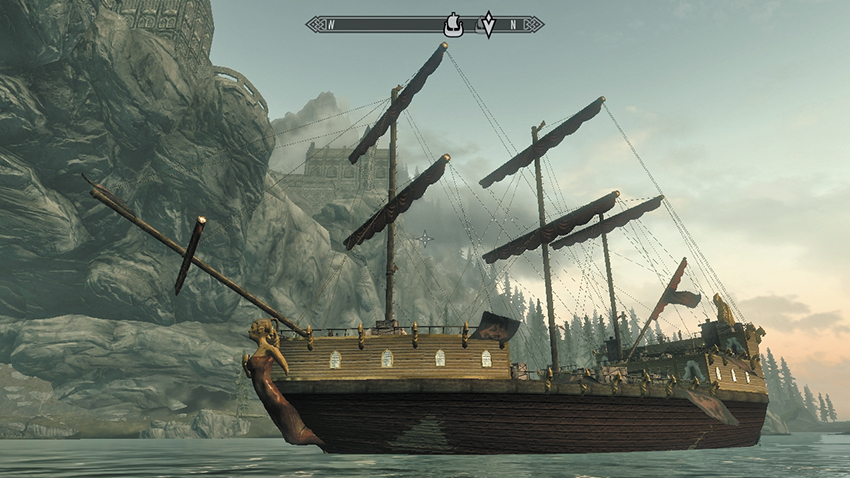
Travel to Solitude’s inlet, under the giant arch that the city rests upon, and locate the impressive galleon moored in the waters here. Swim alongside the vessel, dipping down underwater as you search for the anchor chain. Grab this, and haul yourself aboard the Katariah. You actually load into the cargo hold; don’t climb the chain to the deck.
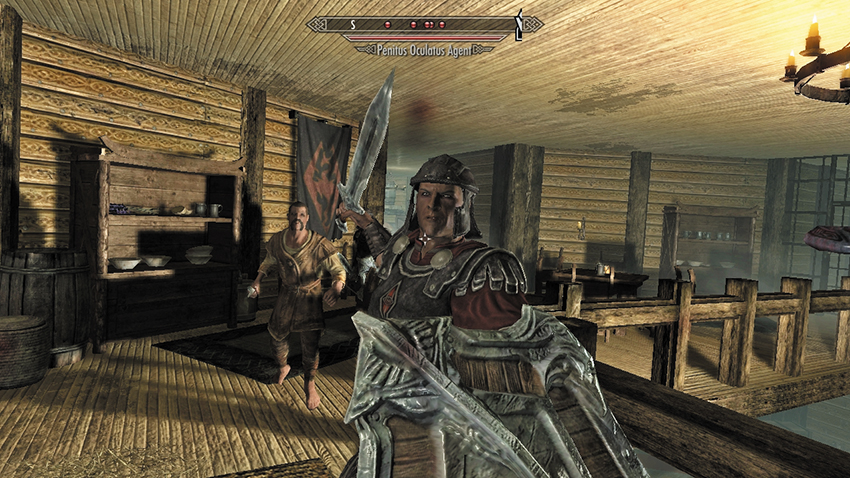
You clamber into the hold of the Katariah, and your quest updates. At this point, your usual infiltration plans commence. You may explore this ship using magical augmentations that make you harder to see or the enemies less alert. You can also sneak (see below) or simply wade through and clobber anyone who gets it your way.
You don’t need to return to this ship, so inspect every chamber for items you may wish to claim. Work your way south along the lower deck, into the large central dining galley. Climb the steps and expect more enemies as you reach the jail area. You’re attacking both sailors and Penitus Oculatus Agents. This floor also has a small armory and dormitories; additional foes and items can be found here.
Your first critical foe to face is Captain Avidius, who is usually in his cabin by the storeroom and ladder. Kill (or pickpocket) them, and secure the Katariah Master Key from his corpse; this makes navigating the locked doors much more straightforward. Otherwise, you’ll need extremely impressive Lockpick abilities.
- Katariah Master Key
The ladder up to the deck isn’t necessary; instead, move north to the gold door that was locked previously (Expert), and open it—either with your Lockpick ability or the Key. Repel the foes in this dormitory area, and sneak past or destroy Lieutenant Salvarus, who is stationed behind the gold door at the northern end of this floor. Climb up the nearby steps, and you’re a room away from meeting the Emperor. The real one this time!
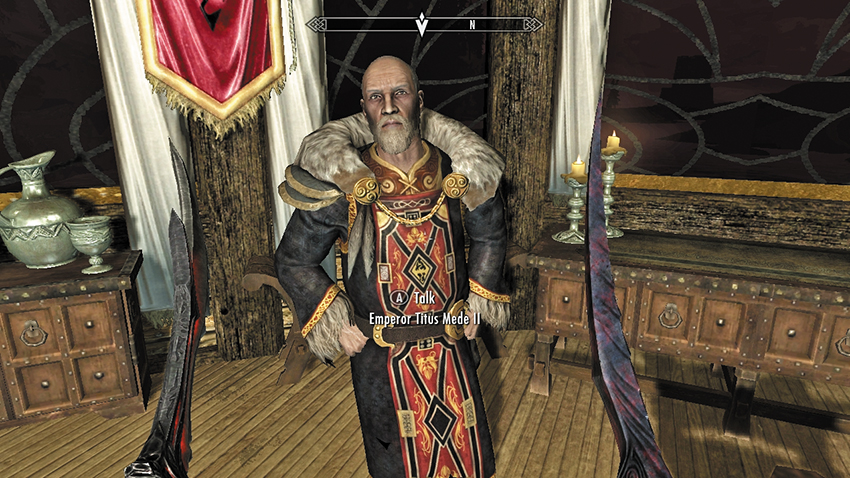
Approach the door to the Emperor’s Quarters (Master). This requires an impressive Lockpick or the use of the Katariah Master Key. (If you didn’t get it from the captain, Lieutenant Salvarus downstairs has another.) Step forward, and the Emperor greets you: Not with a blade or a string of curses but with a well-mannered speech. He knew Commander Maro to be a fool; one cannot stop the Dark Brotherhood!
You can:
- Execute the Emperor immediately.
- Or speak with him and give him a moment to say a few words before you run him through. He asks for a favor. Not as part of a Black Sacrament, but as an old man’s dying wish. There is one who set this assassination forth, and the Emperor wants him punished for his treachery. You are to kill that person. You need not commit to this deed. Now the Emperor turns and waits for death. Oblige him.
- Emperor’s Robes
- Katariah Master Key
Ransack the Emperor’s Quarters for any books or other items you wish; the Emperor’s chest in his bedroom has some good loot. Leave via the door in the northeast wall that leads to an exterior balcony, allowing you to dive into the waters and swim to safety, or backtrack and enter the deck, if you want more fighting. Whatever your route, travel back to Whiterun, enter the Bannered Mare once again. Speak with Amaund, and inform him that Titus Mede II lies dead. Amaund has just heard this information himself and is extremely pleased: As you shall be; there is a considerable payment inside an urn, in the chamber where you first met, back in Volunruud. Amaund wants you to leave now and never cross paths with him again.
(Optional) Additional Executions II
If you wish to kill Amaund and honor the Emperor’s wishes, you can tell him there’s just one more matter to clear up and then tell him you’re doing a favor for an honorable man. Or, you can choose to answer him differently (or remain silent) and attack him anyway! Turn your blade into him and dispatch this aloof traitor (grab his pocketful of gems). Your bounty in Whiterun skyrockets, so expect Guards to confront you moments after the murder.
Quest Conclusion
Amaund Motierre lived up to his part of the bargain; travel to Volunruud, dismantle any skeletal foes that greet you, and search the initial room where you met previously. Inside the urn is a considerable sum of gold!
- 20,000 gold pieces
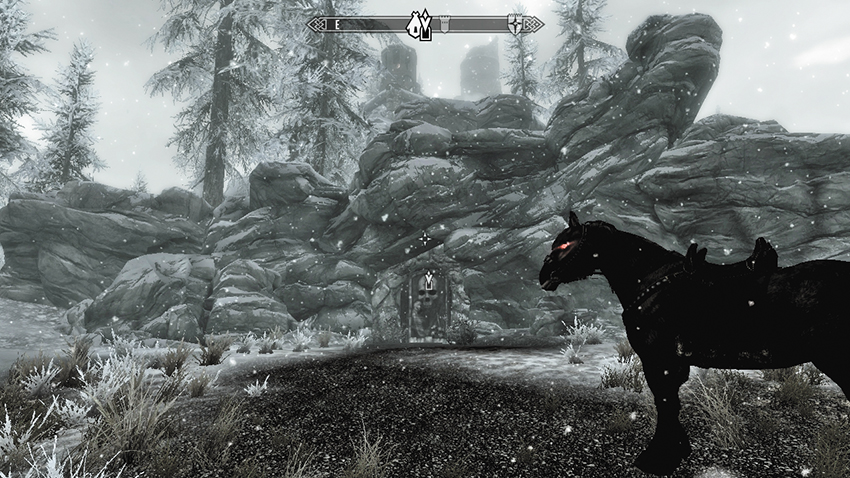
Now journey to the Darkstar Sanctuary and approach the Black Door. The door opens, allowing you down into the main chamber with the smashed circular window and large fireplace. Nazir is waiting for word on the Emperor. Inform him that you’ve done the deed, and tell him how much gold you were paid as a reward. You can be truthful or lie (it doesn’t matter). Nazir recommends you go to Riften and search out a man named Delvin Mallory, someone Astrid already had you visit previously. This time, though, the “obtainer of goods” will refit this Sanctuary, using the money you earned, and make a true home for this Family once again.
Postquest Activities
Dark Brotherhood Quests: Where You Hang Your Enemy’s Head... begins immediately, along with additional quests.