
Elder Scrolls V: Skyrim Special Edition Guide Quests Daedric Quests
Daedric Quests: Waking Nightmare
Waking Nightmare
Night Terrors
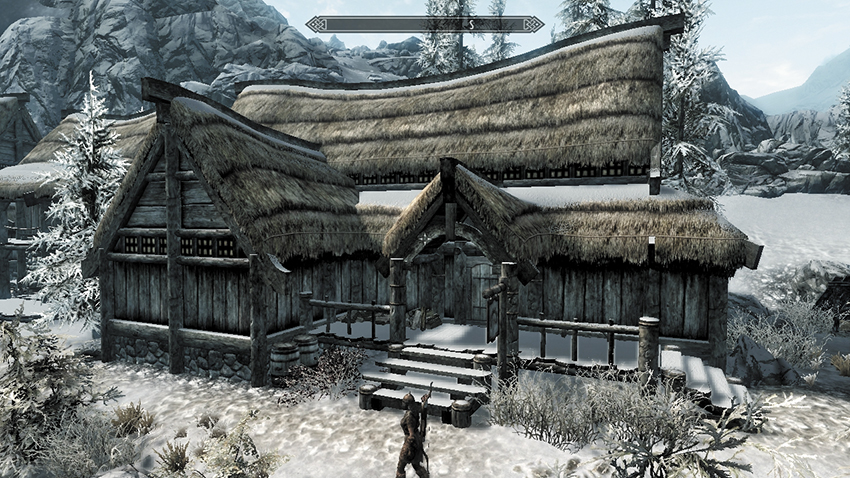
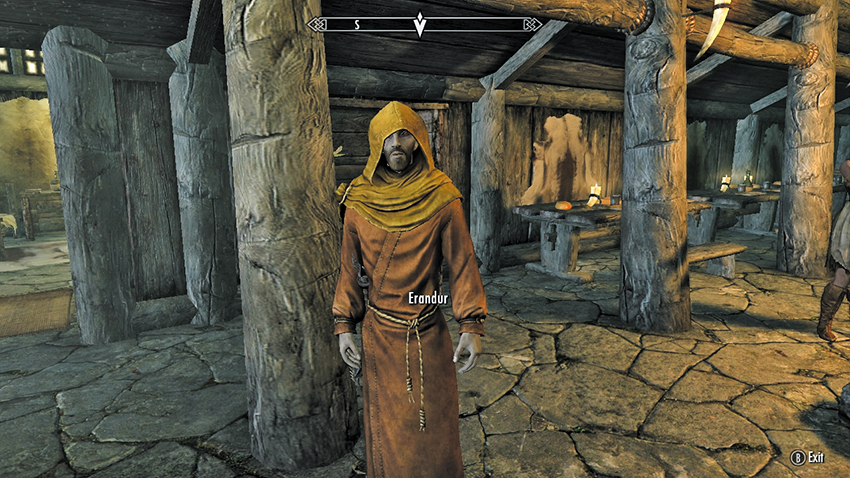
Dawnstar is the last port before Windhelm that is not icebound. The population of this Hold City seems a little preoccupied. When you walk the thoroughfares, Dawnstar Guards may comment on the nightmares the entire town is suffering from. More guards murmur the same rumor. To gain more solid information on what is going on, visit the town’s tavern, the Windpeak Inn. The first time you enter, a group of locals are discussing the “curse” with a priest.
Listen in as Irgnir and Fruki argue with each other. Irgnir wants to move out of town, but her sister is telling her she’s just having bad dreams and nothing more. Erandur the priest tries to placate Irgnir and agrees they aren’t out of the ordinary. Thoring the barkeep pipes up as the sisters begin to chatter about why Irgnir is having the same dream every night. Erandur is looking into this oddity and asks the locals to put their trust into Lady Mara. The sisters reluctantly agree, allowing you to step in and ask Erandur what exactly is going on. Respond as you wish, after which Erandur reveals the truth: The dreams are manifestations created by the Daedric Lord Vaermina. She has a hunger for memories, leaving nightmares behind after consumption. Before the damage Vaermina is doing becomes permanent, Erandur needs to return to the source of the problem—the Nightcaller Temple. Can you help?
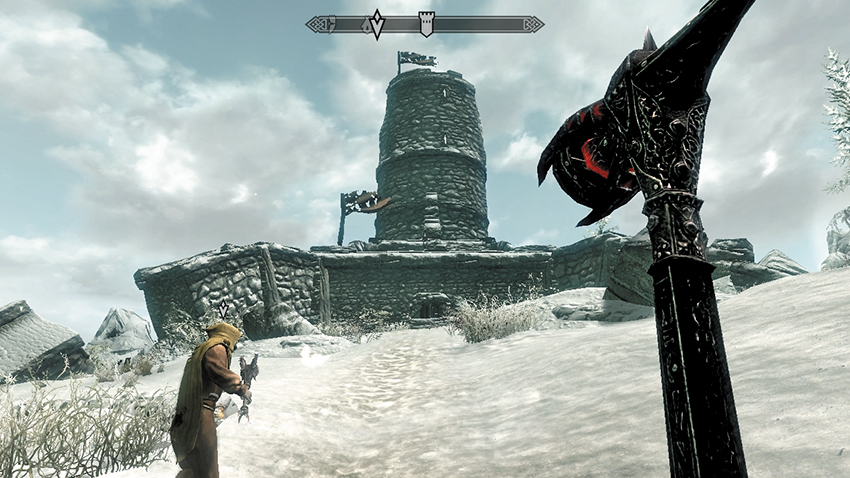
Erandur explains the history of the temple as you scale the hill above Dawnstar. It is now a ruin within a ruin. Erandur established a small shrine to Mara within the tower’s entry hall, hoping to seek her guidance. Once Erandur reaches the temple door, he waits for you to join him. Speak with him, and he warns you about the dangers within. Years ago, the temple was raided by Orcs seeking revenge for a similar nightmarish affliction. The priests of Vaermina knew they were outmatched and released a strange vapor they called “the Miasma.” This caused the entire temple to fall into a magical sleep, suspended in time. When the temple is unsealed, Erandur fears the Miasma may dissipate and the Orcs and priests may wake up. Extended exposure to the Miasma leads to lunacy. Once you’re informed of these potential unpleasant side effects, follow Erandur into the structure.
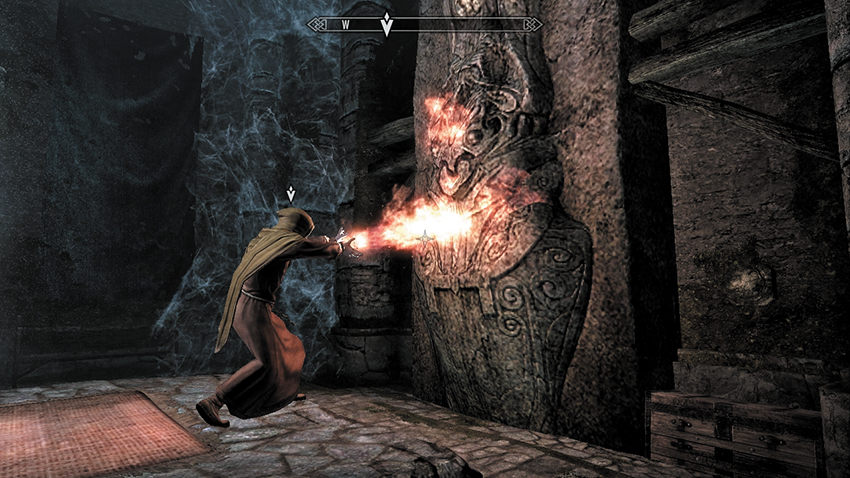
Once inside, Erandur passes the small shrine to Mara, and approaches an area of wall. He casts a spell and the wall illuminates, becoming semi-transparent and bathed in a strange hue. Erandur forces his way through the wall and into the previously inaccessible part of the temple. Follow him past a barred window overlooking the main altar to Vaermina, a strange skull that is shielded by magic. His revelations are shocking: The cause of the nightmares is the Skull of Corruption! Then he moves along the barrier. At the bottom of the stairs, Erandur inspects a doorway with energy blocking your way. Before you can inspect the door, two Orcish Invaders wake from their slumber. Attack them immediately!
With the Orcs dead, Erandur curses, telling you the priests must have activated the barrier when the Miasma was released. He believes there’s a way to bypass the barrier to reach the tower’s inner sanctum, but it involves checking the library for confirmation. When you ask how he knows so much about this place, Erandur finally reveals that he, too, was a priest of Vaermina. Your response can be accusatory or quizzical. Erandur quickly tells you he’s been seeking redemption from Mara and living in regret.
Vaermina’s Corruption
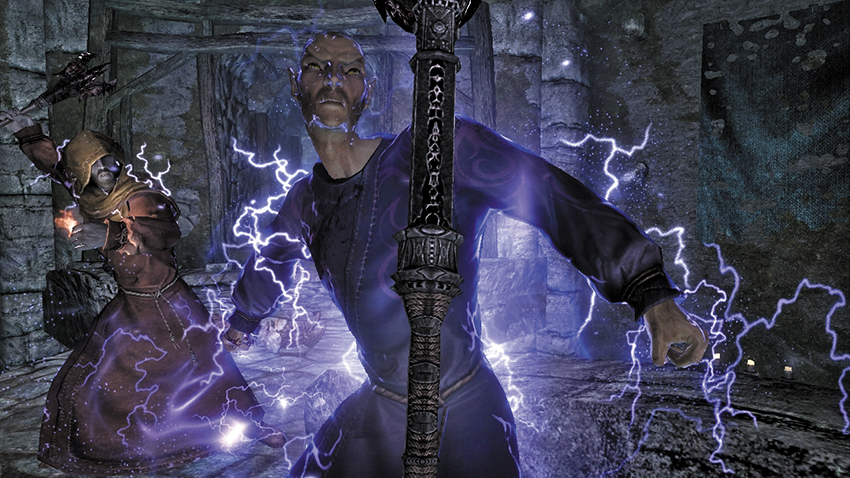
Head back up the stairs and wait for Erandur to open the wooden door to the east. He warns you that the Awakened are likely to be active. Sure enough, a Vaermina Devotee and Orcish Invader rise from the rubble of the library. Dispatch them before dropping to the ground floor and attacking two more Devotees on this level. Return to Erandur, as he has a task for you.
Ask Erandur what you’re looking for, and he describes a book of alchemical recipes called The Dreamstride. The cover bears a likeness of Vaermina.
Begin thoroughly searching the library, which contains numerous interesting (but not quest-related) tomes. The Dreamstride is located on the upper ledge (accessed via a fallen column) of the library’s top floor, in the eastern corner. Carefully head across and remove the book from its pedestal, between two bookcases.
- The Dreamstride
Inform Erandur that you’ve found the book, and he quickly thumbs through it. Praising Mara, he reads that there is indeed a way past the barrier, and it involves a liquid known as Vaermina’s Torpor. Digesting this brew allows one to enter a “Dreamstride” state, using dreams to travel distances in the real world. As Erandur isn’t going to drink it, this task will fall to you soon enough. Before following him, you can argue the dangers of attempting such a feat with Erandur. The temple’s east wing has a laboratory that may contain a sample of the torpor.
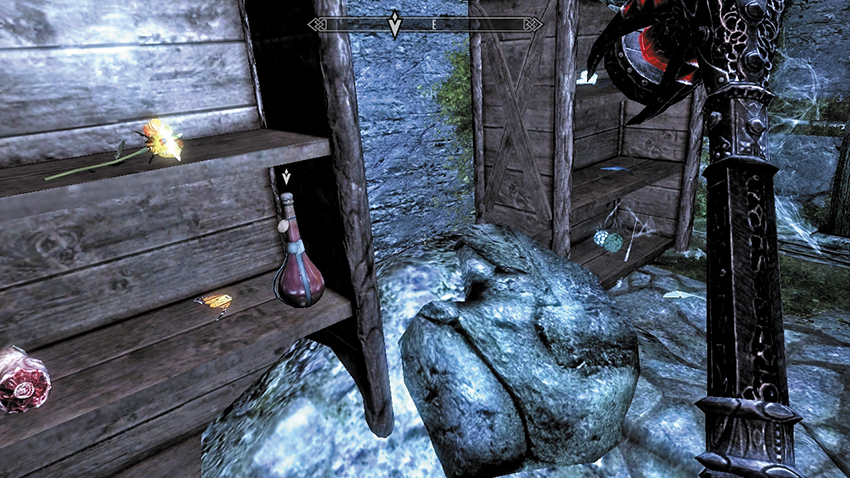
Move through a small connecting corridor to a stone storage chamber with liquids and barrels lining a wooden platform. Kill the priest and Orc rising from their slumber, then head southwest, into the ruins of the laboratory. Expect further attacks from Vaermina Devotees and more Orc Invaders. After everyone except Erandur is dead, halt your bloodletting.
Erandur needs you to look around for a small bottle containing the Torpor. While he searches upstairs, head to the three wooden shelving cases below the Alchemy Lab, close to the laboratory exit. The Torpor is sitting on the middle set of shelves.
- Vaermina’s Torpor
Dreamstride: A Blast from the Past
Return to Erandur, letting him know you’ve secured the Torpor. He tells you to drink, as the fate of Dawnstar depends on reaching the inner sanctum and halting Vaermina’s hold over the locals’ dreams. Access your Items > Potions inventory, and use Vaermina’s Torpor to continue. The vision comes quickly as you enter the Dreamstride. Your dream seems to harken back to the Orc warband’s attack on the temple. Brothers Thorek and Veren are attempting to keep the Skull from the horde. Veren tells Thorek they have no choice and must release the Miasma. Veren turns to you, addressing you as “Brother Casimir,” and orders you to activate the barrier and release the Miasma.
Begin your race through the inner temple chambers, heading east and then south into a dining chamber where fighting is already occurring. Ignore the battles entirely; you’re here in someone else’s past consciousness to turn a dream into a wrinkle of a new reality. Turn left (east), heading into the dormitory. Go up the stairs and to the long corridor running west. Turn north, winding through more corridors until you reach the curved corridor above the Skull. Search for the pull handle, and yank it to release the Miasma. Your vision fades.
You blink into present reality, where the magical barrier blocking the doorway still crackles. Take the Common Soul Gem, which focuses the barrier, from its wall sconce, and the barrier begins to fade. Speak to Erandur. Although wowed by the Torpor’s effects, Erandur quickly snaps out of his malaise and focuses on ending the Skull of Corruption.
- Common Soul Gem
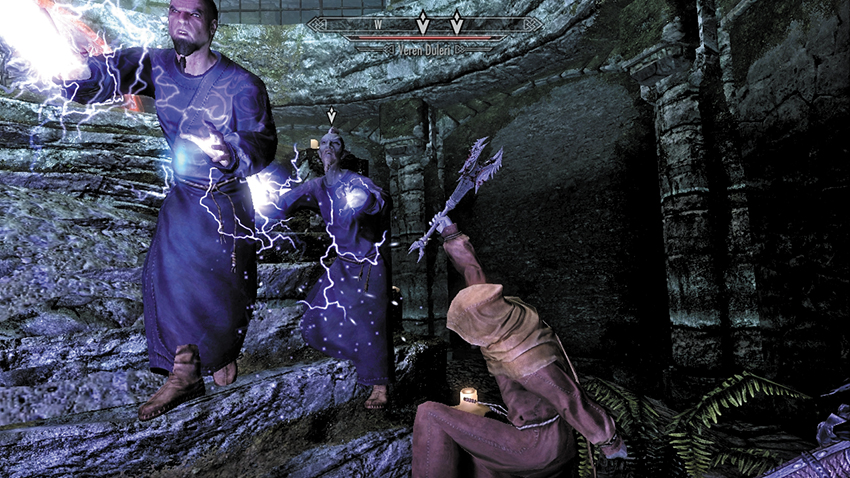
At this point, you and Erandur must retrace the steps you took in the dream, all the way back to the area where you spoke with the two Brother monks. Erandur leads the way. Back him up when the sleeping Orcs and priests stagger to their feet and fight each other and you. Continue until you reach the lower passageway with the Skull of Corruption glowing behind its shield ahead (west) of you. At this point, Brothers Veren Duleri and Thorek, now awakened from their slumber, approach Erandur, who is happy they are alive. The feeling isn’t mutual, as Veren spits verbal hatred to “Casimir,” Erandur’s real name (and the body you were inhabiting during the Dreamstride!). Veren calls Erandur a traitor who left them to die and fled before the Miasma took hold. The priests aren’t about to let you disturb this Skull. There’s only one way out of this mess....
Bring your battle to the two priests, focusing on the one that Erandur isn’t fighting so that combat is quicker. When both priests are dead, approach Erandur, who seems genuinely remorseful for killing his friends. Answer him how you wish, before Erandur steps forward, ready to perform the ritual Lady Mara granted to him.
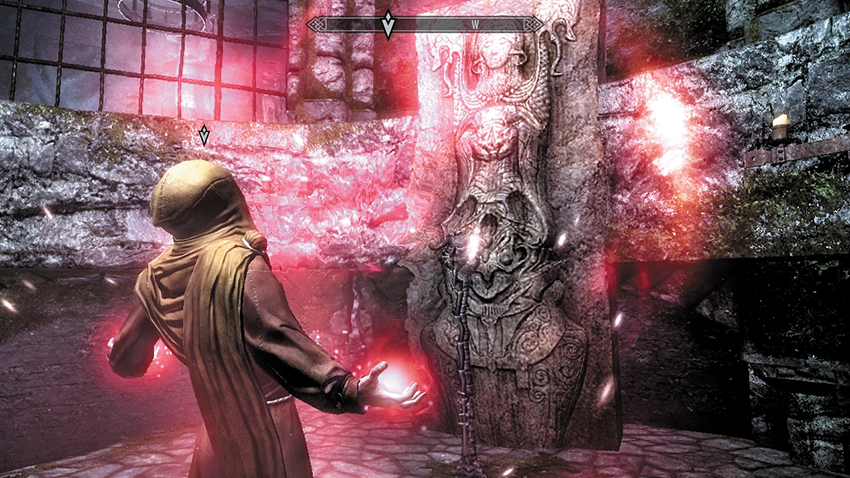
Erandur slowly ascends the steps and implores Lady Mara to break through the barrier and send the Skull to the depths of Oblivion. A moment later, the barrier disappears. The goddess Vaermina now speaks from inside your head, attempting to convince you to kill Erandur and grip the Skull of Corruption for yourself! At the same time, Erandur begins a ritual spell. This takes 30 seconds to complete, leaving you this much time to decide between two possible choices: murder Erandur or let him complete his ritual.
Quest Conclusion 1
It takes only a couple of swings into Erandur’s back to betray him and claim the Skull of Corruption for yourself! Continue to strike him until he falls.
Step up to the Skull Pedestal and activate it. The Skull of Corruption, a staff of ill repute, is now yours! Use it in Vaermina’s honor.
- Skull of Corruption
Quest Conclusion 2
It takes only 30 seconds for Erandur to finish the ritual, banishing the Skull of Corruption and Vaermina’s influence. Erandur stays at the temple entrance, by the Shrine to Mara. As you aided him, so shall he aid you:
- Follower: Erandur
Postquest Activities
Erandur’s powerful spells are excellent, and he is a formidable magician if you wish to bring him along.