
Elder Scrolls V: Skyrim Special Edition Guide Dragonborn Quests Solstheim Side Quests
Solstheim Side Quests: The Chief Of Thirsk Hall
The Chief of Thirsk Hall
You. Fol. Low. Me.
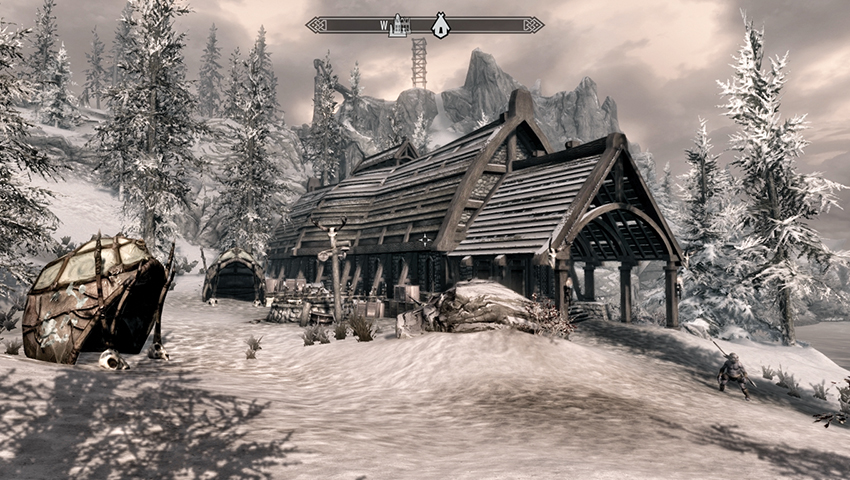
Thirsk Mead Hall is an ancient and venerable structure built by the Nords and nestled in the snowy foothills to the east of the Temple of Miraak and the Beast Stone. Even if you’ve had previous (violent) dealings with Rieklings, providing you don’t storm in with your weapons flailing, the scout on guard duty stops to beckon you inside. Converse with it (receiving the same message again). Open the door to Thirsk Mead Hall and enter.
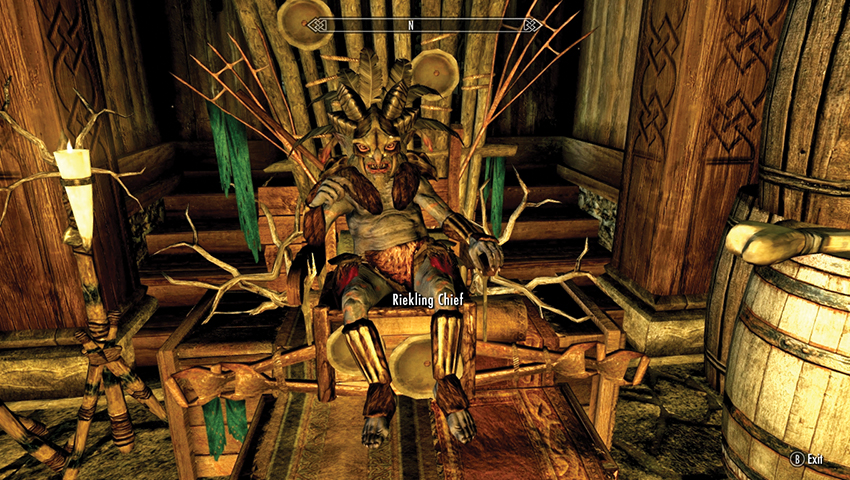
The Mead Hall is overrun by Rieklings. However, unlike the more feral foes you may have encountered elsewhere on this island, they aren’t immediately hostile. Don’t attack; instead, follow the scout to the opposite (north) end of the hall. The Rieklings seem to have appropriated much of their basic, primitive lanterns and furniture, and on a makeshift throne sits a Riekling Chief. It is impressive that he’s learned the common tongue of this province. He asks for your help. You can:
- Ask who he is.
- Inquire where they lived before moving here.
- And wonder why they took over Thirsk.
You get mostly nonsense, but keep asking about the chief’s talking habits, and the “conversation” meanders to the topic of “Bilgemuck.” You figure out he’s talking about an animal of his you need to coax back with some kind of meat. The quest and your first objective now begin.
Bilgemuck Prize Beast: Belifakathoooookawa
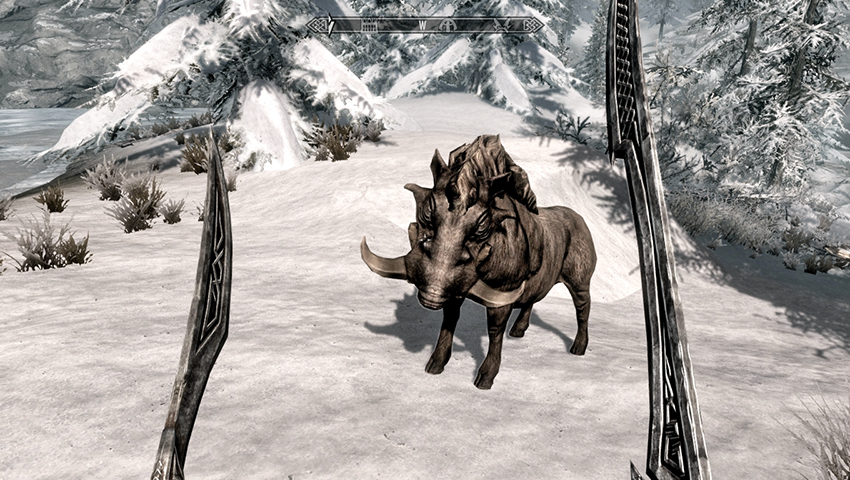
Exit the Mead Hall and turn left (north), wandering around the icy lake. On the edge of the snowy foothills, you’ll encounter a bristleback named Bilgemuck. It’s important not to launch an attack on this beast! Instead, speak to the animal and coax it to follow you with a piece of meat.
This can be any type of meat in the “Food”. For example, chicken breast, mammoth meat, or raw beef are all fine to give Bilgemuck. If you’re without meat, simply head to the northeastern shores of Solstheim, slay a Horker or two, and use Horker meat.
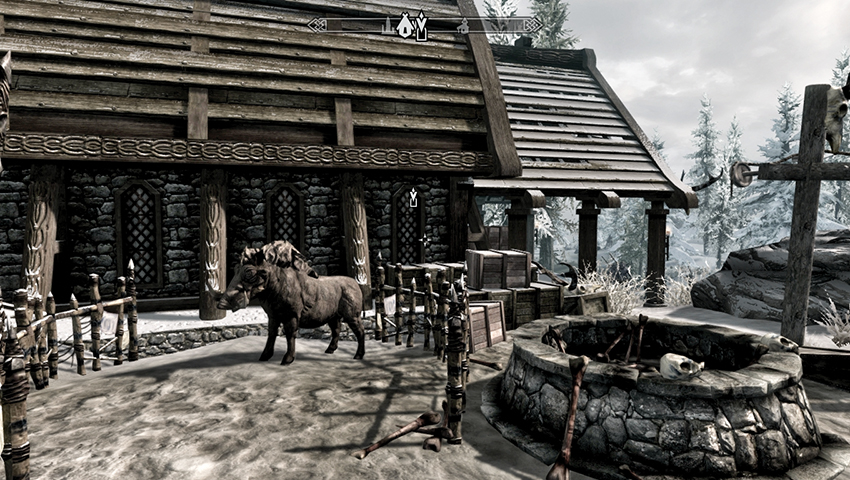
It takes only a single helping of meat to get Bilgemuck interested in you. He follows you back across the edge of the icy lake, to Thirsk Mead Hall. Ignore the congregation of Rieklings at the front door, and move around to the left (west) side of the structure and the remains of a forge that the Rieklings have reclaimed as an animal pen. Walk Bilgemuck into the pen and then head back inside the hall to chat to the chief again.
Tell the chief you brought back his animal, and he’s pleased. Probably. It’s difficult to decipher his words, although he does immediately request you bring him “two hands of redgrass” for a “dance” they have planned. He hands over a sample to encourage you (and so you know what you’re looking for).
- Scathecraw
Karoo Taray Pelfrik?
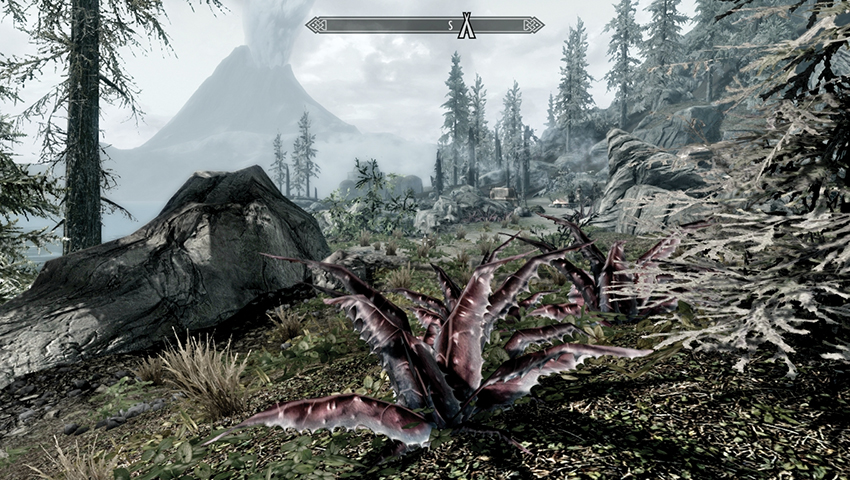
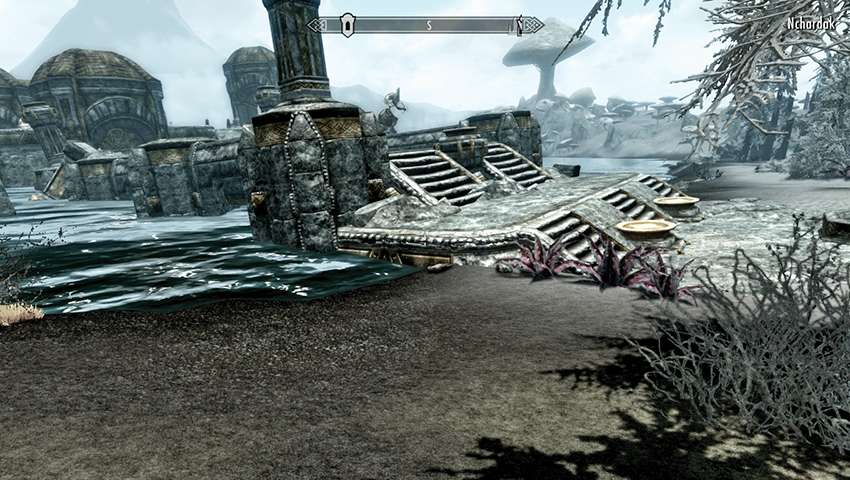
Your hunt for Scathecraw is relatively straightforward: Head east toward the coast, moving to Bujold’s Retreat. There are a couple of plants at the base of the rocky path. Turn south (as the northern coast is bereft of these plants), and wander into the Retreat. Ignore the moaning Nords and harvest any Scathecraw you see, slowly scanning the coastal path from here, toward the half-sunken ruins of Nchardak. There are more than ten plants to find in this particular stretch of coastline.
Check your Items > Ingredients menu to keep count of the Scathecraw plants you’ve gathered, as the quest doesn’t update when ten are found. However, once you’ve plucked enough, return to Thirsk Mead Hall, passing the gathering of Rieklings ranting in their own strange tongue, and revisit the chief once more. Inform him that you’ve been successful, and he animatedly claims you will soon be “tribe-kin.” But there’s one more task to complete first: the killing of “bad Nords.”
The “bad Nords” in question are the moping folk down at Bujold’s Retreat, who were unceremoniously kicked out of this very hall by the Rieklings you serve. It is time to add injury to insult and wipe them off the face of Soltheim. Are you game? You simply need to answer “Let’s go!” to begin.
No More Bad Nords. Then Tribe-Kin.
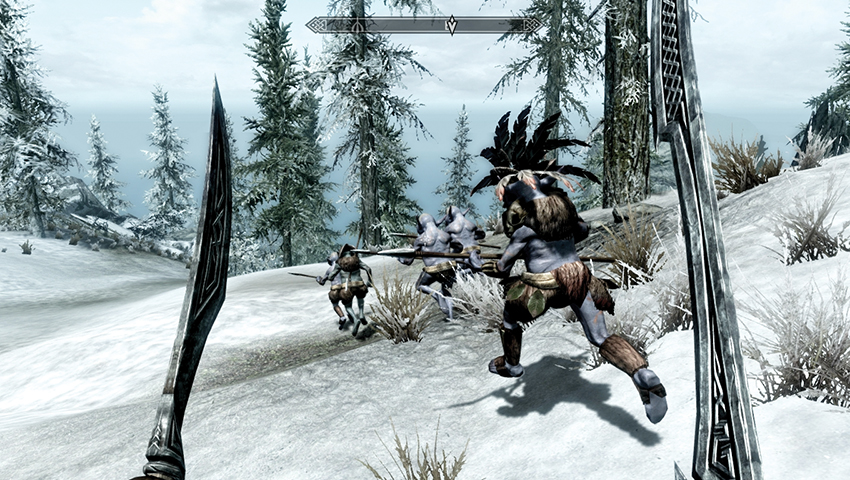
The chief waddles out of the hall with purpose. Follow him and watch as he riles up his tiny troops for the forthcoming massacre. After his battle planning, your objective updates, and you’re free to join in the mayhem. Follow the Rieklings as they trot east down the rough path to the water, and turn right (south).
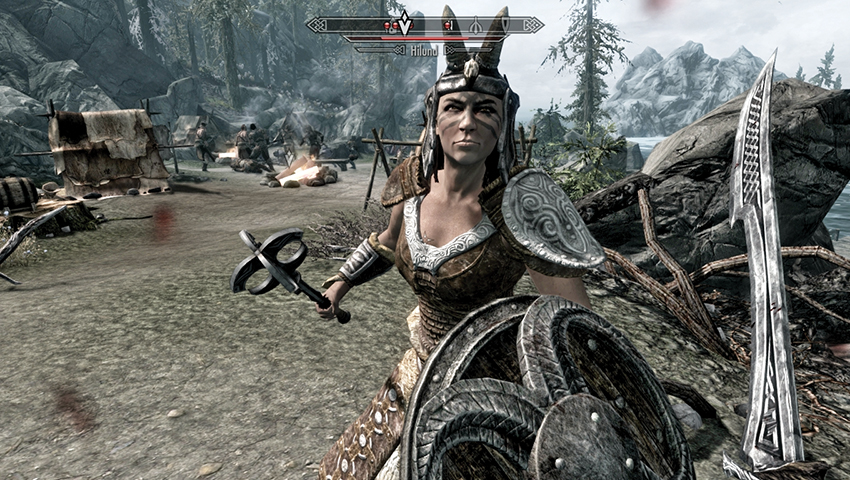
Attack! Or, if you wish, stay away! You can view the battle and get your hands as bloody as you wish, although every Nord in the camp is hostile. Their leader is Bujold, but anyone bearded or carrying rudimentary armor is fair game. Obviously, you can tackle each Nord in any way you wish, but defeating them when they’re already engaged with a Riekling friend keeps you from harm. The fight shouldn’t be too demanding, and any Nords the Rieklings slay are also added to your death total.
Quest Conclusion: Ah baa faroo!
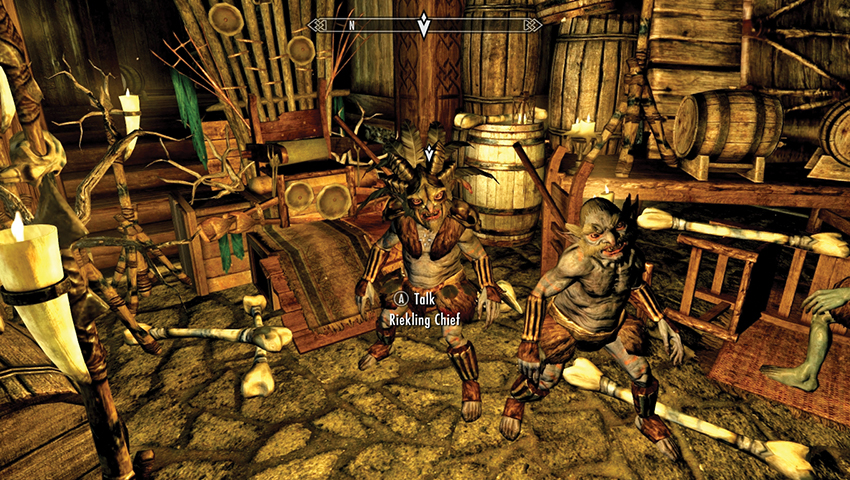
Run back to Thirsk Mead Hall where the chief remains on his makeshift throne. As you approach, you can see he’s worried. After explaining your victory, the chief seems even more agitated, and paranoia sets in. He reckons you want to be chief, and no matter what your response, he stands up to fight you.
After a reasonably one-sided slaughter, you should emerge victorious. Whether you wanted this title or not, you’re now the new chief of Thirsk Mead Hall and this particular band of Rieklings!
Postquest Activities: Muwafathoo
Leadership of this motley band of degenerates has its privileges. You can speak with any of the remaining Rieklings and request they act as a Follower. Also, during combat when you’re on Solstheim, up to three Rieklings may appear to assist you. These blue homunculi are brave but weak and stupid, so don’t expect them to stand up to a difficult foe.
- Follower: Riekling