
Elder Scrolls V: Skyrim Special Edition Guide Dragonborn Quests Solstheim Side Quests
Solstheim Side Quests: Deathbrand
Deathbrand
Before the Hunt
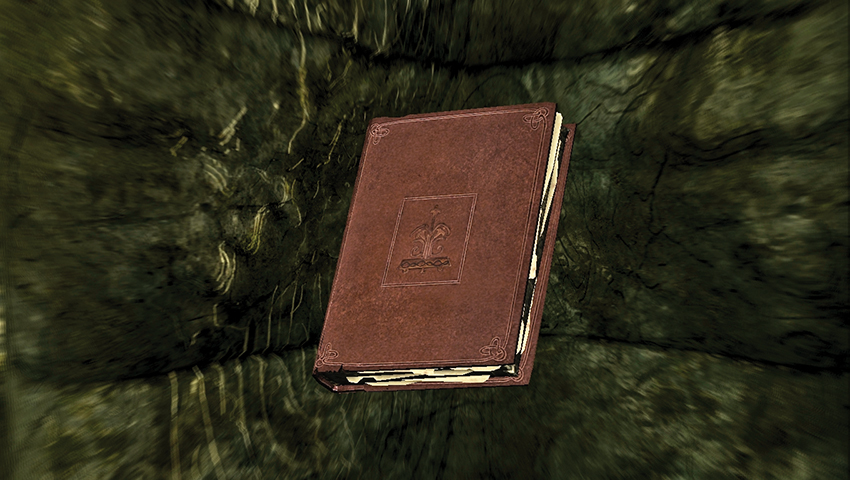
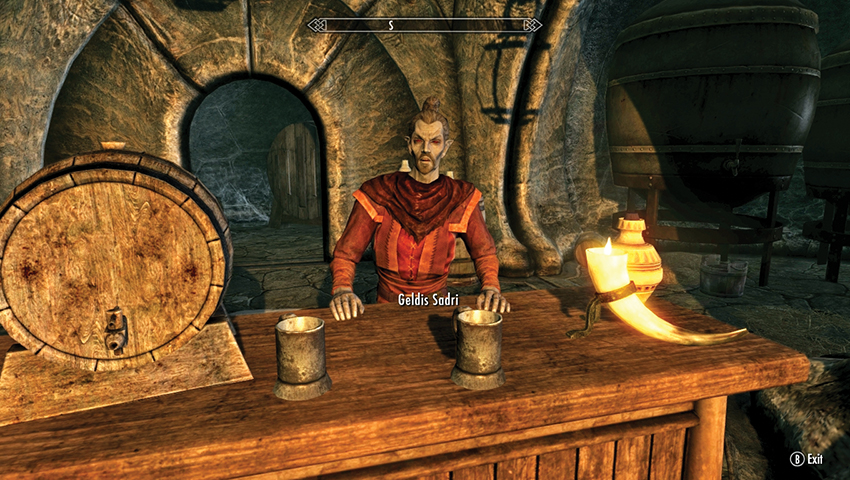
On your hikes across Solstheim, you may hear about a fanciful treasure thought to be buried by pirates. There are several ways to begin this quest:
Read the book Deathbrand. There are many copies scattered around Solstheim: For example, in Tel Mithryn, there are two copies on shelves in Neloth’s tower quarters; in Raven Rock, in The Retching Netch, there is a copy on a shelf in one of the north bedrooms.
Visit The Retching Netch in Raven Rock, and speak to Geldis the innkeeper about rumors. He mentions the coast is especially dangerous—there are a lot of Reavers about. He’s heard they’re searching for the treasure of Haknir Death-Brand, the pirate king.
Or, you can simply stumble upon Haknir’s Shoal directly, just north of the Wind Stone, on the island’s northeast shore.
- Book: Deathbrand
“X” Marks the Spots
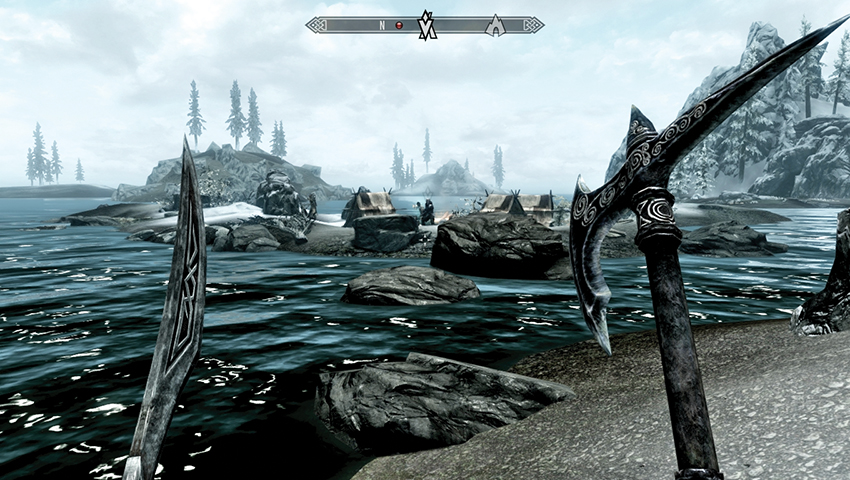
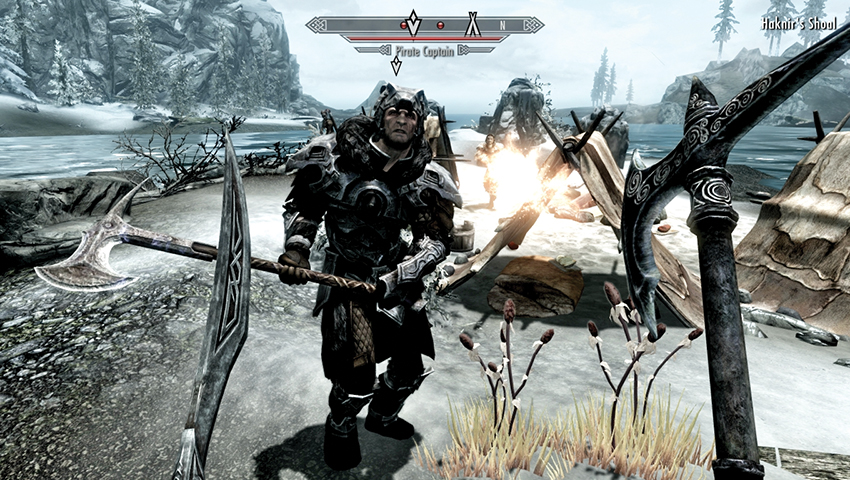
The first inkling that you’ve accidentally wandered into a Reaver treasure hunt occurs when you reach Haknir’s Shoal. If you’re quiet, you may hear a small group of Reaver Pirates speaking about the loot they’ve uncovered. They aren’t willing to share it, though. Begin by engaging these four foes, ideally removing any long-range bowman threats first. Your main target is the Pirate Captain. Once the pirates are bleeding into the snow, you can claim their treasure chest. This prompts the following objective:
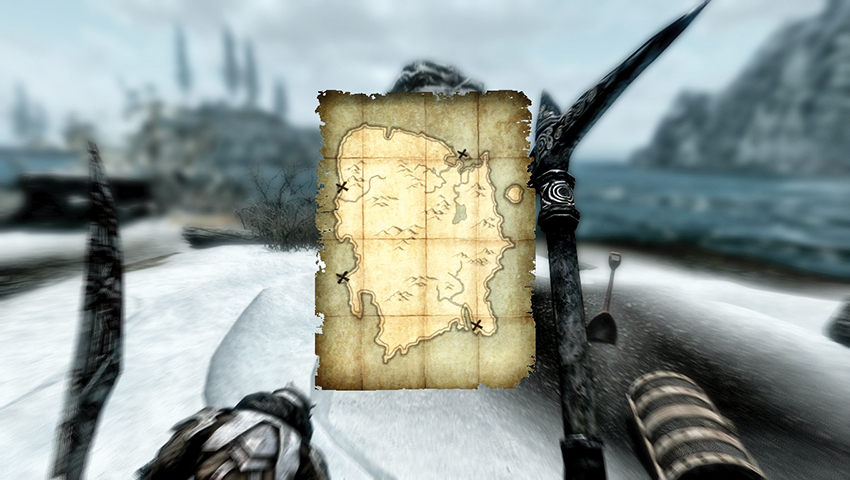
To really begin the quest, you need to inspect the captain’s corpse and retrieve the Deathbrand Treasure Map, which you can view in the Items > Misc Menu. Now the search for valuables can really begin. Inspect the map and you’ll notice four “X” markings indicating possible locations for treasure chests. Fortunately, one is right where you are (and you may have already found it).
Treasure Chest: Haknir’s Shoal
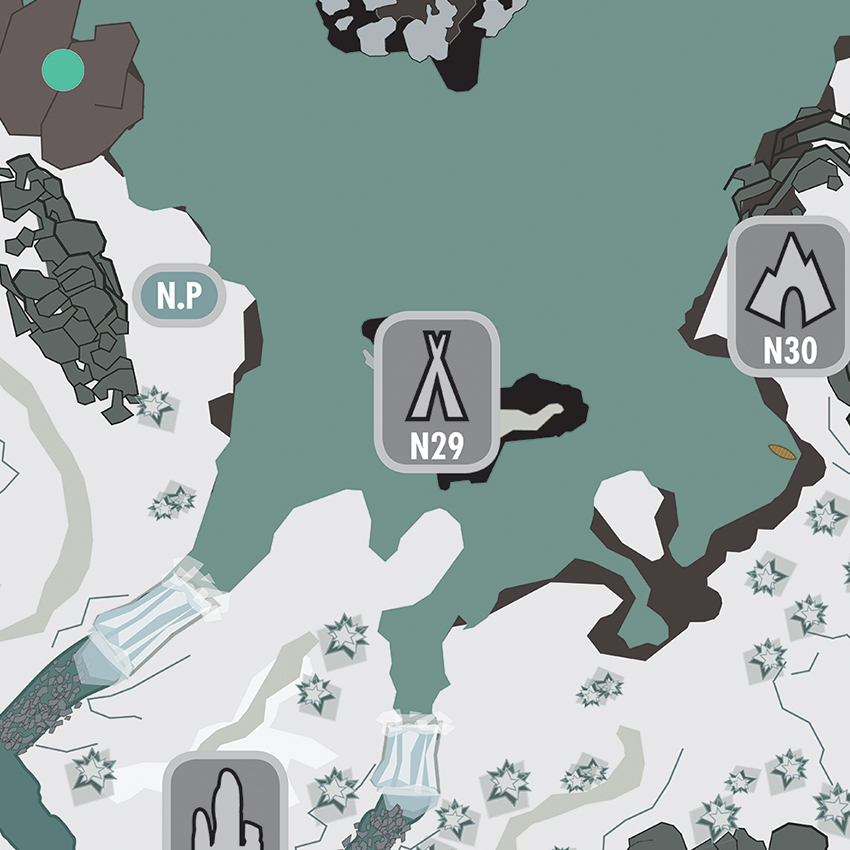
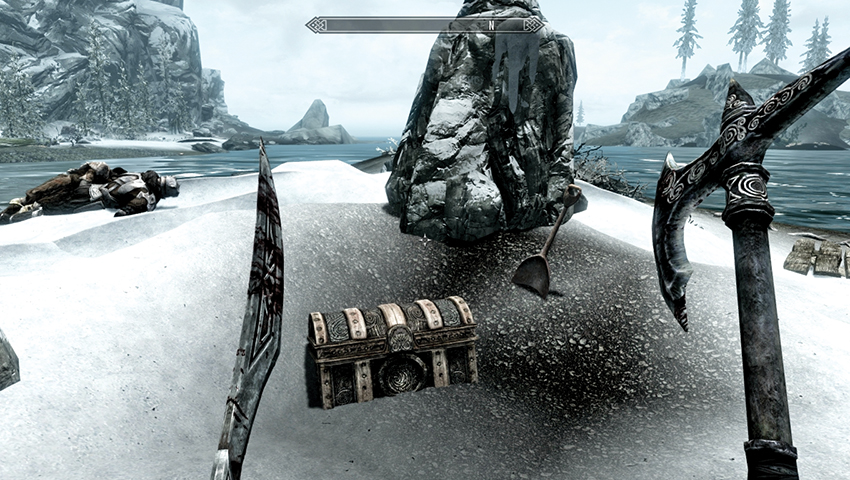
The first treasure chest has been dug out of the snow of Haknir’s Shoal, not far from where you’re currently standing. Locate the Ancient Chest [Expert], and pick the lock. Inside is a particularly fine helm:
- Deathbrand Helm
Treasure Chest: Mudcrab Tidal Pools
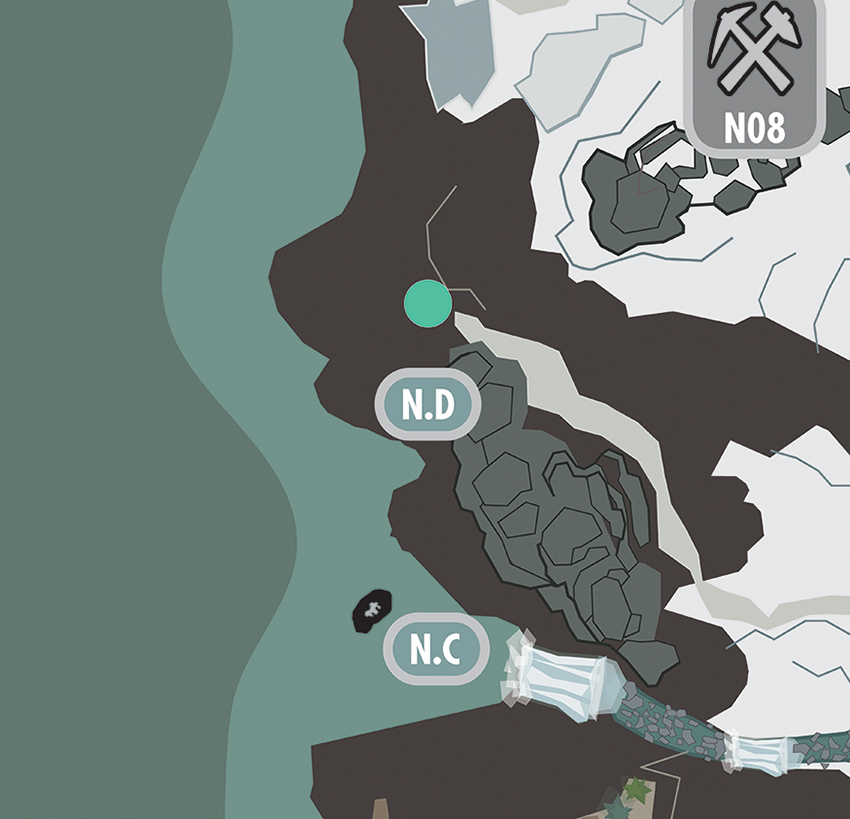
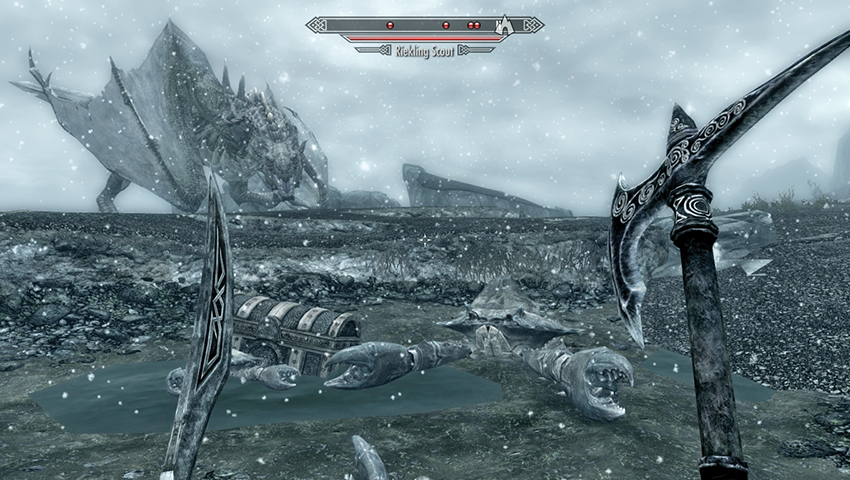
North of the Water Stone and south of Bristleback Cave is a windswept stretch of the coast. Among the tidal pools and Mudcrabs is a half-submerged ancient chest ([S.ND] Mudcrab Tidal Pools). Expect Rieklings to swarm the Mudcrabs as you reach this frigid shoreline. Kill them all, join either side, and mop up survivors, or watch and slay the stragglers. Inside the chest are some gauntlets.
- Deathbrand Gauntlets
Treasure Chest: Bloodskal Copse
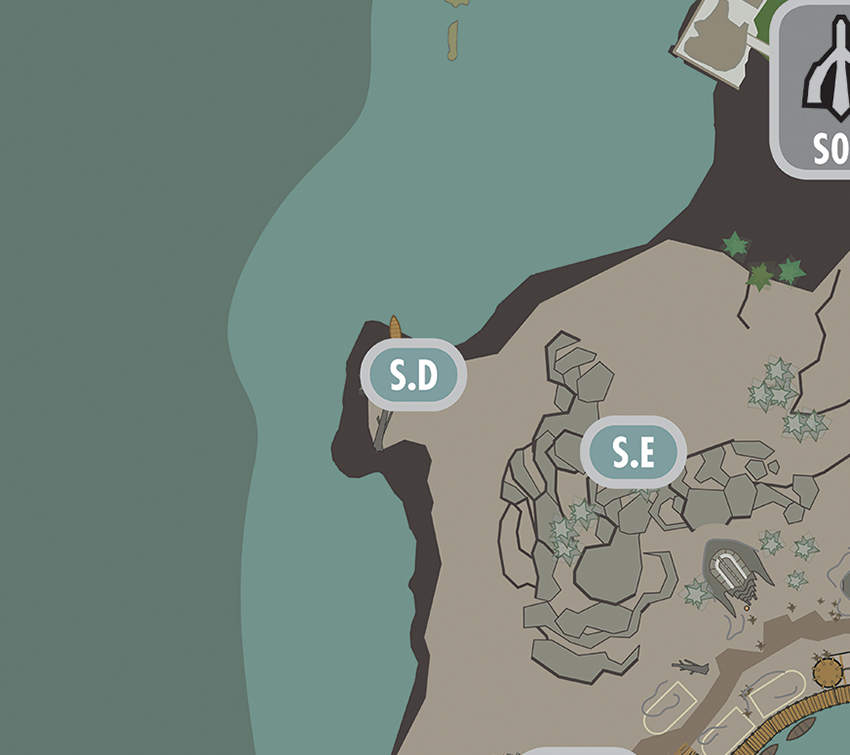
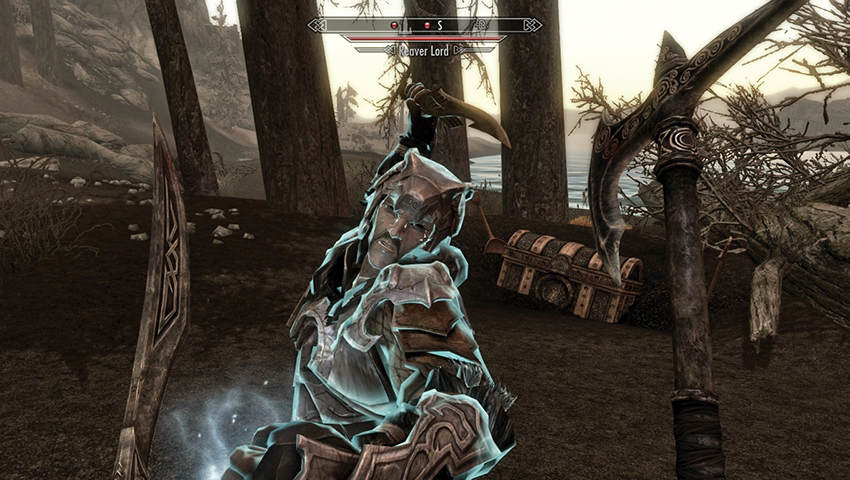
This is in a small natural harbor southwest of Bloodskal Barrow, northwest of Raven Rock. A small Reaver rowboat is moored near this copse of trees ([SS.D] Bloodskal Copse). Defeat the three Reaver foes before prying the ancient chest [Adept] open with your lockpicks.
- Deathbrand Armor
Treasure Chest: Basalt Causeway
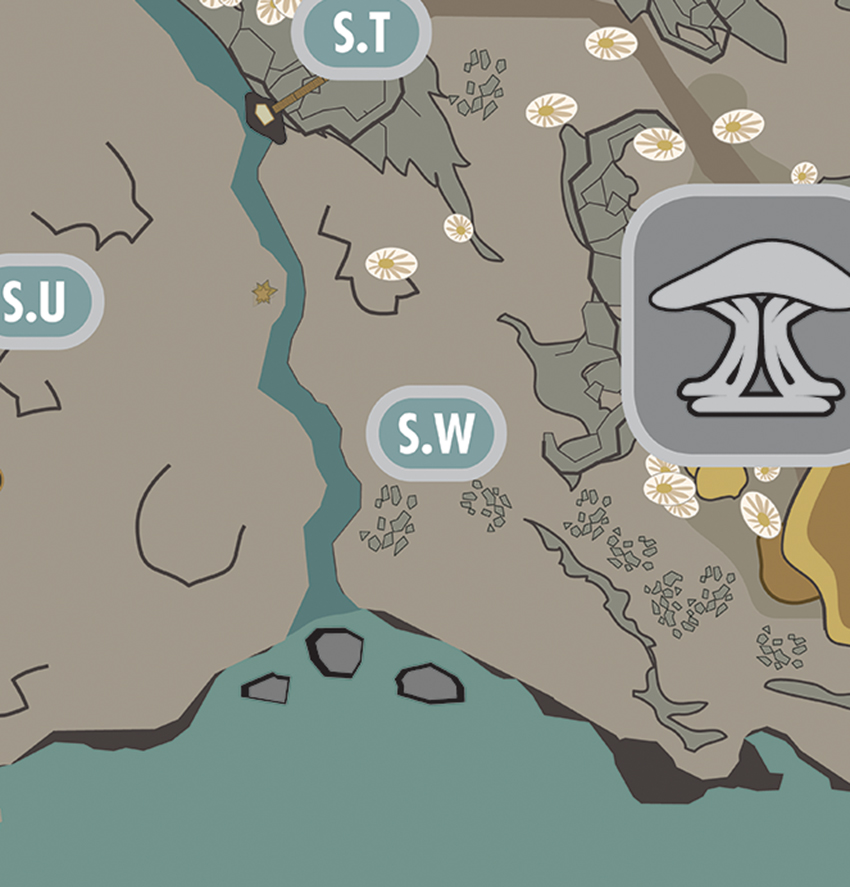
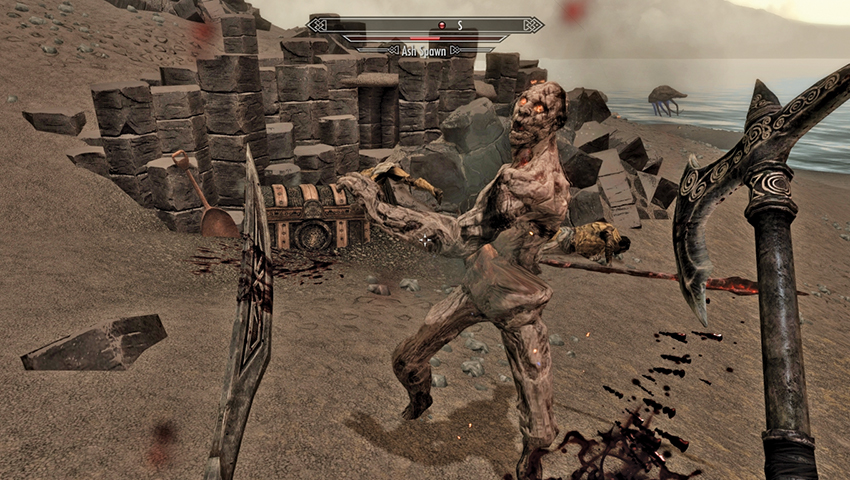
This is a tiny outcrop of basalt columns due west of Tel Mithryn, east of the mouth of the Harstrad River ([SS.W] Basalt Causeway). Four or five Ash Spawn have already slain the two treasure hunters who uncovered the haul, and you may be joined in combat by a Burnt Spriggan or other wandering creatures. Fiddle with the lock of the ancient chest [Expert] and claim the boots inside.
- Deathbrand Boots
When you reach and open the fourth ancient chest, it also contains a key to open a remote barrow on the northeastern coast of Solstheim. Be sure to take the Gyldenhul Barrow Key to update the objective.
Haknir’s Hideaway
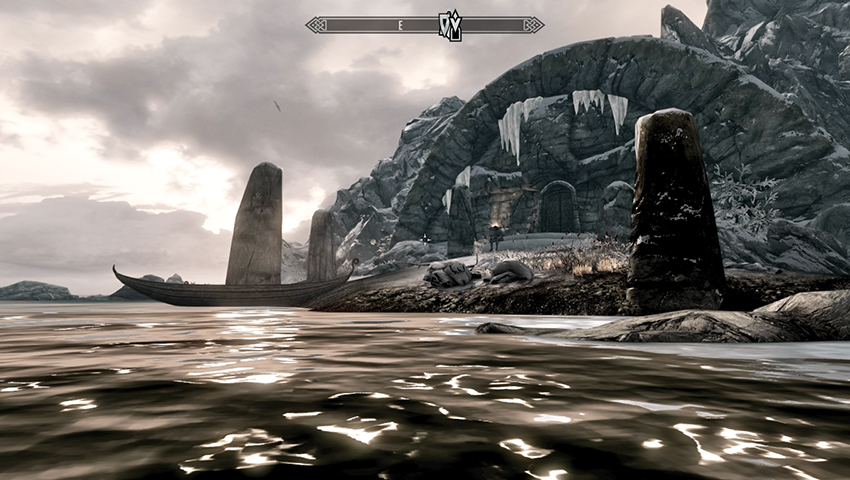
The barrow in question is on a small island just east of Skaal Village. Wade or swim across to the barrow entrance, where two Reavers are waiting for you. Show them the error of their ways, and then approach the Gyldenhul Barrow door [Master]. This is a tough lock to crack without the key you just obtained!
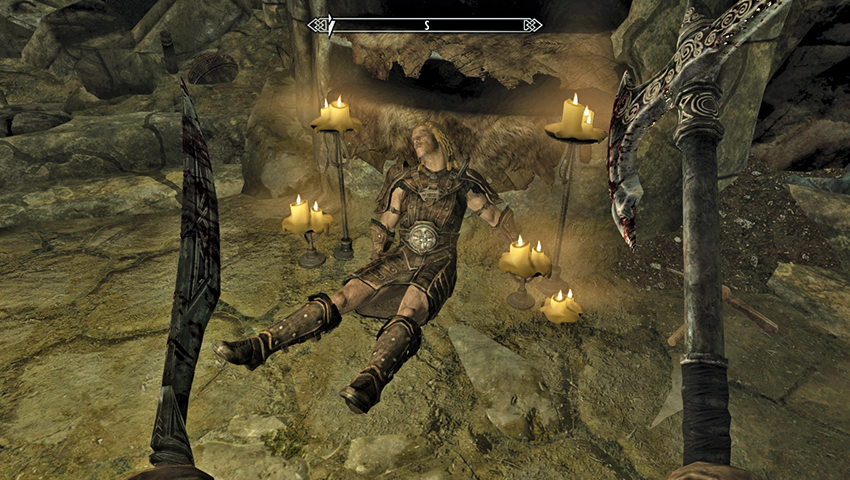
While you can pick this lock before starting the quest, you won’t get very far. You need the key to open the treasure room door inside.
This is either the smallest tomb in Solstheim, or a secret entrance requires your attention! Fortunately, it is the latter; check the corpse of the adventurer in front of you, and obtain the Torn Note. Read the note, which hints at a secret passage. The adventurer was correct; the tomb continues past the sarcophagus to the southwest, which is covered in Stalhrim deposits. Produce your Ancient Nordic Pickaxe, and chip away until you make a hole big enough to squeeze through.
- Torn Note
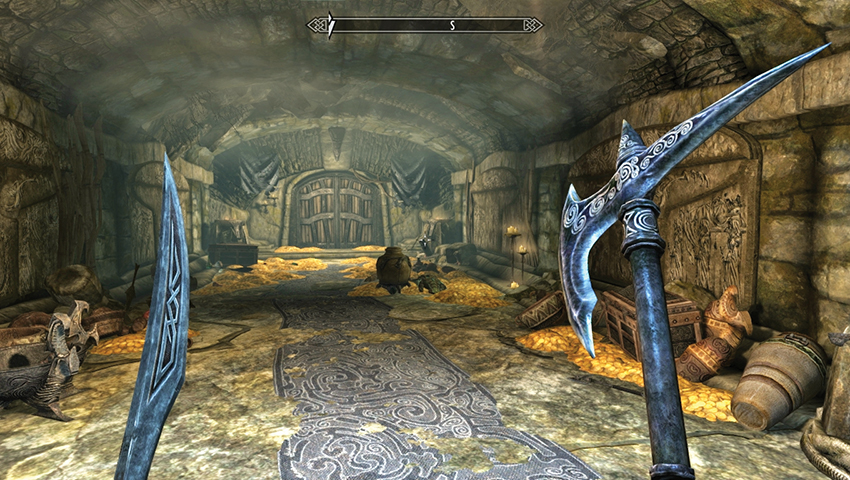
Did you feel a stale breeze wafting? Head southeast toward the door, and open the double doors, entering the barrow treasure room. What a haul! Aside from armor, two chests, potions, precious stones, and weapons, there are numerous piles of Septims that total approximately 10,000 gold!
But be warned: the moment you touch the treasure, the portcullis behind you slams shut. It appears that Haknir’s curse was no mere legend...
Open the second pair of iron doors and continue down a damp tunnel. What awaits you in the depths of this barrow?
- Gold (approx. 10,000)
Haknir Death-Brand: Leaving a Mark
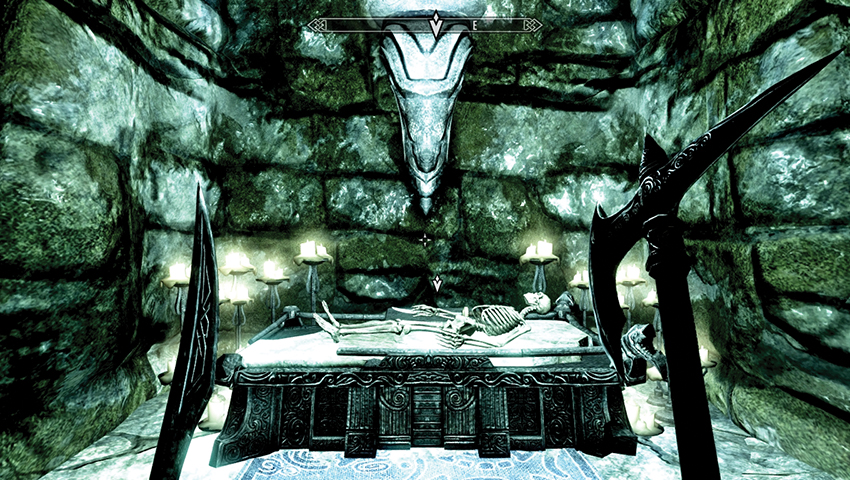
The tunnel ends in a grand and eerie tomb chamber. As you edge toward the steps, and the ceremonial bier with the skeleton lying on it, a sword should catch your eye. Steel yourself, then take Bloodscythe from the altar. The moment you do, the doors to the chamber slam shut, and Haknir Death-Brand’s ghost appears, urging you to join the dead!
- Bloodscythe
As the Battle Begins
Haknir Death-Brand is a considerable force of fury and anger. You must meet his prowess with cunning and weather this storm. His attacks come in five waves:
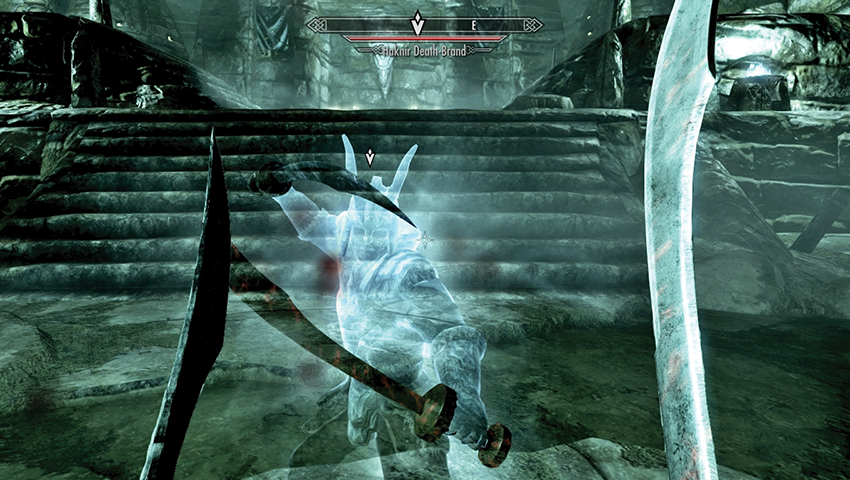
Wave 1: Haknir Attacks! First, you confront Haknir. He is tough, fast, well armed, and well armored. He wears the complete set of Deathbrand Armor and wields both Bloodscythe (which saps your health and armor) and Soulrender (which siphons your Magicka and destroys magical defenses). You do have one advantage, though—Haknir is at the opposite end of the room. Use the time it takes for him to reach you to hit with your most powerful attacks, and try to cut him down as quickly as possible.
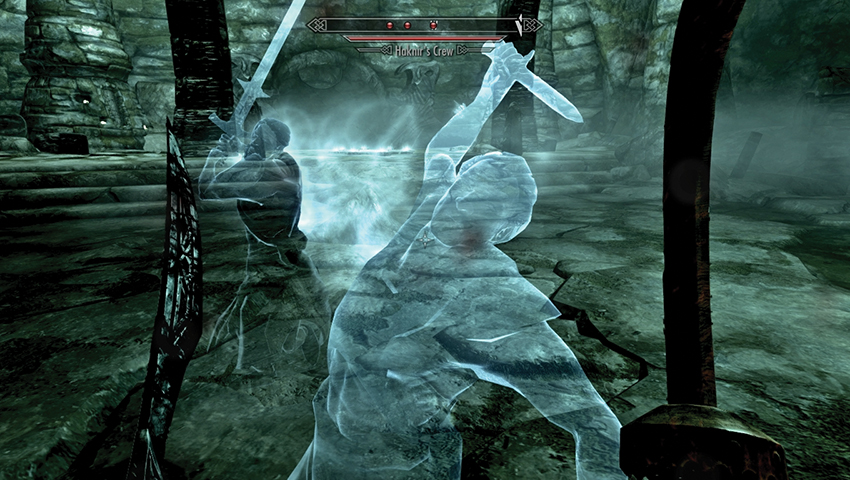
Wave 2: A Ghostly Crew. When Haknir’s health falls below 70%, he disappears, and you face a swarm of weaker ghosts. Individually, the members of Haknir’s crew are not difficult, but their sheer number can be a little overwhelming—two are generally in combat with you at all times, with a new one arising each time you cut down one of their companions.
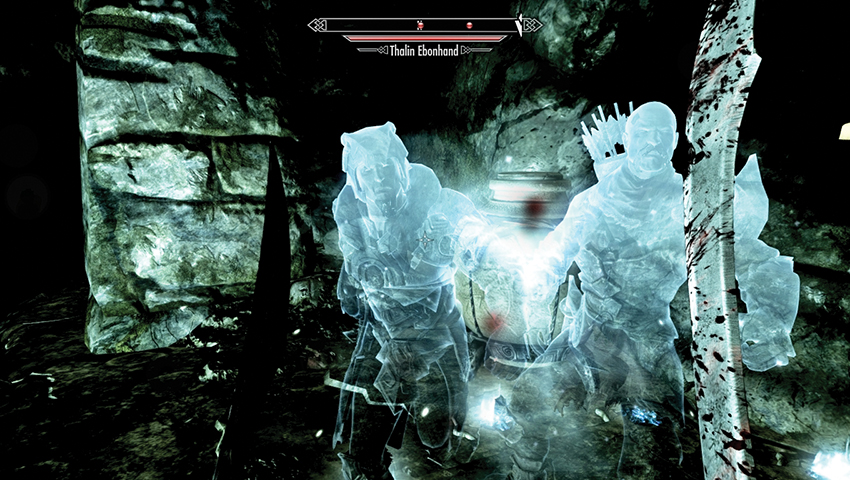
Wave 3: Lieutenants Unleashed. After you fend off his crew, Haknir reappears by the altar, accompanied by his two lieutenants, Garuk Windrime and Thalin Ebonhand. Focus your attacks on Haknir, as he warps out as soon as his health falls below 40%. Eliminate one of the lieutenants, then stop to heal and recover if you need to—this is your best opportunity to do so during the battle. Then finish off the other to continue.
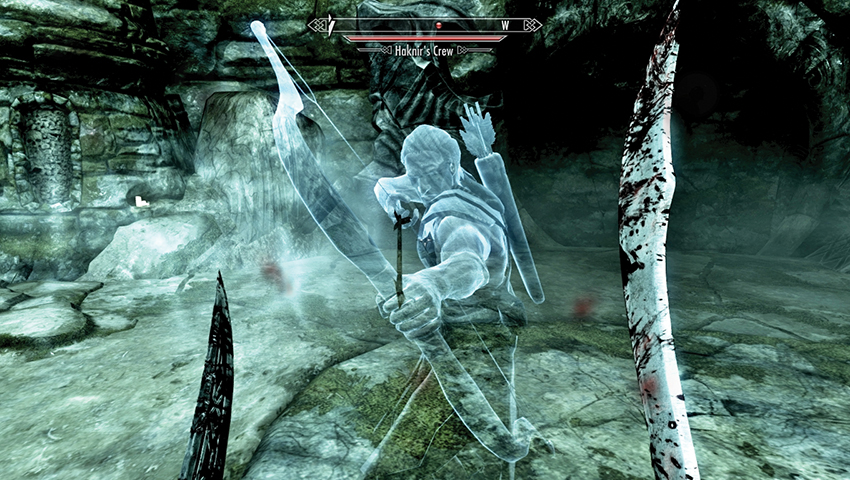
Wave 4: A Motley Crew. You then face a second wave of Haknir’s crew. They’re no more difficult than before, but you now fight three at a time instead of two. Followers or summoned allies are especially useful here to keep yourself from becoming surrounded and overwhelmed.
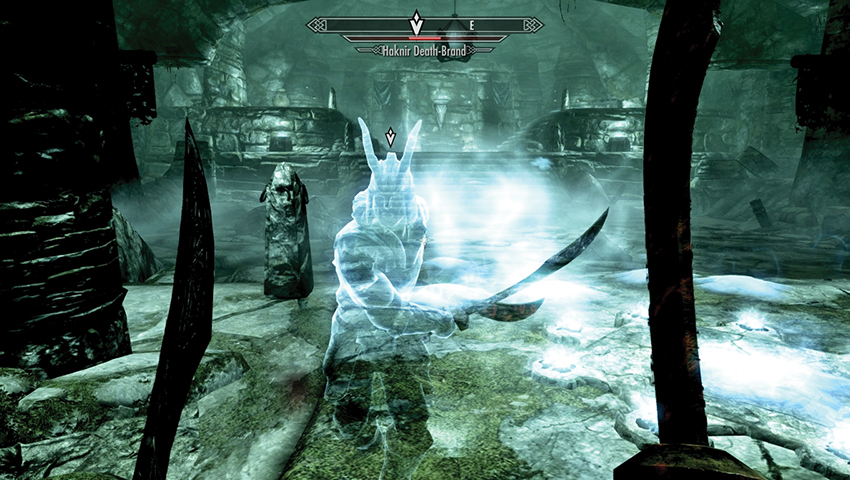
Wave 5: Haknir’s Last Stand. Finally, you face Haknir again in a fight to the death. Finish him off and claim both Soulrender and his immense hoard of treasure.
Quest Conclusion
When Haknir Death-Brand finally vanishes, be sure to claim the blade he was wielding, as it amplifies the qualities of Bloodscythe. You are now free to loot from this barrow and return to the surface the way you came.
- Soulrender
Postquest Activities: The Deathbrand Treasure
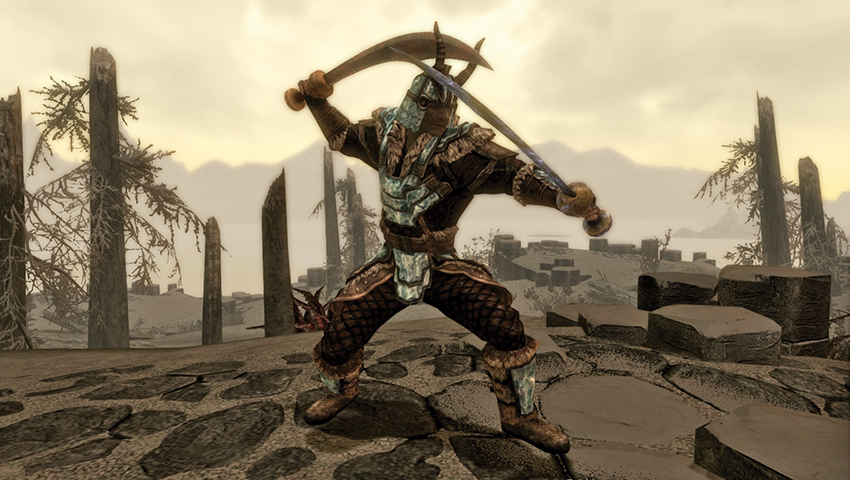
The legendary treasure of the pirate despoiler Haknir Death-Brand is a worthy prize. In addition to a vast sum of gold and valuable gems, it includes some of the best gear available, especially for a Light Armor/Dual-Wielding specialist.
| Name | Type | Description | Found |
|---|---|---|---|
| Bloodscythe | One-Handed Sword | When dual-wielded with Soulrender, Absorb Health 15, Damage Armor (25% chance, 100/15s) | Gyldenhul Barrow |
| Soulrender | One-Handed Sword | When dual-wielded with Bloodscythe, Absorb Magicka 15, Dispel Magic (25% chance) | Gyldenhul Barrow |
| Deathbrand Gauntlets | Heavy Armor | Increases your dual-wielding damage by 10% for each Deathbrand item you wear. | [S.ND] Mudcrab Tidal Pools |
| Deathbrand Boots | Heavy Armor | Increases your carry weight by 10% for each Deathbrand item you wear. | [SS.W] Basalt Causeway |
| Deathbrand Helm | Heavy Armor | Waterbreathing. While wearing the full set of Deathbrand Armor, increases your Armor by 100. | [S.N28] Haknir’s Shoal |
| Deathbrand Armor | Heavy Armor | Increases your Stamina by 15 for each Deathbrand item you wear. | [SS.D] Bloodskal Copse |
Postquest Activities
That treasure map, now used, would make a great conversation piece when displayed in your house. And if all that gold is burning a hole in your pocket, seek out Ralis Sedarys (in Solstheim Side Quests: Unearthed), who needs an investor with deep pockets in order to complete his work.