
Elder Scrolls V: Skyrim Special Edition Guide Dragonborn Quests Dragonborn Main Quest
Dragonborn Main Quest: The Gardener of Men
The Gardener of Men
Into Apocrypha
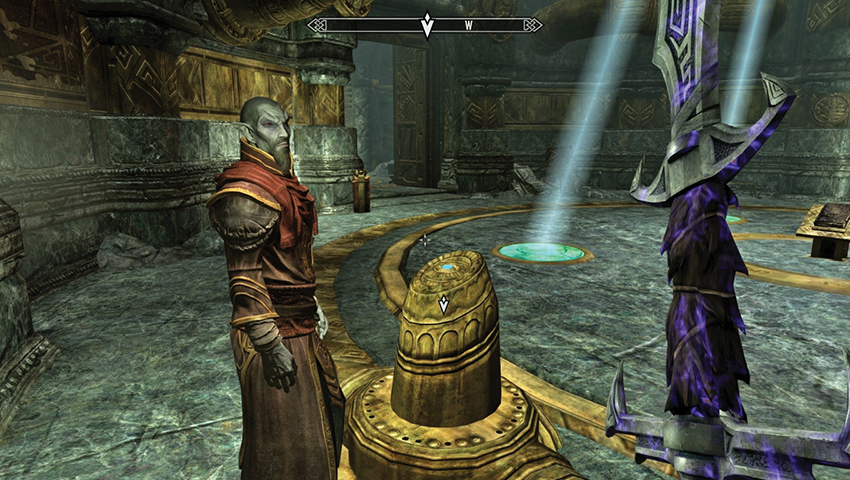
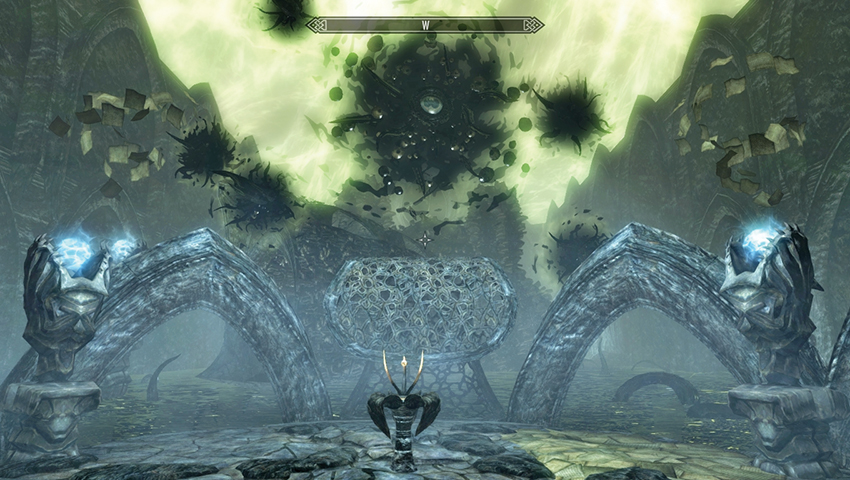
Neloth urges you to read the Black Book that has risen from its seal. Approach and take the book from its stand. As you open the cover, a tendril grabs you by the throat, and you’re transported into Hermaeus Mora’s realm of Apocrypha. The dark Daedric Prince appears to you in this other-world, manifesting as black clouds of tentacles and eyes. This is Apocrypha, a realm where all knowledge is hoarded. After wondering whether you are clever or a coward, Hermaeus Mora disappears, leaving you to explore this plane of existence.
- Black Book: Epistolary Acumen
Chapter I: The Tunnel of Lore
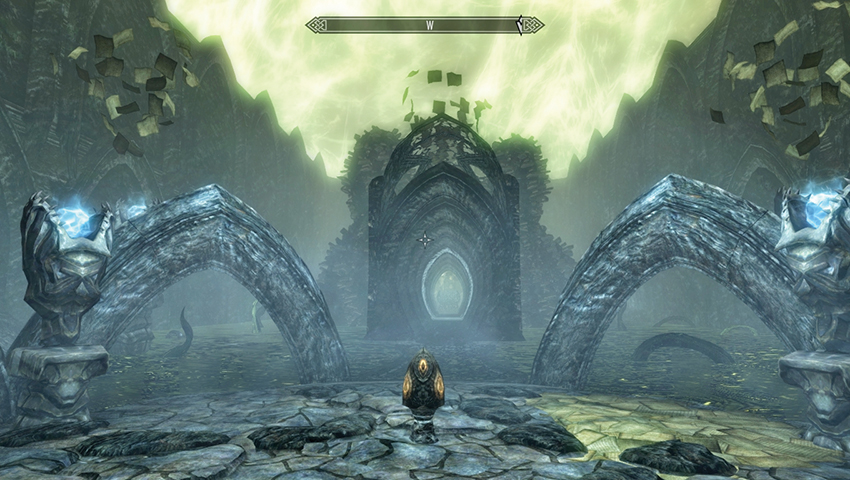
Use either or both of the Magicka fonts, then activate the Scrye to lower the walkway ahead (west) of you. Time your approach so you can enter the moving tunnel of lore. Walk to the opposite end, through the flying pages, and wait for the tunnel to move right (north). Step off the tunnel and onto a promontory.
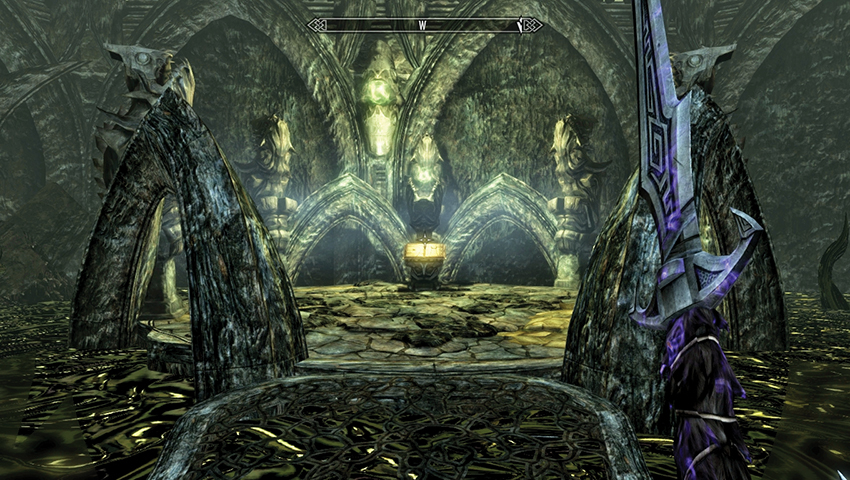
Once on the promontory, use the Stamina font, activate the Scrye, and watch a second walkway unfurl. Step back onto the moving tunnel, riding it along the edge (watching for tendrils) to the walkway. Step off, heading across (west) to an island, a Stamina font, and Chapter II.
Chapter II: Seeker and Destroy
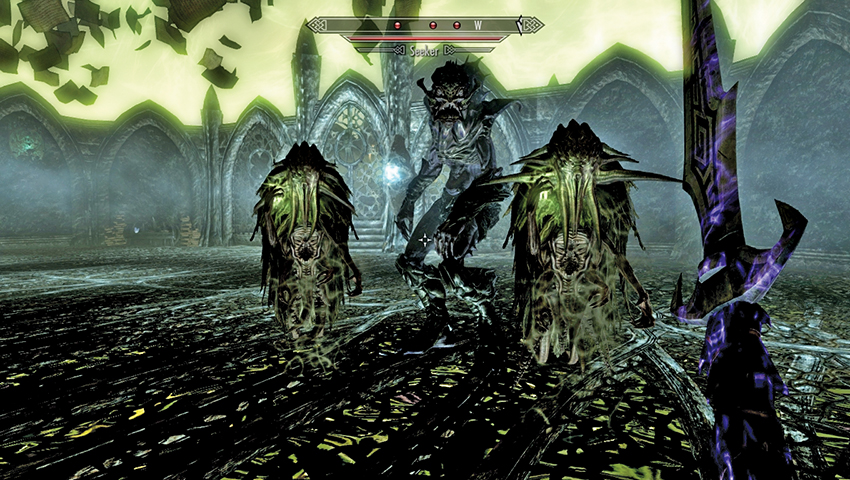
Head north down the tunnel of pages to the Scrye. Activate it, which unfurls the tunnel walls, allowing you to step out into a medium-sized arena where you must fight a Lurker and up to three Seekers. There are three Magicka fonts, which you can use during the battle to press your magical attacks; a Pod; and another Scrye.
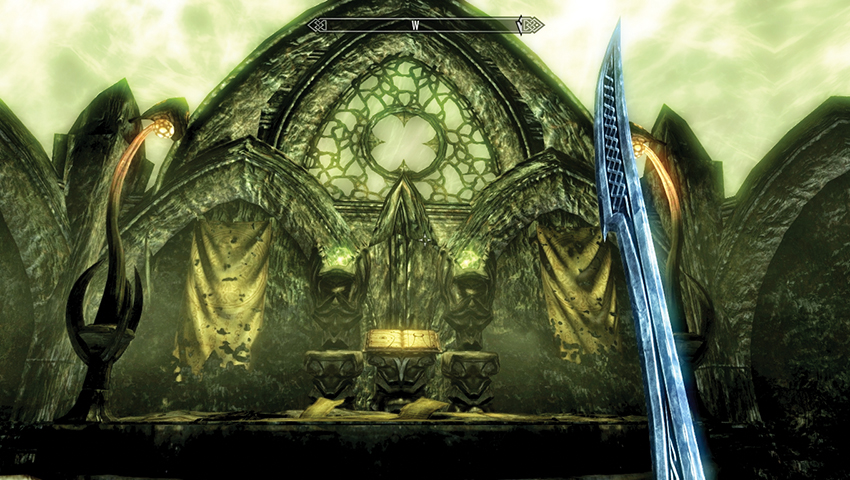
Activate the Scrye on the eastern wall below the third Magicka font, opening the gate to the west. Head up the stairs, claim the Stamina fonts, and then begin Chapter III.
Chapter III: Tunnels and Tendrils
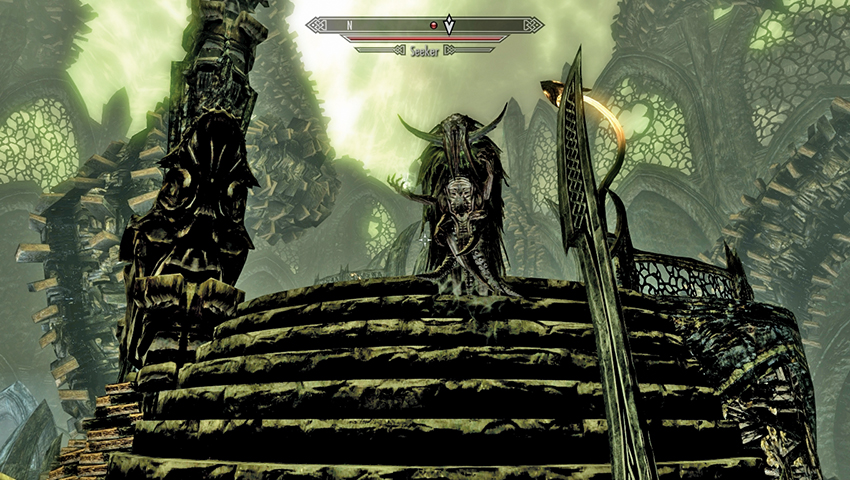
You appear in a stepped chamber with columns of books arcing into the skies. Head across either of the small parallel bridges to the steps, where Seekers appear. There is a half-submerged Magicka font in the black ooze to the northwest. Climb the steps, slaying Seekers as you go (there are two or three to thwart).
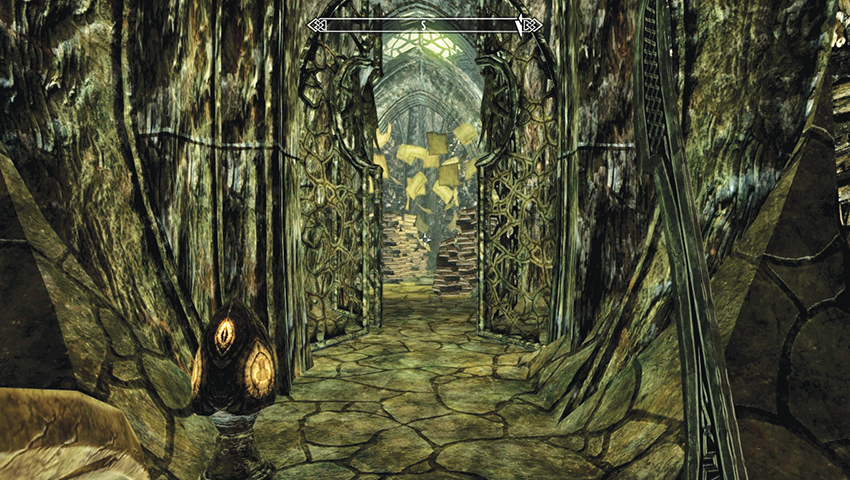
At the top of the steps is a circular black pool and another Magicka font. Slay any remaining Seekers before venturing into the second circular platform, avoiding the mire and stepping onto the moving tunnel. Head along the tunnel to a Scrye to the south, which opens the adjacent door and elongates the tunnel ahead (south) of you.
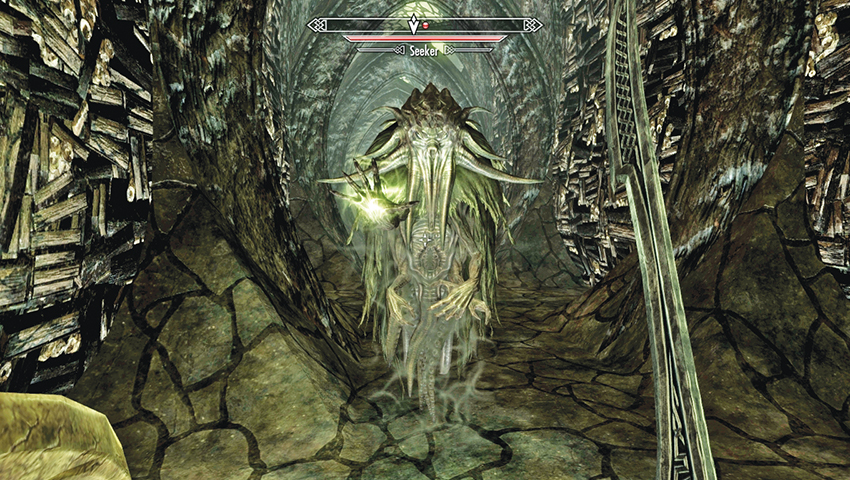
Step past the piles of books, heading down the tunnel, turning left (east) and slaughtering Seekers as you go. At least two must be dispatched. Ignore Scryes and areas you can’t access yet. As you continue east, the tunnel moves, allowing you to step north onto an unfurling platform and into another tunnel.
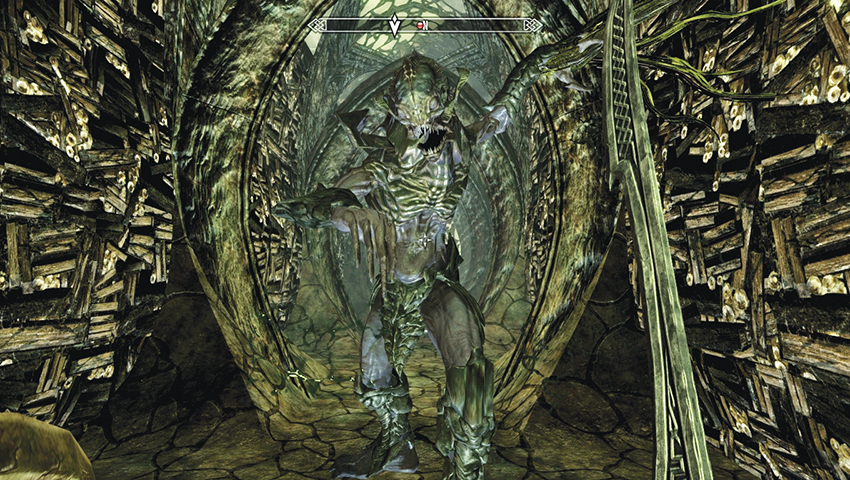
This tunnel has a Lurker to face (so you may wish to retreat a little as you battle it). Head north until the tunnel turns to the left, forcing you west to a Scrye you may have seen earlier. Activate it and a door opens, leading you through the tunnel you came from and to a Stamina font and a left (south) turn.
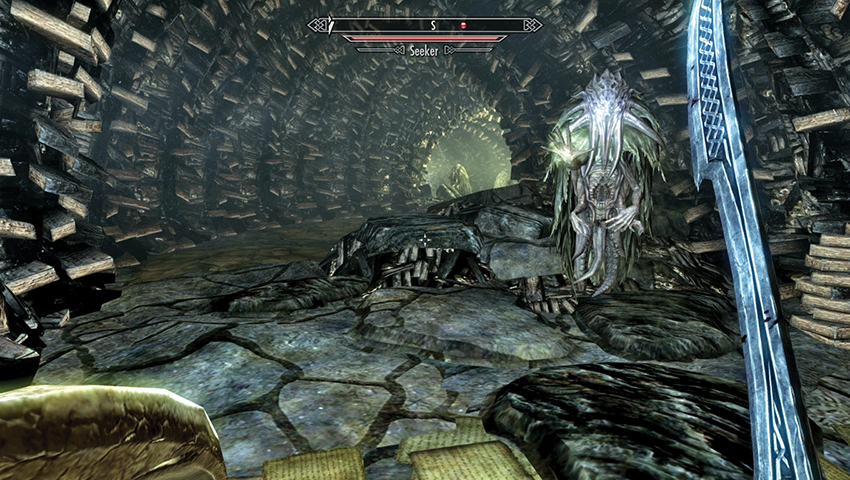
Avoid the tendril in the ruins of the reading room and continue south, passing a Magicka font and a host of Seekers. Concentrate on slaying the first ones you see to shorten the battle significantly. Pass by three more fonts—two Stamina (one above the book) and one Magicka—and open Chapter IV.
Chapter IV: Meeting Mora
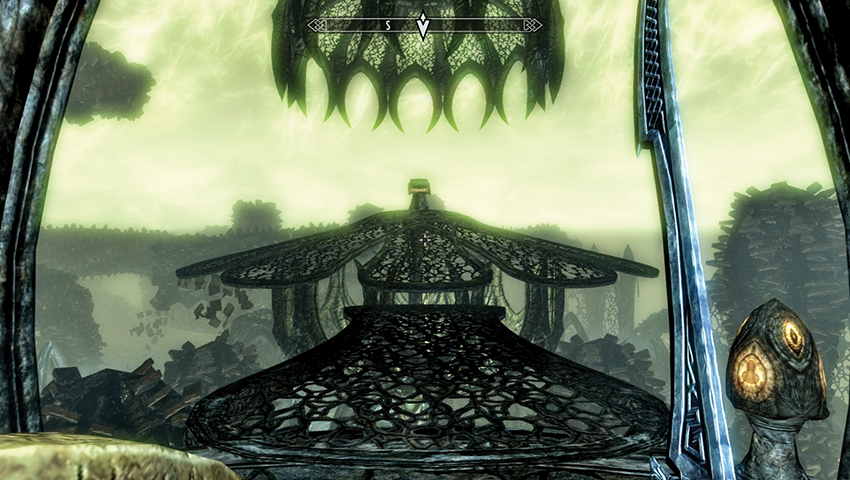
Gather any Soul Gems from the nearby table and avoid the circular pool. Activate the Scrye, watching a giant cage in the center of this realm unfurl. Head across and approach Black Book: Epistolary Acumen. This summons the Keeper of Forbidden Knowledge! Listen to his introduction, answering him how you wish.
Although your answers can differ from respect to annoyance, this Hermaeus Mora knows why you have come. To this end, you are awarded with the second Word of Power.
- Word of Power: Mind, Bend Will
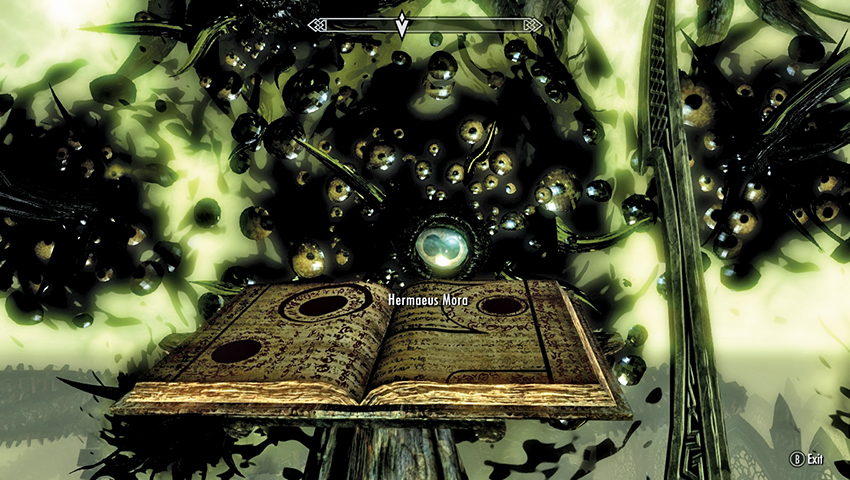
But this is not enough; you must seek the final Word of Power in order to face Miraak. Hermaeus Mora will help you, but he has a price. Answer however you wish, but your fate remains intractably linked to your new master. Miraak has served him but grows restless under his guidance. In exchange for the final Word of Power, Mora demands the secrets of the Skaal. Answer however you wish, but the task is clear: the Skaal shaman must be sent to him.
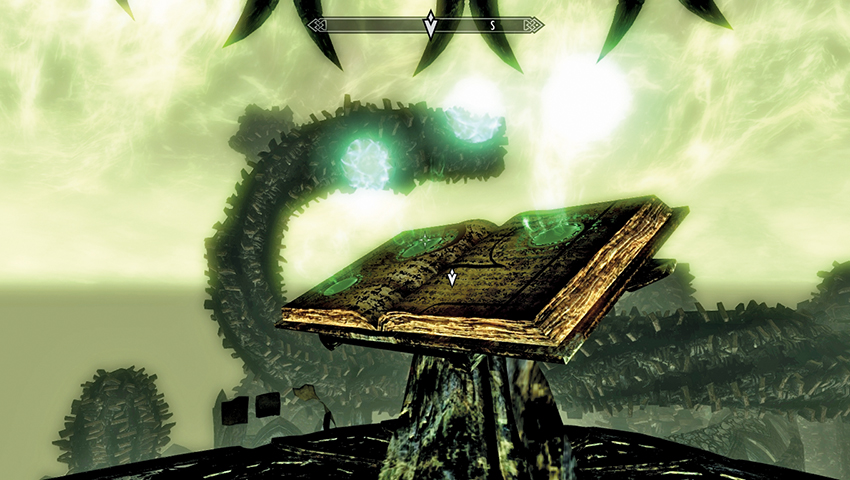
With that, Hermaeus Mora departs from your vision, and three glowing globes emanate from the open book. Each holds a special power for you to wield. Take the one you wish, then read the book (here or in your inventory) and head back to Solstheim. The powers are as follows:
- Dragonborn Force (your Unrelenting Force Shout does more damage and may disintegrate enemies)
- Dragonborn Flame (when your Fire Breath Shout kills an enemy, a fire wyrm emerges from their corpse to fight for you for 60 seconds)
- Dragonborn Frost (your Frost Breath Shout encases foes in ice)
Secrets of the Skaal
Back in the Nchardak Reading Room, Neloth is most interested in what you’ve been up to. Answer however you wish, as the Dark Elf wonders how you managed to acquire such a bargain for the Daedric Prince’s help. You can learn more lore from Neloth at this point, after which you should leave via the gold door to the northwest.
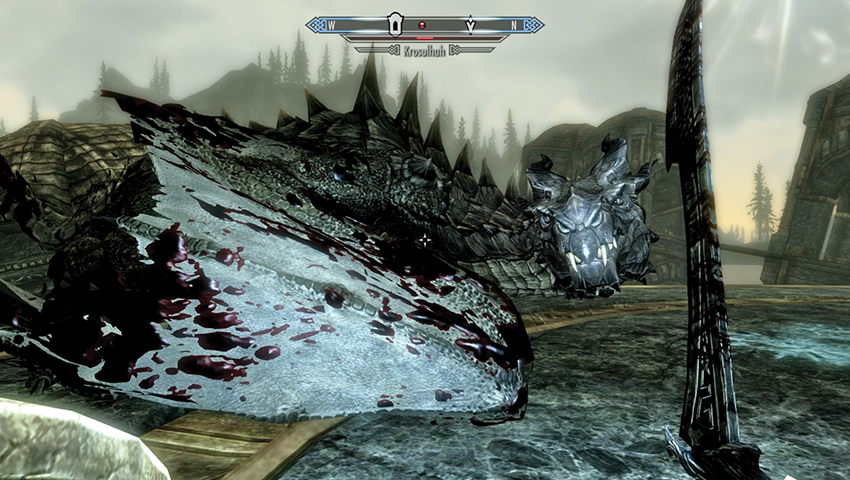
Once outside, your plans of traveling to Skaal Village are halted temporarily by the arrival of the monstrous dragon Krosulhah, sent by Miraak to devour you. With Neloth’s help, and the wide platform for the beast to land on, it shouldn’t present too much of a problem.
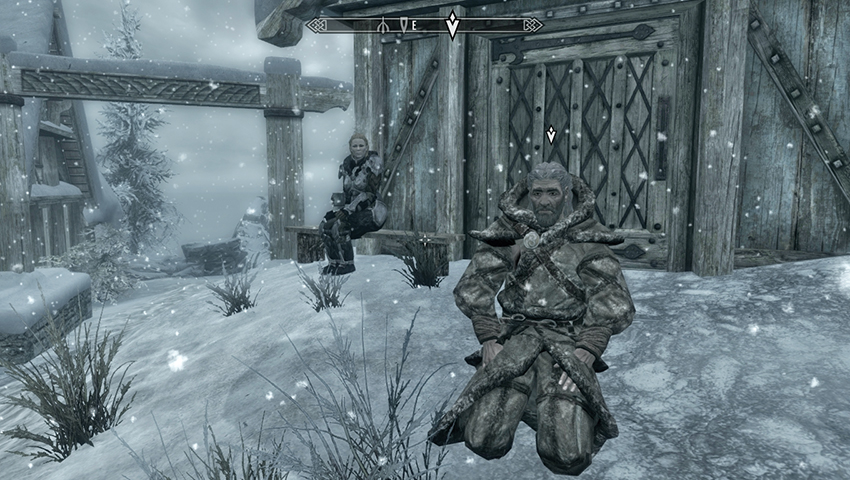
Make your way back to Skaal Village, where you find Storn Crag-Strider kneeling in front of his hut. Speak to him, and mention your conversation with Hermaeus Mora (or as the Skaal call him, “Herma-Mora”). You can:
- Mention the deity told you he would teach you the final word of Miraak’s Shout. This advances the quest.
- Ask what the “secrets of the Skaal” are.
- Ask why the Skaal refer to him as “Herma-Mora.”
Storn Crag-Strider doesn’t know whether he has the strength to face the Demon of Knowledge:
- If you haven’t completed Dragonborn Main Quest: Cleansing the Stones, he mentions that not all of the stones have been restored. You cannot continue until you finish that quest.
- If you have completed Dragonborn Main Quest: Cleansing the Stones, he mentions that the Tree Stone (atop the Temple of Miraak) is still corrupted, but the other five Stones have been restored. He may have the strength and asks for the Black Book. Give him this book in dialogue.
Quest Conclusion
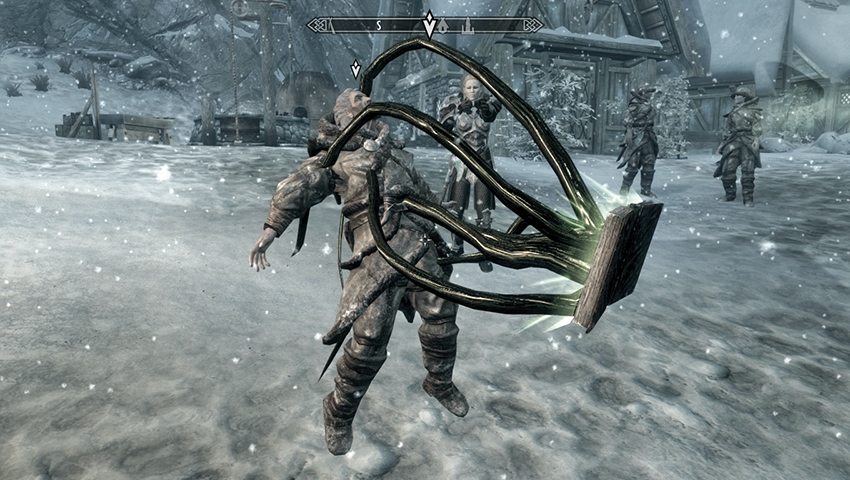
Frea calls on her father to reconsider, as she feels he isn’t strong enough, but the old man tells her not to fear for him, as the All-Maker laid this path for him to follow. You aren’t sure what to make of this, but once the book is opened, Storn is immobilized by piercing tentacles. Hermaeus Mora appears and thanks you for delivering the gift he requested. He fulfills his end of the bargain, and after tossing Storn’s corpse onto the snow, he grants you the final Word of Power!
- Word of Power: Dragon, Bend Will
Dragonborn Main Quest: At the Summit of Apocrypha begins immediately.