
Elder Scrolls V: Skyrim Special Edition Guide Quests Act II
Main Quest: Elder Knowledge
Main Quest: Elder Knowledge
Higher Learning
Finish your conversation with Paarthurnax by asking him to impart all the information about the Elder Scroll that he can. According to him, when you return with the Scroll, you shall meet Hakon, Gormlaith, and Felldir—the first mortals to whom Paarthurnax taught the Thu’um and who led the rebellion against Alduin. Complete your talk with Paarthurnax, and then leave to locate the Elder Scroll, if you haven’t found it yet. There are two optional clues that point you in the correct direction.
Talking to Esbern: To learn more about your Elder Scroll search, you may wish to return to the Sky Haven Temple. Esbern is usually standing outside, atop the mountain the temple is dug into, gazing over the Reach. Approach the temple pavilion and speak to him. He recommends you visit the College of Winterhold. Your map updates.
Talking to Arngeir: To learn more about your Elder Scroll search, you can visit High Hrothgar and speak with Master Arngeir. The Greybeards do not concern themselves with the Scrolls, but such blasphemies have always been the stock-in-trade of the mages of Winterhold. He suggests you try their College. Your map updates.
Insane Ruminations
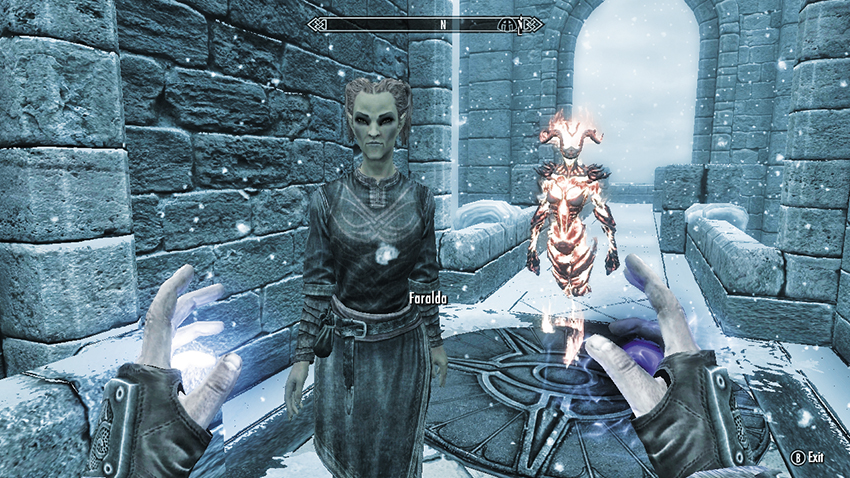
Begin your journey to the city of Winterhold. The College is linked to it by a bridge. At the bridge’s near end, a High Elf wizard guards the entrance. She stops you, warning that it’s not safe to cross the bridge and that you will be denied entrance to the city. She will become hostile if you take a swing at her. Although she has some complaints about the College, which you can ask her about, you really just want to enter the College. Ask if this is possible, and she asks why. Choose the answer that best suits your demeanor. She requires that you take a test to show you’re at least competent in the use of magic. You can:
- Walk right in without dealing with Faralda, if you’re already a member of the College of Winterhold and started that line of Side Quests.
- (Persuade) Tell her that you both know you’ll be successful.
- Agree to take the test. When the test begins, Faralda requests you aim a spell at the seal on the ground near to her.
- Ask if she would grant entry to the Dragonborn. Faralda asks if you really have the Voice. Show her any Shout you have.
Spell Casting: Bring up your Magic menu and choose the spell Faralda has requested. She can choose Firebolt, Magelight, Fury, Conjure Flame Atronach, or Healing Hands, depending on your available spells and knowledge of particular magic styles. Aim at the seal and cast the spell. After a successful casting, Faralda tells you to find Mirabelle Ervine inside the College.
Dragon Shouting: Bring up your Shout inventory, choose any Shout (a good choice is Fire Breath), aim it at the seal, and bellow. After you strike the seal, Faralda tells you that there is much you both can learn from each other and that you’d be a superb addition to the College.
You can now ask Faralda more questions about Mirabelle and the College, or even receive training in the arts of Destruction Magic. College of Winterhold Quest: First Lessons is now active, and you are told to report to Mirabelle Ervine. However, this objective is not required or part of the Main Quest. Cross the bridge, enter the College’s exterior courtyard, open the grand doors, and enter the Hall of the Elements. Immediately make a right (east) turn and enter the Arcanaeum.
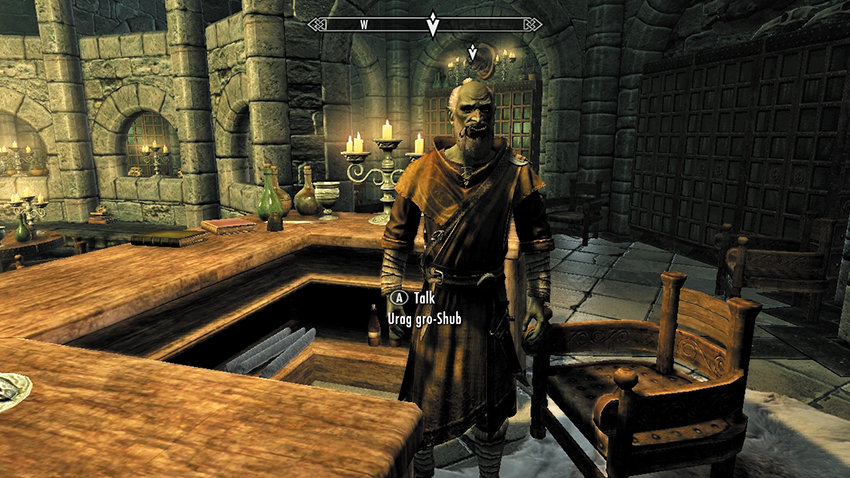
Look for the Orc Mage named Urag gro-Shub, who runs the Arcanaeum. Although you can ask to assist him in College business (which allows you to accomplish several College-related tasks unrelated to this quest) and can ask about the Arcanaeum library, you’re here to ask him about the Elder Scroll. Urag isn’t too happy with you offhandedly asking about such a powerful artifact. You may listen to an overview of the Scrolls before asking if there’s an Elder Scroll you could use. Urag laughs at this question; he wouldn’t show the likes of you, even if he obtained one. Ask if he at least has any information on them. He agrees to locate a couple of arcane tomes that may have some clues. But mostly they contain lies leavened with rumors.
Urag gro-Shub locates and places two tomes on the nearby desk: Effects of the Elder Scrolls and Ruminations on the Elder Scrolls. After reading both books (which you may keep or leave on the desk), you find that the Ruminations tome is the work of a madman. Daedric Quest: Discerning the Transmundane now begins.
- Effects of the Elder Scrolls
- Ruminations on the Elder Scrolls
Return to Urag and let him know that the Ruminations book is incomprehensible. He doesn’t seem surprised; after all, this book was the work of Septimus Signus. Although Signus is the world’s master of the nature of Elder Scrolls, Urag tells you he’s “been gone for a long while.” You suspect he means both mentally and physically. He currently resides north of the College in the treacherous Ice Fields.
The Hermit of Hermaeus Mora
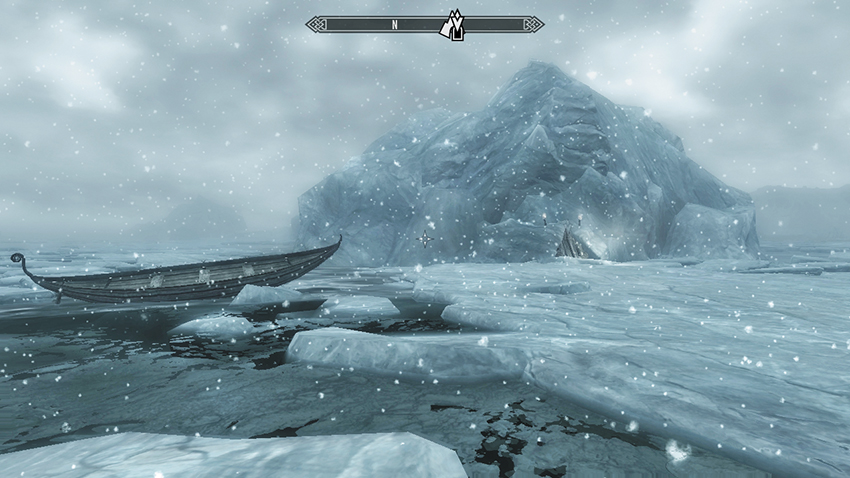
The giant chunks of ice floating off the Northern Coast are your next destination. Exit the College and run down to the frigid coastal waters. Hop across any floating ice that you can, navigating your way north. Expect to slice into a few Horkers along the way, and you may encounter wolves and Ice Wolves.
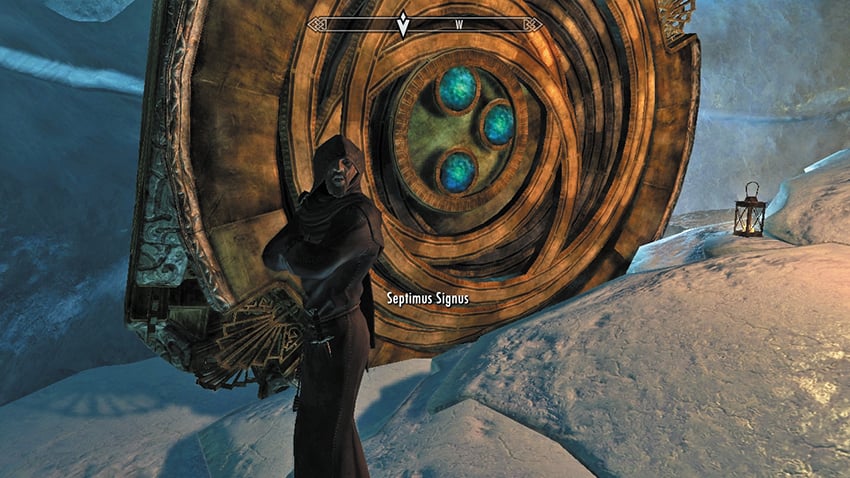
Septimus Signus’s Outpost is cut into one of the hill-sized icebergs, close to a moored rowing boat. Climb down the ladder and the slope to reach a lone mage in a chamber of ice. He appears to be guarding some kind of Dwemer box about the size of a house.
Asking Septimus about the Elder Scrolls results in a torrent of knowledge. Ask where the Scroll is, and after receiving moderately useless information, ask once more (either pleasantly or with a more threatening tone). Septimus agrees to tell you, but in return, you must venture into Blackreach, a strange underground Dwemer city that lies below Alftand.
Ask about getting into Blackreach. Septimus keeps up his riddle-based prattling and hands you two items: The first is an odd-edged lexicon, used by the Dwemer for inscribing. The second is an Attunement Sphere, which apparently “sings” when you near an important Dwemer door. Once these are in your grasp, your Main Quest updates. Stay and speak further with Septimus if your sanity can stand it.
- Attunement Sphere
- Blank Lexicon
Trek to the Tower
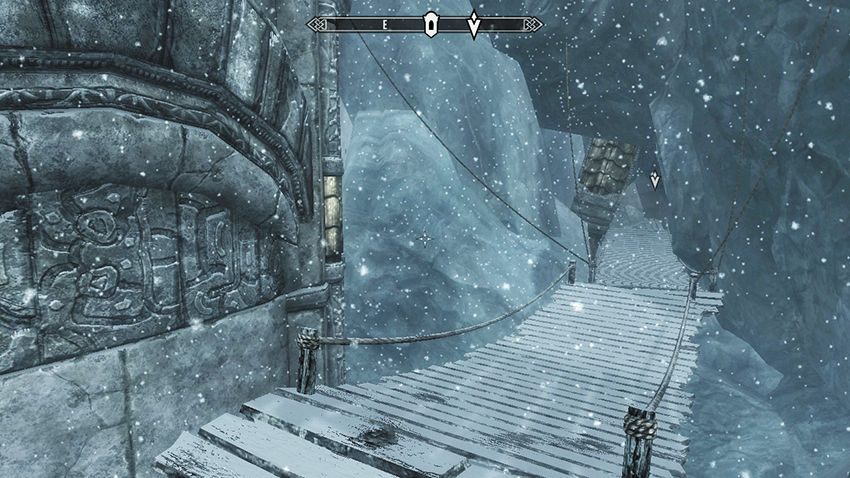
Alftand is located on the glacial mountains southwest of Winterhold. Your trek there is usually interrupted by wild animal attacks. The exterior of Alftand is a series of dotted structures, both Dwarven and Nordic in nature. Below the glaciers is the Alftand Ruined Tower, which offers a dangerous route to the glacier’s top. A much better way is to stay outside to reach the two windswept huts, an inaccessible Dwarven tower, and a precarious platform that winds down and around the rooftops, on the side of the glacier. Head down the planked bridges until you reach the entrance to the Alftand Glacial Ruins. This is the way to go.
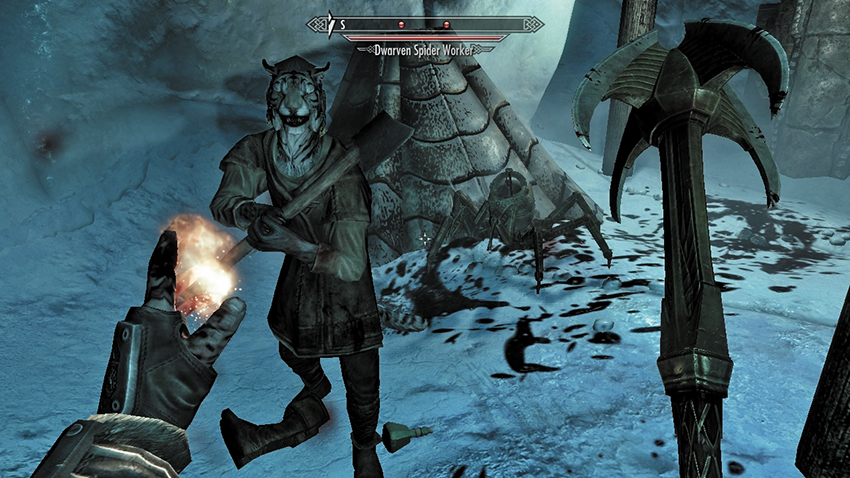
Wind through the glacial tunnels that have been mined out and left in a real mess, with debris and cooking equipment strewn about, and the signs of fighting everywhere you look. Follow the tunnel down until you reach the beginnings of the Dwarven architecture, a stone tunnel that ends in a connecting room with a stone table, and a large barred doorway to the north. This can only be unlocked from the other side. On the nearby table you’ll find Research Notes. Whoever wrote it thought he saw a strange human figure on the other side of the barred doorway.
- Research Notes
At this point, the passage west heads up a ramp and down the other side, into another glacial intrusion. Watch for attacks from a Dwarven Spider as you go. A Skooma-addled Khajiit is shouting about being trapped here and attacks if he sees you. Drop him, and continue down into the start of the main Dwarven ruins. The ceilings tower above you as you reach a cog and piston room with a raised center and two Dwarven Spheres appearing from their wall holes to attack. Continue north to a vent chamber with a locked gate (Novice) leading to a few scraps of treasure. Head through the gold door and up to a Dwarven Spider–infested passage stretching south. This leads to a locked (Apprentice) gold door with items to steal behind it, and a main path around to the east, which brings you back into the cog and piston room. This time, you’re above the raised center. Navigate the pistons (jump over them, or you risk being pushed off by them) in a counterclockwise route to the short corridor and door to the Alftand Animonculory.
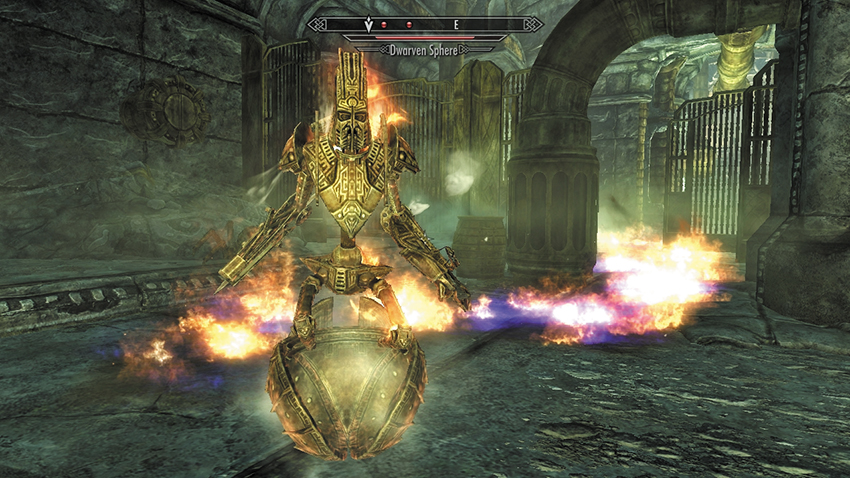
Move through the green-tinged corridor to an opening on your left (east). This leads to a large pipeworks corridor. Avoid two Dwarven Spheres by staying on the low ground, and head through the gap in the gold fencing to the left of the stone steps. Otherwise, head up the steps, over the pipes, and up the ramp with the central slit. Walk on the slit so you don’t trigger a blade trap by stepping on the pressure plates. At the barred doorway, use the lever on your right to lower the bars. The lever behind the bars raises them, which isn’t necessary unless you’re being pursued and want to halt your attackers. Step out into the grand Animonculory shaft—a long vertical drop you need to descend without falling. Remove any Dwarven Spider threats, and head down the sloping stone walkway to an arched entrance platform. The gold door here (Apprentice) just leads to a dead end and more treasure.
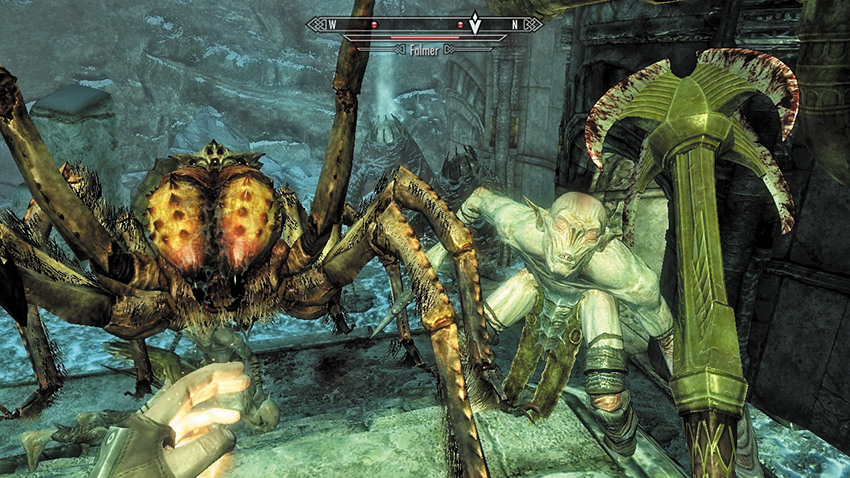
Peer over the edge of the stone platform facing into the shaft. The walkway below has crumbled, forcing you to drop onto the jutting gold pipe and then the rubble platform. There is a walkway to the west, heading up to a precarious ledge, a Dwarven Spider battle, and a piston that can push you over the edge. The way forward and downward is to the northeast. Look for the lantern and falling water, as the sloping walkway is hidden.
As you descend, something horrific shuffles out of the shadows: an eyeless figure, thought to be myth. These are Falmer, the degenerate remnants of the original Elven inhabitants of Skyrim! Dispatch four of them as you follow the winding platform down. Take care not to lose your footing and fall to your death. Next, face the jet of fire blasting the entrance to a gold door. Dart through or around, and enter a Falmer nest.
Falmer appear from their huts, forcing you to fight or sneak by. Follow the passage down to a second set of Falmer in a boiler chamber. Watch for those rattling, hanging bones if you’re sneaking, as these startle the Falmer into finding you. Head down the steps, watching for Skeever attacks, and look for a gold door on the southeast wall. This is the way onward, but you may wish to turn to the northwest, open a gate, and enter an ancient Dwarven Elevator. Pull the lever and you ascend to the Alftand Glacial Ruins.
Step around the rubble and to the barred doorway where you found the Research Notes. Pull a wall lever here, so the bars retract. This allows you to easily navigate up and down the Animonculory if you explore here in the future. For now, use the elevator to head back down, and open the gold door in the southeast wall. This leads down the sloping walkway to the shaft’s bottom, where you encounter another Falmer attack and face a Frostbite Spider. From here, you have only one set of corridor steps and a claw trap (move around the trip wire) before you enter the Alftand Cathedral.
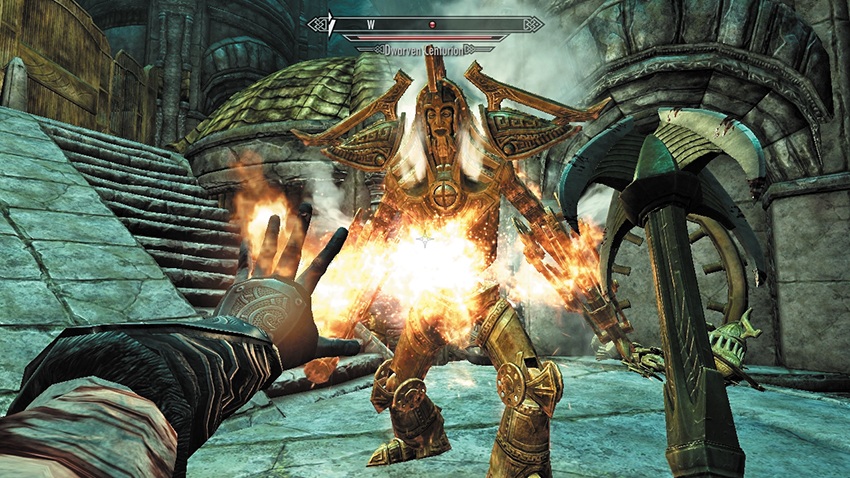
Battle a Falmer and navigate some floor trigger plates to reach a gold door that leads out into the main cathedral chamber—a massive echoing cavern with a central structure and a doorway barred with spears. Check the area for Falmer and the steps to your left (south) before heading to a gold lever above the entrance from which you came. This raises the spears, enabling you to enter the cathedral platform, where a giant steam-powered mechanical monster roars into life. This Dwarven Centurion is a frightening form, but you should defeat it, as it carries a handy key.
- Key to Alftand Lift
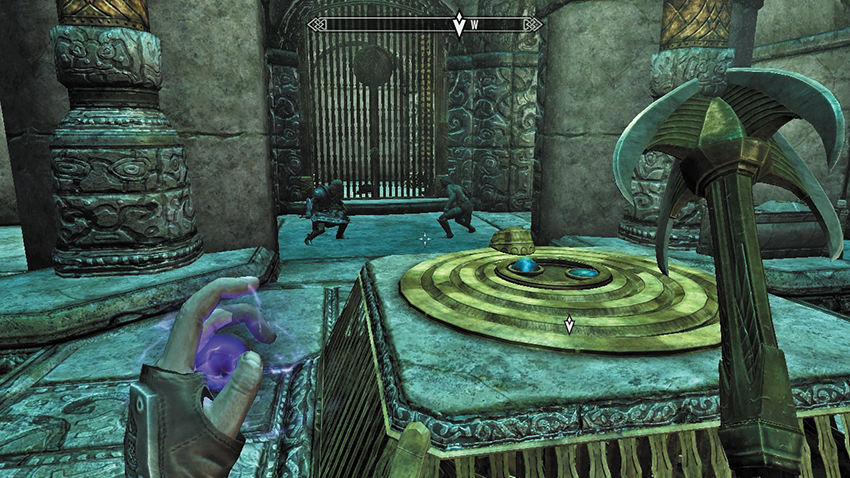
Climb to the gate (southwest) at the platform’s top, open it, and then listen to the arguments of two thieves, Sulla and Umana. You must slay them, as there’s no reasoning with them. Now open the gate beyond the strange Dwarven Mechanism. This leads up to the top of the Alftand glacier, and a tower you couldn’t access when you first reached here. Open the gate from the inside using the wall lever (so you can access the cathedral directly from the surface during future adventures); then travel back down to the cathedral. Approach the Dwarven Mechanism now, and insert the Attunement Sphere Septimus gave you. The floor parts, revealing stairs down to a hidden gold door and an entrance into the mysterious undercity of Blackreach.
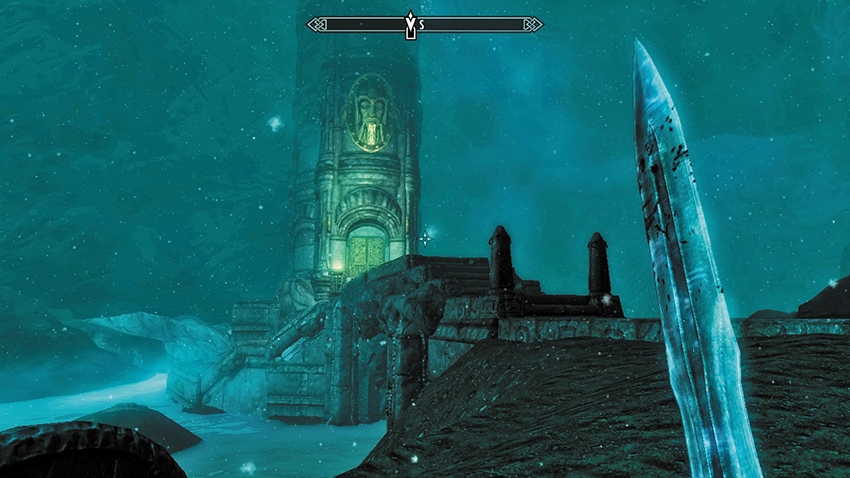
Exiting Blackreach using the appropriate Dwarven Elevator involves a romp west. First, though, you may wish to head southeast, to a golden button encased on a Dwarven head pedestal. Press it, and the elevator behind lights up, allowing you to ascend and exit back outside. Open the gate, allowing you to enter from the Great Lift of Alftand (a new tower entrance northeast of Nightgate Inn). Return to Blackreach and find the cobblestone path heading roughly west. Follow it past ancient structures and towering luminescent fungi. Continue with a giant lake and cascading waterfalls to your left (south), heading over a stone bridge. Go west and turn left (south) to reach a colossal elevator that allows you to ascend into the Tower of Mzark, your destination.
Oculory Operation
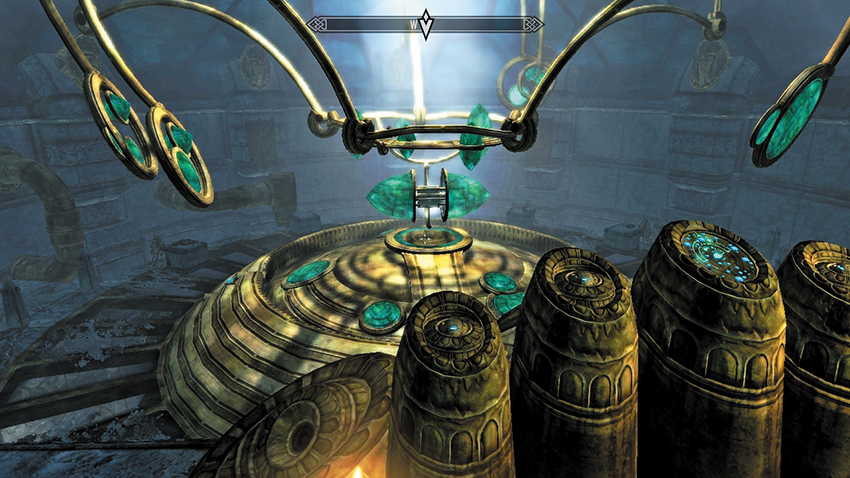
Venture along a corridor with a burst steam pipe and small camping area, and through gold doors into a gigantic, circular Aedrome chamber. The chamber is dominated by a huge sphere. This appears to be some kind of massive Oculory, with a variety of focusing lenses and other golden machinery attached. Head to the cluster of controls on the platform above the Oculory. The controls are comprised of five cylindrical devices: a Lexicon Receptacle and four positioning buttons embedded in pedestals. There is a certain way to use these devices to produce something hidden in one of the lenses.
Puzzle solution: Activate the Lexicon Receptacle, so the Blank Lexicon rests on top of it. The two pedestals to the Receptacle’s right—the only ones currently active—open and close the Oculory lenses. Press the taller of the two pedestals (right of the middle one with the lens chart on it) three or four times, until the pedestal with the blue button to the left of the middle one starts to glow. Move to this new pedestal (at this point, the Blank Lexicon may be glowing blue). The two pedestals to the left of the Receptacle—the taller of which is now active—control the ceiling lens array. Press the button of the taller, left pedestal twice, until the button on the far left, smaller pedestal begins to glow. Now press that button, and a large set of lens crystals descends from the ceiling and stops. The main crystal rotates and splits apart to reveal a tubelike carrying device.
Quest Conclusion
Drop down from the balcony controls and approach the open lens crystal. Take the Elder Scroll from its elaborate compartment. Then exit using the door under the Lexicon Receptacle. This leads to one final Dwarven Elevator, which allows you to open the gate from the Tower of Mzark, step out into the exterior, and add another possible entrance to Blackreach, if you decide to return.
- Elder Scroll
Postquest Activities
As soon as you take the Elder Scroll, Main Quest: Alduin’s Bane begins. In addition, you are able to return to the giant underground city of Blackreach and can continue Daedric Quest: Discerning the Transmundane from this point on. Consult that quest for further information.