
Elder Scrolls V: Skyrim Special Edition Guide Quests Side Quests
Side Quests: Unfathomable Depths
Unfathomable Depths
The Agitated Argonian
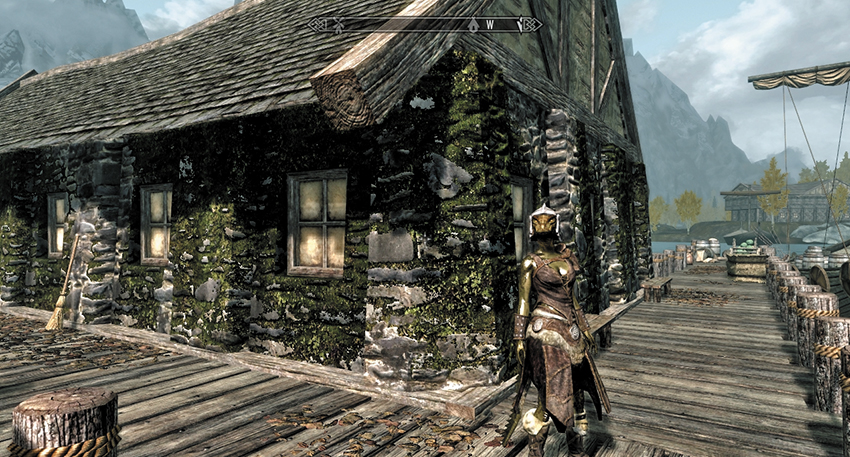
If you’re exploring the docks of Riften that overlook Lake Honrich (which are outside the city), you’re likely to encounter an agitated Argonian named From-Deepest-Fathoms. If you can’t find her, wait around or return here after other adventuring. When you try to speak to her, From-Deepest-Fathoms quickly pushes an object into your hands and pleads with you to free her of her burden. When you ask what she’s talking about, she says she’s been driven half mad by memories. And this is all the fault of a Lexicon. It must be returned to Avanchnzel. She begs you to take it. Agree and the quest continues.
- Lexicon
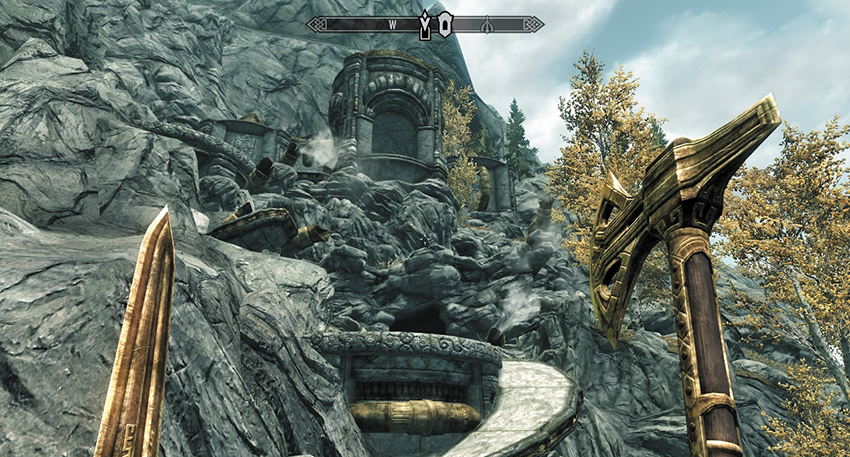
Avanchnzel is almost due west of Riften, across the Hold in the Jerall Mountains. It was once a great hall of dwarven construction, a library to house the vast memories of the Dwemer. It was run almost exclusively by strange mechanical spiders. From the outside, steam still periodically shoots from golden vents, and the entrance is atop a series of curved walkways hewn into the mountain. Enter Avanchnzel, and wind through the rumbling tunnels to an opening and entrance below you.
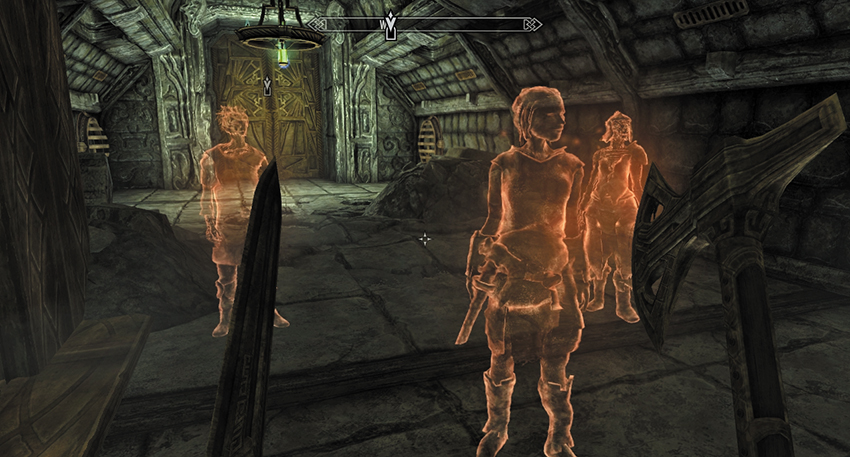
Halt as you witness a party of adventurers speaking to each other. They are bathed in red, the same color emanating from the Lexicon you carry. This seems to be a resonance, a playback of From-Deepest-Fathom’s previous exploration. You can’t interact with these ghosts but can only watch as they worry about venturing into this place. Breya, Watches-the-Roots, and Drennen complete the quartet. They walk forward and disappear from your vision.
Follow the tunnel to the south, and begin the first of many confrontations with Dwarven Spiders. Battle, sneak around, or flee from them. Progress south to a pair of giant gold doors, and open them. Along the stone platform high above the giant fissure below, the specters of Watches-the-Roots and From-Deepest-Fathoms talk about the amazing architecture in here. From this hub chasm, you have a choice of paths.
Path 1
Continue down the corridor heading south, with the two lanterns at its entrance. Prepare to fight with Dwarven Spheres as you turn the corner. This leads to a long corridor that turns, passes a locked gate (Apprentice), and ends at a curved ledge down to the bottom of the hub chasm. Here, you can inspect the following:
- A locked door to the south (Master) leading to a storage room with items you may wish to scavenge.
- A passage and long hallway to the east, sloping down past some recently slain Dwarven Spheres and ending in a gold door to the Avanchnzel Animoncultory. By the dead spheres, you receive another hallucination, as the previous expedition notices that they are being ignored by the “metal things.”
Path 2
Turn left (east) and head up the sloping platform to two pairs of gold doors. Then connect to a set of corridors with a cross-shaped stone table.
Head up and left (west) at the stone table to reach a connecting passage that brings you to the top of the hub chasm (where you find the remains of a skeleton) or to a pair of gold doors (and a door bar) leading into an Avanchnzel balcony. This is the best way to exit Avanchnzel and shouldn’t be accessed yet.
Head down (north) to a single gold door and a mechanical elevator that takes you to the Avanchnzel Boilery. Alas, the door at the bottom of the elevator requires a key to unlock and is firmly sealed. This is actually the escape route after you return the Lexicon.
Advancing into Avanchnzel
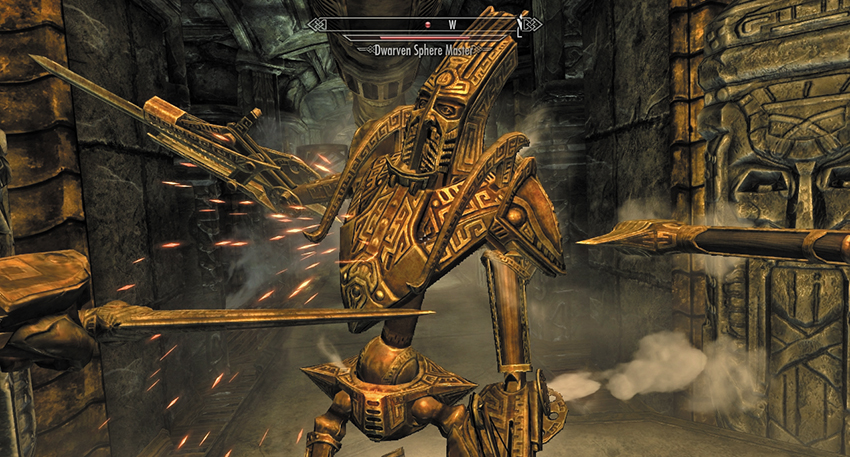
Enter the Animoncultory and prepare for protracted battles with Dwarven Spiders and Spheres (or flee from them). Fortunately, although this part of Avanchnzel is massive and elongated, there is only one route to take—through a series of connected corridors. The first chamber features golden barrels. You have another vision as you approach the locked gate (Adept) where the past adventurers realize that hiring a thief for this heist would have been wise. Follow the stairs through more corridors, and then out into a huge, grand hall. The past adventurers set up camp here, a little unnerved at the “sleeping metal men.”
Follow the connecting corridor through a storage room of metal pots, shelves, and barrels. Descend to more corridors, dwarven mechanical beasts to slay, and more chambers with pots and shelves. The past adventurers appear in the storage room bathed in a golden hue, complaining that the metal men aren’t sleeping anymore.
Down another corridor, a large and grinding chamber of cogs and spiders awaits. Lying on two stone slabs are huge, golden warriors, clad in gold but fortunately inactive. Fight or dash to the right (west), and up the stairs to the north to quickly exit this room, or investigate it further if you wish to battle Dwarven Spiders. Then run down the L-shaped corridor. The past adventurers appear once more. Drennen is at the end of his rope and flees the scene, leaving the team one man down. Open the doors and enter Avanchnzel Boilery.
Head down the increasingly ornate and tall corridor, watching the three past adventurers figuring out what to do when they finally have the Lexicon in their grasp. When they disappear, fight spiders and spheres as you progress down to a chamber with a desk and pistons. The past adventurers blink into your vision once more, and Breya seems very perturbed. Watches-the-Roots lets out a gasp. Open the door to the north, and head down the edges of the sloping corridor to avoid the whirling blade trap, which claimed Watches-the-Roots’ life; his corpse is at the far door.
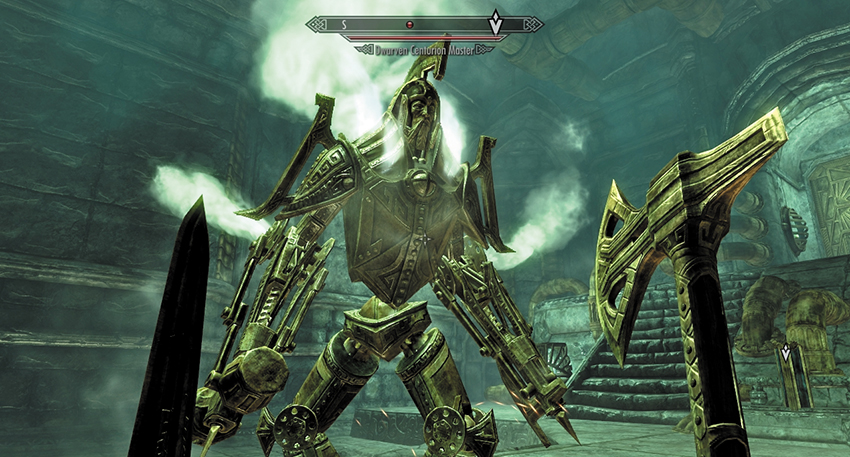
The final vision of adventurers past occurs as you reach the grand boilery chamber. Breya can’t hold back the giant stomping mechanical beings that are coming to life, and you may be having some trouble too. A Dwarven Centurion looks for intruders and attacks you on sight. You can either fight it in an epic confrontation (remember to use the upper area and preceding corridor to dodge its vicious arm-mandible strikes) or complete the quest first. During your exploration of this chamber, you may stumble upon Breya’s corpse: She is quite dead.
Quest Conclusion
Finish this quest by activating the Lexicon Receptacle at the base of the steps. The cube glows red, slots into place, and you finish your task.
- Perk: Ancient Knowledge (25% Armor Bonus while wearing all Dwarven Armor; your Smithing Skill increases 15% faster.)
- Dwarven Armor
Postquest Activities
Aside from your new ability and an exploration of this vast dwarven repository of knowledge, there are no other rewards, except what you’ve scavenged. The quickest way to exit is the door that the top of the steps where the Receptacle is. Open them, ride the elevator up, and exit via the balcony, or Path 2 described earlier. From-Deepest-Fathoms does not need to be found afterward.