
Elder Scrolls V: Skyrim Special Edition Guide Dragonborn Quests Solstheim Side Quests
Solstheim Side Quests: Served Cold
Served Cold
Those Slippery Slaughterfish
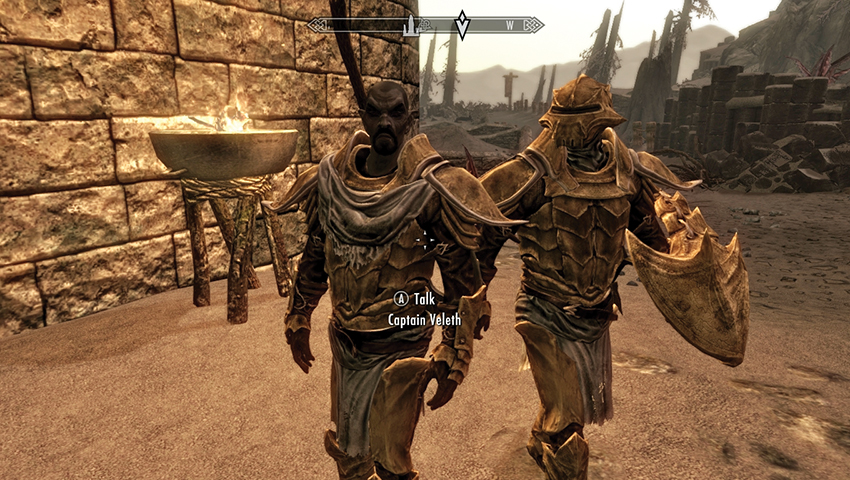
During your wanderings around town, after completing the two previously indicated Side Quests for residents of Raven Rock, you’re tracked down by Captain Veleth, who comes with a message from Second Councilor Arano. Apparently, you’re to meet with him at once, and this seems more urgent than the Ash Spawn eradication. Head over to the council chambers or check the main thoroughfare when you get a moment.
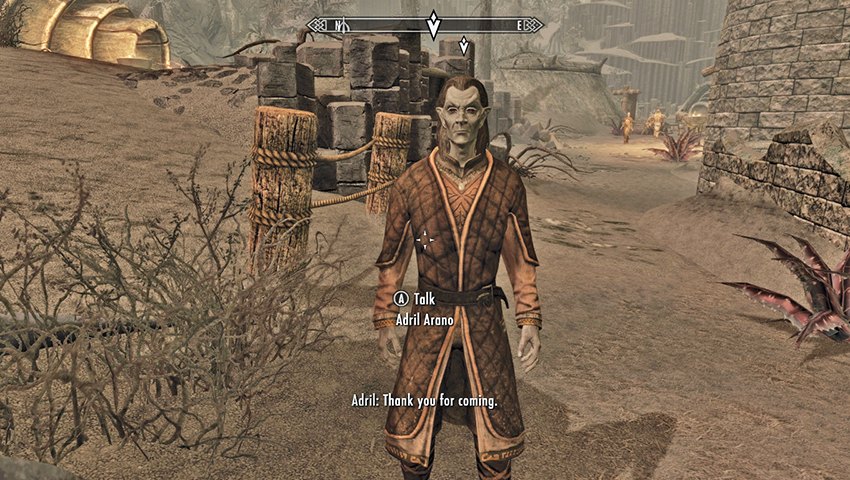
You usually find Adril walking the main street of Raven Rock. He’s under the impression that Councilor Morvayn might be murdered by a rival Dunmeri Great House—the Ulen Family of House Hlaalu—who have placed a deathmark on the councilor’s head. Whether you think this justified or paranoia, answer Adril how you wish, and he informs you that elements of Ulen’s house may already be in Raven Rock. Assuming you agree to help, Adril wants you to eavesdrop on suspicious activity in town and report back to him. The best place to start is an obvious one—that den of iniquity known as The Retching Netch. Pry Adril for further information (on House Hlaalu, the mine’s reopening, and his sources) before you leave his company.
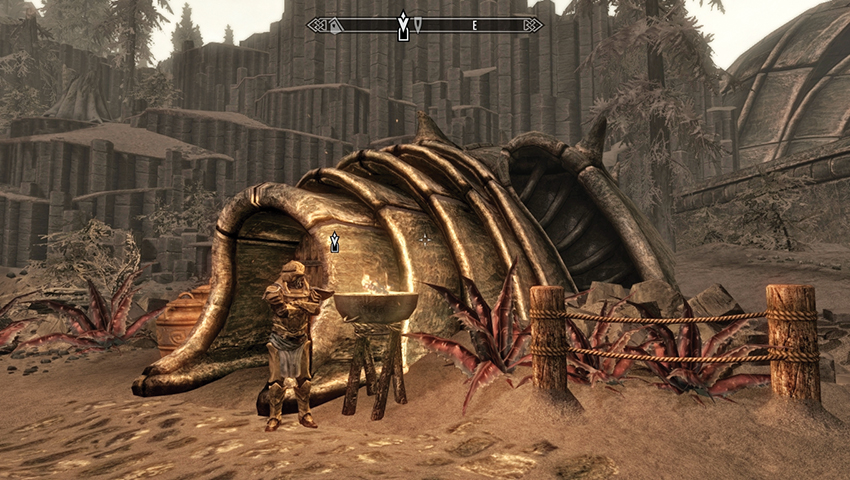
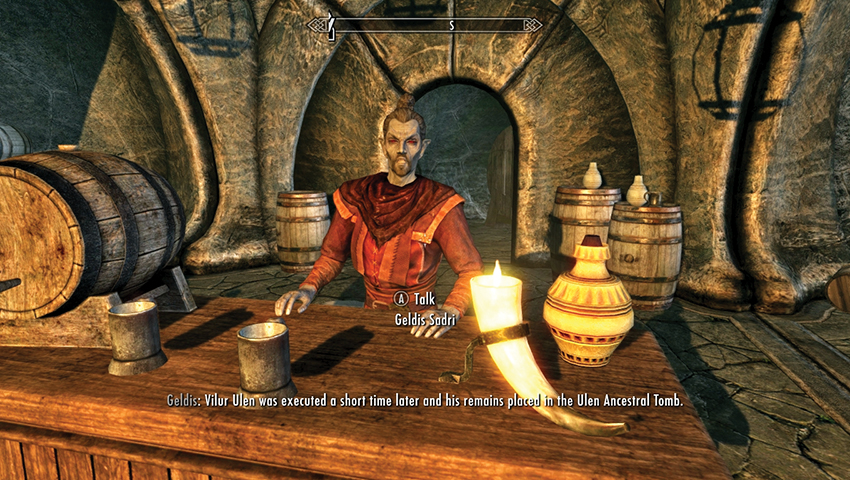
Locate The Retching Netch, enter, and head down the stairs to where Geldis Sadri serves the drinks. Aside from the usual rumors he can impart, if you mention Adril Arano, Geldis tells you the Dunmer has been chasing these Ulens for years. Instead, Geldis reckons you need to let those slippery Slaughterfish come to you. There’s an ancestral tomb near the temple, and someone has been leaving offerings there. Perhaps they might be able to answer your questions?
Those Suspicious Severins
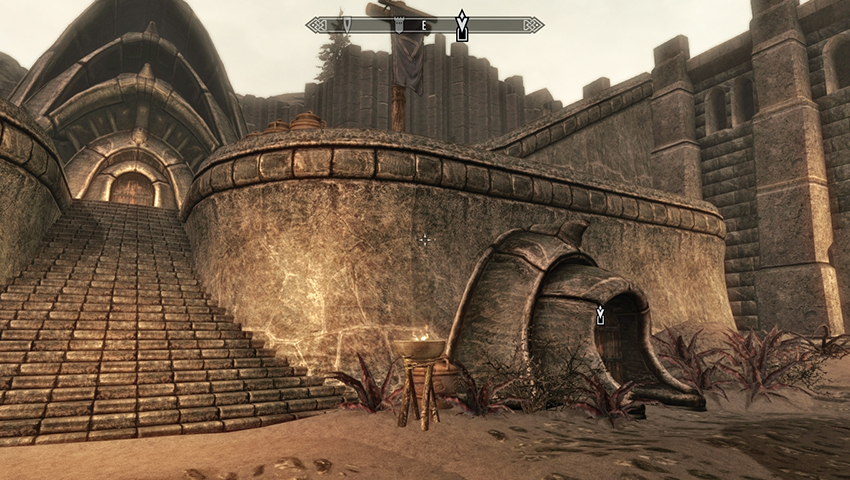
You can continue to question Geldis about the reasons behind Councilor Morvayn executing an Ulen before returning to the main thoroughfare and heading southeast. Just before the bulwark, there are several ancestral tombs. Enter the Ulens’ and inspect the first chamber. There are many lit candles around a crematorium and bone pile in the center of the room. Find a spot to hide, then wait here for an hour. The Ulen clanswoman responsible for these gifts eventually shows herself.
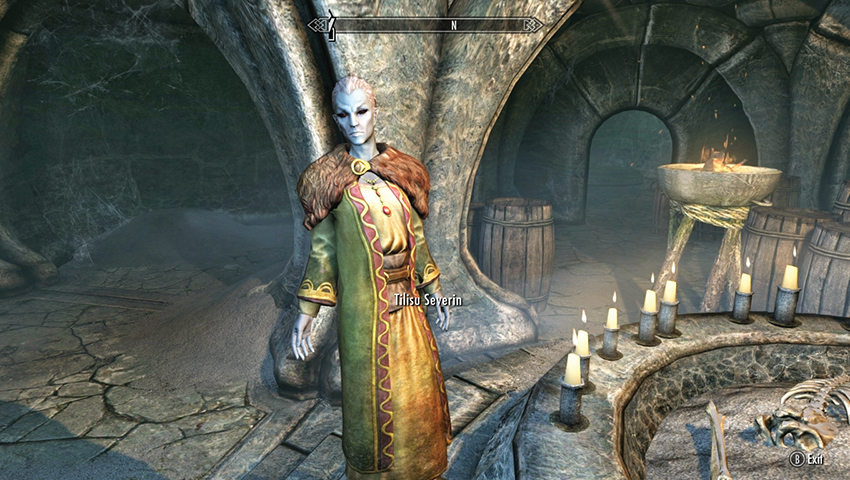
You can confront the woman immediately or let events take their course. Tilisu Severin excuses herself for intruding on you, and when you ask what she’s here for, she answers evasively, saying she’s leaving an offering for the departed. You can leave her to it or press her for a real answer. Even if you choose the latter conversation, she sticks with her story and does not reveal whether she’s part of the Ulen family. Time to update the Second Councilor.
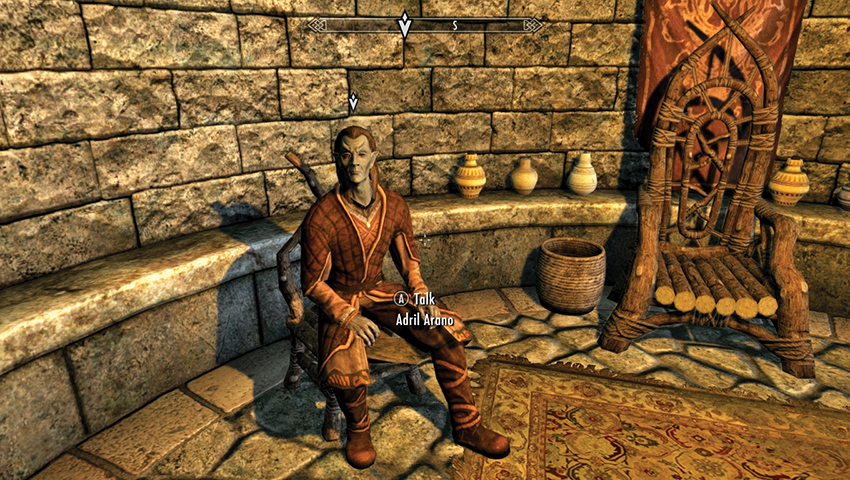
Adril is usually waiting for your update in the Morvayn Manor, although he may be walking the streets of Raven Rock or be hanging out inside The Retching Netch. Let him know that you suspect Tilisu Severin is the culprit. Adril believes this, too, although it’s going to take more than hearsay to prove this plot. After you recommend searching the Severin house, he agrees but wants you to head there so he isn’t tied to an illegal search if Tilisu is, in fact, an innocent party. To help gain access, you’re given a key. You can gain further insight into the Severin family, and the Ulens’ tomb, if you speak to Adril again.
- Severin Manor Key
The Ulen Matter
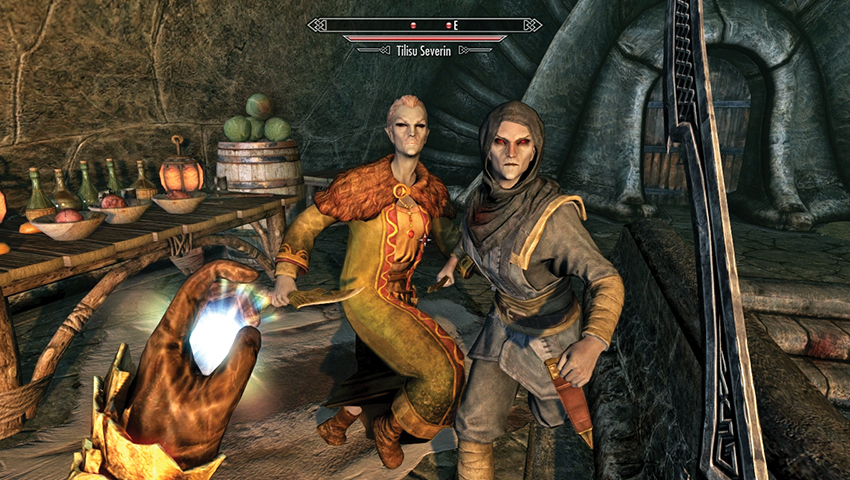
Head to the northwest of town, near the entrance to Raven Rock Mine, and use the key to enter Severin Manor. Unless you’re particularly adept at sneaking, you’re immediately attacked by Mirri and Tilisu Severin, who already know you’re part of Morvayn’s lot. The only option here (unless you’re sneaking) is to slay both Dunmer. Search (or pickpocket) both corpses to discover another Severin Manor Key, among other fineries. However, Mirri Severin is carrying a more helpful item—the key to a safe!
- Severin Safe Key
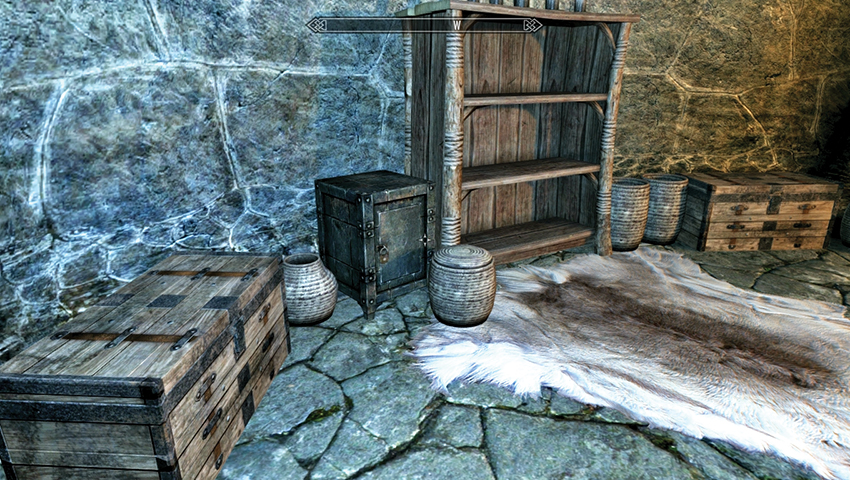
Make a thorough sweep of the dwelling, heading downstairs. Follow the corridor to the double wooden doors at the (west) end, and enter the main bedroom with a large number of empty mannequins and display cases. Search the chamber thoroughly; next to a wooden bookcase to the left of the bed is the Severin Family Safe [Expert], which you can pick or use the key you looted. Among the gold and other goods is a note called “The Ulen Matter.” It makes illuminating reading. Take it and the quest updates. Read the note if you wish.
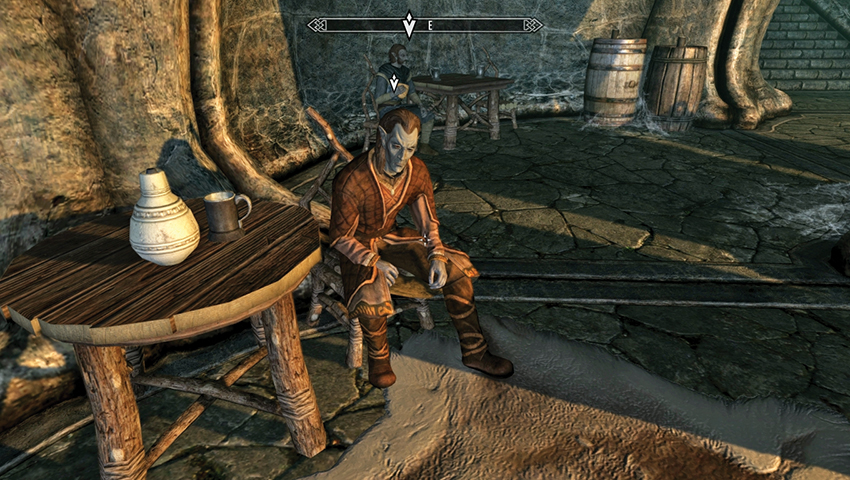
Adril is usually drumming his fingers impatiently in The Retching Netch, although he may be walking the streets of Raven Rock or hanging out inside Morvayn Manor. Tell him you’ve found evidence providing the Severin family’s guilt and that those seeking to usurp Morvayn are holed up in the Ashfallow Citadel. You can whine or tell Adril you’ll head there immediately. Adril is sending two of his best Redoran Guard and you’re to assist them. You’ll meet them there. Be careful: you can’t let these traitors slip away!
Murder and the Morag Tong
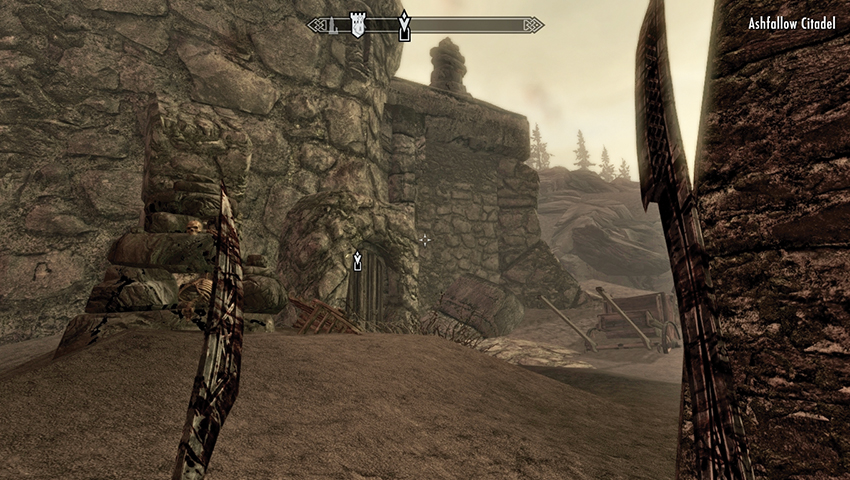
Gather your best Dunmeri-killing equipment, and hike to the Ashfallow Citadel, northwest of the Sun Stone. Adril’s best guards were no match for the infamous Morag Tong, a feared group of Dunmeri assassins that have shown themselves and already murdered the Redoran duo. Face two assassins by the door to the citadel, slaying them as soon as you can before moving inside the structure.
- Morag Tong Armor
- Morag Tong Boots Morag Tong Bracers
- Morag Tong Hood
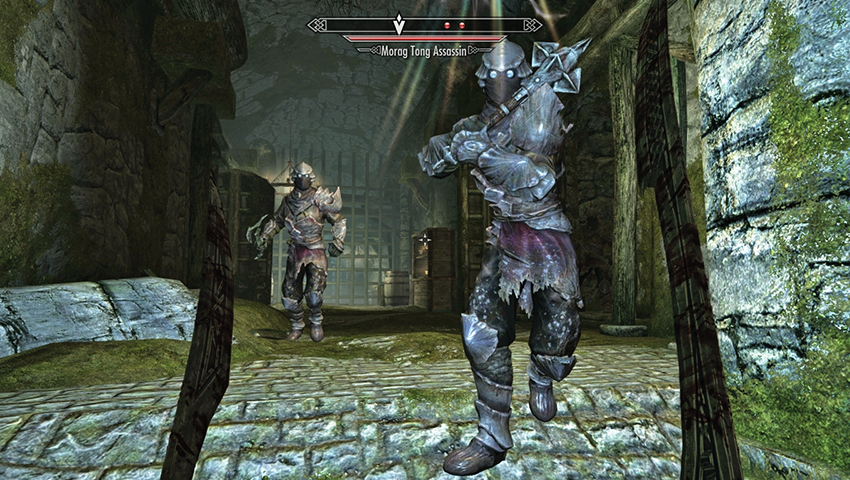
Locate the steps down from the top of this tower, and prepare for further combat as you descend. Slay a Morag Tong and head to the base of the structure, passing a chest and heading through a narrow rock wall opening and a connecting passage to the south. This leads to a main dungeon corridor. Ahead is an open door to your right (west); clear this dormitory of assassins and any other incoming foes, then head back to the main corridor and locate a small chamber with an Arcane Enchanter and a pull chain by the entrance. Yank the chain to remove the bars.
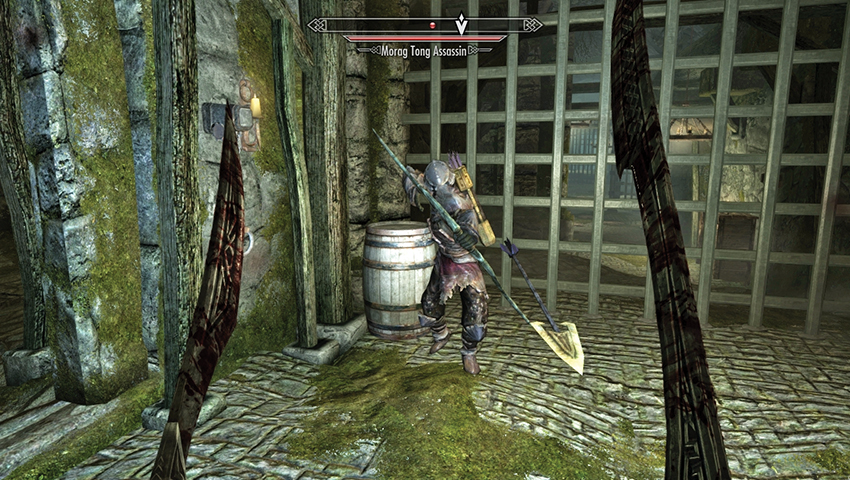
Continue into the next section of corridor, noting the three Morag Tong Assassins that must be brought down. Don’t pull chain on the left wall (it raises the bars behind you). Now check the passageway to the right (west), watching out for three bear traps before you reach another chain. Pull that and the first set of bars is removed. Now continue down to the training room on your left (east). Outside that door is a third chain, opening up the next part of the corridor.
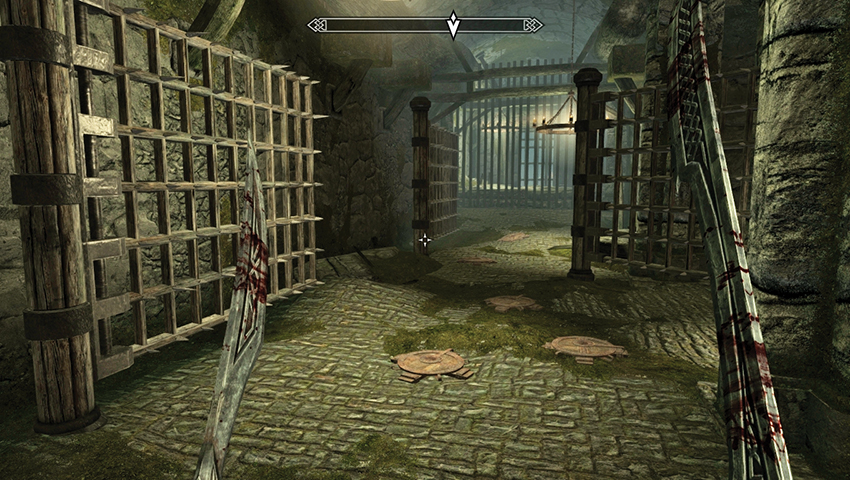
In the next part of the corridor are eight pressure plates linked to three separate blade traps and two spear traps, so take extreme care as you tread forward. The safest way to reach the two pull chains in the alcove to your right (west) is to look down and avoid all pressure plates, then maneuver past the alcove. Turn right and edge between the left wall of the alcove and a swinging trap. Watch for more plates as you look for two pull chains, both on the pillars in this alcove. They open the two remaining bars.
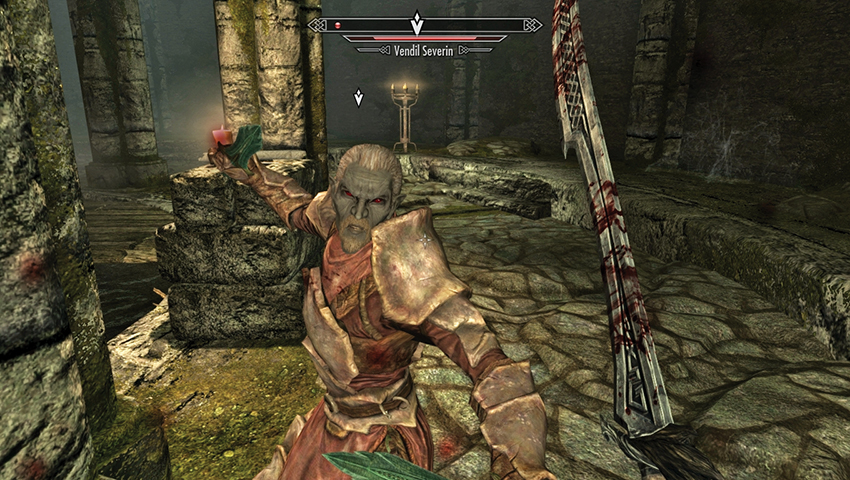
This allows you to reach the far chamber. Ignore the pull chain to your right, just before the final arched entrance, as this simply raises the bars directly behind you, cutting off your only exit. The chief instigator of this clandestine war against Chancellor Morvayn is Vendil Severin. You must slay him, along with his fellow assassins. When Vendil finally yields, check his corpse for the key to his chest (the exact location is in the nearby bedroom, as shown in this guide’s Atlas.
- Vendil Ulen’s Chest Key
Quest Conclusion
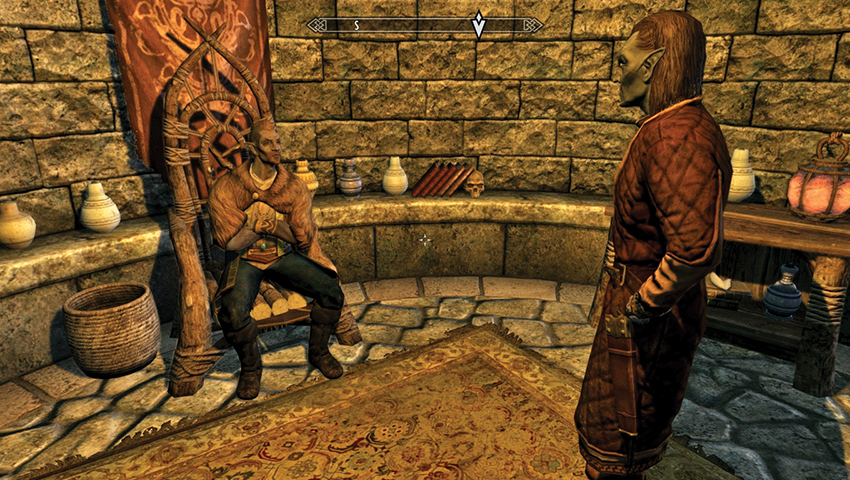
Head back and search Adril Arano’s usual haunts to find him. After explaining that the threat is over, and his Redoran Guards were victims of the Morag Tong, Adril beckons you to follow him to Morvayn Manor and meet with Councilor Lleril Morvayn. Follow Adril to an audience with Lleril, who is told that Vendil, Tilisu, and Mirri Severin were, in fact, here to avenge Vilur Ulen’s death. Morvayn wants to speak to you personally. He offers his thanks, and as a bit of coin hardly seems like enough, you’re given the deeds and keys to Severin Manor! Welcome, citizen of Raven Rock!
- [Leveled] Gold
- House: Severin Manor
Postquest Activities
This is the only house you can own on Solstheim. It comes fully furnished (there are no decorations to purchase), and although it makes a nice vacation home, your spouse and children will not move here.