
Elder Scrolls V: Skyrim Special Edition Guide Quests Side Quests
Side Quests: Lost to the Ages
Lost to the Ages
In Preparation
You can start this quest in several different ways. There’s no “optimal” way to begin, and you’re most likely to simply stumble across it somewhere as part of your adventure. Here are the methods of learning about this quest:
- Read a copy of a book called The Aetherium Wars, which starts the Miscellaneous Objective: Investigate the ruins of Arkngthamz.
- Visit one of three Dwarven Ruins (Deep Folk Crossing, Raldbthar, or Mzulft), and find an Aetherium Shard without the knowledge gleaned from the book. The shard is initially known as a Glowing Crystal Shard, and once it is in your possession, you’re prompted to locate a copy of The Aetherium Wars, which appears on your compass.
Find the book (usually on the corpse of an adventurer), and the objective updates.
- The Aetherium Wars
Adventuring to Arkngthamz
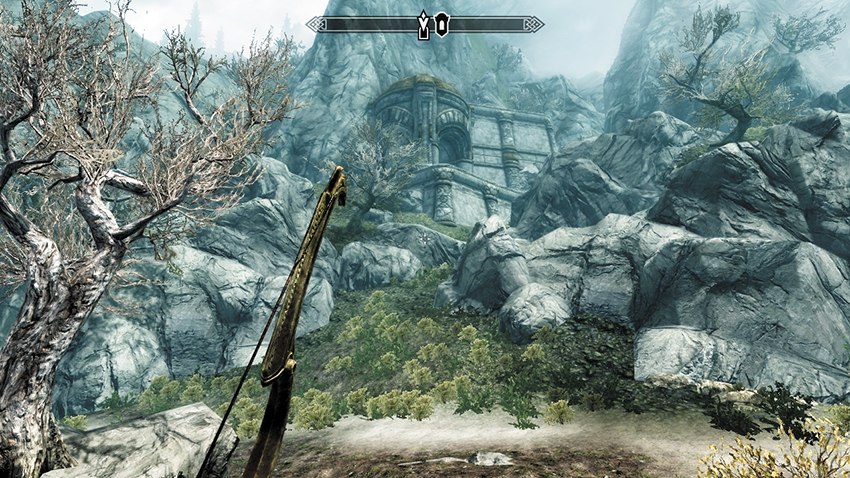
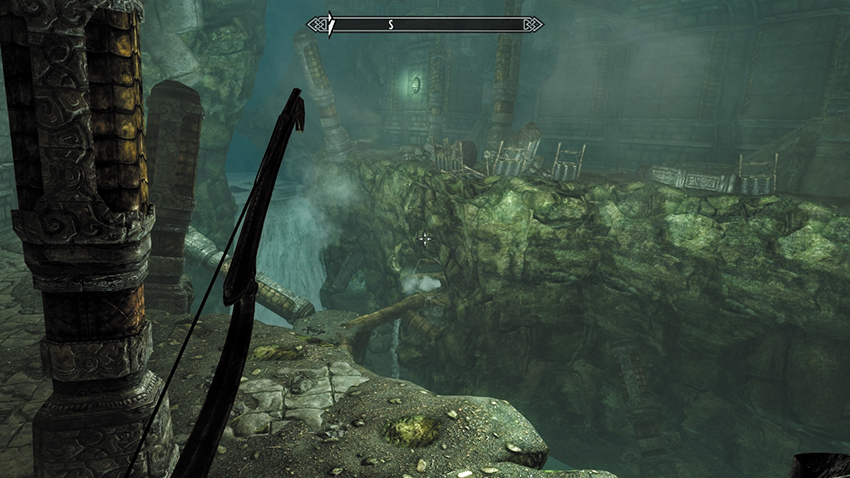
Arkngthamz is a previously hidden Dwarven ruin located in the Reach. It is just southeast of the Orc Stronghold Dushnikh Yal, and also a short romp south from Reachwind Eyrie. As you approach its ancient exterior steps, you feel a slight vibration, an earthquake from down below. Push the imposing Dwarven doors open, and enter this ancient city.
A massive earthquake has recently decimated the ancient caverns and reinforcing structures. As you press forward, you must cross a fallen pillar over a fast-flowing stream. Continue down the hall, and listen carefully as a ghostly voice urges you to flee from this dangerous place. Moments later, as you emerge into the gigantic entry chamber, a pillar topples into the great watery chasm below. Stop for a moment, as a spectral entity named Katria approaches you.
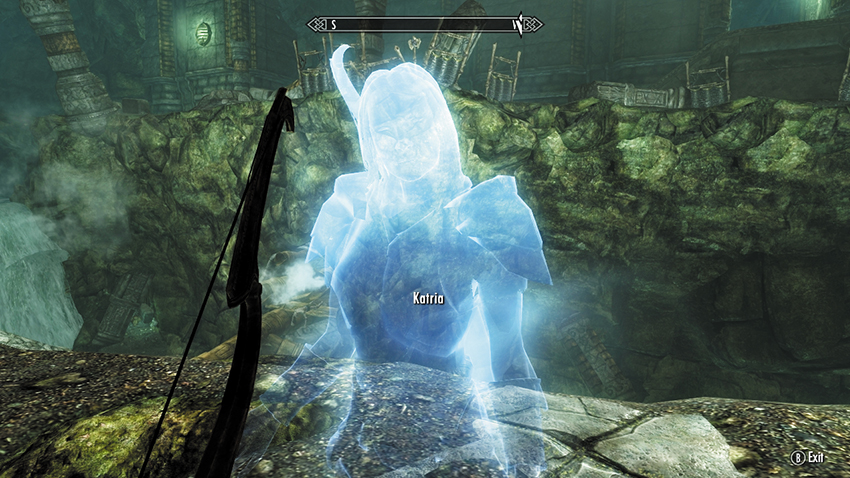
Listen to Katria as she asks why you’re here—though she can already tell: You’re after the treasure, just like all the others. If you’ve read The Aetherium Wars, you may recognize her name from the book’s dedication. Ask her about it to learn a bit more of her history with the book’s author. You can also ask about the treasure itself, which prompts her to explain her search for the Aetherium Forge and how she ended up here. She again asks you to turn back. You can:
- (Persuade) Tell her you can handle yourself
- Answer in any other way you wish
- Ignore Katia completely.
When you make it clear that you intend to press on, she offers to accompany you. You can accept or decline this offer.
Shard 1: Arkngthamz Ascent
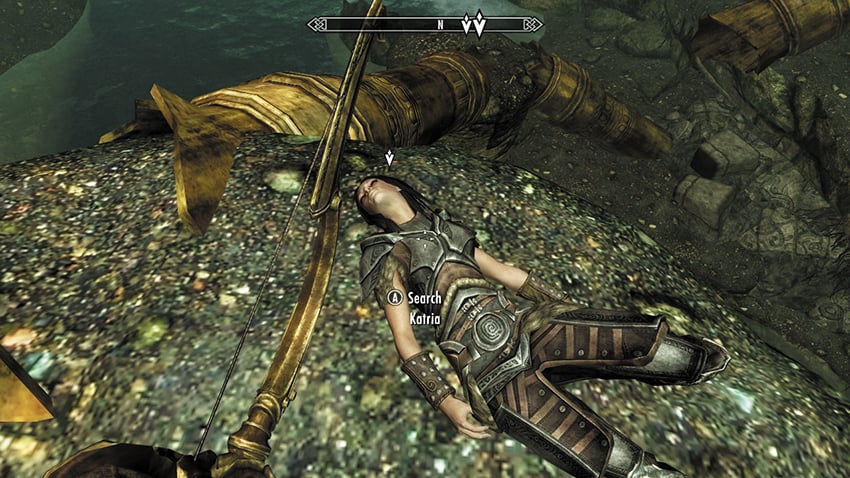
Approach the chasm, which has telltale signs of Falmer camps on the opposite side. For the moment, however, peer down over the precipice, to a fallen pillar that leads to a small island attached to a series of steaming pipes jutting out of the cliff wall opposite. Carefully climb down the pillar to the island and inspect the body you find there. This turns out to be Katria’s corpse. Look up and you’ll see she had quite the fall. She recommends you search her body for the journal she was keeping; she knows you’re going to need it. Grab any other items she was carrying if you need them.
- Katria’s Journal
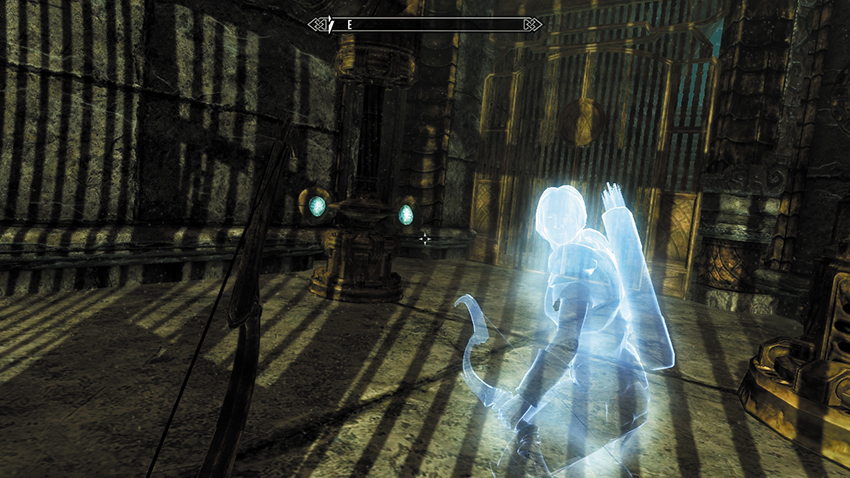
Cross into the pipe vent tunnel, and make your way along as the entire structure continues to vibrate. Bring down a couple of Dwarven Spiders, then use the snaking golden pipe to navigate above the water-logged chamber and down past the metal fence. At the far end of the sagging corridor is a strange spinning device, which periodically rotates up and down, triggering the gate in front of you to open and close. Enter the cog room where Katria explains that these are Kinetic Resonators. When they’re working properly, they trigger a mechanism nearby. To proceed, strike the second resonator (either with a bash or an arrow) and the nearby gate swings open. Onward!
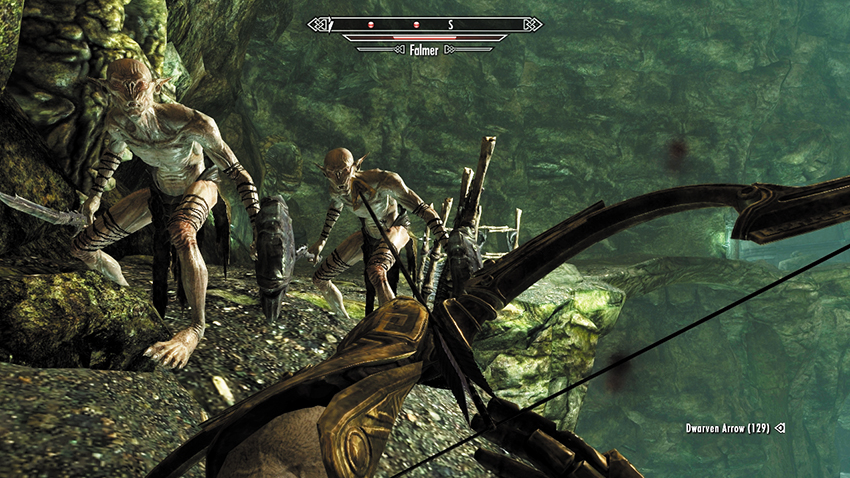
Head southeast up the steps and around the corner to your first combat with the Falmer. There are two atop the steps and another lurking on this side of the pillared chasm. Cross the ground heading southeast, as another pillar crumbles under a fierce tremor. The pathway narrows to a snaking route across each side of the narrowing chasm. There is a Falmer to thwart on a high ridge opposite and two to tackle as they drop from their nests.
After the Falmer nests embedded in the chasm wall, there’s a fallen pillar bridge to head over. However, if you inspect the sealed door to your left (south), Katria remarks that it’s sealed tight. She’s correct, although to open the chest behind the door, you can utilize the instability of this environment to your advantage. Head west to the cliff edge, looking down at the pile of pipes and giant carved dwarven head. Drop down to the riverbank, turn south, and trek up an inlet stream tunnel. This leads to the half-fallen rear of the chamber behind the door. Expect Dwarven Sphere combat before working your way around and to the east, to the chest. Use the lever to open the door from the chamber, and step back out onto the fallen pillar bridge.
Cross the fallen pillar, then turn left (west) and head farther along the ledge as more of the rock wall detaches and plummets into the river below. Continue up the chasm ledges to a large grotto with several cascading waterfalls and a natural bridge spanning the chasm. Engage a couple of Falmer and a Chaurus, then head across the bridge, along a small winding tunnel to a Falmer hut and two more enemies. When they’re both nullified, you have a choice of paths. The main route continues behind the hut, to your right (north).
However, there’s a side tunnel to the southwest. Head up the narrow tunnel, face some more Chaurus in combat, and climb up the ledges leading to a tunnel stream. This brings you out among the grotto waterfalls. Watch your step! Tackle the Falmer that drops down on the narrow ledge with the chest to your left (north), loot the chest, then take the plunge: dive into the water here and look for an underwater tunnel that leads to a cavern with a chest. Then retrace your steps back to the hut room.
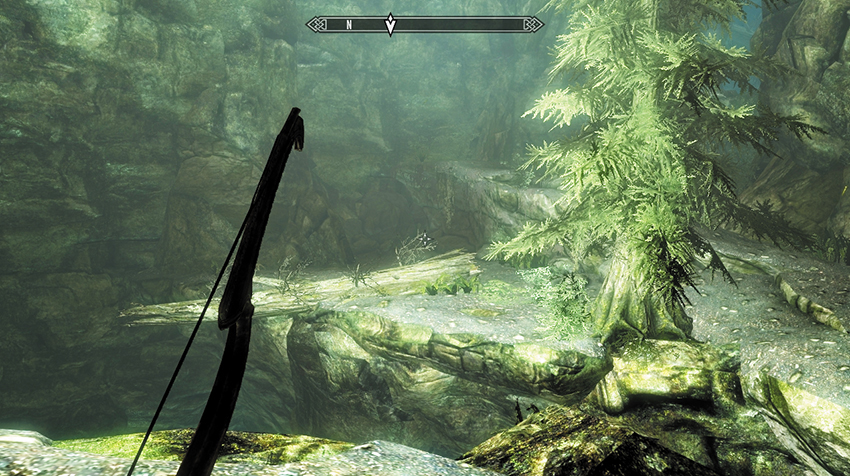
From the room with the hut, continue up the path on the right (north) to emerge into a large cavern dotted with pine trees. The sky of the Reach is visible above, while a gaping hole in the floor overlooks the chasm you crossed earlier. As the ground shakes, Katria remarks that her trusty bow, Zephyr, is lying on the log protruding halfway out above the increasingly deep chasm. She suggests you retrieve it. Carefully inch out onto the log, optionally crouching so you don’t make any fast movements and fall, and grab the bow. Return to the relative safety of the ledge. Katria hopes you’ll take good care of her beloved weapon.
- Zephyr
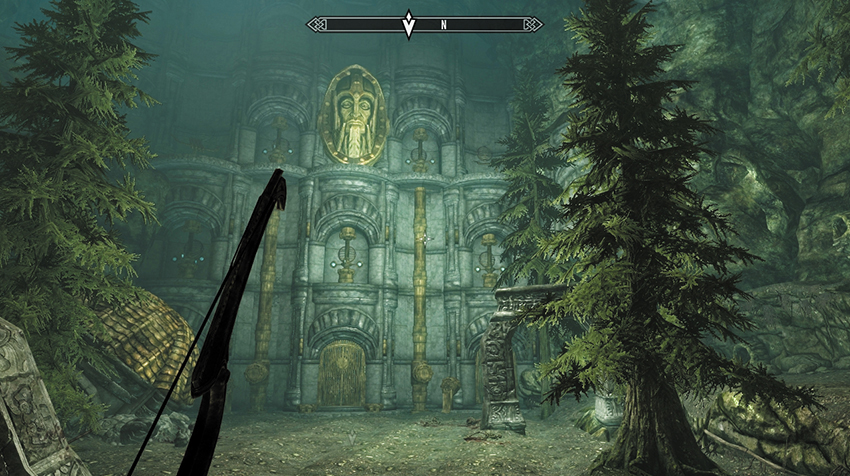
Look for the tunnel to the east. Follow it around to the north, and it opens out at the spectacular summit and the Tonal Lock Chamber. Descend under the dwarven arches, to a relatively flat lower area with a variety of crumbling masonry and scattered skeletal remains. Katria informs you that she mentioned “one more danger,” and this is it: the Tonal Lock wall in front of you. She motions to the five resonators and tells you that hitting them (with an arrow) in the right order allows the doors to open. Get the order wrong, and you’ll need to prepare for an earthquake...or worse.
Puzzle Solution: There are five resonators that make up the Tonal Lock. Bring out your favored bow (or Zephyr), utilize the scattered arrows on the ground if you run out of ammunition, and figure out the correct order to hit each resonator. There are two clues to help you:
- The first clue is the correct listing of the first two resonators to hit. This is the sketch on the last page of Katria’s Journal, which you found on her corpse earlier in the dungeon.
- The second clue is on the corpse of the only non-skeletal Adventurer lying on the ground near your feet. Search him for a Scrap of Paper, which correctly lists the second and third resonator. Now take careful aim...
The correct order to strike the resonators is as follows: Lower row, left (directly above the left door). Then lower row, right (directly above the right door). Then upper row, left (of the dwarven head). Then upper row, right (of the dwarven head). Then finally, lower row, middle (below the dwarven head).
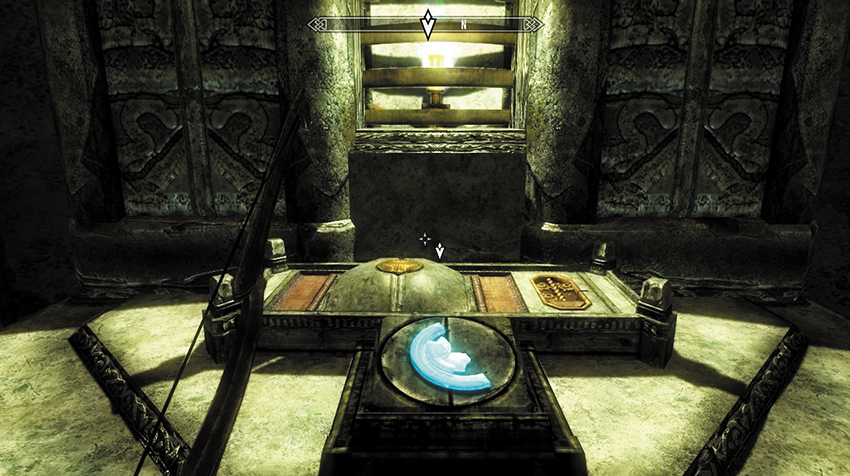
Step through either the left or right open door, and around to the treasure room beyond. In front of the embedded dwarven chest is an Aetherium Shard. Pick it up, along with any other dwarven valuables you wish to gather.
- Aetherium Shard (1 of 4)
Katria is surprised that the Aetherium Shard is indeed real. She remarks that another piece, around the same size, would snap into place next to this one. So it seems there is more than one shard to find. In fact, she surmises there are three more, one for each of the cities that worked on the fabled Aetherium Forge. Together, they form the key needed to unlock the Forge. As your quest updates, she tells you to check her journal, which has more information on the places to look and reveals the location of the Forge. At this point, Katria disappears.
Exit the ruins of Arkngthamz by either retracing your steps or, better yet, by looking for the waterlogged tunnel in the western wall of the Tonal Lock chamber. Follow the tunnel to a frighteningly high drop down to the initial waterlogged chamber, and then dive off into the water below. Make sure you hit the river and not something solid, or this turns into a death plummet! Clamber back onto the small island where Katria’s corpse is, then leave the same way you came in.
Shard 2: Deep Folk Crossing
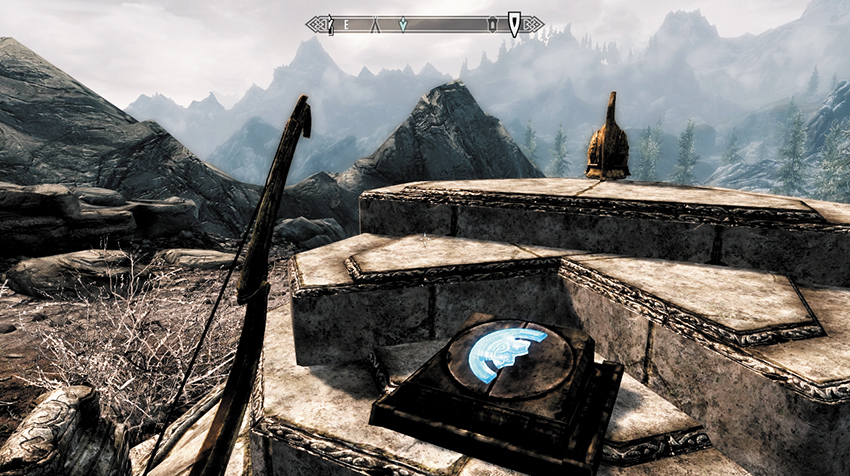
According to Katria’s Journal, the second city is mentioned as “Bthar-zel” (which is Dwarven for “allied city”). It isn’t Bthardamz but a smaller site north or northwest of there, on the river. The location is known colloquially as Deep Folk Crossing in the Reach and is a previously discoverable location. Head north from Bthardamz and locate the rushing river. Use the crossing bridge, heading north up the embankment on the other side, and pry the Aetherium Shard from its encasing. Katria appears to congratulate you before disappearing again. That was curiously straightforward....
- Aetherium Shard (2 of 4)
Shard 3: Raldbthar
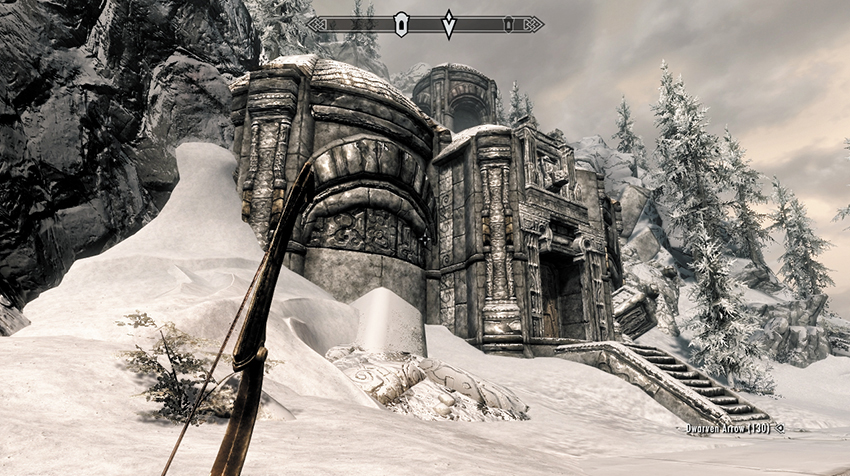
Katria has listed the third shard as being hidden at the primary source of Aetherium and “extracted from some deeper mine.” As this material has long since vanished from Tamriel, all you have to go on is Katria’s scrawled map. Look carefully, as the number 3 is written just south of Lake Yorgrim. There are two previously discoverable Dwarven cities in these parts: Irkngthand and Raldbthar. Choose the latter, entering the ruins via one of three possible locations:
- Enter from the Raldbthar elevator, if you’ve explored Raldbthar already.
- Enter from Blackreach, if you’ve explored it already.
- Or, you can clamber up the steep steps to quickly remove the local bandit population. Then enter the ruins via the main doors.
If this is your first time adventuring in Raldbthar, head down the slope to the fire trap, and dodge around the side corridor to the left (southeast), killing bandits as you go. At the end of the southwest corridor, you can unlock a gate [Master], allowing you to sneak around and strike three bandits from above with arrows or the dwarven ballista. Or you can head right and tackle three bandits around the campfire from the ground. Open the gate that’s in the left (south) corner near the roasting fire, take down another bandit, and open the dwarven doors to the southwest.
Expect Dwarven Spiders and Spheres as you continue through another door, heading southwest to a left turn and a spinning blade trap. Navigate these rooms, watching for spilled oil as you head up through a pipe room with more automatons to dismantle. Locate the elevator and pull the switch, descending into a Falmer hive.
Dodge the spinning blade on the next slope, and the air fills with a strange mist. Bring down Falmer in or near their huts before rushing the steps to the northwest. Head up to the second floor, delivering death to more Falmer. Cross a small bridge to the northeast, en route to finding a button on a curved stone table in one corner of this upper level. This lowers a bridge to the southwest, allowing you to head across the rooftops above the first Falmer chamber, around a golden fence, through a door, and down into a pipe-filled steam room.
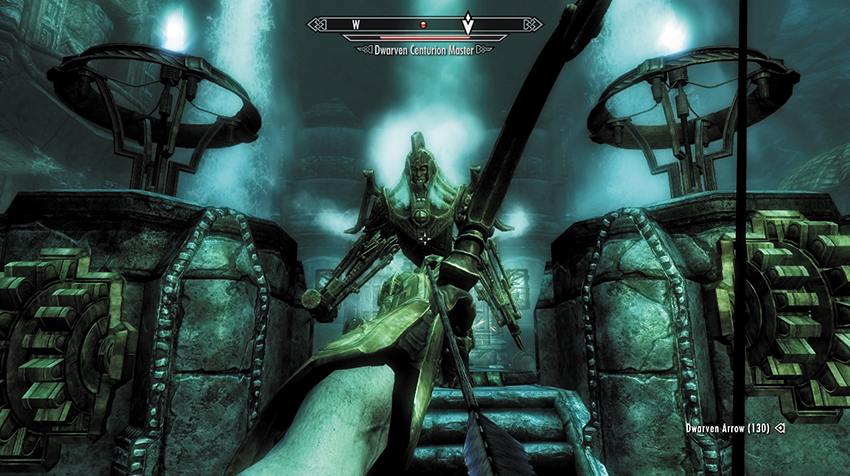
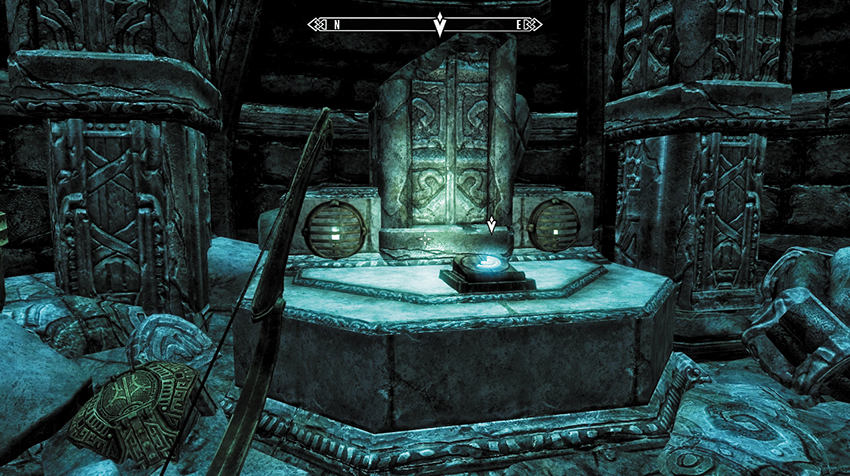
Watch for two pressure plates that set off crushing traps. Work through the automatons, heading north and then west, through a door and up a ramp to a corridor with four buttons to try. Ignore the other buttons and simply press the third one from the left; this one doesn’t launch a trap. Pass the lowered bars, through the gate, and into another Falmer camp. After defeating all of the undesirables, inspect the grinding cogs close to the raised bridge. Four cogs have been jammed with bones or other implements, and they need to be released so both lamps to either side of the bridge button are lit. Find the following cogs:
- Cog #1: Bone leg jammed into it. In front of the bridge, to the right (north) side, on a small lamp pillar.
- Cog #2: Skull jammed into it. On the left (south) side of the water pool, attached to the perimeter wall.
- Cog #3: Human spine jammed into it. On the right (north) side of the water pool, attached to the perimeter wall.
- Cog #4: Dwarven Scrap jammed into it. In the pool underwater, below the button and section of bridge.
Return to the bridge and hit the button, but be prepared for combat with a Dwarven Centurion as the bridge connects and the door in the far wall opens. Head through, using the wall lever to drop the bars, and enter the inner chamber. As you enter, Katria appears to assist you in fighting off a swarm of automatons. Dispatch them, then claim the shard at the end of the nearby hall.
- Aetherium Shard (3 of 4)
Shard 4: Mzulft
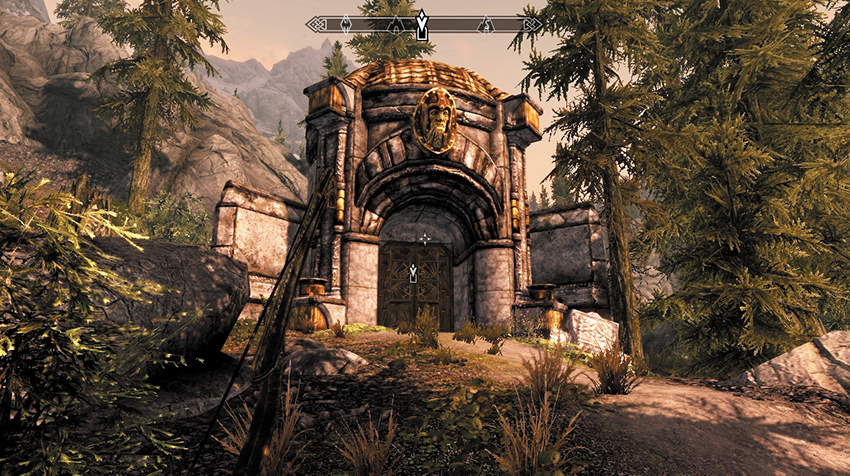
Katria’s Journal mentions the final location as a storage site for raw Aetherium, just outside a Dwarven city. The city in question is Mzulft, on the far eastern edge of Eastmarch Hold. Mzulft is a previously discoverable location, but unlike the trek through Raldbthar, you don’t need to enter the city itself. Instead, follow the journal’s lead to search “just outside” the city, and enter the Dwarven Storeroom structure nearby.
Katria is already inside, wondering how best to break through the locked door. You have two choices:
- Approach the gate [Expert], and pick the lock.
- Locate the metal door to the right of it [Apprentice], open that, and then the second door [Apprentice] in the storage area beyond. Both allow you access into the shard storage area, where the final piece of this puzzle is found. Katria is elated and vanishes once again, heading for the Forge.
- Aetherium Shard (4 of 4)
Forging Ahead: Ruins of Bthalft
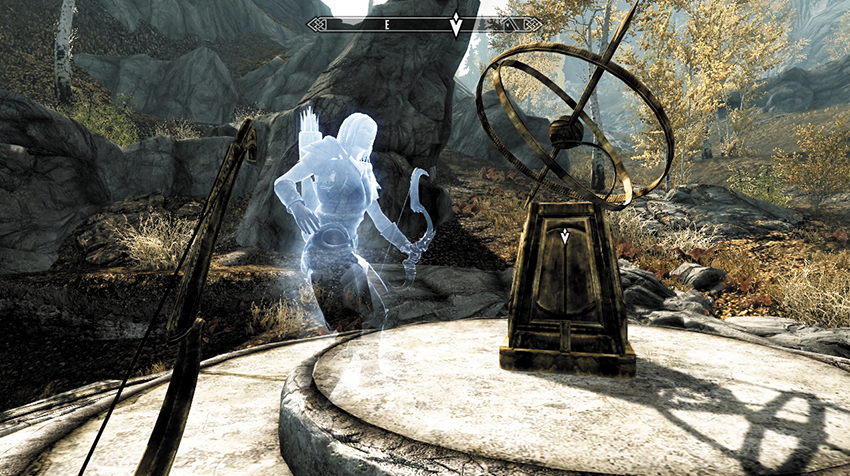
Of course, you must utilize your cartographical skills and figure out from the Journal that the Forge seems to be below the Ruins of Bthalft, south of Lake Geir, just off the main east–west road from Ivarstead to Riften. When you reach the ruins, Katria is likely to be fending off bandits or other unfortunate fodder for your weapons. She urges you to inspect the strange device on the circle of flagstones. The gear in the middle of the device seems to fit the shards. Why not try it out?
After slotting in all four shards (which you can do one at a time, if you’re not attempting this quest in any kind of succinct order)...nothing happens. Katria reckons you should retrieve the shards, which appear to have fused into some kind of crest. Yep! That seems to do the trick!
- Aetherium Crest
The ground beneath you rumbles violently as the device and the flagstones shift and ascend into the sky, forming the roof of a giant, circular tower and elevator entrance! This must be the entrance to the Forge. Head inside and pull the lever when you’re ready.
Footfalls after Four Thousand Years
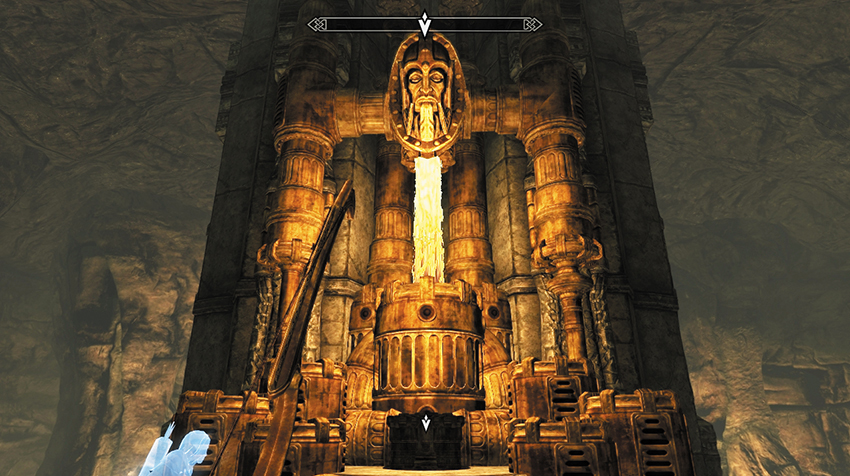
When you reach the bottom, Katria mentions that the ride down took longer than normal. Just how deep are you? Follow the pathway, and continue into a gigantic subterranean chamber, even after the lanterns flicker on automatically. Head across the connecting bridges and up the stone steps to the top of this massive forge entrance. Beyond the tree are two resonators. Aim and hit both of them (the order doesn’t matter) to open the door. Then head down the slope, as the air becomes more acrid. Open the door to the south, and enter the Aetherium Forge.
With its ornate forge powered by the lava fires of Tamriel, this marvel of ancient technology is currently choked with harmful steam. Using the two steam valves on both of the raised platforms disperses the steam, allowing you to investigate the forge. But your investigation is interrupted by a familiar clanking. The guardians of the forge have appeared!
Facing the Forgemaster
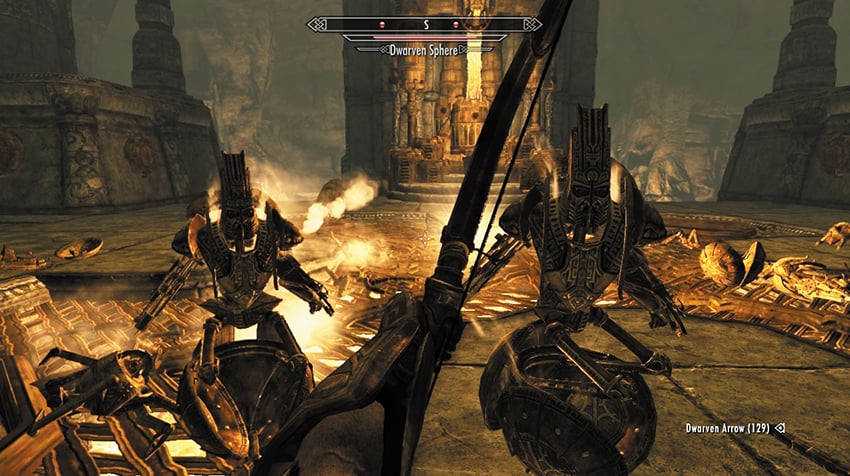
You’re now locked in battle with the Guardians of the Forge. Below is advice on defeating them.
Initially, you’re swarmed by a wave of Dwarven Spiders from the hatches on the lower grating level. These are followed by a wave of Dwarven Spheres from the upper hallways, along with additional Spiders. Prepare yourself for these waves with the weapons you choose, the incantations you prep, and the direction you’re facing. Expect between four and six foes in each wave.
Be fleet of foot! Staying mobile, leaping from the upper platform near the valves, and sprinting across the lower grating allows you to outpace your enemies and swing around and prepare combat, potions, or ranged attacks more easily.
Don’t get surrounded! Move to the opposite side of the chamber, leaving your foes trailing behind, and deal with them one at a time.
Beware of dead ends! Stay on either of the valve platforms, or the grating, and don’t head up the passages where the foes appear, the alcoves to the sides of the grating, or down toward the lava; these are dead ends. If you make this mistake, expect to be overwhelmed easily.
It is worth turning the steam off when prompted, as it allows you to move around the chamber more freely. Do this as soon as you have an opportunity. Unlike you, the automatons aren’t hurt or hindered by the steam.
In either the initial waves or the final battle, if you’re close to death or having extreme difficulty in combat, step back and let Katria take most of the damage. Even if her ghost is snuffed out, she reforms moments later, none the worse for wear.
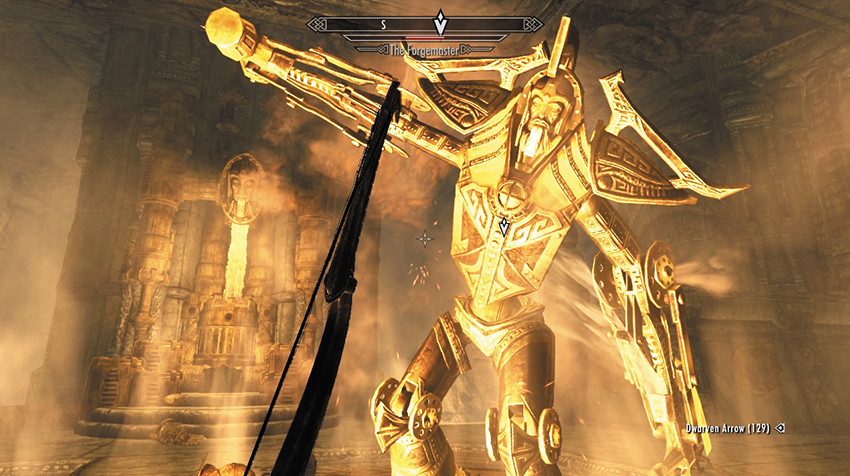
If you survive the initial waves, the Forgemaster clambers up out of the lava pool to one side of the forge. Check the compass so you know which side he’s coming from.
As the Forgemaster emerges, you may wish to bombard him with long-range attacks, especially if you’re hidden and can claim sneak bonuses.
Just before combat begins, it is most wise to consume your very best Fire Resistance potions. The steam also blasts forth again, so be sure to turn it off just like before, if you’re set on rushing out to combat him, as you’ll be damaged by the steam as well.
The Forgemaster is a unique Dwemer Automaton and glows red with heat. It is immune to fire but weak against frost. Frost spells and frost-enchanted weapons deal significant damage against him.
After emerging, the Forgemaster spends the first part of the battle close to the center of the chamber, alternating his Fire Breath and Fireball bellowing. Keep your distance, using ranged attacks or spells, and utilize the room’s pillars for cover.
Once damaged below 50 percent, the Forgemaster tends to battle more aggressively, and actively searches for and attacks you. Also expect to feel the beast’s two hammer arms if you try to engage in close combat. Once again, ranged attacks are safer.
If you’re sure you want to face the Forgemaster in melee combat, be aware that he is constantly bathed in a Flame Cloak, so simply standing close to him is damaging to you!
Quest Conclusion
Once the Forgemaster finally topples, speak to Katria once more. She wants to confirm this is the real Aetherium Forge, and you’re the smith to test it out! After optionally opening a dwarven chest in a nearby alcove, which contains the other necessary materials you need to craft a particularly impressive item from the Aetherium Crest you’re carrying, approach the forge. You have a choice of three items and can craft only one.
Postquest Activities
Aside from utilizing your newly crafted item, the Wilderness Encounter: Taron Dreth may randomly occur. Here you meet Katria’s treacherous former apprentice!