
Elder Scrolls V: Skyrim Special Edition Guide The Atlas Apocrypha
[S.A01] Apocrypha: Epistolary Acumen
[S.A01] Apocrypha: Epistolary Acumen
Related Quests
Recommended Level: 25
Dungeon: Apocrypha
- Lurker
- Seeker
Special Area
- Black Book: Epistolary Acumen
- Word of Power: Bend Will [DB2/3]
- Word of Power: Bend Will [DB3/3]
Miscellaneous
- Area is locked
- Chest
Black Book: Epistolary Acumen
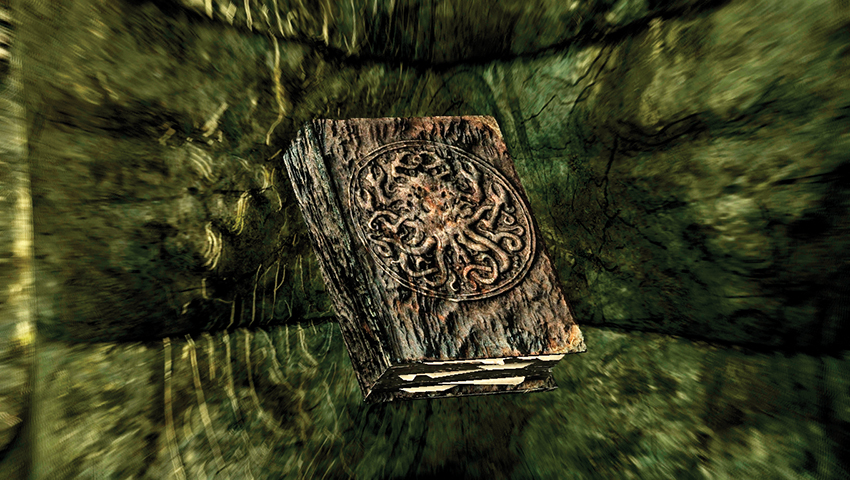
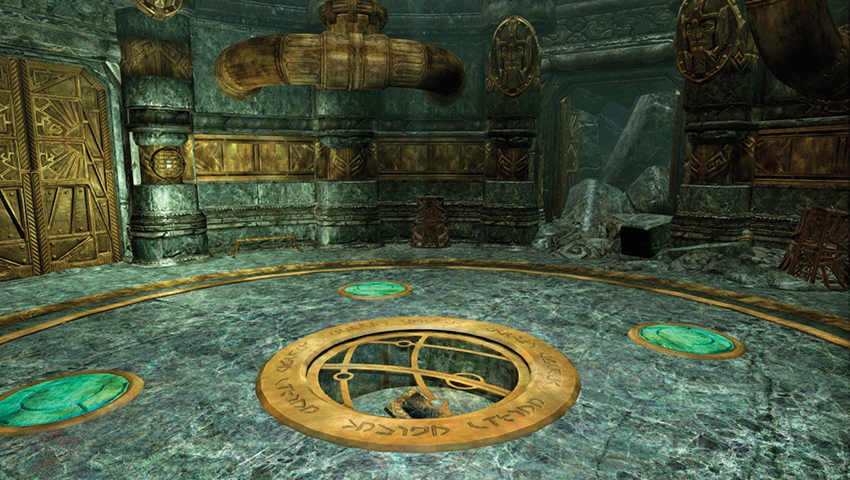
This book is sealed within the Reading Room inside the dwarven water city of Nchardak [S.S14]. Complete Dragonborn Main Quest: The Path of Knowledge with Neloth, restore steam to this chamber, retrieve the Black Book, and read it. You are transported to Apocrypha.
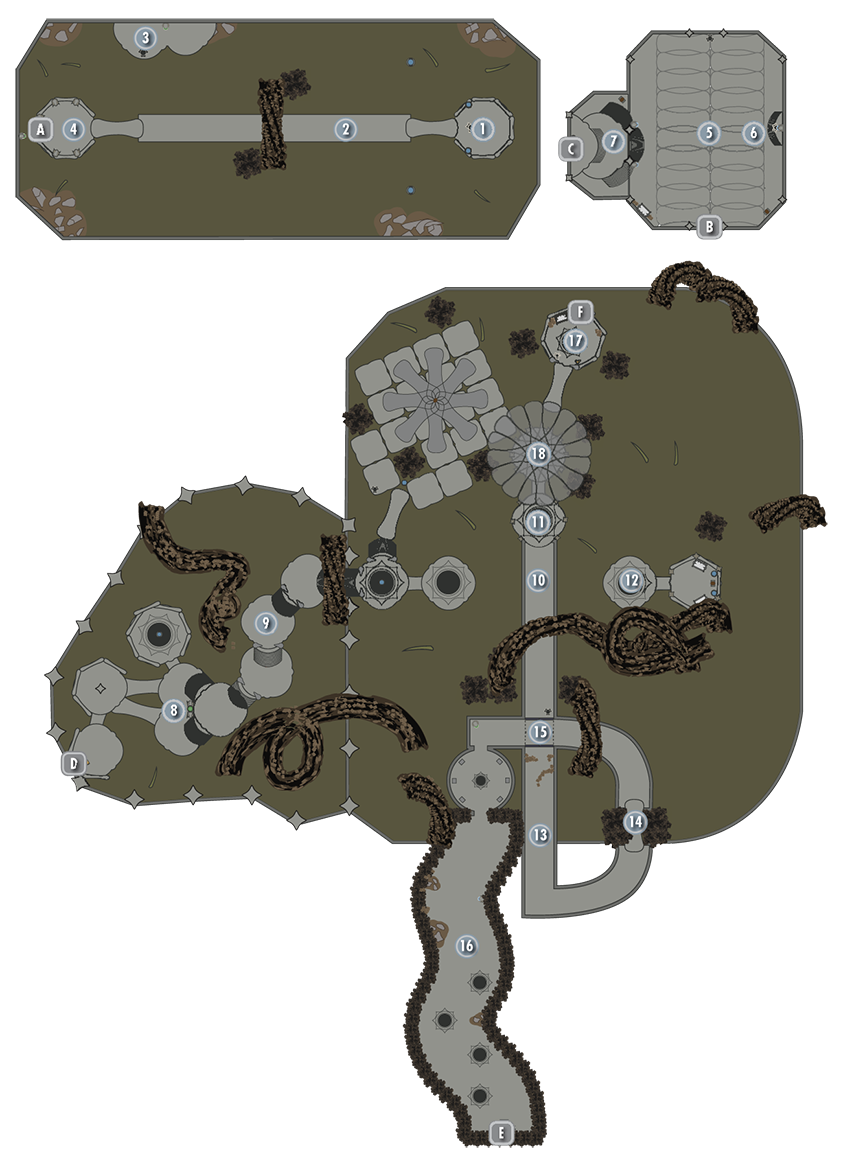
Interior: Apocrypha
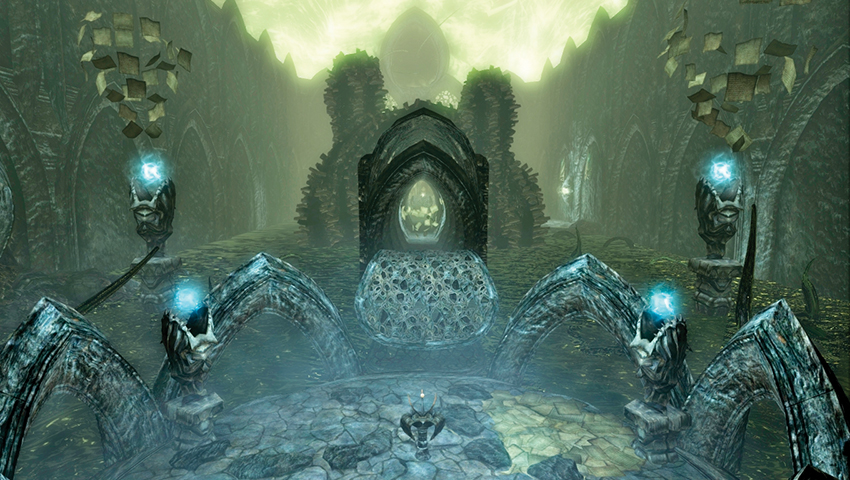
 Chapter I: Unfurling Walkway
Use either or both of the Magicka fonts, then activate the Scrye to lower the walkway ahead (west) of you.
- Font of Magicka (2)
 Chapter I: Tunnel of Lore
Time your walk so you meet the moving tunnel of lore. Walk to the opposite end, through the flying pages, and wait for the tunnel to move right (north). Step off the tunnel and onto a promontory.
 Chapter I: Promontory
Once on the promontory, claim the Stamina font, activate the Scrye, and watch a second walkway unfurl. Step back onto the moving tunnel, riding it along the edge (watching for tendrils) to the walkway.
- Font of Stamina
 Chapter I: Island of Unfinished Thoughts
Step off, heading across (west) to an island, a Stamina font, and Chapter II.
- Font of Stamina
 Book to Chapter II
 Book to Chapter I
 Chapter II: Tunnel of Tumbling Paper
Head north down the tunnel of pages, to the Scrye. Activate it, which unfurls the tunnel walls.
 Chapter II: Unfurled Arena of Minions
Step out into a medium-sized arena where a Lurker and up to three Seekers await you. There are three Magicka fonts (gather from them during combat to support your magical attacks), a pod, and another Scrye.
- Font of Magicka (3)
- Pod
- Lurker
- Seeker
 Chapter II: Western Gate
Activate the Scrye on the eastern wall below the third Magicka font, opening the gate to the west. Head up the stairs, claim either of the Stamina fonts, and then open Chapter III.
- Font of Stamina
- Pod
 Book to Chapter III
 Book to Chapter II
 Chapter III: Stepped Chamber
You appear in a stepped chamber with columns of books arcing into the skies. Head across either of the small parallel bridges to the steps, where Seekers appear. There is a half-submerged Magicka font in the black ooze to the northwest. Climb the steps, slaying Seekers as you go (there are two or three to thwart).
- Font of Magicka
- Seeker
 Chapter III: Circular Platforms
At the top of the steps is a circular black pool and another Magicka font. Slay any Seekers that have followed you before venturing into the second circular platform, avoiding the mire.
- Font of Magicka
 Chapter III: Moving Tunnel
Step into the moving tunnel. Turn back and investigate the two islands if you wish. Then head along the tunnel to a Scrye to the south, which opens the adjacent door and elongates the tunnel ahead (south) of you.
 Chapter III: Lurker Island
Wait at the edge of the moving tunnel to reach this Lurker confrontation. There’s no way forward, so return to the tunnel.
- Lurker
 Chapter III: Seeker Island
Two Seekers attempt to stop you if you step onto this optional island; go here for the pod, Skill Book, and Soul Gems.
- Skill Book: Fire and Darkness (One-Handed)
- Pod
 Chapter III: Tunnel of Books
Step past the piles of books, heading down the tunnel, turning left (east), and slaughtering Seekers as you go. You must dispatch at least two. Ignore Scryes and areas you can’t access yet. As you continue east, the tunnel moves.
- Seeker
 Chapter III: Unfurling Platform
Step north onto an unfurling platform and into another tunnel.
- Lurker
 Chapter III: Tunnel of Books Crossroads
This tunnel has a Lurker to face (so you may wish to retreat a little as you battle it). Head north until the tunnel turns to the left, forcing you west to a Scrye you may have seen earlier. Activate it and a door opens, leading you through the tunnel you came from and to a Stamina font and a left (south) turn.
- Font of Stamina
 Chapter III: Arched Tome Tunnel
Avoid the tendril in the ruins of the reading room and continue south, passing a Magicka font and a host of Seekers. Concentrate on slaying the first ones you see to shorten the battle significantly. Pass by another three fonts (two Stamina—one above the book—and one Magicka) and open Chapter IV of this book.
- Font of Magicka (2)
- Font of Stamina (2)
 Book to Chapter IV
 Book to Chapter III
 Chapter IV: High Platform
Gather any Soul Gems from the nearby table, and avoid the circular pool. Activate the Scrye from your ascendant position, watching a giant cage in the center of this realm unfurl.
 Chapter III: Black Book: Epistolary Acumen
Head across and approach Black Book: Epistolary Acumen. After an encounter with Hermaeus Mora, you receive a Word of Power. You can also select one of the following powers:
- Word of Power: Bend Will [DB2/3]
- Word of Power: Bend Will [DB3/3]
- Dragonborn Force (your Unrelenting Force Shout does more damage to enemies and may disintegrate them)
- Dragonborn Flame (when your Fire Breath Shout kills an enemy, a Fire Wyrm emerges from their corpse)
- Dragonborn Frost (your Frost Breath Shout encases foes in ice)