
Elder Scrolls V: Skyrim Special Edition Guide Dragonborn Quests Solstheim Side Quests
Solstheim Side Quests: The Great Solstheim Strongbox Hunt
The Great Solstheim Strongbox Hunt*
Fetching for Fethis
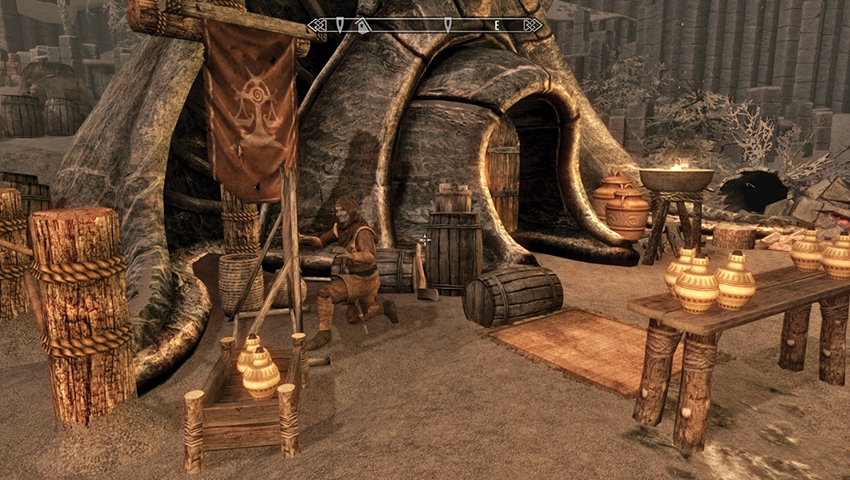
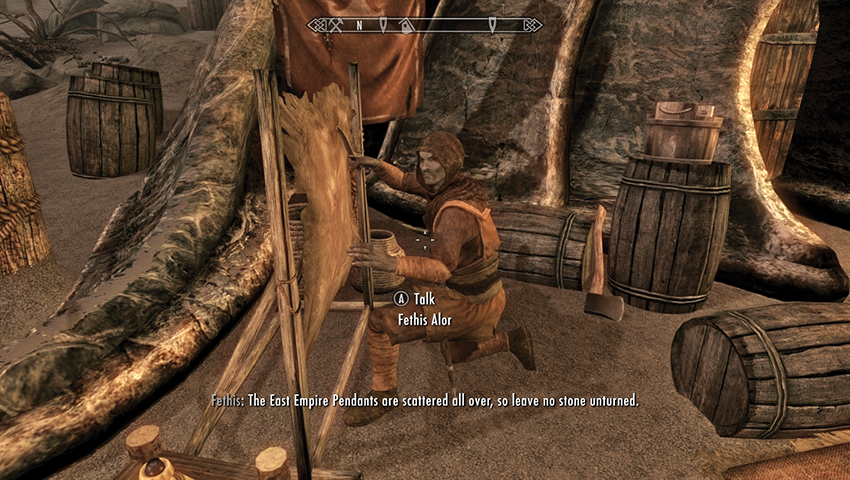
Fethis Alor is a merchant by trade and has a general goods store in Raven Rock. When he’s not squabbling with his daughter Dreyla, he’s worrying about his livelihood. You have a number of conversation choices when speaking with him:
- You can ask about how his sales are. They aren’t good: He’s thinking about contacting a friend at the East Empire Company to see if he can move to Windhelm. Then he drops the name of Vittoria Vici.
- To begin this Miscellaneous Objective, ask about the special mining gear. He doesn’t sell any but does mention East Empire Pendants. He made money from them, until he ran out. He explains the pendants were rewards given to workers for their efforts, and now they’re collectible. He wants as many as you can find.
You can now scour the island for East Empire Pendants. It is worth remembering the following:
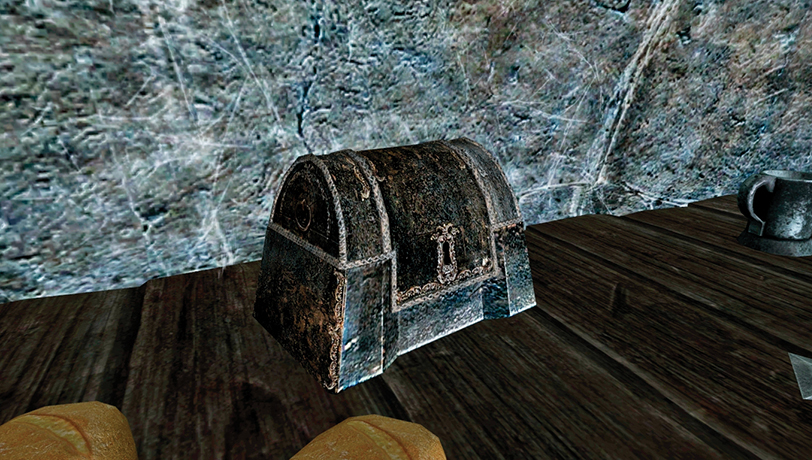
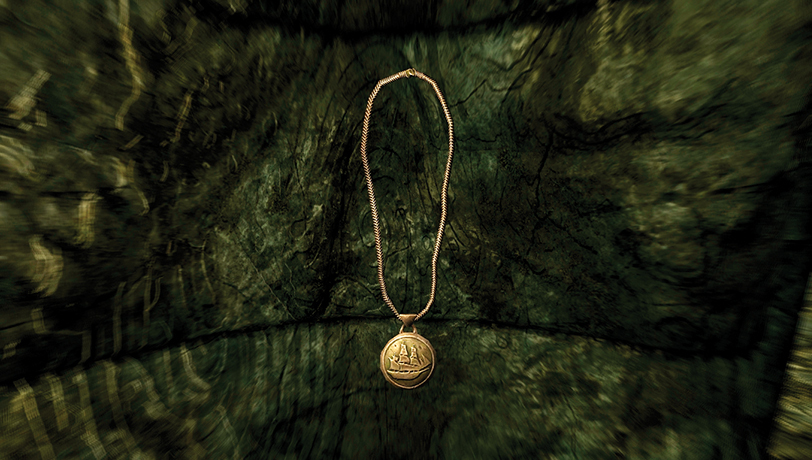
- These are always found in East Empire Strongboxes, which are always locked [Expert].
- There are other (random) valuables within the strongboxes.
- The strongboxes are located at Primary and Secondary Locations throughout Solstheim.
- There are other strongboxes, too, but these aren’t specifically marked and don’t contain Pendants.
- There are no Pendants to be found in Skyrim; they are only here, on Solstheim.
- Some of the Pendants are owned and must be stolen (although you can sometimes take them after completing an appropriate Favor for their owner). If you elect to steal them, be cautious, or you may well be caught and fined (at the very least).
- You can collect any or all of the 33 pendants, but there is no special reward for finding them all—just the gold. Simply retrieve the ones you wish.
Strongbox Search: Northern Solstheim
East Empire Pendant #1
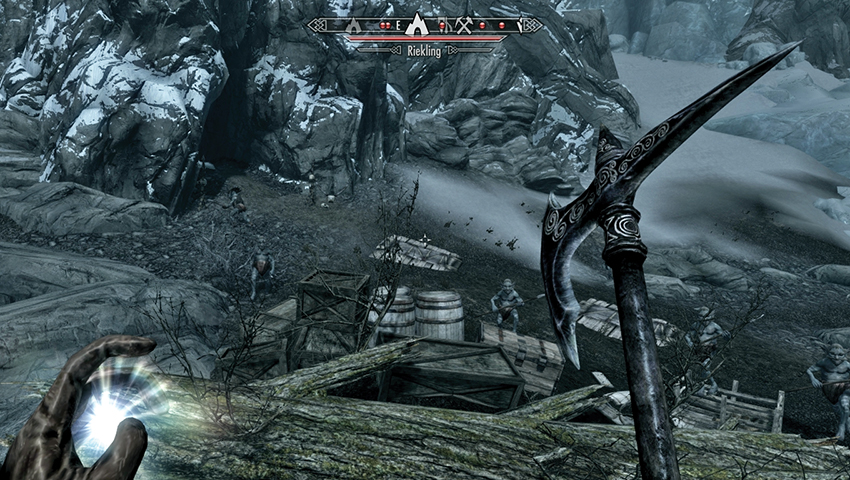
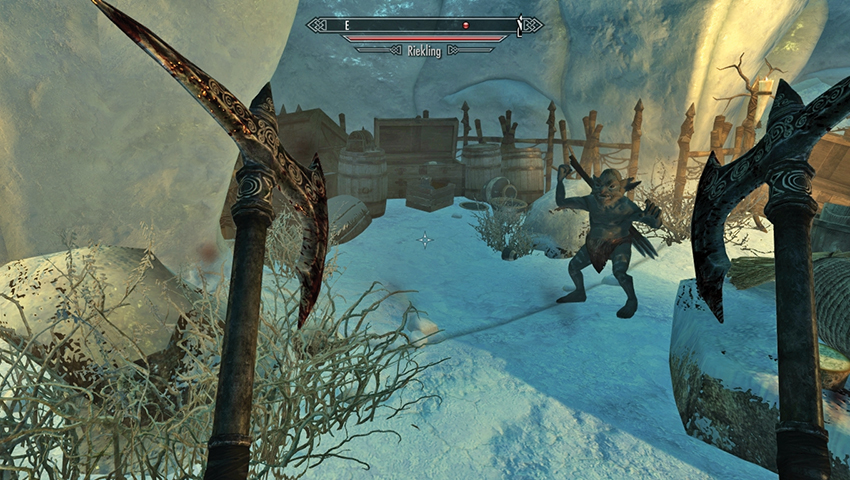
Primary Location: [S.N06] Bristleback Cave (Interior)
Slay the Rieklings that have made camp outside this shoreline cave entrance, then enter and battle through at least a dozen more Rieklings, heading to the northern, smaller cave area, then south into a secondary Riekling camp. Look for the strongbox among the scattered detritus in the southeastern area, atop a barrel.
- East Empire Pendant
East Empire Pendant #2
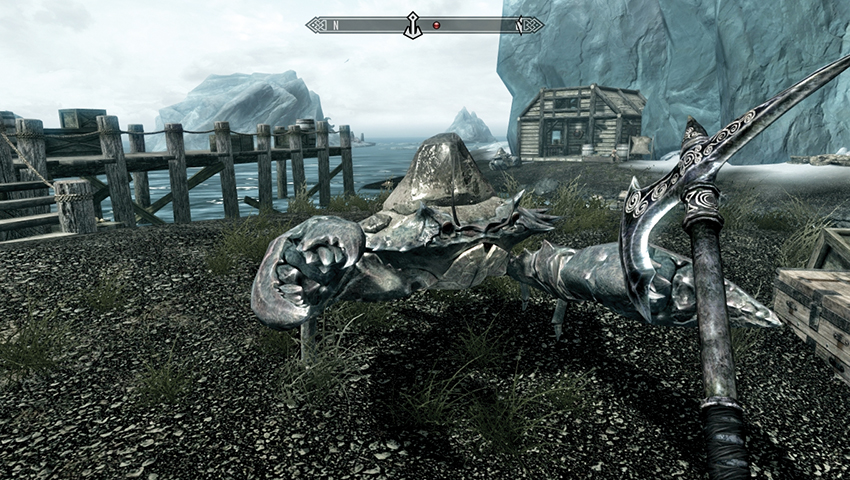
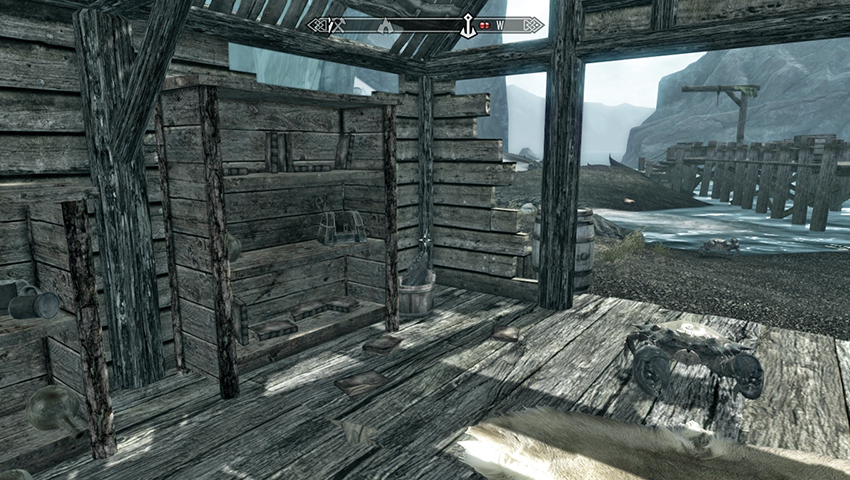
Primary Location: [S.N07] Northshore Landing
Watch for Mudcrabs (and potentially a group of Thalmor if Solstheim Side Quests: A New Source of Stalhrim is active), and enter the old shack on the shore. Inside, look to the right (south) at the shelf with tattered books. The strongbox is on the second shelf from the bottom.
- East Empire Pendant
East Empire Pendant #3
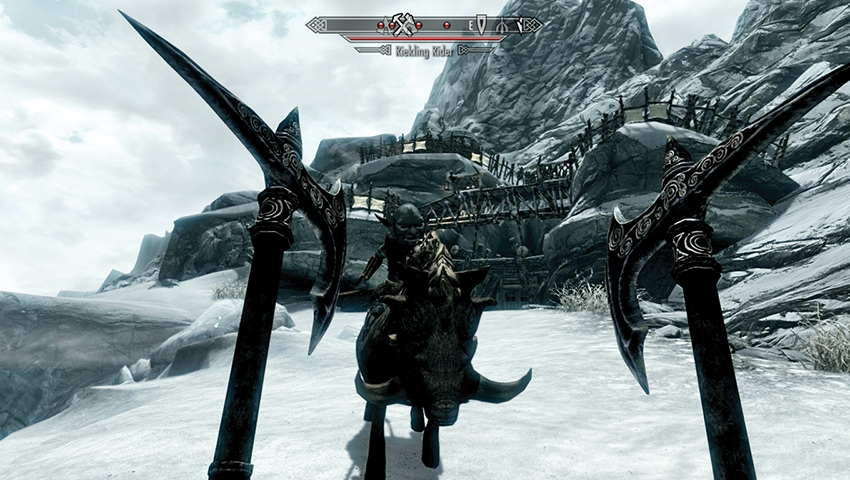
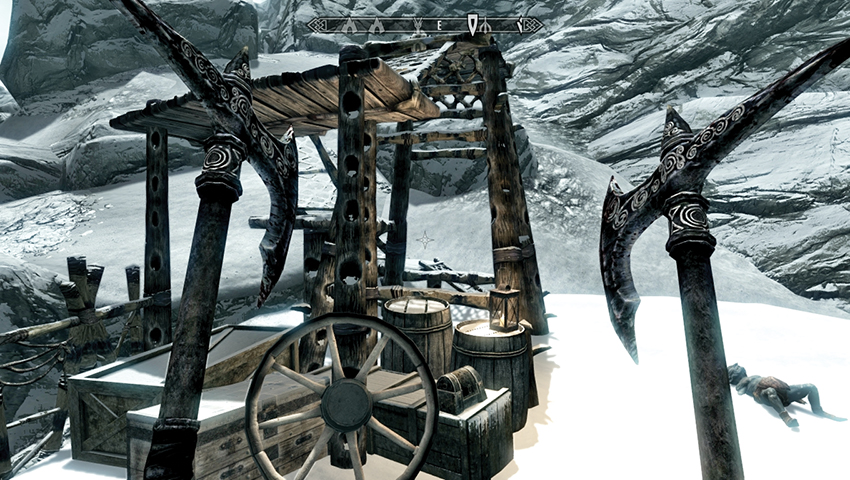
Primary Location: [S.N08] Broken Tusk Mine
Clamber up the snowy inclines to reach the exterior of this mine, and face the mounted Riekling and at least five other Riekling foes. Don’t enter the mine; climb the lookout tower above the entrance. The strongbox is on a crate near a wagon wheel, below one of the Riekling watchtowers.
- East Empire Pendant
East Empire Pendant #4
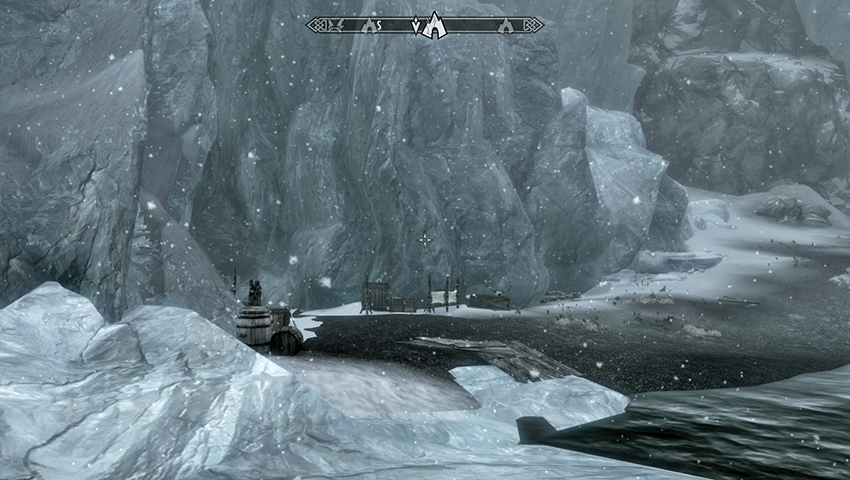
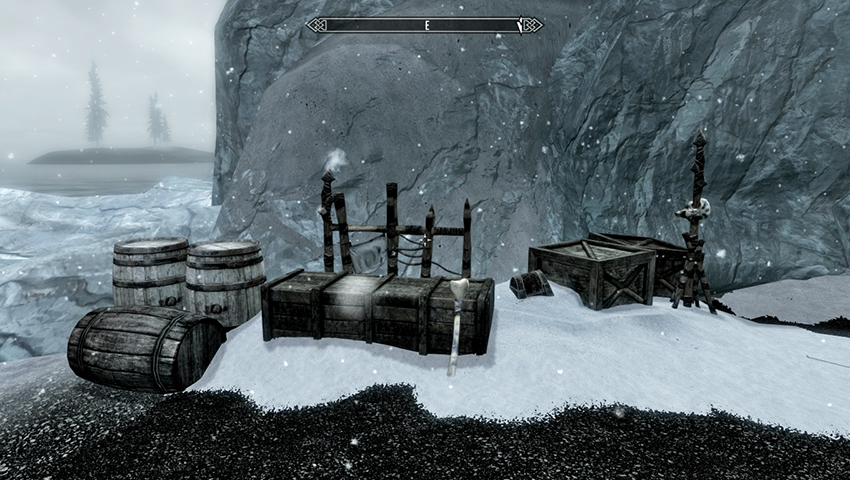
Primary Location: [S.N12] Glacial Cave
Slay any Horkers that are languishing on this windswept shoreline near to the Glacial Cave entrance. You don’t need to enter the cave. Instead, inspect the Riekling items that are scattered just left (east) of the cave mouth; the strongbox is half buried in snow between crates.
- East Empire Pendant
East Empire Pendant #5
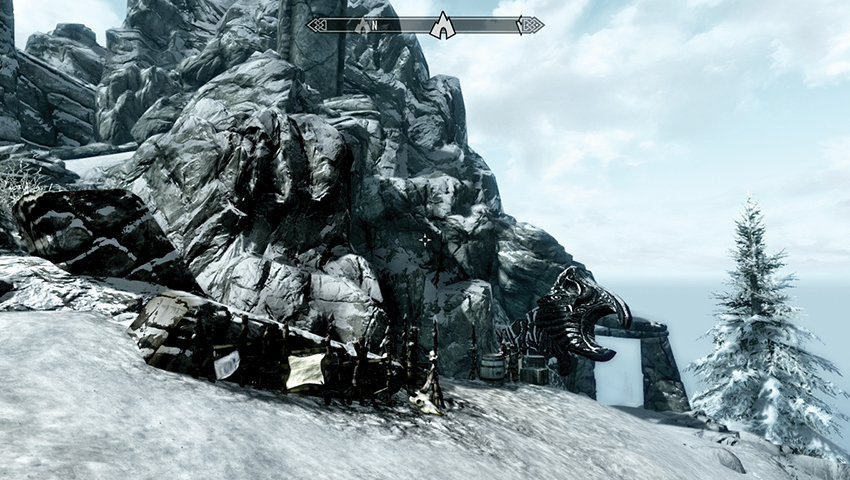
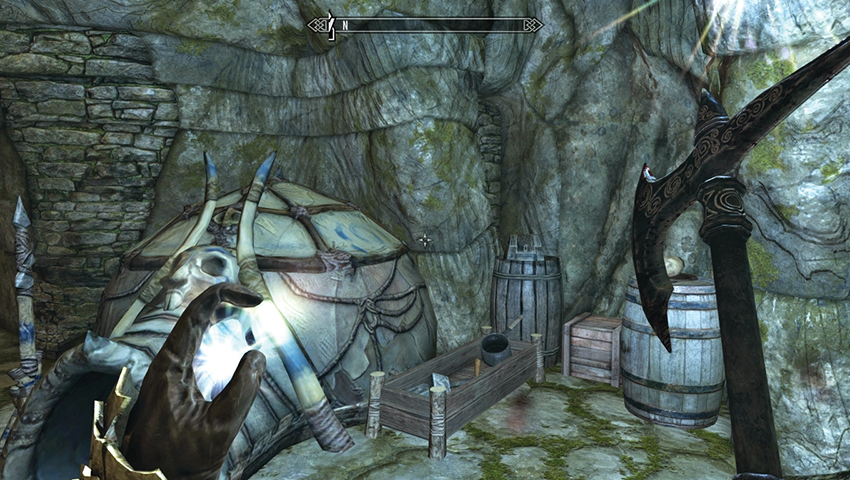
Primary Location: [S.N16] Benkongerike (Great Hall)
Battle your way through the ice tunnels and caverns, fighting Rieklings along the way, until you reach the door to Benkongerike Great Hall. Move into the main chamber where the mounted Riekling and other foes are located, and check the upper north balcony area, on a barrel near a Riekling tent.
- East Empire Pendant
East Empire Pendant #6
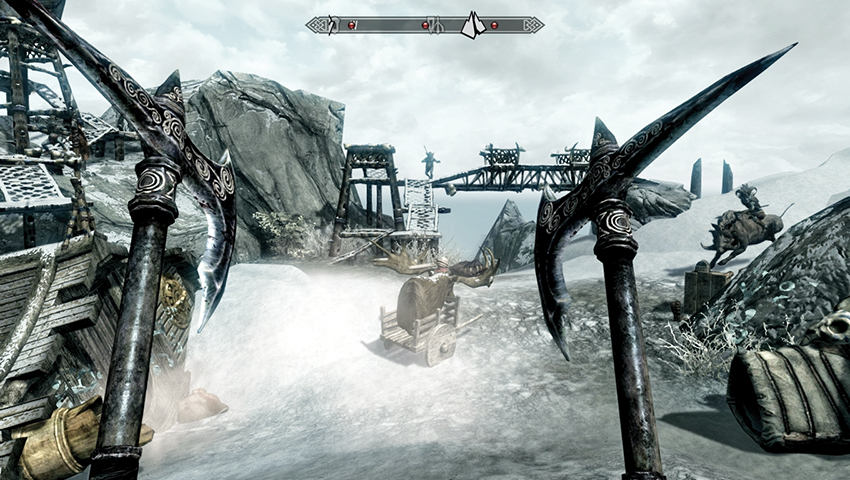
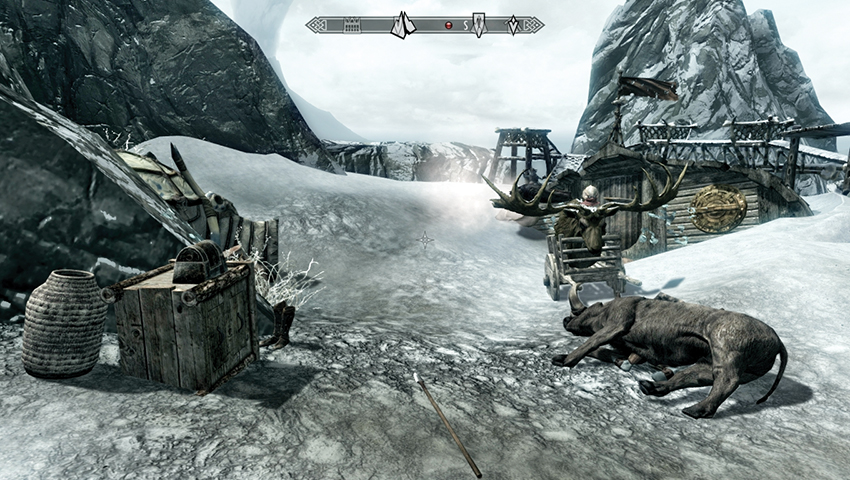
Primary Location: [S.N19] Moesring Pass
Enter the pass and clear the exterior of Rieklings, including those on the water tower parapets and the mounted Riekling. Move to the middle of the pass, where the cart with the elk antlers is, and inspect the strongbox on the crate, across from the strange vessel, near the urn and Riekling tent.
- East Empire Pendant
East Empire Pendant #7
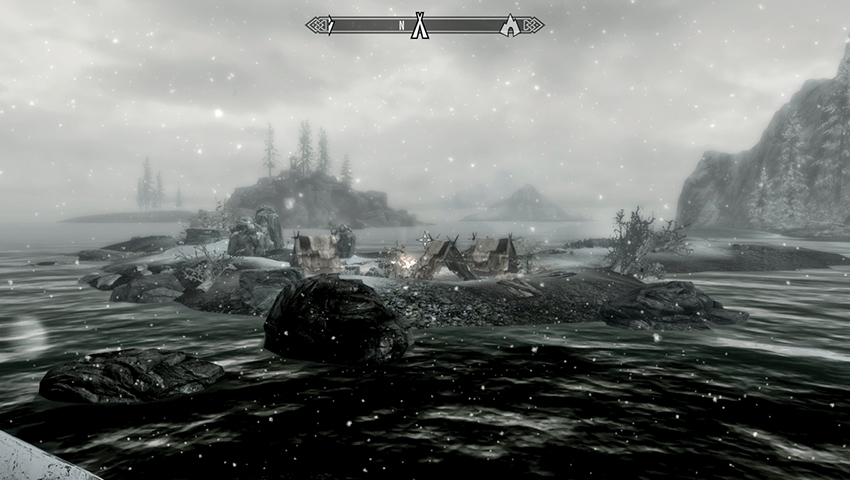
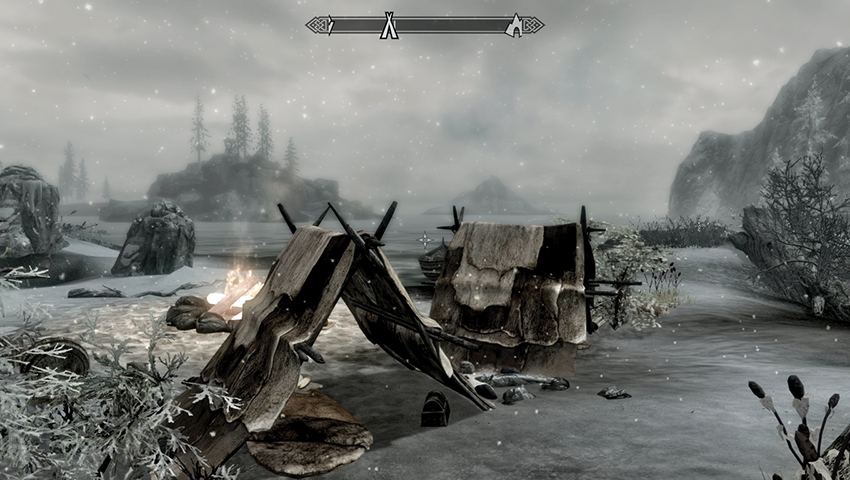
Primary Location: [S.N29] Haknir’s Shoal
Cross the rocky shore and onto this small island shoal, watching for Reaver activity as you arrive at this campsite. At the campfire, turn to face the south tent and check inside, near the sleeping mat. The strongbox is located at the back here.
- East Empire Pendant
East Empire Pendant #8
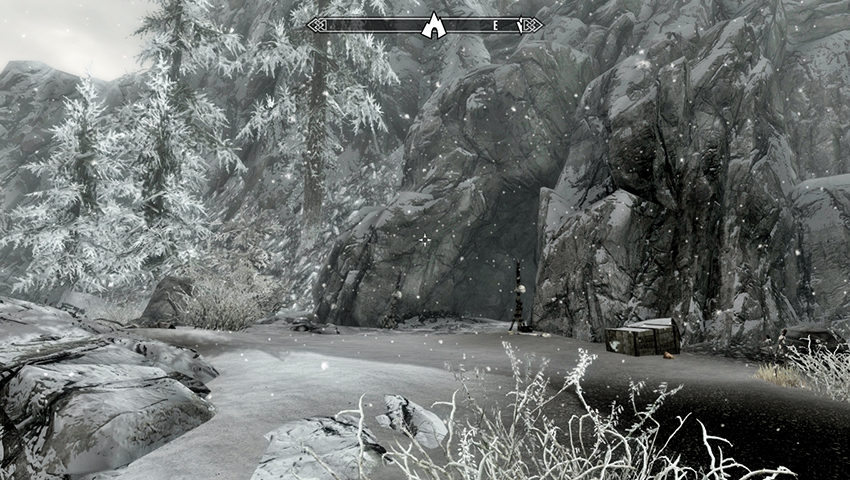
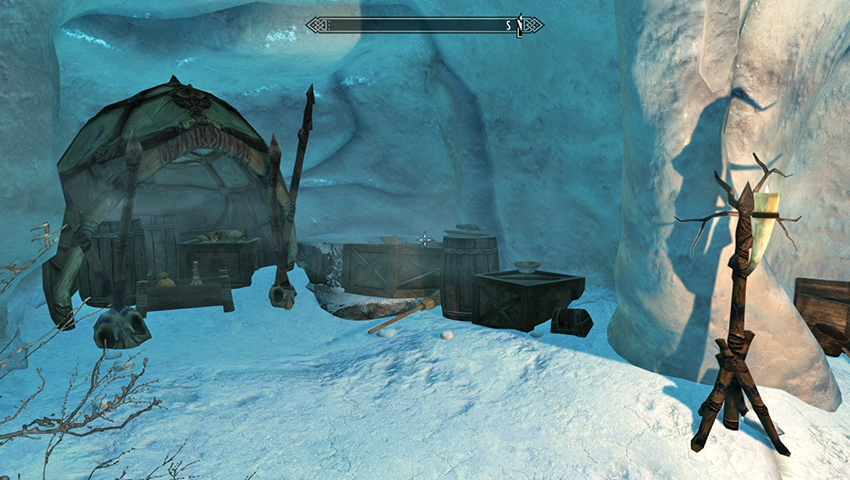
Primary Location: [S.N30] Frossel (Interior)
Enter the cave, heading east, then south into the main cavern. Battle Rieklings, heading to the southeast tunnel, then south into a smaller living area with tents and a tripwire trap. Locate the Riekling tent in the southeast corner and the strongbox in the snow near the crate and barrel adjacent to it.
- East Empire Pendant
East Empire Pendant #9
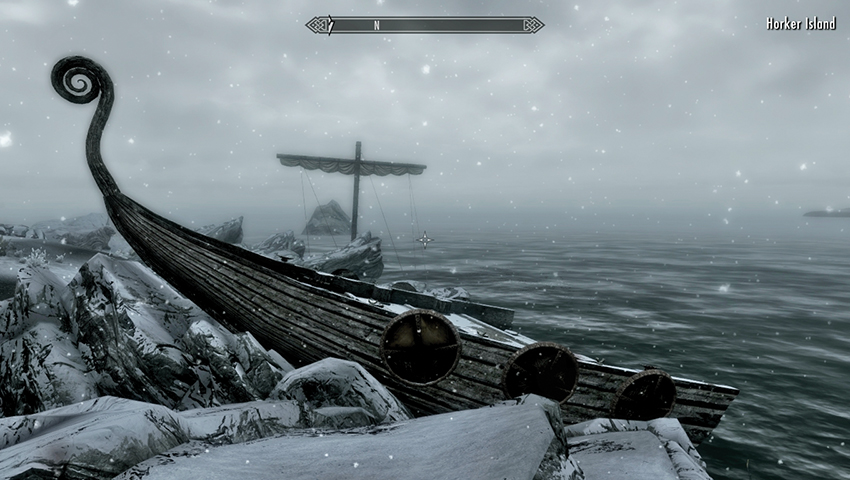
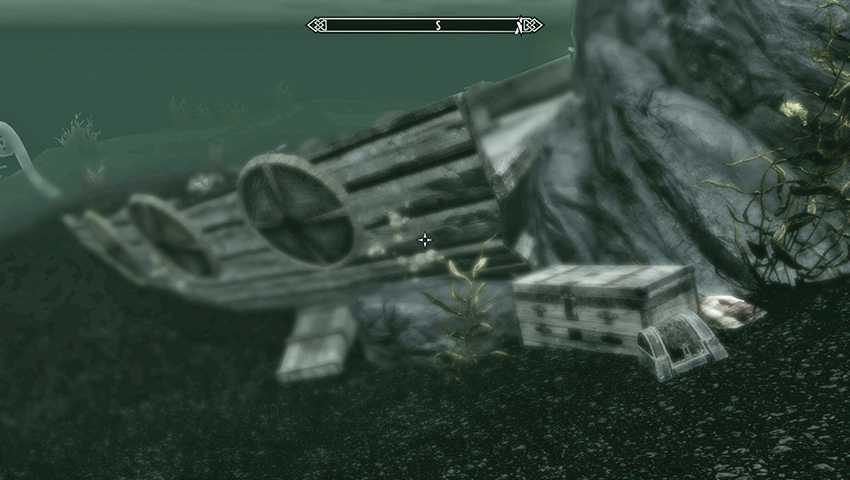
Primary Location: [S.N33] Horker Island
Head to this remote island and slay the Horkers you find there (including Lord Tusk). Then find the Reaver corpse on the rocks near a half-submerged boat. Dive down by the boat, then swim underwater to the south to find the other half of the sunken ship. A chest and strongbox are by the rocks.
- East Empire Pendant
East Empire Pendant #10
<
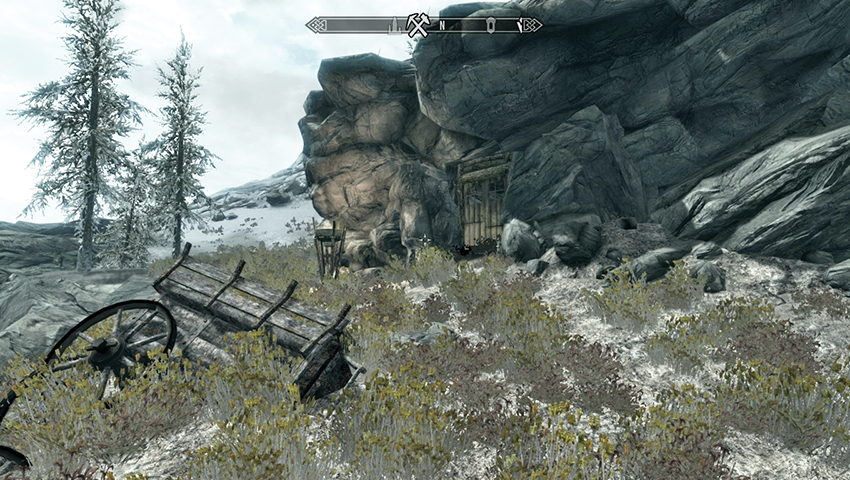
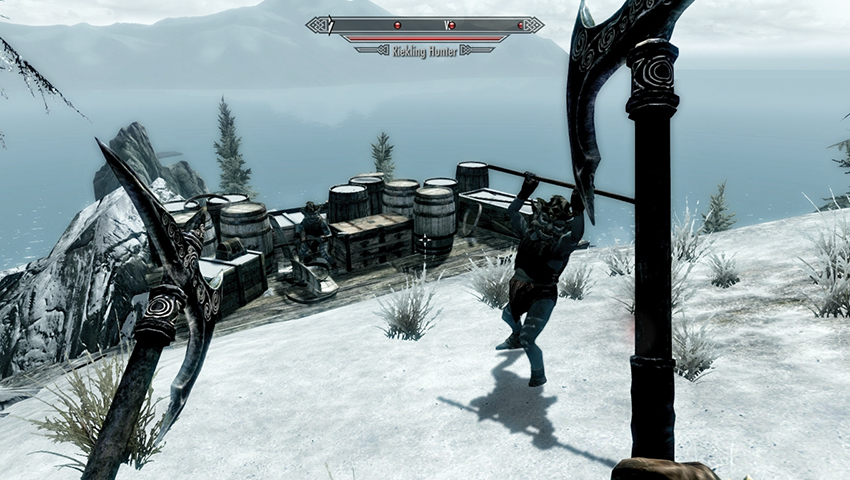
Secondary Location: [S.NG] Riekling Barrel Hoard
Locate Damphall Mine, but don’t enter. Instead, hike north up the mountain, looking for two trees, a clump of rocks, and a snowberry bush to your left. Nearby is a wooden storage and lookout platform with a view of the water and a strongbox on one of the crates. Watch for a Riekling barrel ambush!
- East Empire Pendant
East Empire Pendant #11
<
Secondary Location: [S.NK] Desolate Hunter’s Camp
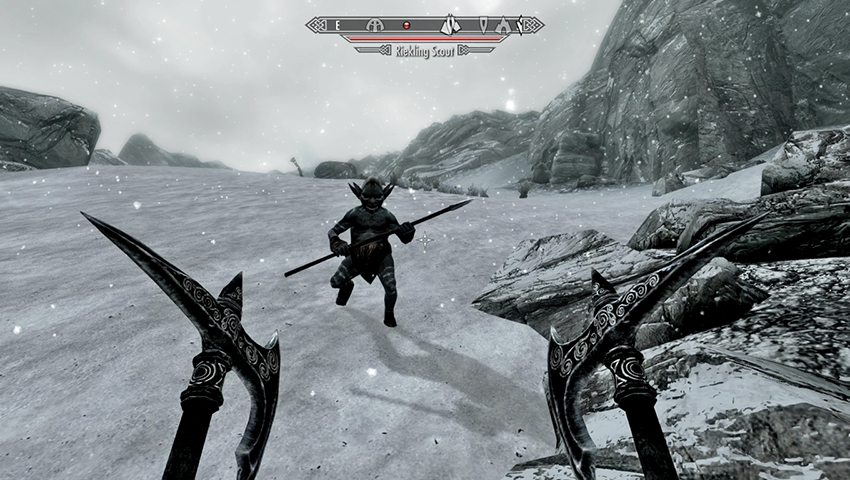
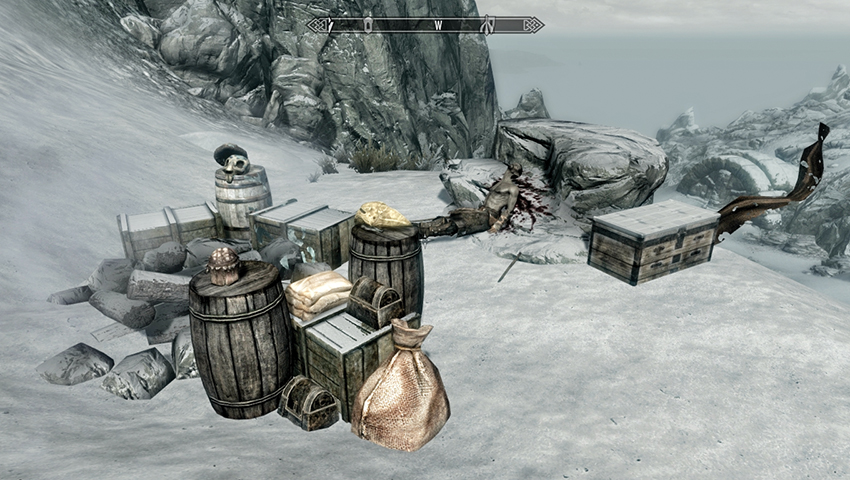
Head southwest from Hrothmund’s Barrow, then southeast and up the steep snow slope, engaging a Riekling as you reach this rocky outcrop and tattered banner. Near the slain Reaver is a group of barrels and crates with a strongbox, adjacent to the extinguished campfire.
- East Empire Pendant
East Empire Pendant #12
<
Secondary Location: [S.NL] Shrine of Zenithar
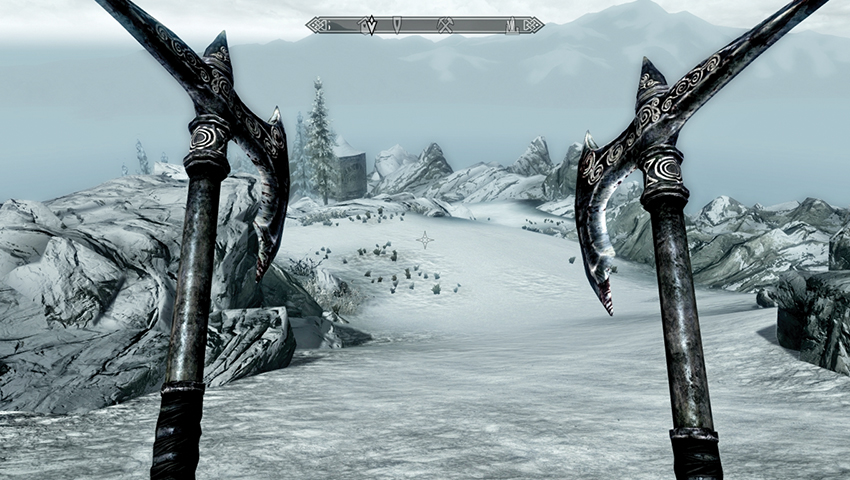
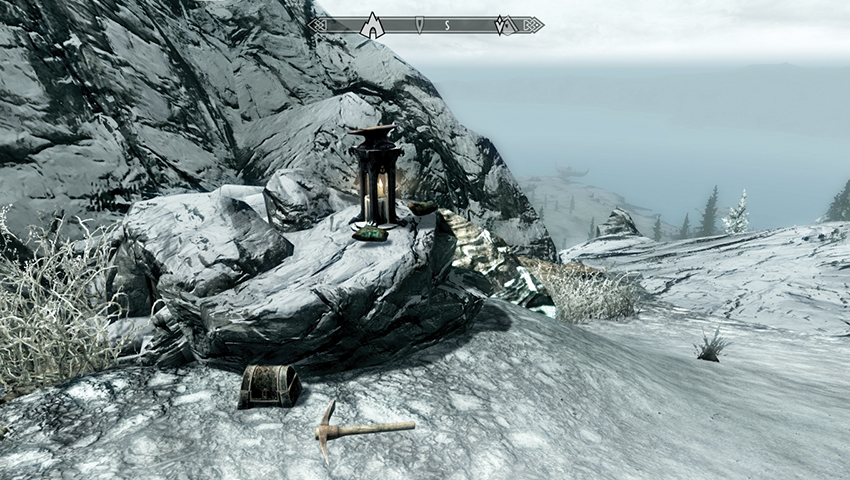
From Moesring Pass, head downhill to the southwest, following the snow. Turn left after a few moments, following the rocky outcrops on your left so you’re heading southeast with Red Mountain directly ahead of you. At the Shrine to Zenithar, find the strongbox by the boulder.
- East Empire Pendant
East Empire Pendant #13
<
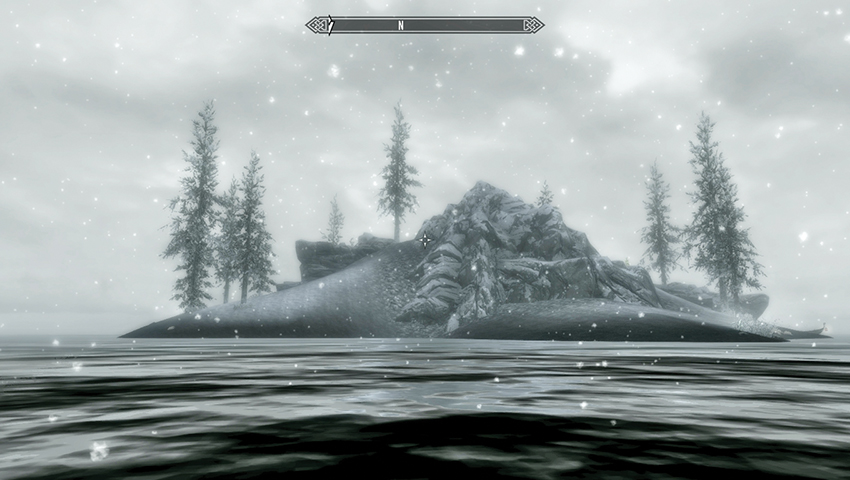
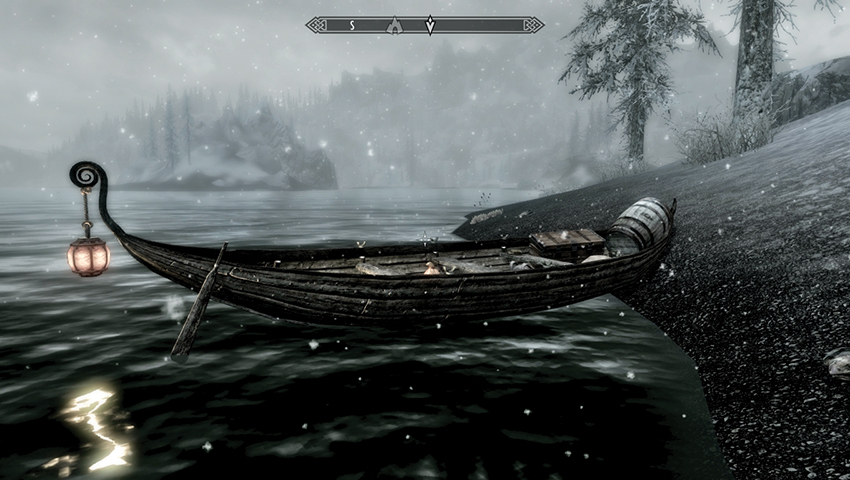
Secondary Location: [S.NN] Giant Nirnroot Island
From Frossel, swim north toward the island, watching for Spriggans prowling the shores. Turn right (northeast) slightly as you climb ashore and head toward the dimly illuminated rowboat moored by two trees and a small rock outcrop. The strongbox is between a chest and barrel on the boat.
- East Empire Pendant
East Empire Pendant #14
<
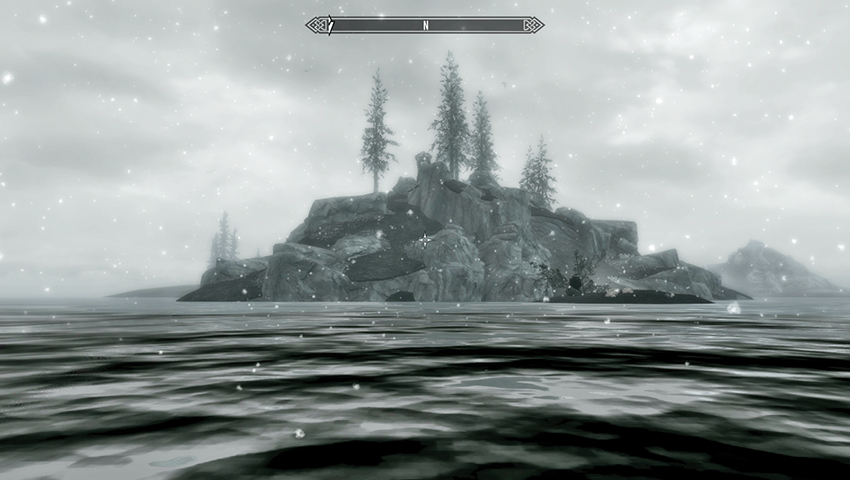
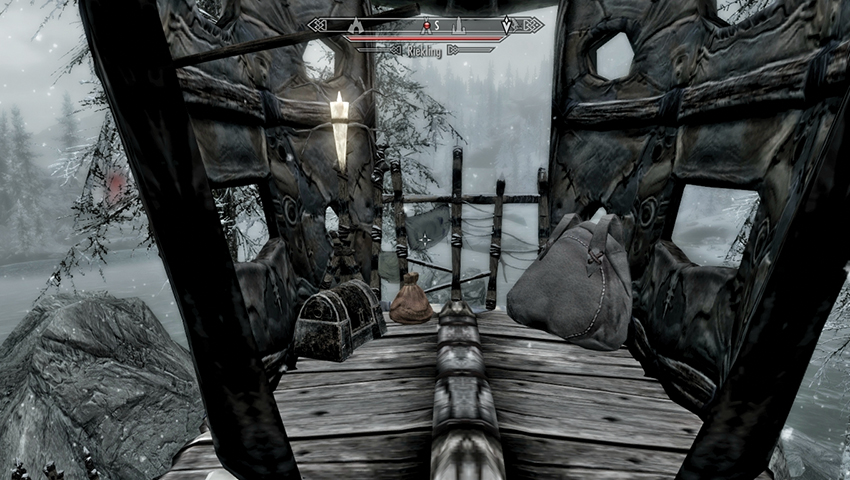
Secondary Location: [S.NO] Riekling Outpost Island
From Haknir’s Shoal, swim north toward this Riekling-infested island. Engage their infantry and mounted warriors as you sweep through this outpost. Climb to the highest watchtower, where the strongbox sits near a purse and satchel.
- East Empire Pendant
Strongbox Search: Southern Solstheim
East Empire Pendant #15
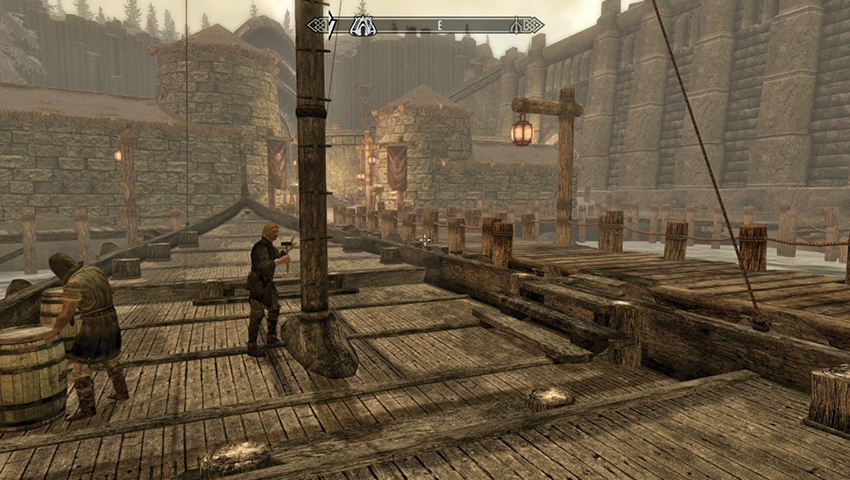
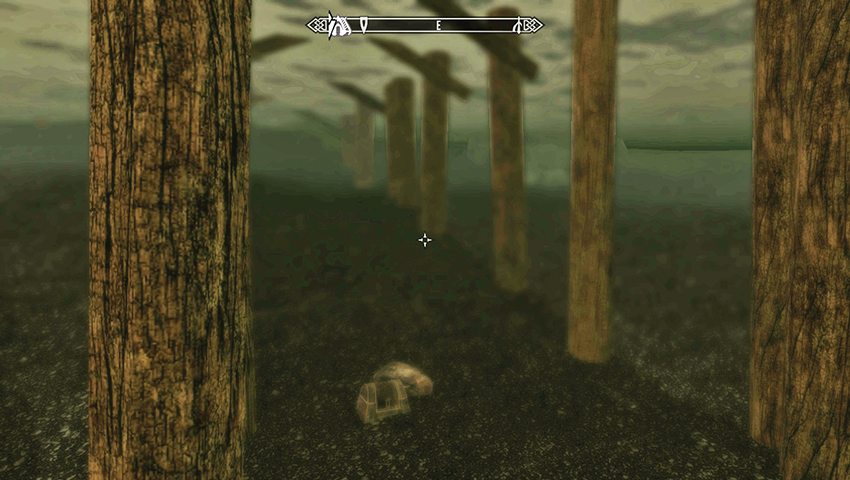
Primary Location: [S.S0] Raven Rock; Northern Maiden (Docks)
At the dock in Raven Rock, dive off the stern of the Northern Maiden. Turn to face northeast and swim under the dock footings in the murky water. Next to a pearl oyster is the East Empire Strongbox. As you’re underwater, be sure to periodically come up for air while searching!
- East Empire Pendant
East Empire Pendant #16
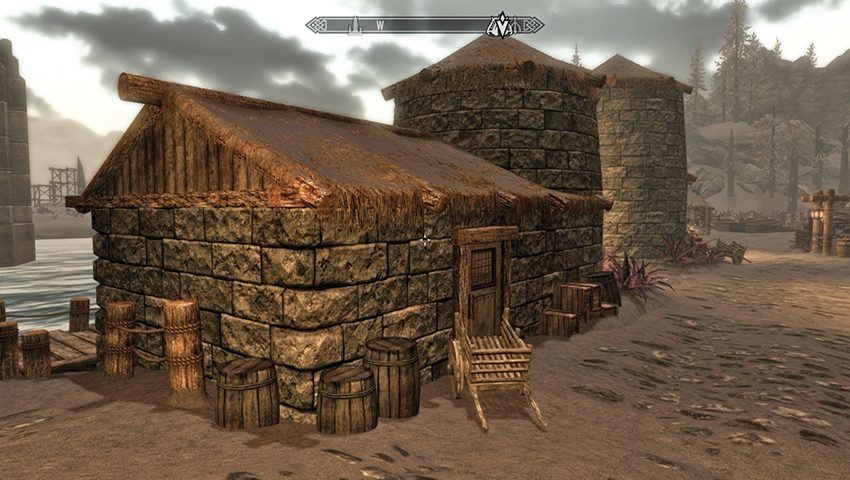
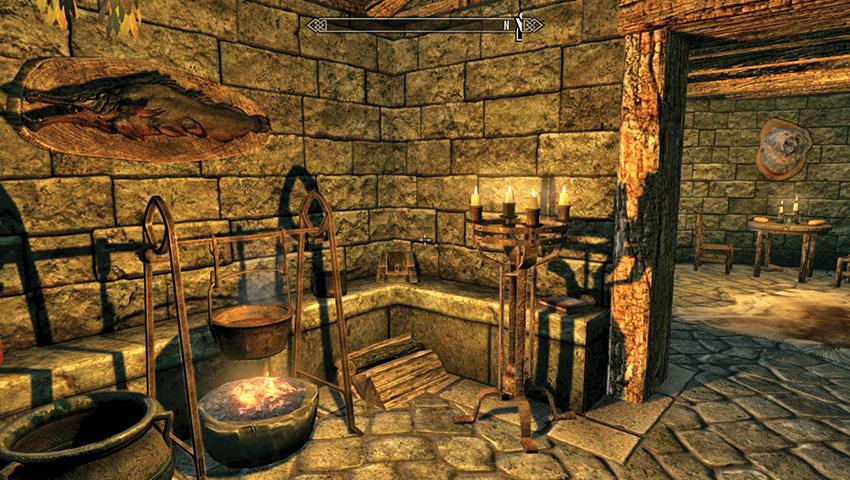
Primary Location: [S.S0] Raven Rock; Caerellius House (Interior) (owned)
Unlock the Caerellius House [Apprentice] or wait until the inhabitants are home. The house is on the main thoroughfare. Peer into the initial room, turning right (northwest) slightly to view the strongbox on the stone shelf, right of the cooking pot. Again, approach this cautiously, unless you want a bounty.
- East Empire Pendant
East Empire Pendant #17
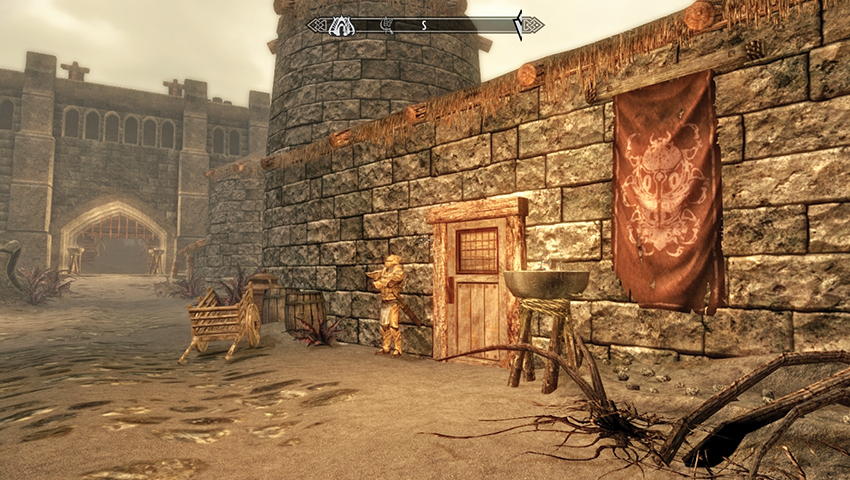
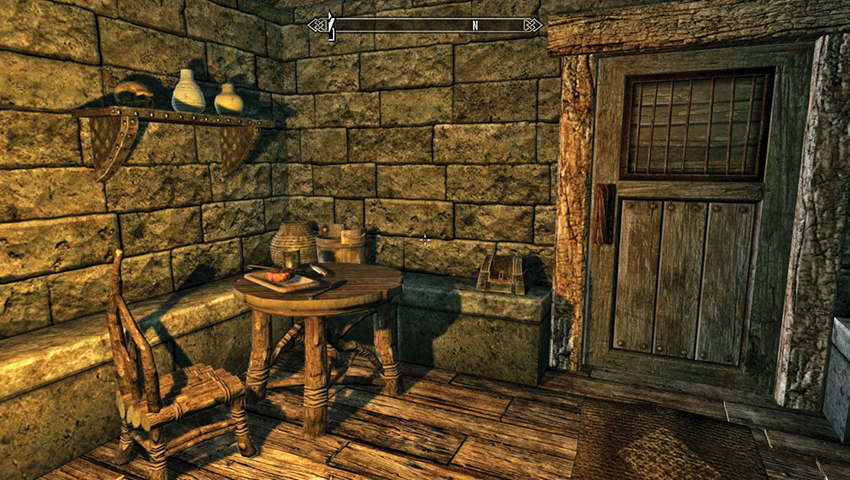
Primary Location: [S.S0] Raven Rock; Morvayn Manor (owned)
Head into Morvayn Manor, which is usually unlocked. Head right and up the stairs. Enter Morvayn Manor Chambers and look at the door straight ahead (north). The strongbox is on the stone shelf just left of the door. As usual, stealth is the key here, unless you want a bounty.
- East Empire Pendant
East Empire Pendant #18
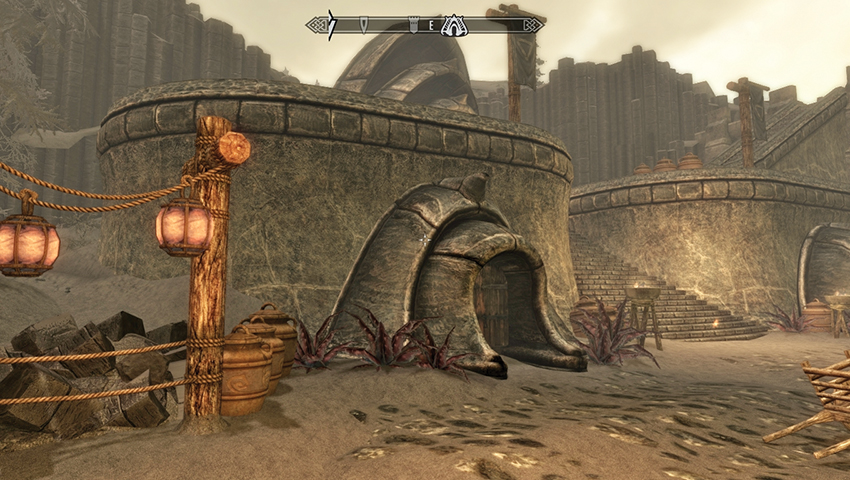
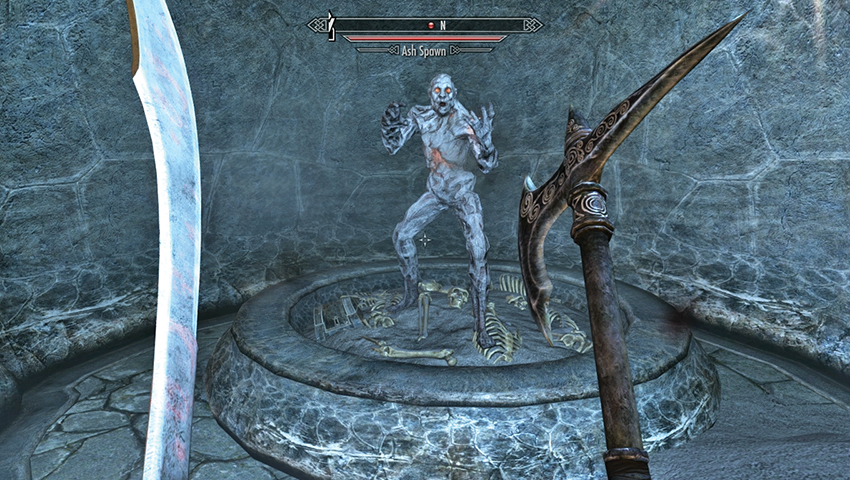
Primary Location: [S.S0] Raven Rock; Temple Ancestral Tomb
Open this tomb with the Raven Rock Tomb Key, which Elder Othreloth hands over during Solstheim Regional Activity: Tomb Eradicator*. The strongbox is in the circular burial mound with the bone pile in the northern alcove. Beware of an infestation of Ash Spawn if you venture in here.
- East Empire Pendant
East Empire Pendant #19
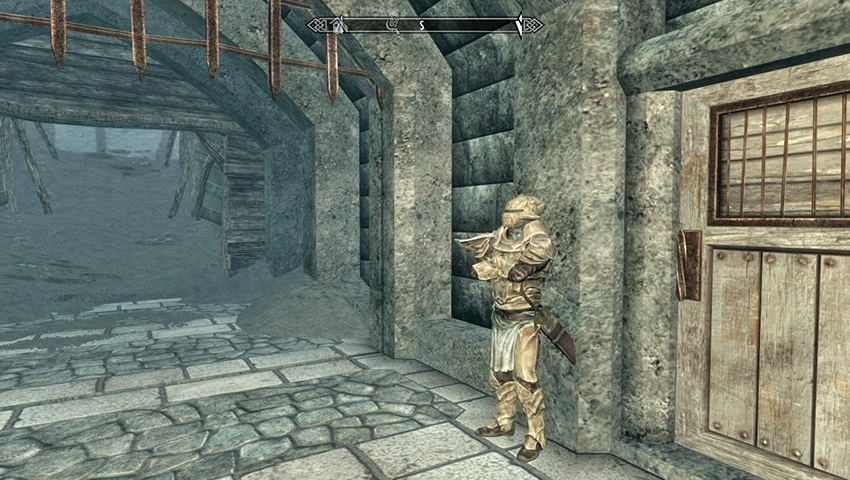
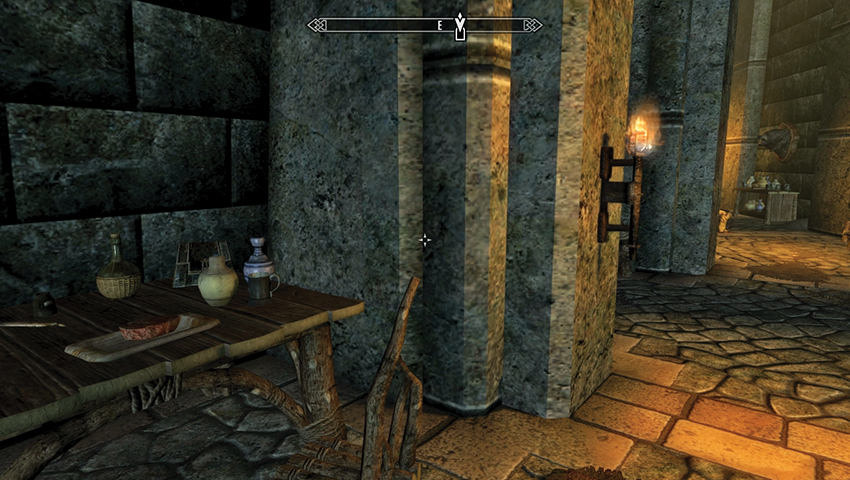
Primary Location: [S.S0] Raven Rock; The Bulwark (Interior) (owned)
Open the door to the Bulwark interior (heading west), and move to the end of the main hallway. Here you find shelves, a bed, and a table. The strongbox is behind a couple of vases in the back right corner of the table. If you are detected, this ups your bounty, so stealth is key here.
- East Empire Pendant
East Empire Pendant #20
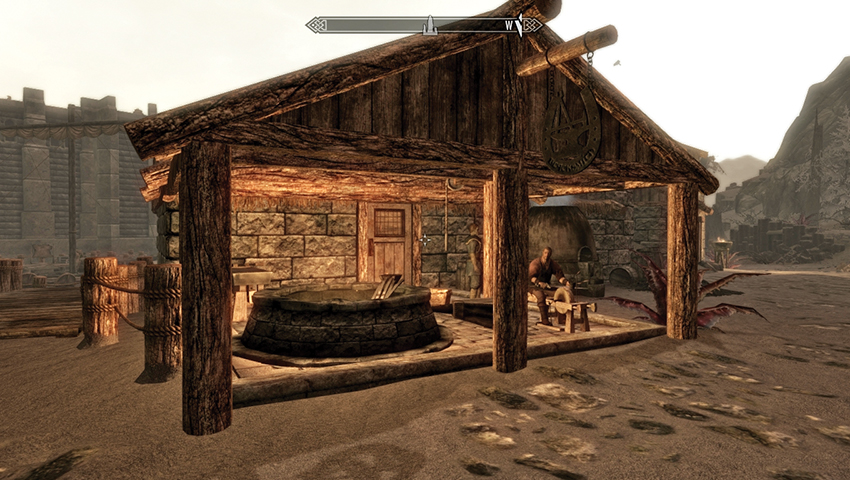
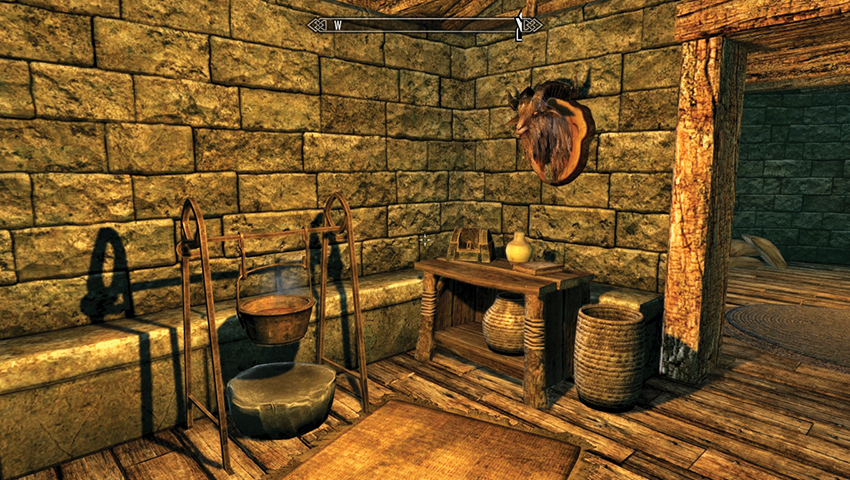
Primary Location: [S.S0] Raven Rock; Glover Mallory’s House (owned)
Unlock Glover Mallory’s House [Adept], behind the forge, or wait until he is home. Peer into the initial room, turning right (northwest) slightly to view the strongbox on the table, to the right of the cooking pot. Time your theft so you won’t be detected.
- East Empire Pendant
East Empire Pendant #21
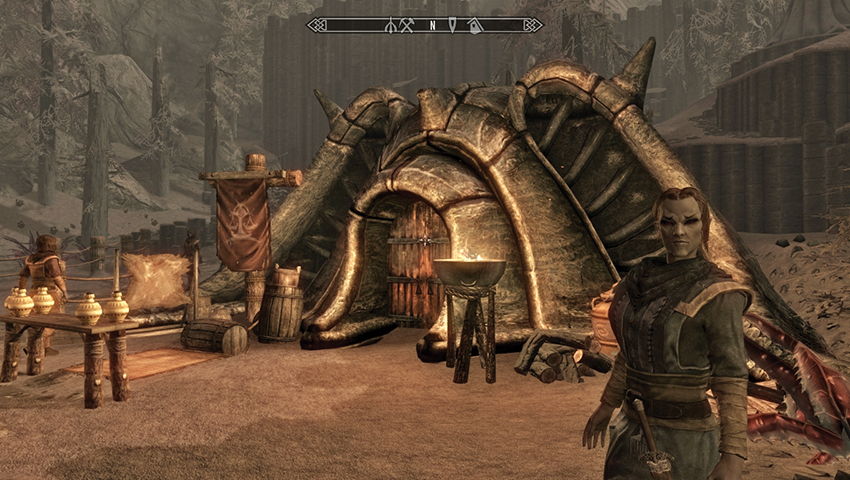
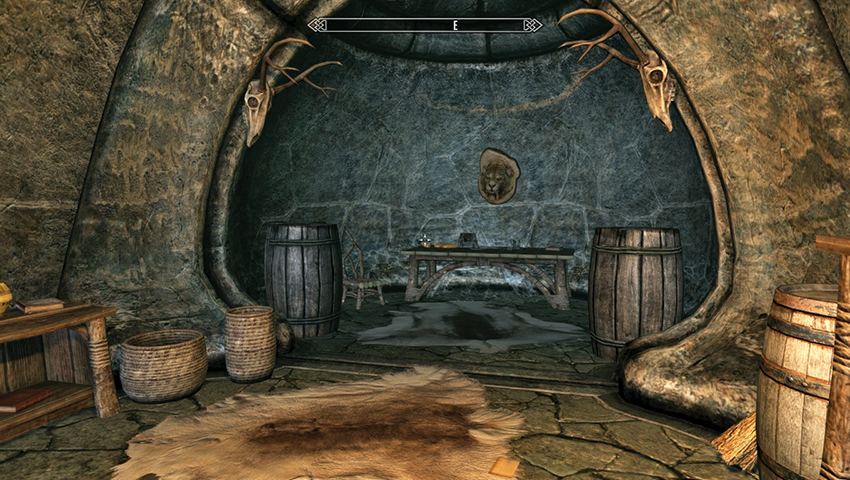
Primary Location: [S.S0] Raven Rock; Alor House (Interior) (owned)
Unlock the Alor House [Apprentice], head downstairs to the southeast bedroom, and locate the East Empire Strongbox on the wooden table, below the mounted saber cat head. Sneaking is key to obtaining this pendant—if you are detected while breaking and entering, expect the guards to be called.
- East Empire Pendant
East Empire Pendant #22
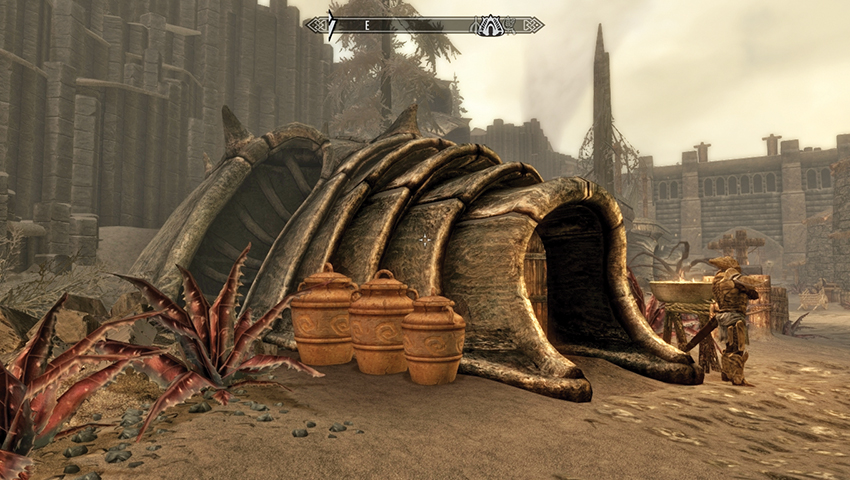
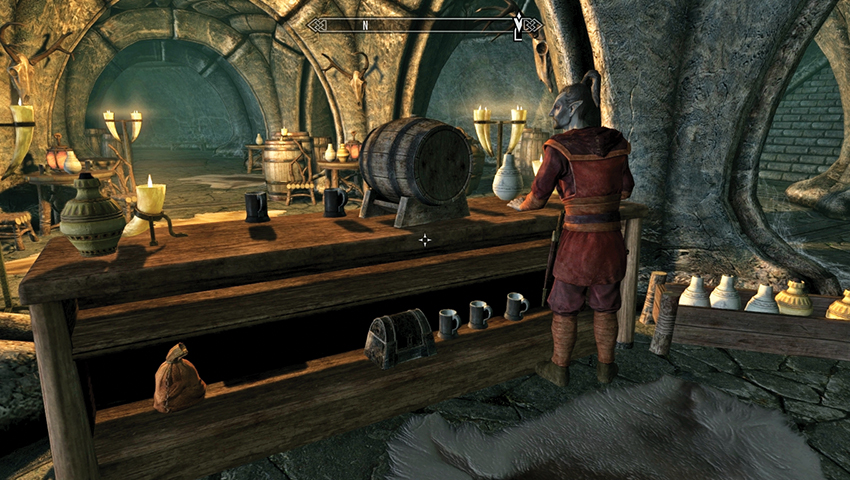
Primary Location: [S.S0] Raven Rock; The Retching Netch (owned)
Locate this tavern in the main square off the thoroughfare, enter the building, and head downstairs to the bar. The East Empire Strongbox is on the bottom shelf of the bar, right next to barkeep Geldis Sadri. Can you pick the lock and steal the pendant right out from under his nose?
- East Empire Pendant
East Empire Pendant #23
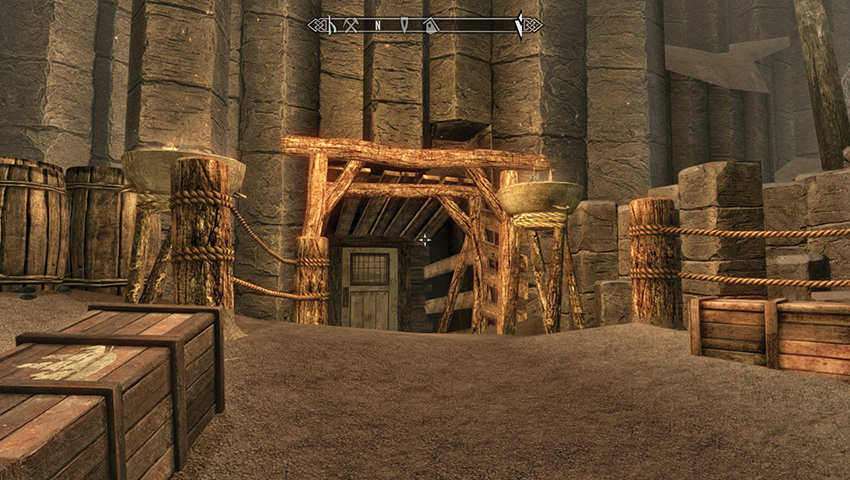
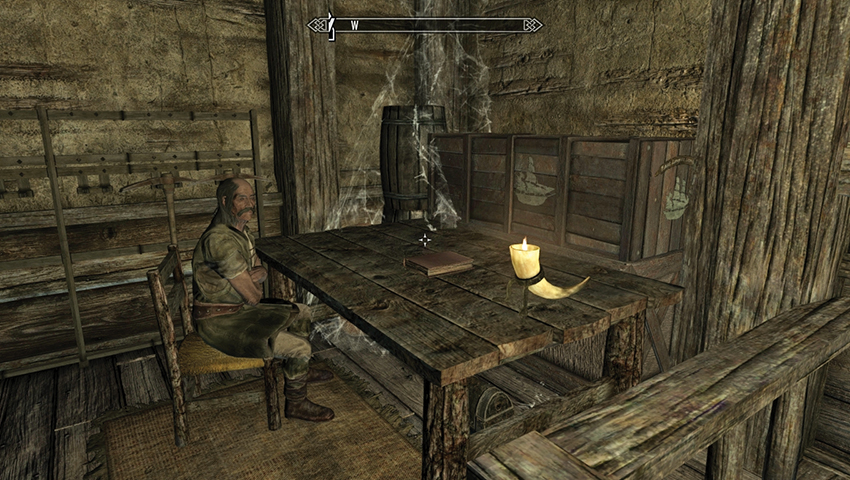
Primary Location: [S.S0] Raven Rock; Raven Rock Mine
Enter Raven Rock Mine, and head west to the initial mine quarters where Crescius Caerellius can usually be found. Climb up the wooden stairs to the balcony and winch room, and look in the northwest corner for a large table and East Empire chest. The strongbox is under the table.
- East Empire Pendant
East Empire Pendant #24
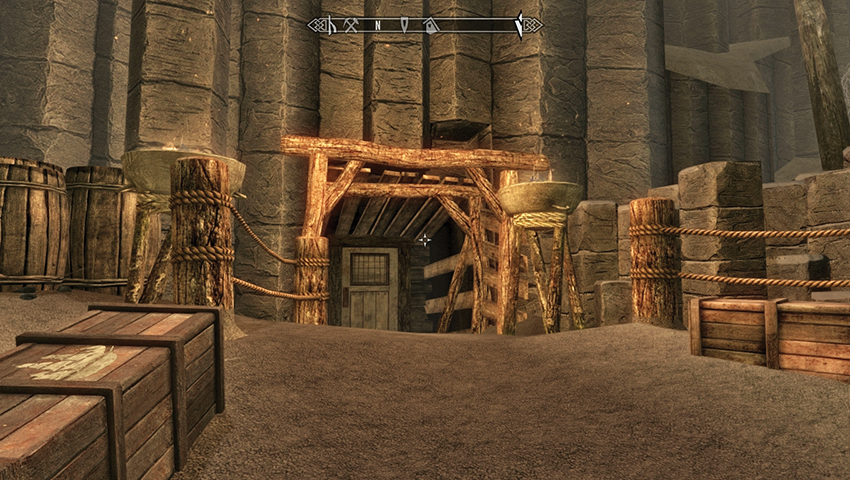
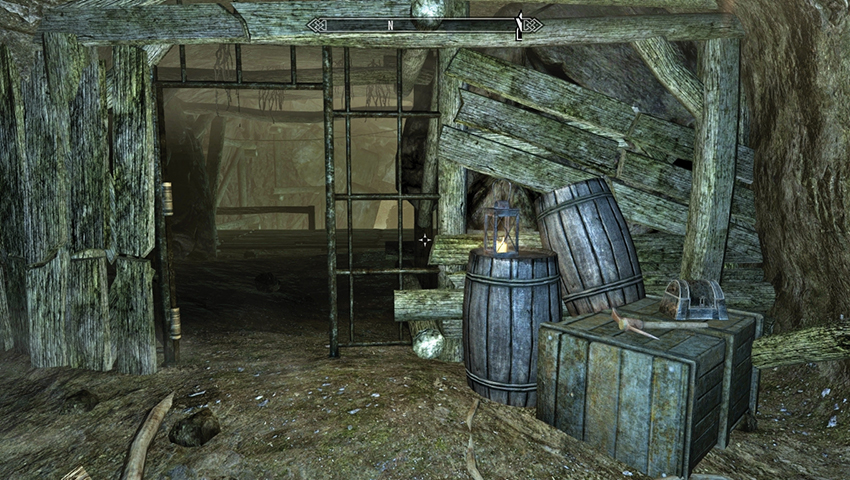
Primary Location: [S.S0] Raven Rock; Raven Rock Mine
Enter the mine via the chained steps, and descend the precarious floating balconies to a stepped tunnel to the west. Then head south and east, with spiders, planks, and a web to cut through as you approach a locked gate next to the East Empire Strongbox.
- East Empire Pendant
East Empire Pendant #25
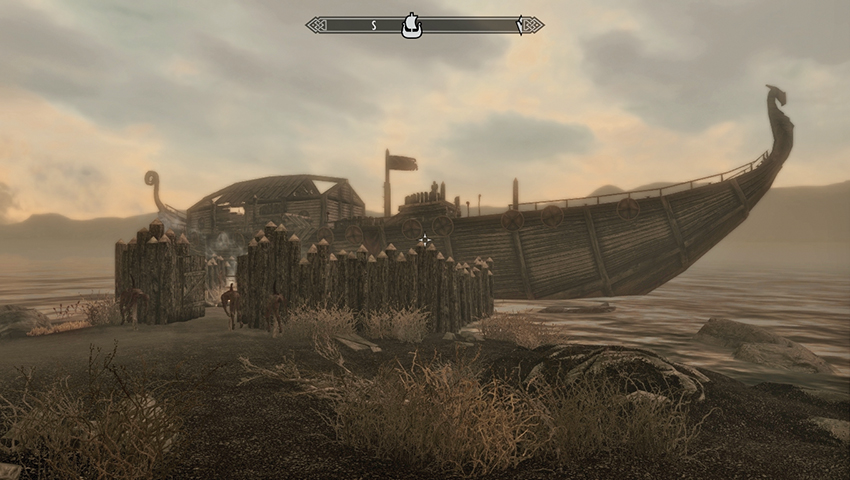
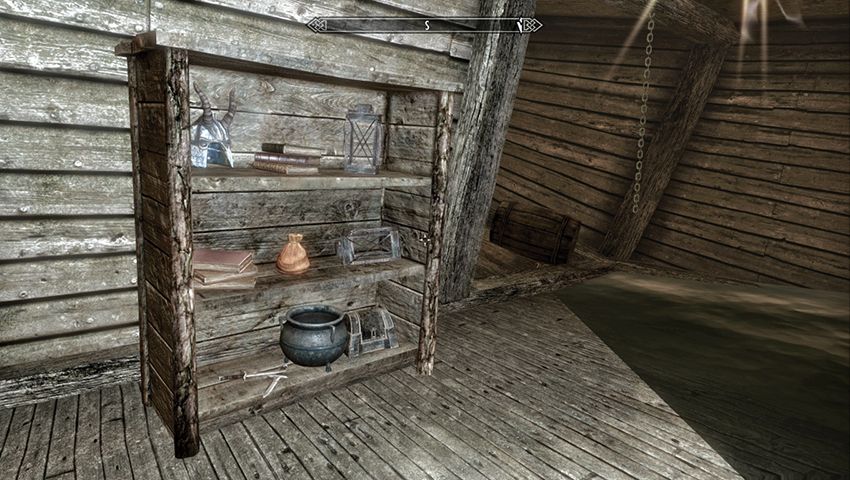
Primary Location: [S.S05] Wreck of the Strident Squall
On the far southeastern shores of Solstheim are the remains of a trading ship, now appropriated by Reavers. Slog your way through the camp and up the ramp, enter the deck, and then turn left (southeast) into the cabin and down into the hold. The strongbox is on the shelf at the bottom of the stairs.
- East Empire Pendant
East Empire Pendant #26
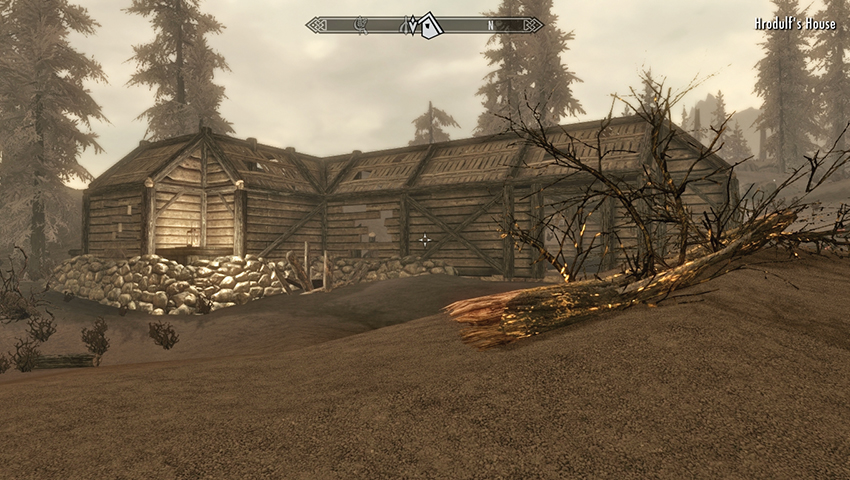
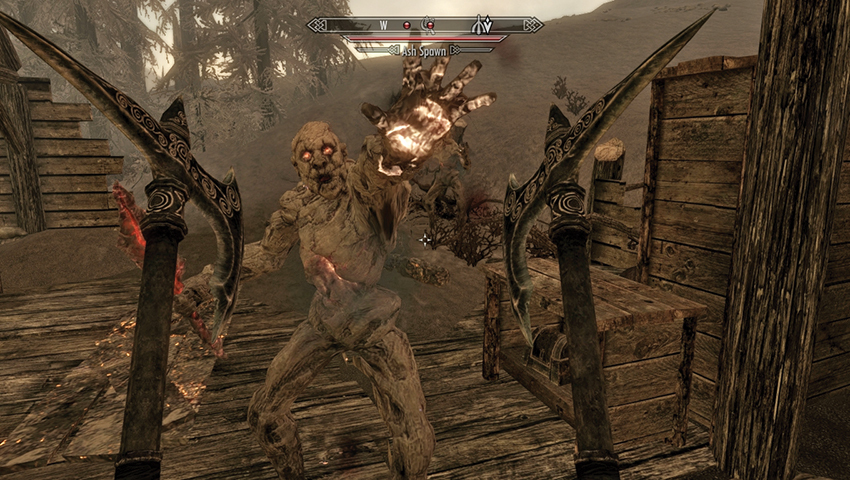
Primary Location: [S.S06] Hrodulf’s House
Find this ruined dwelling on the ash-filled southern plains, and beware of two or three Ash Spawn forming as you inspect the wrecked dwelling. On the northwest edge of the house near some burning sections of wood is a low shelf with the strongbox nestled on it.
- East Empire Pendant
East Empire Pendant #27
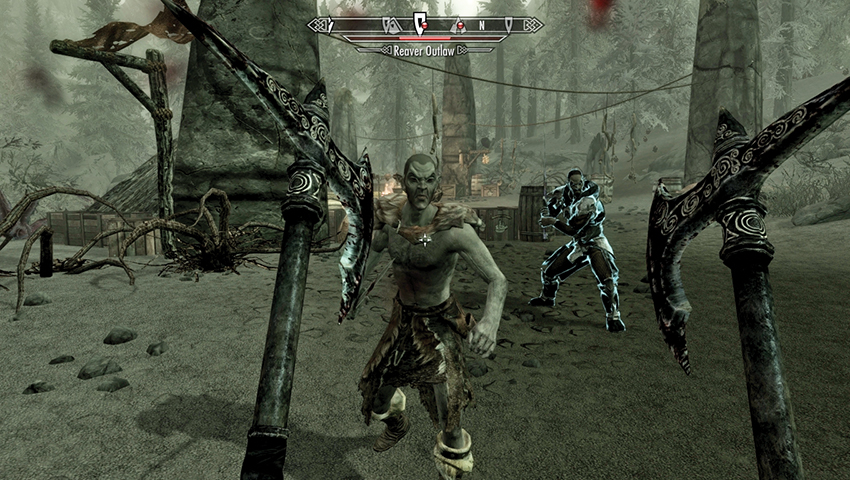
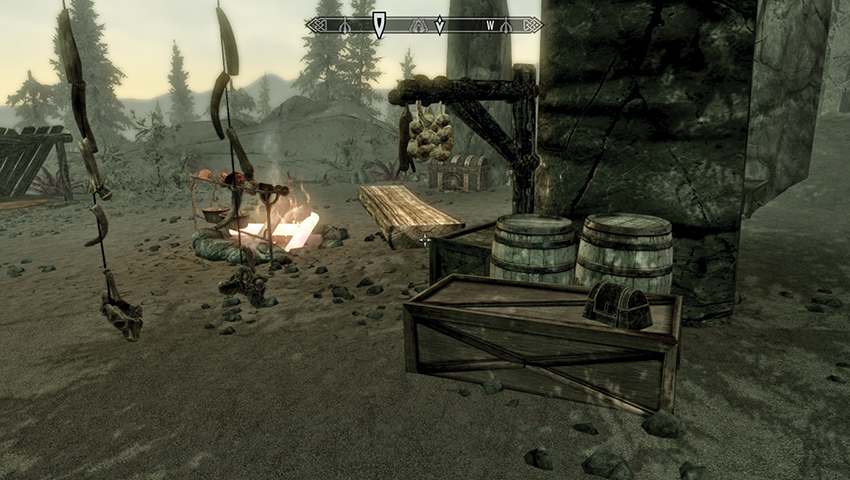
Primary Location: [S.S07] Brodir Grove
Advance into this Reaver camp, and defeat the three foes around the campfire and hanging bones. After the fracas, move into the camp and locate the central fire. Turn north and walk to the stone column, and hanging hare and garlic, and find the half-buried East Empire crate with the strongbox atop it.
- East Empire Pendant
East Empire Pendant #28
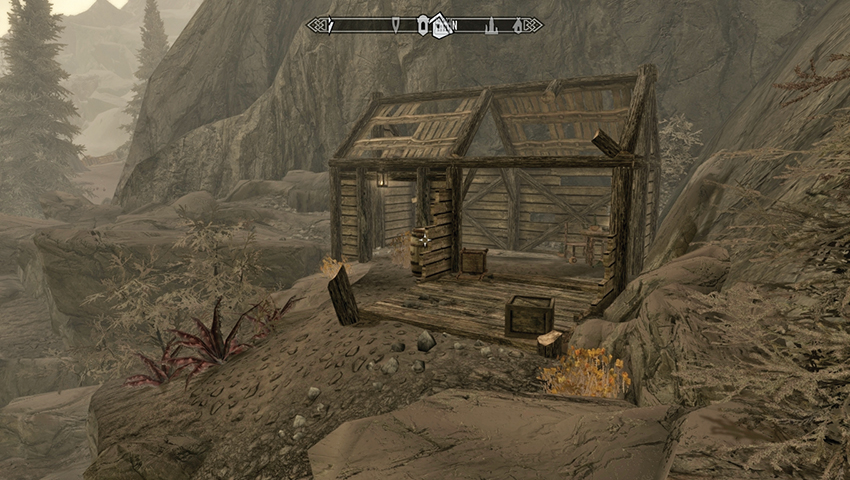
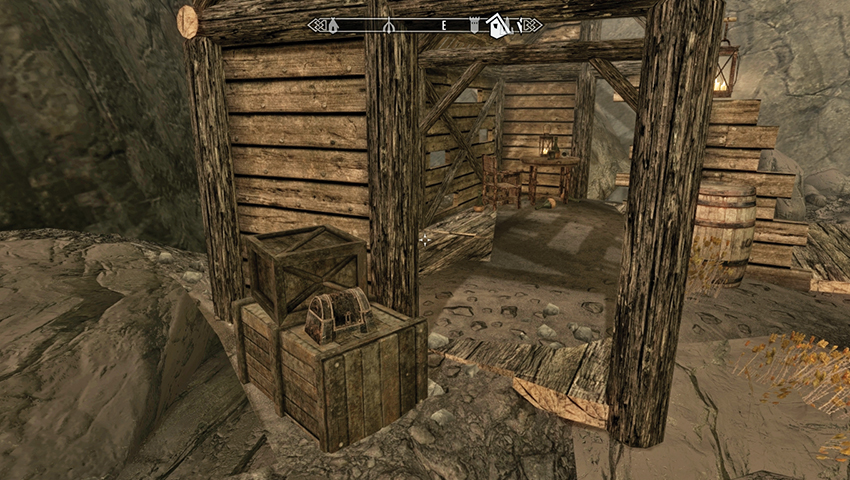
Primary Location: [S.S09] Ramshackle Trading Post
Clamber up the scree and ashy foothills to this dilapidated structure. The East Empire Strongbox holding the pendant is on a crate, nestled in front of a smaller crate, just outside the entrance on the west side of the building.
- East Empire Pendant
East Empire Pendant #29
Primary Location: [S.S11] Fort Frostmoth (Interior)
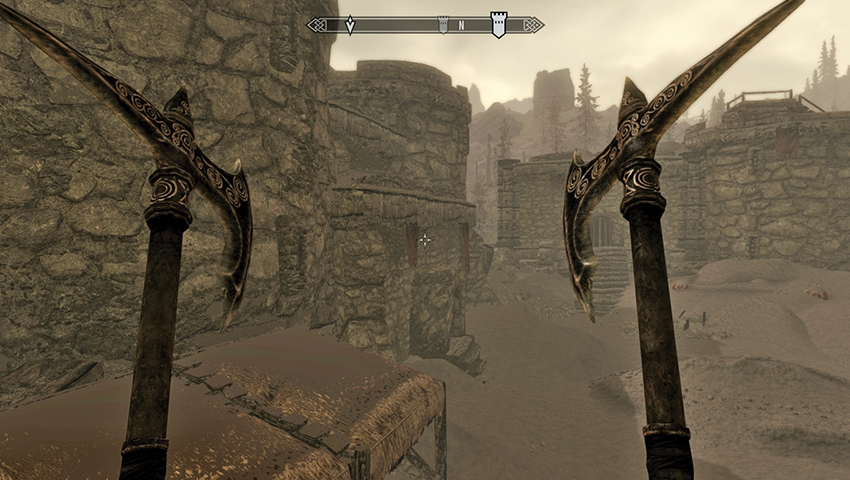
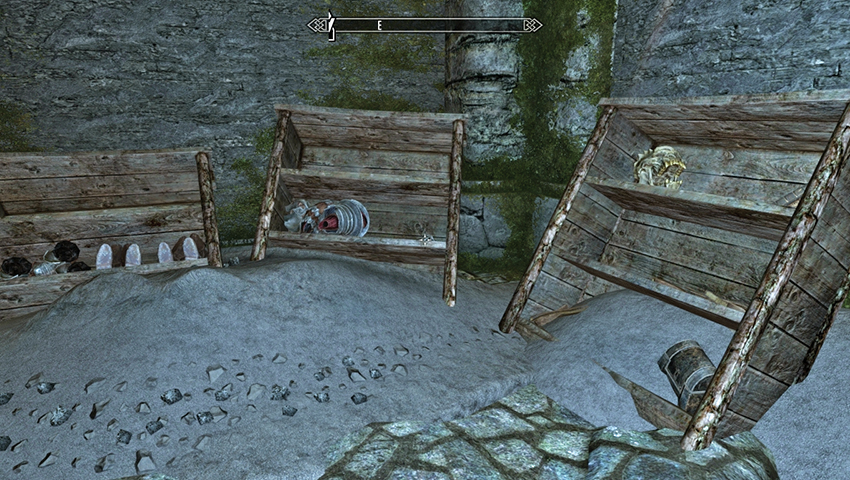
Enter the fort’s ash-filled courtyard and locate the entrance door along the western wall. Enter, head south, but turn left (east) before you reach the wooden ramp and the ladder. There is a side alcove chamber with a number of leaning cases. One of them has the strongbox. Beware of Ash Spawn!
- East Empire Pendant
East Empire Pendant #30
Primary Location: [S.S12] Ashfallow Citadel (Interior)
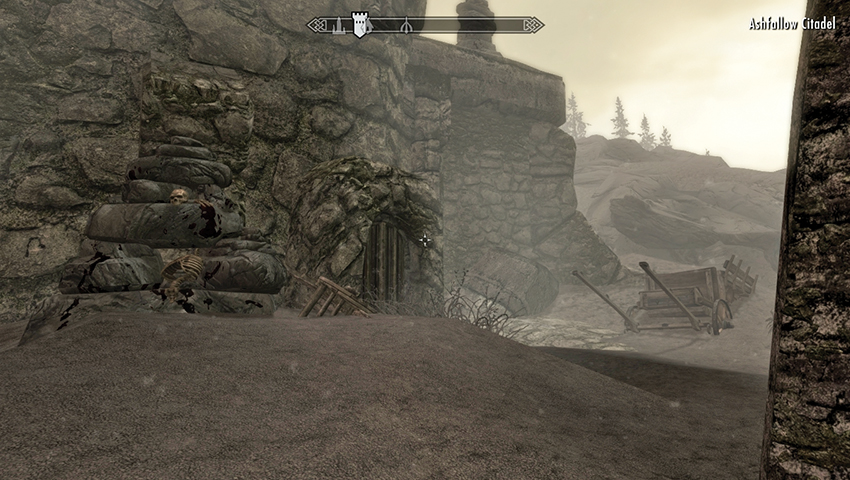
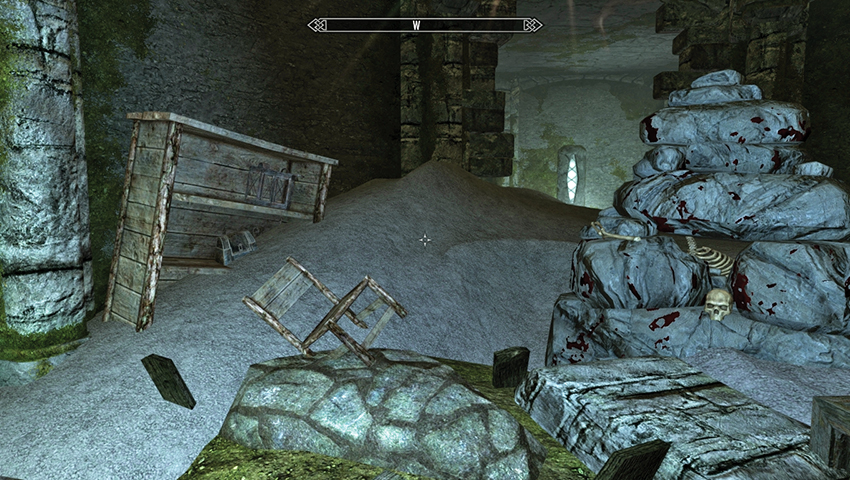
Head north up the steps, enter the main entrance, and look around the initial chamber. To your left (west) is a half-buried bookshelf with the East Empire Strongbox on it, to the left of the bloodstained stone pile and broken chair. Beware the Morag Tong who lurk at this location.
- East Empire Pendant
East Empire Pendant #31
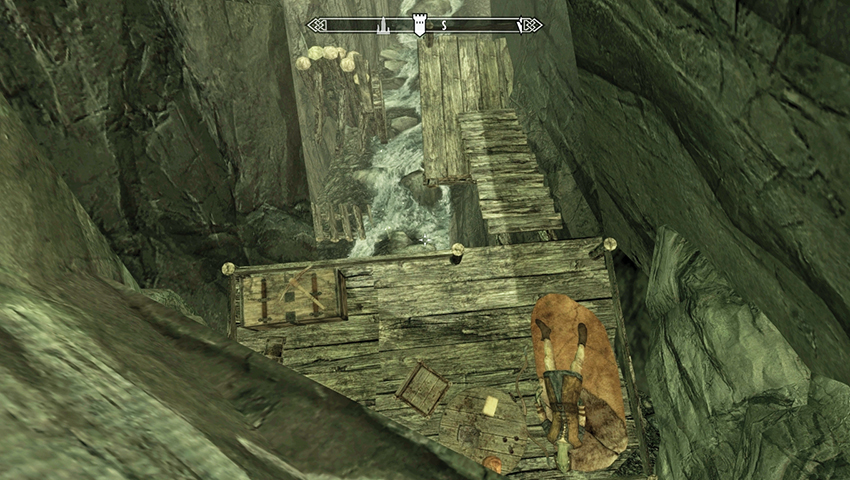
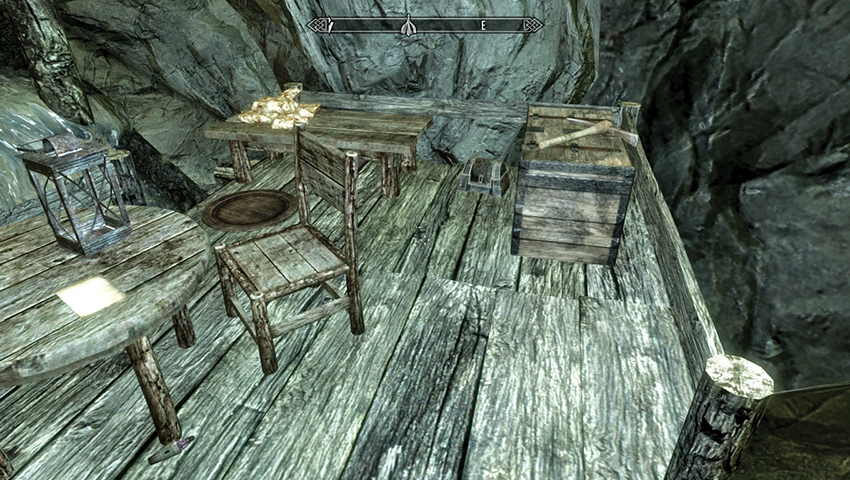
Secondary Location: [SS.L] Gold Miners’ Floodgate
Close to Ashfallow Citadel is a fast-moving stream. Follow it north to a closed gate, then clamber up the rocks and around, dropping down behind the gate to a makeshift platform where the corpse and note of an Argonian named Usha is lying. The strongbox is on the platform, to the right of the table.
- East Empire Pendant
East Empire Pendant #32
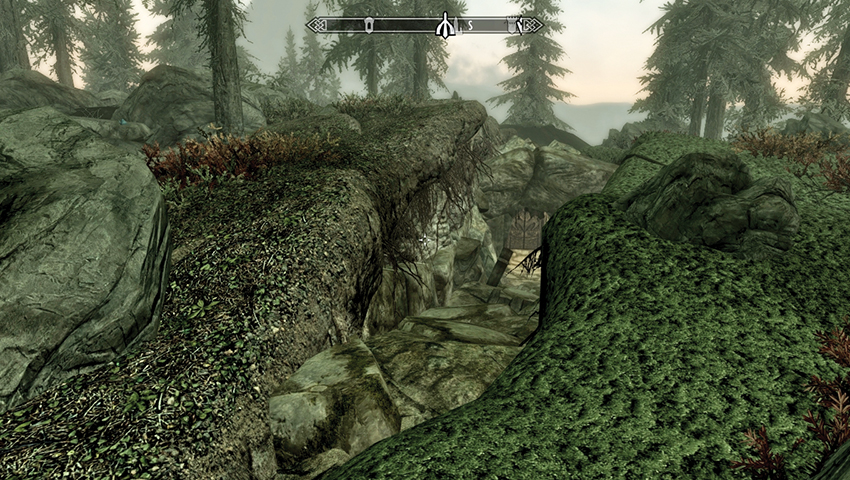
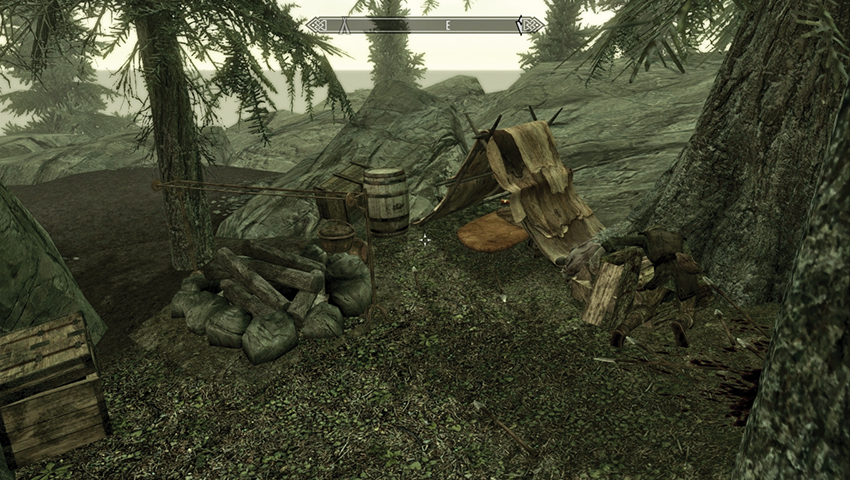
Secondary Location: [SS.M] Dunmeri Camp
Start at Vahlok’s Tomb, climbing atop the mossy fissure and looking east. Head slightly southeast to this Dunmeri camp where the two slain Dark Elves lie. Watch for a Riekling ambush as you inspect the tent, which has a sleeping mat and the strongbox you seek.
- East Empire Pendant
East Empire Pendant #33
Secondary Location: [SS.O] Ashfallow Reaver Camp
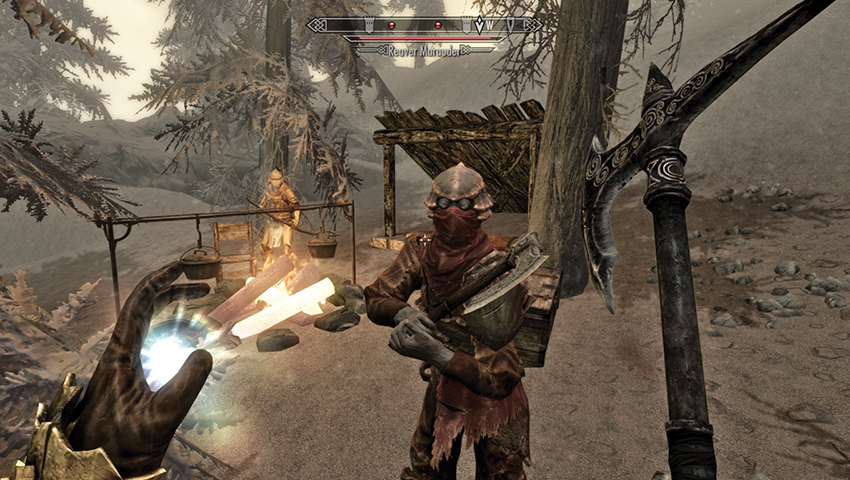
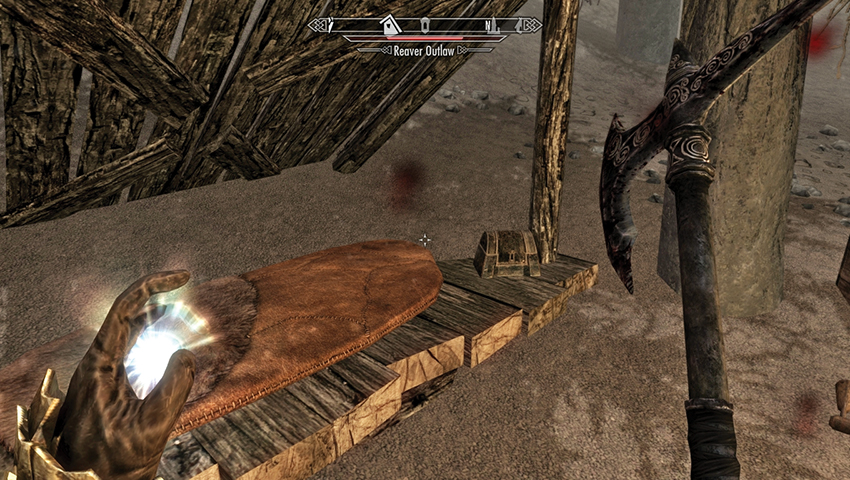
From the exterior entrance to the Ashfallow Citadel, look directly west and move slightly southwest across the rocks above the river to this small camp. The East Empire Strongbox is close to the bed, under the lean-to, to the left of the chest. Beware the Reavers that are patrolling this location.
- East Empire Pendant
Quest Conclusion
Fethis Alor purchases each pendant for 500 gold. With 33 pendants to collect, that means up to 16,500 gold is available if you can find them all. Return to him with as many pendants as you wish to sell, as many times as you like.
- Gold (500 x up to 33)