
Elder Scrolls V: Skyrim Special Edition Guide The Atlas Solstheim: Northern Mountains
[S.N24] Temple of Miraak (Tree Stone)
[S.N24] Temple of Miraak (and Tree Stone)
Related Quests
Recommended Level: 30
Dungeon: All-Maker Stone, Draugr Crypt
- Cultist
- Draugr
- Frea
- Gatekeeper
- Oslaf
- Yrsa
Special Area
- Black Book: Waking Dreams
- Word Wall: Dragon Aspect [DB1/3]
Crafting
- Alchemy Lab
Dangers
- Danger! Battering Ram Trap (2)
- Danger! Bone Alarm Trap
- Danger! Dart Trap (2)
- Danger! Flamethrower Trap
- Danger! Oil Lamp Trap
- Danger! Rockfall Trap (2)
- Danger! Swinging Blade Trap
- Danger! Swinging Wall Trap
Special Area
- Standing Stones
Miscellaneous
- Area is locked
- Chest
- Loose gear
- Potions
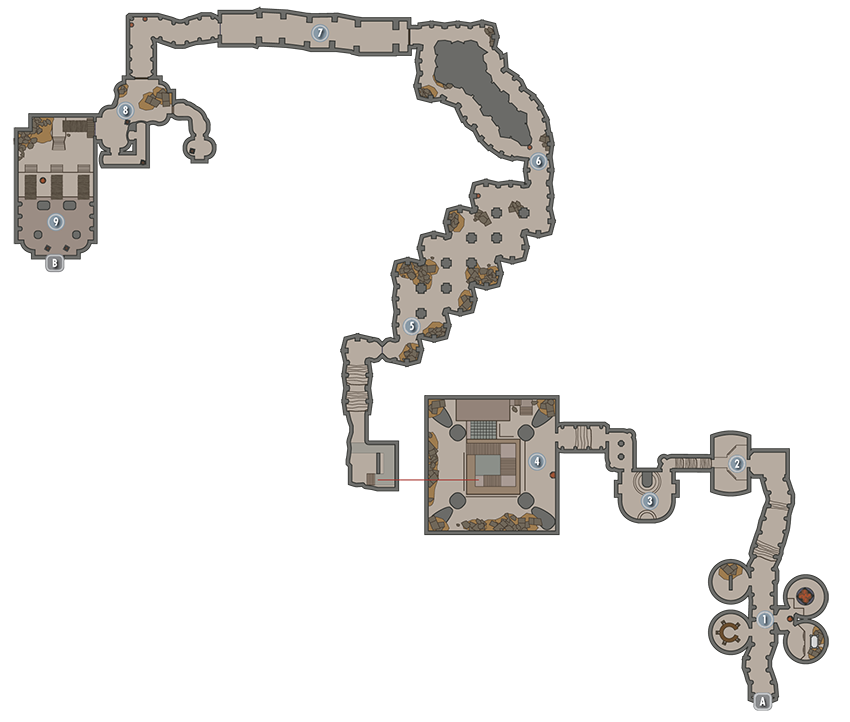
 Door to Temple of Miraak (Interior)
 Door to Temple of Miraak Sanctum (Sealed)
This is Secondary Location [S.NQ] Temple of Miraak: Secret Exit.
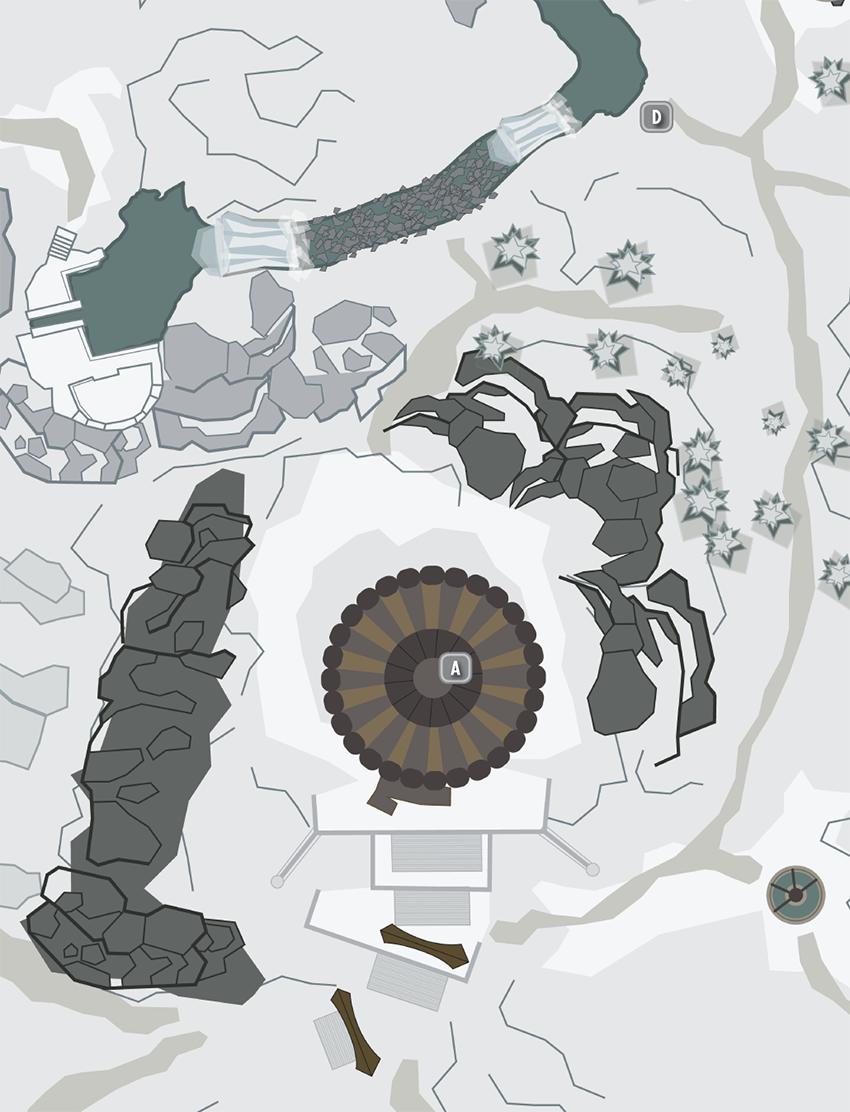
Exterior: Tree Stone
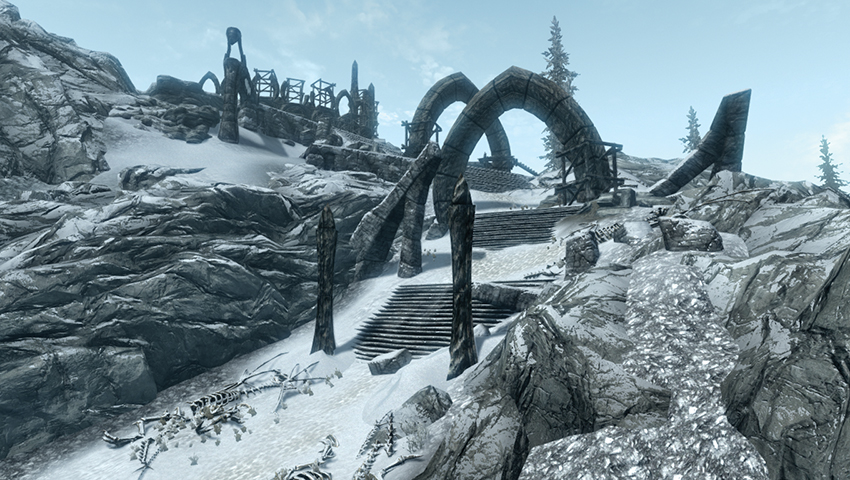
A lengthy subterranean crypt lies under one of the All-Maker stones, where the bones of dragons and recently constructed arches reveal the true extent of Miraak’s power. Currently, the construction is built around a central stepped courtyard, where the ancient Tree Stone stands. Miraak is siphoning its power, and stone arches are being constructed by enthralled Reaver and Skaal workers, including Yrsa and Oslaf. Frea is here, hoping to remove the curse that has befallen her people. The completion of the Dragonborn Main Quest is required to remove the trance the Reavers and Skaal are under and cleanse the entire area of Miraak’s influence. After you meet with Frea, you can enter the temple here via a curved path carved into the edge of the courtyard.
- Power: Root of Power
- Reaver (enthralled)
- Skaal (enthralled)
- Oslaf (enthralled)
- Yrsa (enthralled)
- Frea
- Cultist
Interior: Temple of Miraak
Door to Solstheim
 Upper Burial and Antechambers
Work your way down the stone corridor and check the antechambers on each side for supplies, as Frea advises. Aside from the burned and caged corpses, expect potions and poisons before you descend farther.
- Chest
- Potions
 Formal Entrance
Watch the dart trap just before the narrow stairs where two more cultists appear. Defeat them and any Draugr you disturb if you stumble to the sides of this room.
- Danger! Dart trap
- Cultist
- Draugr
 Embalming Room and Trap Passage
There are floor plates to avoid in the subsequent connecting chamber (unless you’re ready to receive a battering ram to the stomach) and steps down to a portcullis that opens via the adjacent chain.
- Danger! Battering ram trap (2)
 Pit Chamber
There is a stone viewing abutment and throne overlooking the vast steps in the center of the chamber. Repel Draugr threats that burst from their vertical coffins. After two or three Draugr, you face three or four Cultists ascending from the pit steps. After the fight, maneuver up the rubble and coffins under the pillar and then clamber atop the pillar, scrambling up to a large treasure chest.
- Cultist
- Draugr
- Chest
- Danger! Oil lamp trap
 Portcullis Entrance
Activate the handle next to the small portcullis door and step through into a small tomb where the walled coffins contain a variety of long-dead Nords to cut down.
- Draugr
- Potions
- Chest
 Split Passage
Avoid the swinging wall trap’s floor plates as the passage splits into two narrower corridors. Both meet up farther along the crypt, both have Draugr infesting them, and both have a floor plate and a battering ram to avoid as you enter. The lower chamber offers higher ground as you go in, making it slightly easier to navigate.
- Draugr
- Danger! Swinging wall trap
- Danger! Battering ram trap (2)
 Long Hallway
The corridors merge at the entrance to a long hall with swinging blades. Beware the floor plate and fire trap as you reach the double doors. Enter this long hall of swinging axe traps and make short, quick sprints between the swings to avoid any nasty contusions. A Whirlwind Sprint Shout can see you to the hall’s end, but don’t dash too early and stop at a blade’s arcing cut. Pull the lever to remove the spear bars.
- Danger! Swinging blade trap
- Danger! Flamethrower trap
 Bridge Handle
Bars block the way to the west, so head down the narrow passage, ignoring the dead Draugr that collapses out of its tomb. Pull the handle to remove the barrier.
 Three-Ramped Chamber
A Cultist and two Draugr minions are waiting to repel you. Watch the floor plate and dart trap as you descend the steps to meet them. Tackle any ranged foes, then the Cultist, and split or combine your attacks with Frea if you wish.
- Danger! Bone Alarm Trap
- Danger! Dart Trap
- Cultist
- Draugr
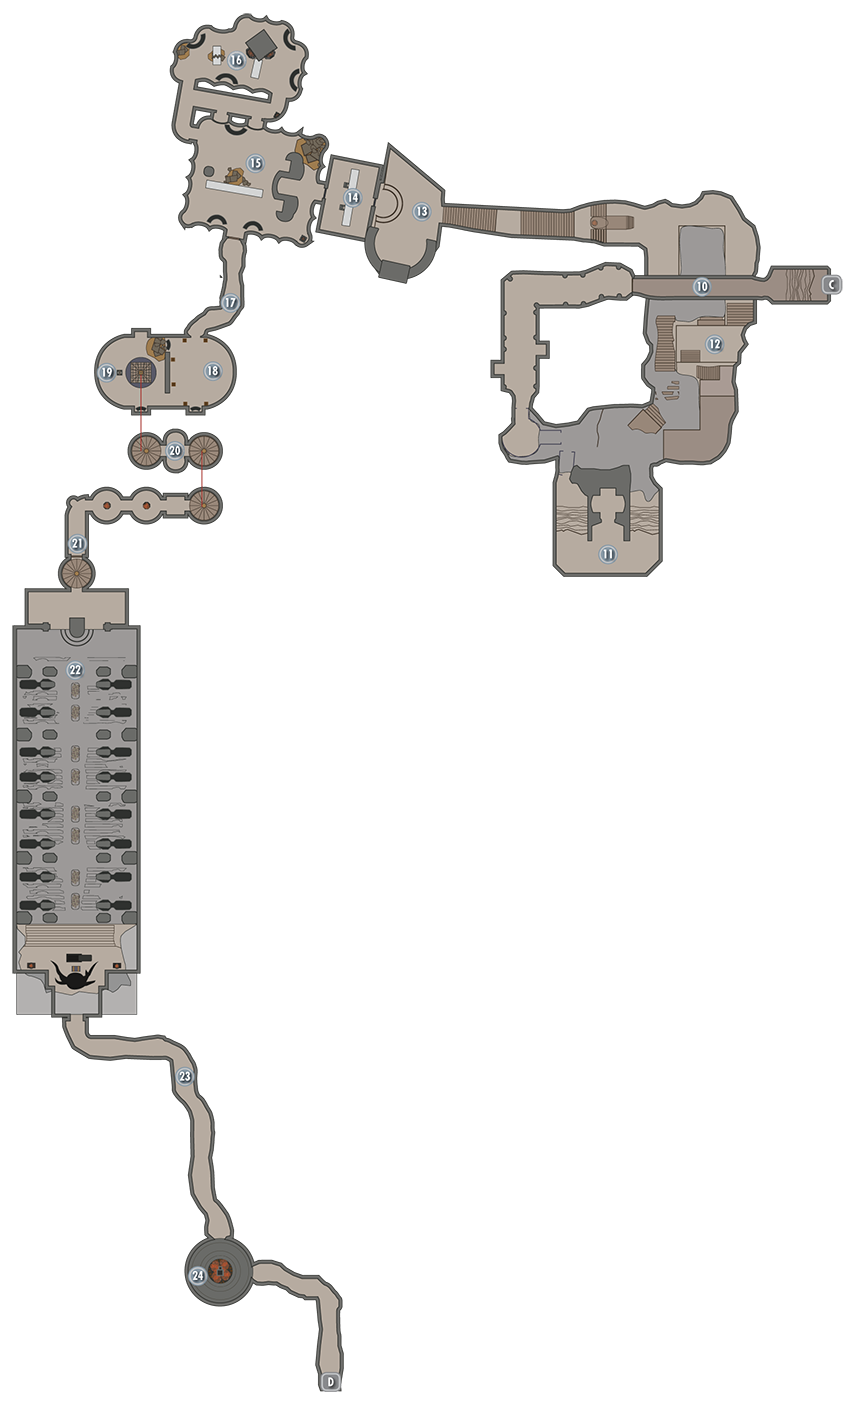
 Door to Temple of Miraak Sanctum
Interior: Temple of Miraak Sanctum
 Door to Temple of Miraak
 Connecting Cage Bridge
Step across the scattered bones, into the connecting area, and wind around, slaying four to six skeletons and a couple of Draugr who step out of their coffins and onto a floor plate that activates battering rams.
- Skeleton
- Draugr
- Danger! Battering ram trap (2)
 Mage’s Alcove
A gap in the south wall leads to a U-shaped tunnel, in the middle of which is a mage’s alcove, stocked with purses, Soul Gems, and the following:
- Potions
- Spell Tome: Magelight
- Spell Tome: Soul Trap
 Cavern of the Guardians
Watch for Draugr and bursting coffins as you go. Descend the steps across the stone crypt, heading to the cavern’s right (northeast) side so you don’t end up in a small dead-end pit. Watch for a floor plate and battering ram, and work your way around the stone ledge to face down more Cultist threats.
- Cultist
- Danger! Battering Ram Trap
 Crypt of the Gatekeeper
Step up to the Word Wall on your left (south) and learn part of the Dragon Aspect Shout. The transference of power from the wall triggers a Draugr appearance; expect two or three annoyances from the row of coffins and a particularly nasty foe known as the Gatekeeper to burst from the tomb below the dragon skeleton. Inspect the Gatekeeper’s corpse to claim the key to gain deeper progress into the temple. The door is encased behind the Gatekeeper’s sarcophagus.
- Chest
- Gatekeeper
- Temple of Miraak Key
- Draugr
- Word Wall: Dragon Aspect [DB1/3]
 Banqueting Hall
Pass the banqueting table and its long-dead feasters, opening a second iron door with the key.
- Loose gear
 Feasting Hall
After a connecting corridor with a window, move into another feasting hall, devoid of foes but featuring strange carved totems you haven’t seen before.
 Kitchens
Pass by these weird fishlike heads into the kitchens, which hold a few ingredients and a narrow windowed passage with a handle to pull. This opens a secret door between two sets of shelves in the feasting hall.
- Crafting: Alchemy Lab
- Potions
 Winding Tunnel
Continue down this hall to reach the Reading Nook.
 and
and  Ruined Reading Nook and Trapdoor Room
This circular chamber has a large spiral staircase below, but it is currently barred. There’s also a secondary chamber with a square-shaped trapdoor and more menacing statuary. Activate the handle in front of the fish-faces to open the trapdoor. Descend the spiral steps, which connect to the ones you could see if you looked down from the reading nook.
 Wooden Spiral Steps and Connecting Corridor
Descend to the connected circular corridors with the fiery maws lighting your path. At the end is a stone wall with a handle to pull.
 Stone Spiral Steps
Descend even lower, opening a wooden door.
 Altar to Hermaeus Mora
This massive and lengthy stepped chamber is adorned with dragon bones and falling boulders as you slowly ascend. Prepare to be embroiled in a fast-paced battle with some skeletons, three falling boulder traps (stay mobile and leap to the side if you trigger any), and a nasty veteran Draugr with a sharp blade.
- Skeleton
- Draugr
- Danger! Rockfall Trap (2)
 Winding Tunnel
A narrow stone tunnel leading to a strange, circular room.
 Chamber of the Black Book
An ominous final chamber, circular in nature and dominated by a thickly hewn altar of stone, upon which rests a weighty Black Book.
- Black Book: Waking Dreams
Door to Solstheim
This leads to Secondary Location Temple of Miraak: Secret Exit.