
Elder Scrolls V: Skyrim Special Edition Guide Quests Civil War Quests: Stormcloak
Civil War Quests: Battle For Whiterun
Battle For Whiterun
Burning Skies at the Fall of Whiterun
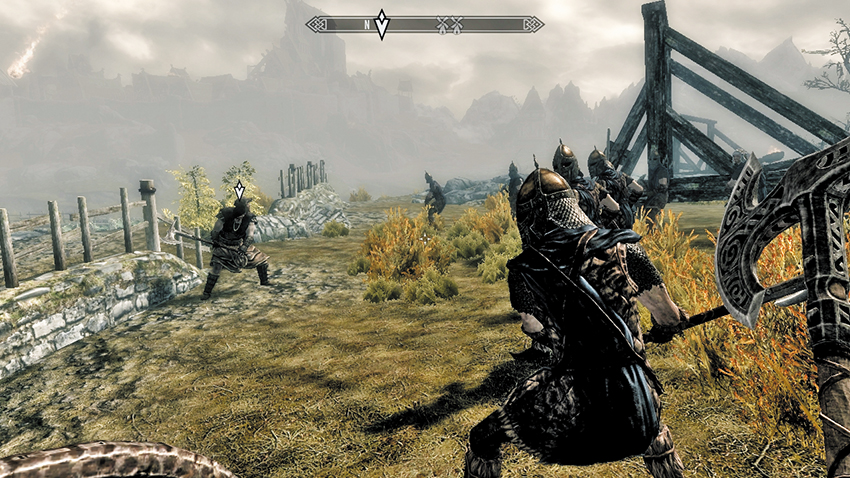
Leave the solid stone walls of Windhelm and journey to the Whiterun Military Camp where Galmar is amassing his troops for the assault on Whiterun. The camp is just south of the city’s main winding road that leads up through an outer gate, past a drawbridge, and to the inner gate and the city. As you arrive, the air becomes thick with the smoke from countless fire-catapult barrages. Ulfric hopes to take this city without destroying too much of the defensive wall. Locate Galmar as he addresses the assembled troops standing ready to attack. He tells you the fight is for the Sons and Daughters of Skyrim. You now have one important task: the attack and capture of Whiterun!
Attacking Stratagems: Assault and Overrun!
You are now engaged in an all-out siege of Whiterun. This battle is lengthy and confusing, and you can easily become a casualty rather than a champion of this war. However, the following tactics should help you minimize your risks as you become embroiled in this skirmish.
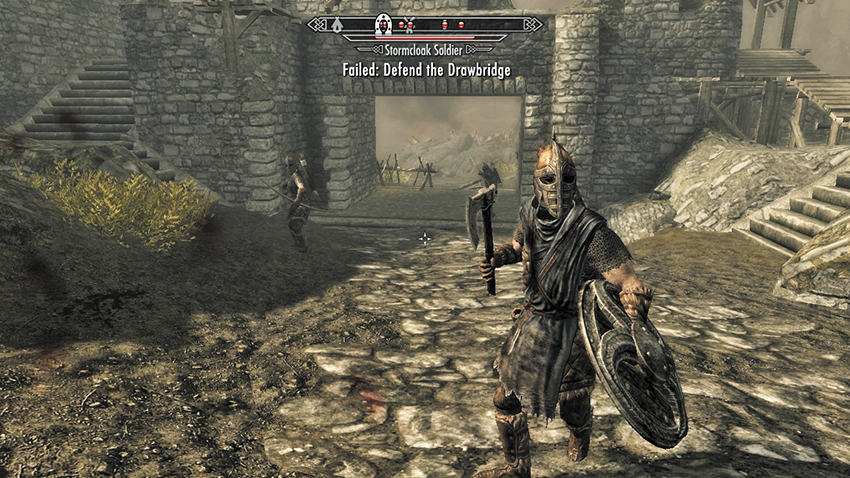
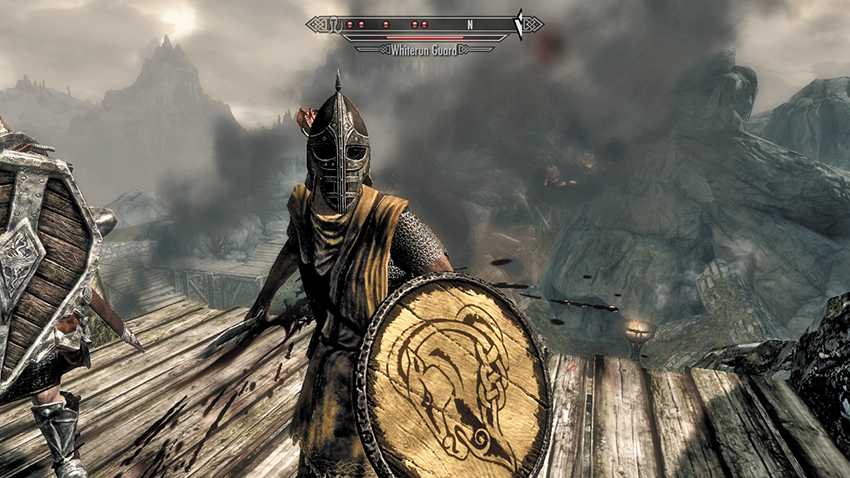
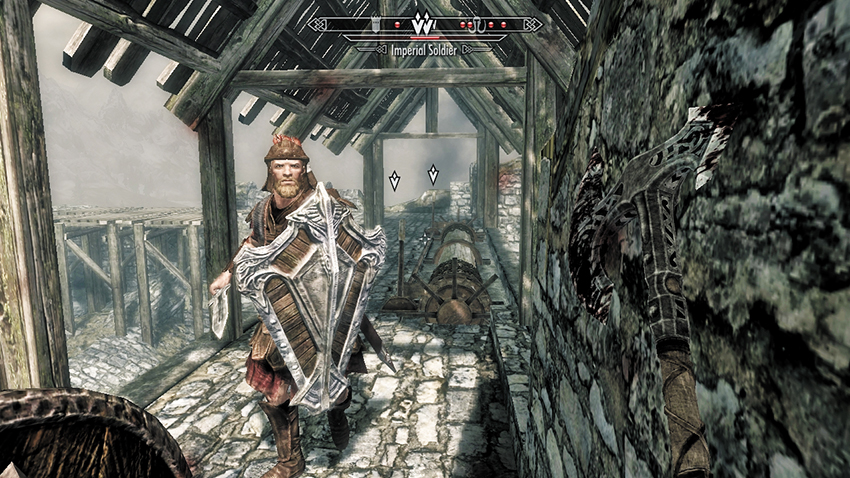
Know your enemy: In the midst of battle, it sometimes becomes confusing to know exactly who you should be fighting. There are three distinctive forces battling for control of Whiterun. You are sided with the Stormcloaks, who are clad in armor with dark blue tunics and typically carry axes. Also present are Whiterun Guards, who are the enemy. They wear orange tunics and carry shields with the sign of the horse. The Imperial Soldiers are clad in red and tend to use swords.
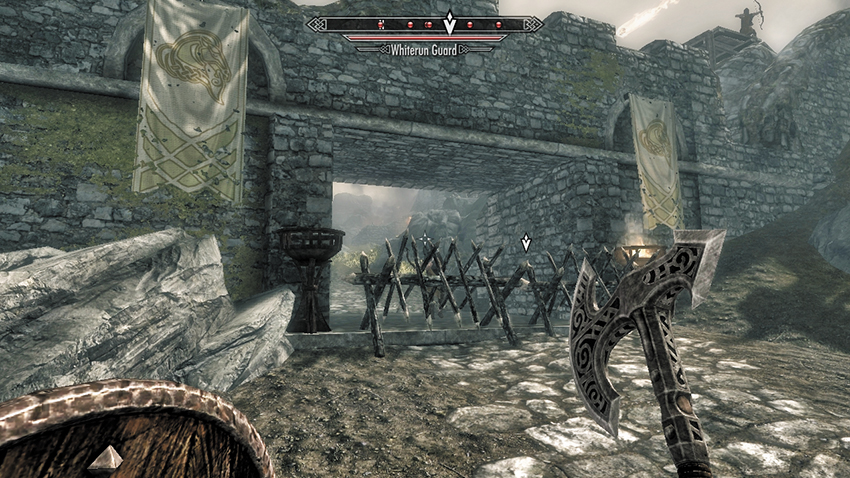
The Offensive Area: This battle takes place between the outer gate (which the barricade is blocking), the middle drawbridge (which must be lowered once you’re through the barricade), and the inner gate (the last line of defense). You should focus your attacks on each area one at a time. Use the cobblestone path running from the outer gate; then get onto the scaffolding that runs along the northern wall to reach the lever and drop the drawbridge. There is no need to maneuver elsewhere.
Enemy Emplacements: The enemy is stationed along the cobblestone road that winds around in a right-turn semicircle to reach the drawbridge. As you gain entry through the outer gate, expect foes to be atop the outer gate, on the wooden guard towers, on the path above the cobblestone road, and on the stone battlements to your right, close to the drawbridge. Know where your attacks are coming from so you can stop them!
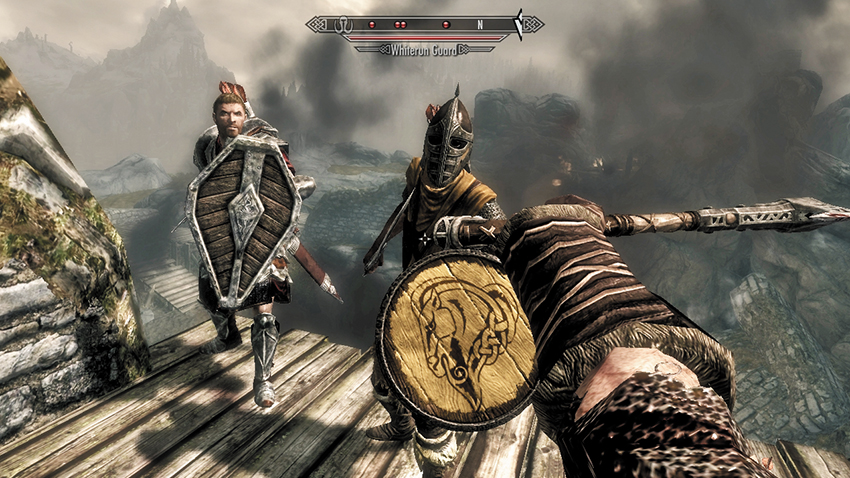
Call to Action: Your first job is to remove the enemy barricade on the cobblestone path at the entrance to the outer gate. Achieve this by employing one or more of the following techniques:
- Melee: Standing at the barricade, smashing it with your melee weapons until it breaks and shrugging off enemy attacks.
- Melee: Standing at the barricade, attempting to leap over the center section (which is possible), and bashing it from the other side.
- Ranged: Blasting it (ideally with fire-based magic) from a defensive position. Such locations include:
- The right (east) corner to the side of the outer gate, using the wall or nearby rocks as cover.
- The cover at the edge of Pelagia Farm to the south, which offers a good view of the main path.
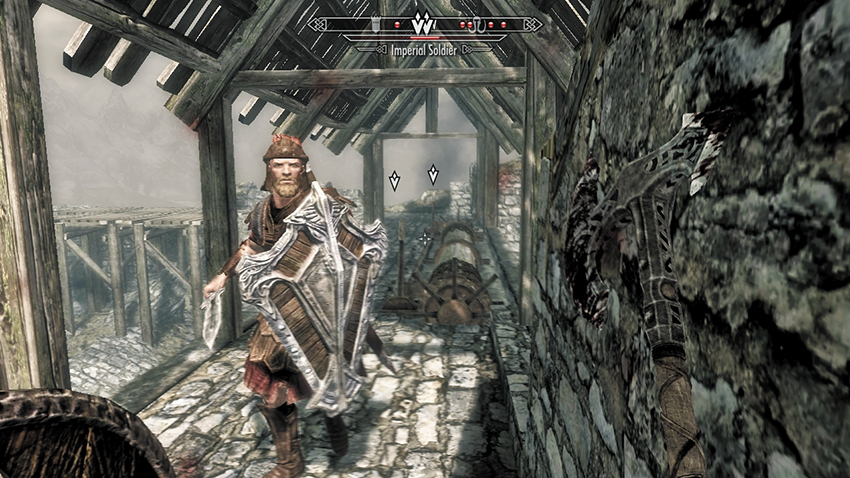
Last Line of Defense: When you break through, the enemy falls back to the cobblestone path with the stream running across it, prior to the drawbridge. Make reaching the drawbridge your focus, rather than fighting. Try the following routes:
- Route 1: Race directly up the cobblestone road to the guard tower to the northeast. Head up the wooden ramp, then turn right (east). Run around the dirt path above the road, over two more ramps and onto the drawbridge’s top.
- Route 2: Race directly up the cobblestone road to the ruined section of wall on the inside bend in the road. Leap onto the wall and scramble to a wooden lookout adjacent to the top of the drawbridge.
- Route 3: Race directly up the cobblestone road, fixing your view on the stream to the northeast. Scramble up the fallen masonry before you reach the stream. Turn right and leap up to the battlements just below the drawbridge. Run south and to the upper crenellations, where you can access the drawbridge.
Unwise Routes: Ignore the archway the stream runs out of; this leads to the gap in the cobblestones along the stream, but there’s no way up. The archway farther up the east wall leads to a small antechamber with no way out. Good for hiding but not for completing objectives.
Continue the battle until you’ve nullified the enemy forces outside the main gate. There may be a few remaining enemies, but you have a greater objective to complete:
Hail to the Gray-Manes
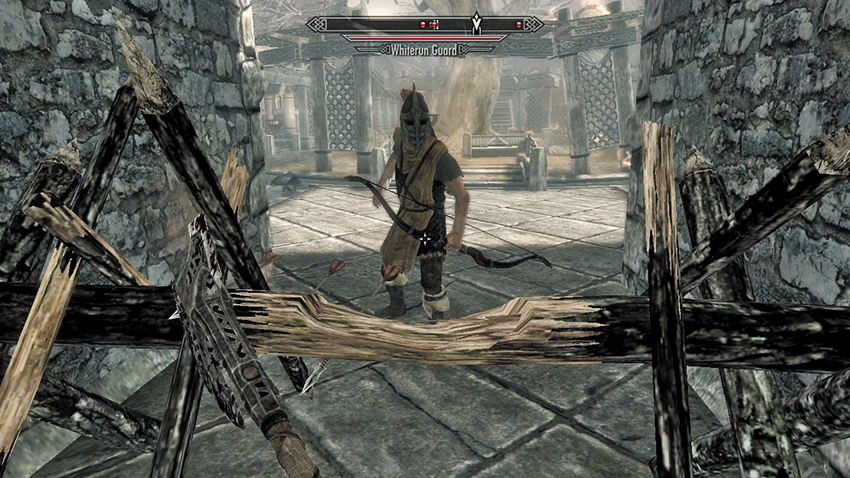
Open the main gates as soon as the drawbridge is lowered. Stormcloak troops pour into Whiterun’s city streets. The enemy guards are here; strike down each one so they don’t hit you with arrows as you run past them. Race east toward the Bannered Mare and turn left (north). Sprint up the steps with the canal chutes on either side and to an inner barricade. Remove that using the same techniques you utilized earlier. Then race past the Gildergreen tree and the Shrine to Talos. Climb the stone steps to a third barricade before racing into Dragonsreach.
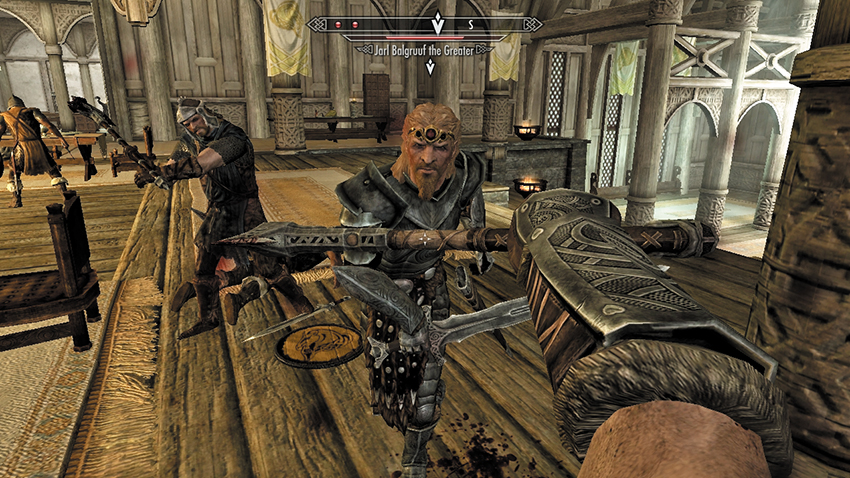
While Ralof waters the ground with a Whiterun Guard’s blood, you must storm into Dragonsreach and seek out the Jarl. “Surrendering” isn’t a verbal commitment to end hostilities; the Nords require you to bow before the victor. This means focusing your attacks on the Jarl, fighting him until he falls to his knees. You may need to finish off a few Whiterun Guards first. Fortunately, you have the might (and the axes) of Galmar Stone-Fist and Ralof to help you.
Quest Conclusion
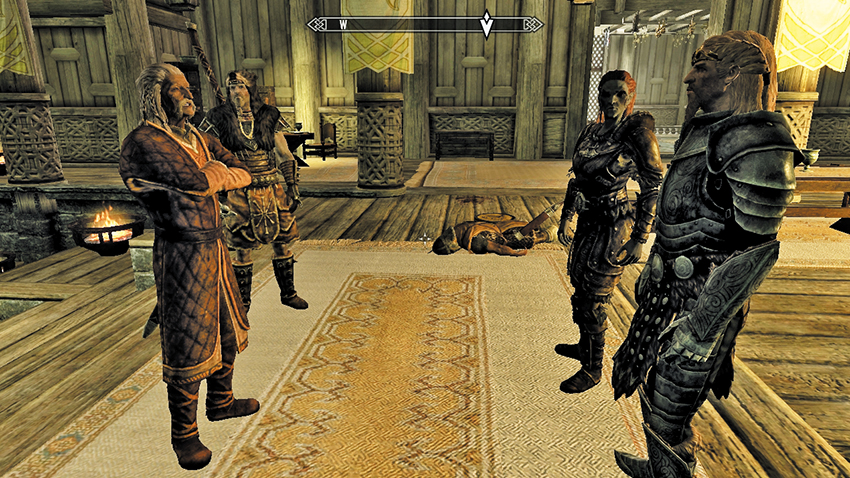
The Jarl staggers to his feet and orders his remaining troops (if there are any) to stand down. The Jarl notices Vignar Gray-Mane walking into the corpse-strewn hall, and they begin to argue about the Empire. Galmar stops this argument. The Jarl has some unkind parting words for you before Galmar orders you back to Windhelm. Ulfric must be informed of the victory here.
Postquest Activities
Vignar Gray-Mane is installed as Jarl of Whiterun from this point on. Civil War Quests: Liberation of Skyrim begins.