
Elder Scrolls V: Skyrim Special Edition Guide Quests The Companions Quests
Companions Quests: Glory of the Dead
Glory of the Dead
Out of the Strong Comes Forth Steel
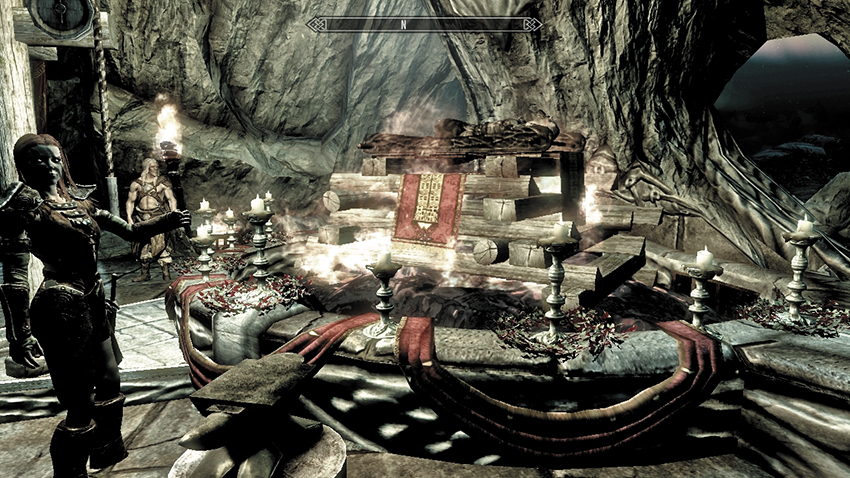
Upon your return to Jorrvaskr, there is no one inside the building; they are all at the Skyforge, where Eorlund has prepared the pyre for Kodlak’s funeral. The Companions are there, along with some of Whiterun’s population, including the Jarl and the priestess Danica Pure-Spring. Aela steps forward to join Eorlund and Vilkas in a simple, strong-hearted eulogy. Aela lights the pyre, and Kodlak’s body is set ablaze. With his spirit departed, she requests that the members of the Circle should withdraw to the Underforge to grieve together. Before you leave with them, Eorlund asks whether you have the Fragments of Wuuthrad; he needs to prepare them for mounting back in Jorrvaskr. There is a final piece of the Wuuthrad that Kodlak always kept close. Eorlund requests that you go to Kodlak’s chambers and bring the piece back for him.
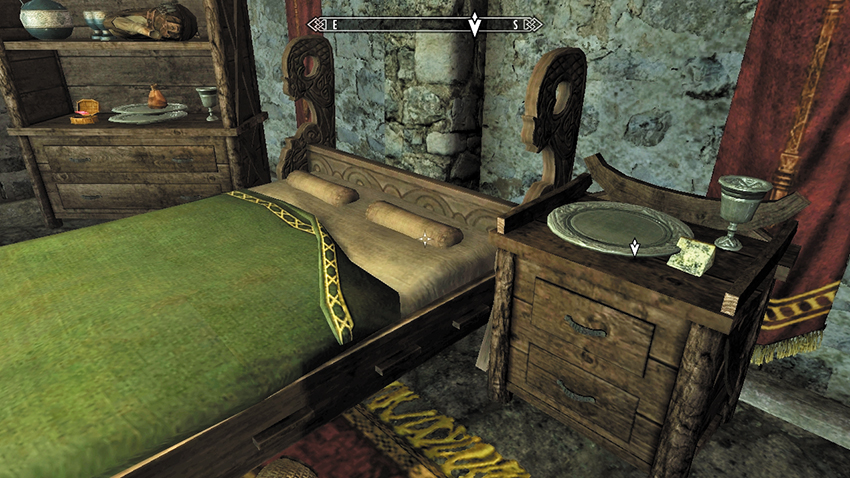
Enter Jorrvaskr and descend into the Living Quarters. Head north, past the chair where you and Kodlak sat and talked. His bedroom is to the right (east). Check the bedside table and grab the two items within. One is the fragment Eorlund mentioned, and the other is Kodlak’s Journal. You may optionally read it. Kodlak’s wishes for your role within the Companions are detailed in it.
- Fragment of Ysgramor’s Blade
- Kodlak’s Journal
Return to Eorlund, who is usually at the Skyforge, and hand over the fragment. He thanks you and says the Companions are waiting for you inside the Underforge.
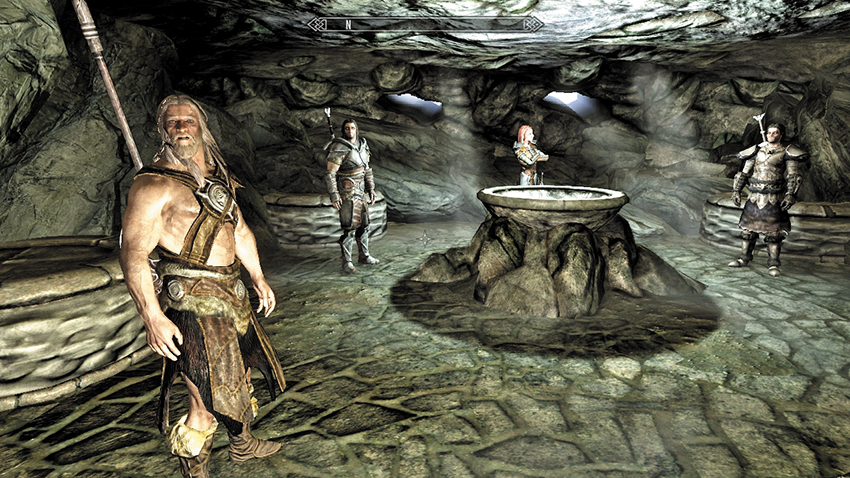
Open the loose rock wall below the Skyforge and enter the place where you were once baptized into the moon-born. Vilkas and Aela are having a heated discussion over Kodlak’s final wishes. Although Aela is at one with her Beast Form, Vilkas knows that Kodlak wished to meet Ysgramor and know the glories of Sovngarde and the Hall of Valor. The curse of lycanthropy took that from him. Aela relents, understanding that Kodlak’s wishes are to be respected.
Vilkas then tells you of the Tomb of Ysgramor, where the souls of Harbingers past heed the call of northern steel. But the tomb cannot be entered because Ysgramor’s Blade is in pieces. Eorlund informs them that tools are meant to be broken...and repaired! This is the first time that all pieces of the Blade have been returned together, and the flames of Kodlak fuel the rebirth of Wuuthrad! Eorlund hands you the blade, which is now in one piece, and the Circle of Companions set off to enter the tomb and help cast Kodlak off into the Nordic realm of the afterlife.
- Wuuthrad
Taming the Wolf
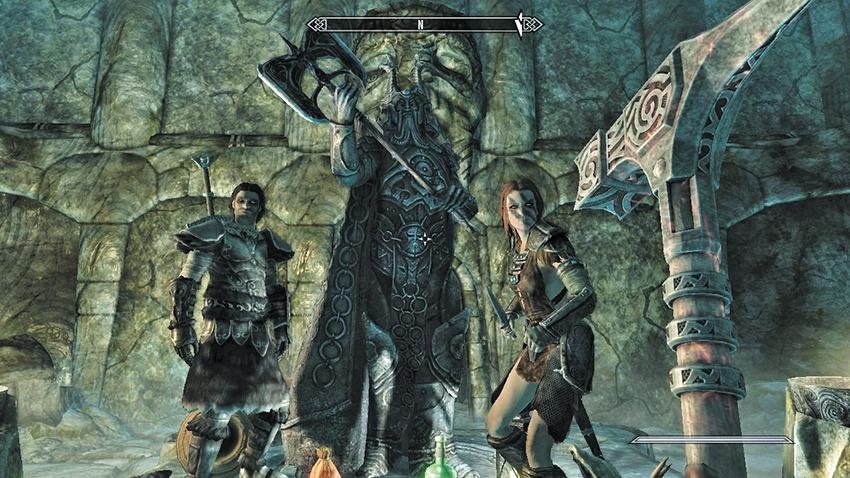
Northwest of Winterhold, in the ice fields of the Sea of Ghosts, lies the Nordic cairn indicating the entrance to Ysgramor’s Tomb. Climb over the lip of the cairn and open the iron door that leads into the tomb interior. Your Shield-Siblings are already inspecting the weaponless statue at the tomb’s entrance plinth. Vilkas says this is the resting place of Ysgramor and his most trusted generals, and you should be cautious. Then Vilkas reveals that he won’t be accompanying you on this final mission; his mind is too fogged and his heart grieved. He then instructs you to grant Ysgramor’s statue its rightful blade.
Approach the statue of Ysgramor and place the Wuuthrad in the statue’s grip. The tomb entrance behind (north of) the statue slides open. You, Farkas, and Aela the Huntress will now meet Ysgramor’s guardians and fight your way to the resting place of Ysgramor.
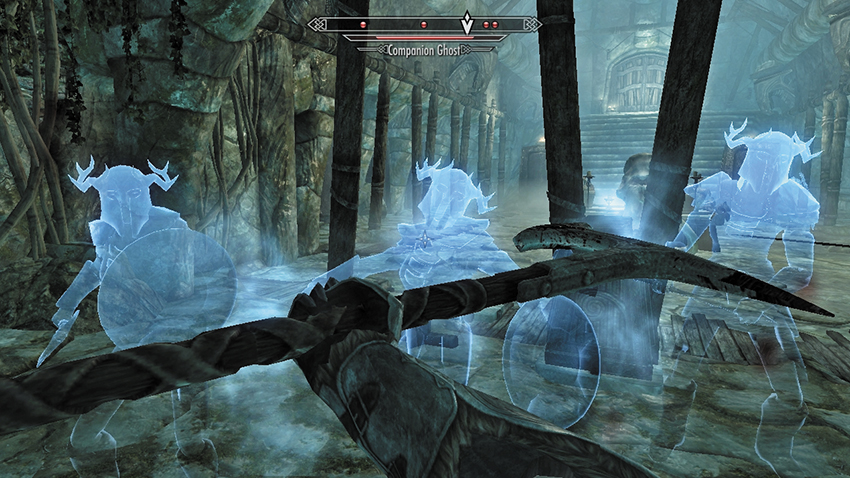
Brush aside the cobwebs and investigate the tunnel beyond, which turns west and ends at a double door with an alcove on either side. From each alcove, a Companion Ghost appears, ready to test your mettle. Slay them as if they were enemies; you are proving yourself to them in battle, and there is no greater honor. Open the double doors and enter the entrance hall, where three more ghosts appear to thwart you. Tackle them, checking on your Shield-Siblings in case they need your support.
Head south, down another level, and into the hall of crypts. Return several more Companion Ghosts to Sovngarde as they emerge from their vertical tombs, then head south, hacking at the entrance filled with cobwebs. Farkas parts company with you at this point. The cobwebs lead to two connected chambers filled with Frostbite Spiders (expect at least one to be Giant). Dispatch them all before activating the chain by the portcullis to the south. Venture into the main tomb. At least six more Companion Ghosts appear to stop you between here and the corridor and the steps up to an iron door.
Open the door to reach a long hall with a pedestal at its far end. Atop the pedestal is a handle. Pull it to open the portcullis in the sunken corridor on your left (north). Head down into a giant ceremonial chamber, with the skull of a mammoth dominating the central embalming table. At least four more Companion Ghosts appear. Stick your bladed weapon into their ethereal forms. When the fight is over, you may climb the final steps, open the double doors, and enter Ysgramor’s burial chamber.
And So Slain the Beast Inside
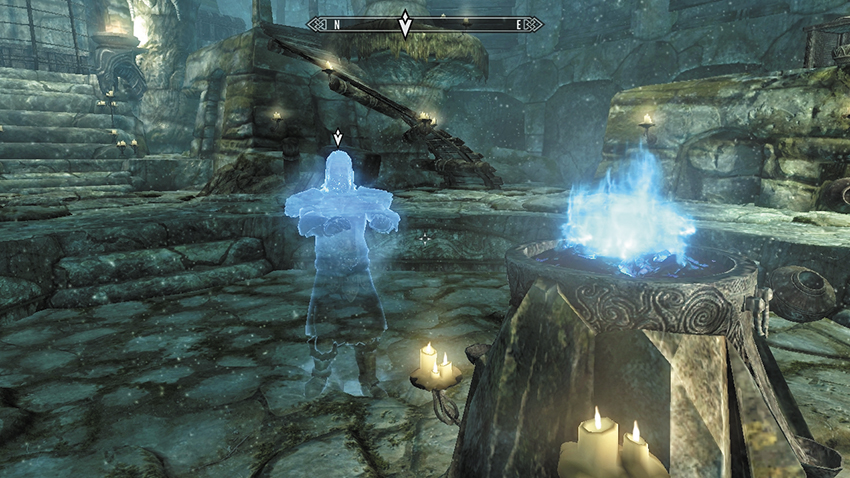
Stride over to meet the spirit of Kodlak, who (along with his fellow Harbingers from history) have been warming themselves in this chamber and trying to evade Hircine. Although you can see only Kodlak’s spirit, he assures you his predecessors are with you, in this most sacred of chambers. Tell Kodlak that Vilkas mentioned a cure was still possible, and Kodlak instructs you to take one of the witches’ heads and throw it into the blue fire. It will release their magic—for him at least.
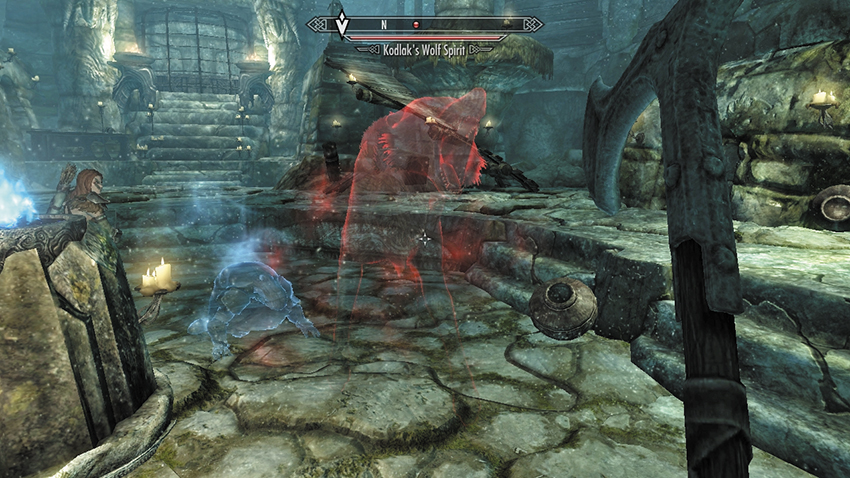
Approach the Flame of the Harbinger and drop a witch’s head into it. The moment the blue flames begin to devour the head and the witch’s magical grip loosens, Kodlak’s Wolf Spirt appears. You must destroy it in combat.
Quest Conclusion
Return to Kodlak’s spirit and tell him you killed his beast spirit. He thanks you for this gift, one tainted by sadness that the other Harbingers remain trapped by Hircine. Perhaps a battle for their souls could be waged from Sovngarde. For today, however, you must triumph in your victory and lead the Companions to further glory!
Postquest Activities
Locate any treasure chests you wish to plunder. Pull the chain and exit via the raised area on the chamber’s eastern side. Head up the spiral stairs to a second chain that removes a section of rock wall. Return to the entrance chamber where Ysgramor’s statue is standing. You may now return to Jorrvaskr at your leisure. Although your critical Companions Quests are over, there are now three additional Radiant Quests available (along with the initial ones). You enjoy the companionship of your Shield-Brothers and Sisters as you return, victorious, as Harbinger!
- Word of Power: Animal Allegiance