Borderlands 2 Game of the Year Guide Walkthrough
Wildlife Preservation
|
 Mission Briefing
| Level | Money | XP | Gear |
|---|---|---|---|
|
20 |
4 Eridium ($387 with Bonus) |
7719 |
— |
*Money and XP may vary based on player’s level at start of mission.
Return to The Highlands near Hyperion Bridge or anywhere you can get a vehicle and drive to the Wildlife Exploitation Preserve entrance near Frothing Creek Mill. Head up the hill past the Isotope Reclamation Area to reach the entrance through the cave.
Roland wants you to meet up with Mordecai, who has been spying on Hyperion’s goings-on in the area. He’ll know a way to get Claptrap the upgrade he needs. Equip a Shock weapon and load up on ammo at the vending machines prior to descending the path from the entrance. Kill the pack of stalkers you encounter, then cross the stone bridge due south to head up the spiraling trail to Casa de Mordecai.
Listen to Mordecai spill his sorrow (he’d never spill a beer) over Bloodwing, then initiate conversation with him to learn that he stores his most vital data on a chip embedded into Bloodwing’s collar. It was bad enough that Mordecai’s pet had been abducted, but so had the data needed to perform Claptrap’s upgrade!
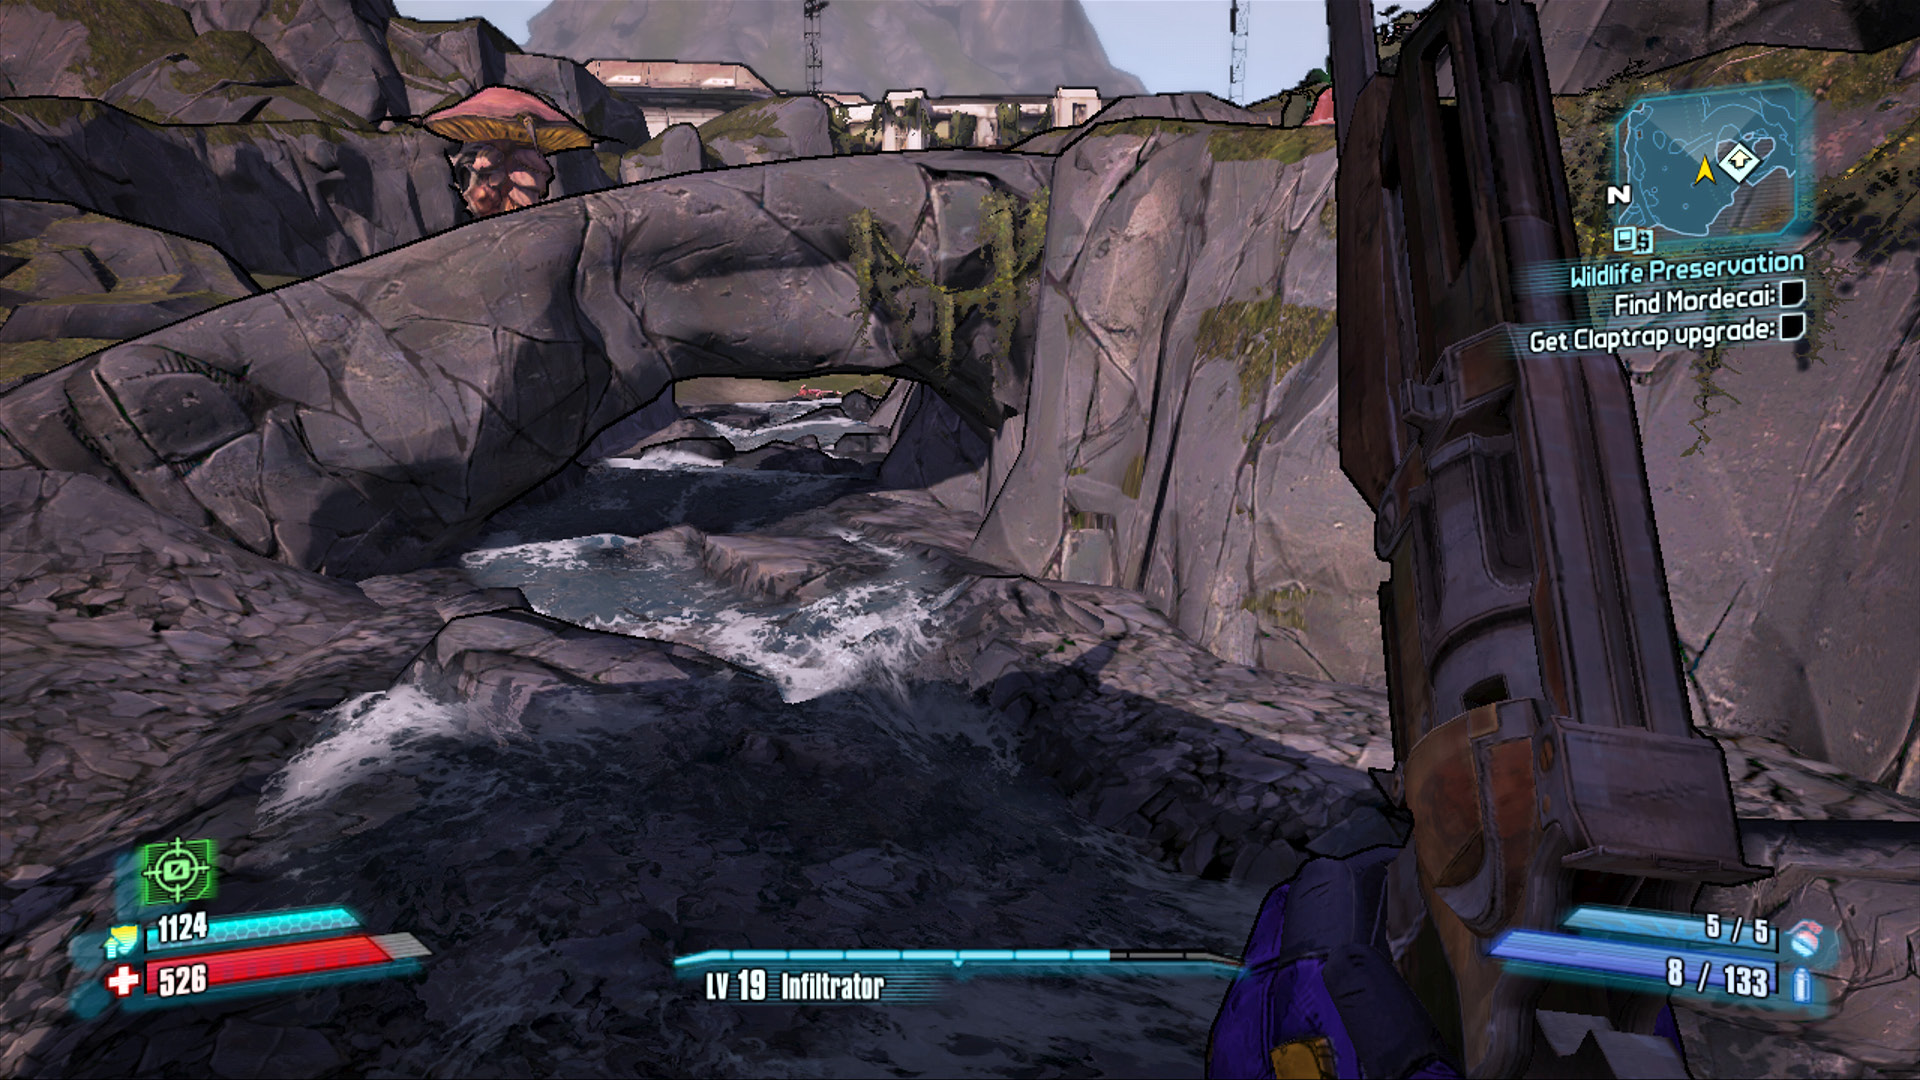
Head up the stone bridge arching over the creek to reach the trail leading to Mordecai.
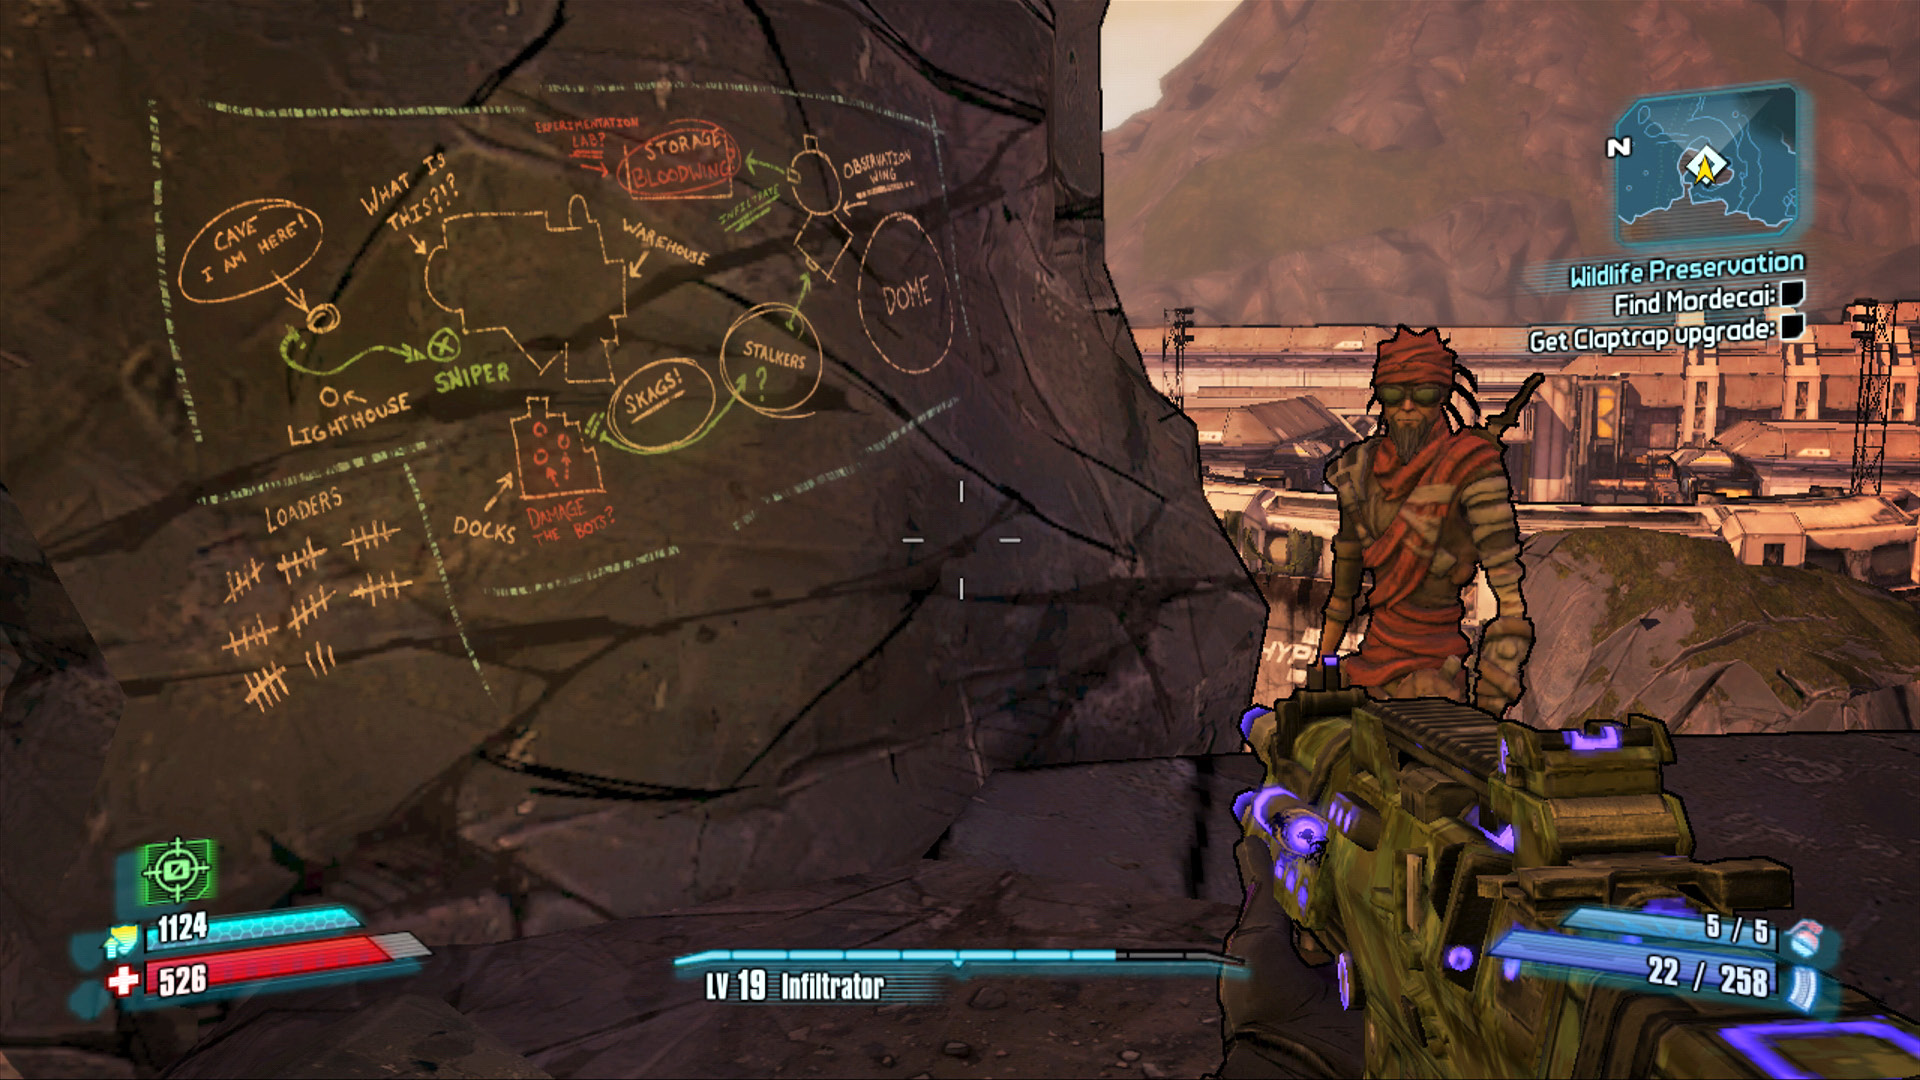
The man with a plan.
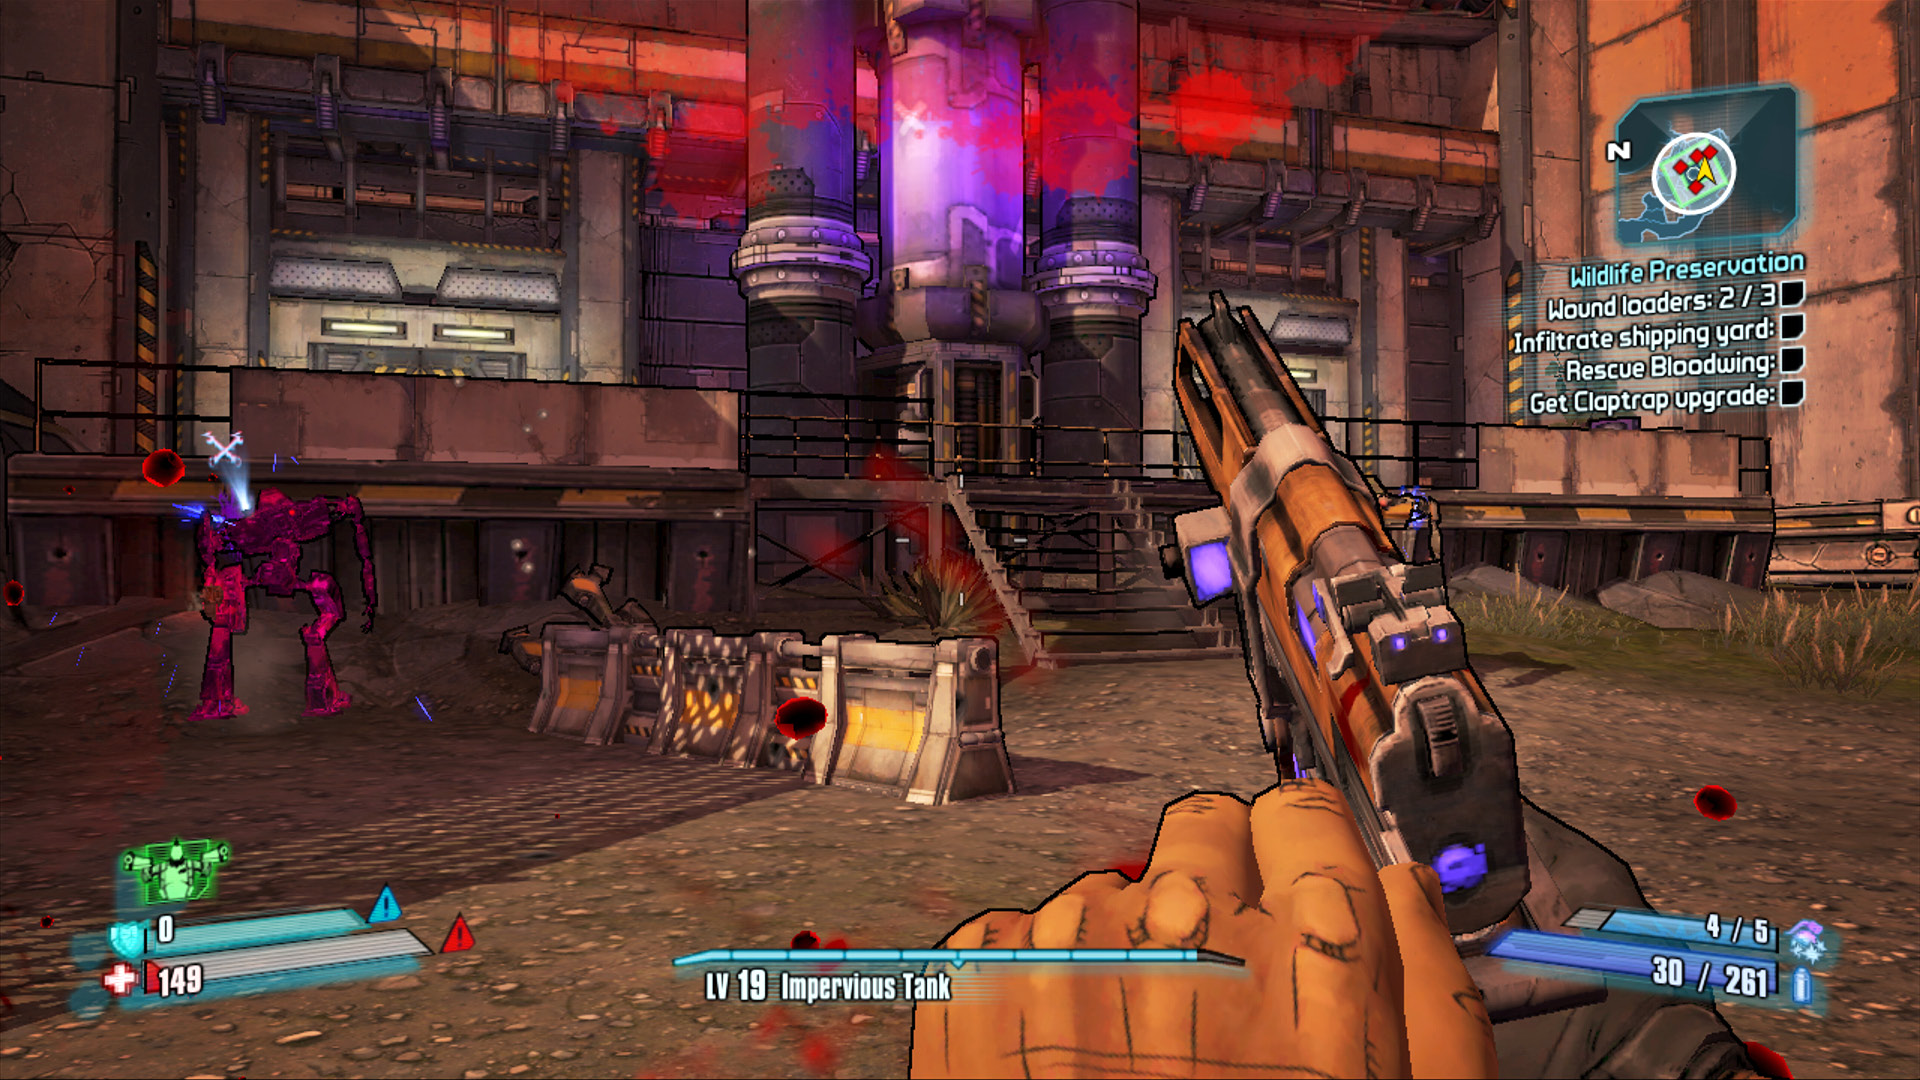
You needn’t only use Corrosive weapons; Slag and other elementals can certainly damage Loaders, as well.
Have You Seen My Pet?
Leap off the cliff on the east side, and make your way past the New-U station toward the doors to the dockyard. Switch to a Corrosive weapon and take out the first wave of loaders as you approach the lever beside the door to the Preserve Dockyard. Give the lever a pull, only to realize that the doors won’t open—an intruder has been detected! Mordecai radios you an idea: weaken three of the loaders, but don’t kill them. This forces the Hyperion battalion to send additional reinforcements through the dockyard door. Damage each loader until you see the wrench icon appear over its head, then target another. With a Corrosive rifle, you can shoot a few rounds at a loader and allow the status effect damage to weaken it sufficiently. Those playing as Axton must avoid using the Sabre Turret for this fight, as it’s likely to destroy the loaders that you’re trying to only injure.
The Preserve Dockyard contains numerous engineers, loaders, and surveyor drones, not unlike the Hyperion areas within Highlands Outwash. Hang back, attack with Corrosive weaponry, and use your Action Skill frequently to wipe all Hyperion forces from the map. Advance slowly to avoid getting caught in crossfire. Don’t overlook the chests that are reachable via the ramp on the left near the entrance. Scamper across the top of the Hyperion containers to the roof of the garage with the electric barrier.
Defending this area falls mostly upon the shoulders of Combat Engineers and GUN Loaders, but you’re also going to encounter several PWR Loaders. Their spinning propeller-like arms can deflect bullets, sometimes right back at you. Though it’s possible to snipe the tops of their heads or aim for their feet, a great way to defeat them is to fake them into taking a melee swing at you. Sprint forward with a shotgun in hand, then quickly step back and open fire as the PWR Loader rears back to swing one of its arms at you. Of course, it’s also possible to use Zero’s Deception, Axton’s Sabre Turret, or Maya’s Phaselock ability to help you gain a clear shot at their flank.
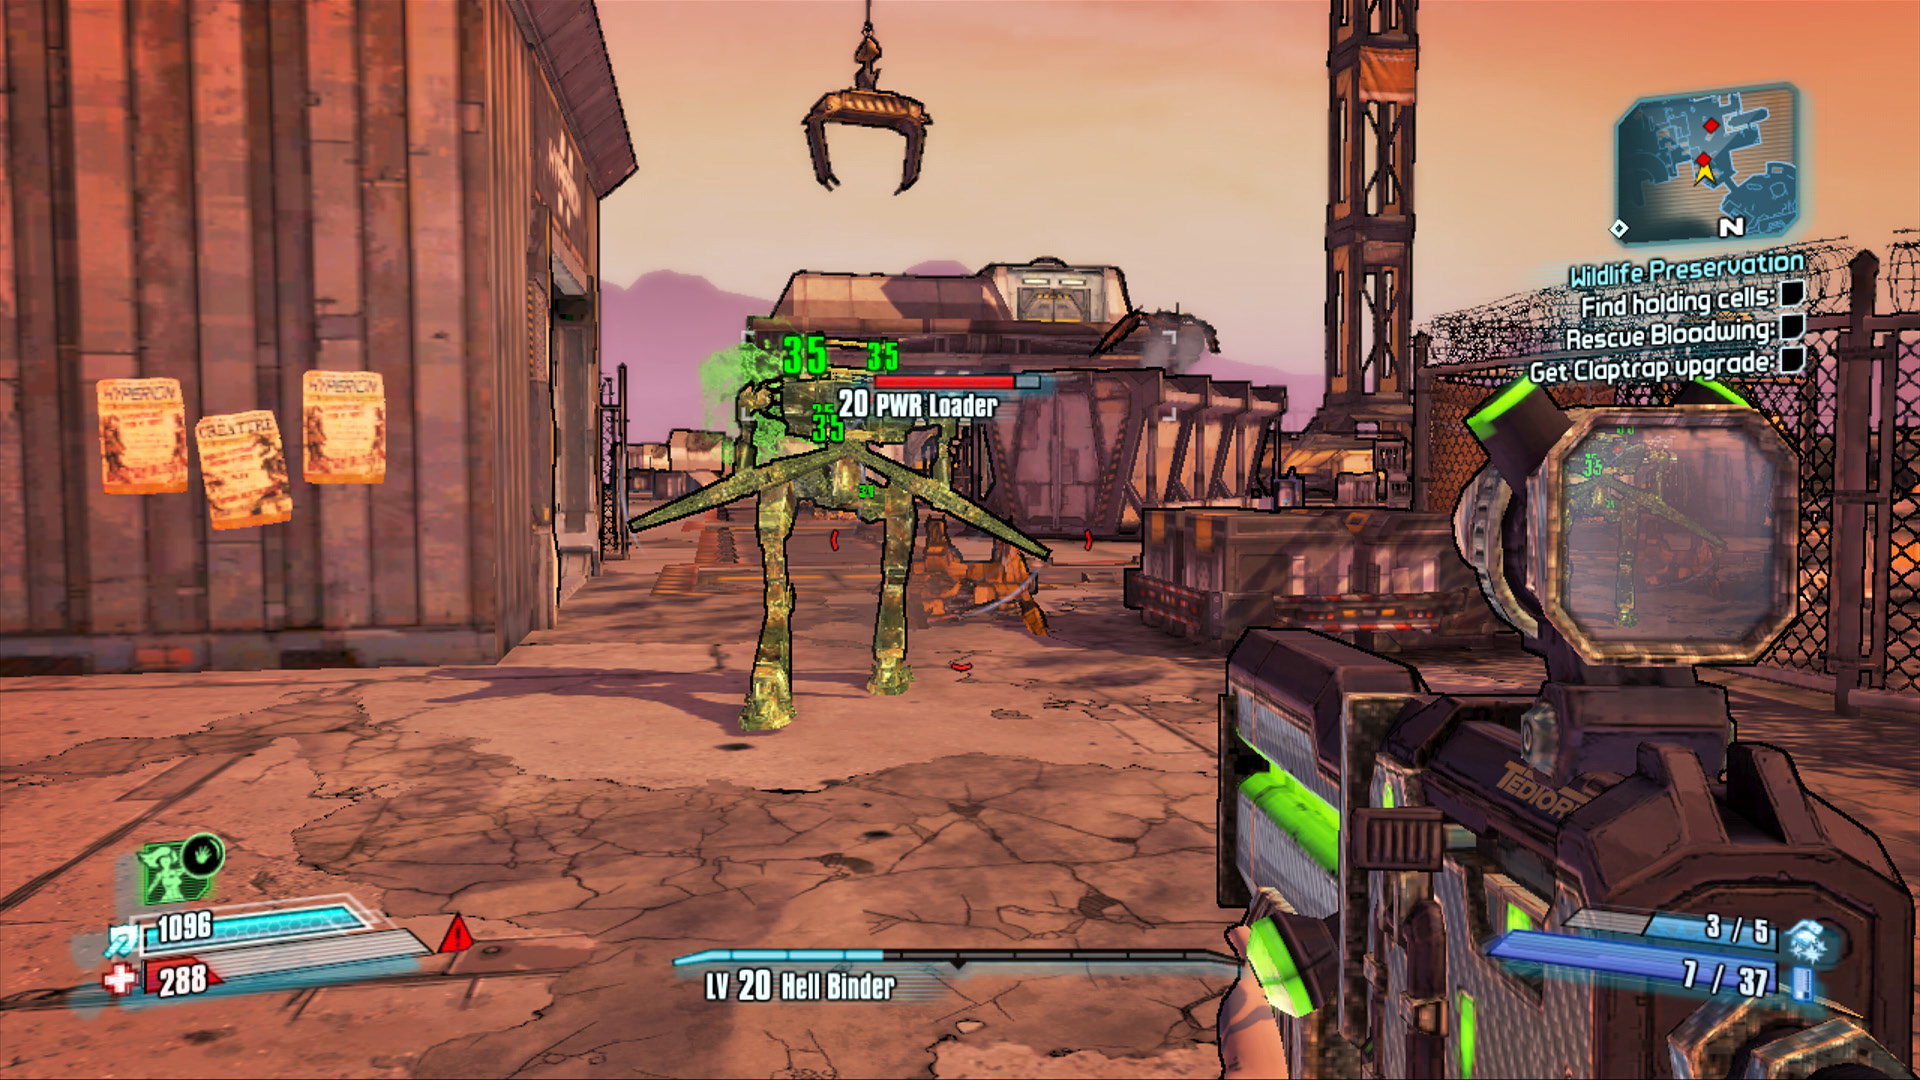
A Corrosive shotgun and a quick deke move work well against PWR Loaders.
Continue the fight in a counter-clockwise loop up the stairs and across the upper level toward the massive cable fence above the first creature enclosure. Hyperion’s employees installed these heavy gauge cables to keep the stalkers and skags from escaping; fortunately, there’s still plenty of room for you to sneak in.
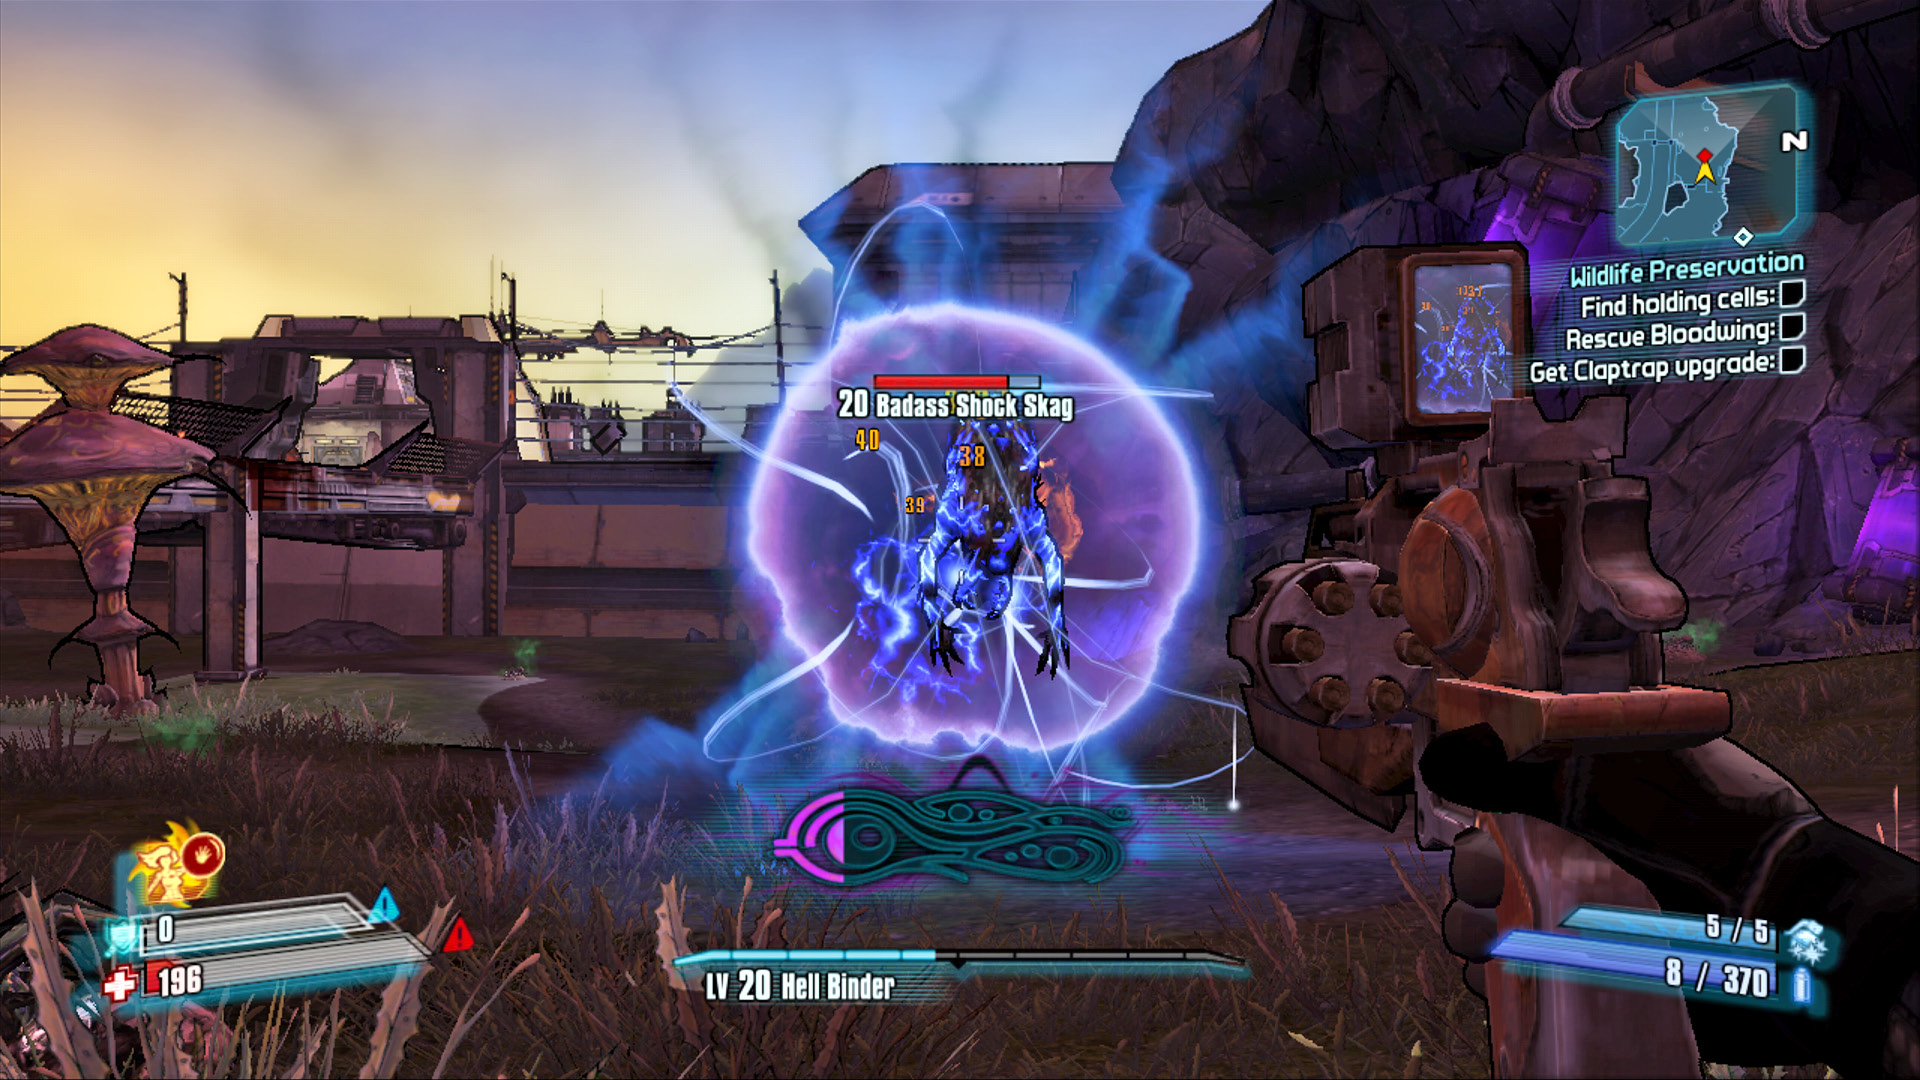
Shock Skags are still highly vulnerable to Fire damage, so hit them with Helios!
Drop off the bridge from either side, and fight the skags lurking below. There’s likely a Badass in their ranks and quite possibly a Badass Shock Skag, so be on guard. Cross the grass toward the broken window of the observation room to the east. More skags will leap from the blood-stained hole in the building, so approach with caution. Run up the pipe to enter the small lab. Tannis soon contacts you via the ECHO device to ask that you collect 10 Slag Samples for her, the first of which is in this small laboratory (though there are more Slag Samples in the facility than she asks for, you should run back and retrieve this one if she fails to ECHO you before you advance past this area).
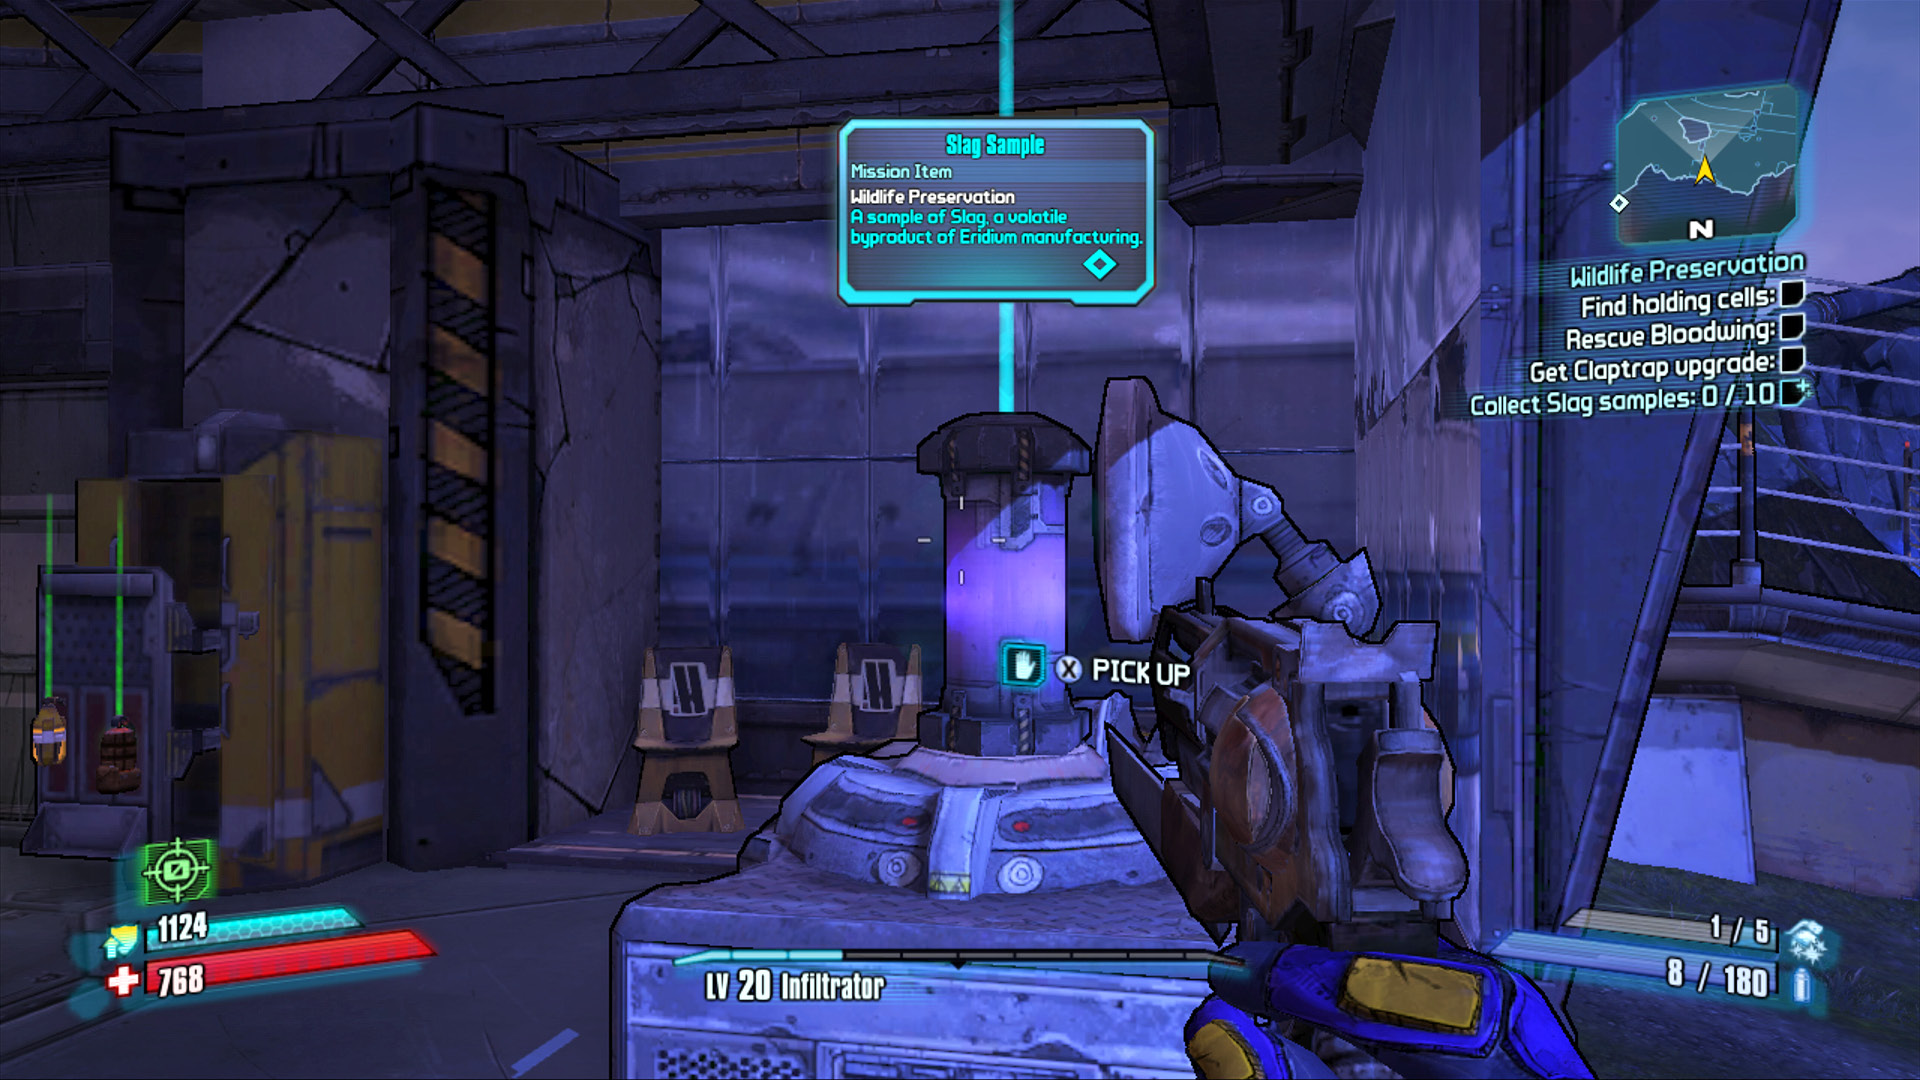
Keep your eyes peeled for these purple Slag Samples.
The second may appear to be just a continuation of the first, but this one contains many stalkers in addition to the skags you’re accustomed to fighting. Keep Fire and Shock weapons on hand so you can drop shields and set enemies alight in quick order. Fight past the stone arch and continue toward the skags near the containers in the next part of the yard. It’s certainly worth taking a minute to explore the upper road surface by using the rocky ramp to reach the highway. For example, you can find a Cult of the Vault symbol and one of Mordecai’s three stashes in that area.
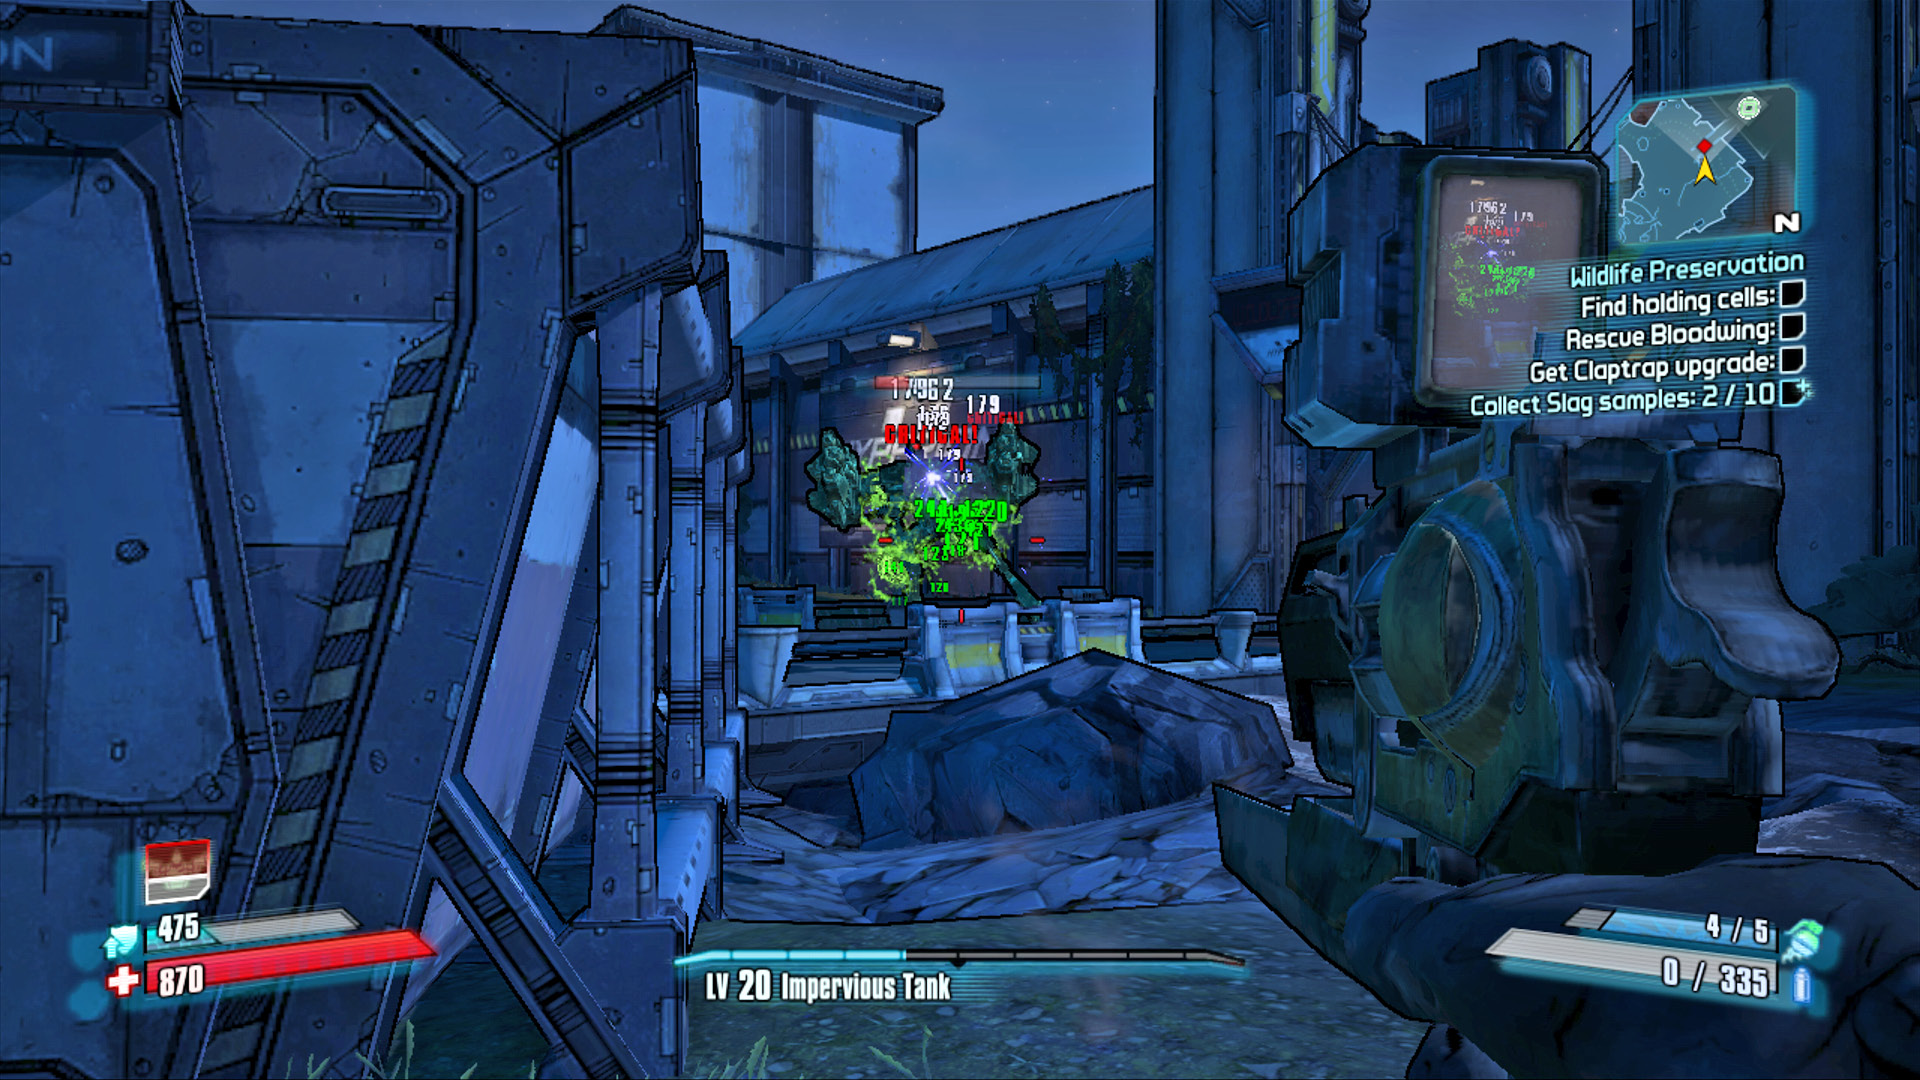
Use the rocks and containers as cover against the Super Badass Loader, and hit it hard with Corrosive weaponry for best results.
Push the button to open the door in the northeast corner of the enclosure, and head inside. Continue down the hall to the circular testing chamber, and fight past the stalkers here and up and out of the room via the collapsed wall to enter the area above the waterfall. Kill the stalkers in the area to draw a Super Badass Loader out from behind the locked doors to the west. Take cover behind the rocks in the center of the enclosure to avoid its rockets, and unload on it with Corrosive grenades and gunfire!
With the Super Badass Loader destroyed, you’re now free to enter the Specimen Maintenance area. Round the corner past the numerous skag enclosures to find the door to Bloodwing’s Enclosure, where nothing but a feather remains. Unfortunately, Handsome Jack baited you into this corner so that he could release the Badass Skags in the previous area.
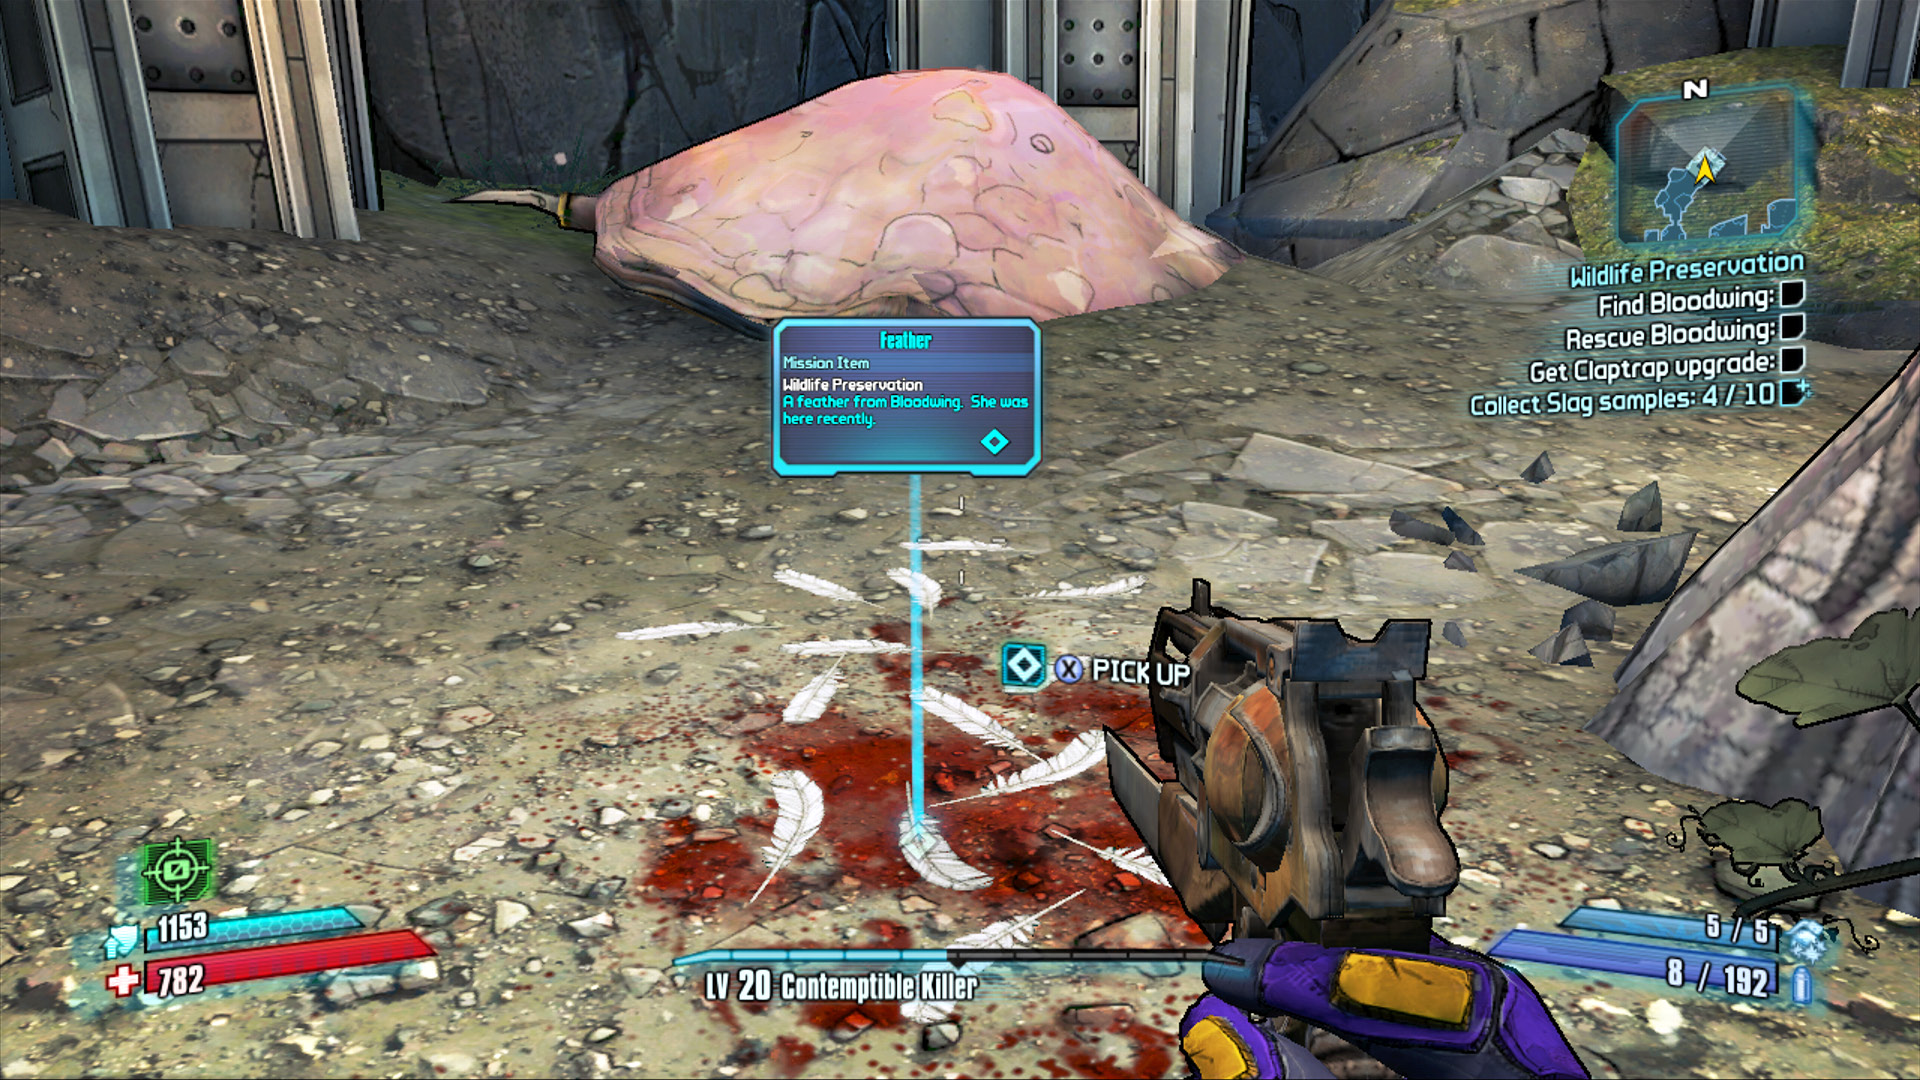
Handsome Jack promises that Bloodwing has merely been moved to a different pen, but his assurances aren’t comforting.
No Bloodwing Left Behind
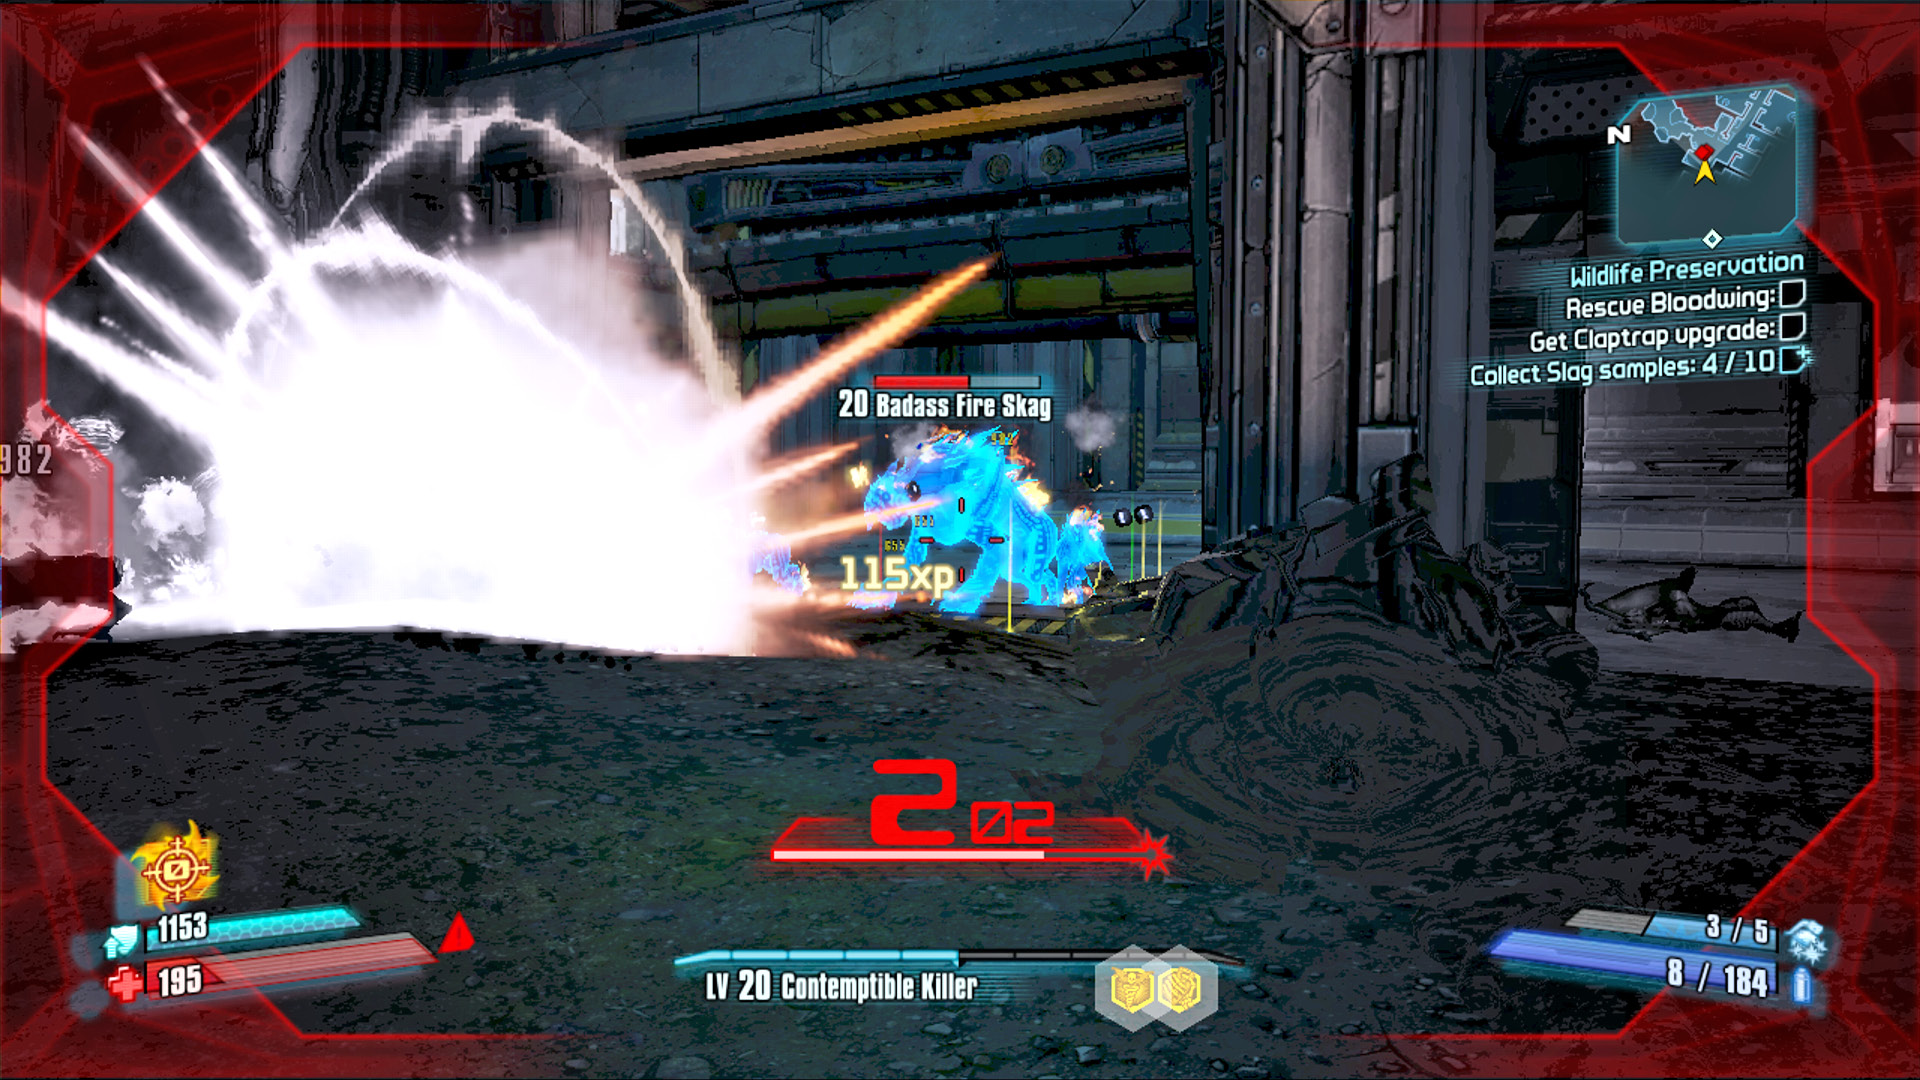
Cunning, firepower, and frequent use of your Action Skill is the best way to handle multiple Badass enemies.
Equip your best Fire or Explosive weapons and head back to the Specimen Maintenance area: the doors to the Badass Skags have been opened, and you’re about to be attacked by multiple Adult Skags that can take on the elemental property of the Badass Skag they’re near. Try to lure them toward you just one at a time by not venturing too far into the room. You’ll likely encounter Badass Corrosive Skag, Badass Shock Skag, or Badass Fire Skag, or some combination thereof. Lead them toward Bloodwing’s Enclosure in an effort to spread them out a bit. Stay close to the side of the room nearest Bloodwing’s Enclosure to avoid luring any of the stalkers from the neighboring pens into the fight.
Gather up the Slag Samples from the lab area near the New-U station, and raid the adjacent containers before heading out into the next outdoor enclosure. Walk along the elevated road to the left to get the ECHO Recorder and to take on any stalkers that make the climb. This allows you to thin the pack before crossing to the northwest where the stairs are located. There are a lot of stalkers in this area, including Cyclone Stalkers, which use their namesake spinning motion to deflect bullets, much like a PWR Loader’s propeller arms. Cyclone Stalkers also spit a nasty projectile at you, making them one of the more dastardly members of the stalker species. Do not fire at them while they’re spinning unless you enjoy the prospect of shooting yourself (it’s assumed that you don’t).
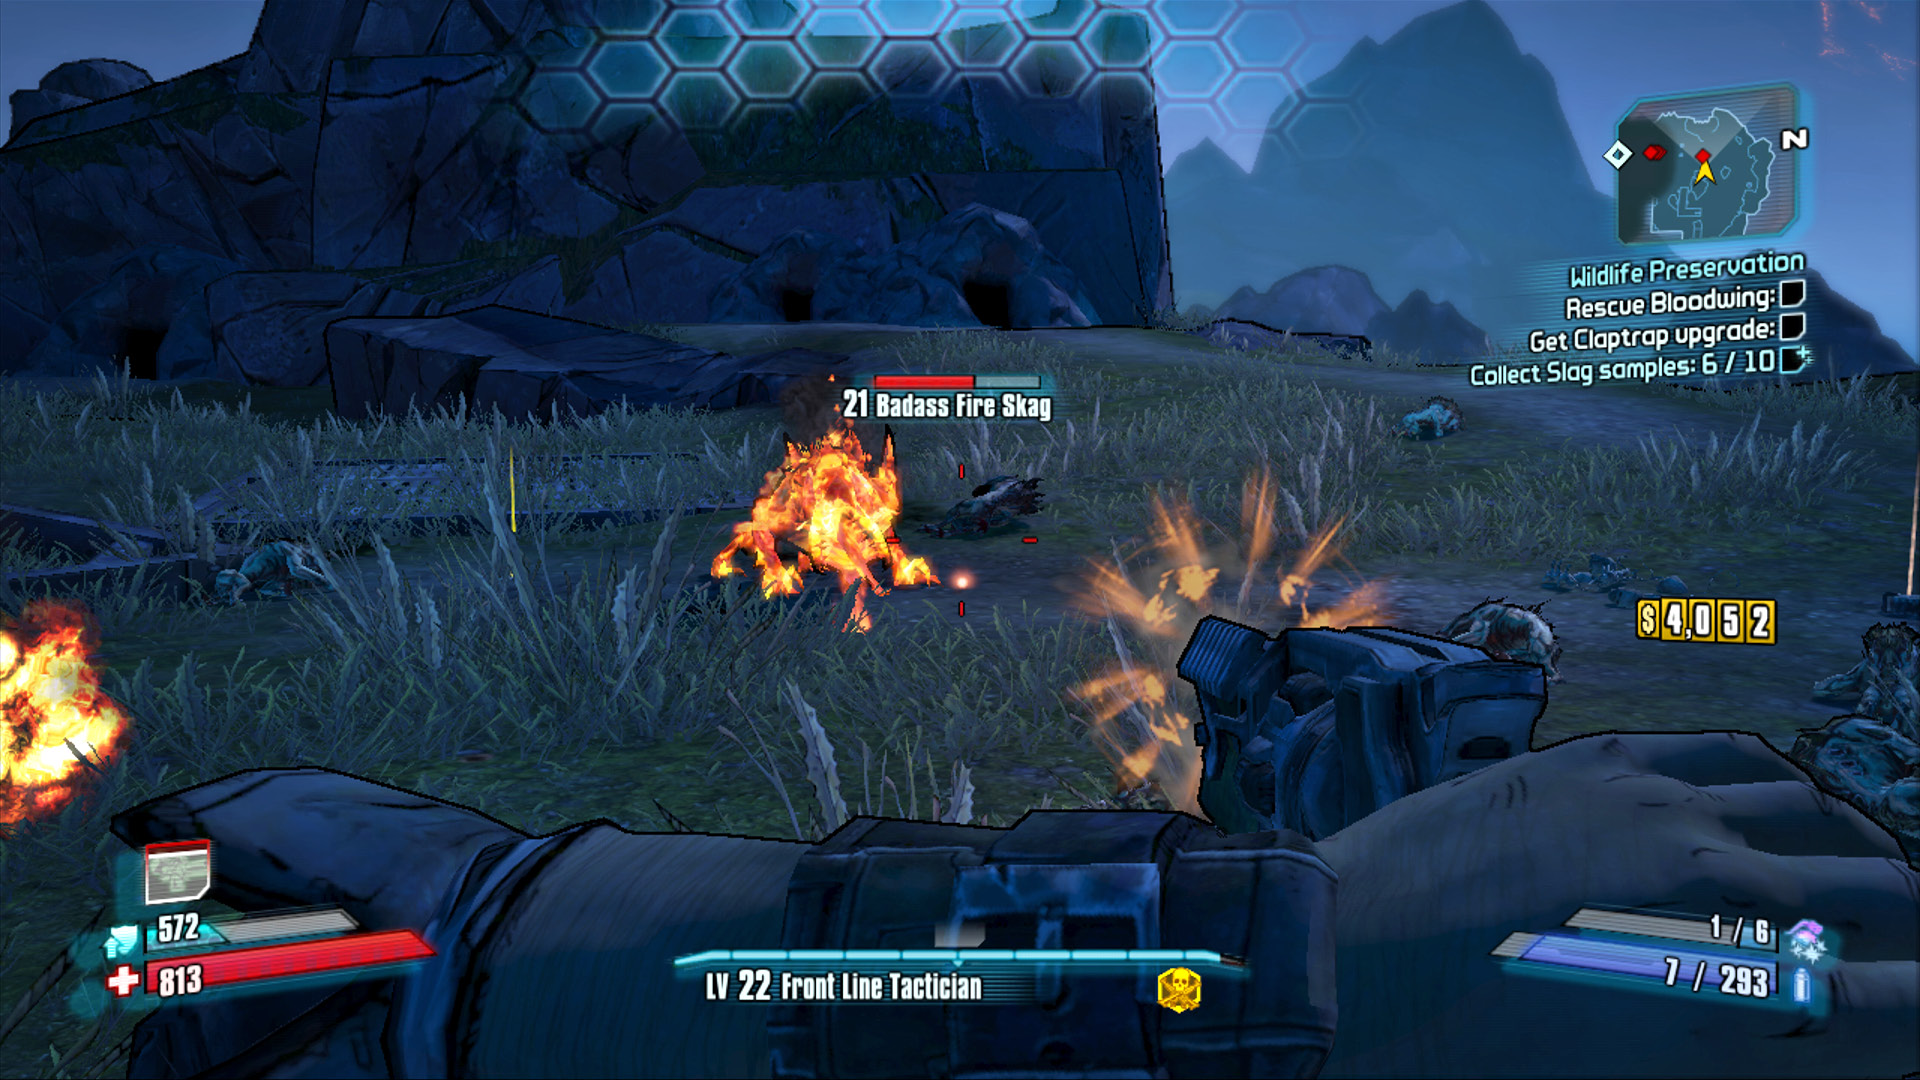
A Badass Fire Skag can turn non-elemental skags into flaming man-eaters with a single roar if you don’t stop him!
Climb the stairs in the corner and proceed west across the walkway to one final outdoor enclosure. Numerous skags and rakk attack you as you drop off the walkway, but it shouldn’t be anything you haven’t seen before. Take out the skags while sweeping along the perimeter of the area in a counter-clockwise circle. Watch out for any Badass Skags in the area—likely to be a Badass Fire Skag—and take the Badass out quickly before his roar turns those around him into Adult Fire Skags. Naturally, you’ll want to avoid using Fire weaponry against Fire skags.
A small group of engineers exits from the doors to the south as soon as you’ve put down the last of the skags. Kill the engineers, and enter the lobby, where a legless Experimentation Greeter Bot awaits. Those who have accepted the “Doctor’s Orders” mission can activate the lever behind the Greeter Bot and reveal a hidden shelf within the wall. The Experimentation Greeter is both unarmed and invincible, so save your ammo for something else.
Make your way into the warehouse area and open fire on the BUL and PWR Loaders that attack alongside the engineers in this area. Use the racks for cover and allow them to come to you—sidestep their attacks, and open fire as they funnel forward to get closer. One of the engineers can be seen dropping a Slag Sample. You can find additional Slag Samples in the room on the right.
Eliminate the other loaders and engineers, and head up the stairs to the catwalk. This upper walkway leads to a second hallway where several more Hyperion baddies block the way to the Observation Wing. Use grenades and aim for the feet of any PWR or BUL Loaders you see to reduce the chance of having your bullets ricochet back at you.
Grab the remaining Slag Samples, and loot all nearby chests for ammo and grenades. There’s a battle brewing beyond the lift you’re about to ride, so take a moment to prepare. Have at least two different elemental weapons handy, a rocket launcher, and an Explosive weapon. Assault rifles and pistols typically serve you better in the fight to come than a sniper rifle, though all weapons can yield success.
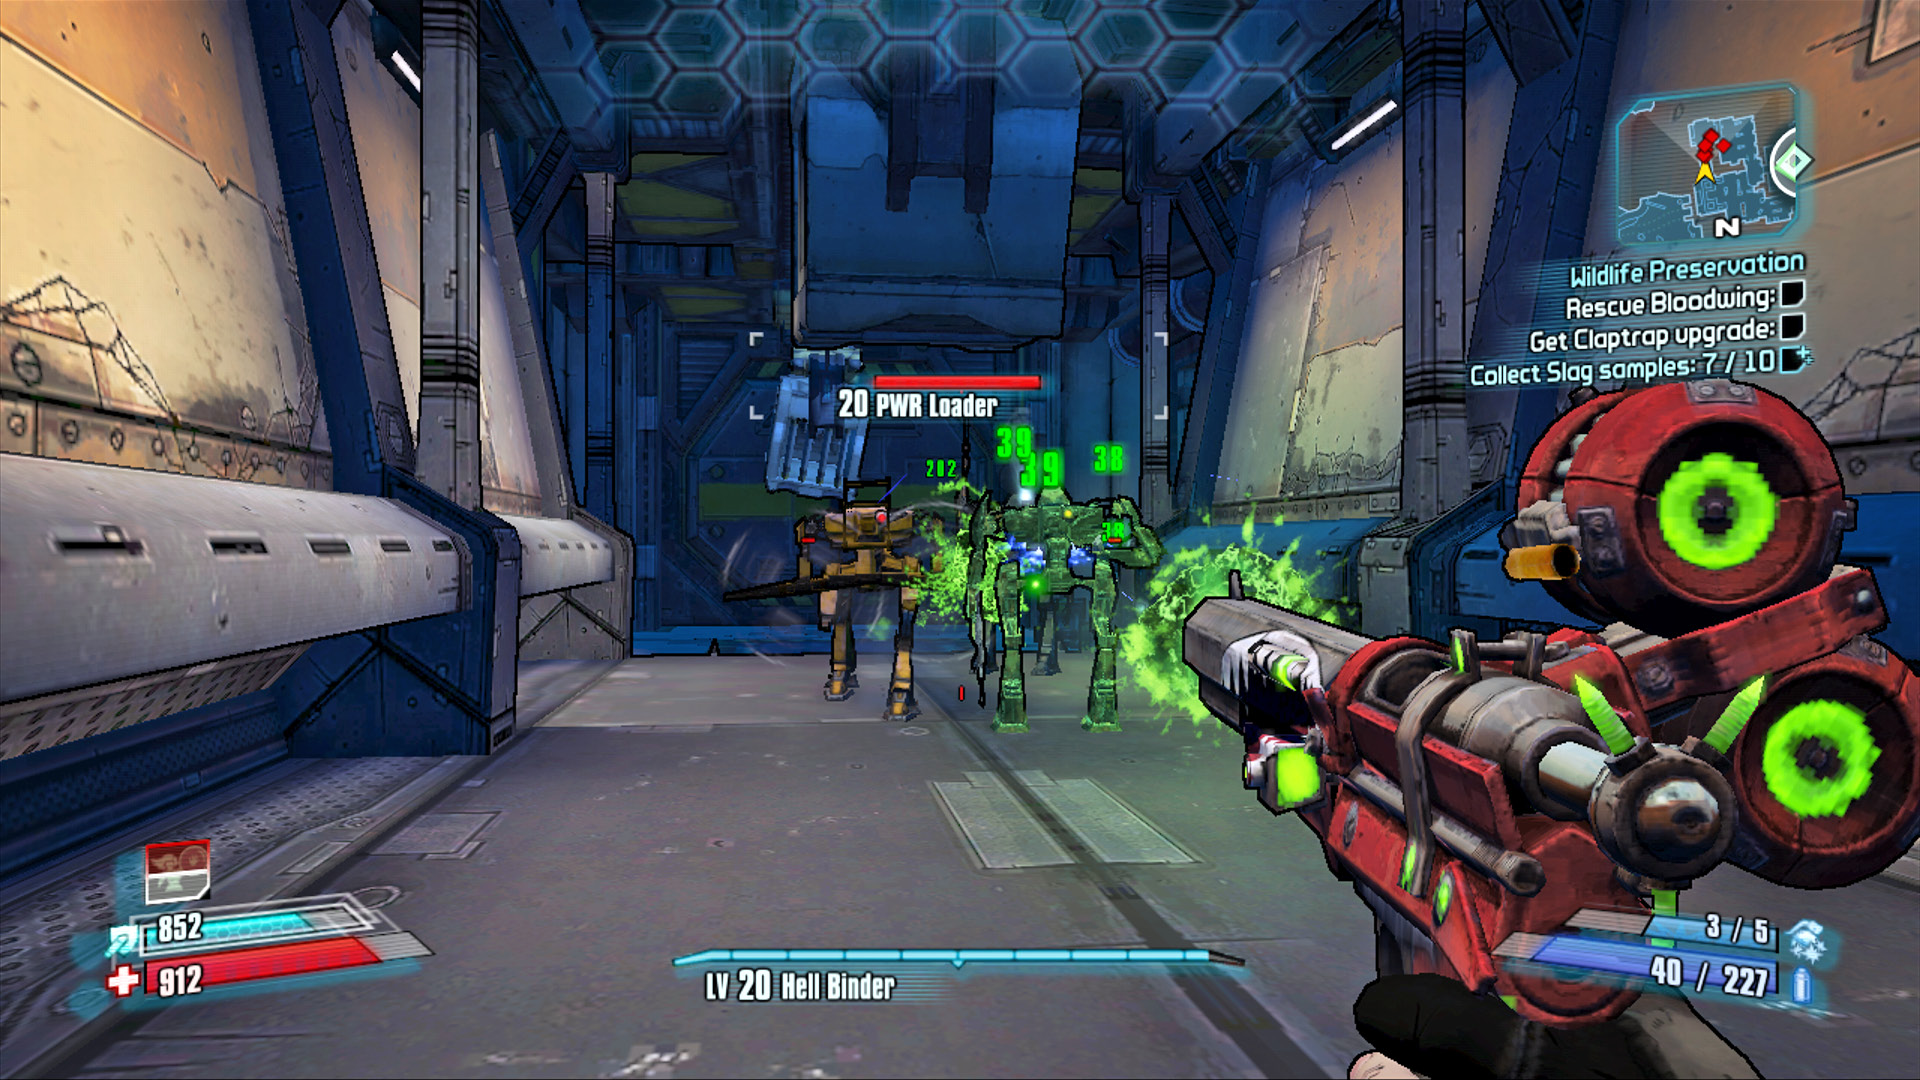
Soak the Loaders in Corrosive bullets as they march toward your position.
Bloodwing
Slagged Bloodwing Vitals
| Health Multiplier | Shield Level | Damage Multiplier | XP Value | Critical Areas | Weakness/Resistance |
|---|---|---|---|---|---|
|
21 (X3) |
— |
3.5 |
Super Badass |
Head |
Variable |
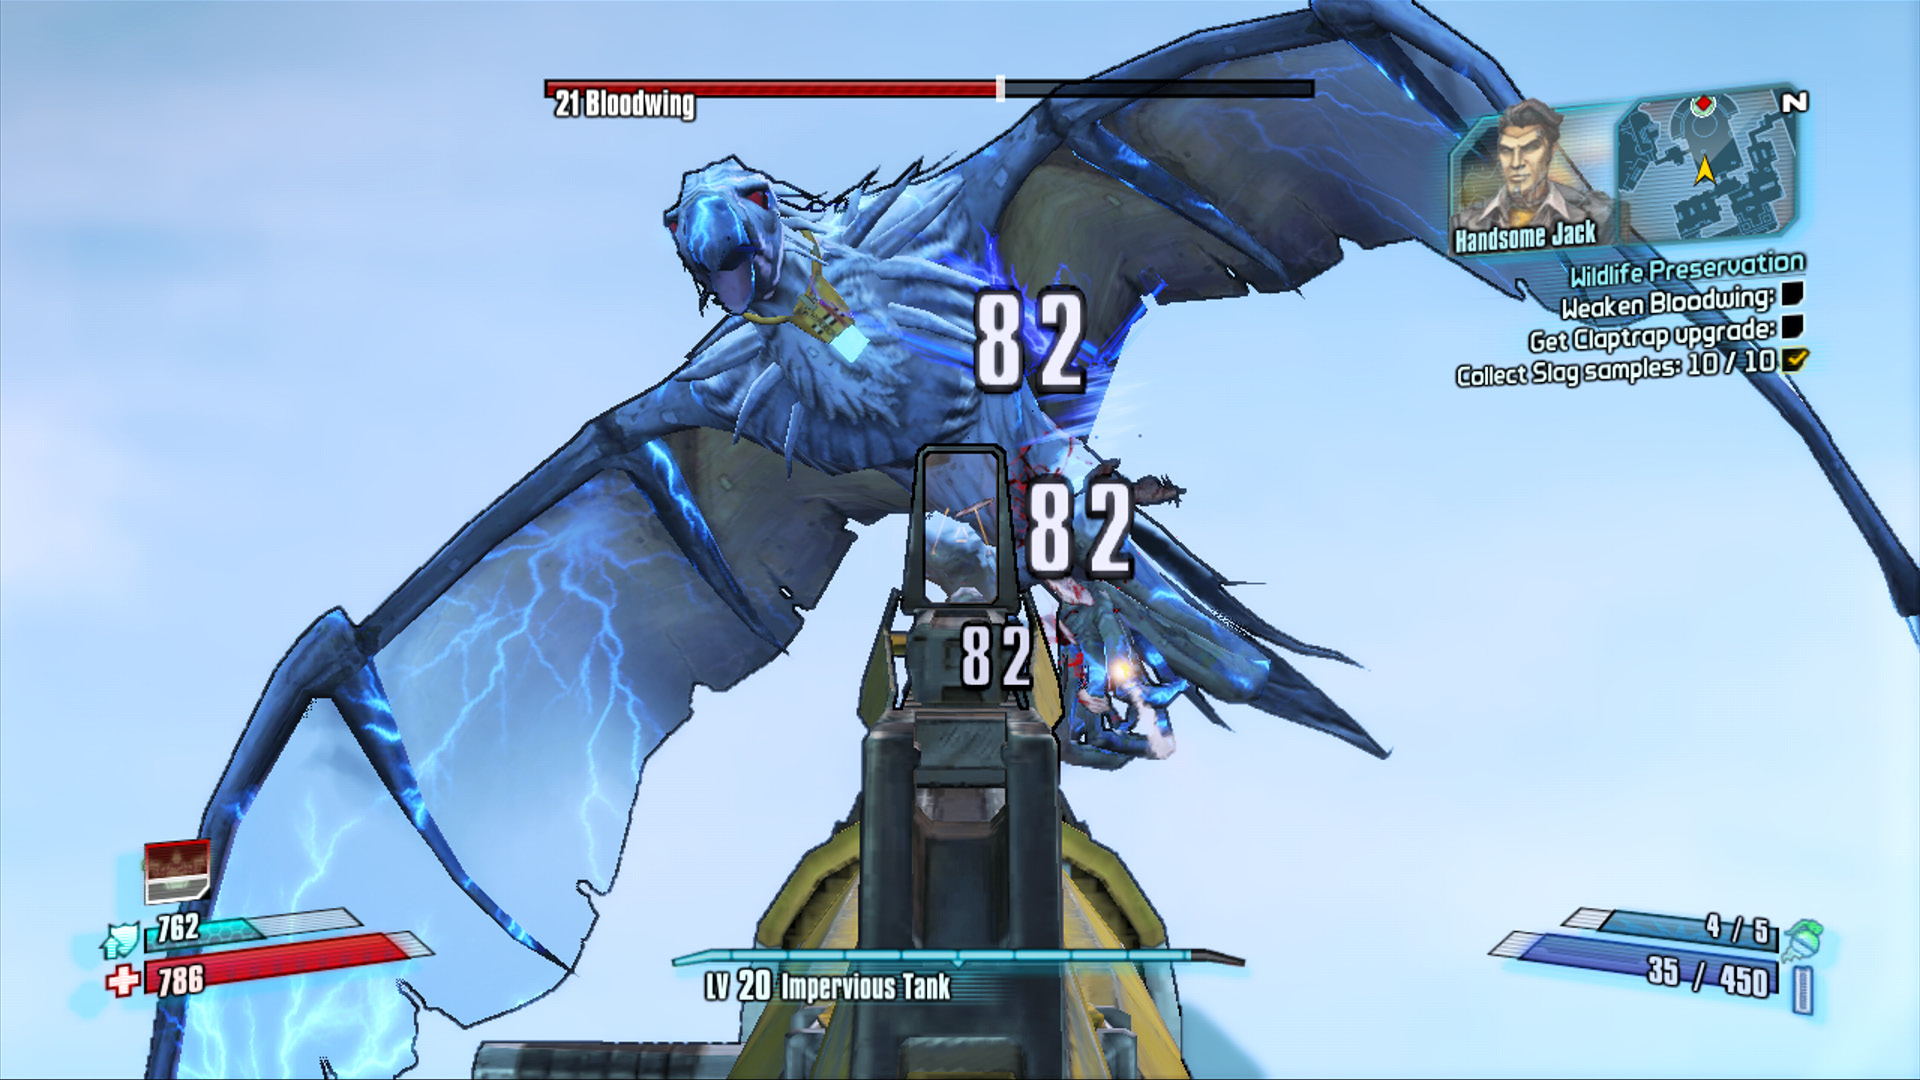
Handsome Jack didn’t just kidnap Bloodwing: he’s fed him so much Slag that Mordecai’s beloved pet has not only quadrupled in size, but has also become extremely aggressive, particularly to Vault Hunters like yourself. You have no choice but to weaken Bloodwing so that Mordecai can snipe him with a tranquilizer dart. Unfortunately, you’re going to have one heck of a fight on your hands in the meantime.
Refrain from firing until Bloodwing actually begins to charge you, as you can’t injure him until the objectives list updates to say “Weaken Bloodwing.” Roland soon reaches you via ECHO and explains the plan.
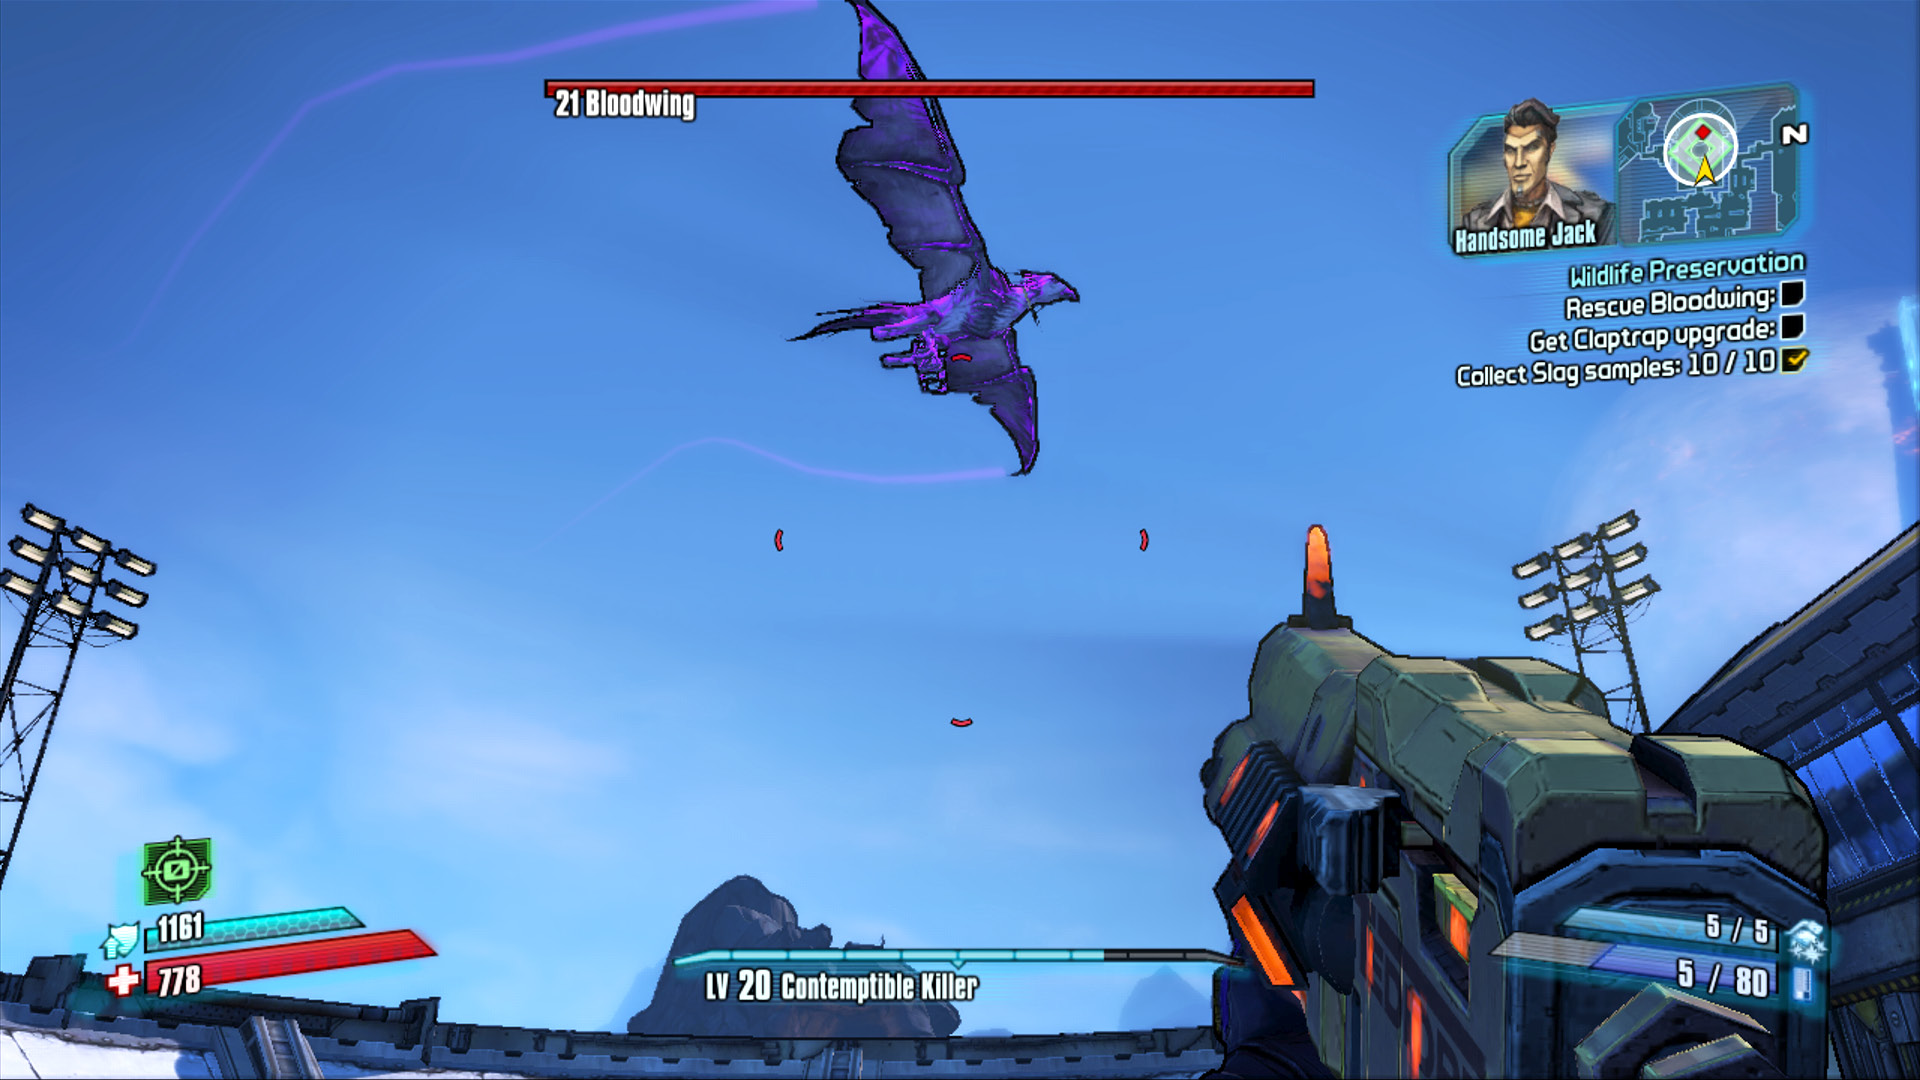
Bloodwing starts out as Slagged Bloodwing and circles around before dive-bombing your position with his claws outstretched and ready to cut. Hold your fire for now. A Slagged Bloodwing will just shake off any attempts to damage him.
Handsome Jack soon calls for Bloodwing to transition from Slag to Fire, then to Electricity, and finally Corrosive. Bloodwing turns to Fire and briefly hovers above you while attacking with Fire. Now’s the time to start laying into Bloodwing (with non-Fire weapons). If possible, coat him in Slag, then switch to Explosive or non-elemental weaponry while avoiding the Fire attack.
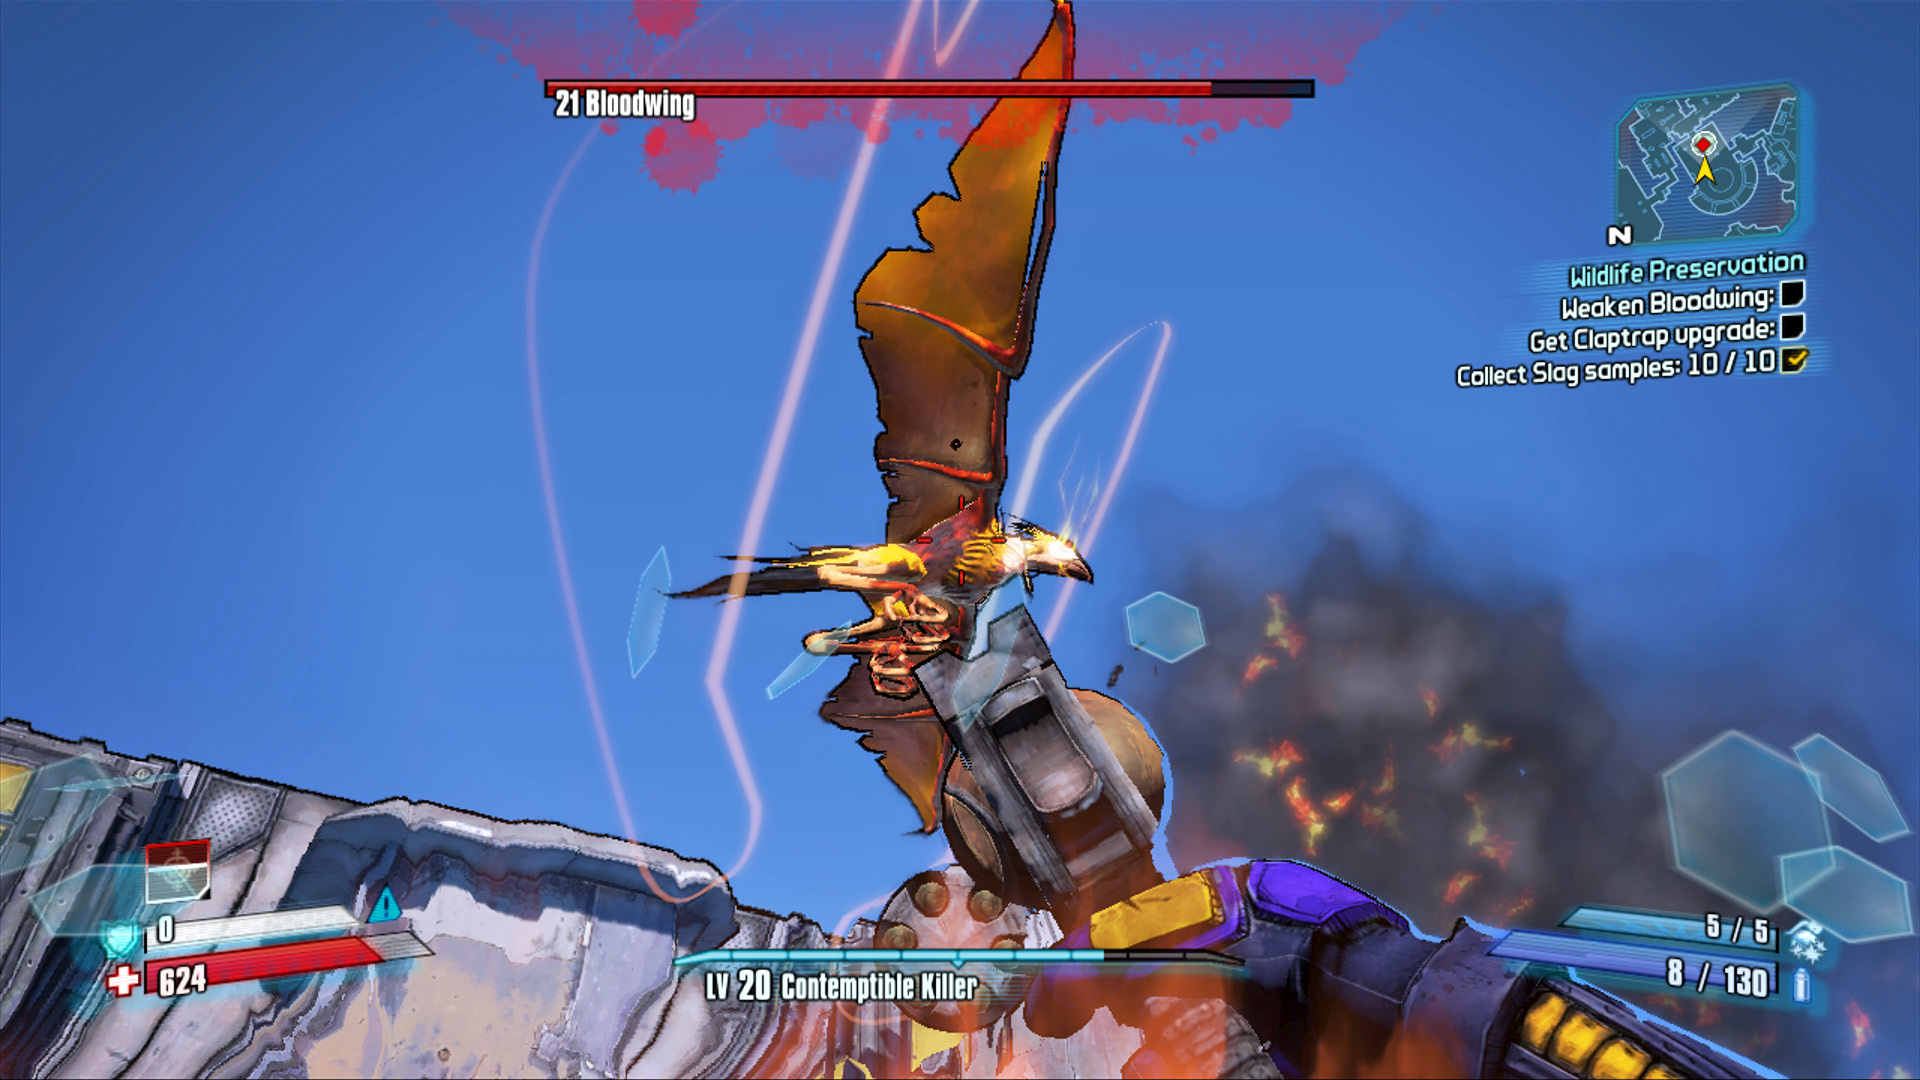
Bloodwing’s Shock attack comes next. Listen for Jack’s shouts, and switch to a rocket launcher or other heavy weapon. Bloodwing dives to the ground in order to transform from one element to the other, thus providing a static target for your rocket launcher or Longbow or Sticky grenades. Use this brief moment to hit him with your slower-moving projectiles, even if they happen to just be a reloaded Tediore weapon or a Torgue’s slow-moving explosive bullets. Once back in the air, Bloodwing spits Shock balls at you during his Electricity phase. Avoid these by strafing around the perimeter and continuing to pepper him with gunfire.
Bloodwing’s Corrosive phase yields an attack similar to his Fire attack in that he spews forth a large noxious cloud of toxicity as he hovers above you. Mordecai periodically mentions that he’s sending you supplies. In addition to several Insta-Healths and ammo pickups falling into the arena, a small pack of skags also gets released. Let these be the fodder you use to gain a Second Wind if necessary. Of course, the many yellow containers around the perimeter should provide all of the ammo and Insta-Healths you need.
Mordecai fires the tranquilizing shot once Bloodwing has been weakened to roughly 10% health. The massive bird then falls to the center of the arena, at which time you can grab the chip from its collar.
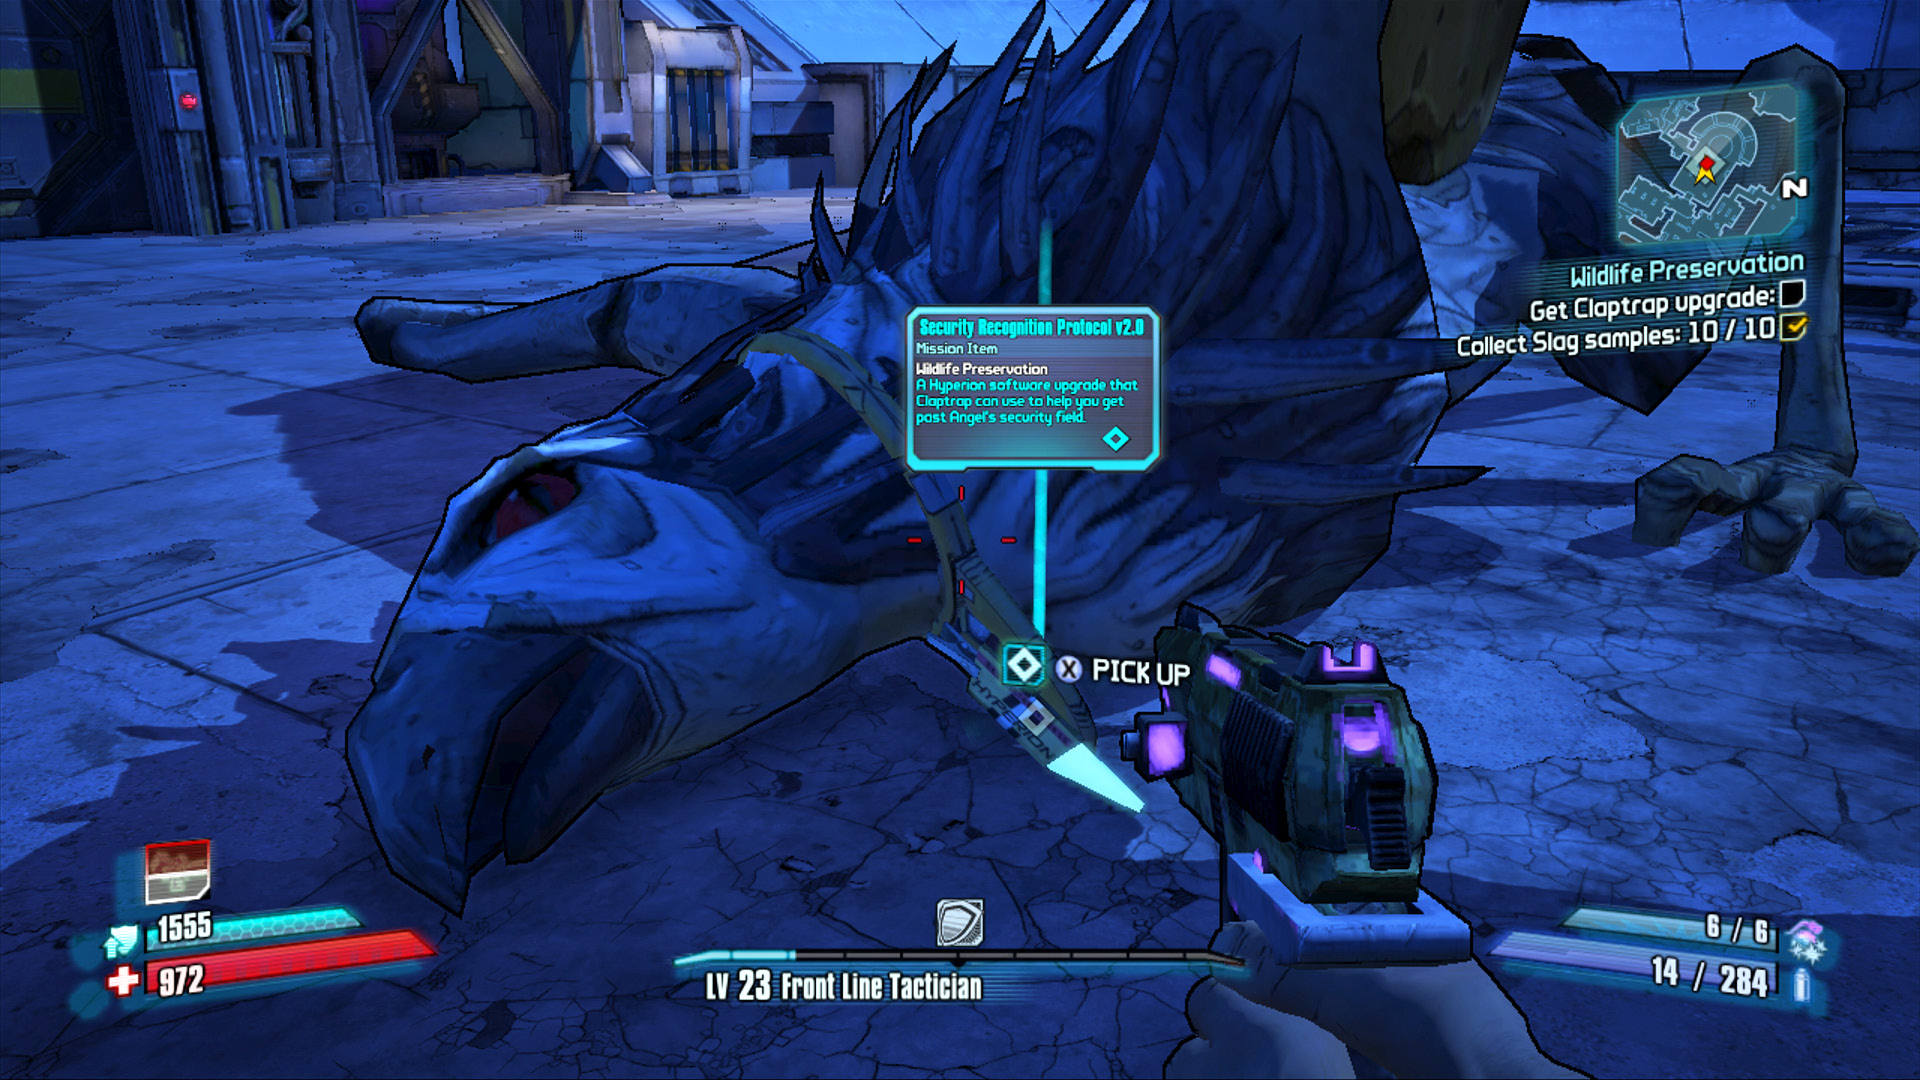
Delivery for Claptrap!
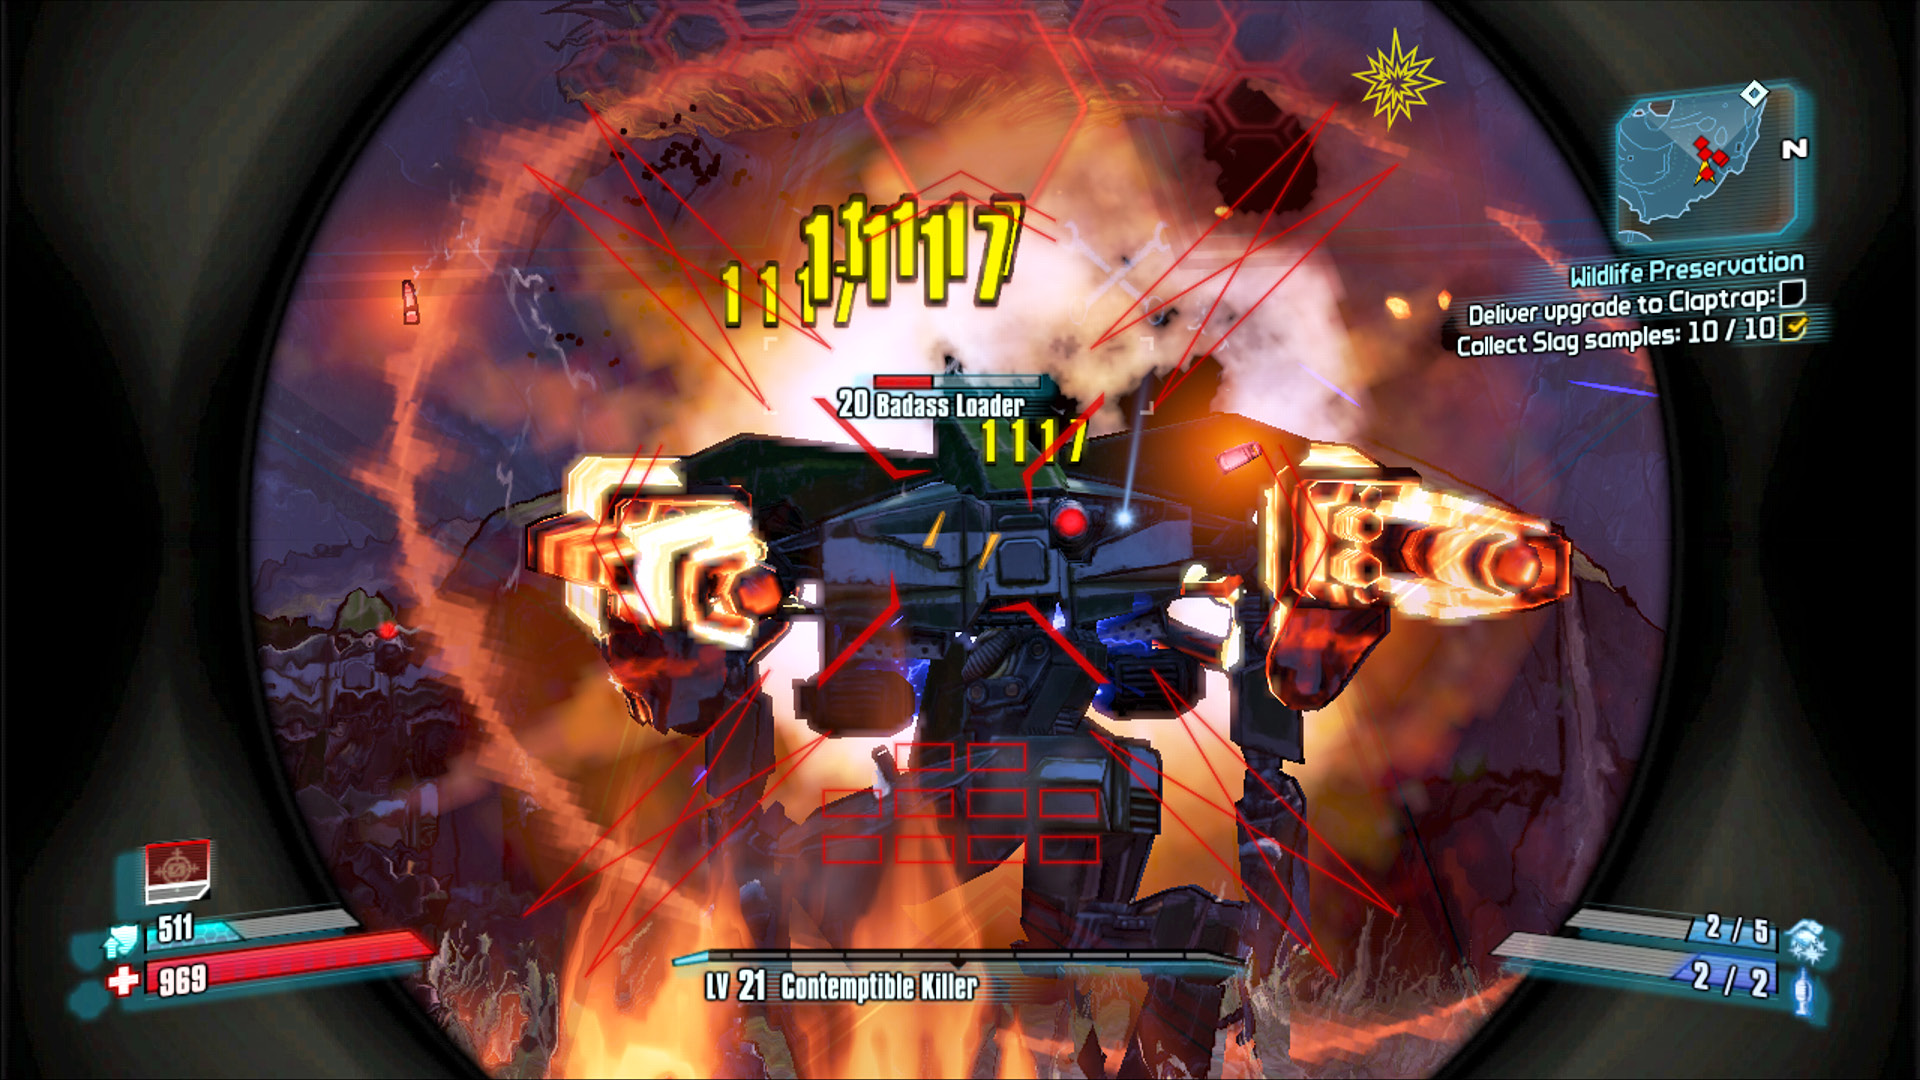
The Badass Loaders yield enough XP to make it worth spending any extra rocket launcher ammo you have on them.
Take some time to loot the many large chests in the room that opens at the end of the Bloodwing battle. It’s worth using all the time it takes to properly sort your equipment and to ensure that you’re leaving behind the least expensive of the weapons you plan to sell. Even if you know you’ll never equip the weapons in the large red chest, be sure to take any that can be sold for more than the ones you’re carrying.
The nearest Fast Travel station is back near the entrance from The Highlands. Fortunately, you can exit the Observation Wing via a balcony overlooking the area just outside the Preserve Dockyard (where the GUN Loaders you had to wound were located). Head to the right and drop to the ground by the container near the stream. Angle to the right, and follow the creek uphill toward the distant stalkers.
Ignore the stalkers, as a half-dozen Badass Loaders are due at any moment. Advance slowly to draw the first two or three into battle, and use the rocks and tall plants for cover. Unload with Slag and Corrosive weaponry and explosives. Draw the next batch in after you’ve killed these. Monitor your health and shield levels carefully, and do not be afraid to make a run for it, especially if you can use Deception, Gunzerking, or a Sabre Turret to make the getaway easier. Second Wind off any nearby stalkers if necessary; otherwise, just keep on running for the Fast Travel station if you don’t feel like battling the Badass Loaders.
Once back in Sanctuary, head straight to Claptrap (around the corner from Dr. Zed’s clinic) and provide him with the data needed to update his firmware. With Claptrap’s update complete, head to see Roland at Crimson Raiders HQ and turn in the mission.
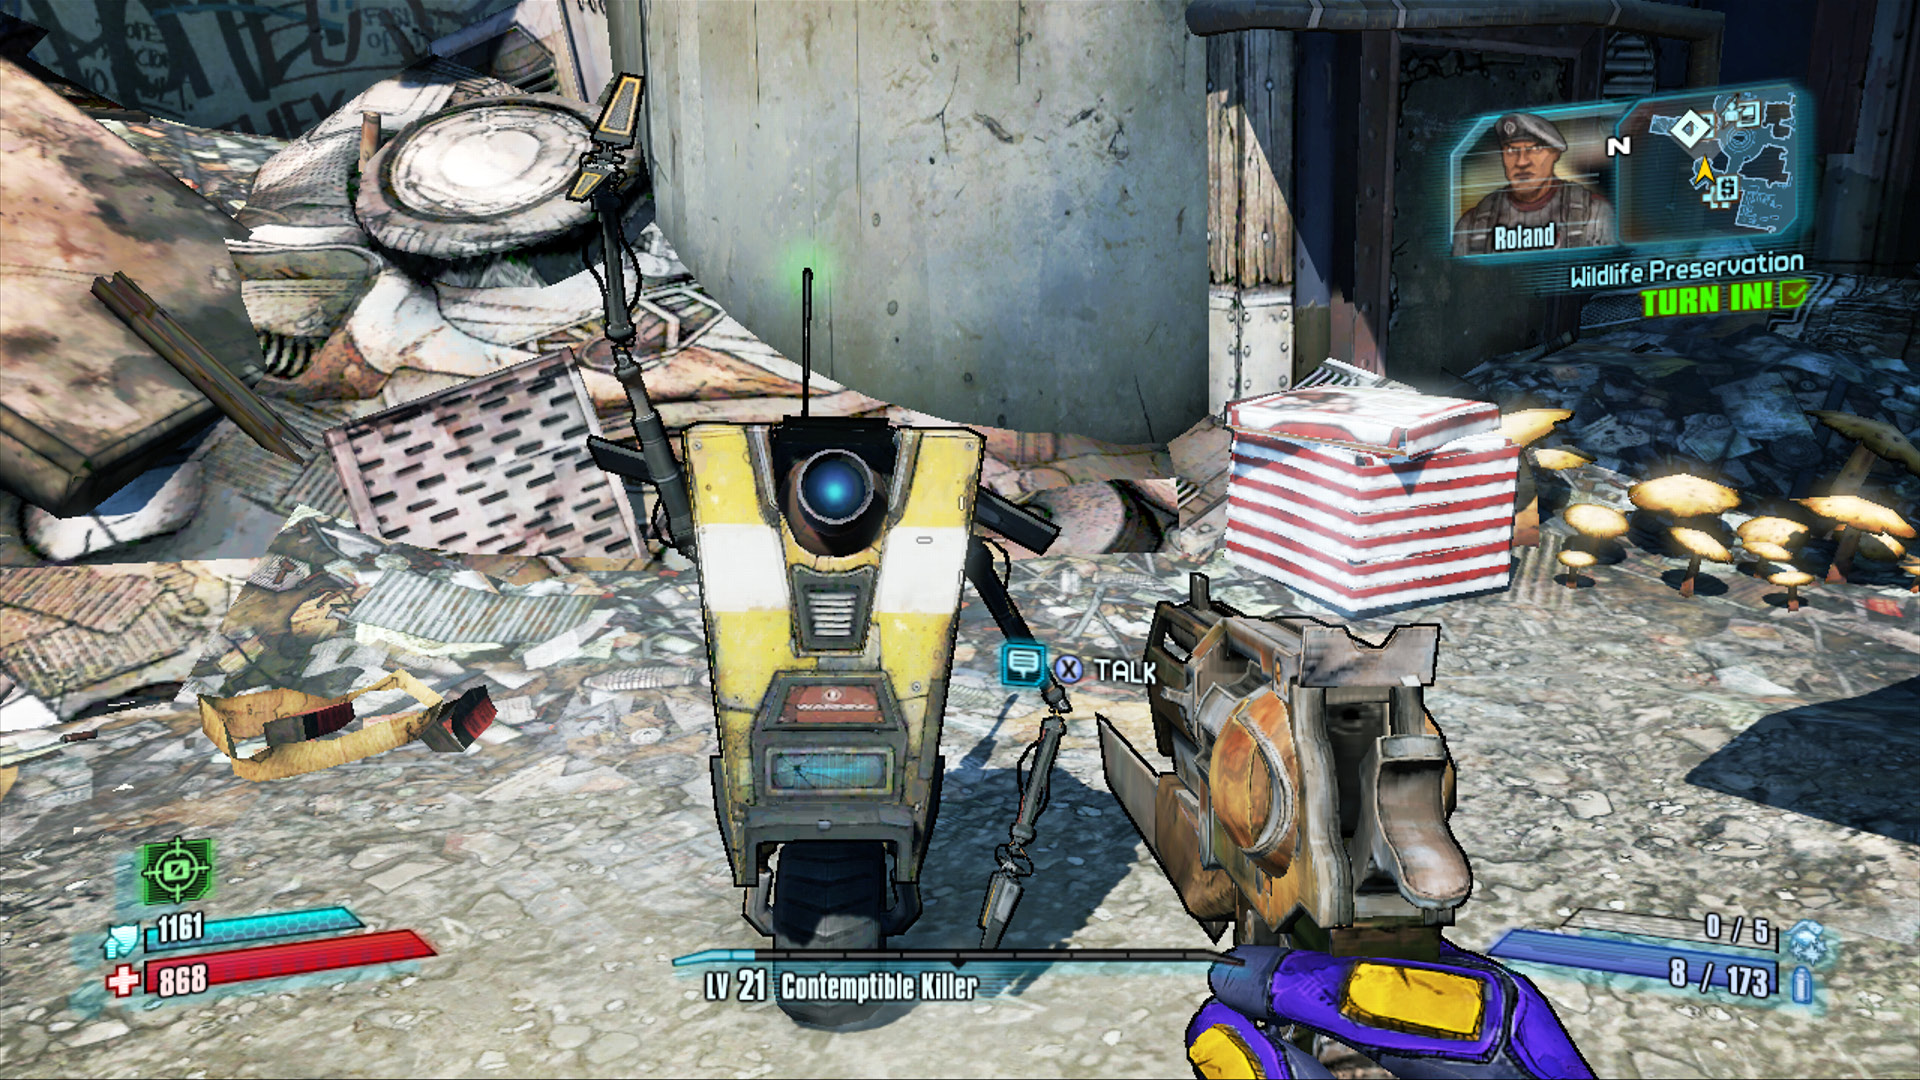
Celebrate another successful mission with a high-five!
Thousand Cuts
Welcome to Thousand Cuts! Would you like to die by the hands of the Hyperion forces to the west, or the Slab bandits to the east? Or, would you prefer to throw yourself off one of the many nearby cliffs and save everyone a great deal of trouble? Lucky for you, the Slabs have built a series of bridges to link each of the island-like chunks of rock that comprise this area. The Slabs are constantly fighting with the Hyperion troops nearby, and at first glance, the area seems to be of no strategic importance. That said, one can’t help but wonder why Hyperion would station so many troops on a seemingly valueless cliff.
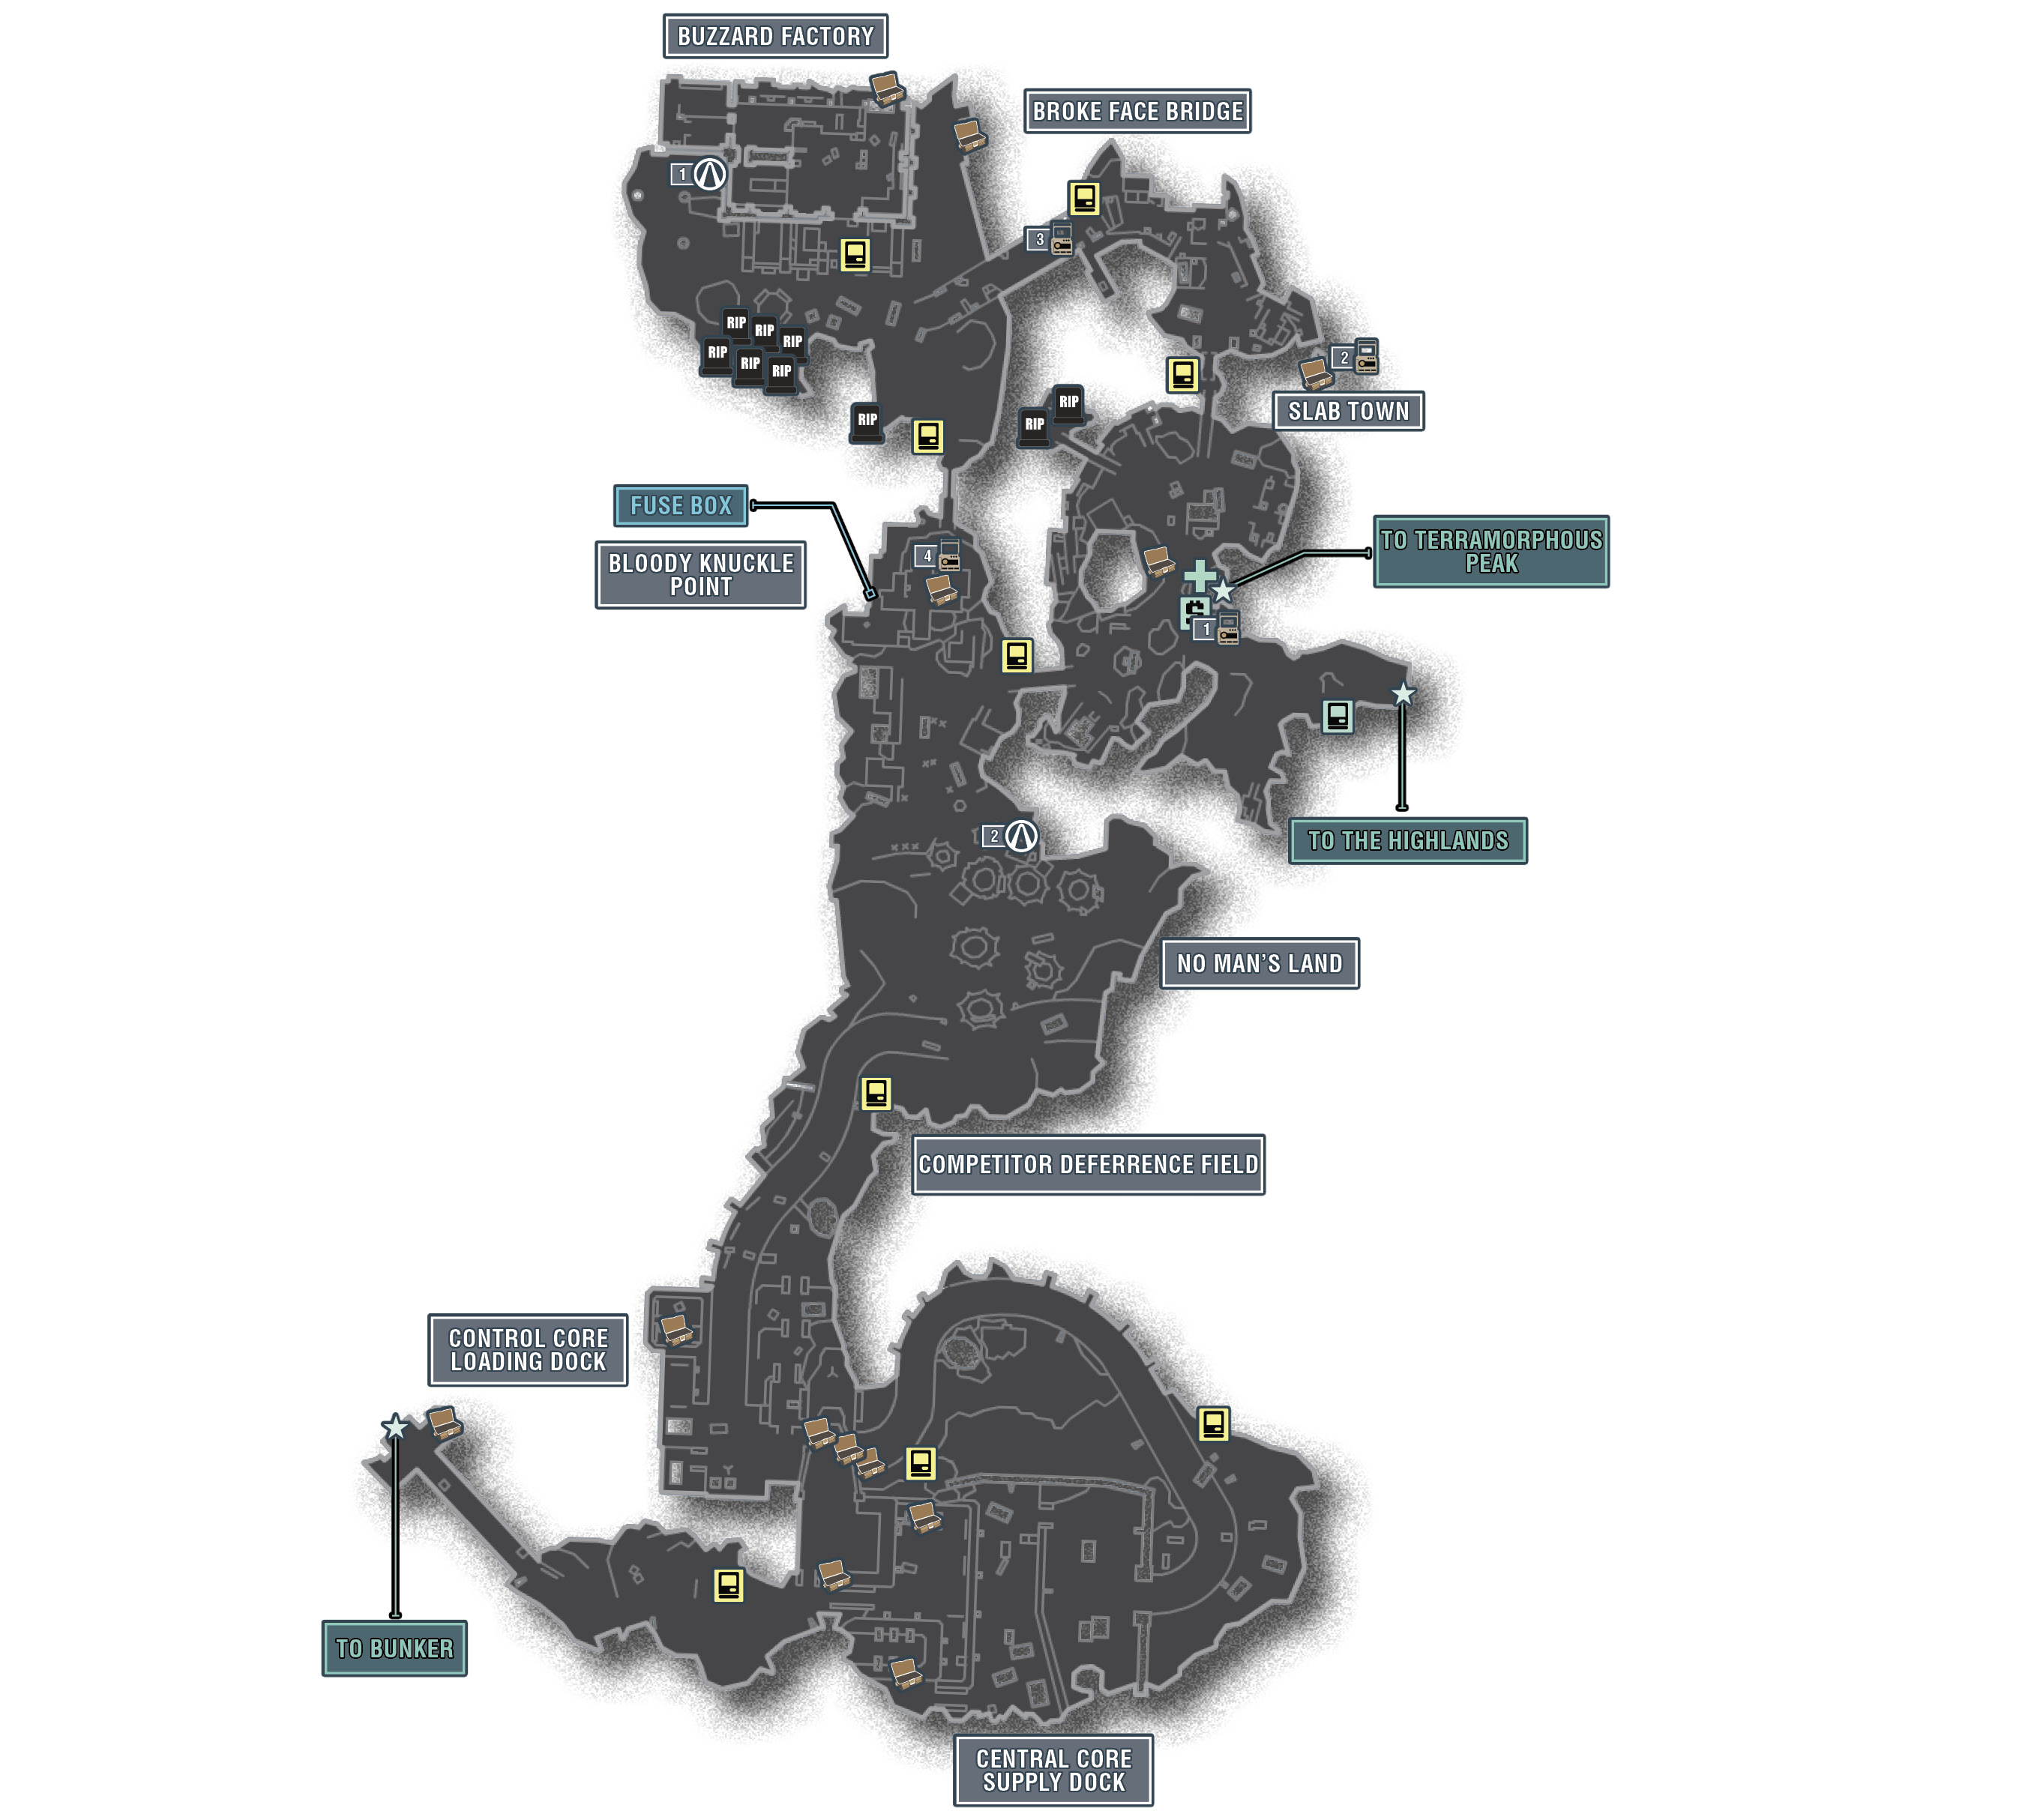
The Districts of Thousand Cuts
| Locale | Limited Access? | First Visit |
|---|---|---|
|
Slab Town |
No |
“The Once and Future Slab” story mission. |
|
Broke Face Bridge |
No |
“The Once and Future Slab” story mission. |
|
Buzzard Factory |
No |
“The Once and Future Slab” story mission. |
|
Bloody Knuckle Point |
No |
“Poetic License” optional mission. |
|
No Man’s Land |
No |
“Poetic License” optional mission. |
|
Competitor Deterrence Field |
Yes |
“Where Angels Fear to Tread” story mission. |
|
Control Core Loading Dock |
Yes |
“Where Angels Fear to Tread” story mission. |
|
Control Core Supply Depot |
Yes |
“Where Angels Fear to Tread” story mission. |
Dangerous Beasts
High Value Targets
| Enemy | Family |
|---|---|
|
— |
— |
 Cult of the Vault
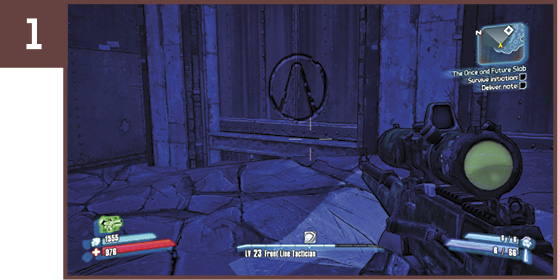
This Cult of the Vault symbol is located on the western side of the Buzzard Factory building. You can access it from the outside by looping around the building’s façade in a clockwise direction.
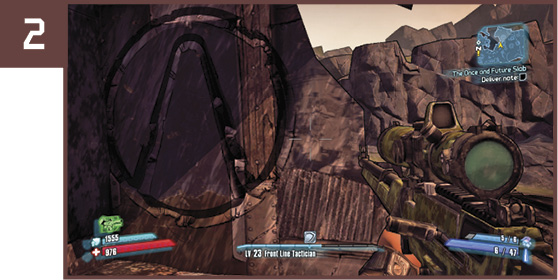
This symbol is on the upper level of a bombed-out house near the eastern cliff in the No Man’s Land area. You can reach it with a couple of careful jumps, but look carefully, as it can be difficult to spot depending on the time of day.
 Portrait of the Gunzerker as a Young Man
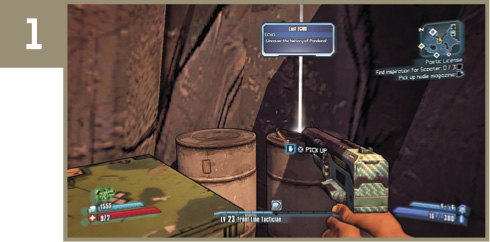
The first ECHO Recorder is atop a barrel on the wooden platform in Slab Town, around the right-hand side of the house near the vending machines.
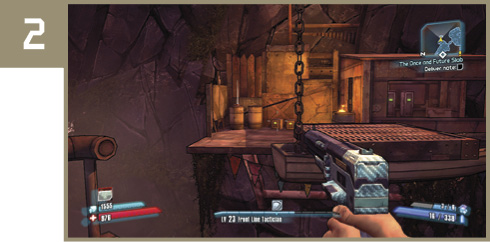
Head north through Slab Town to the second large island in the northeast corner. Make your way to the platform on the east side, and leap across to the suspended platform, then to the wooden balcony alongside the cliff.
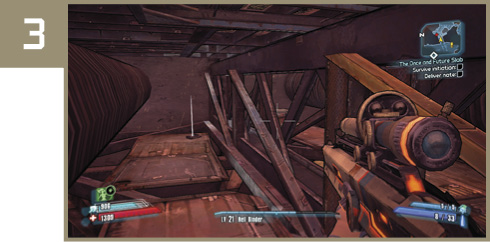
The third ECHO Recorder is under the main deck of Broke Face Bridge. Cross the bridge to the west, and drop beneath the upper decking via the gap. Follow the pipes under the bridge’s main surface back to the east to find it.
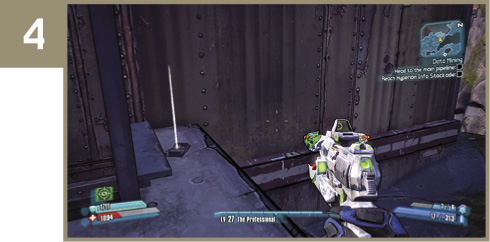
Cross the bridge from Buzzard Factory to Bloody Point Knuckle, and ride the lift on the west side of the building up. Loop around the exterior of the structure to find this final ECHO Recorder in the northeast corner.
 A Grave Matter
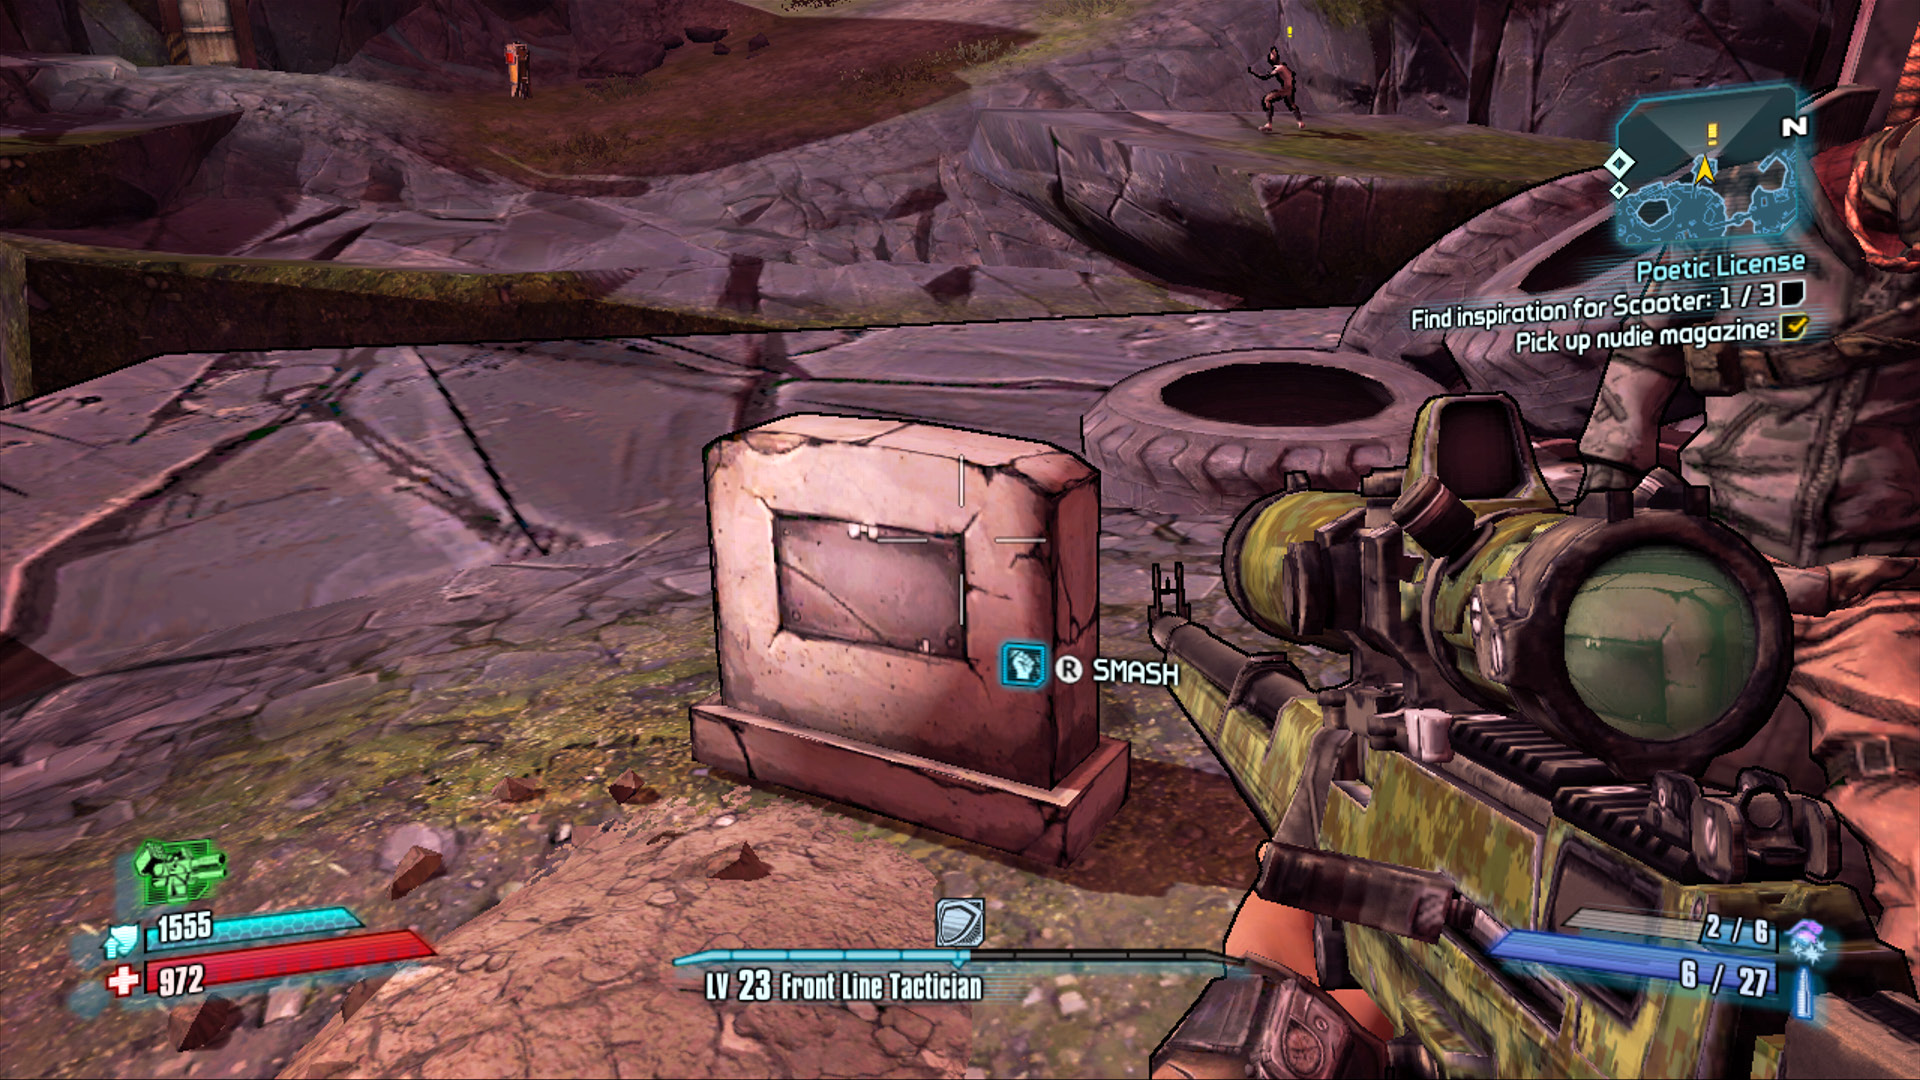
There are nine tombstones located throughout the greater Slab Town area, and you can gain an increase in Badass Rank for smashing all of them with melee strikes. Our map shows the location of all nine: two on a small island west of Slab Town, one on the very south end of the Buzzard Factory area, and six in a group closer to the Buzzard Factory. They are all accessible at any time.
Slab UHF
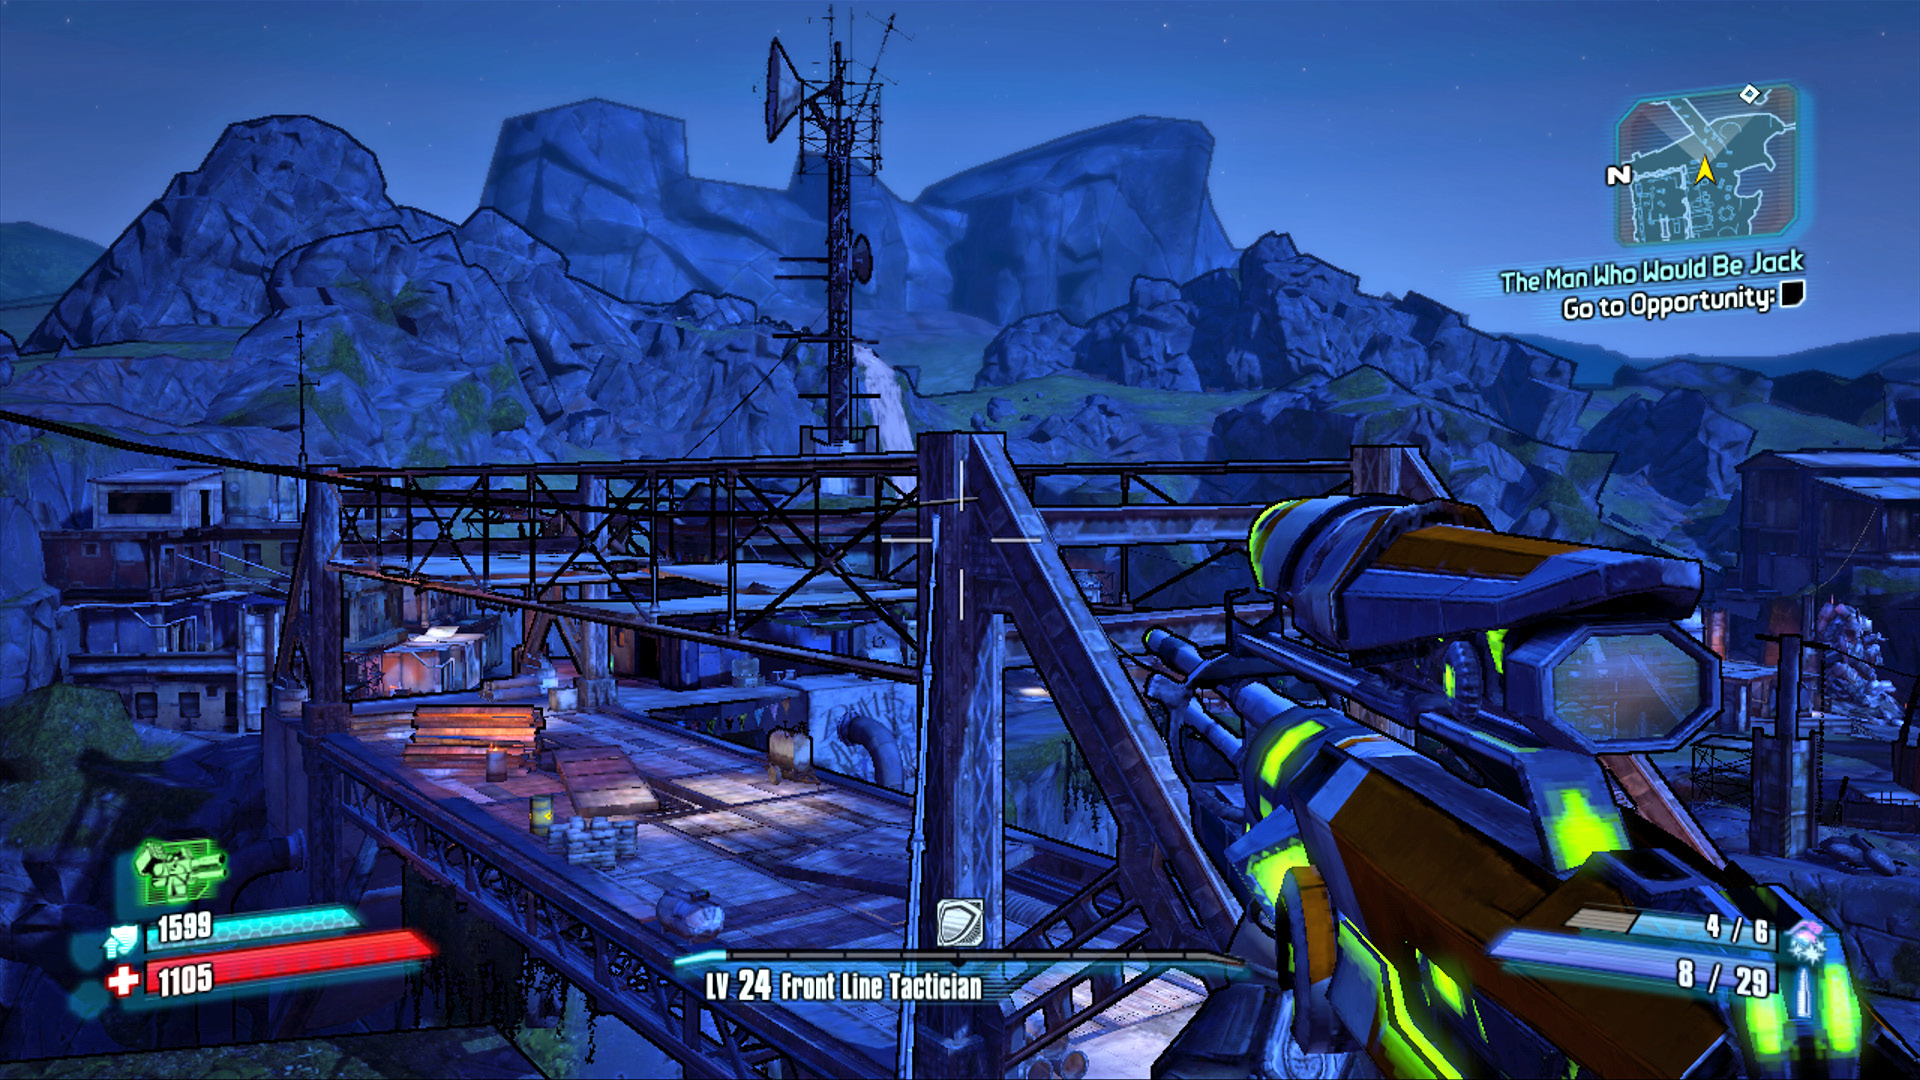
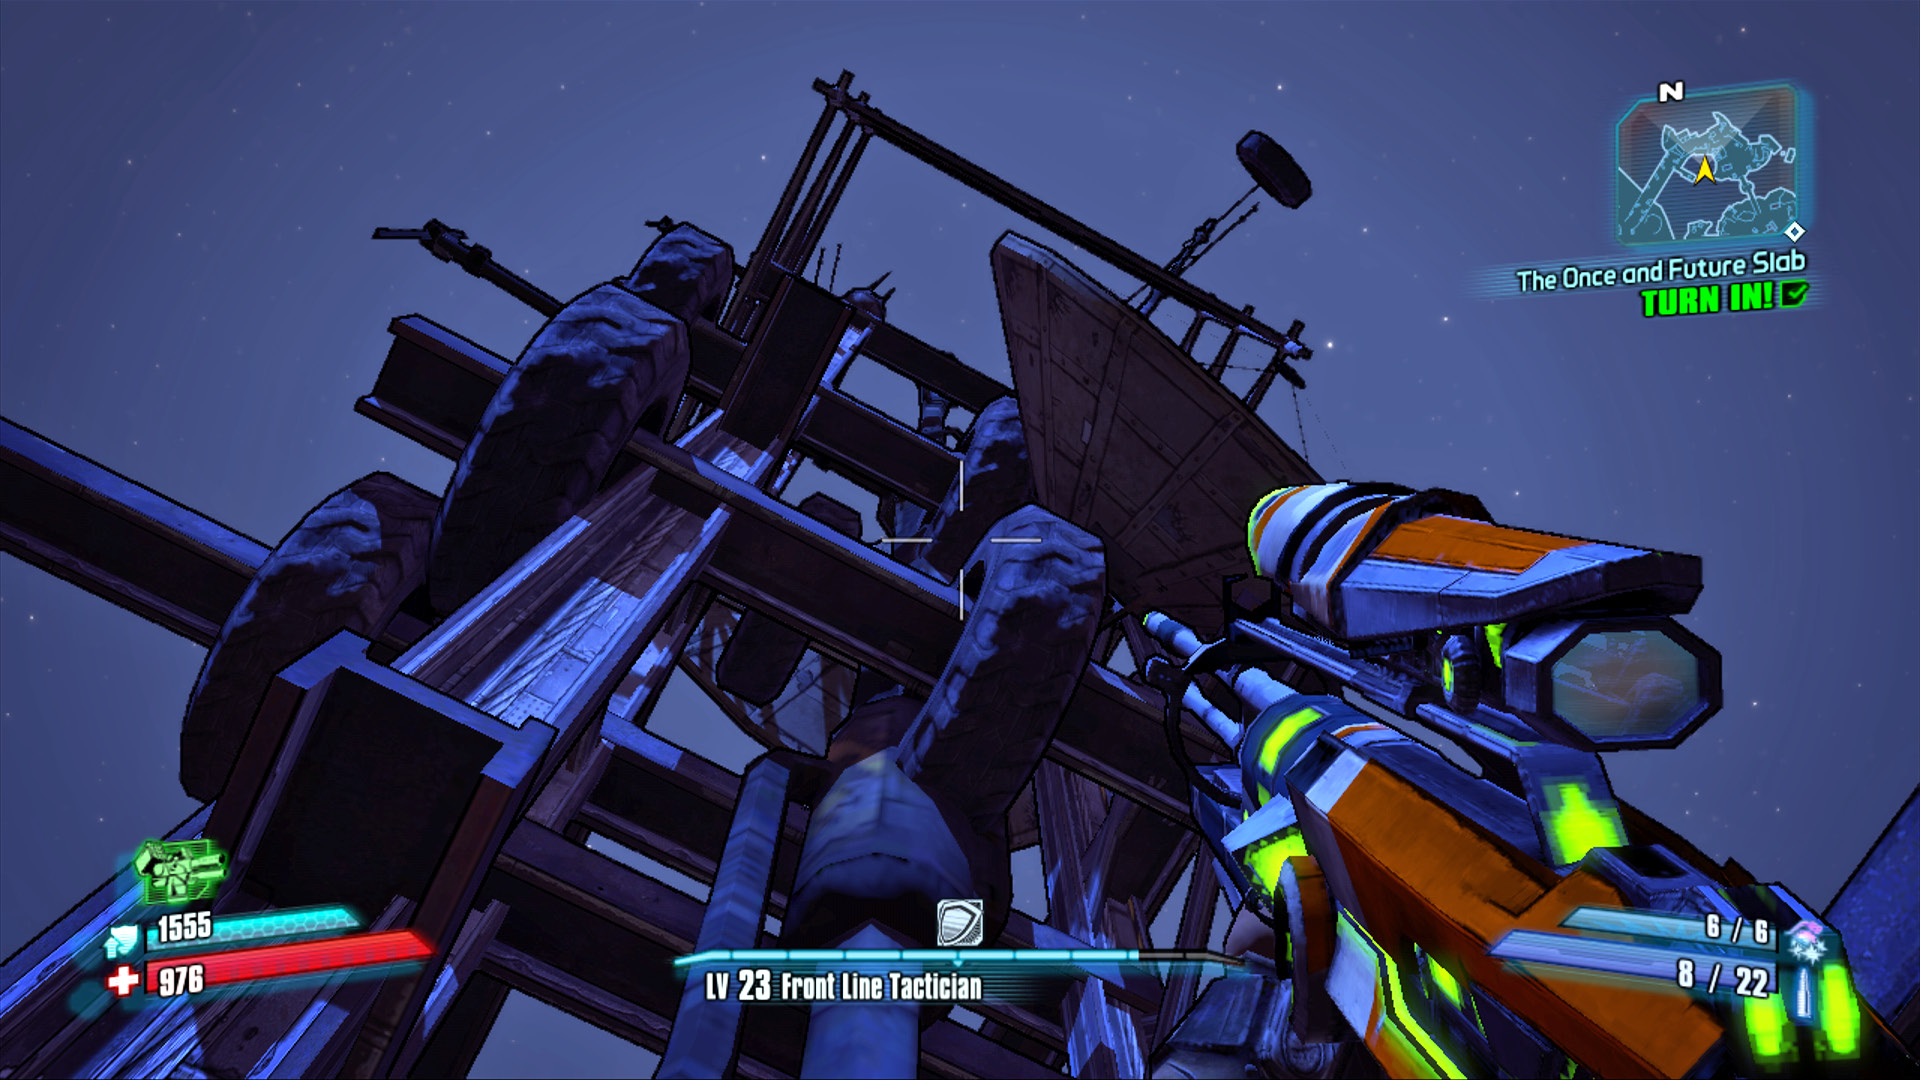
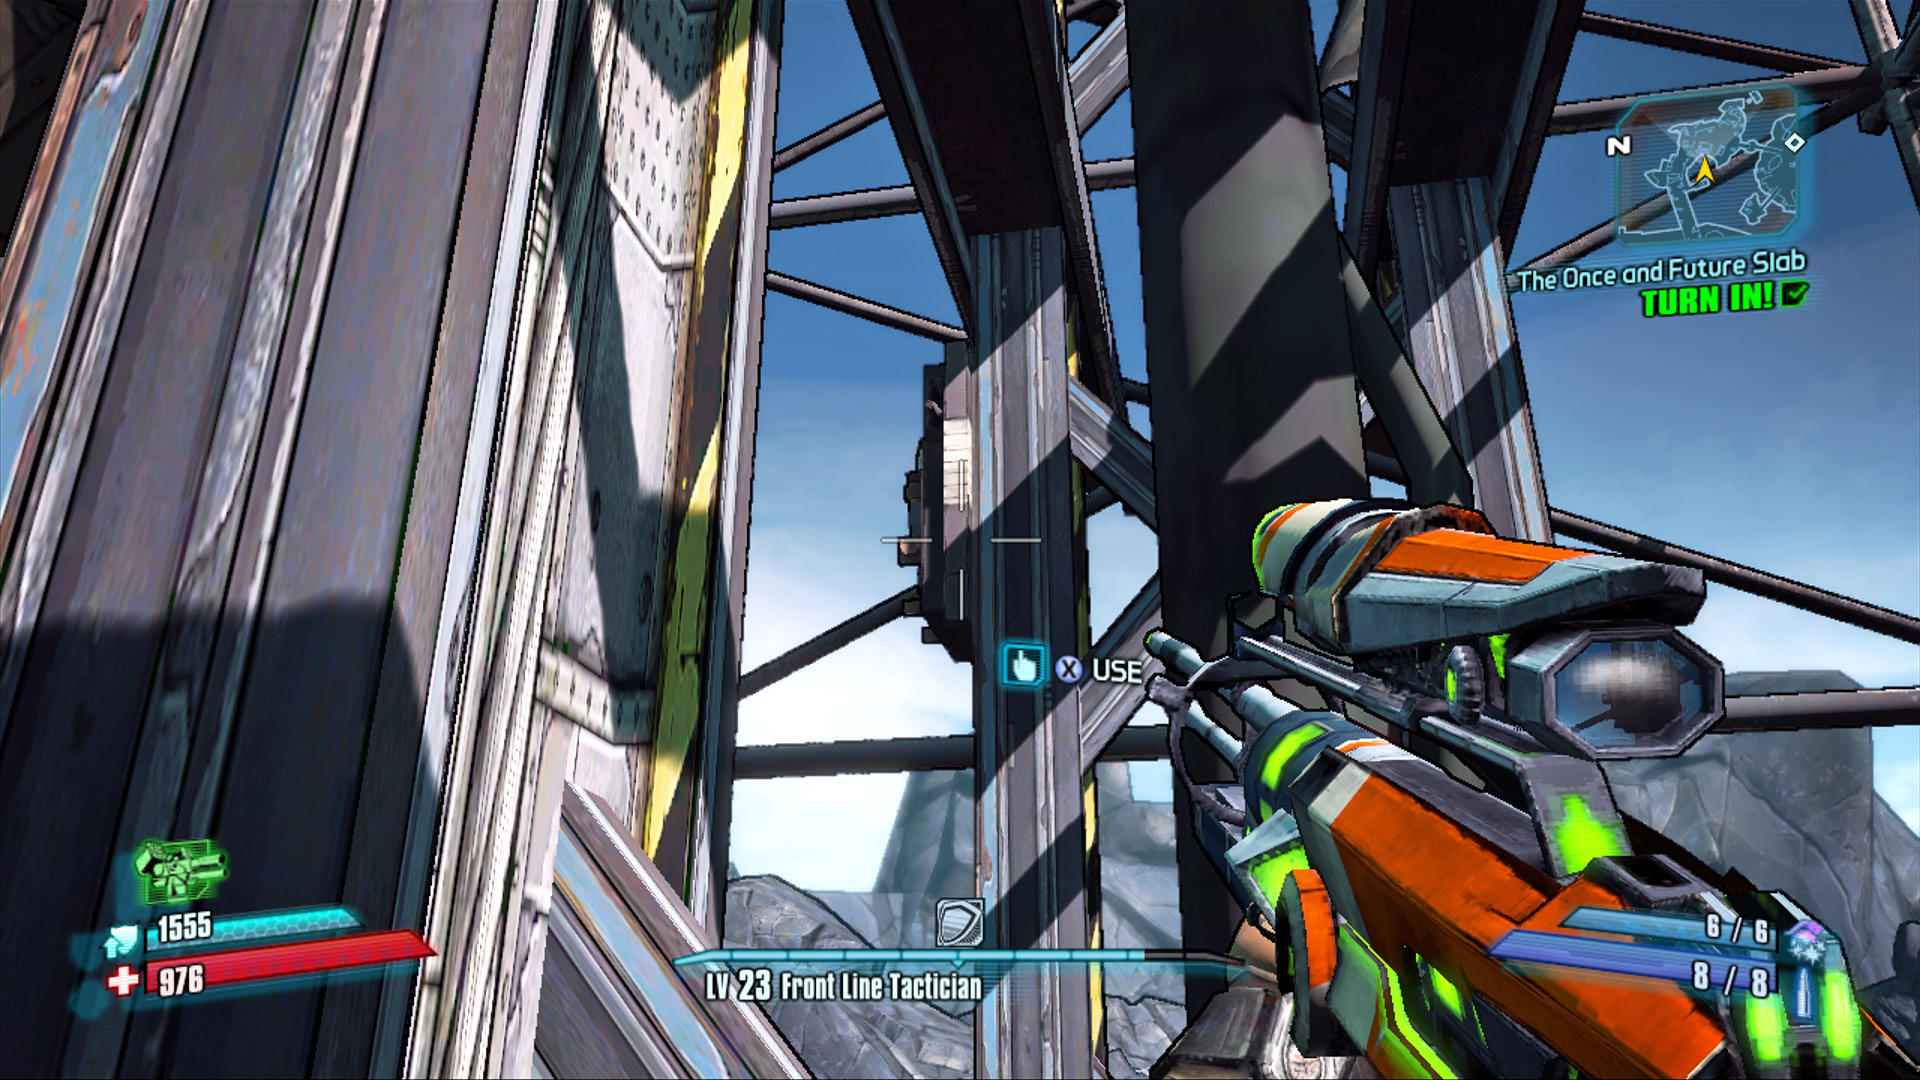
This Challenge is strictly for those with the skills—and patience—to attempt the game’s most difficult jumping puzzle. There’s a fuse box atop the large UHF radio tower in the north end of Slab Town, but it’s going to take pinpoint jumping to reach it (the fuse box is merely there to provide a goal for this Challenge; it doesn’t control anything). The first step to scaling the tower is reaching it: head to Buzzard Factory and proceed up the stairs to the second floor exterior balcony. Walk along the narrow cable leading to Broke Face Bridge, and tightrope across the top of the bridge to reach the base of the UHF tower.
Once at the tower, start your climb on the southeastern side by leaping onto the post sticking out of the ground. From there, you’ll be able to carefully jump to the beam sticking out the side of the tower. Beams such as this extend from the sides of the tower in a step-like fashion leading around the tower in a clockwise direction until they turn back the way you came near the top. The key to making these jumps is to always aim for the outer edge of the beam to avoid bumping any low-clearance objects near the tower’s structure. This is especially true when you’re trying to leap around a corner. Also, look for objects like tires and dishes that can give you a few extra inches in height or stop you from falling off the other side. Once you realize how to access the tower and begin the ascent, the hardest part is actually sticking each landing without falling back to the bottom. Take your time, remain calm, and allow muscle memory to take over. Jumps that seem nearly impossible at first eventually become second nature as you undergo the trial-and-error process of climbing this tower. Unfortunately, all this guide can do is show you the way; you’ve got to make the climb on your own. Good luck!