
Borderlands 2 Game of the Year Guide Walkthrough
Best Minion Ever
|
 Mission Briefing
| Level | Money | XP | Gear |
|---|---|---|---|
|
5 |
$15 |
724 |
- |
*Money and XP may vary based on player’s level at start of mission.
Escorting Claptrap
Talk to Claptrap, then escort him out of Liar’s Berg and down the slope to Gateway Harbor. He will point out the telescope on the cliff before continuing down the hill to a small group of bandits. Detonate the gas tank to set off a chain reaction of smaller explosions, killing most of the enemies in the area. One of these foes—a Marauder or Psycho—will drop an ECHO Recorder that initiates the “Handsome Jack Here!” optional mission.
Spot the small gap in the fence just beyond the New-U station and take a moment to scan the area beyond the pillars. Look for the barrels in the area and open fire on one of them whenever a Marauder gets within range. The explosion effectively signals an alarm to the Marauders and Psychos lurking inside the various houses. Shoot the other barrels in the area as the enemies emerge from their hiding places to make quick work of the situation. Stay near the entrance to the camp and use the Hyperion container and the main pillars that form the boundary for cover. Any Psychos present will likely charge your position, so make sure you’re not in a confined space when they attack—it’s best to back out of the camp and around the corner so you can focus on them without being shot by others.
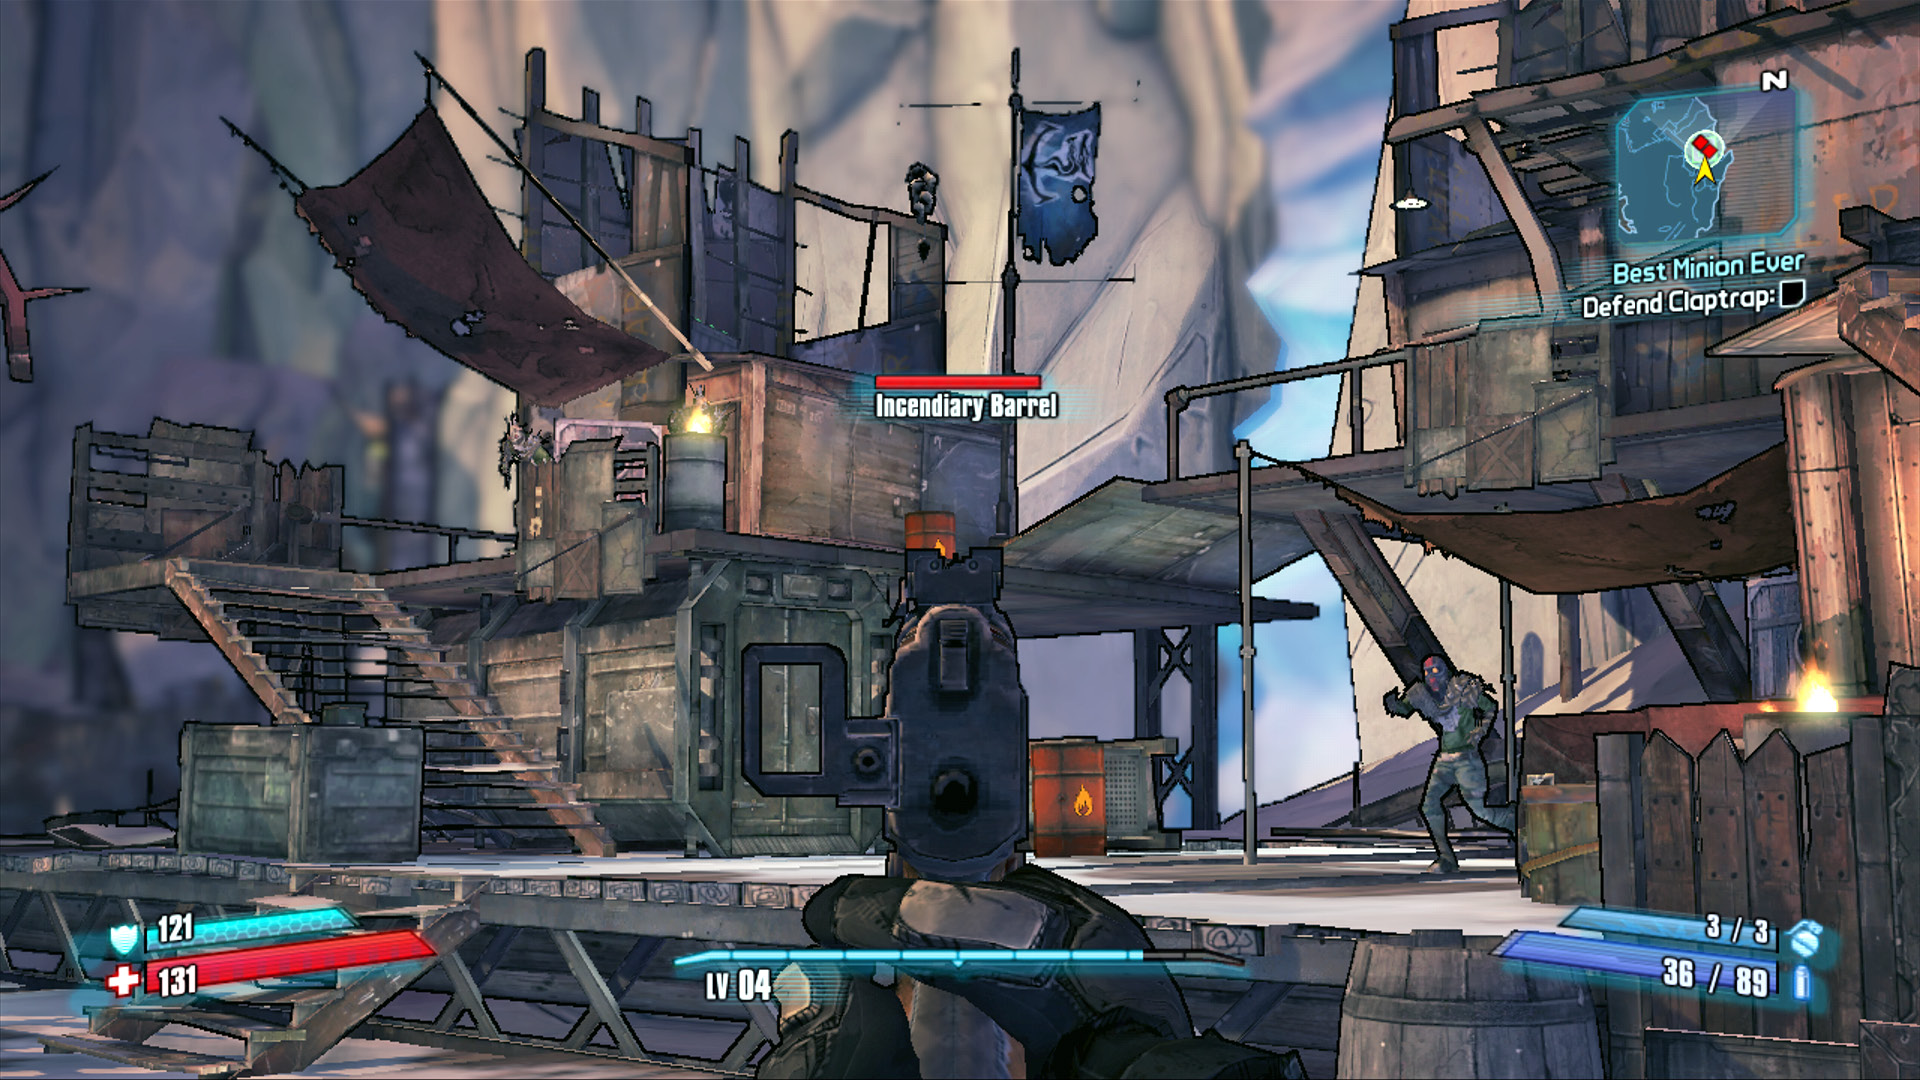
Use the elemental barrels to initiate the battle, then target the others when reinforcements exit the houses.
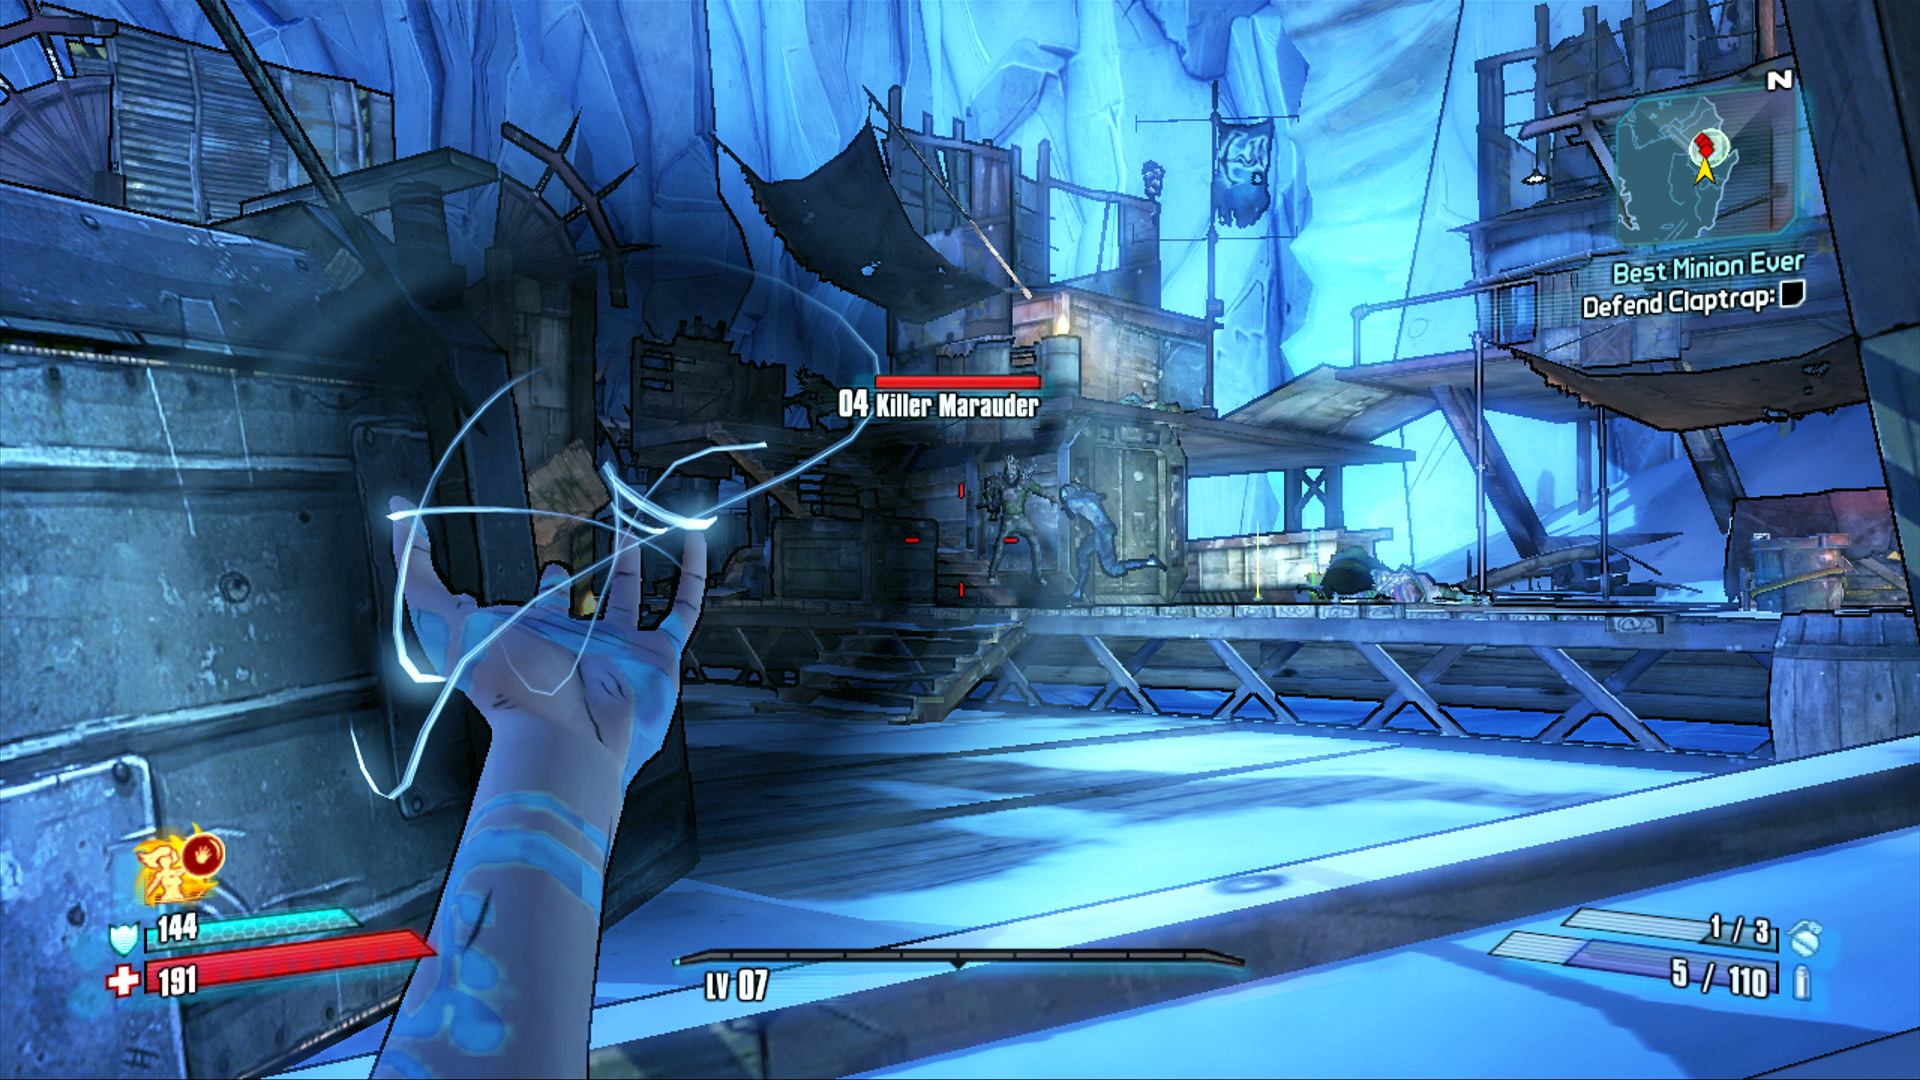
Get in the habit of using your Action Skill whenever tougher foes join the battle.
Collect the loot from the camp and find Claptrap near the drawbridge. Stick by his side just long enough so he begins to work the bridge controls, then quickly back away. A pair of Suicide Psychos attacks as soon as the second half of the bridge is lowered into position. You can shoot the grenades out of their raised hands, but this requires some expert aiming (and the grenades will still detonate). Consider lobbing a grenade of your own just as soon as the bridge slams into position. Cross the bridge and drop off the far side.
A lift on the far side of the drawbridge makes it possible to return the way you came, should the need arise. Gateway Harbor did have its share of bandits, but Claptrap has led you deeper into the lion’s den. The closer you get to his ship, the sooner it is to an inevitable showdown with Captain Flynt and his bloodthirsty crew. But first you need to get past his first mate…
Boom and Bewm
Boom’s Vitals
| Health Multiplier | Shield Level | DMG. Multiplier | XP Value | Crit. Areas | Weakness/Res. |
|---|---|---|---|---|---|
|
5 |
— |
1 |
Super Badass |
Head |
|
 /
/ 
Bewm’s Vitals
| Health Multiplier | Shield Level | DMG. Multiplier | XP Value | Crit. Areas | Weakness/Res. |
|---|---|---|---|---|---|
|
5 |
— |
1 |
Super Badass |
Head |
|
 /
/ 
The battle begins with Boom mounting the cannon he has so affectionately named Big Bertha. This massive weapon fires a two-shell burst that deals heavy damage across a moderately wide splash area. The only way to get Boom away from the cannon is to substantially damage—but not destroy—Big Bertha. Fire on Big Bertha until its health meter has just one-fourth of its initial health to flush Boom out of the gunner’s seat. When attacking Big Bertha, note that you must only aim at the very large gray cannon underneath Boom; you do not need to aim for Boom or any singular part of the cannon to damage it. Whether or not you should immediately focus on Big Bertha is up for debate…
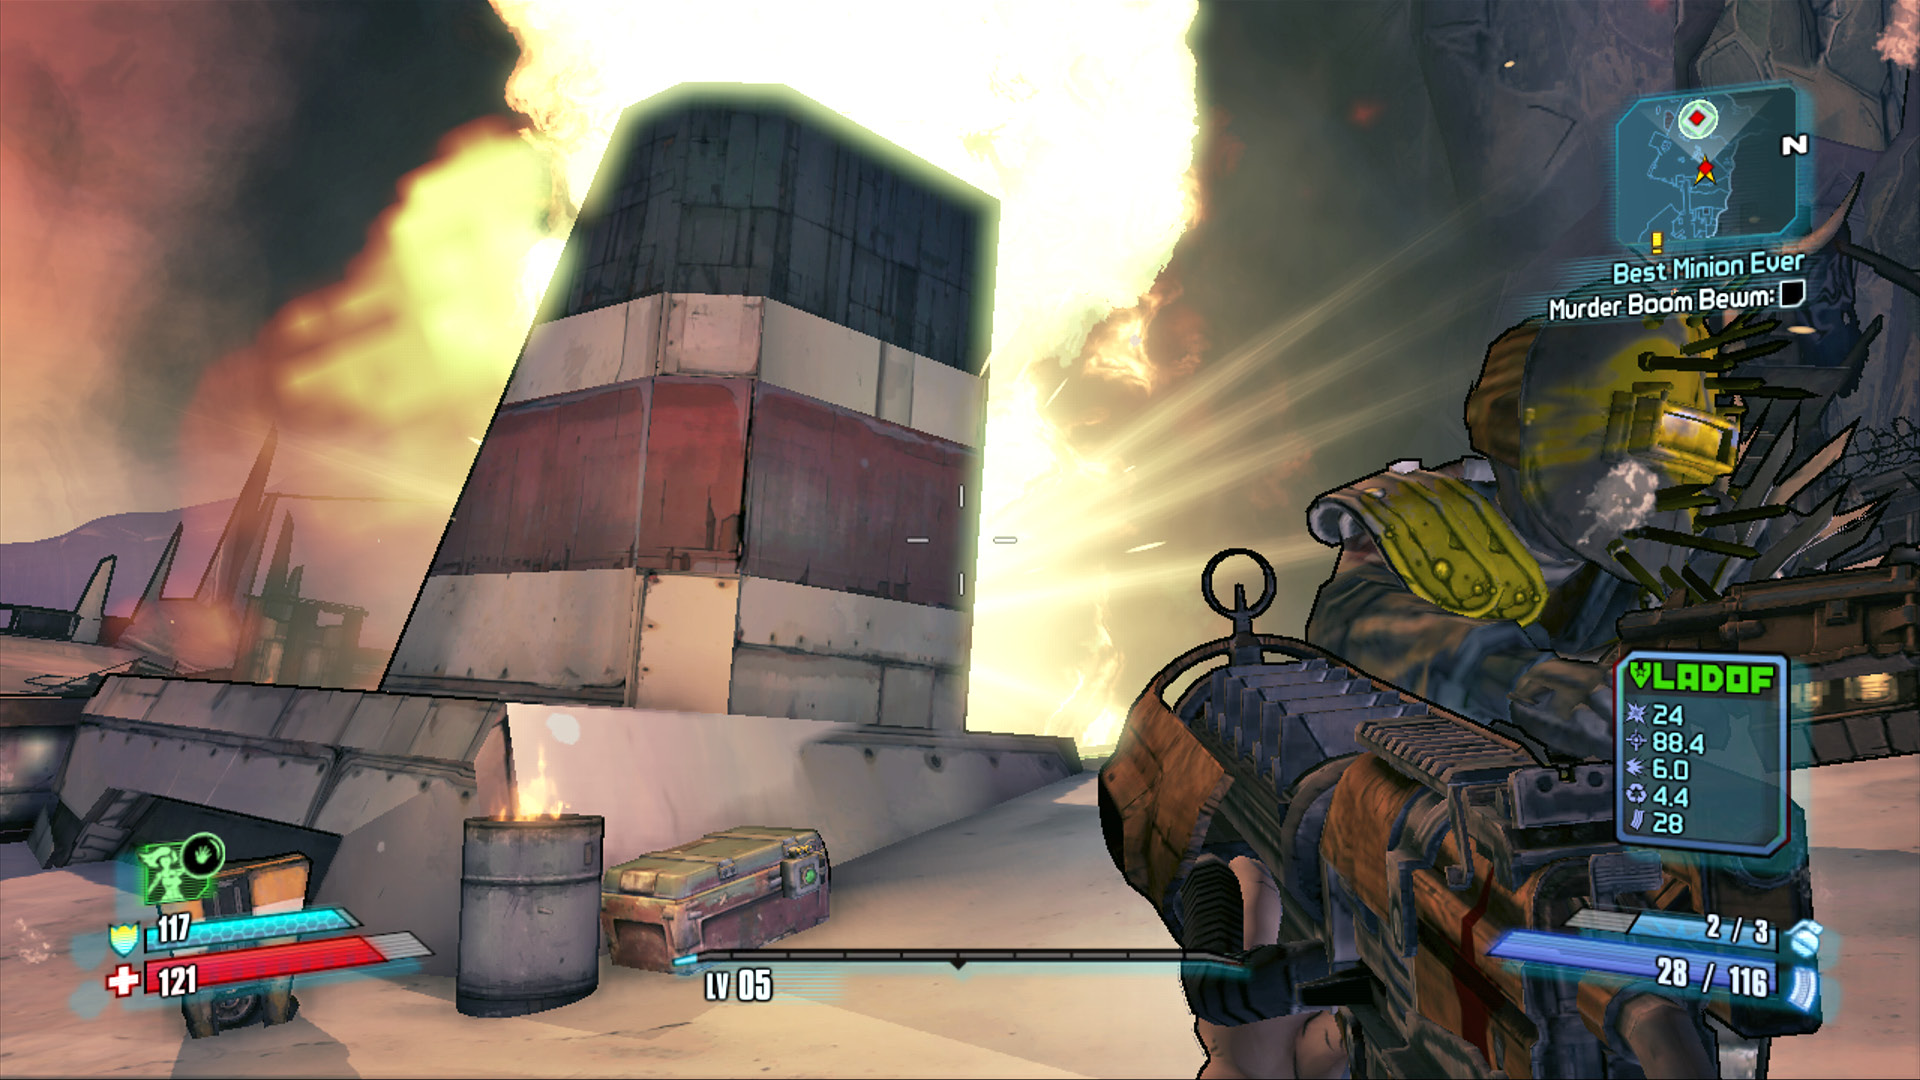
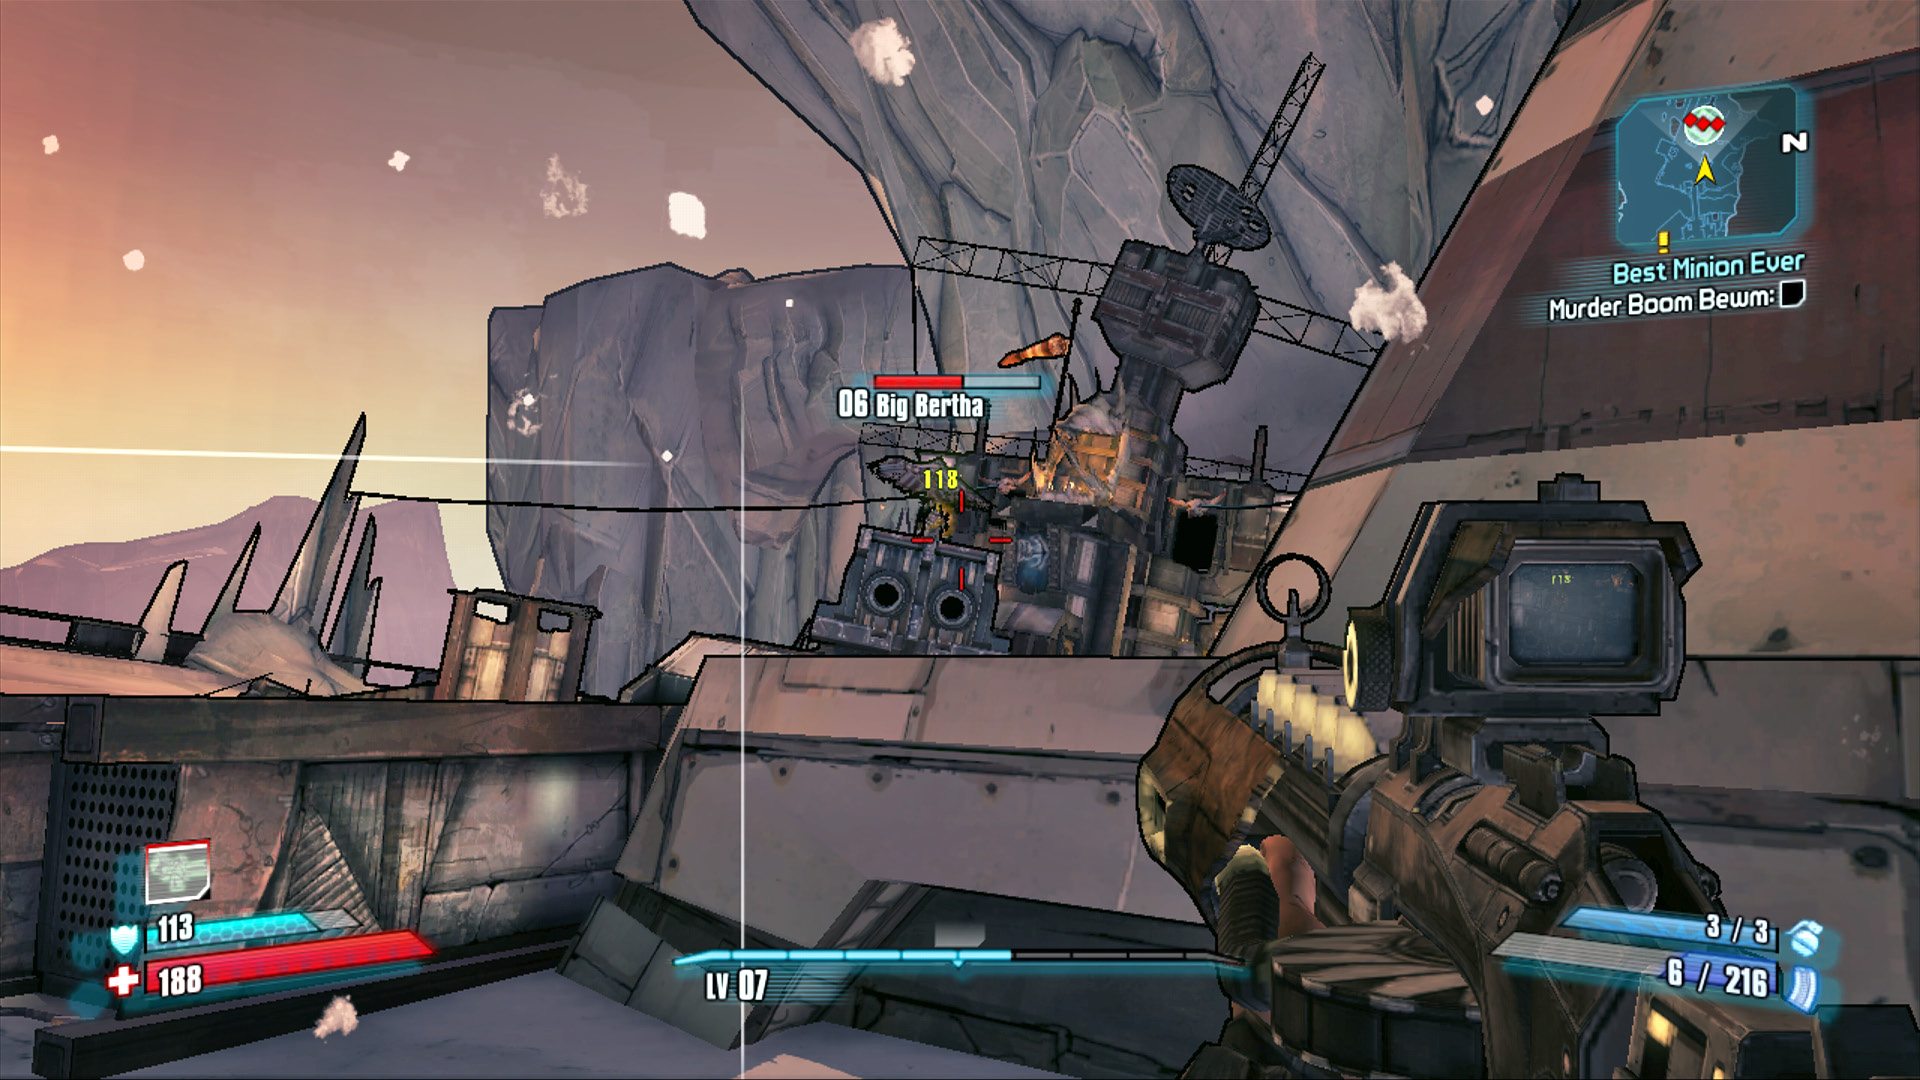
Big Bertha takes roughly five seconds to reload between firing in a two-round burst. These shells have no homing capabilities and, thanks to Big Bertha’s slow turning radius, can be easily avoided by strafing back and forth across the battlefield. Another option is to take cover behind the red and white fin sticking out of the snow nearby where you enter. Let the cannon’s shells explode against the metal barrier, then step out from cover and open fire on Big Bertha.
Boom’s brother, Bewm, a shotgun-toting Midget with a jetpack, is your only nearby threat when the battle begins. His shotgun packs such a punch that the recoil knocks him onto his back with each pull of the trigger. Suffice it to say, he’s not much of a threat so long as you manage to keep at least a few steps away from him. Killing Bewm isn’t particularly difficult, but his death causes an endless stream of Psychos to enter the battlefield. Whether or not you want to deal with those Psychos while Boom is still firing Big Bertha at you is largely dependent on the class you’re playing. For most classes, it’s wise to destroy Big Bertha first, then quickly eliminate Bewm. The Psychos that enter the fray give you something weak to kill should you need a Second Wind.
Once loose on the battlefield, Boom attacks primarily with a shotgun and by using his jetpack to move quickly around the area. Boom has considerable armor and a large health pool, so it can take some time to kill him if you’re wielding underpowered
guns (another reason it pays to complete optional missions as they become available). Though impressive in both flight and resiliency, Boom is mortal and has the same weaknesses as others who bleed: headshots.
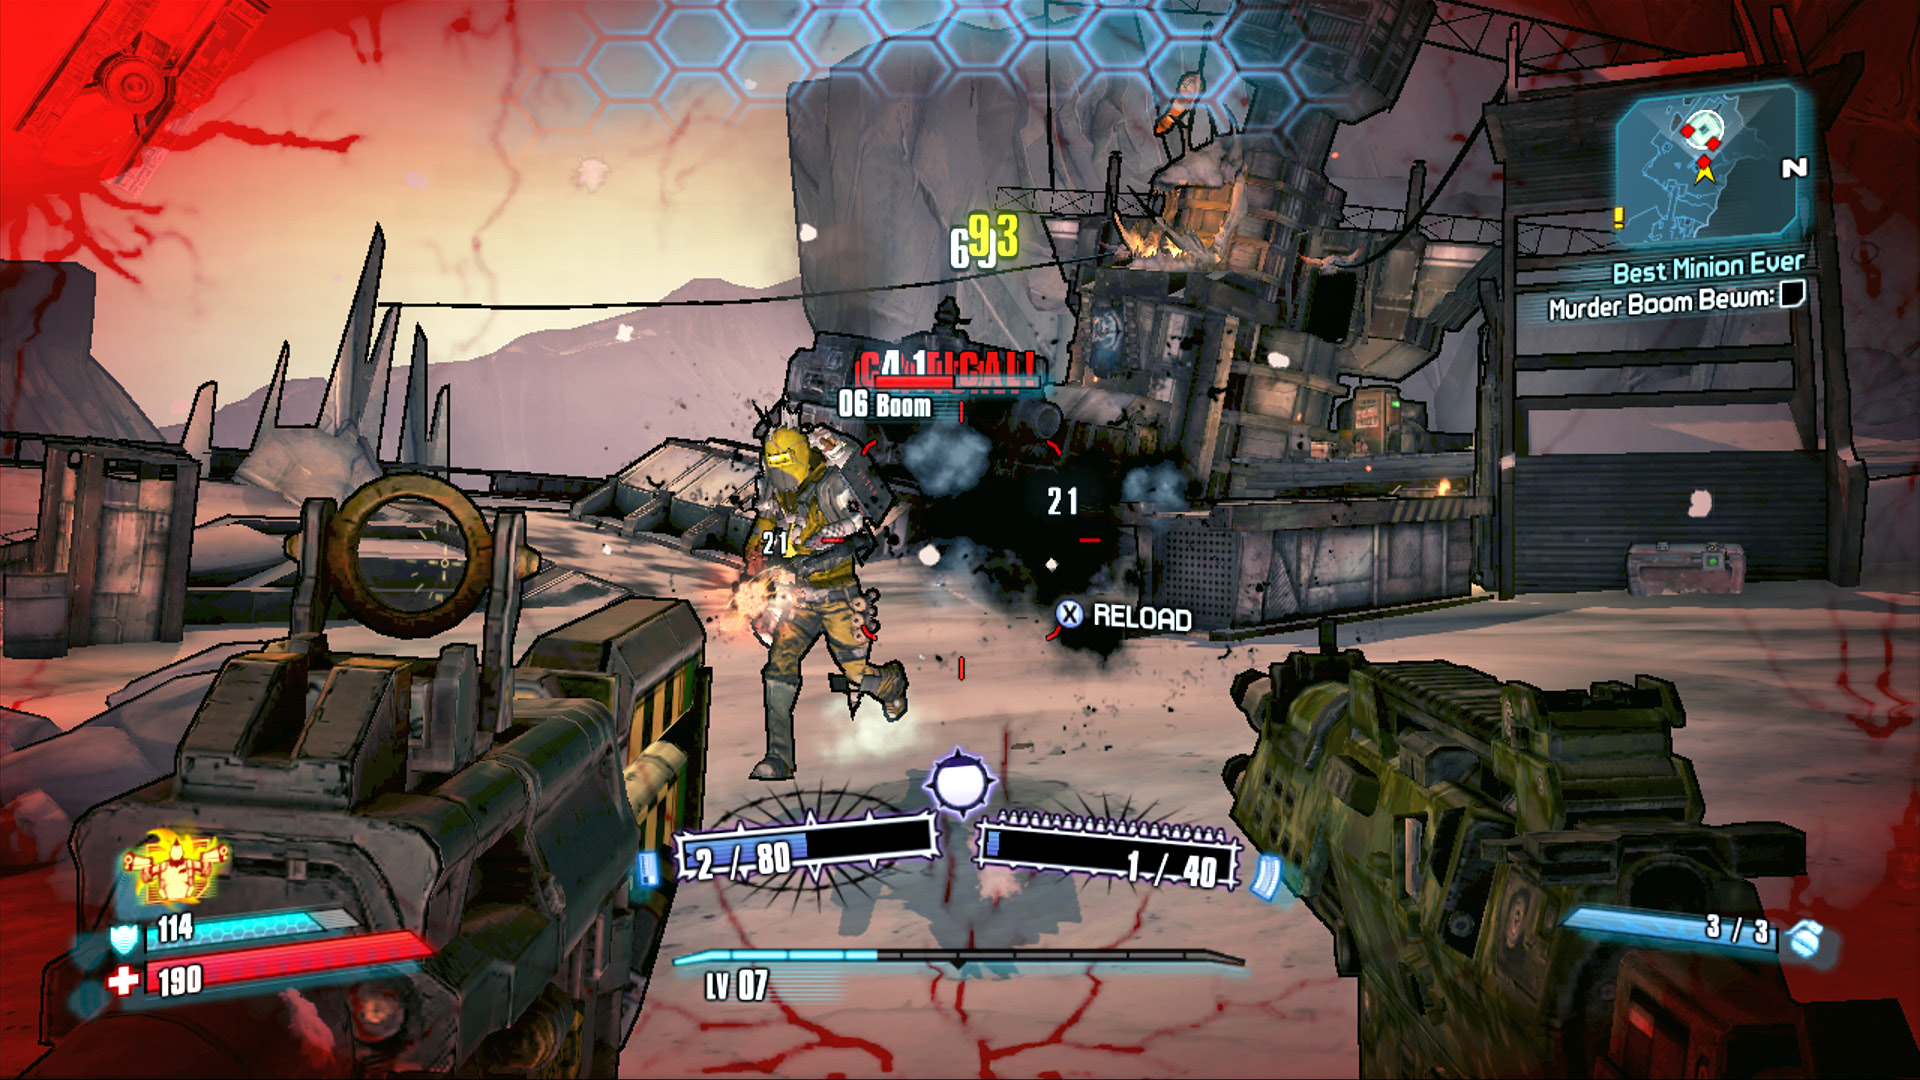
Consider the following techniques for completing “Make Boom Go Bewm” with each class:
Axton: Take cover behind the red and white fin and quickly kill Bewm. Deploy the Sabre Turret behind cover to fend off the Psychos so you can concentrate on Big Bertha and then, once the cannon is out of commission, Boom.
Maya: Use Phaselock to deliver large amounts of instantaneous heavy damage to Big Bertha while peppering Bewm with gunfire as needed. Flush Boom out of the cannon then Phaselock him, buying some time to finish off Bewm and/or deal with the Psychos.
Salvador: Focus your attacks on Big Bertha while resisting the urge to activate Gunzerker until Boom has been flushed from the cannon. With the cannon out of service, quickly turn and kill Bewm, then unleash Gunzerker to cut down Boom and any Psychos that attack.
Zero: Take cover from Big Bertha and use Deception to lure Bewm away from you. Wait until Deception has almost expired, then shoot Big Bertha for heavy damage. Kill Bewm and continue to use Deception to finish off Big Bertha and Boom.
The path leading beyond the Wreck of the Ice Sickle is gated shut. Fortunately, you didn’t completely destroy Boom’s cannon. Gather up the loot in the area, then follow Claptrap’s advice and climb into the gunner’s seat. Blast the gate with the cannon, then keep on firing at the dozen or so Psychos and Marauders that funnel through the open gate. They’ll attack in multiple waves that just so happen to coincide with the cannon’s reload speed. How convenient!
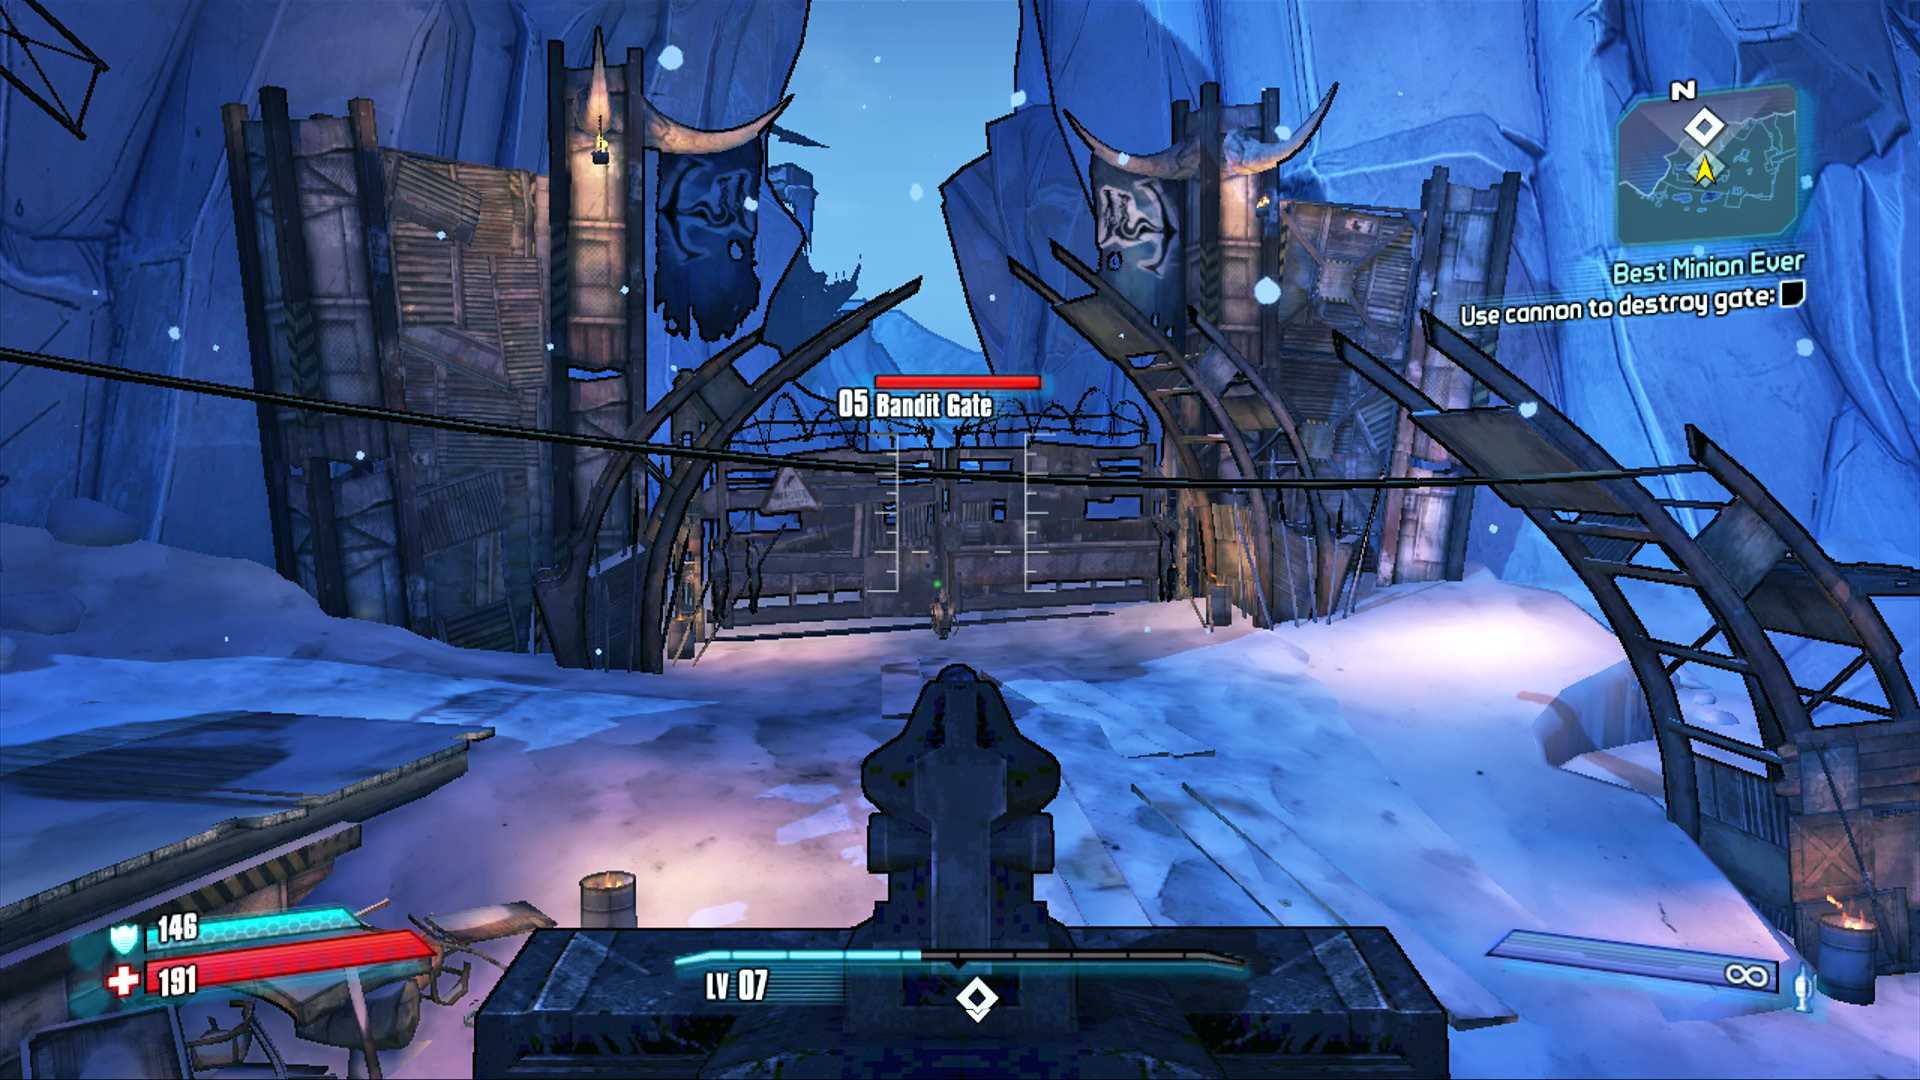
There’s no need to wait for Claptrap to give the all-clear—fire when ready!
Rescuing the “Master”
While it may have been fun to blast Claptrap with Big Bertha (okay, it definitely was) you’ve only served to launch him directly into the enemy stronghold. Now you must rescue him from serving as the honorary punching bag for Captain Flynt’s crew! Fortunately for him, you were headed in that direction anyway.
Take a moment to eliminate the bandits and Rakk near the yurt set up on the ice floe, then approach the large gate to the left. Have your Action Skill ready for deployment and put it to use the moment the gate opens, as several Killer Marauders are bound to attack. Advance slowly and fix your sights on the barrels up the hill beyond the gate. Sneak behind the buildings on the left, along the edge of the ice, to avoid walking straight up the main path into harm’s way. The Soaring Dragon area is crawling with all manner of human enemies and it pays to seek out spots where you can’t be surrounded. Sticking to the far-left edge allows you to get the drop on the next wave of enemies, located shortly beyond the second elemental barrel. Loot the contents of the chest on the left, just before reaching the ladder.
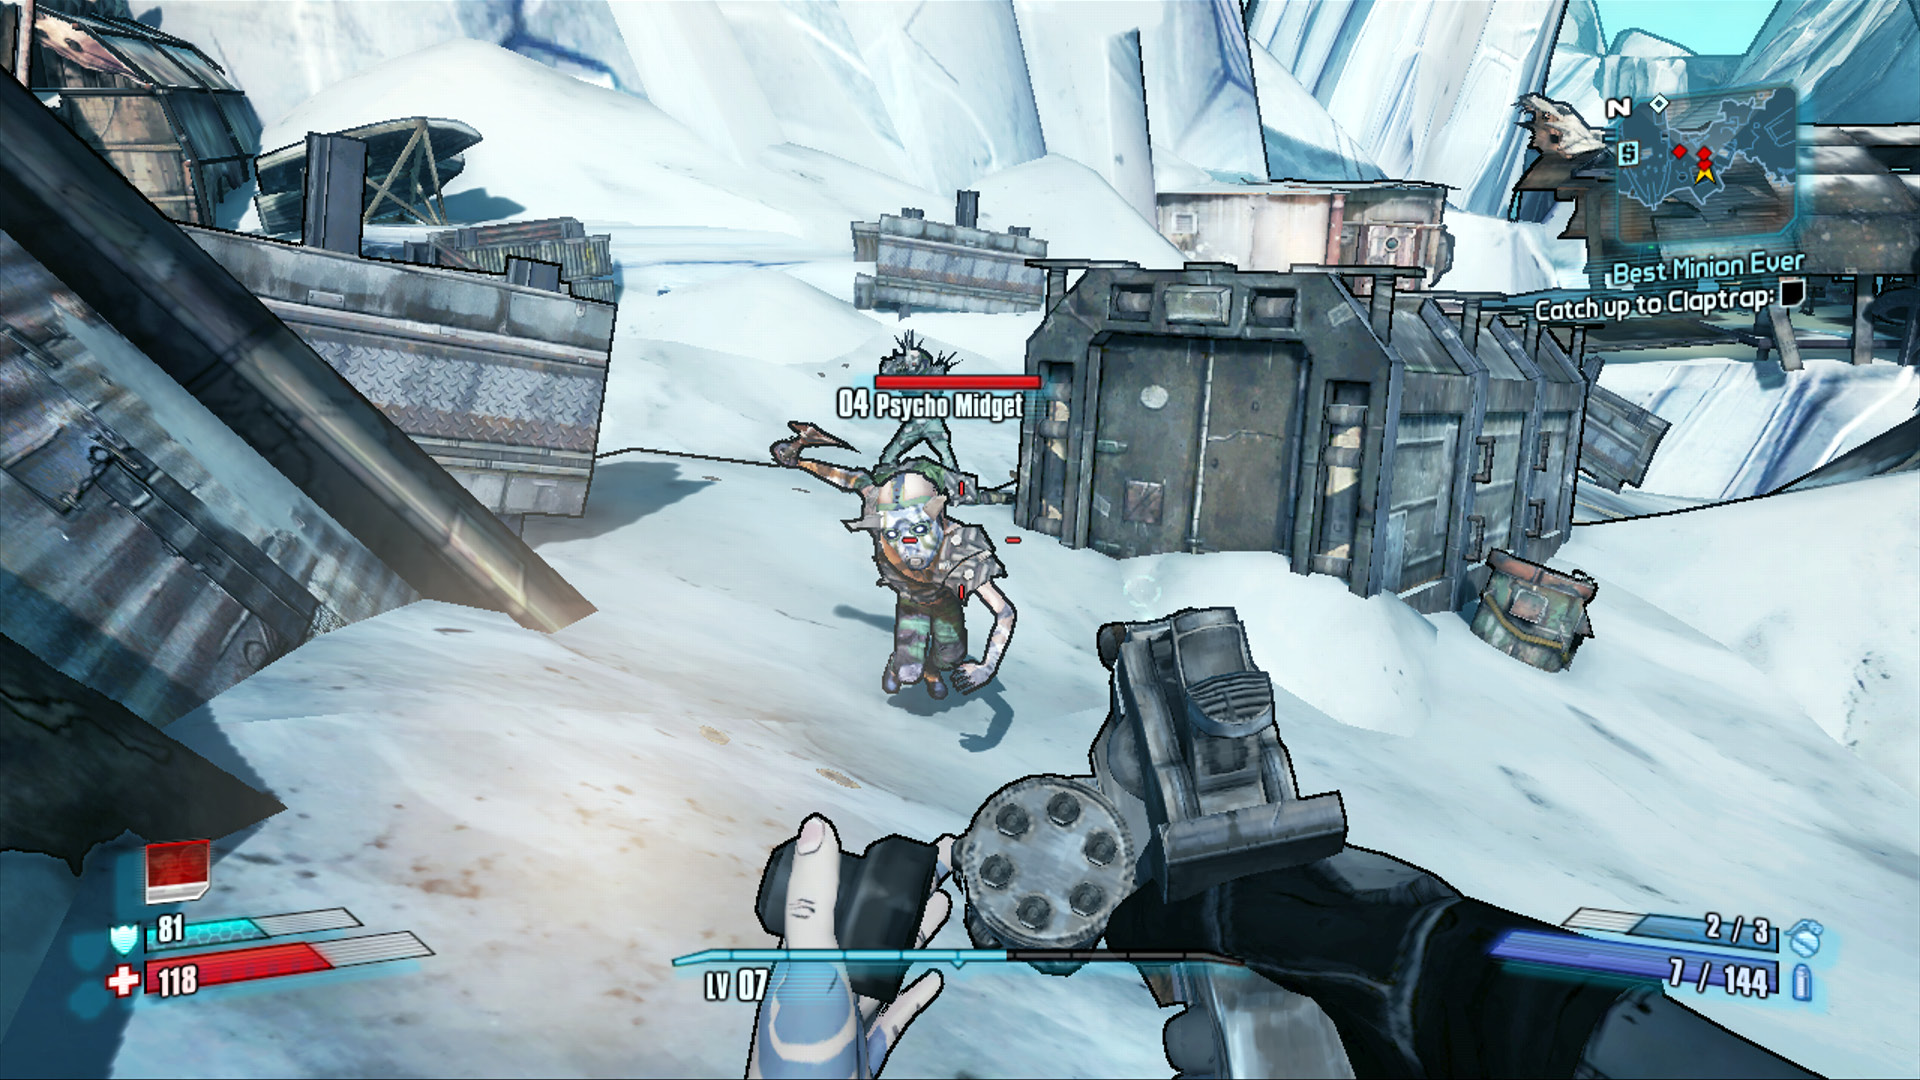
By hugging the left-hand edge of the path leading north, you eliminate any chance of being surrounded.
Climb the ladder and put your Action Skill to use to quickly gain the upper hand on the enemies guarding the main path near the open gate. This is the perfect spot to use a bit of cunning to draw enemy attention to one position and attack from another. If playing as Axton, consider lobbing your Sabre Turret down onto the ground near the gate while firing from above. Similarly, if you have a human ally playing alongside you, this is a great spot to divide and conquer!
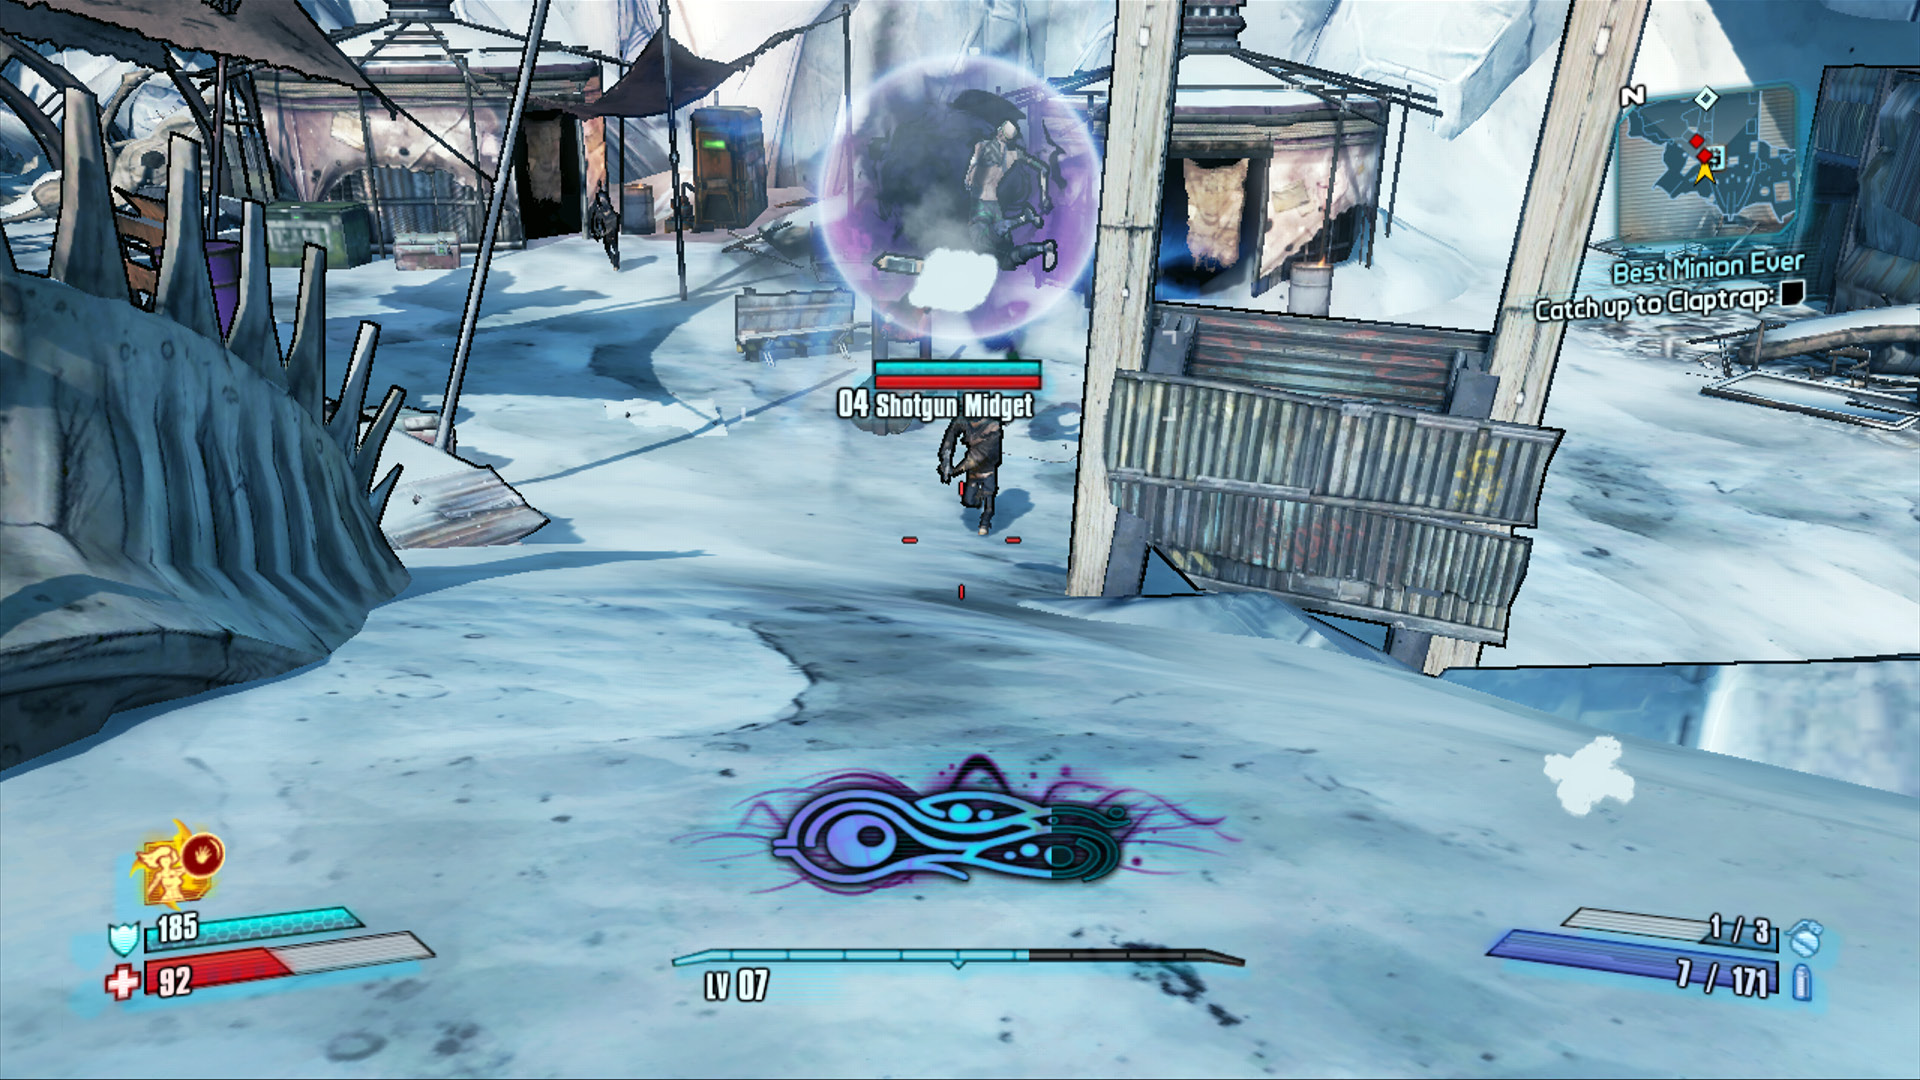
Climb the ladder to gain an elevated advantage over the enemies beyond the gate!
Continue under the overhanging ice past the New-U Station and scour the area for lootable containers as you make your way to the supplies banner. Target the barrel on the deck beyond the tent and wait for the two enemies to exit the house before considering the area secure. Although an Explosive Barrel will just kill the enemy patrolling the deck, an Incendiary Barrel will burn long enough to also destroy the reinforcements as they come to aid their brother-in-arms.
Sell off all those unwanted guns you’re undoubtedly carrying and see if Dr. Zed’s vending machine has a better shield for you. Numerous enemies are gathered around the campfire just beyond the overhead walkway up ahead. Take cover under the bridge while you dispatch the opposition on the lower level, then loop up the slope on the far left side of the bridge and eliminate the remaining foes from the cover above the ramp.
By now, the sounds of Claptrap’s pleas for restraint will be all too clear. Continue around the northern end of the area to where three of Flynt’s thugs are beating on Claptrap. Take them out, then regroup with Claptrap to continue on together.
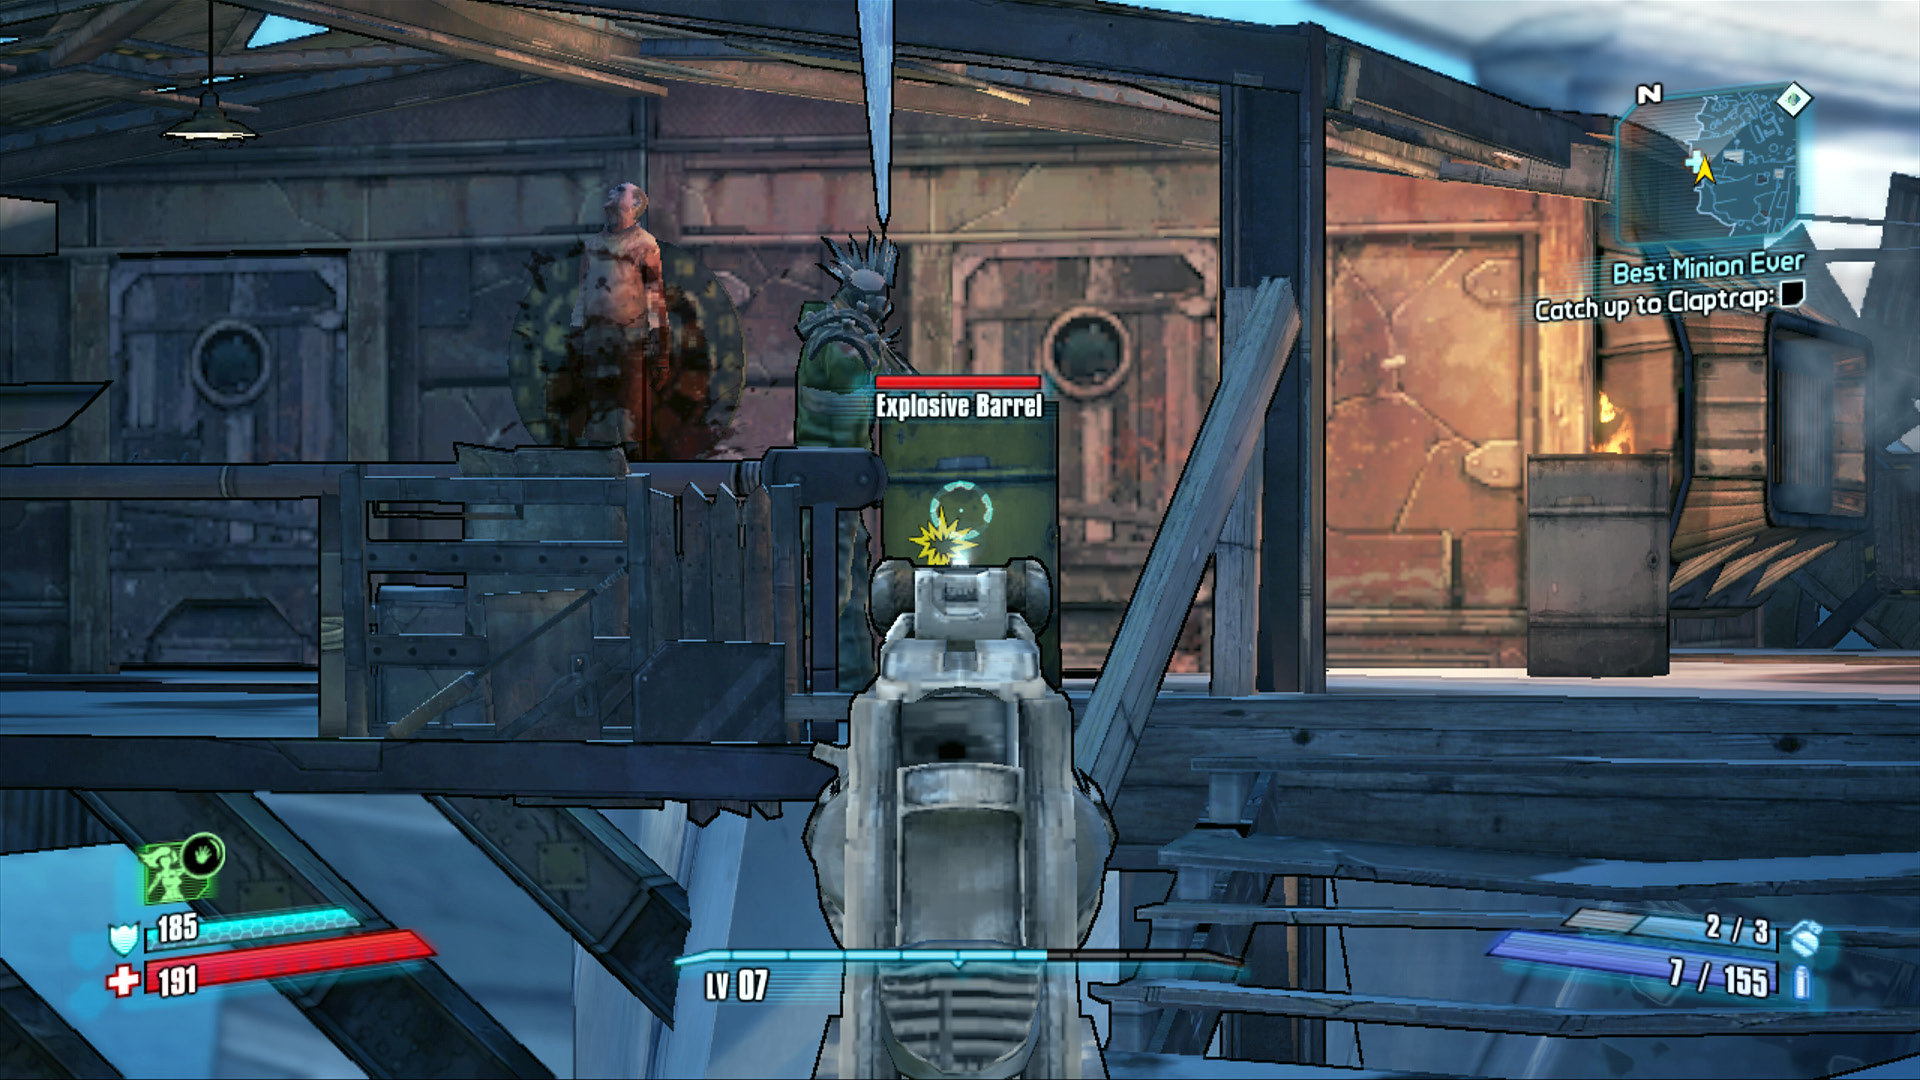
The enemy patrolling near the barrel isn’t alone; he’s got a couple of buddies inside the house, too!
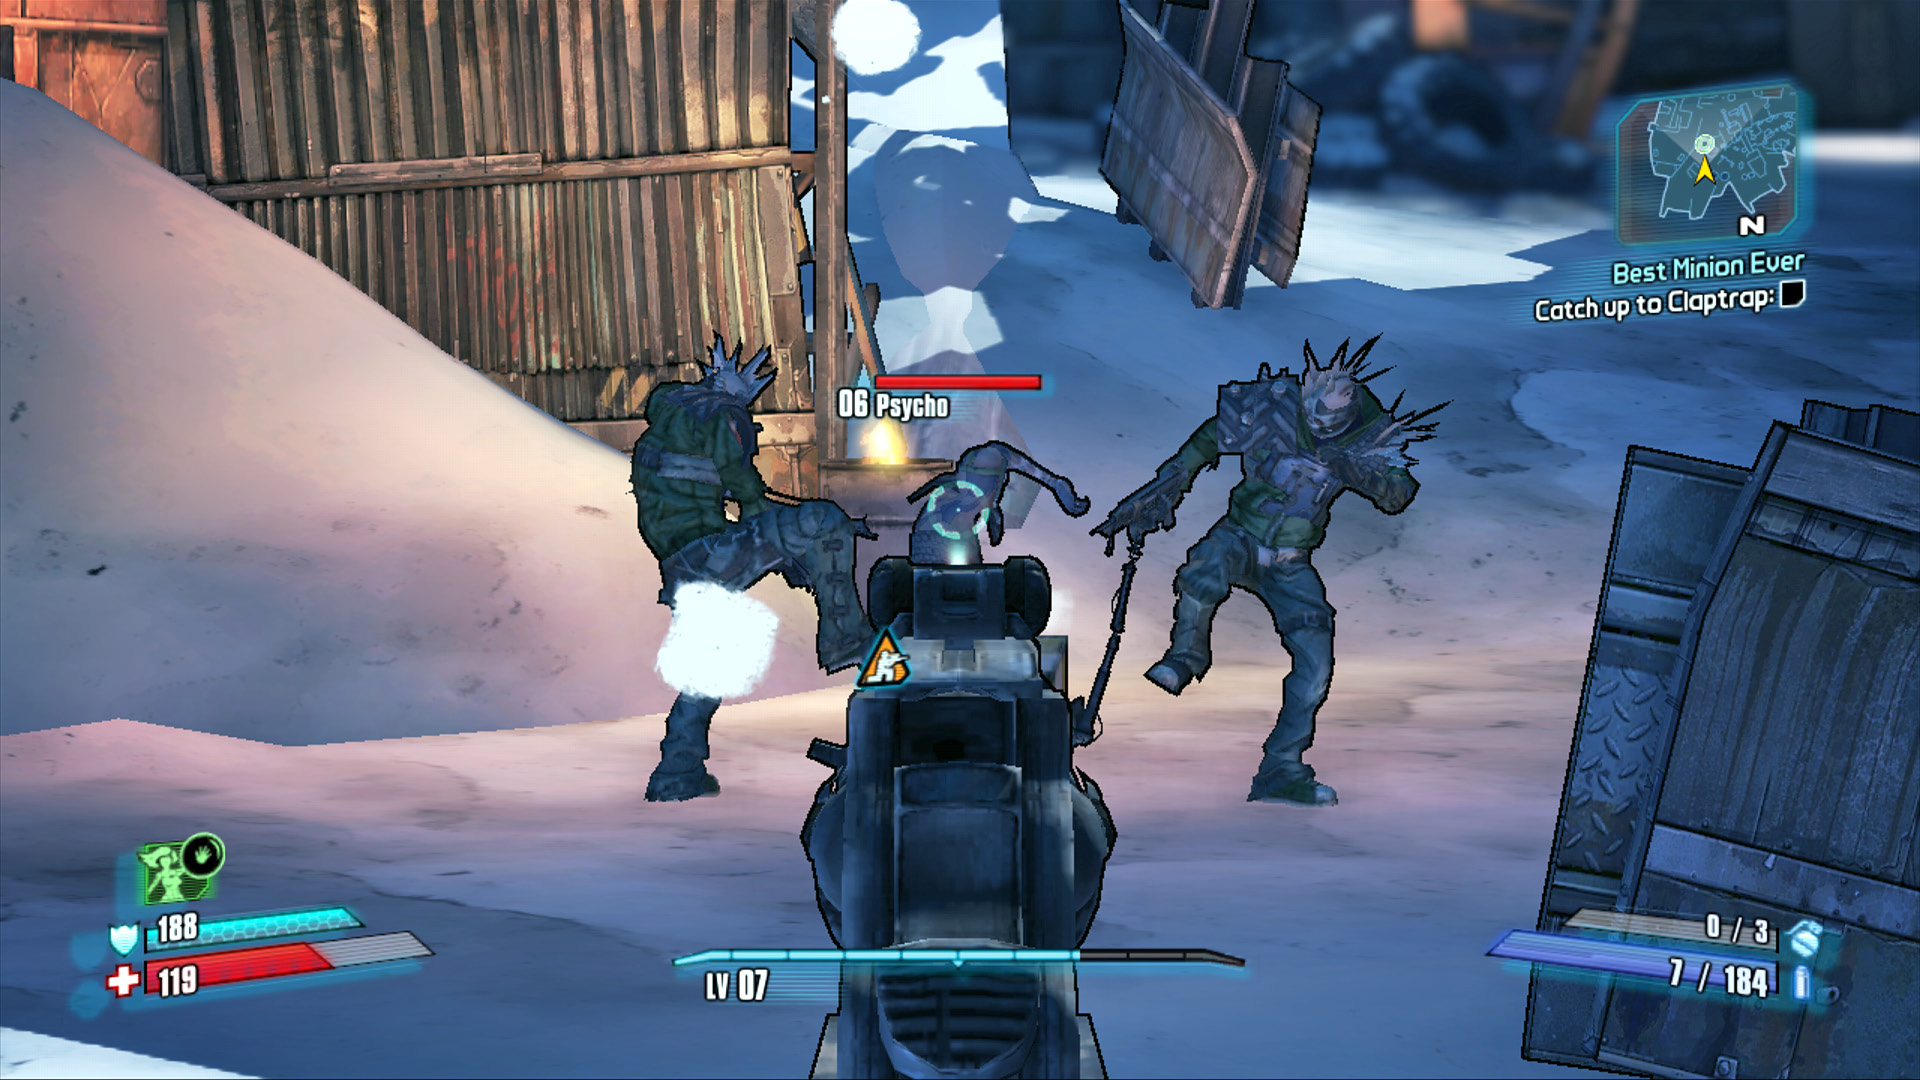
It’s time to show those thugs how dangerous a Minion you can be!
Minion! Ascend!
Claptrap is more than happy to show you the way to Flynt, just as soon as you defend him against the mass of Marauders and Psychos lying in wait near the campfire up ahead. Claptrap will run and hide—there’s no need to worry about him (not that you would anyway). Quickly take cover around the corner behind one of the huts and eliminate any Psychos or Midgets that charge your position. The main threat typically comes from the enemies on the elevated walkway beyond the campfire. Stick behind taller cover until all of the ground-based enemies have been eliminated. Take aim on the elemental barrels on the upper walkway and stairs to kill those you can and bounce a grenade or two off the walls to hit those behind cover.
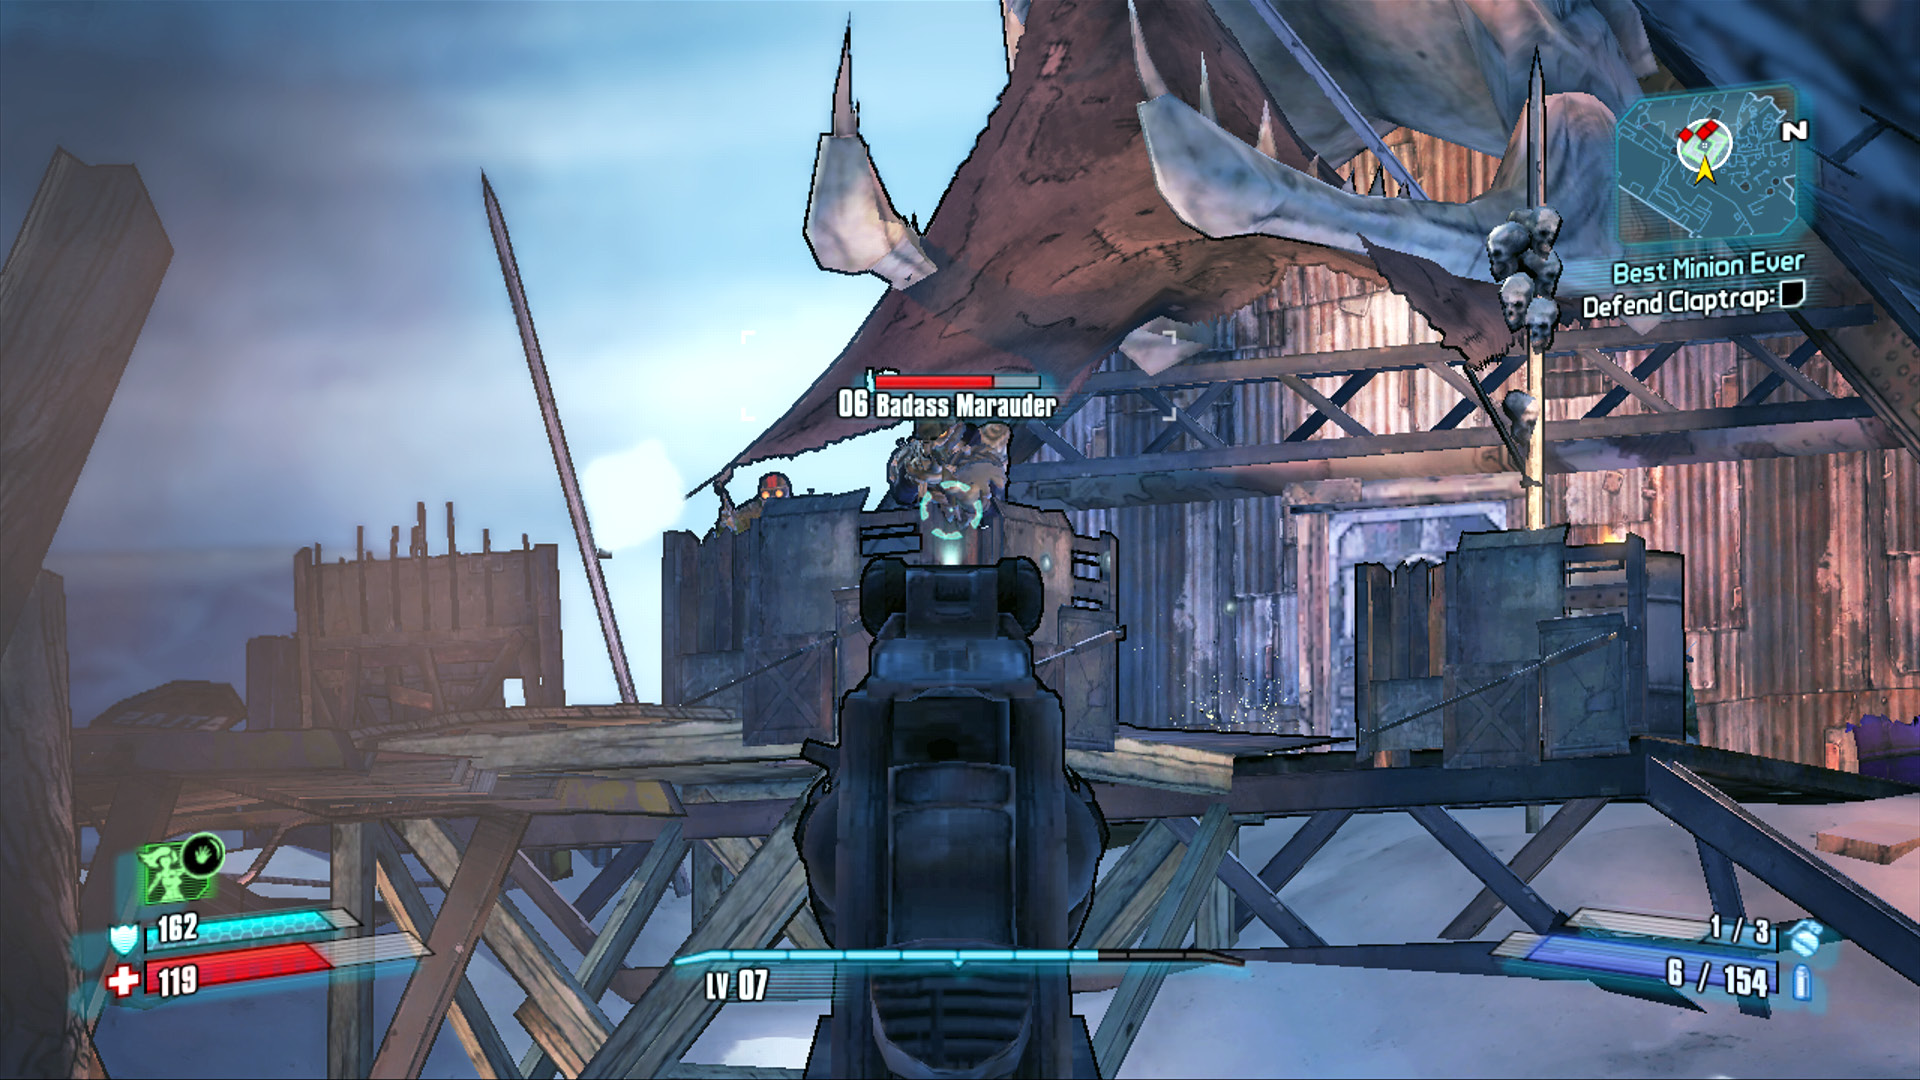
Stick close to cover when dealing with Badass Marauders so you can reload in safety.
Join Claptrap at the base of the stairs, where he’s forced to wait while you make your way to the crane’s controls up on top. Climb the stairs to the interior of the freighter and quietly slip up the second small set of stairs on the right toward the toilet. Fire a shot into the distance to draw the enemy’s attention and wait for reinforcements to exit from the left and right-hand doors. Quickly target the barrels on either side of the area near the generator to lay waste to the lot of them.
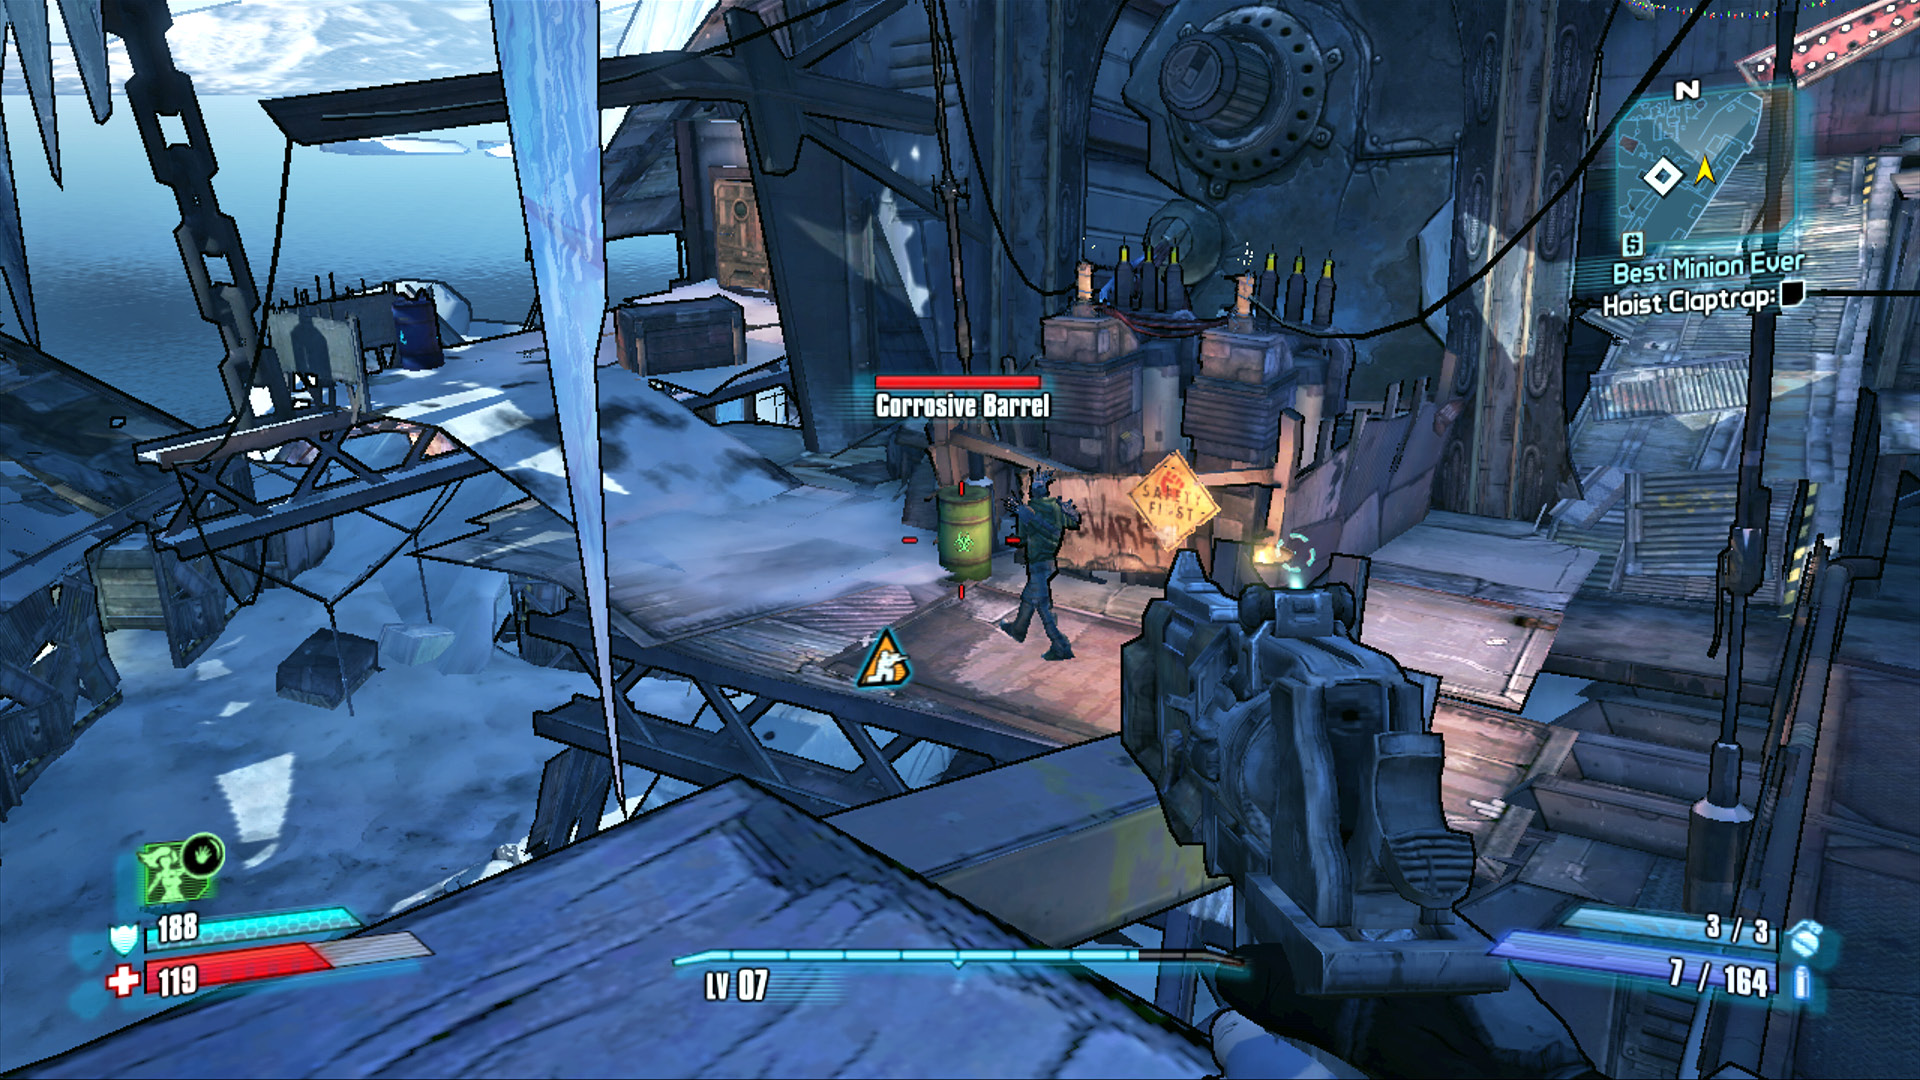
Kill the enemy on patrol, then target the other barrels as the reinforcements arrive.
Follow the brightly-lit arrow up the ramp to the next level and duck hard to the right to enter the crew’s quarters to find a big chest and a number of lootable containers. Proceed along the left-hand walkway to draw a number of distant enemies out of hiding—they’ll literally blow the walls down and attack beyond a large gap in the floor. Start the fight by shooting the enemy near the barrel on the left or the ones to the right, then duck left along the wreckage to stay clear of the crossfire. Stick close to the stairs you ascended and put your Action Skill to use here. Don’t advance along the narrow walkway until you’ve at least lobbed a few grenades at the enemies up ahead.
Loot the numerous toilets in the area and run up the stairs toward the crane’s lever. Take a minute to explore the oft-overlooked upper level of the freighter to find the Cult of the Vault symbol and a chest, then raise Claptrap and follow him up to the deck of the ship. Stock up on ammo at the vending machine.
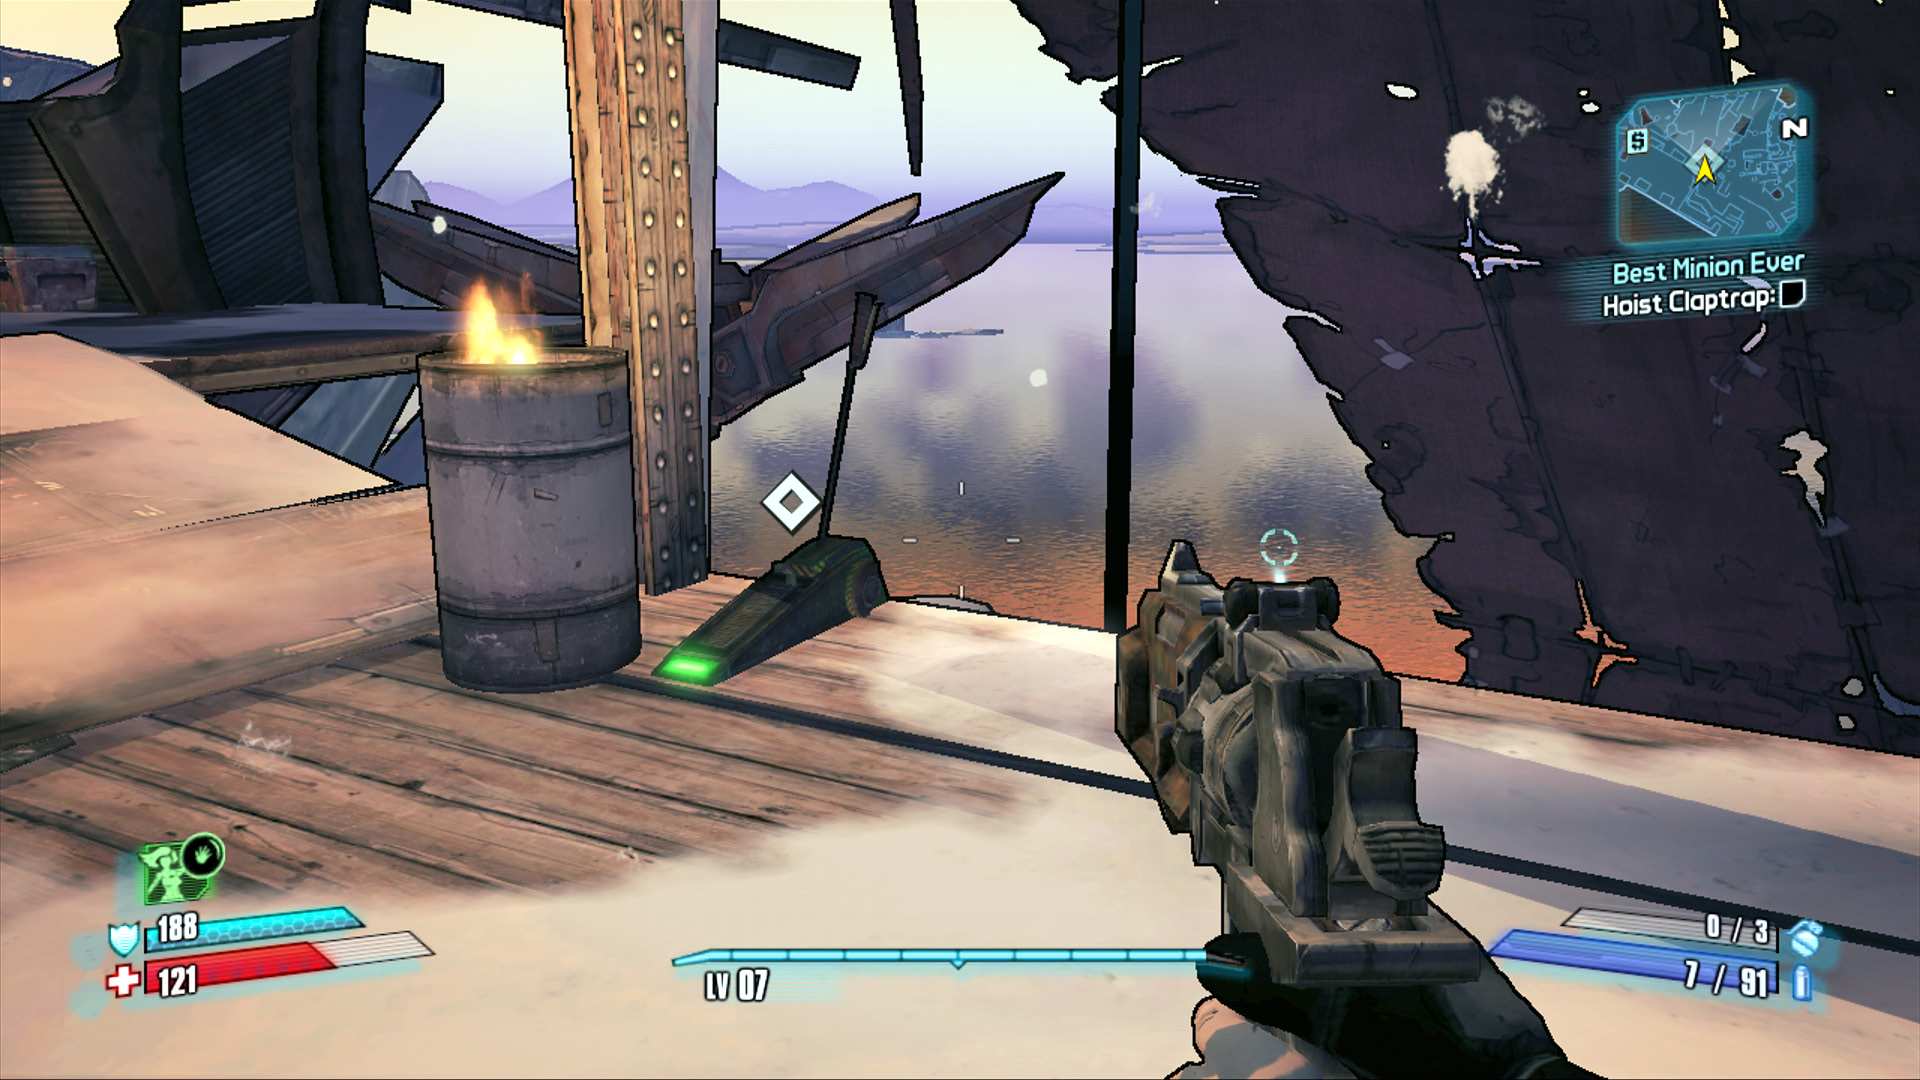
With one pull of this lever you’ll single-handedly help Claptrap overcome his nemesis: Stairs!
Captain Flynt
Captain Flynt’s Vitals
| Health Multiplier | Shield Level | DMG. Multiplier | XP Value | Crit. Areas | Weakness/Res. |
|---|---|---|---|---|---|
|
18 |
TVHM: 1 |
2.5 |
Super Badass |
Head |
— / |

Captain Flynt emerges from the wheelhouse of the doomed freighter and takes up position atop a wooden platform overlooking the deck of the massive ship. Flynt, like any respectable captain, isn’t about to get his hands dirty unless absolutely necessary. And in this case, it means a number of Badass Marauders and Killer Marauders are set to attack. Stick to the far end of the ship, away from Captain Flynt, and pepper him with long-range attacks while you put down the initial wave of Marauders. Gradually advance across the deck as each enemy falls while continuing to take shots at Flynt.
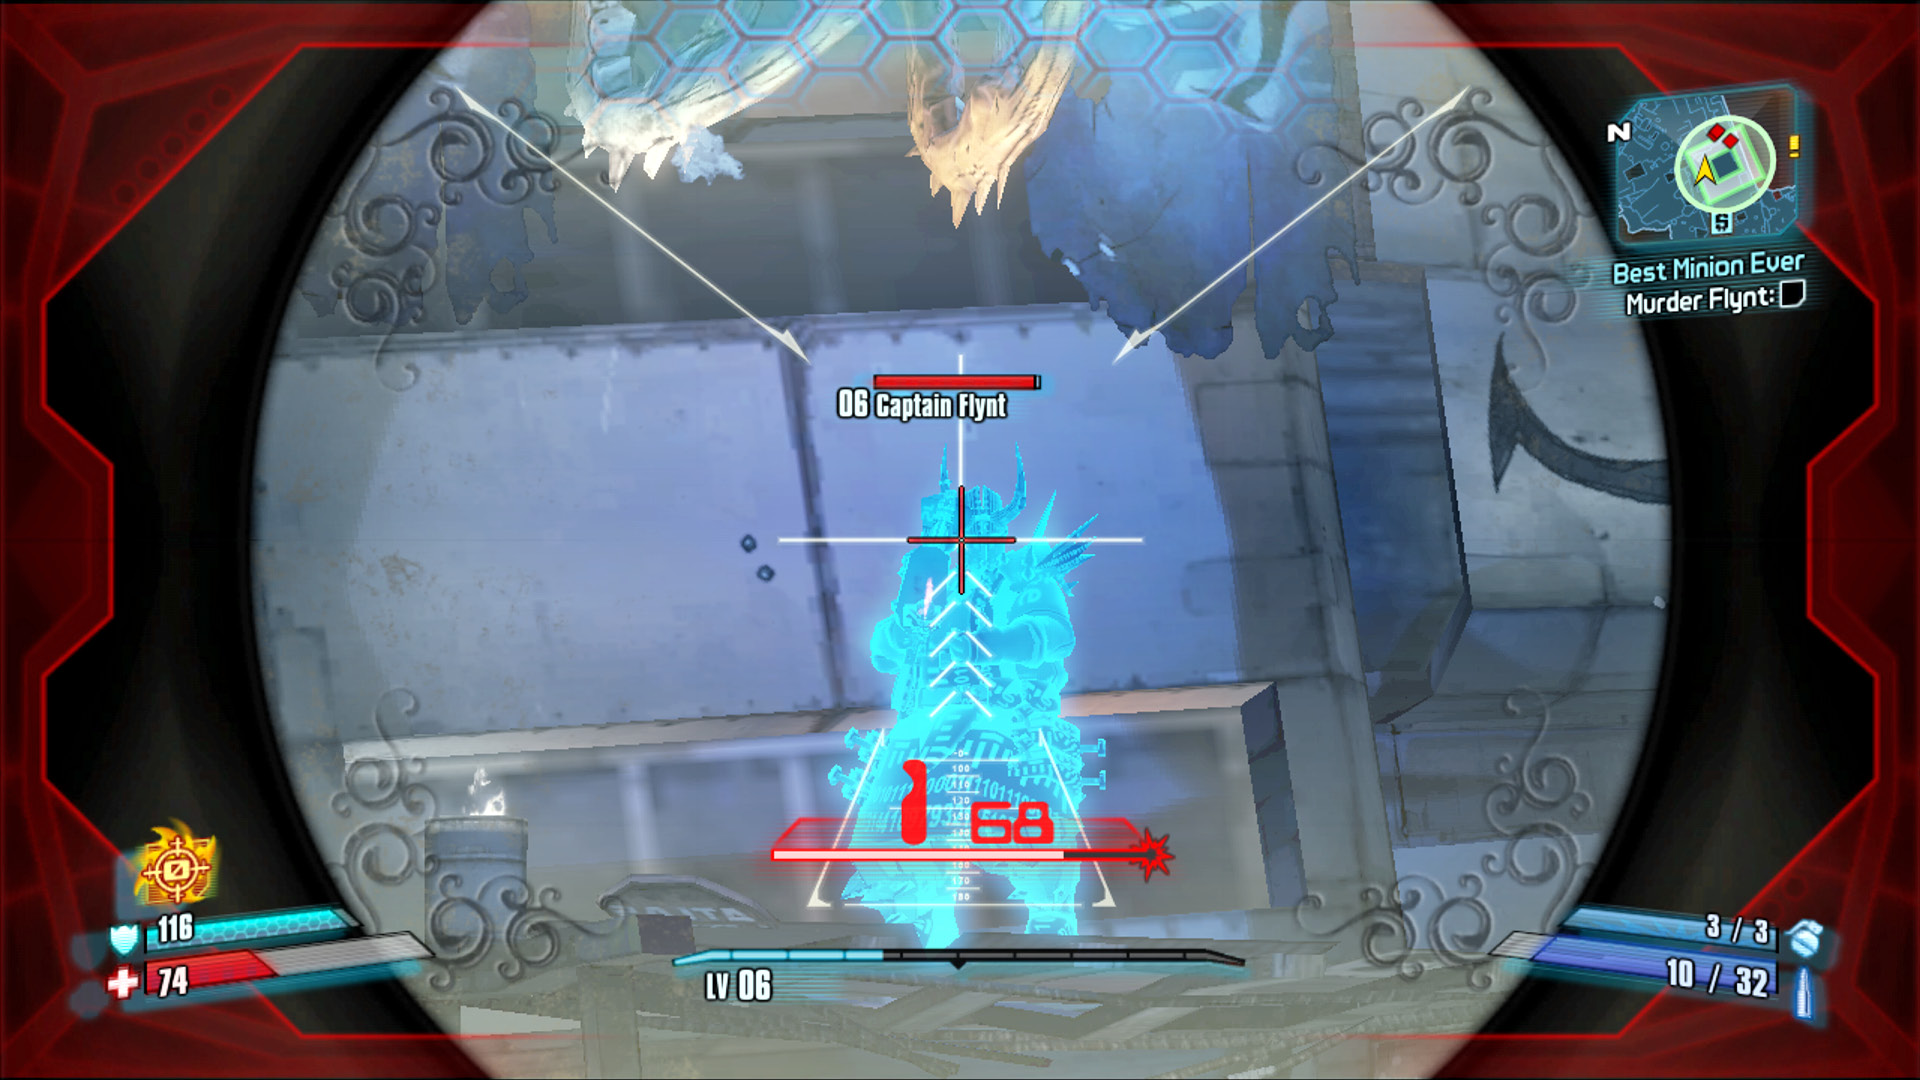
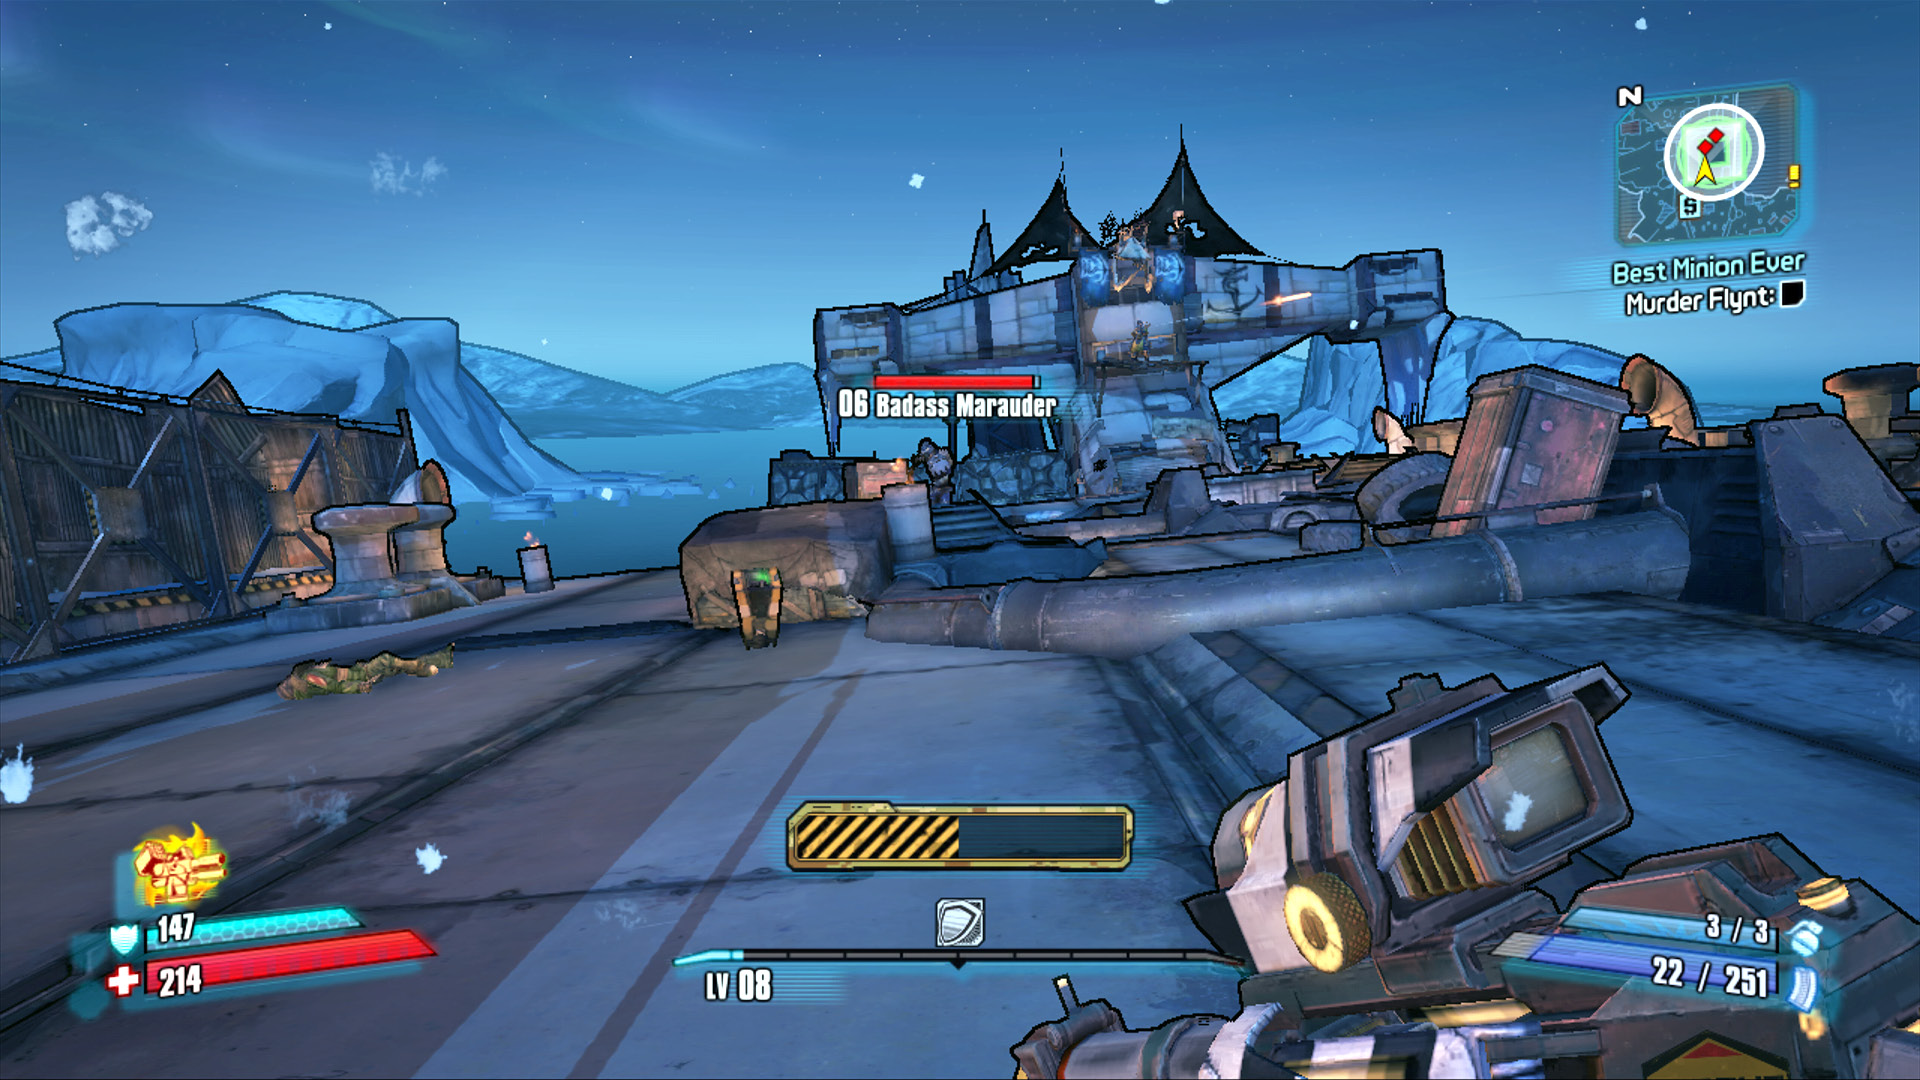
The deck of The Soaring Dragon contains multiple fire grates that will periodically erupt in flaming geysers. Make a point of staying clear of these panels, unless you absolutely need to pick up an Insta-Health or ammo that gets dropped on them. Instead, stick to the solid decking or even the small landing atop the stairs on the side of the ship.
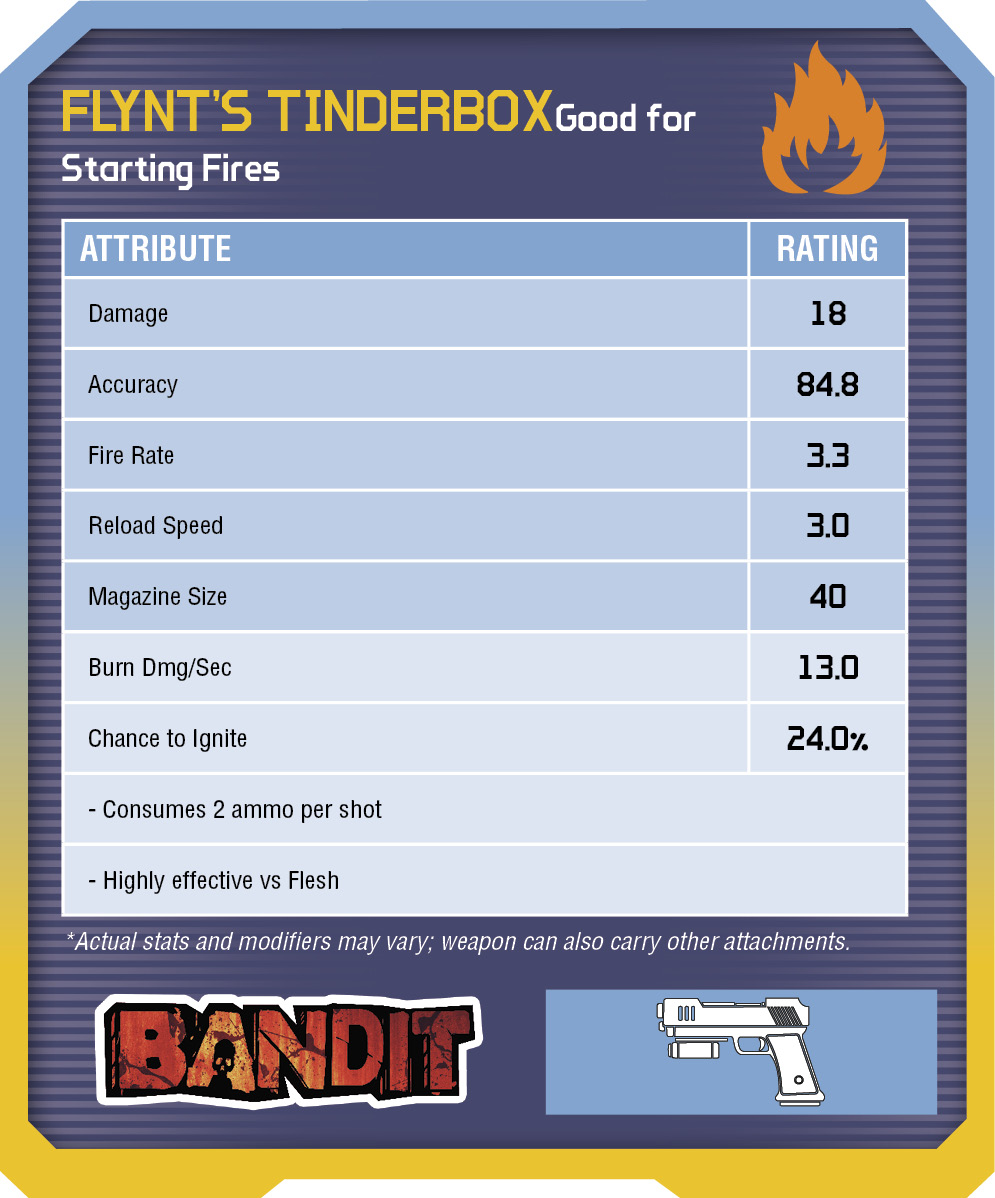
Captain Flynt will soon erupt in flame and leap down from his perch. In addition to firing a Fire-imbued pistol and wielding a hefty warclub that he uses for lunging melee attacks, he also has a deadly Dragon Breath attack that must be avoided. While aflame, Flynt will also reflect your bullets back at you. His suit of fire will periodically become extinguished, as if to lure you closer to him, only so he can rear back and let out a mighty scream that reignites his suit and sends a shockwave of fire out in all directions.
Consider the following techniques for completing “Fireproof” with each class:
Axton: Use the Sabre Turret to fend off the Marauders and Burning Psychos while you focus on Captain Flynt. Lob grenades at him and continue to fire on Captain Flynt. Keep moving and collect as many ammo pickups and Insta-Healths as possible. Continue to deploy the Sabre Turret at every opportunity.
Maya: Use your Phaselock ability to aid you in fending off the initial Marauder attack, then climb the slanted surface to get away from the Burning Psychos. Trap Captain Flynt in Phaselock and open fire with your most powerful gun, so long as it’s not a fire elemental. Continue to Phaselock Captain Flynt over and over.
Salvador: Activate Gunzerker as soon as the Marauders make their appearance to get through the initial scuffle unscathed. This also enables the Gunzerker cooldown to end right about the time you need it most. Maintain a safe distance from Captain Flynt while following him around the deck. Try equipping two weapons with large magazine sizes to get the most out of your Gunzerker ability.
Zero: Deploy Deception to grab the attention of the Marauders at the start of the battle and open fire on Captain Flynt with a single sniper shot just before the timer expires. Continue to use Deception to keep the Burning Psychos off your tail while hammering Captain Flynt with single, powerful rifle shots.
Even though his first mate and top lieutenants are all dead, Captain Flynt isn’t about to fight alone. A steady stream of Burning Psychos enters the fight from a bay door at the base of the tower where Captain Flynt was originally standing. These Burning Psychos are slightly resistant to fire attacks—naturally—and pose a significant threat at melee range. They don’t attack with guns, but are skilled hatchet throwers and can inflict harm from afar, as well. Consider running up the slanted surface of the tower to the area just beneath the wooden platform where Captain Flynt initially stands. You’ll be exposed to ranged attacks in this position, but be completely safe from the Burning Psychos’ melee attacks, as well as Flynt’s Dragon Breath attack.
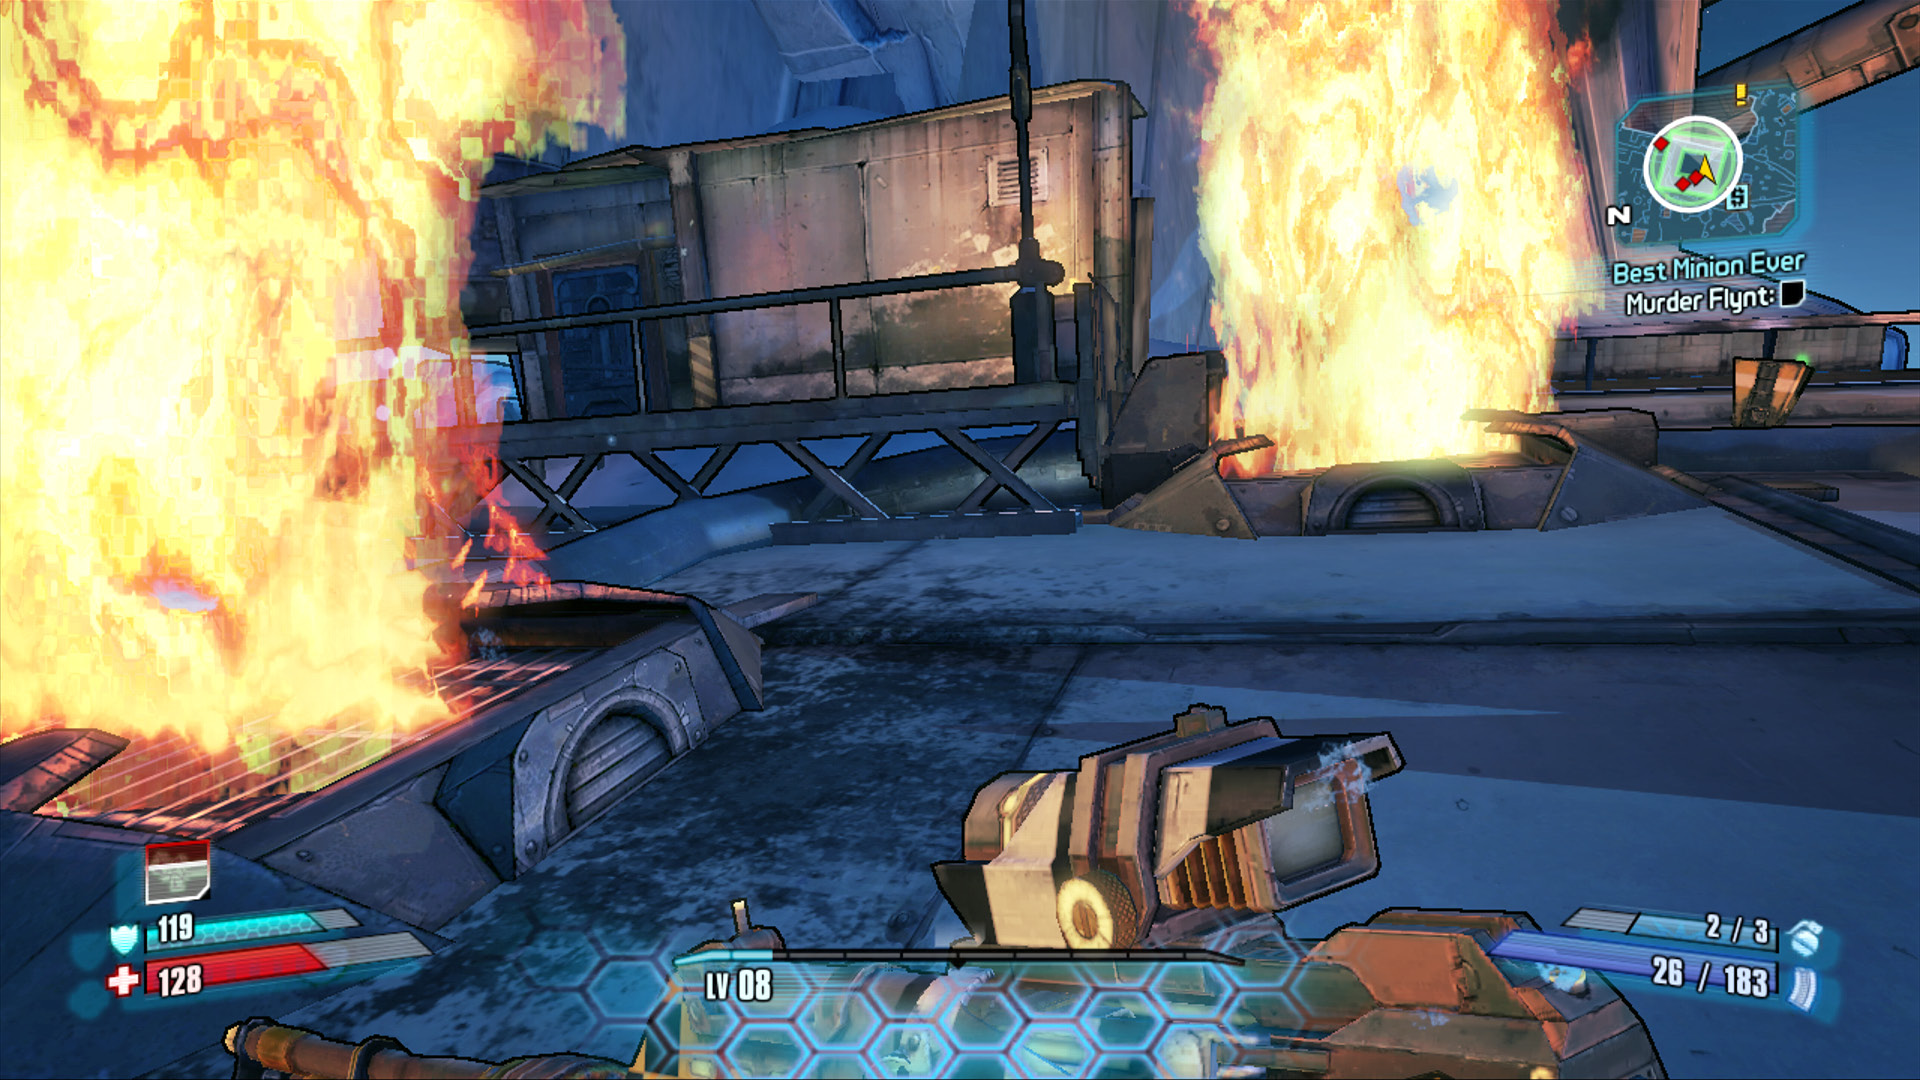
With Captain Flynt dead, there’s nobody left to keep Claptrap from reaching his boat. Follow the ‘bot through the room at the base of the tower and out onto the ship’s stern. Cross the gangplank to the suspended boat and talk to Claptrap to complete the mission. Simply interact with the transition to Three Horns Divide at the bow of the ship to continue on your journey.
Three Horns Divide
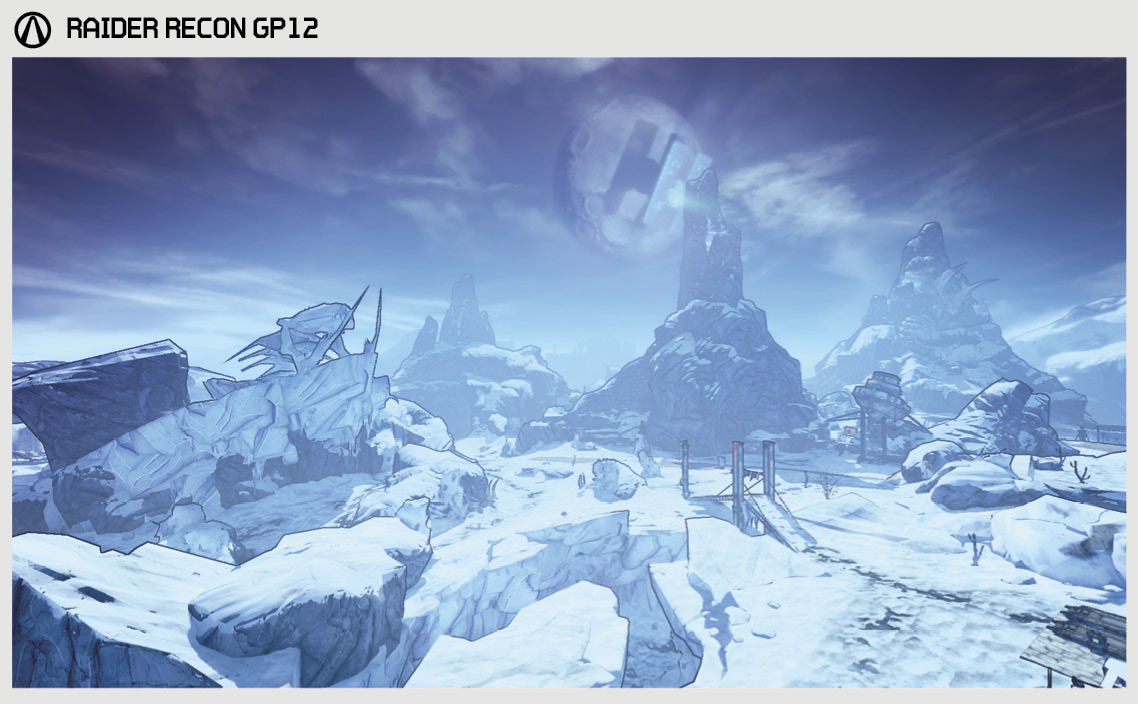
So named for its three stone crags, Three Horns is one of the many lovely places on Pandora that no living being should ever visit. Rife with bullymongs and Bloodshot Bandits, Three Horns has marked the end of many a traveler’s journey. Countless lost souls have frozen or bled to death in the snow, mere miles away from Sanctuary’s gates.
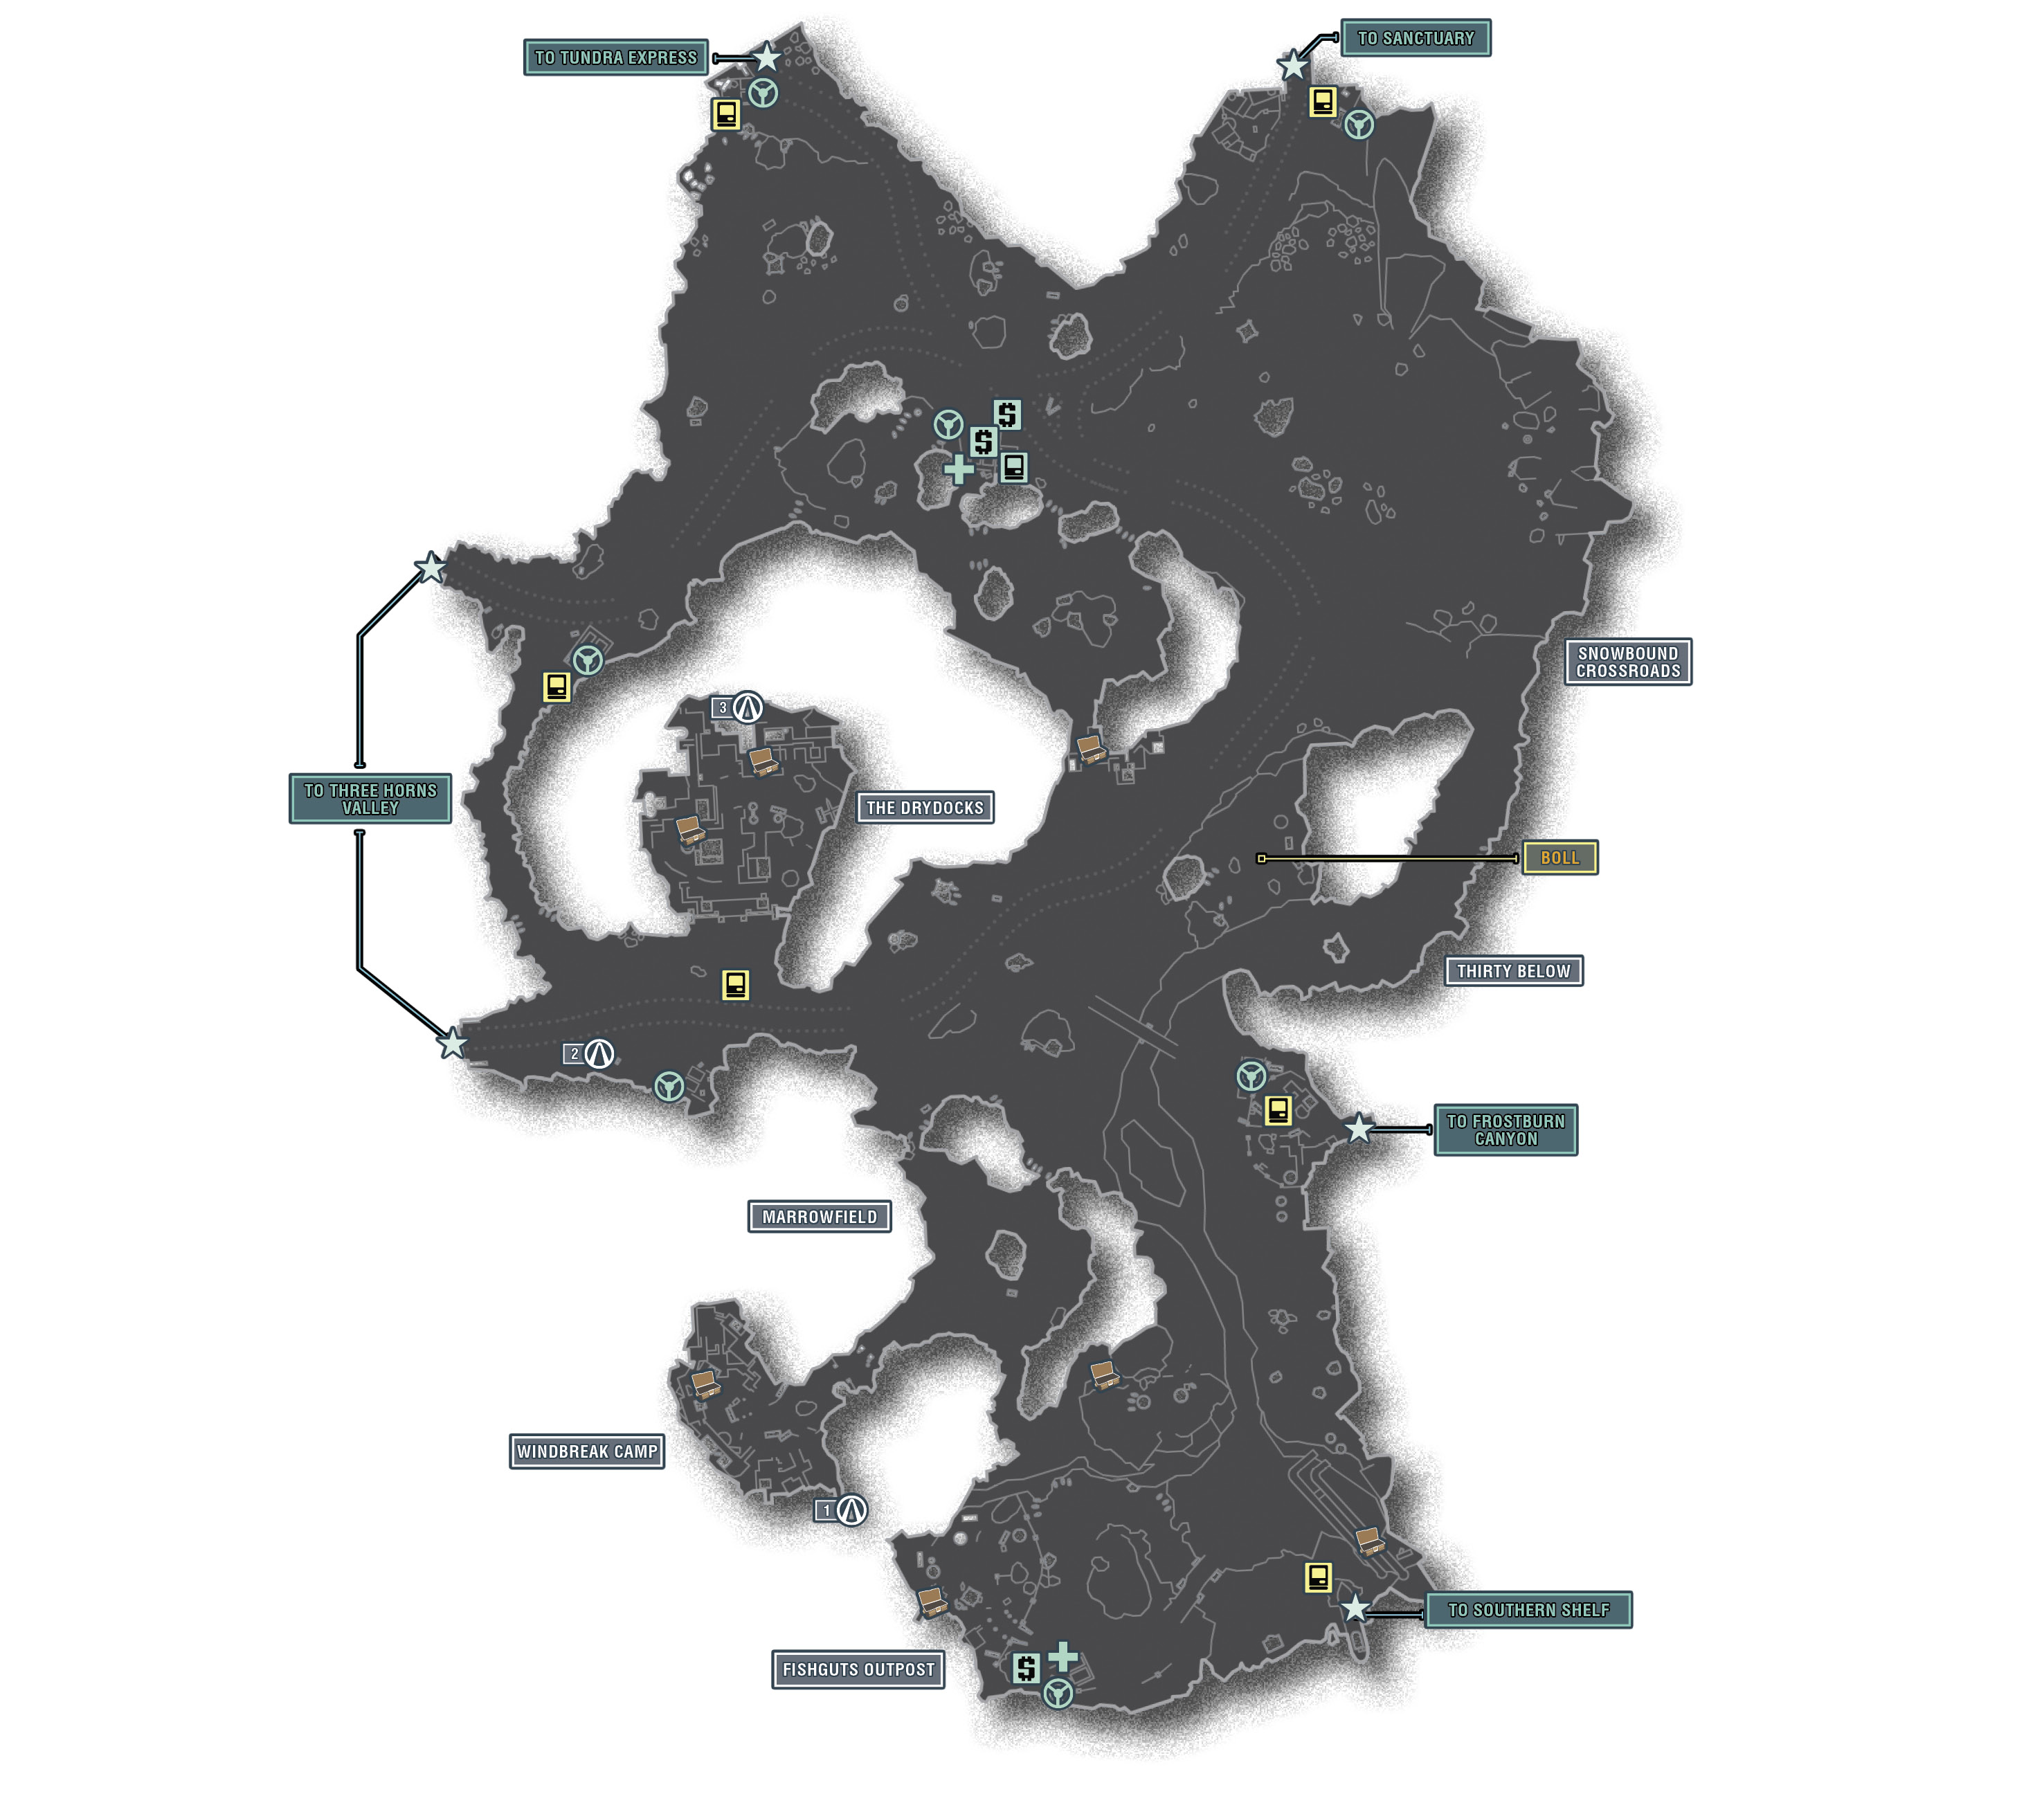
Three Horns Divide contains a barren expanse of snow-covered mountains and ice-lined caves that form a figure-eight of sorts. Ringed by mountains to the east and precipitous cliffs to the west, the landscape is prone to induce bouts with claustrophobia in its visitors. In stark contrast to the relative safety and calm of nearby Sanctuary, Three Horns Divide is a place of lawlessness where all of man’s—and nature’s—basest instincts prevail. Multiple bandit gangs have established elaborate compounds throughout western Three Horns Divide, most notably at The Drydocks and Windblock Camp. The familiar bullymongs are also in abundance, particularly in the lengthy cave that runs beneath the snow along the eastern side of the region, but they are not alone. A small den of Skags resides in a pit not far from the city gates. And if that doesn’t sound like a good enough reason to mind your step, the area’s lone plant, the Stinging Cacti use their innate electrical current to zap, sizzle, and fry anything caught nearby once they’ve been disturbed.
The Districts of Three Horns Divide
| Locale | Limited Access? | First Visit |
|---|---|---|
|
Fishguts Outpost |
No |
“Road to Sanctuary” story mission. |
|
Thirty Below |
No |
“Road to Sanctuary” story mission. |
|
Snowbound Crossroads |
No |
“Road to Sanctuary” story mission. |
|
Marrowfield |
No |
“Road to Sanctuary” story mission. |
|
Windbreak Camp |
No |
“Road to Sanctuary” story mission. |
|
The Drydocks |
No |
“The Ice Man Cometh” optional mission. |
Dangerous Beasts
High Value Targets
| Enemy | Family |
|---|---|
|
Boll |
Marauder |
|
Savage Lee |
Psyxho |
 Cult of the Vault
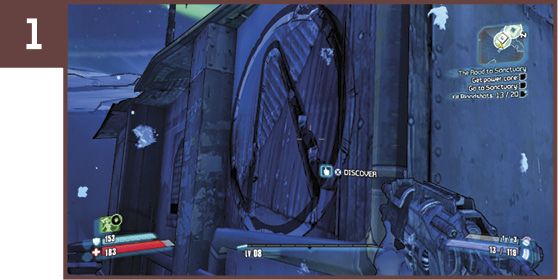
This symbol is on the back of the southernmost shack in Windbreak Camp. Enter the camp and head to the left. Access the symbol via the walkway on the left-hand side.
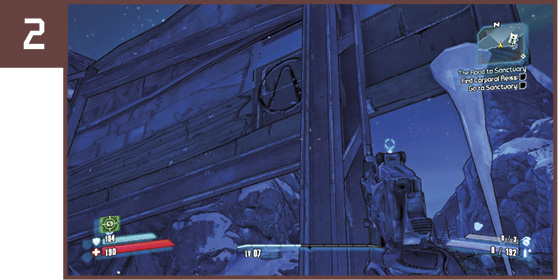
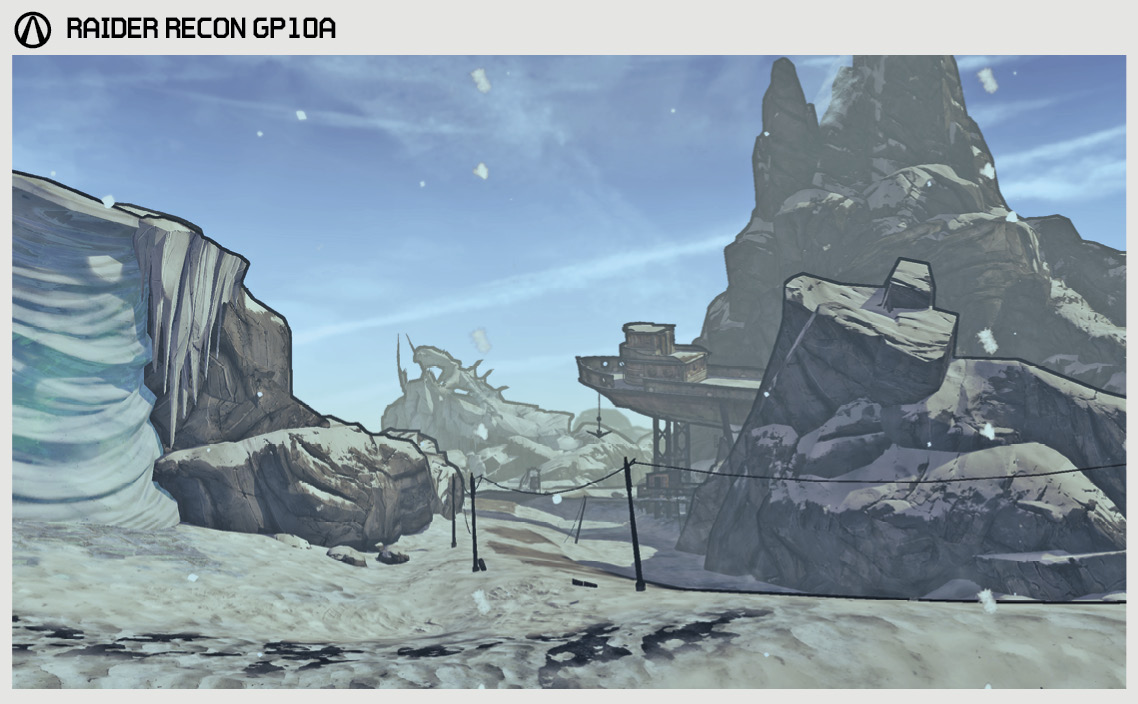
Spot the dilapidated billboard near the southern entrance to Three Horns Valley. The Cult of the Vault symbol is on the rear of the sign. Climb up the tilted beam to reach it.
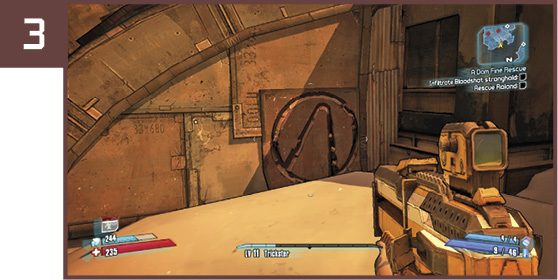
Fight your way to the rear of The Drydocks area in the western part of the region. The Cult of the Vault symbol is on the wall at the northern corner.
Additional Challenges
Man’s Best Friends:Kill Boll without hurting any of his poor snow Skags (see “In Memoriam” in the optional missions section of this book for details).