Borderlands 2 Game of the Year Guide Captain Scarlett and Her Pirate's Booty
A Warm Welcome
|
 Mission Briefing
| Level | Money | XP | Gear |
|---|---|---|---|
|
15 |
$123 |
3500 |
Shield (Green) or Assault Rifle (Green) |
*Money and XP may vary based on player’s level at start of mission.
A Plea for Help
The Vault Hunter is immediately contacted via ECHO by a man named Shade, who needs you to save him—and his town of Oasis from the Sand Pirates trying to steal his water. Draw your gun and proceed down the path toward the town.
Approach the large Pierfest banner and use the barriers for cover as the first pirates attack. The pirates of Oasis are similar to the bandits and Psychos you’ve encountered elsewhere, only they tend to be a bit better dressed. Keep your distance and start gunning them down. Beware any Grogmasters charging your position with Molotov cocktails. Advance to the center of the target area on the mini-map and clear any remaining pirates from the area, including any Rapscallions that might be on a nearby rooftop.
The pirate leader, No-Beard, attacks last. No-Beard walks slowly but carries a big gun. He’s also likely to be at least two levels higher than your current level, so take care when confronting him. Use your Action Skill and, if possible, counter his elemental shotgun with an Adaptive Shield or one that negates the element No-Beard is attacking with. Don’t hesitate to climb onto a nearby rooftop if you start to run low on health, since No-Beard cannot follow you. Rooftops provide a safe place to allow your shields and life to recover.
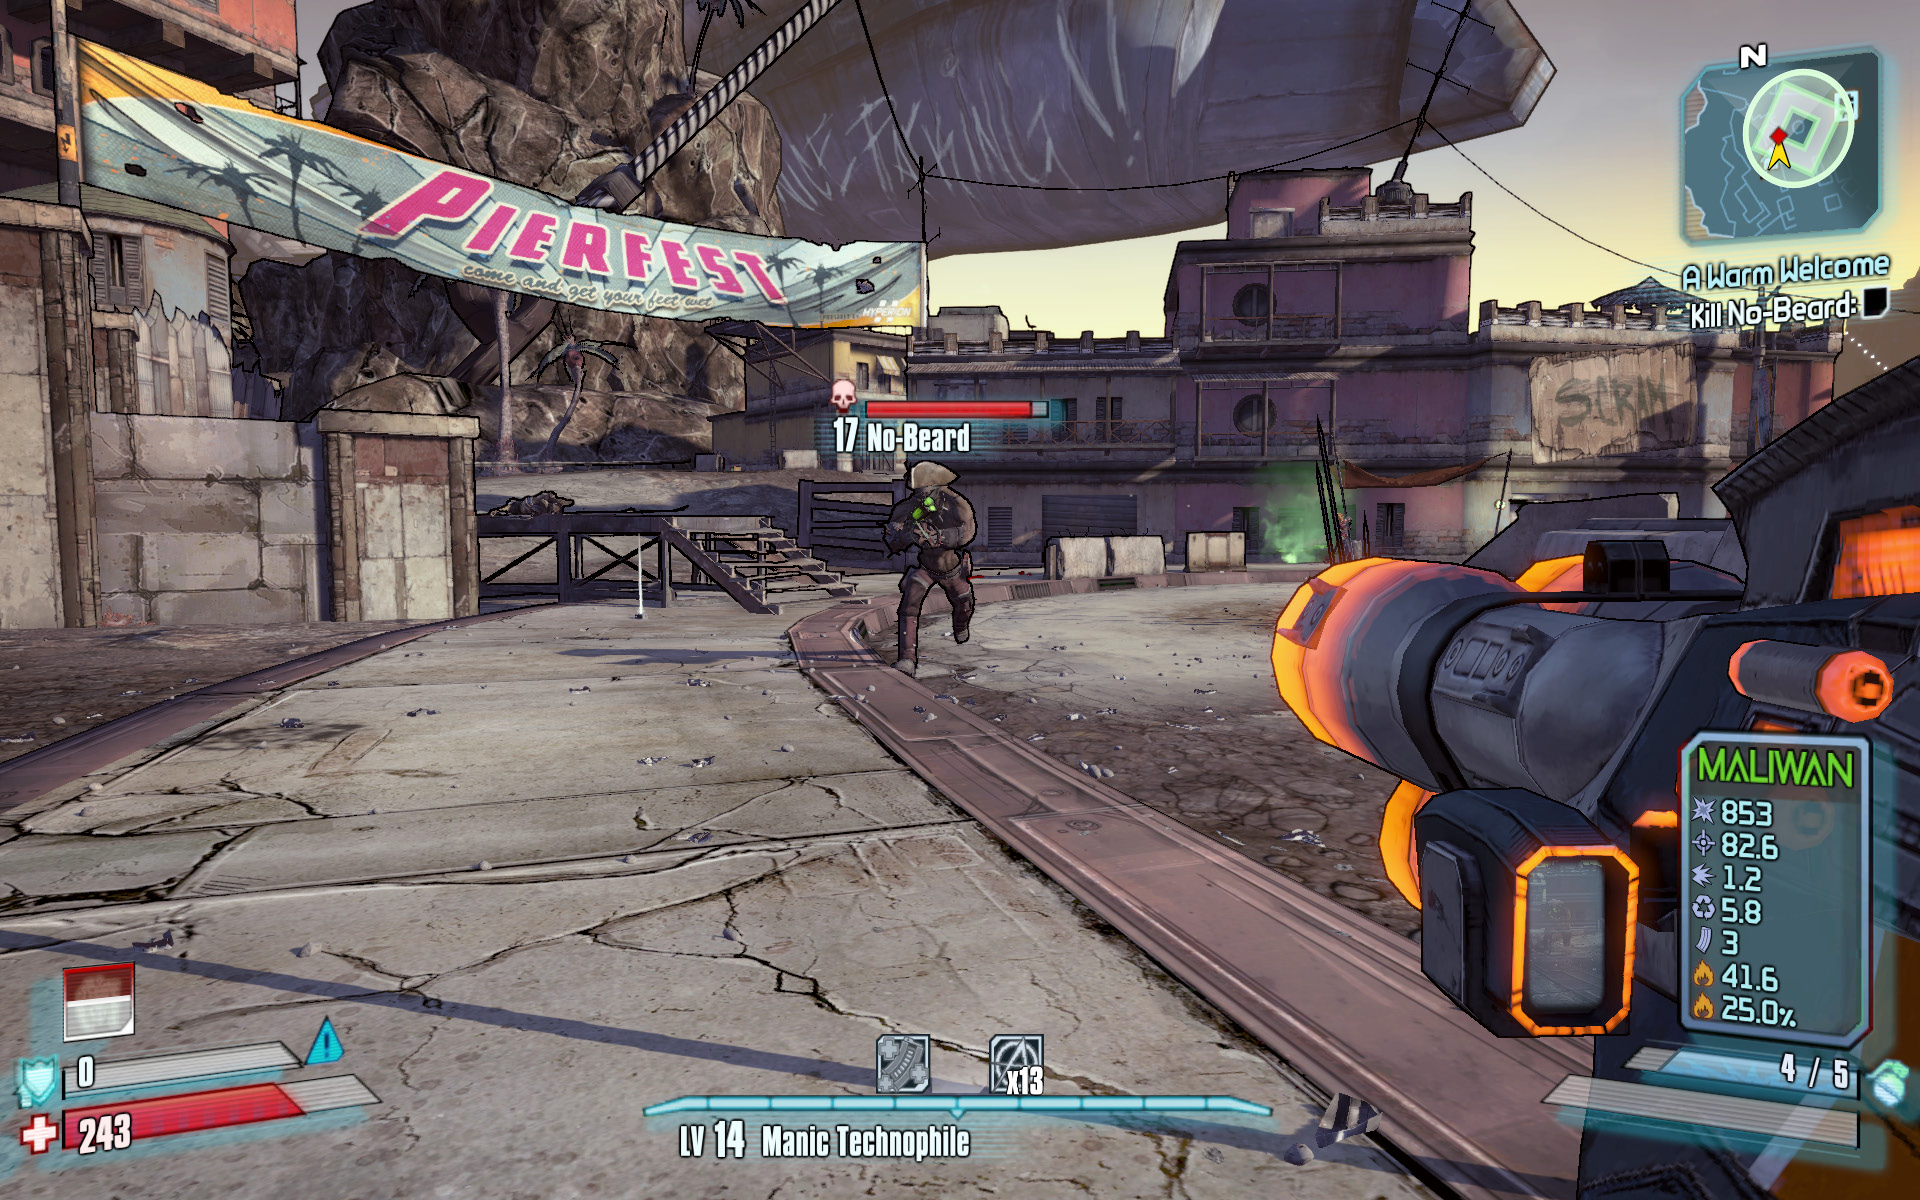
Keep your distance, and put your fire element weapons to work!
Shade is very pleased to see that you’ve defeated No-Beard and is ready to open the doors of his “Kitty Kream” shack in Oasis Docks, not far from your current position. He isn’t the only one aware of your arrival, however. It seems a Captain Scarlett is also looking for the Lost Treasure of the Sands and proposes that you work with her to find it. She’ll probably double-cross you in the end, but one can never have too many allies…
Oasis
Don’t let the name fool you: there hasn’t been a drop of water in these parts in years. The sandy flats that comprise this region share their name with the ghost town of the same name, an attractive ‘burb that once hosted all manner of waterfront recreation. The town’s boardwalk and piers only hint at what once was. The dried up seabed is now home to numerous sandworms and stalkers, not to mention a plethora of pirates. Fortunately, the locals invented a vehicle they call a sandskiff to help you get around these parts.
Dangerous Beasts
| Enemy Family |
|---|
|
Pirates |
|
Sand Worms |
High Value Target
| Enemy | Family |
|---|---|
|
Tinkles |
Stalker |
 Cult of the Vault
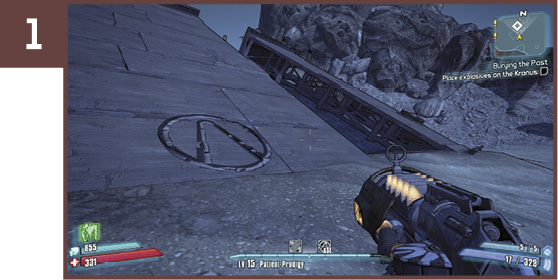
Be sure to check the far side of the Wreck of the Kronus before blowing it up.
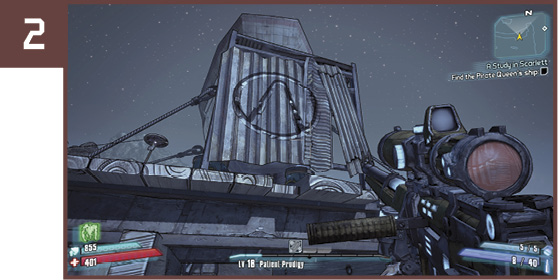
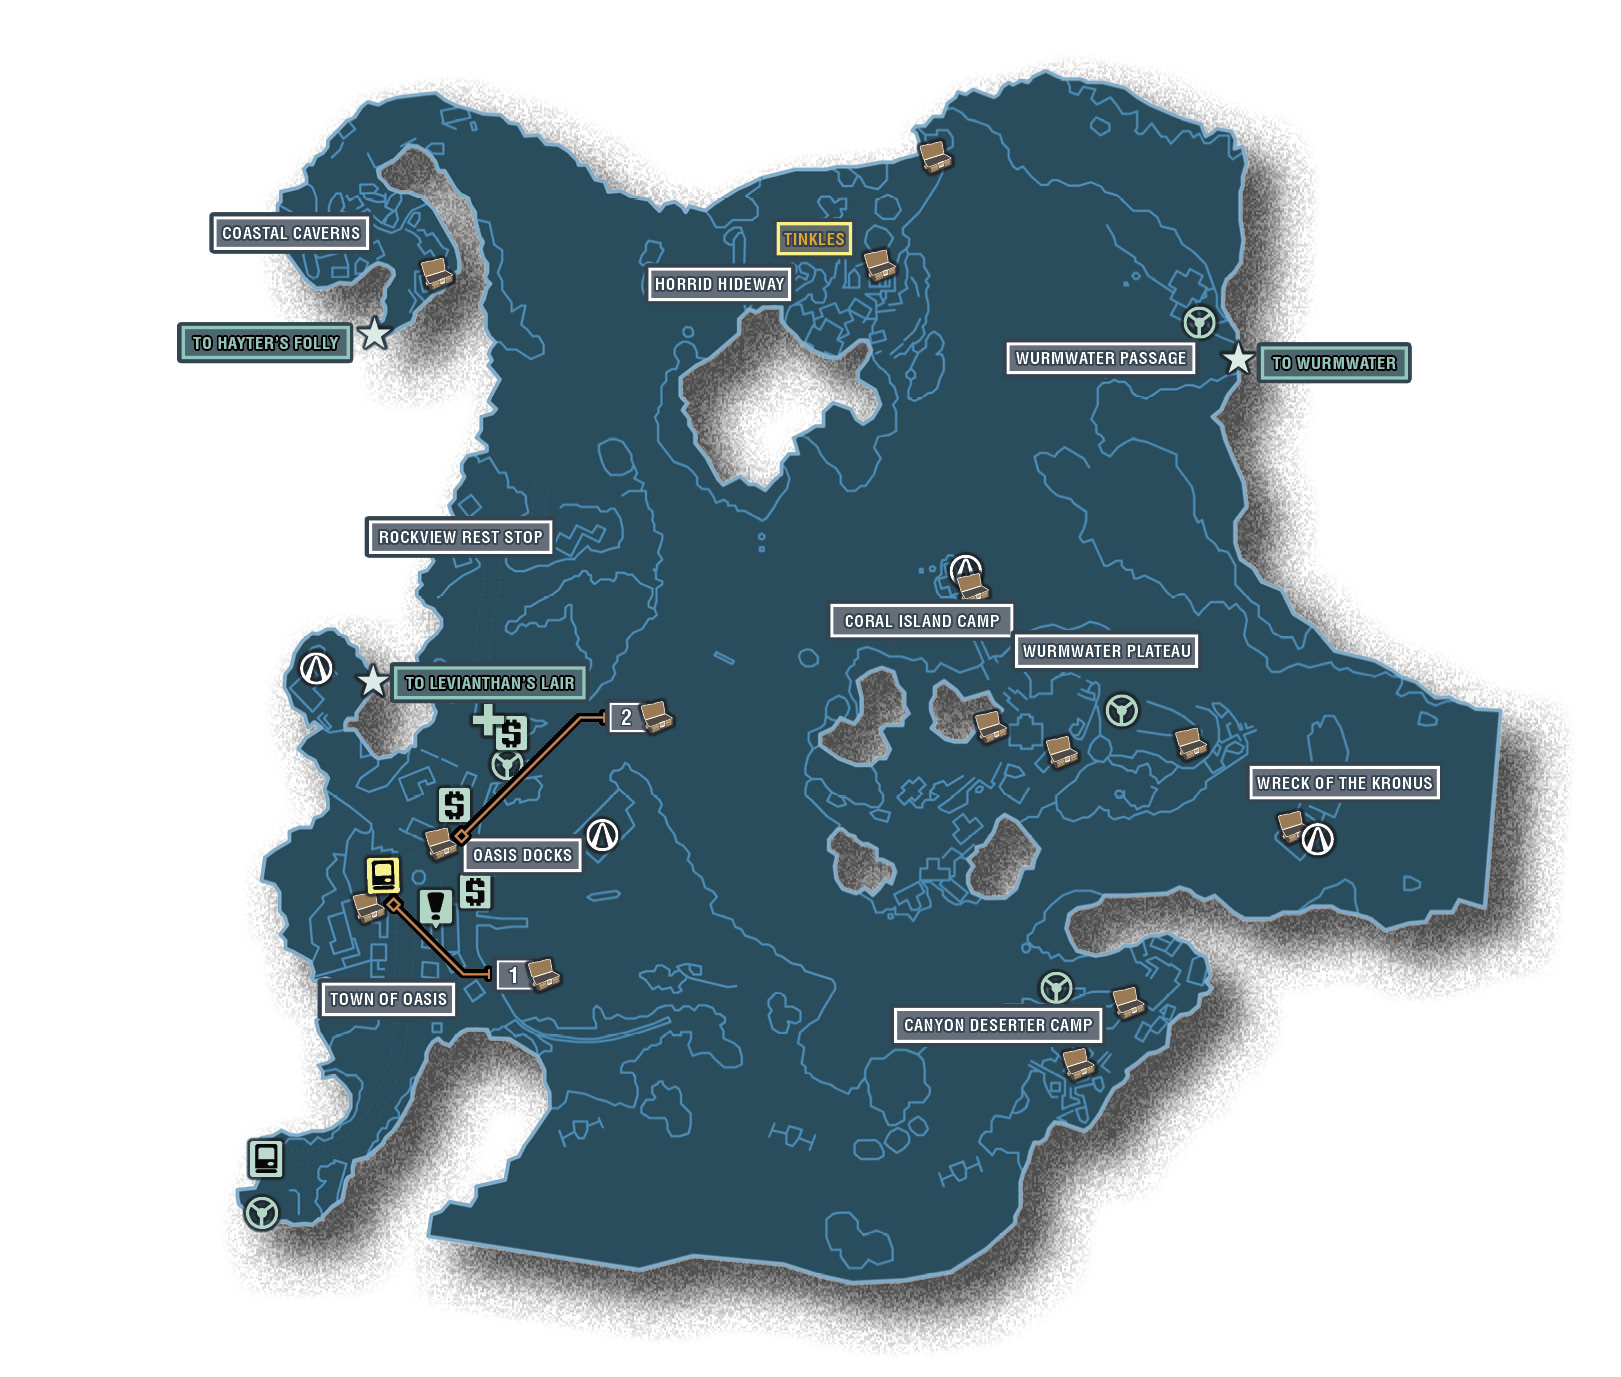
Head out onto the larger of the two piers on Oasis Docks, to where the metal wall on the end is. The Cult of the Vault symbol is on the back of this metal sheeting.
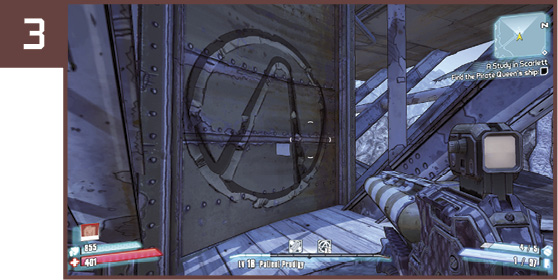
This Cult of the Vault symbol is on the right-hand side of the Coral Island Camp, beyond the suspension bridge. Walk along the rocky ledge to reach it.
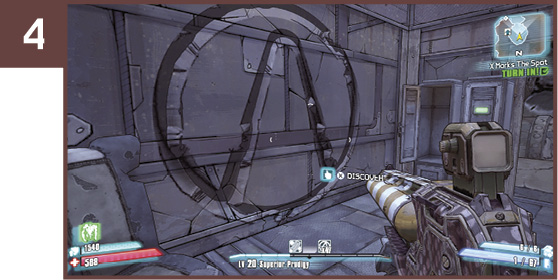
You can’t reach this symbol until after you find the Lost Treasure of the Sands. Exit Leviathan’s Lair to a locked portion of Oasis, and look inside the shack to find it.
 I Ain’t Afraid of Heights
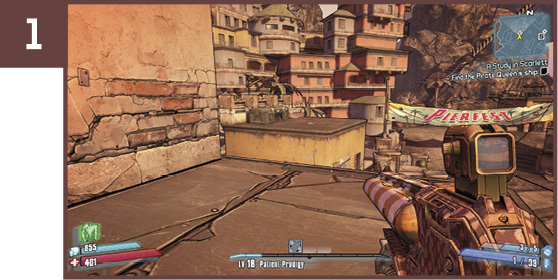
The first of the two rooftop chests in Town of Oasis is on the yellow shack above the Quick Change Station. Climb the ladder to the building south of it, then run and jump for it.
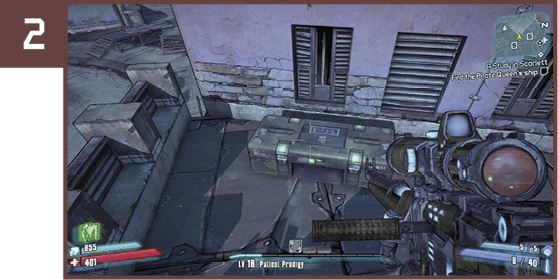
The other chest is near Natalie, the mannequin on the rooftop, directly north of the Bounty Board. Climb the ladder on the rear side of the pink building to reach it.
Horrid Hideaway
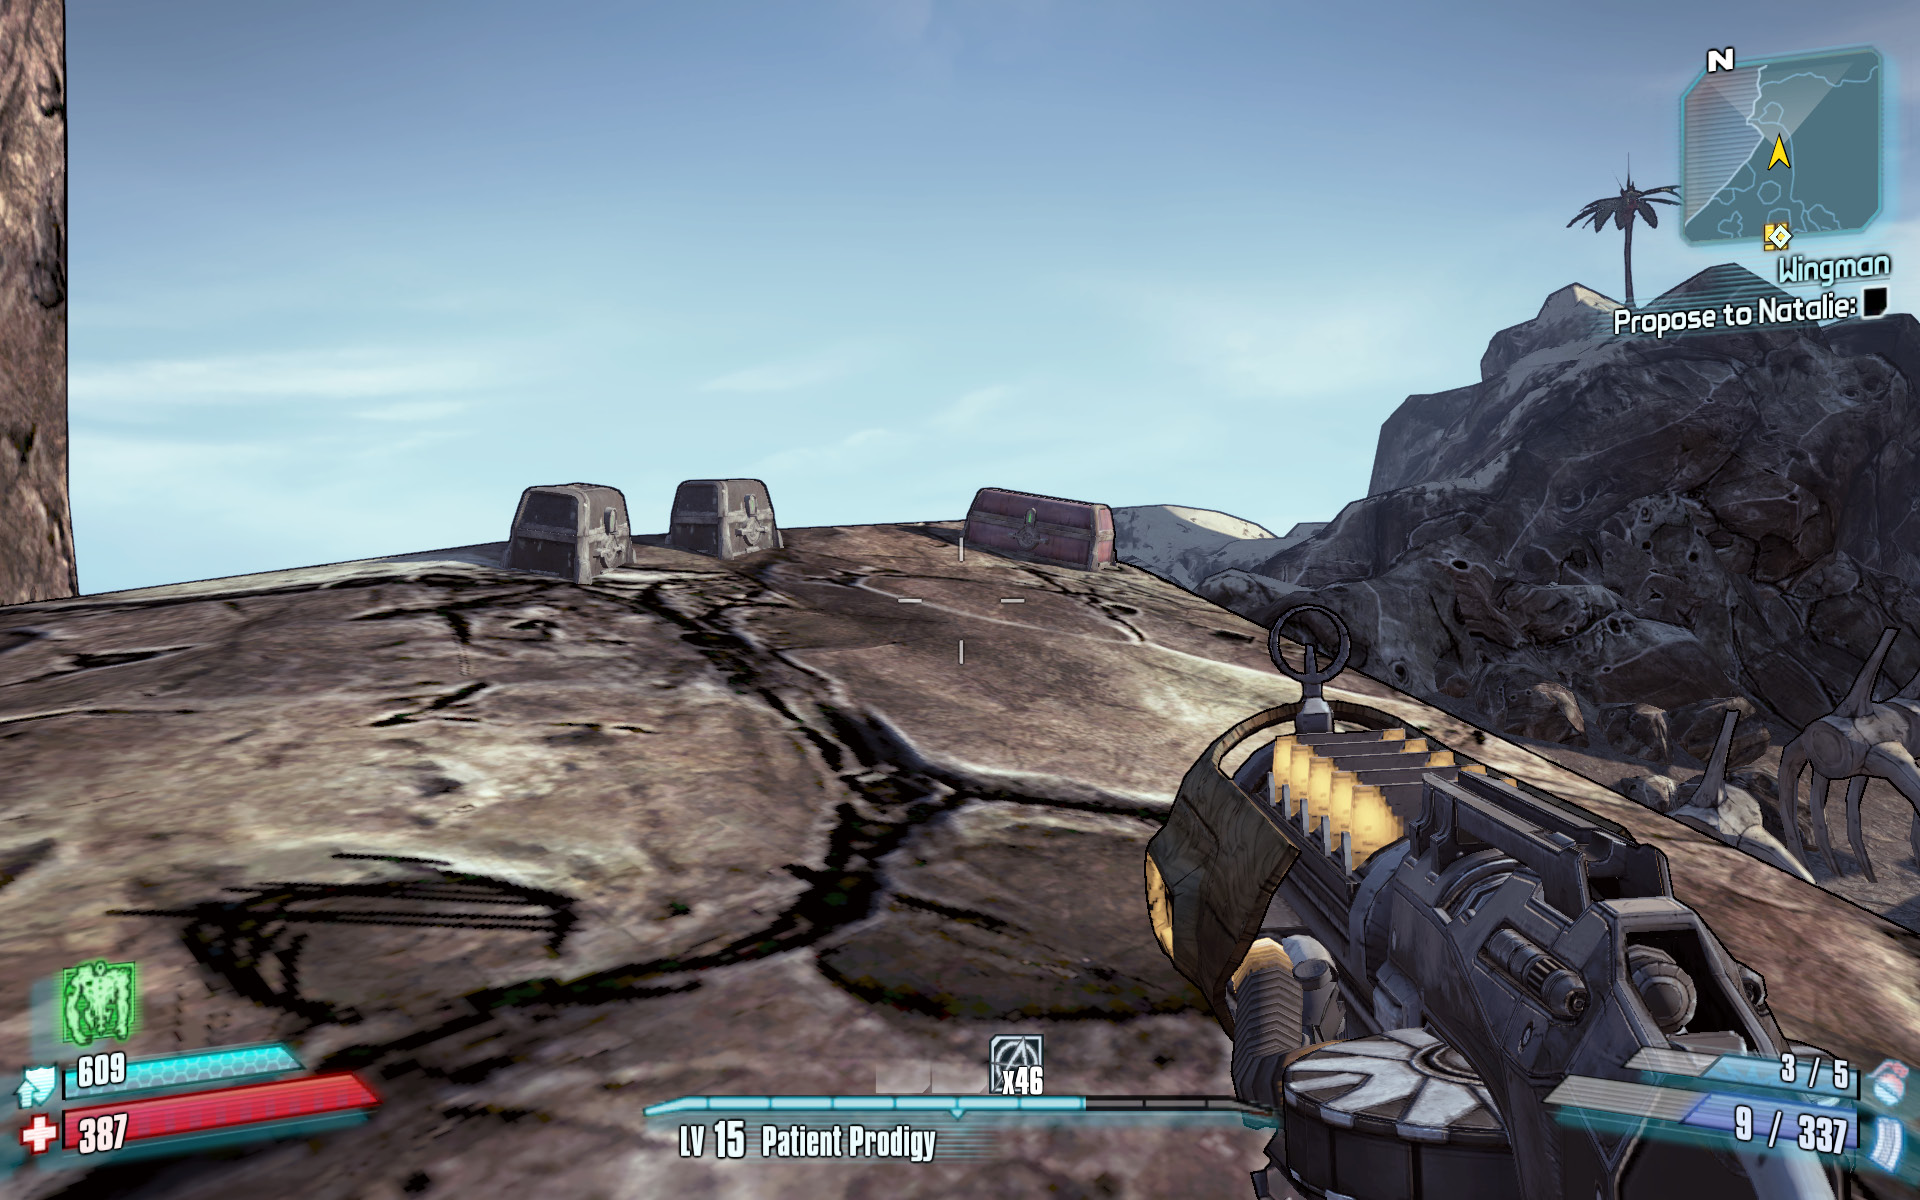
The secret stash in Horrid Hideaway isn’t far from the main camp, but you’ll have to get even higher to find it. Exit the upper western edge of the camp (toward the stalker area) and turn to the north. Proceed through the arch in the rocks and out onto the rocky promontory to the northeast. Approach the chests in the distance to complete the challenge.