
Borderlands 2 Game of the Year Guide Walkthrough
Rising Action
|
 Mission Briefing
| Level | Money | XP | Gear |
|---|---|---|---|
|
16 |
4 Eridium |
5222 |
— |
*Money and XP may vary based on player’s level at start of mission.
Sanctuary
Return to Lt. Davis at the power station outside Sanctuary’s inner gate and remove the spent power core as instructed, then replace it with the Hyperion power core you took from the train.
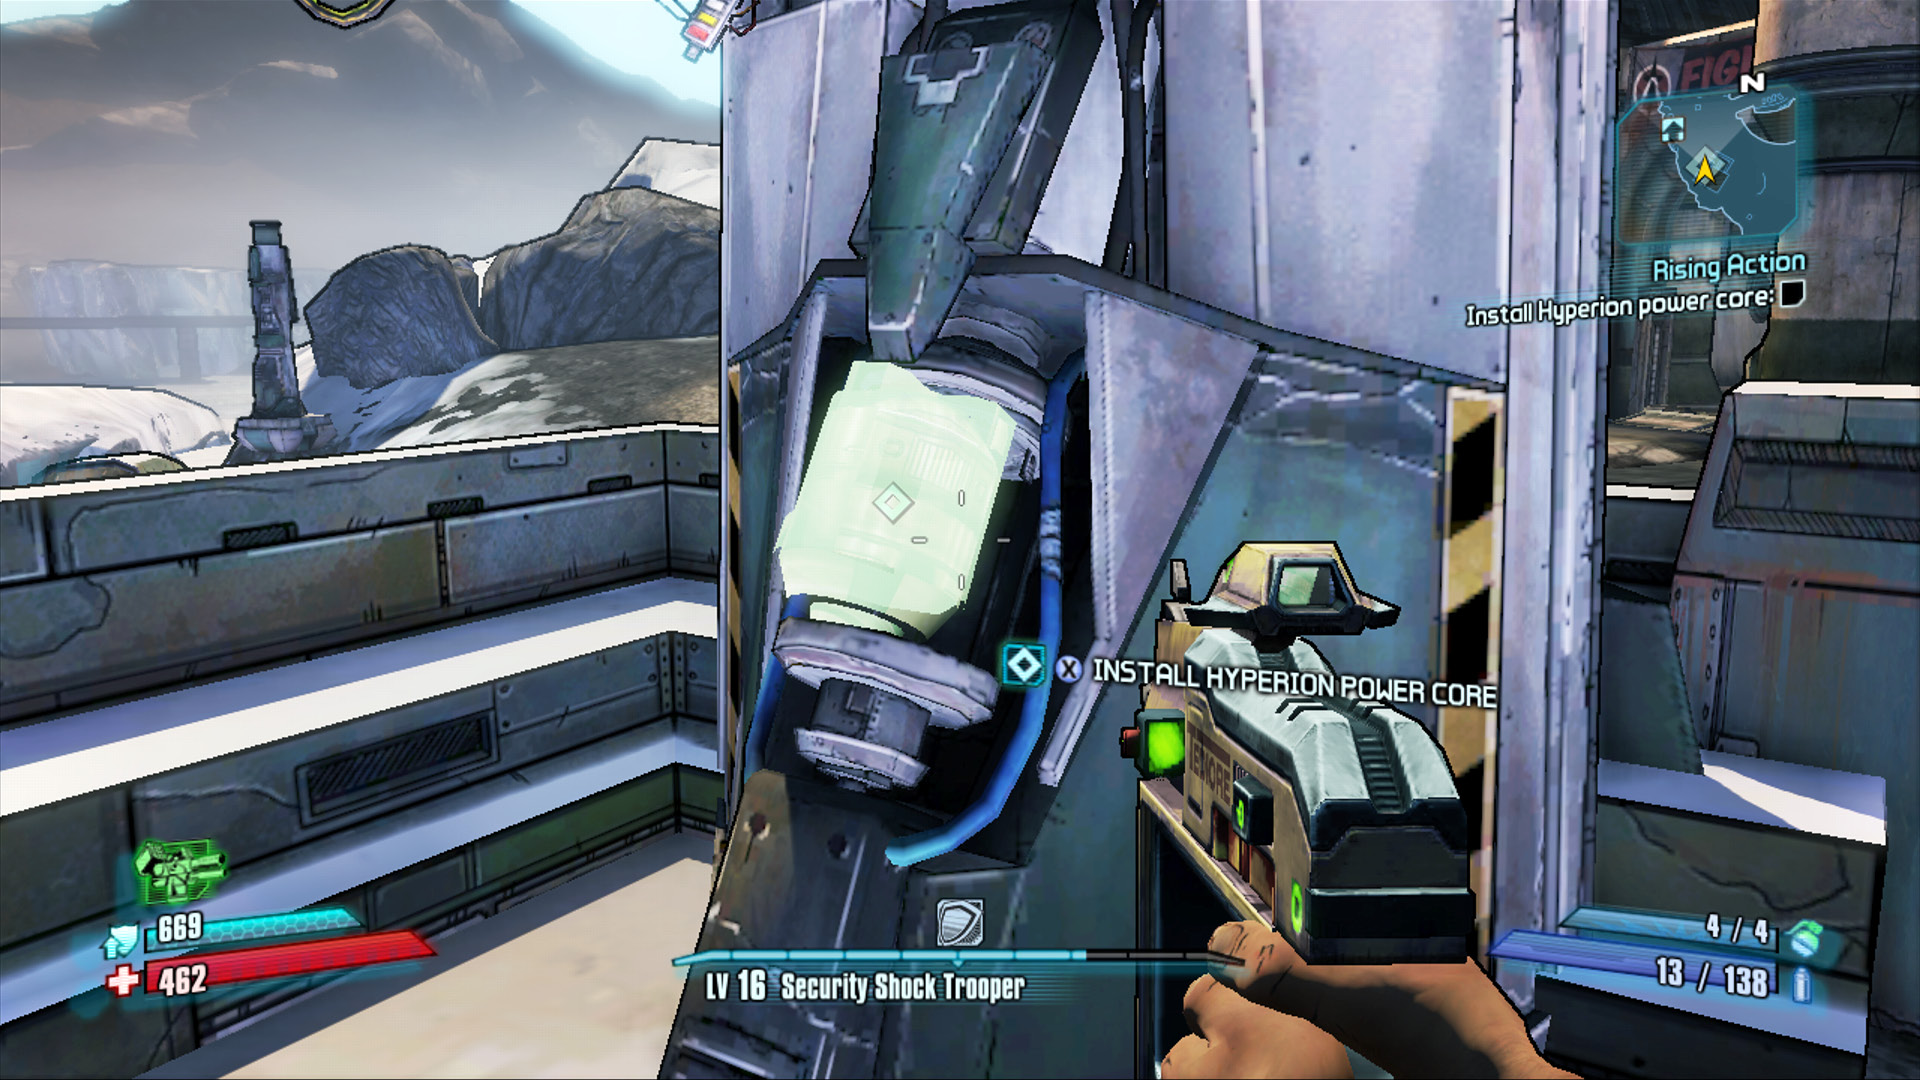
It’s just a Hyperion power core; what could possibly go wrong?
Immediately sprint back to the center of town to assist Scooter with Lilith’s rather crazy plan. Scooter is on the far side of the Sanctuary monument, banging away like mad on the second ignition primer. He needs you to cycle the other two primers. Run back across the central plaza to the first ignition primer, and press the button to cycle it. Repeat the process for the one to the left.
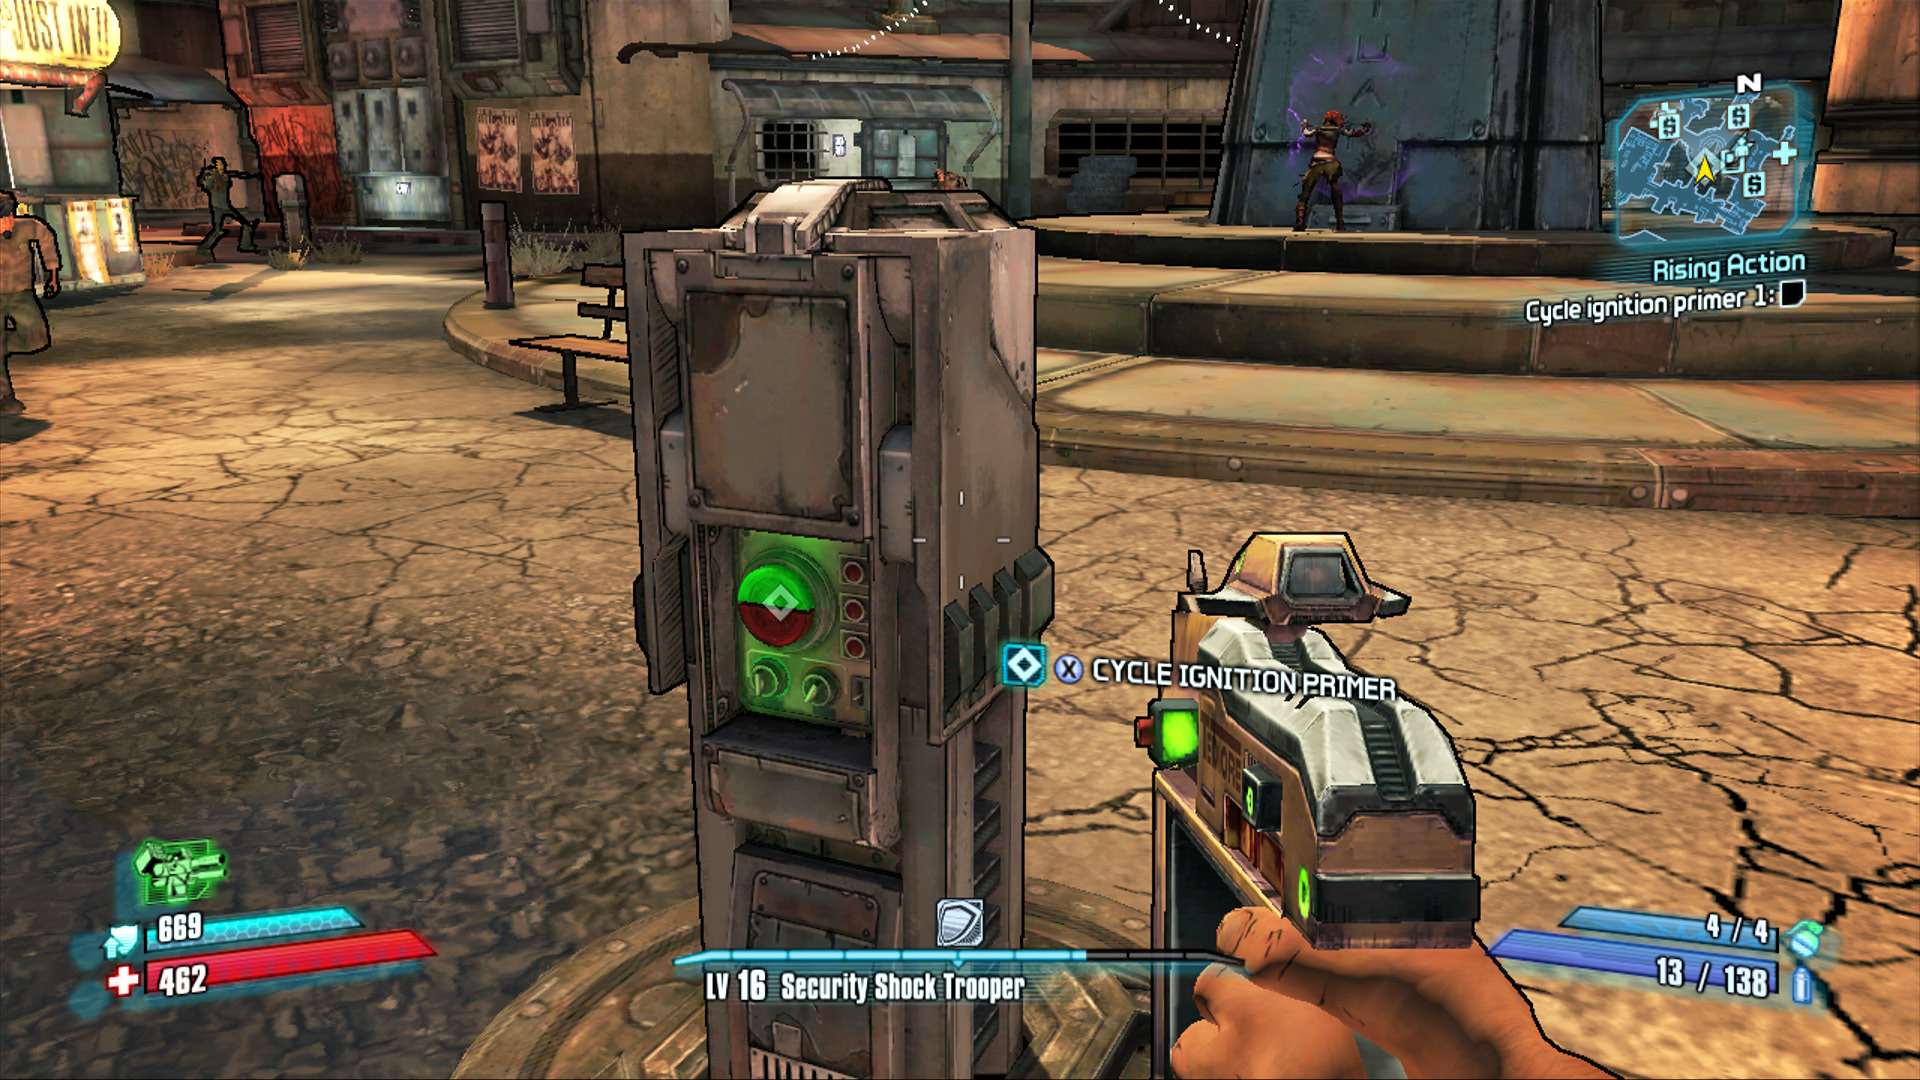
What comes after plan B?
The ignition primers are cycled, and Lilith is doing everything she can to provide the power, but she needs more Eridium. She keeps some in the Crimson Raiders HQ, but debris has fallen and pinned Roland to the floor. Run back to the headquarters and retrieve the five Eridium nuggets from the room at the top of the stairs. Don’t worry about Roland for now; he’ll be fine. Bring the Eridium back to Lilith and, well, you’ll just have to wait and see…
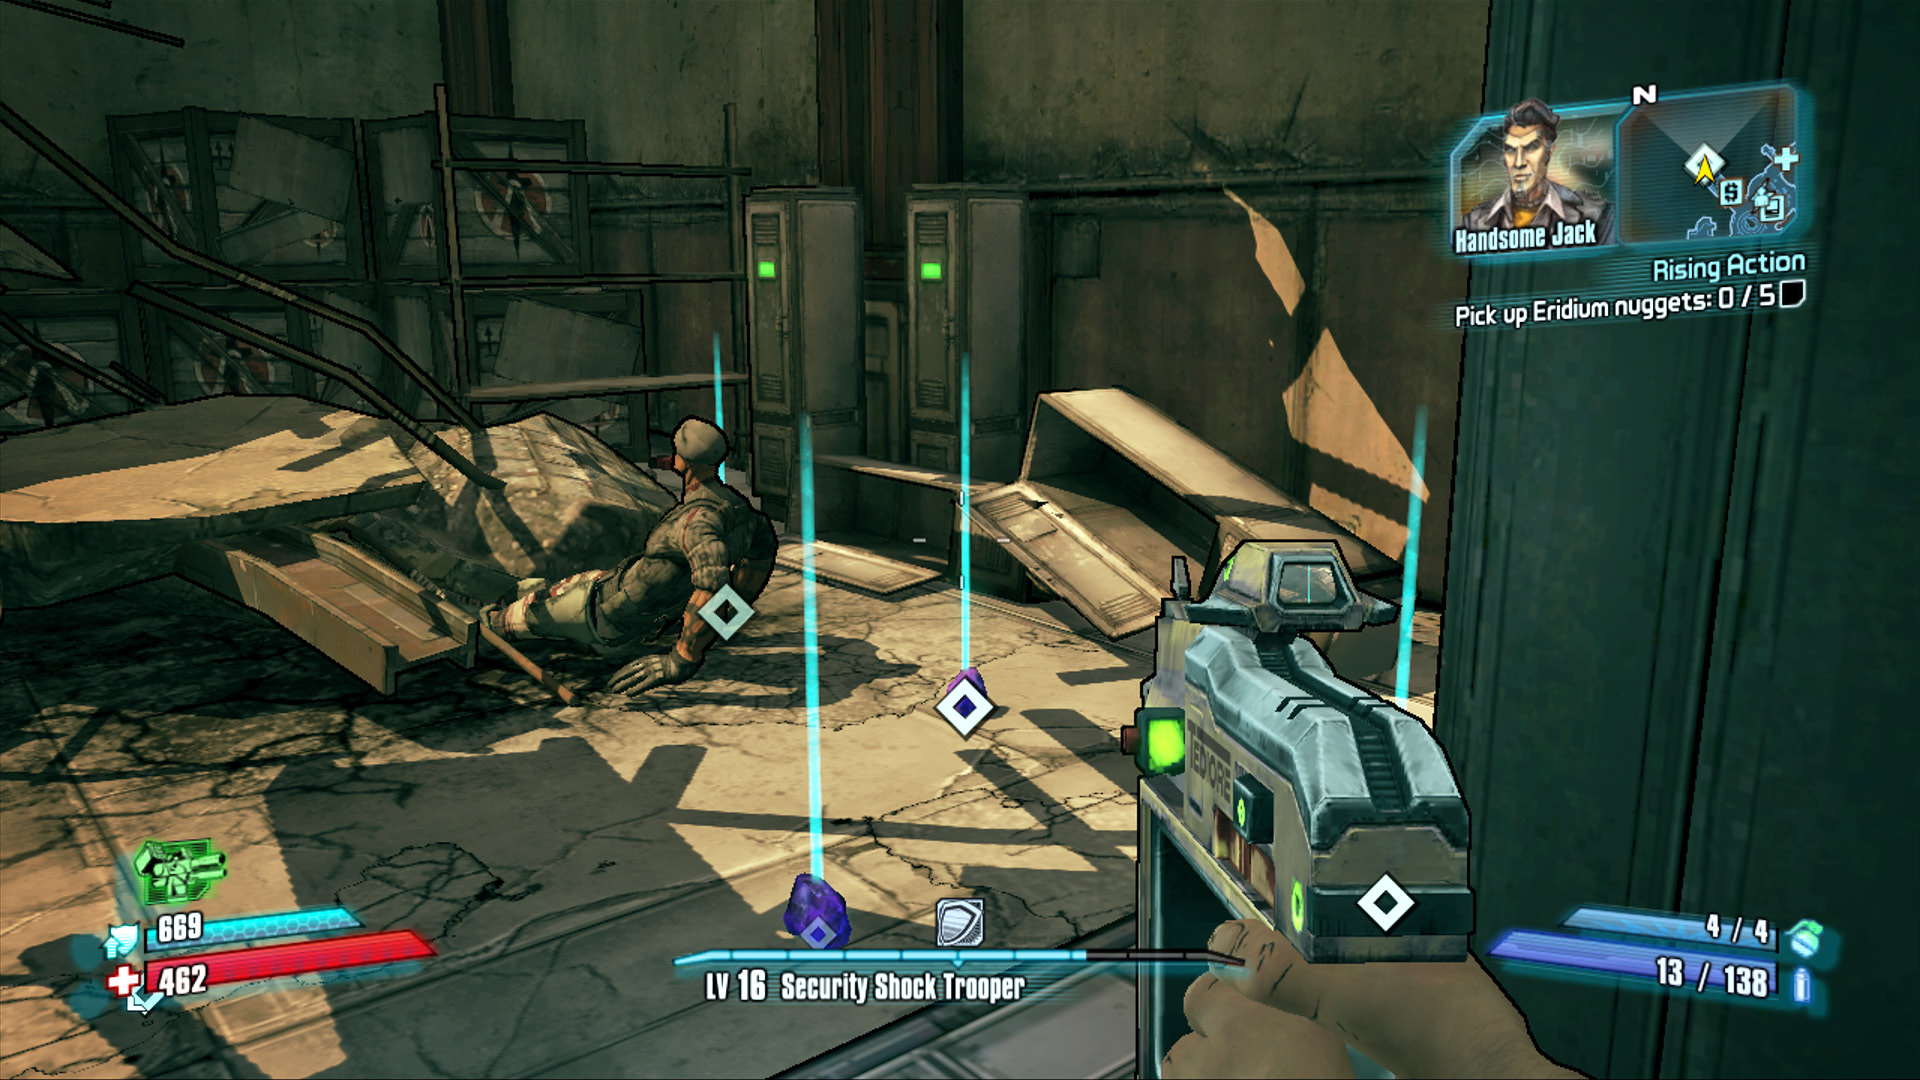
Gather up the Eridium nuggets and bring them to Lilith, pronto!
Alone
So, uh, that just happened. Walk out of Sanctuary and use the Catch-a-Ride to snag a vehicle for the drive to The Fridge. Drive from Three Horns Divide to Three Horns Valley, then head south past the Happy Pig Motel. The entrance to The Fridge is on the north side of Split Skull Bay. Fight your way past the small gaggle of bandits living outside the cave, and press the button on the left to end the mission.
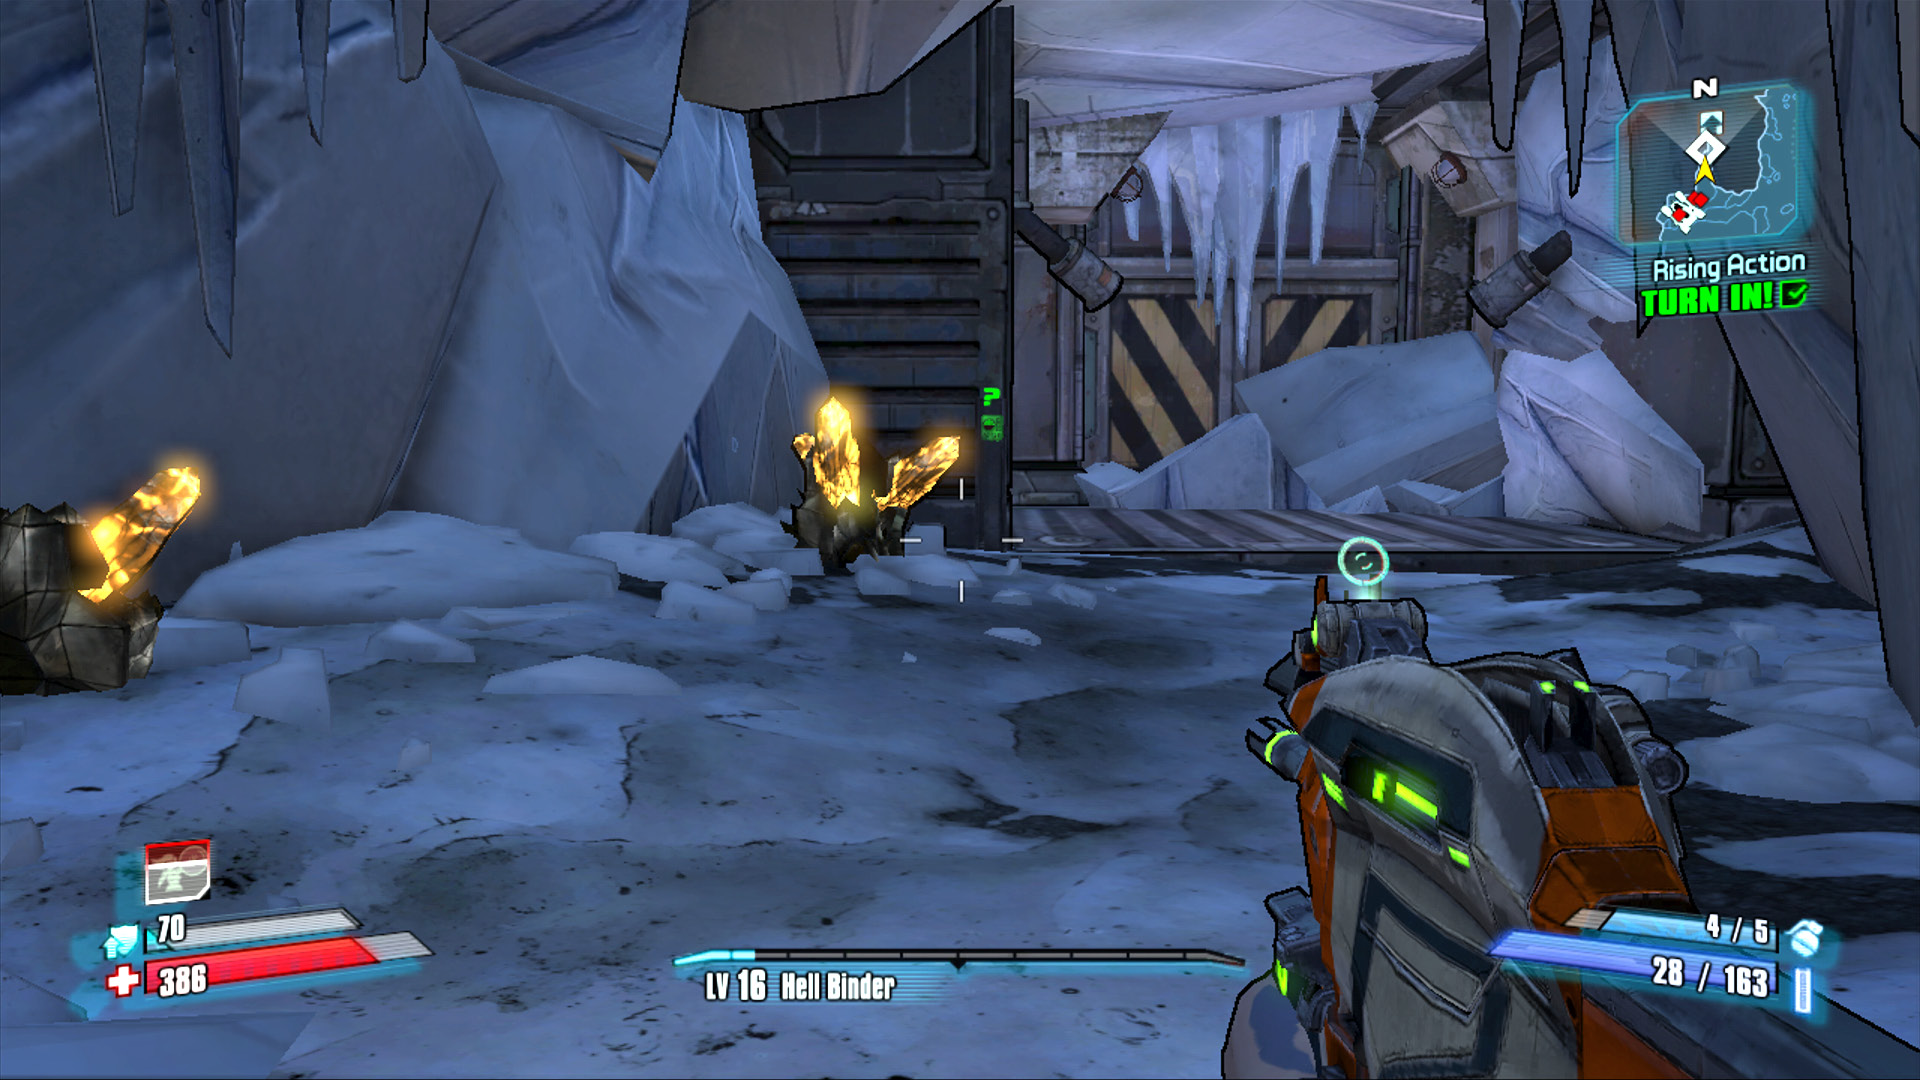
Give those crystals a smack to pick up some extra traveling money before you leave.
The Fridge
This cavern isn’t called The Fridge because it’s cold. It’s called The Fridge because this is where the Tunnel Rats store their food. And nobody likes to go through the trouble of securing a supply of delectable human flesh just to watch it spoil. Rats aside, The Fridge is also home to numerous rakk, as well as one of Pandora’s most unusual creatures, the Volatile Crystalisk. These seemingly inorganic monstrosities appear at odds with the rules of nature, but they are far smarter, deadlier, and more fragile than they appear. Vault Hunters on official business will spend very little time at The Fridge, likely using it for little more than a passage to Highlands Outwash. Those seeking to explore the more flavorful districts within The Fridge will have their choice from a number of optional missions that yield access to all corners of this sprawling area.
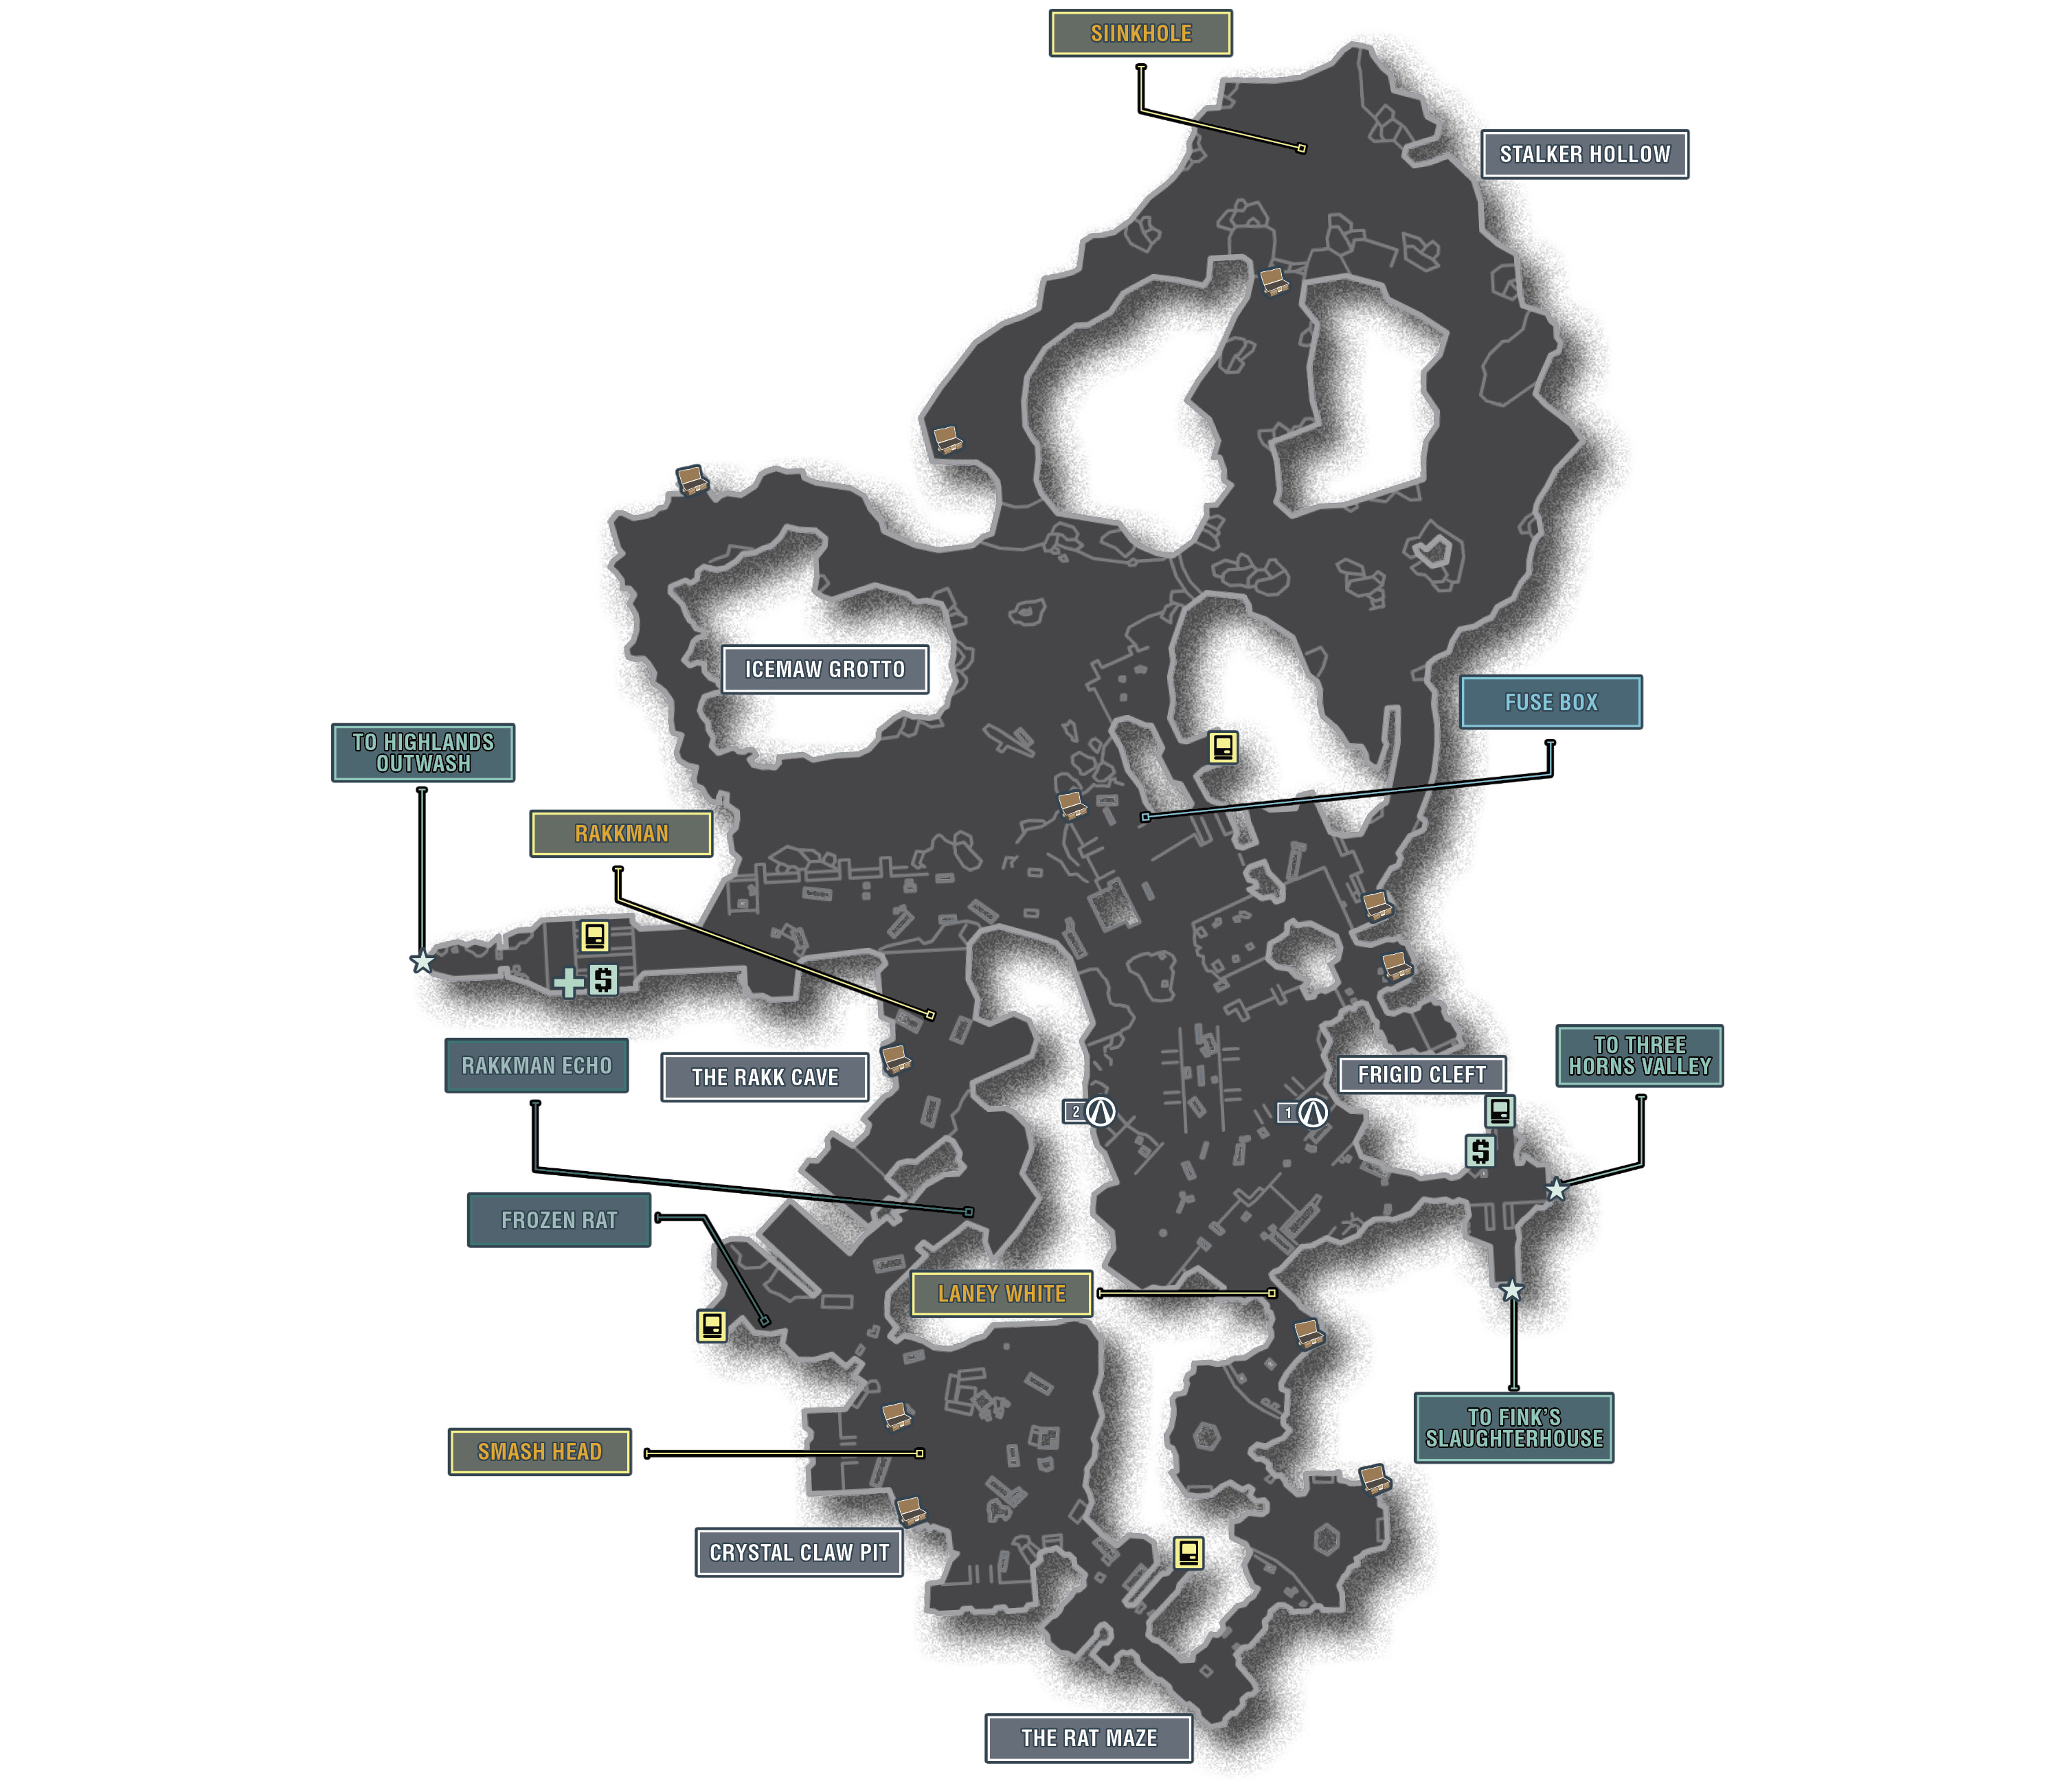
The Districts of The Fridge
| Locale | Limited Access? | First Visit |
|---|---|---|
|
Frigid Cleft |
No |
“Bright Lights, Flying City” story mission. |
|
Icemaw Grotto |
No |
“Bright Lights, Flying City” story mission. |
|
The Rat Maze |
Yes |
“The Cold Shoulder” optional mission. |
|
Crystal Claw Pit |
Yes |
“The Cold Shoulder” optional mission. |
|
The Rakk Cave |
Yes |
“The Cold Shoulder” optional mission. |
|
Stalker Hollow |
Yes |
“Swallowed Whole” optional mission. |
Dangerous Beasts
High Value Targets
| Enemy | Family |
|---|---|
|
Laney White |
Rat |
|
Rakkman |
Psycho |
|
Sinkhole |
Stalker |
|
Smash Head |
Goliath |
 Cult of the Vault
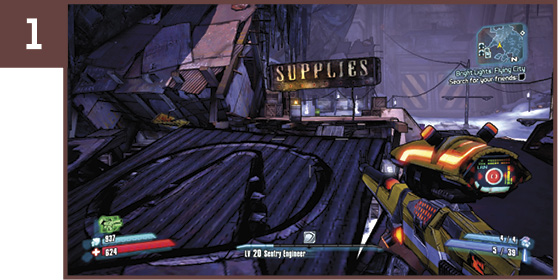
The very first Cult of the Vault symbol is located near the entrance from Three Horns Valley. Advance down the initial path, and round the corner to the right near the street. Climb up the rocks to reach the roof of the shed opposite the “Supplies” sign to find the symbol on the roof of the shed.
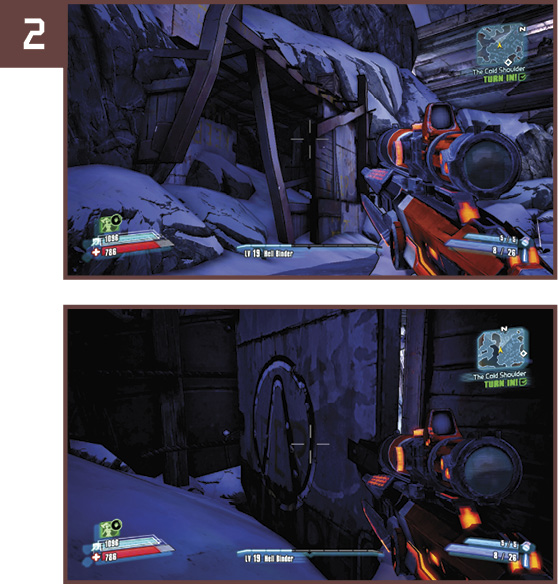
The second Cult of the Vault symbol is essentially just across the ice from the first but farther north and closer to Icemaw Grotto. It’s on the opposite side of a wooden wall set into the rocks just before you pass under the destroyed overpass that you can jump across later on.
Trapped Rat
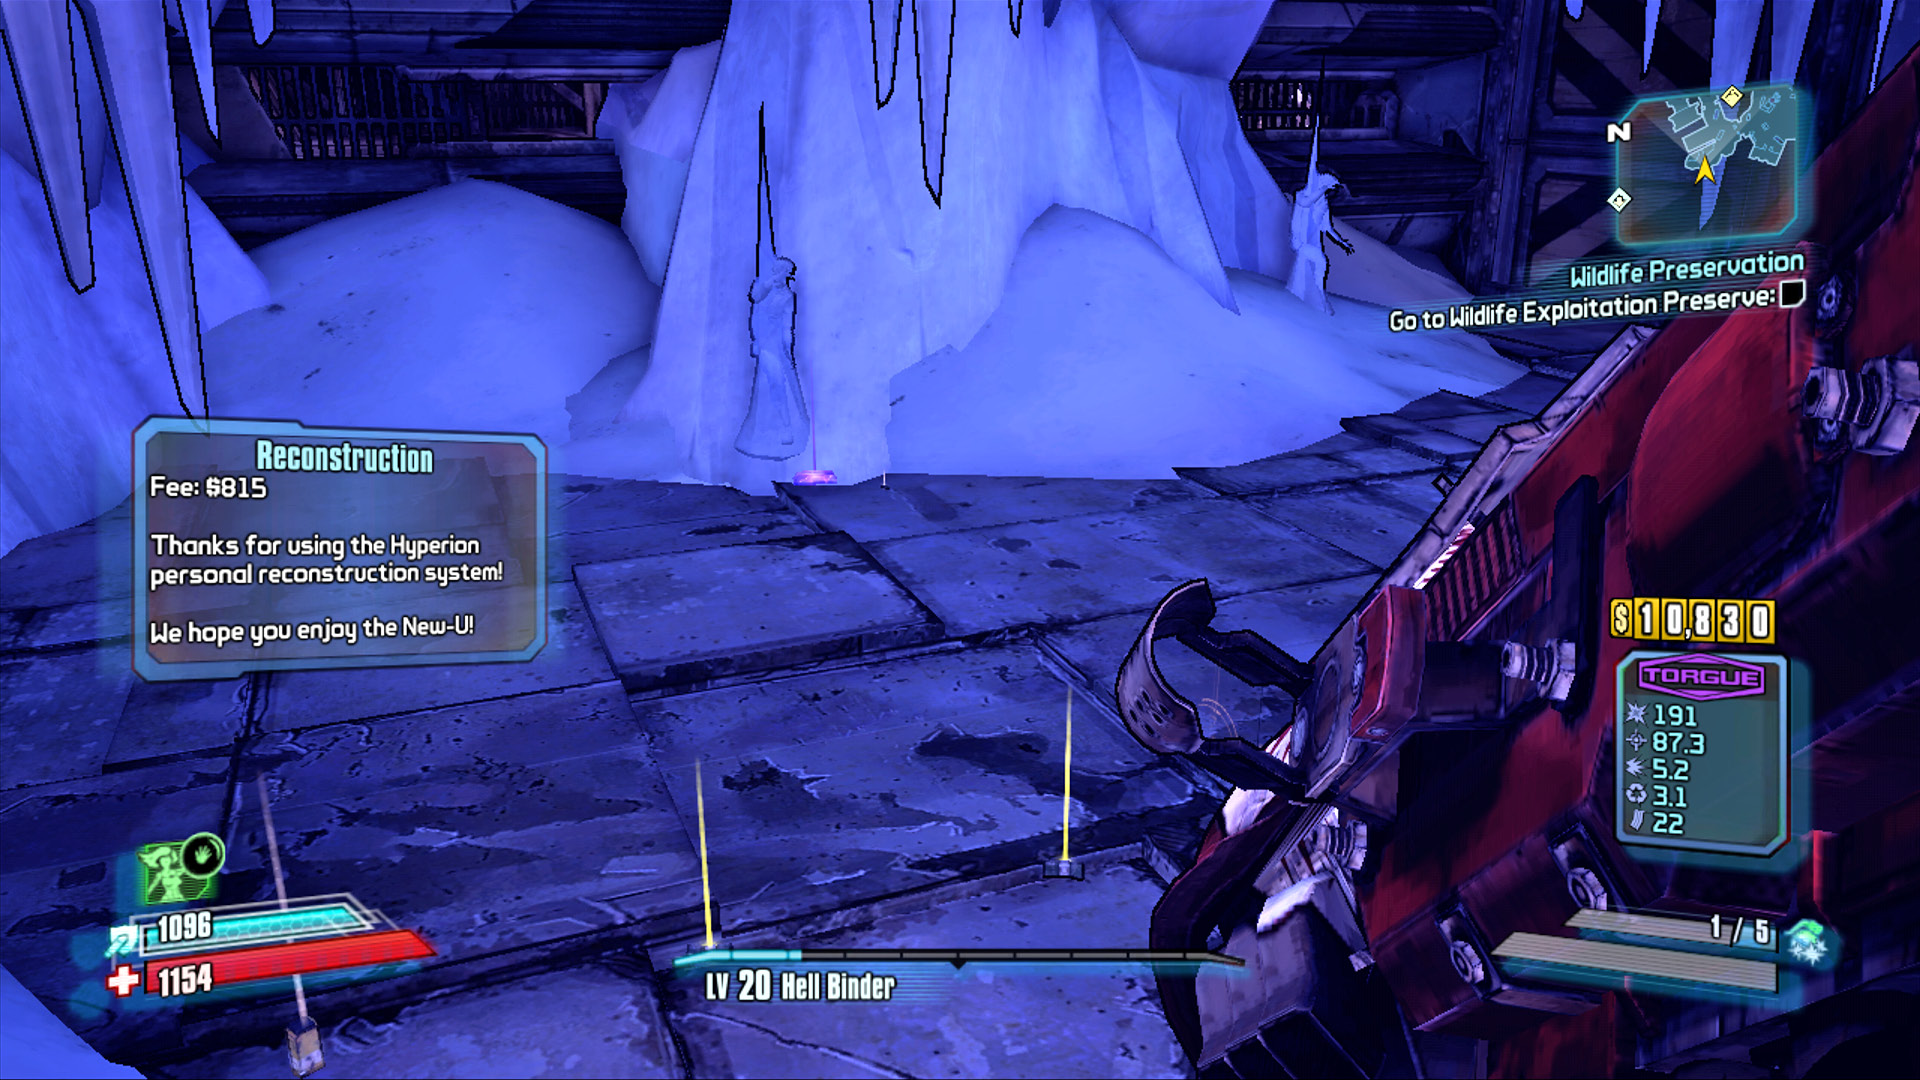
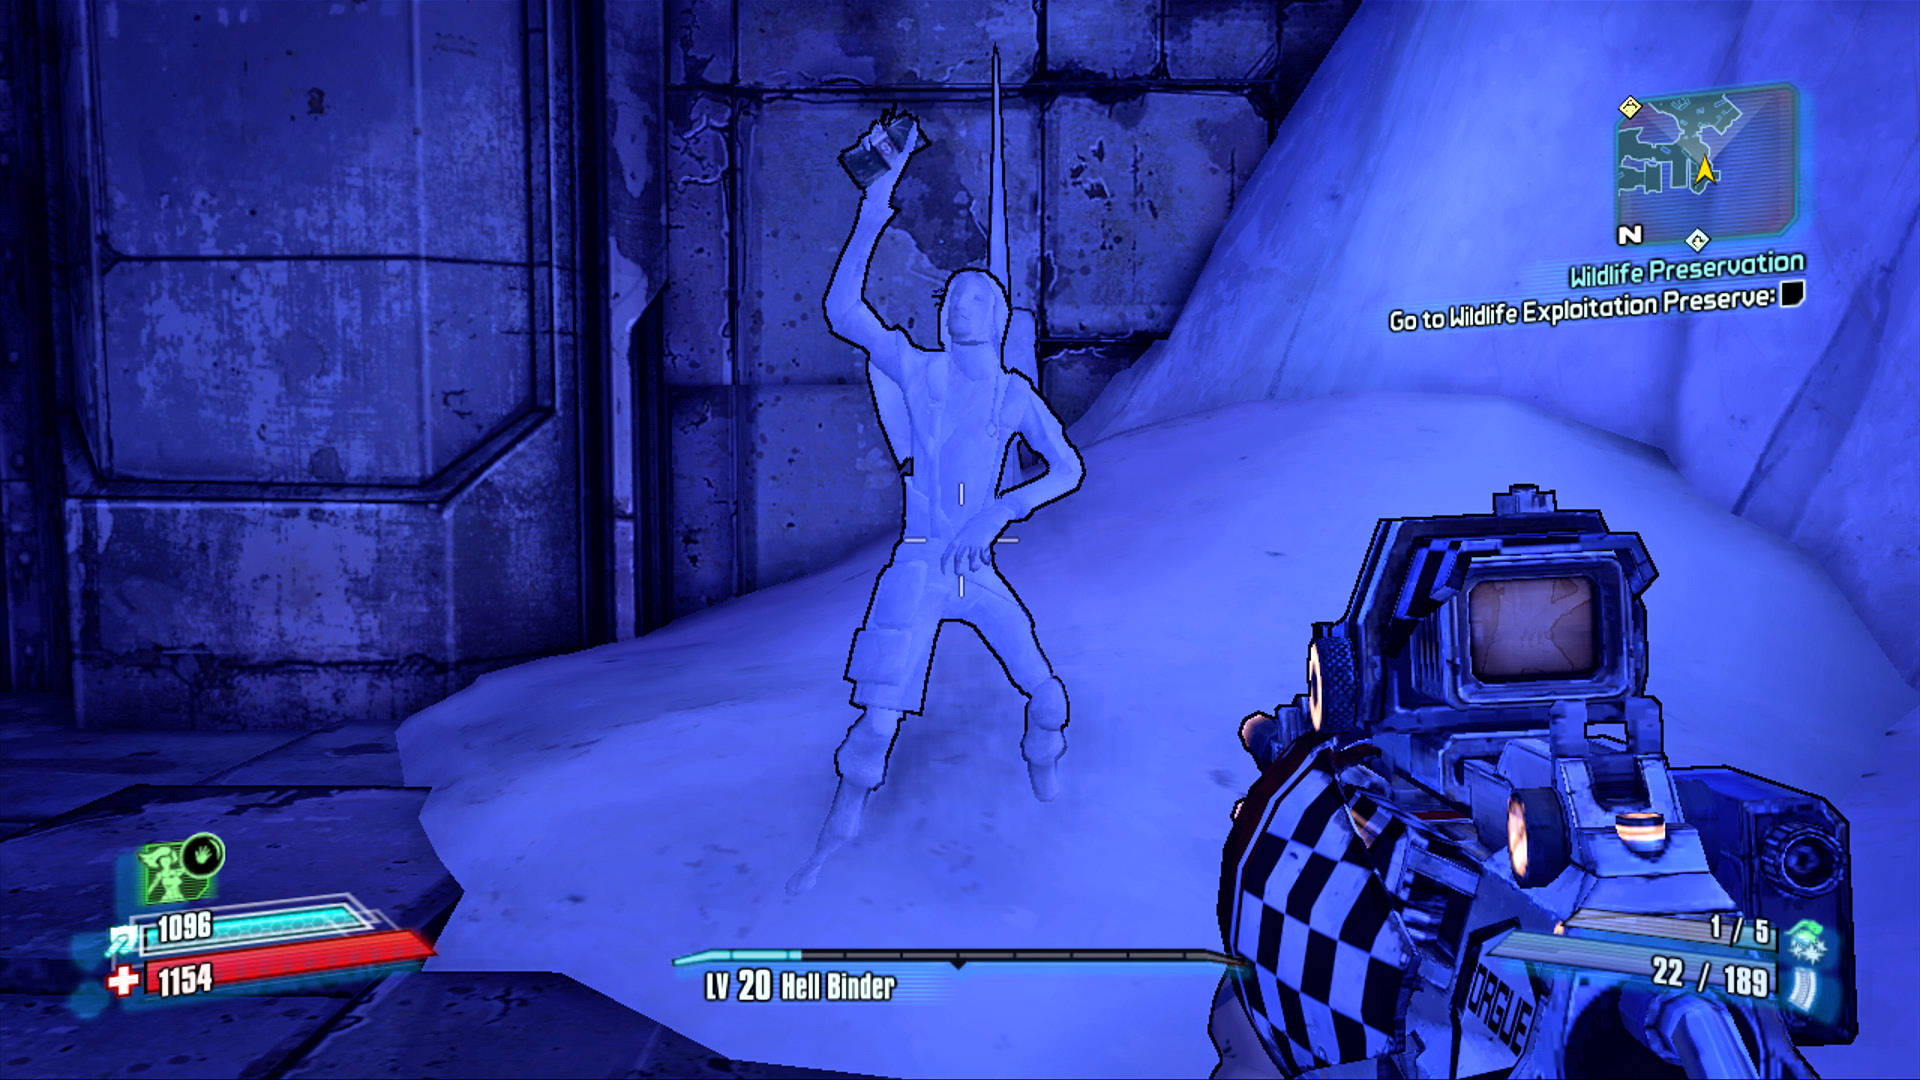
Finding the frozen rat requires a bit of ingenuity and for you to accept “The Cold Shoulder” optional mission to at least gain access to The Rat Maze and areas beyond it. Make your way through the Crystal Claw Pit and continue northwest toward The Rakk Cave. Note the locked door on the left (the valve won’t turn) in the hallway just north of Crystal Claw Pit. Enter the small alcove to the right of it, and take aim through the window. Shoot the frozen corpses in the locked room to reveal a hidden New-U station. Now, either allow a nearby enemy to kill you, or take your rocket launcher and fire it at your feet. This lets you respawn in the locked room, just steps away from the frozen rat corpse you’re seeking. Unlock the door from the inside to exit.
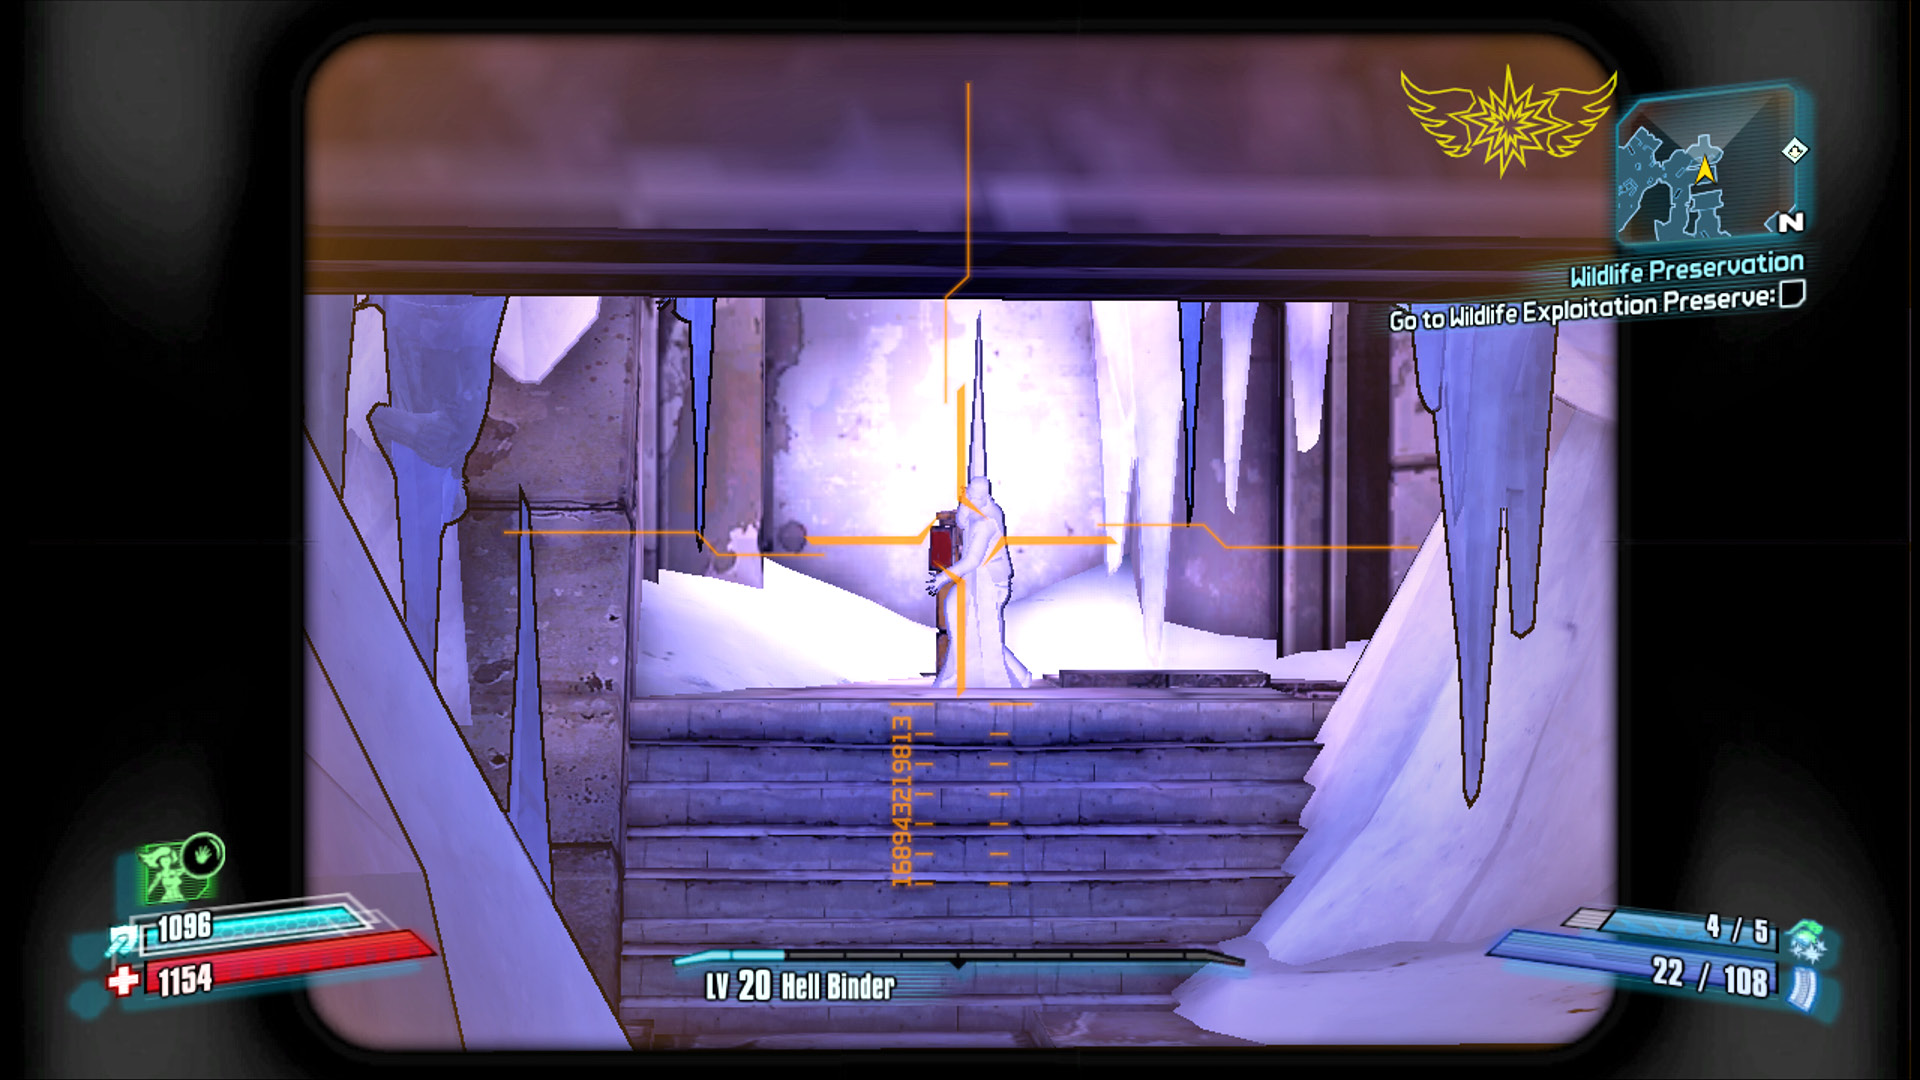
The Rakk Knight
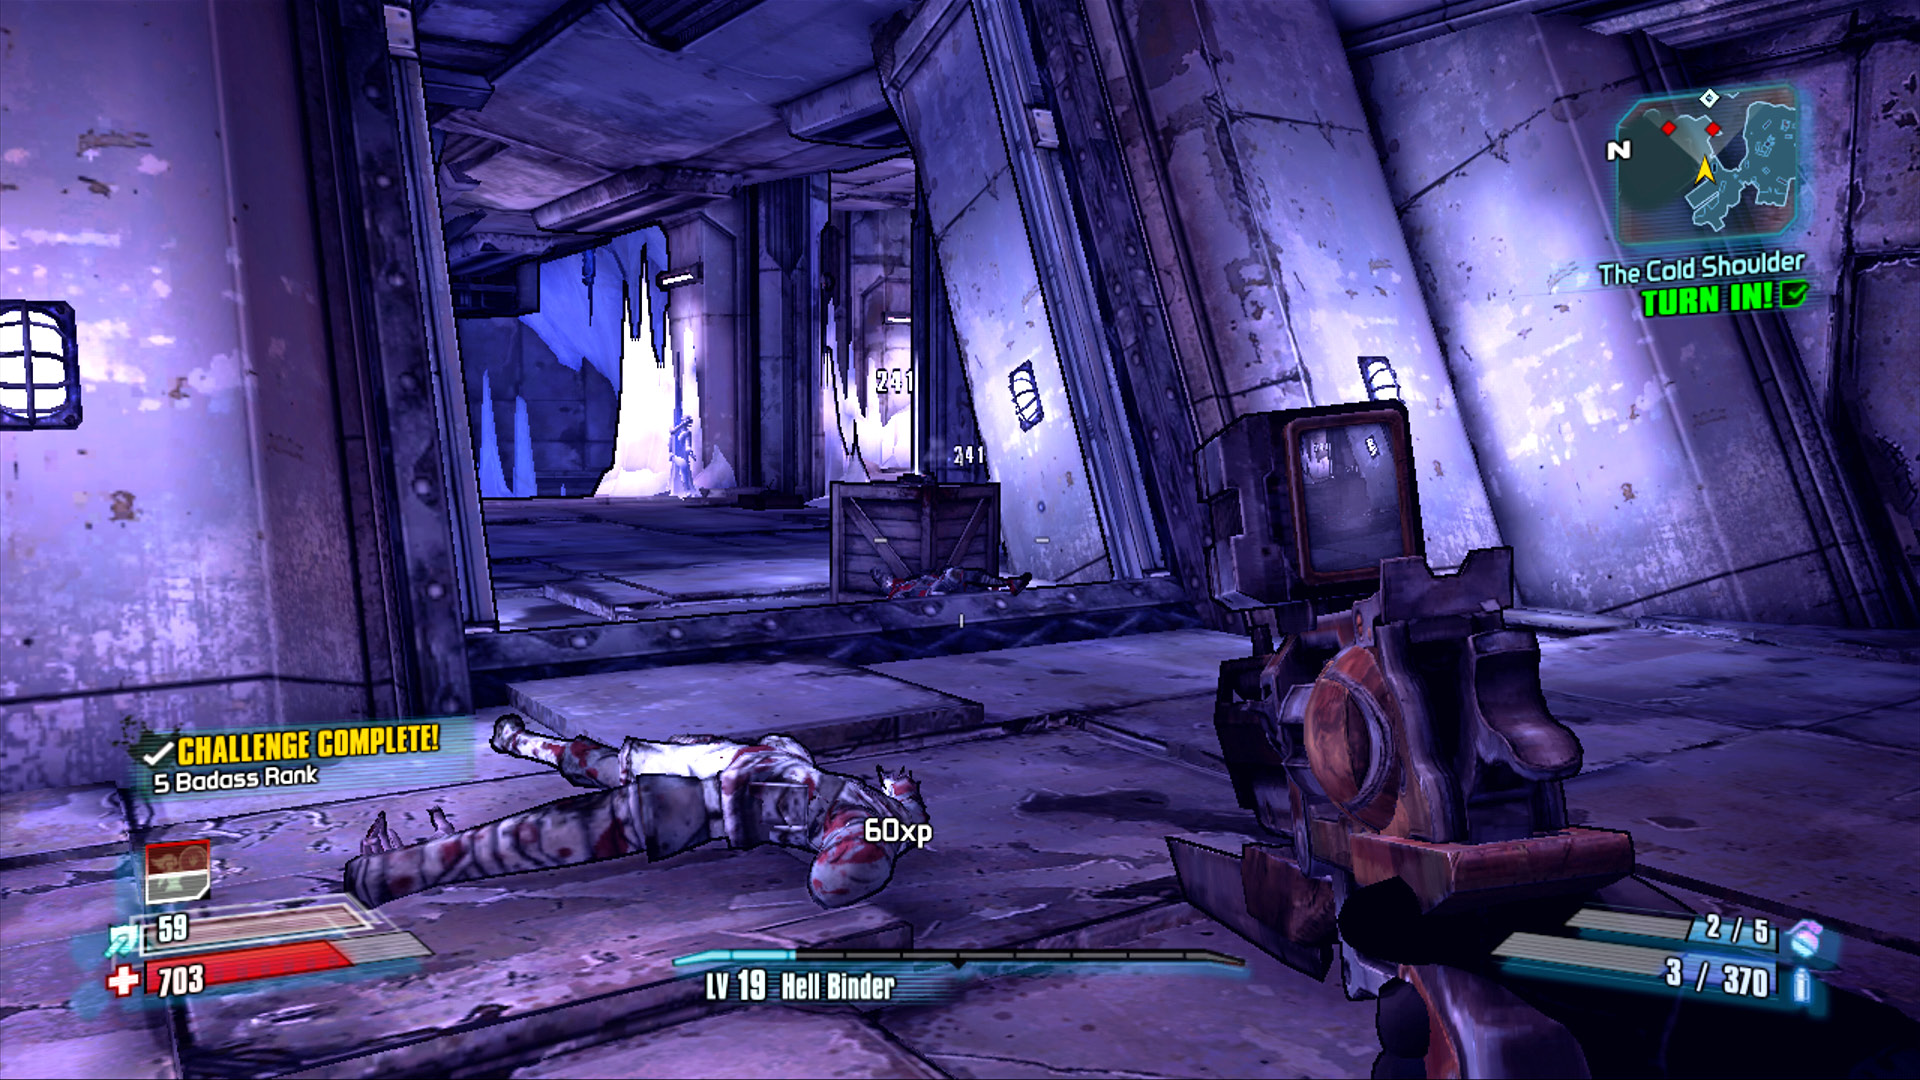
Complete this Challenge by locating the ECHO Recorder atop a crate as you make your way from the Crystal Claw Pit to The Rakk Cave. This series of areas in the south end of The Fridge is initially accessible during “The Cold Shoulder” optional mission, though you needn’t journey this far at that time. The “Note for Self-Person” mission leads you within steps of this ECHO Recorder.
Additional Challenges
It’s off to Hell We Go: Kill all of Laney’s midget companions before killing Laney herself (see “The Cold Shoulder” optional mission for details).
Fairest of Them All: Kill Laney before any of her midget companions die (see “The Cold Shoulder” optional mission for details).
Fink’s Slaughterhouse
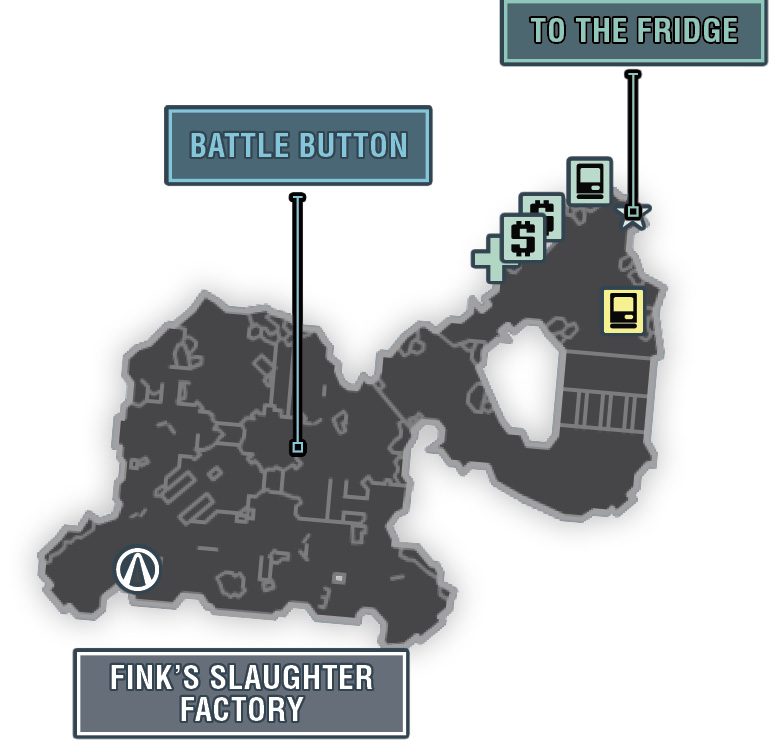
After Handsome Jack burned her Underdome to the ground, Moxxi established three separate Circles of Slaughter across Pandora’s surface. She put the first under the control of a Tunnel Rat named Fink. Today, Fink’s Slaughterhouse remains the number one destination for bandit-on-bandit combat. This cavernous arena has two distinct elevations on the southern end and a helpful island-like pedestal in the center. The majority of enemies enter from the southern corners of the map, but it’s not unheard of to square off against a squadron of Buzzards flying in from above.
The Districts of Fink’s Slaughterhouse
| Locale | Limited Access? | First Visit |
|---|---|---|
|
Fink’s Slaughter Factory |
No |
“Bandit Slaughter: Round 1” optional mission. |
Dangerous Beasts
High Value Targets
| Enemy | Family |
|---|---|
|
— |
— |
 Cult of the Vault
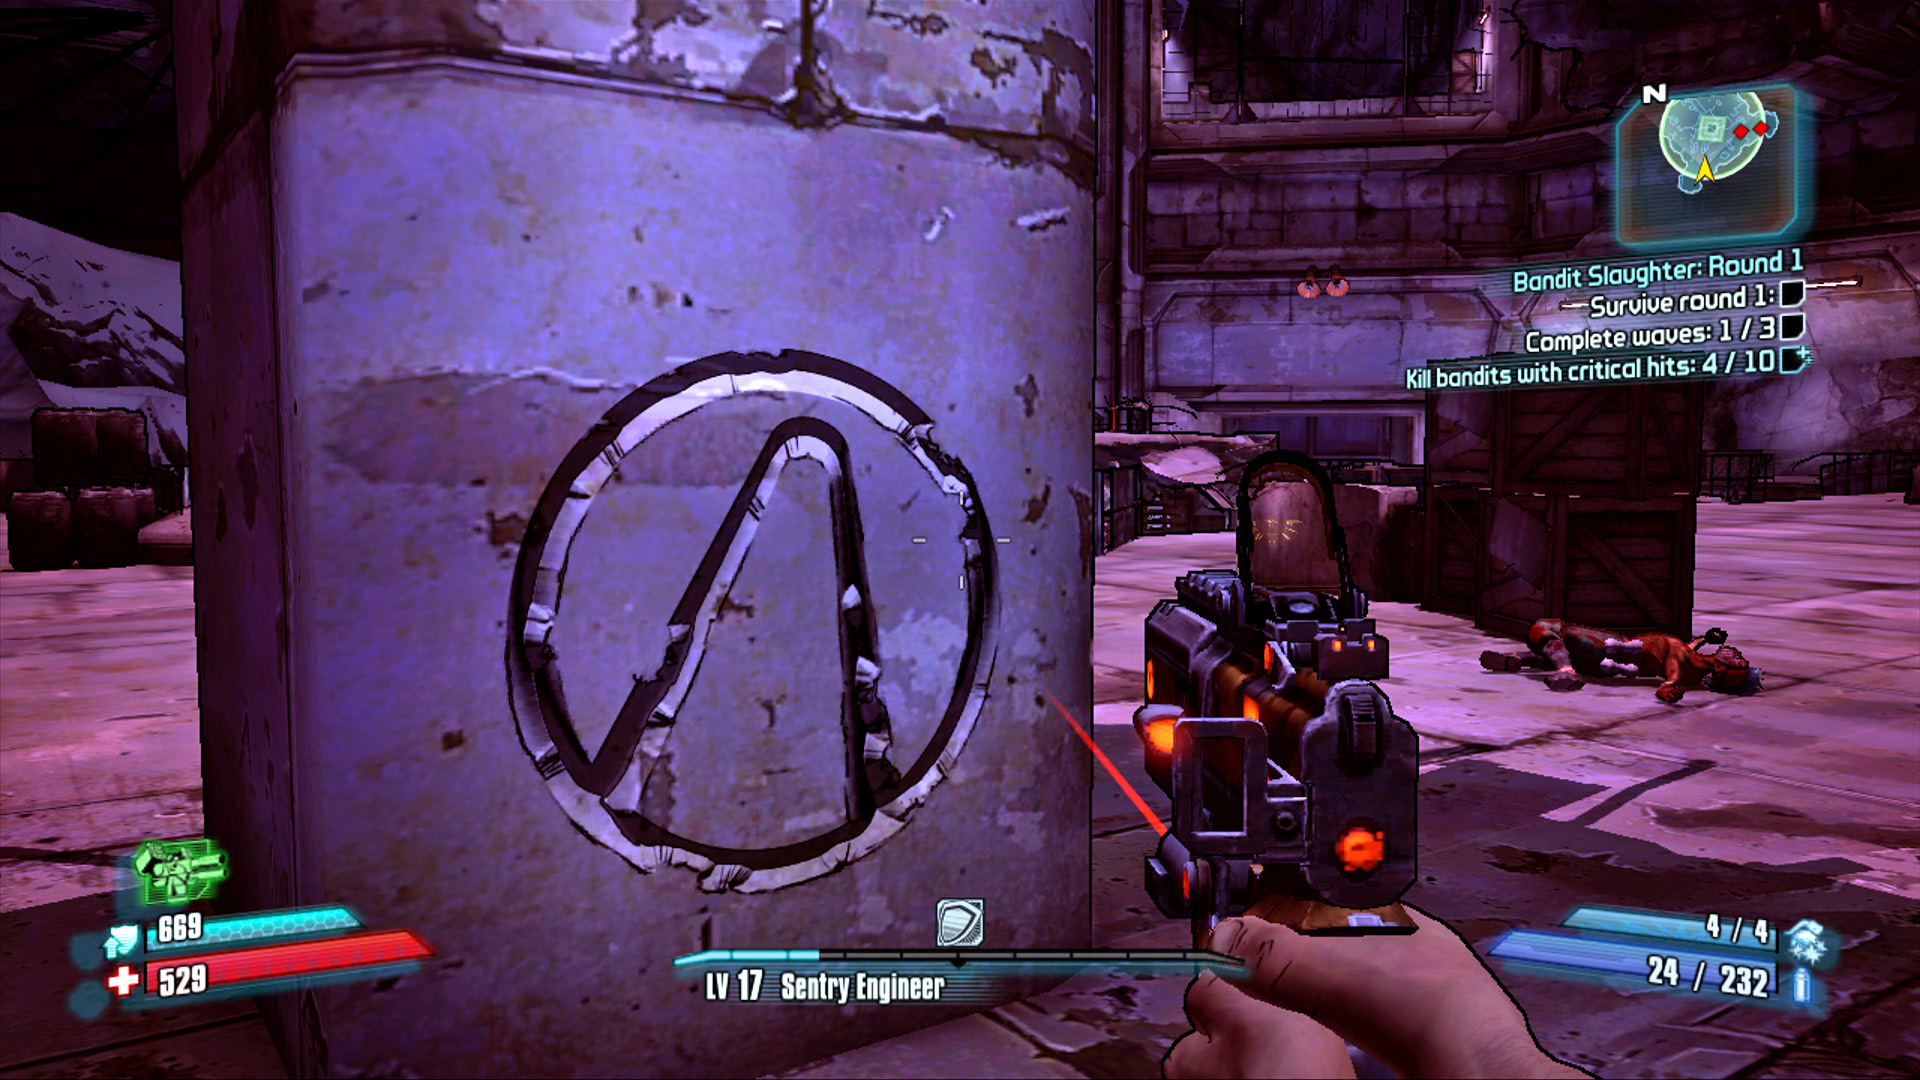
The Cult of the Vault symbol is behind the large stone pillar in the southwestern corner of the area. The pillar is located on the upper level.
Highlands Outwash
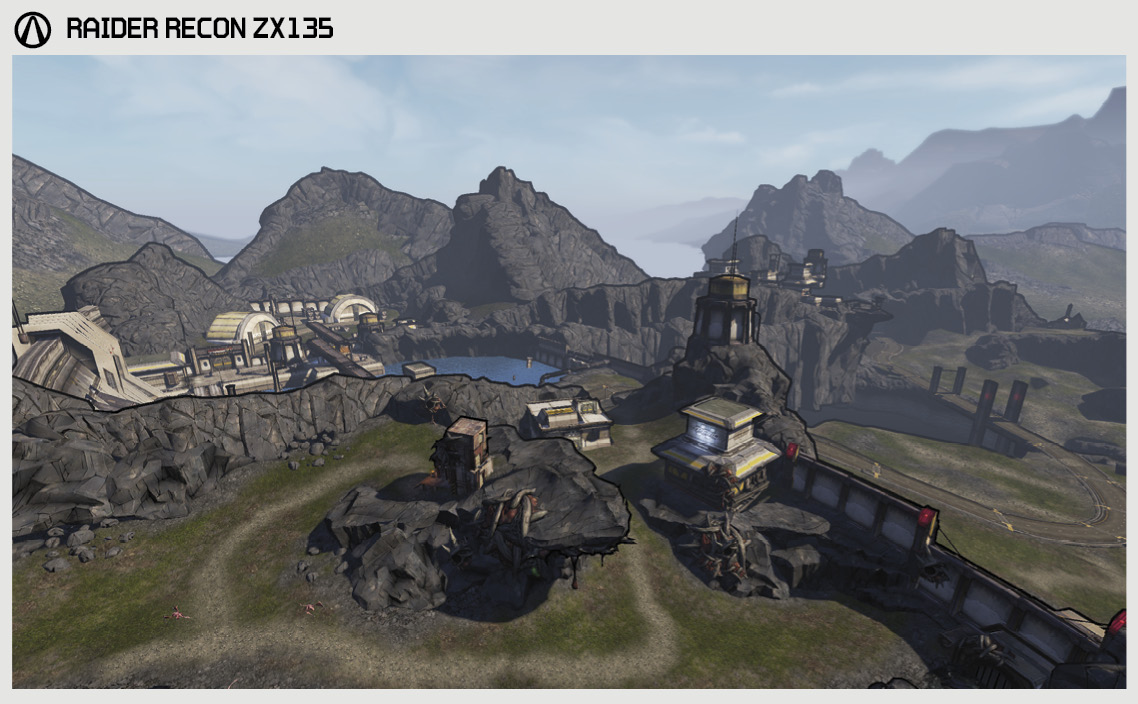
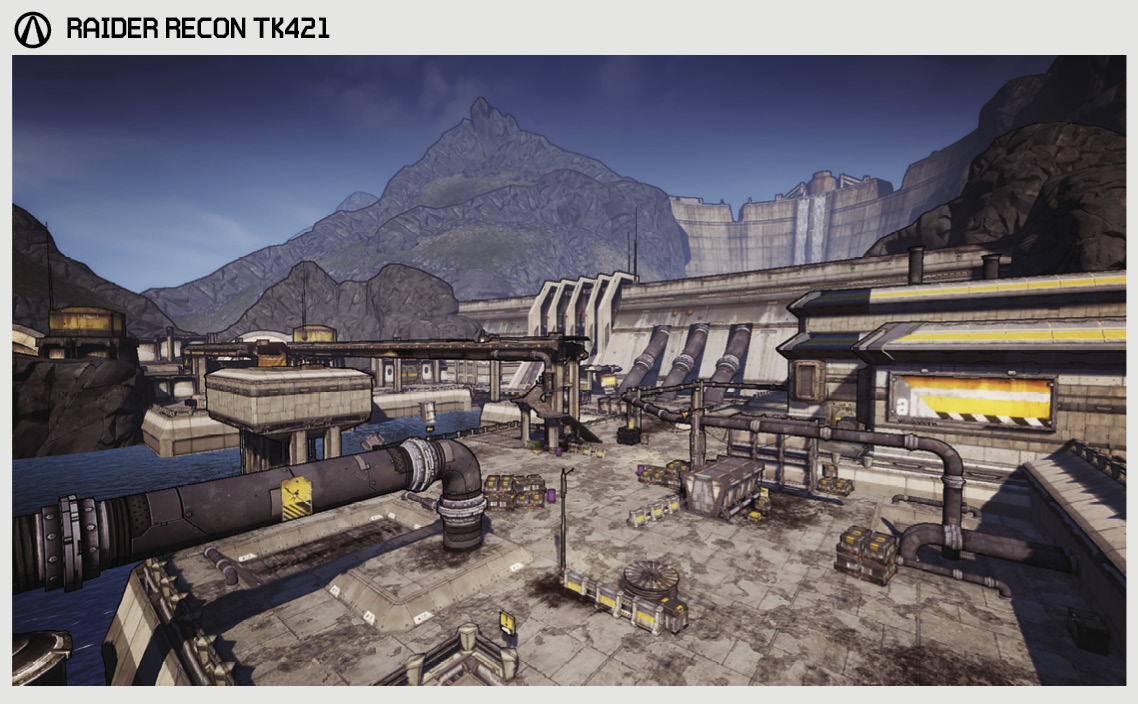
Essentially a large offshoot of the neighboring region, Highlands Outwash contains both a hilly landscape as well as a large industrial complex built aside a reservoir. Hyperion set up their base of operations out here to establish an Eridium refinement facility and then defend that refined Eridium from native creatures, roving bandits, and well, us.
However, the heavily guarded Hyperion facility is really the least of our worries. The many Stalkers that inhabit the uplands of this area are tenacious attackers that boast a cloaking ability unlike any seen on any natural creature. Those in possession of a Shock weapon would do well to have it on hand to deal with these annoyances. Worse yet, there have been reports of a large Thresher in the area, apparently disturbed by Hyperion’s activities. Maybe it’s best to just let Hyperion take care of that one.
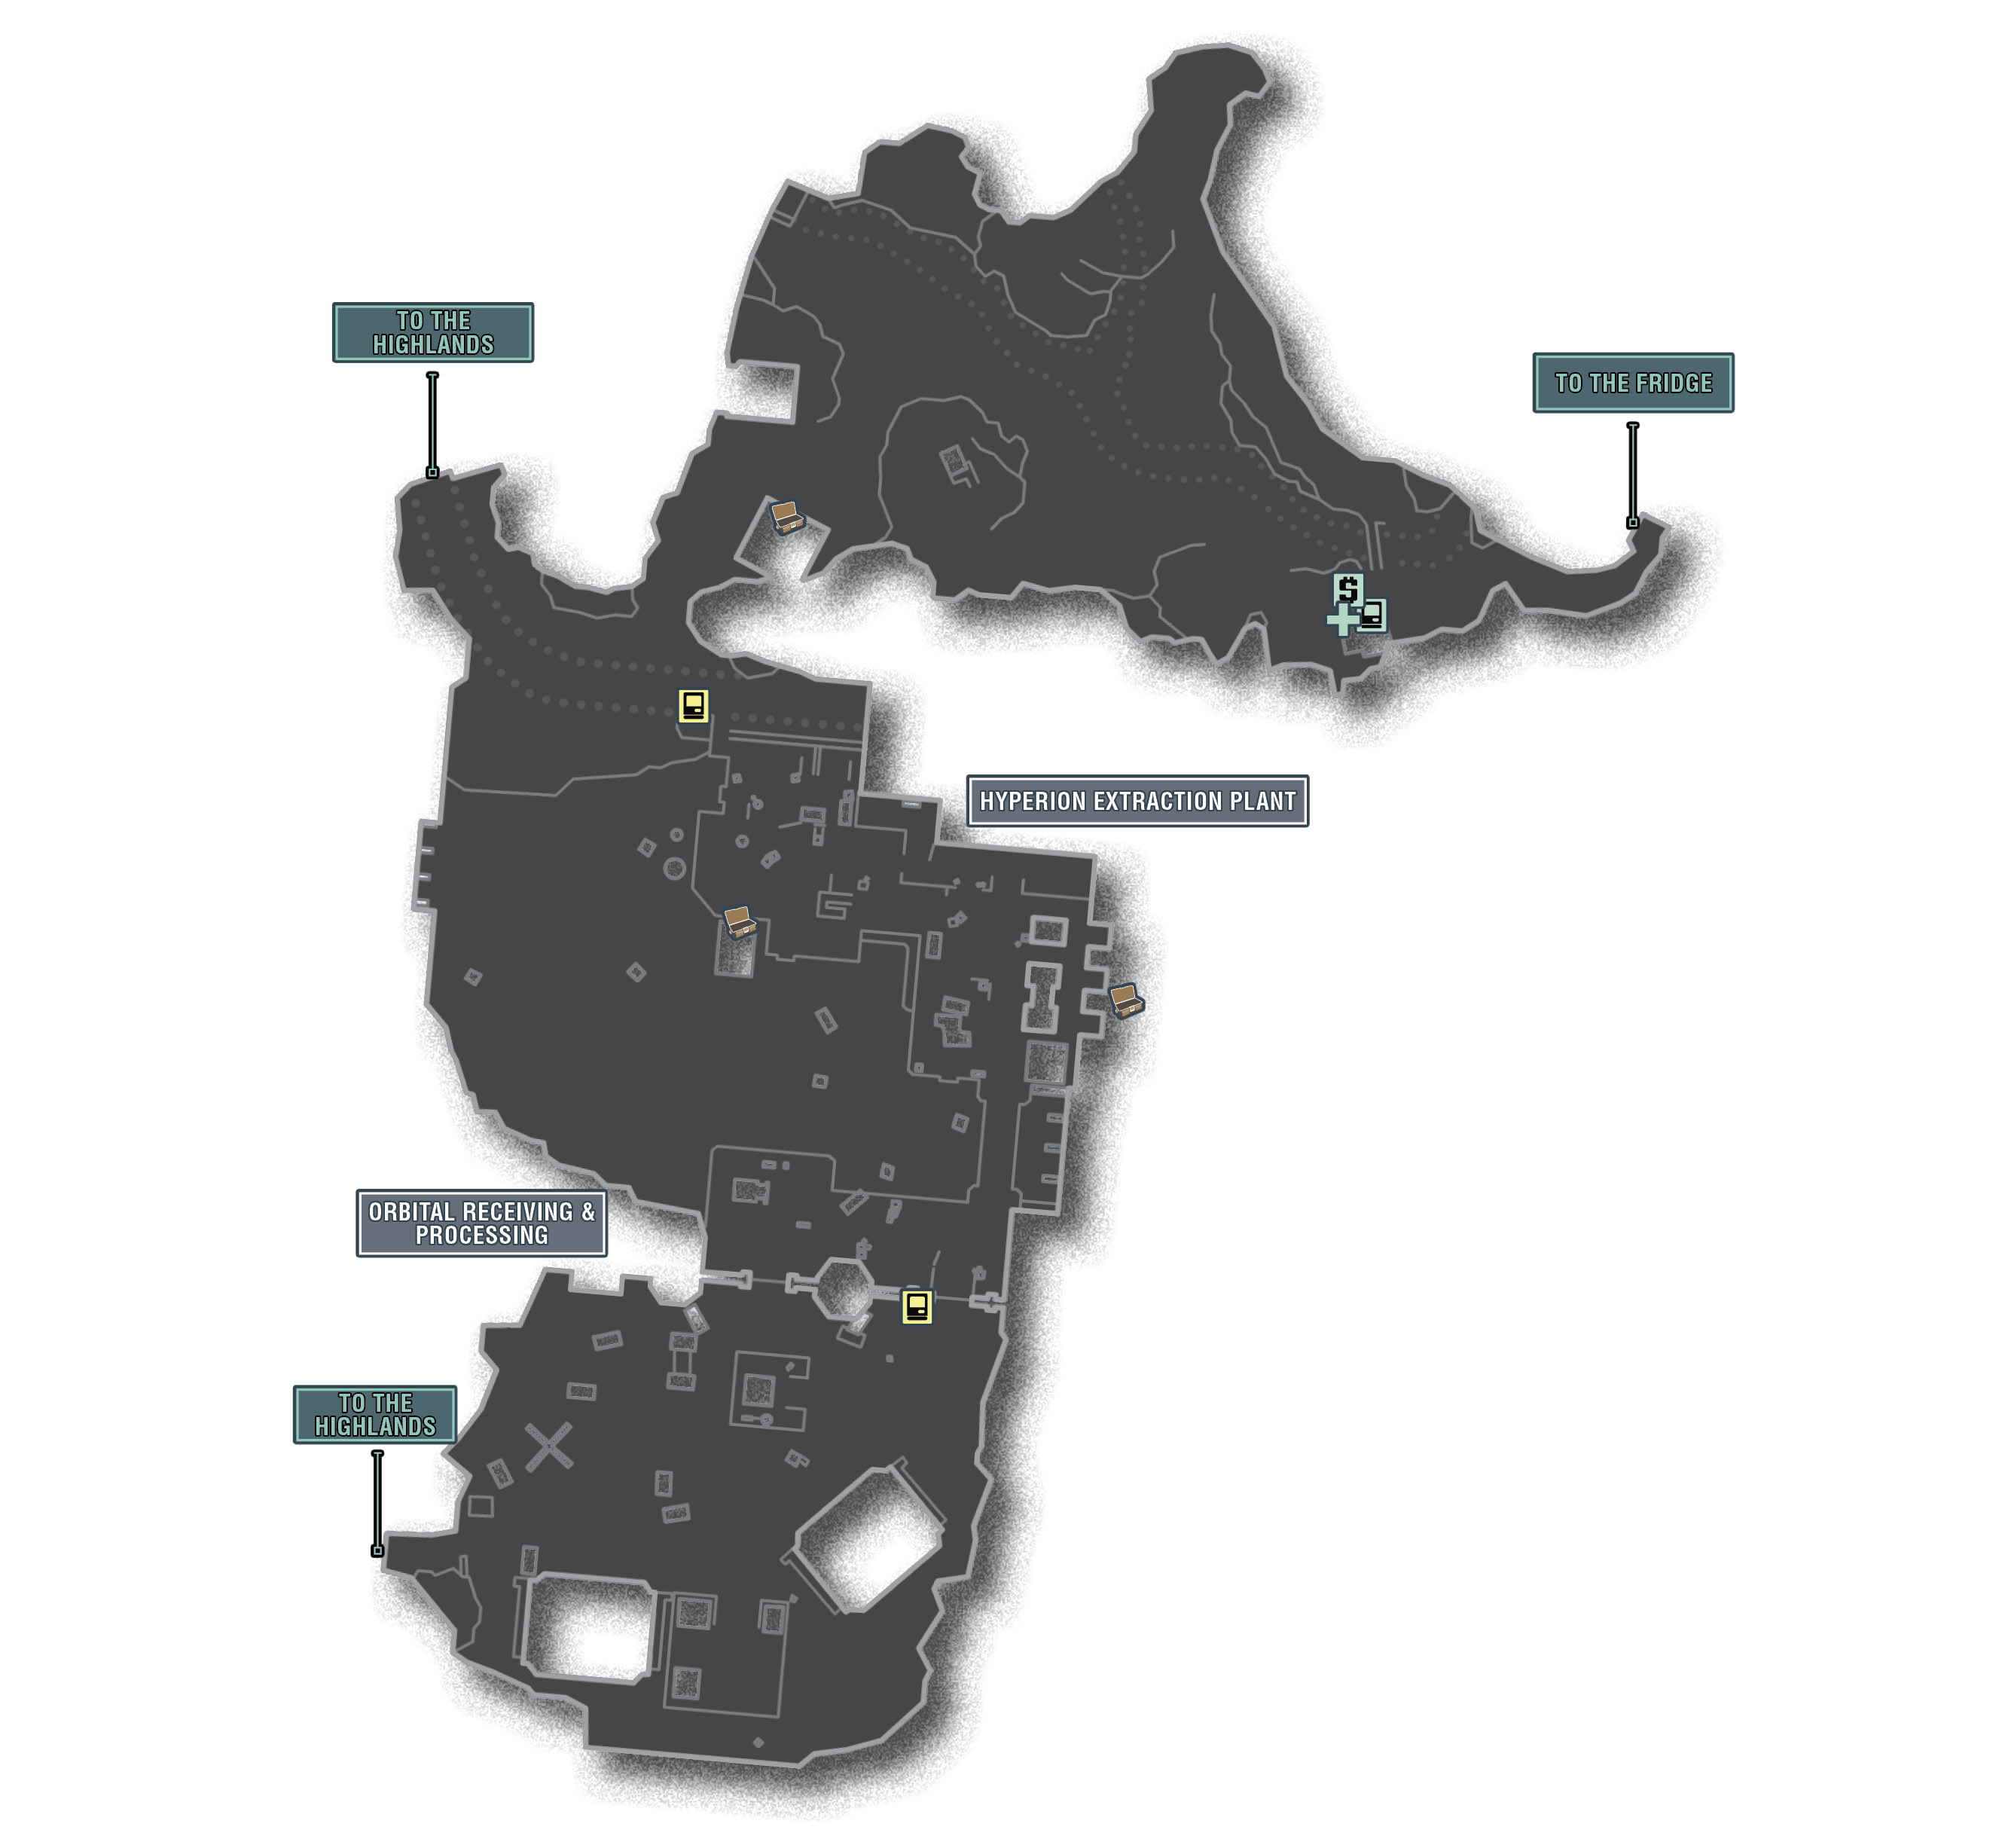
The Districts of Highlands Outwash
| Locale | Limited Access? | First Visit |
|---|---|---|
|
Hyperion Extraction Plant |
No |
“Bright Lights, Flying City” story mission. |
|
Orbital Receiving & Processing |
No |
“Bright Lights, Flying City” story mission. |
High Value Targets
| Enemy | Family |
|---|---|
|
Gluttonous Thresher |
Thresher |
Dangerous Beasts
The Highlands
The Highlands are proof that lush, verdant environments can be just as deadly as arid, brown ones. While you’re unlikely to die of thirst out here, you’ll still have to contend with invisible Stalkers, subterranean Threshers, and the nearly omnipresent Hyperion forces. The Highlands is one of the largest regions on Pandora and contains nearly a dozen districts, many of them completely overrun with the aforementioned threats. True to its name, The Highlands is dominated by a large mountain range located in the center of the region. A paved road loops around the base of the mountain from the Hyperion-controlled Aggregate Acquisition Area in the northeast to the Hyperion Bridge leading to the city of Opportunity in the south, with numerous dirt roads and trails that wind their way through the hills in all corners.
As dangerous as The Highlands are, they apparently aren’t strictly “uninhabitable.” The small town of Overlook lies to the northwest of the area, though its populace has been suffering quite badly under Hyperion’s oppression. Still worth a visit for the kickin’ Irish pub.
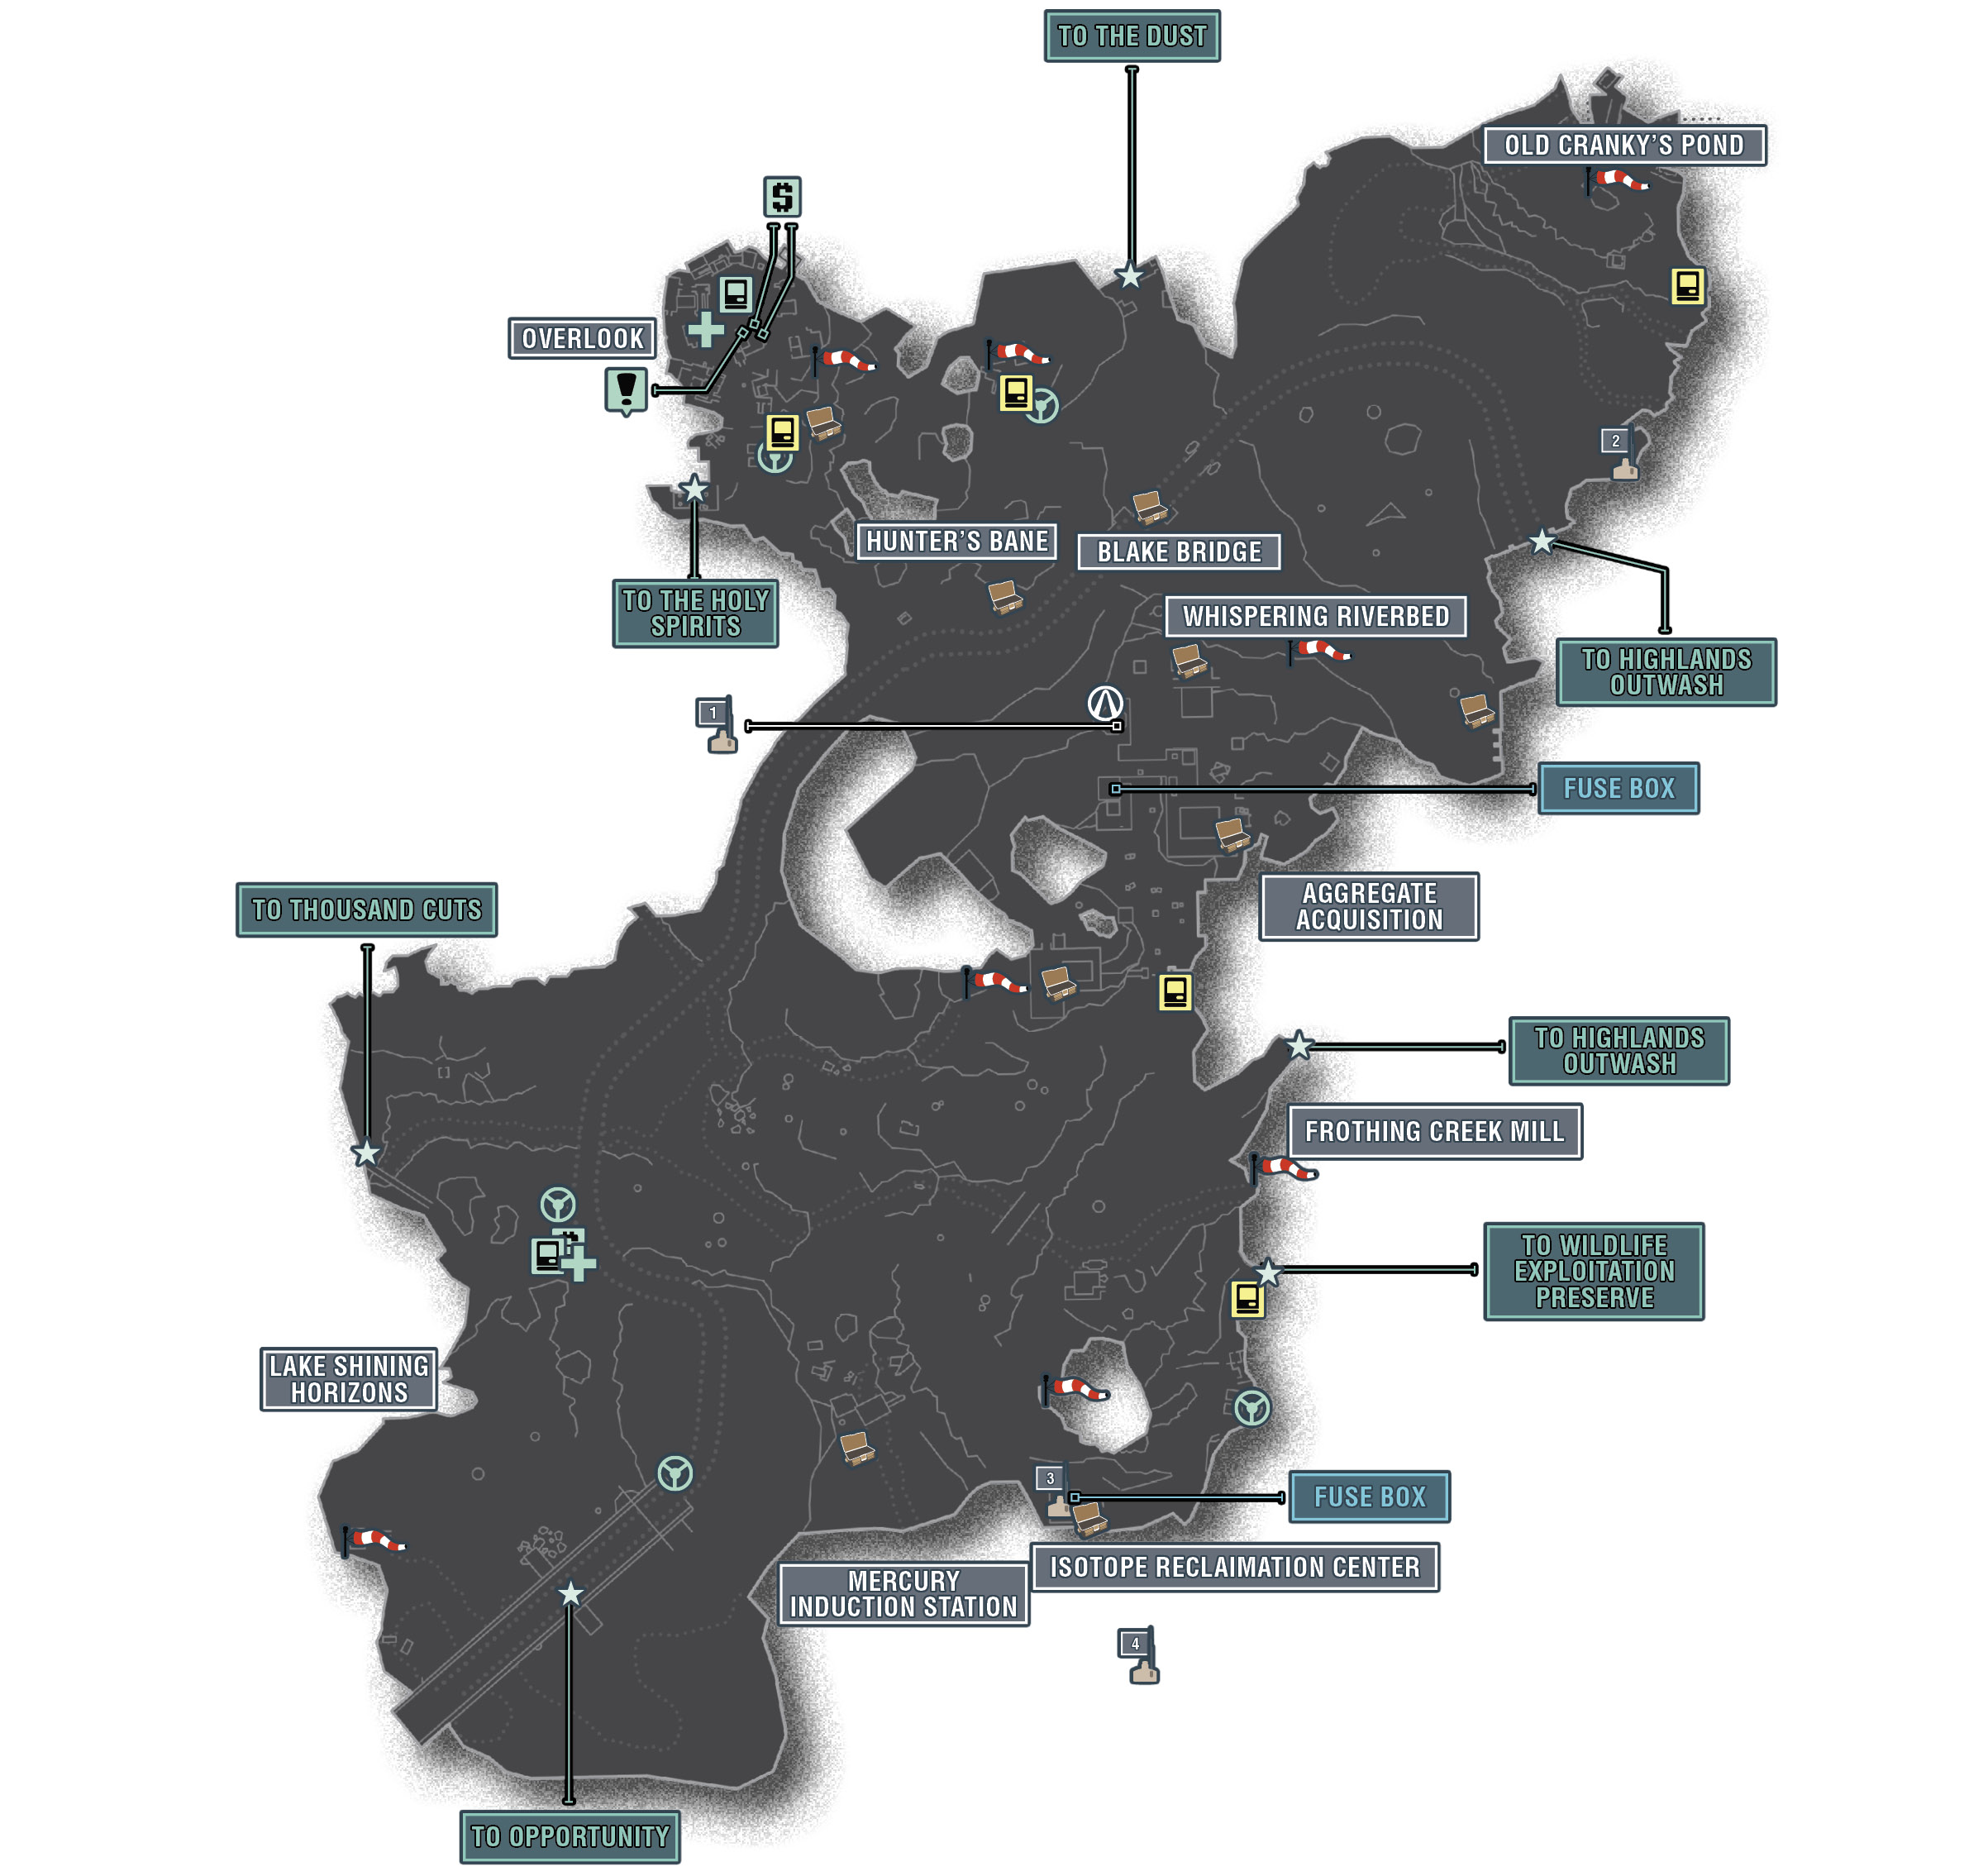
The Districts of The Highlands
| Locale | Limited Access? | First Visit |
|---|---|---|
|
Frothing Creek Mill |
No |
“Bright Lights, Flying City” story mission. |
|
Overlook |
No |
“Bright Lights, Flying City” story mission. |
|
Hunter’s Bane |
No |
“Stalker of Stalkers” optional mission. |
|
Blake Bridge |
No |
“The Overlooked: Medicine Man” optional mission. |
|
Old Cranky’s Pond |
No |
“Hidden Journals” optional mission. |
|
Whispering Riverbed |
No |
“Hidden Journals” optional mission. |
|
Aggregate Acquisition |
No |
“The Overlooked: This is Just a Test” optional mission. |
|
Mercury Induction Station |
No |
“Arms Dealing” optional mission. |
|
Isotope Reclamation Tower |
No |
“Arms Dealing” optional mission. |
|
Lake Shining Horizons |
No |
“The Overlooked: Medicine Man” optional mission. |
Dangerous Beasts
High Value Targets
| Enemy | Family |
|---|---|
|
Henry |
Stalker |
 Cult of the Vault
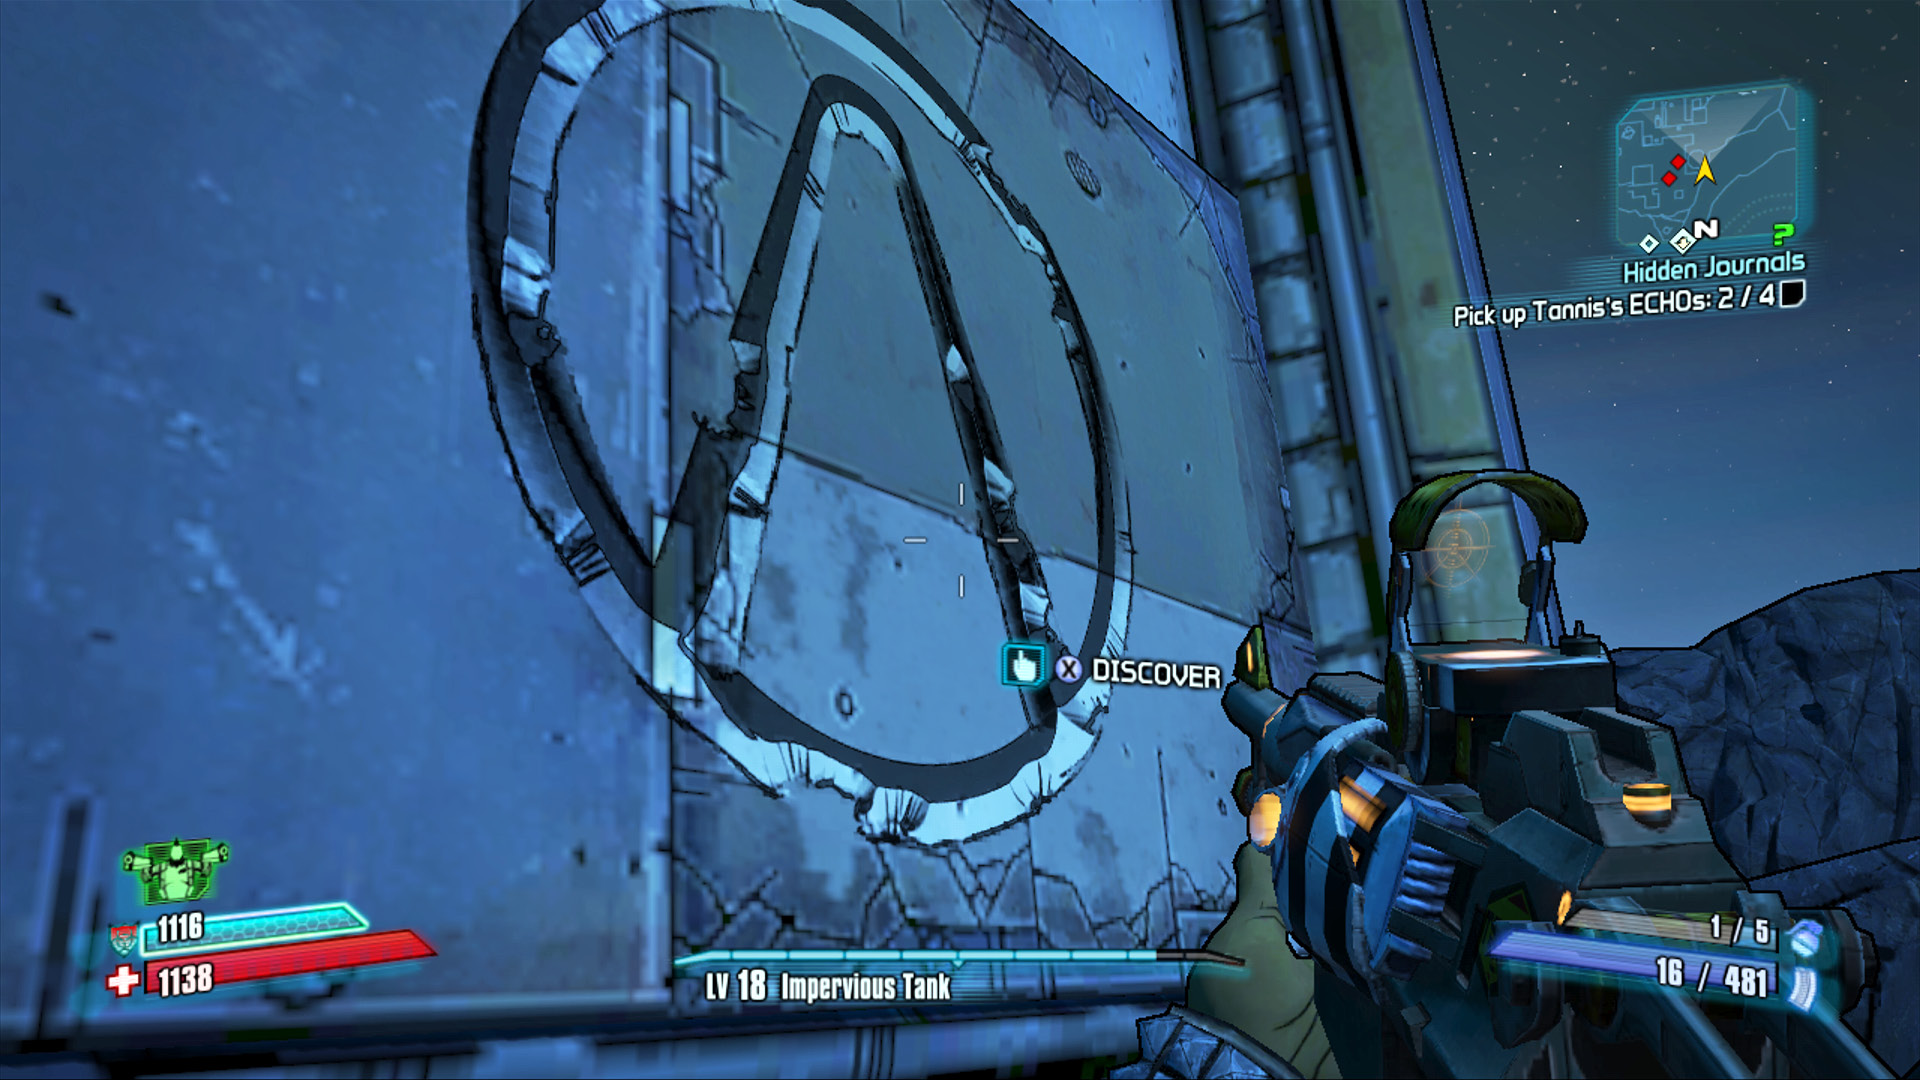
The lone Cult of the Vault symbol in this massive area is on the west side of the circular structure at Aggregate Acquisition. Approach from the cliffs, take out the Constructor Bot, and tightrope your way around the base of the structure to reach it.
 Winds of The Highlands
There are eight windsocks scattered throughout The Highlands, most of which are quite easy to spot from afar. You can approach the majority with minimal effort. Nevertheless, there are two windsocks that, despite being clearly visible from a distance, are quite tricky to reach. One is on the rocks above the Whispering Riverbed, and the other is on a ridge near the Isotope Reclamation Tower.
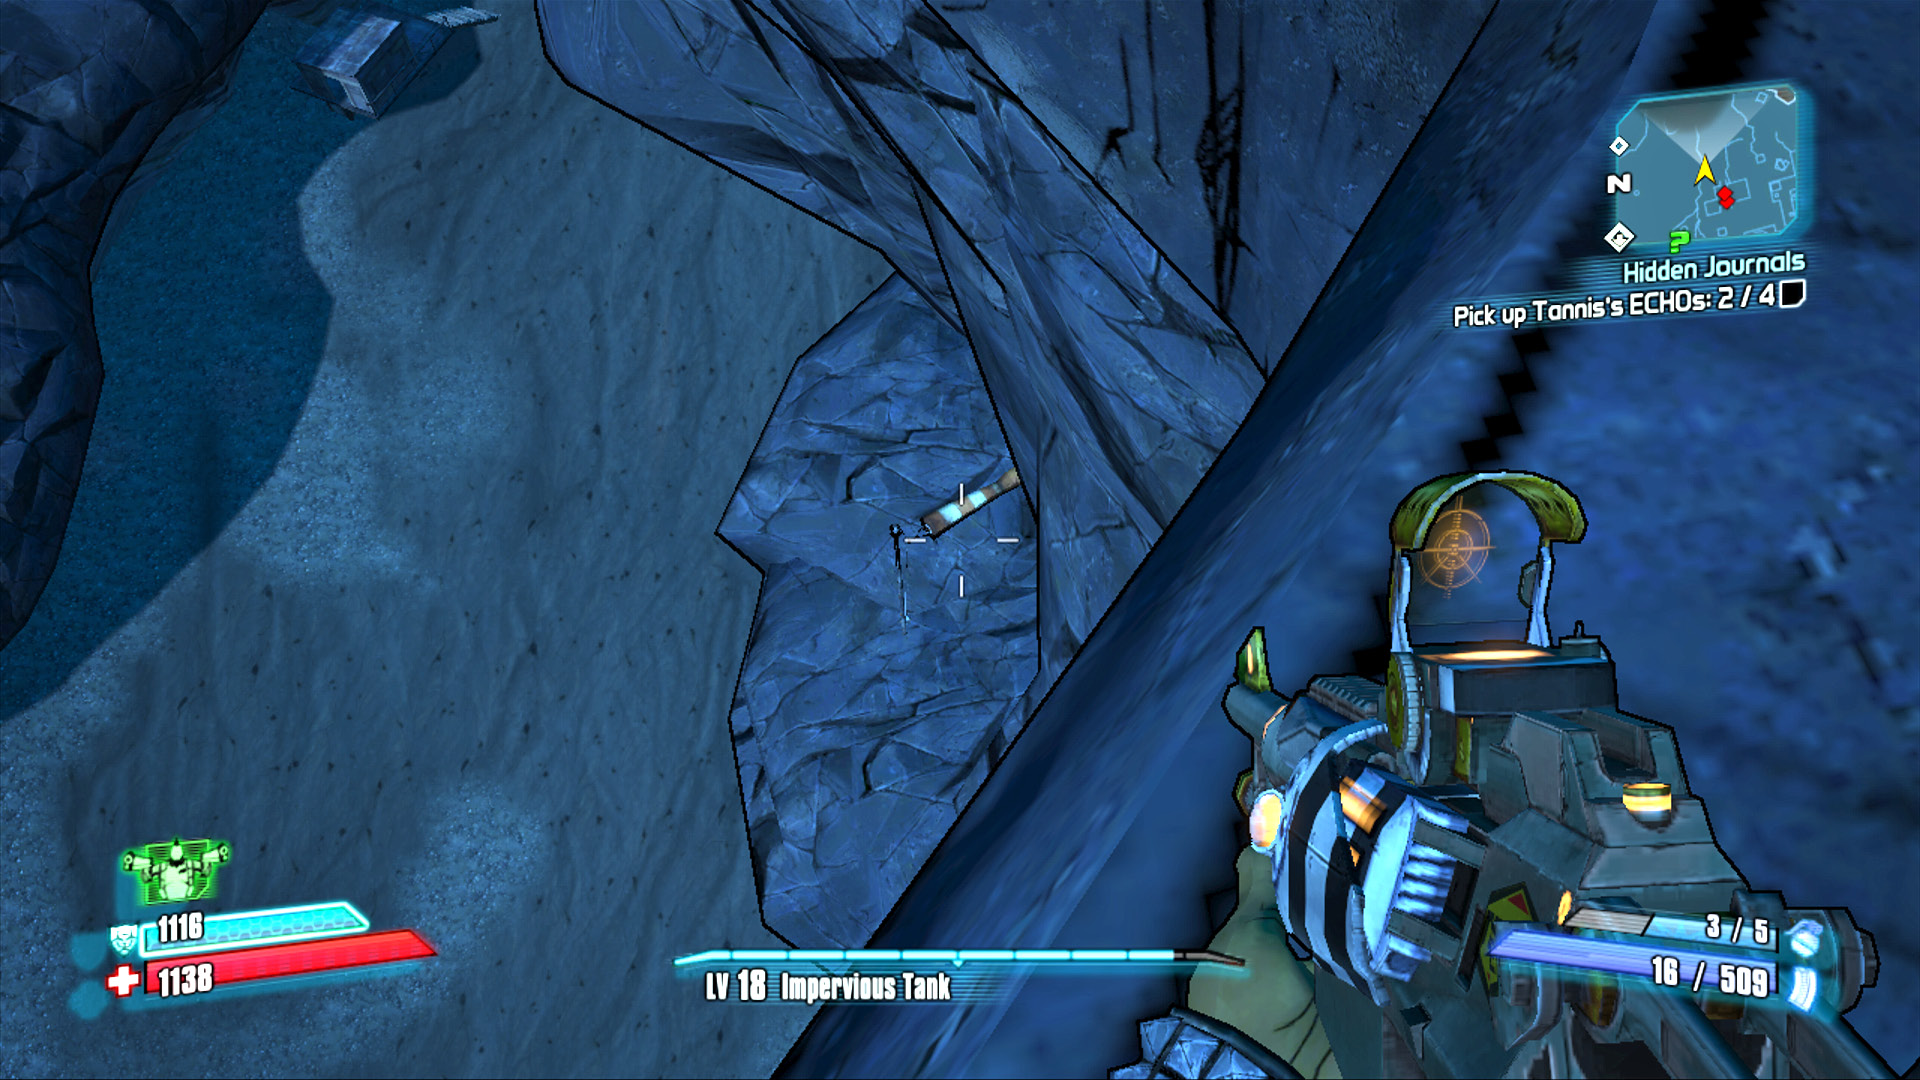
Reach the windsock in the Whispering Riverbed by fighting your way to the northern edge of Aggregate Acquisition and carefully dropping down onto the ledge below. You’ll have to step skillfully, as there’s not much margin for error.
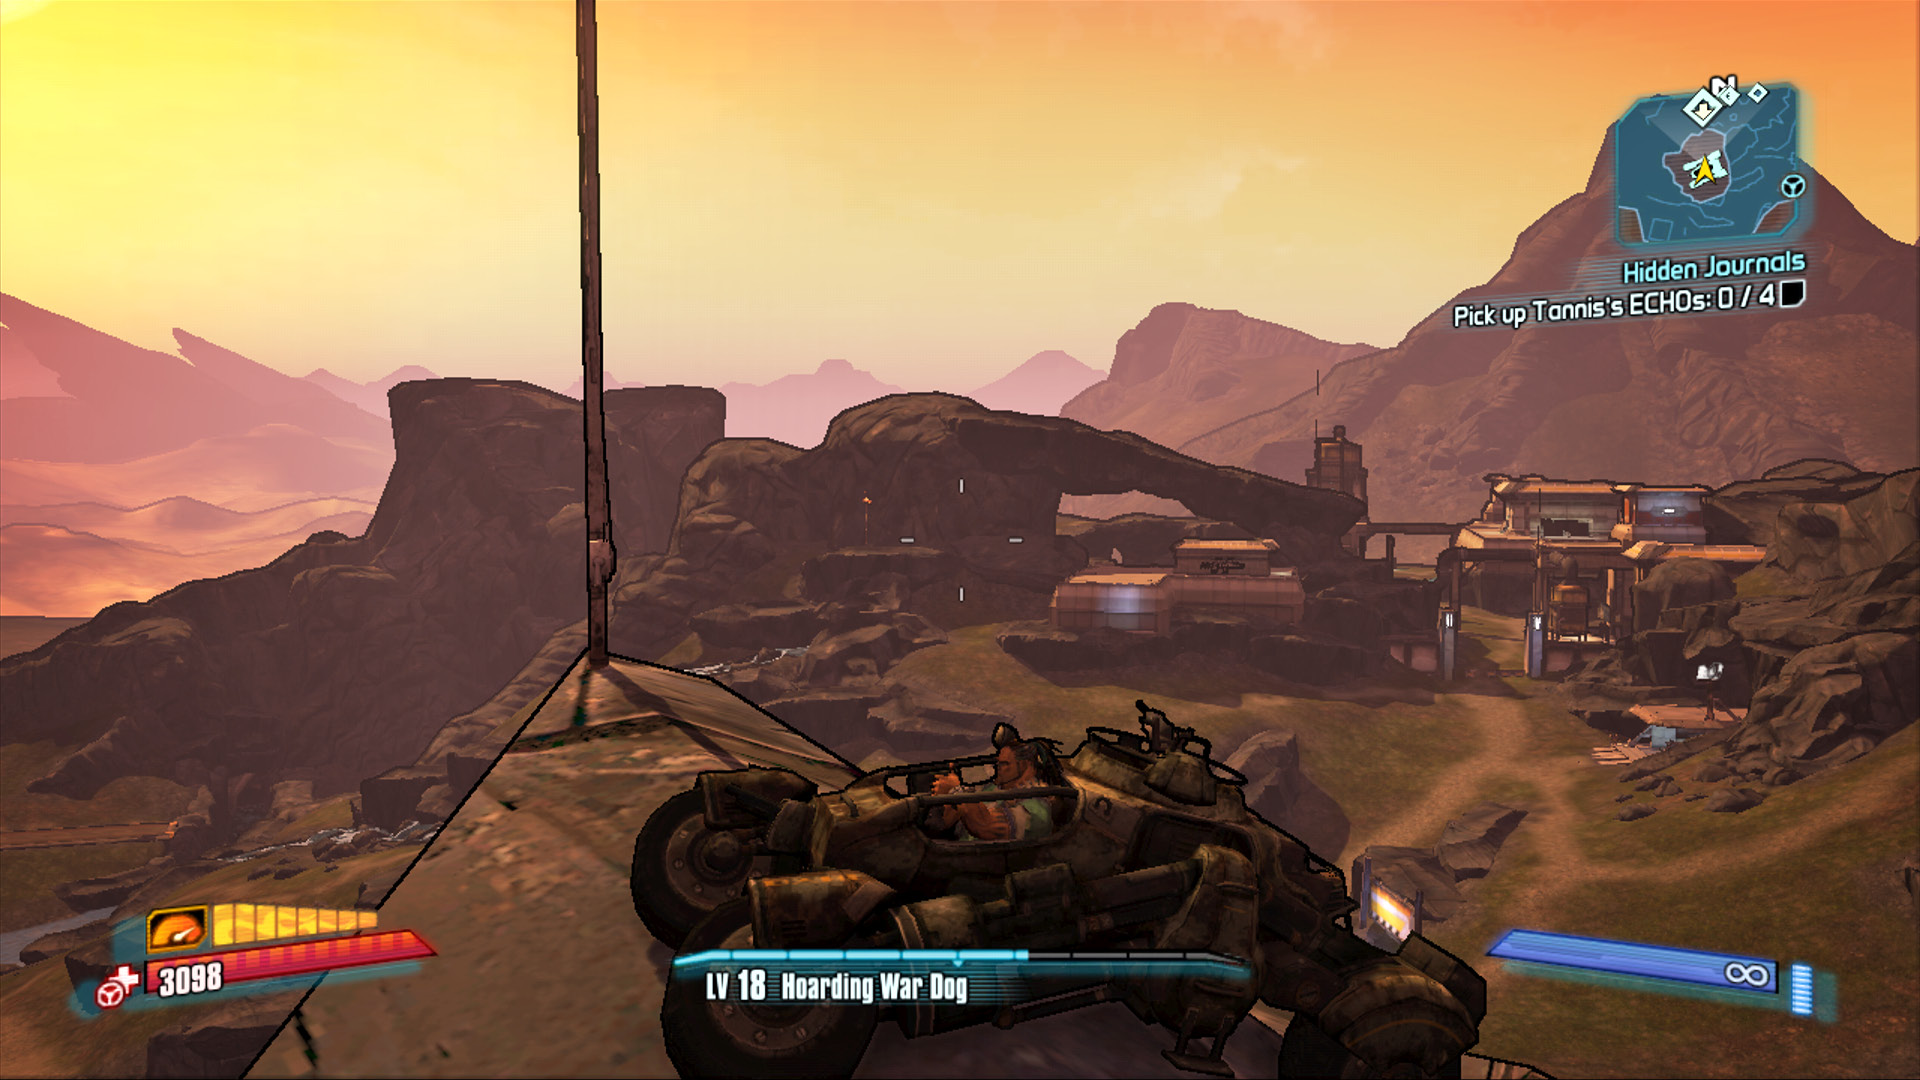
The windsock atop the knife-ridge near Isotope Reclamation Tower appears to be reachable from the north—and it is—but not by foot. Unless you manage to gain a tremendous movement speed buff from kill skills, the Vault Hunter simply can’t run and jump up such a steep angle. Fortunately, the rocky ledge approaching the windsock from the north is wide enough for a Light Runner. Line the vehicle up, get some speed, then hit the turbo boost to get up the steepest pitch. Slam on the brakes near the top to keep the vehicle from launching directly off the other side!
 Failure to Communicate
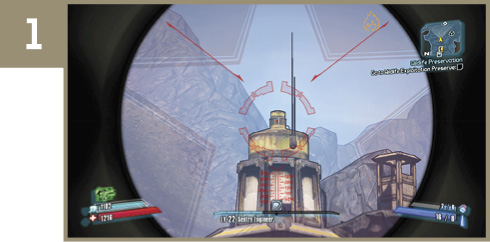
The first Communication Tower is atop the circular building near the Hyperion mortar in Aggregate Acquisition Area. Shoot the barrel-shaped top from Outlook or Hunter’s Bane.
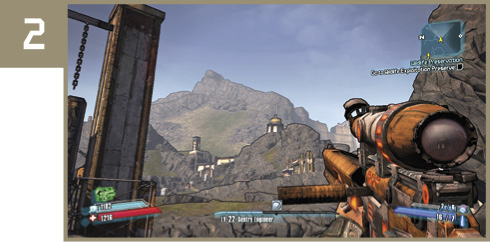
The next nearest Comm Tower is atop the cliffs between the northern exit to Highlands Outwash and Old Cranky’s Pond. Shoot at it from the road surface of Blake Bridge.
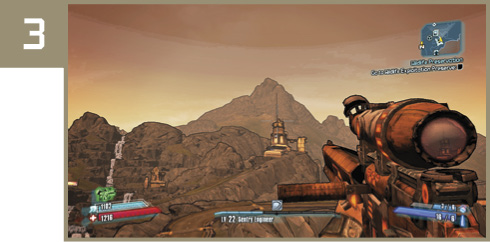
Drive south to the Isotope Reclamation Tower to find the third Comm Tower. This one is atop the building with the fuse box on the south edge of the hill.
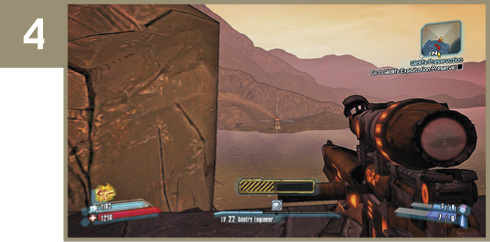
The final Comm Tower is far to the south, across the water on an unreachable peninsula. Climb the hill to the Isotope Reclamation Tower, and use a sniper rifle or scoped pistol to shoot the tower on the distant shore.