Borderlands 2 Game of the Year Guide Tiny Tina's Assault on Dragon Keep
Raiders of the Last Boss
|
 Mission Briefing
| Level | Money | XP | Gear |
|---|---|---|---|
|
35 |
$2,375 |
10369 |
- |
*Money and XP may vary based on player’s level at start of mission.
You can’t Fast Travel to the Winged Storm, so you’ll be passing through here every time you wish to visit.
The Path to the Winged Storm
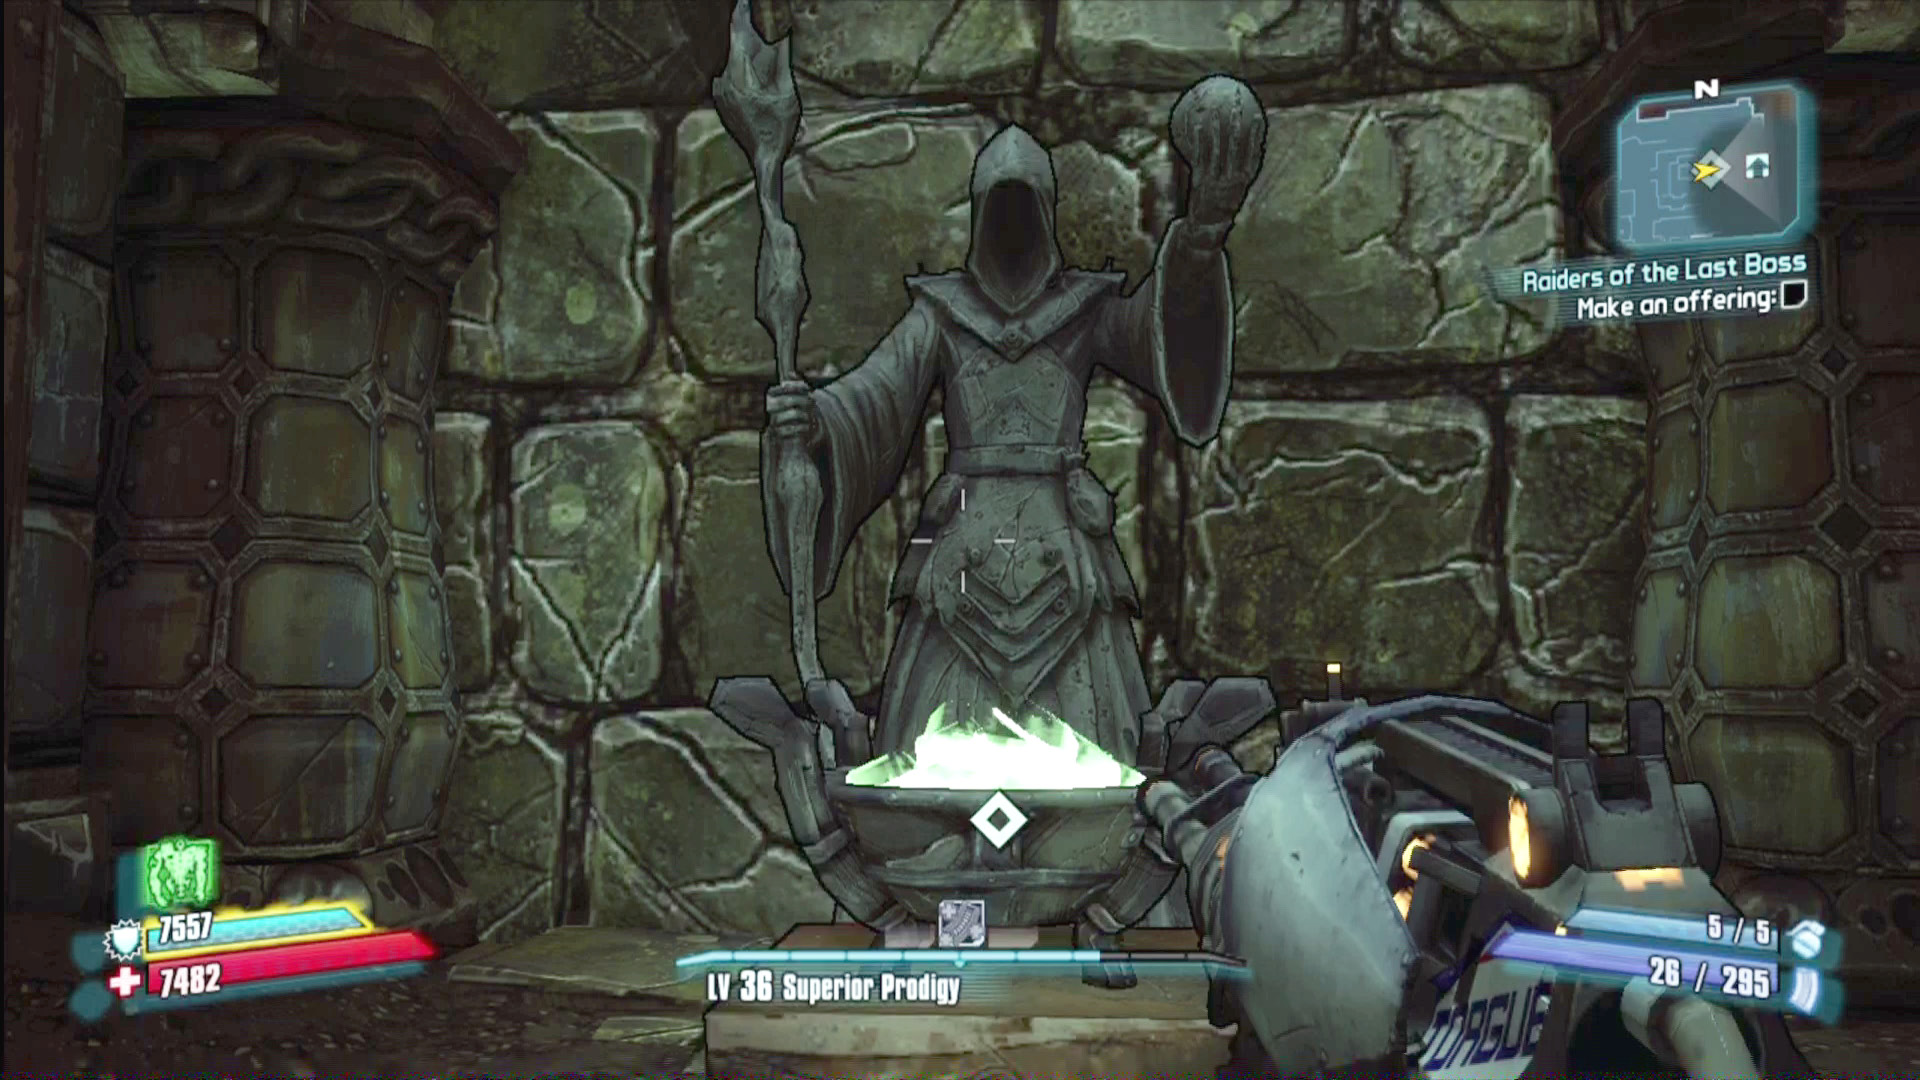
After completing the game and accepting this mission from Mister Torgue, you’ll find that there’s been a little remodeling in the Lair of Infinite Agony’s Chamber of Woe. An ominous statue now stands against the eastern wall, and if you make an offering of 20 Eridium, it will swing aside to reveal the entrance to a hidden area.
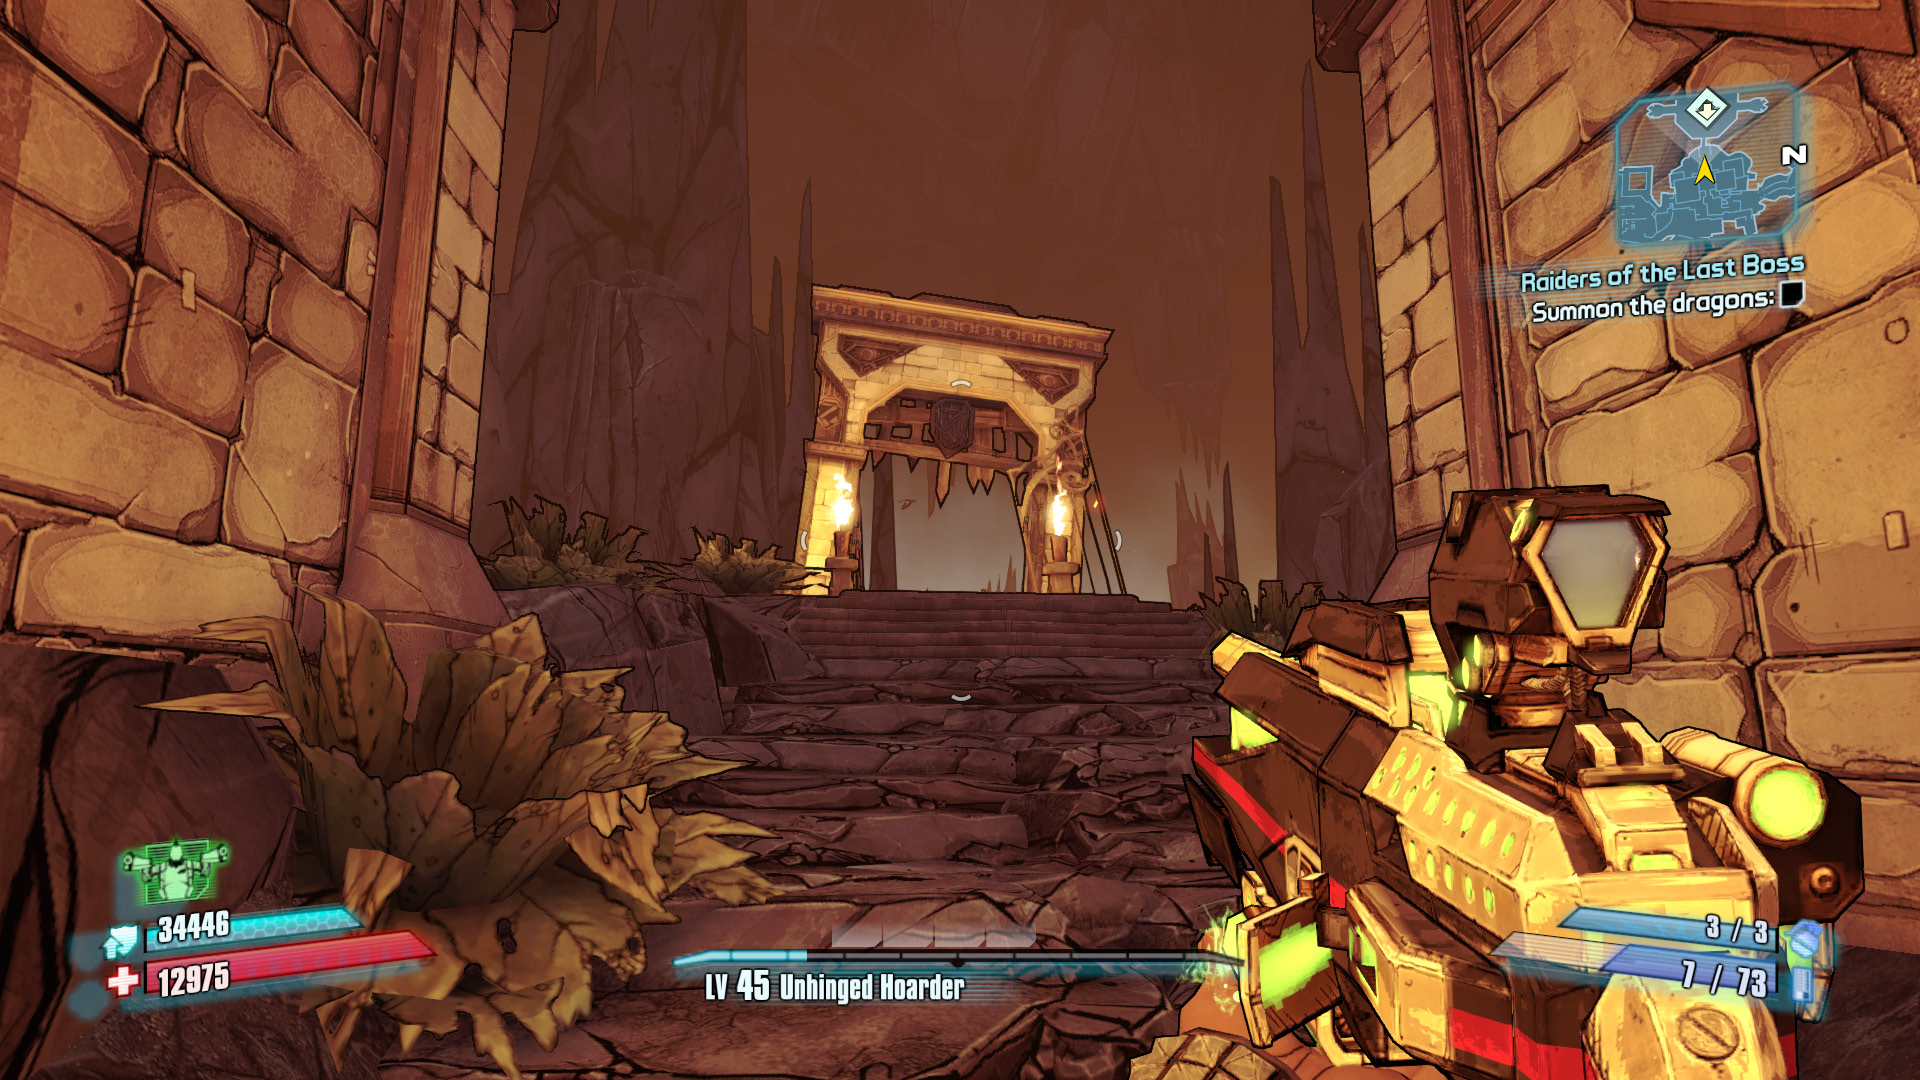
The Winged Storm hosts a few vending machines, a Quick Change Station, and a massive treasure room full of dice chests that only unlock when the dragons are defeated. Once you’ve completed your tour, travel west to the open gate at the end of the cliff, and leap through the archway to enter the arena.
There are only two ways to get back out of here: Win or die trying.
Incinerator the invincible, boost the invincibleBroad the invincible, healianth the invincible
Incinerator the Invincible Vitals
| Health Multiplier | Shield Level | Damage Multiplier | XP Value | Critical Areas | Weakness/Resistance |
|---|---|---|---|---|---|
|
400 |
- |
3 |
Boss |
Head |
— / |

Boost the Invincible Vitals
| Health Multiplier | Shield Level | Damage Multiplier | XP Value | Critical Areas | Weakness/Resistance |
|---|---|---|---|---|---|
|
200 |
- |
2 |
Boss |
Head |
— / |

Brood the Invincible Vitals
| Health Multiplier | Shield Level | Damage Multiplier | XP Value | Critical Areas | Weakness/Resistance |
|---|---|---|---|---|---|
|
300 |
- |
3 |
Boss |
Head |
— / |

Healianth the Invincible Vitals
| Health Multiplier | Shield Level | Damage Multiplier | XP Value | Critical Areas | Weakness/Resistance |
|---|---|---|---|---|---|
|
600 |
- |
2 |
Boss |
Head |
— / |

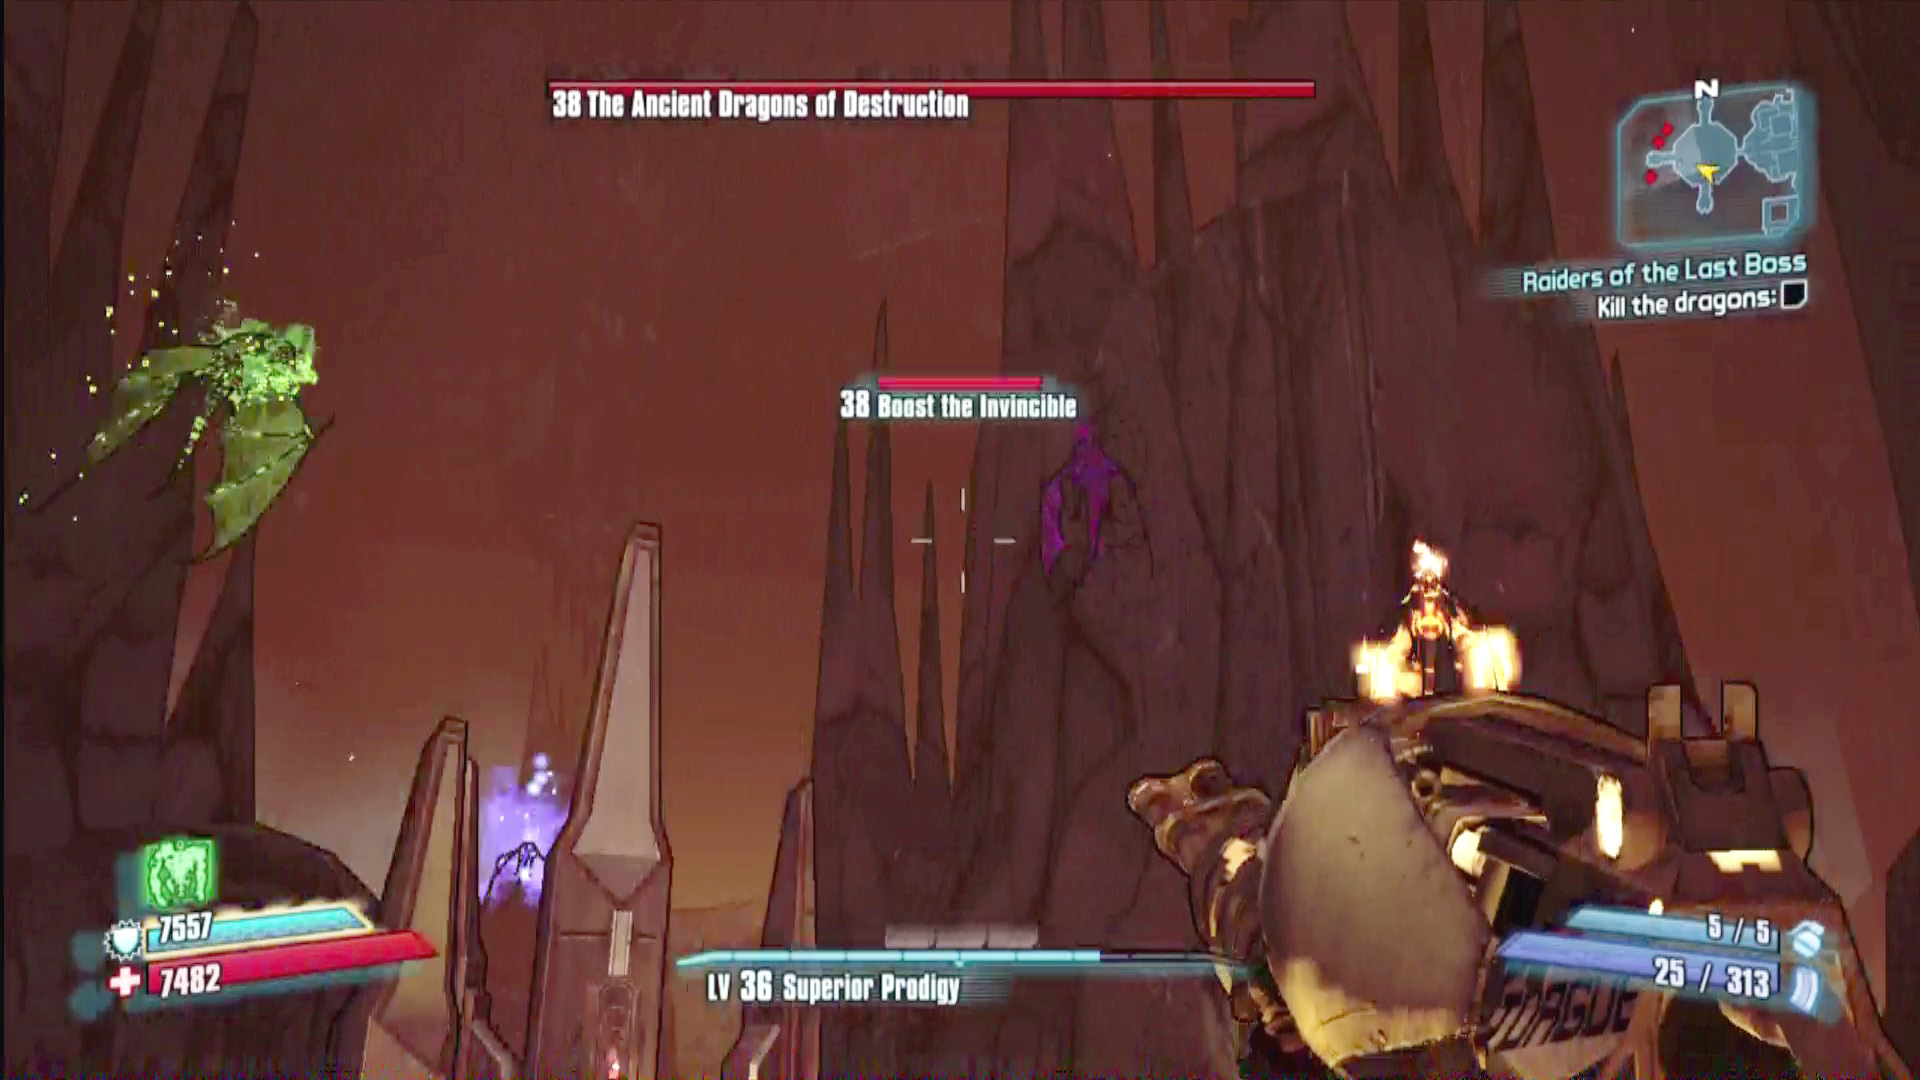
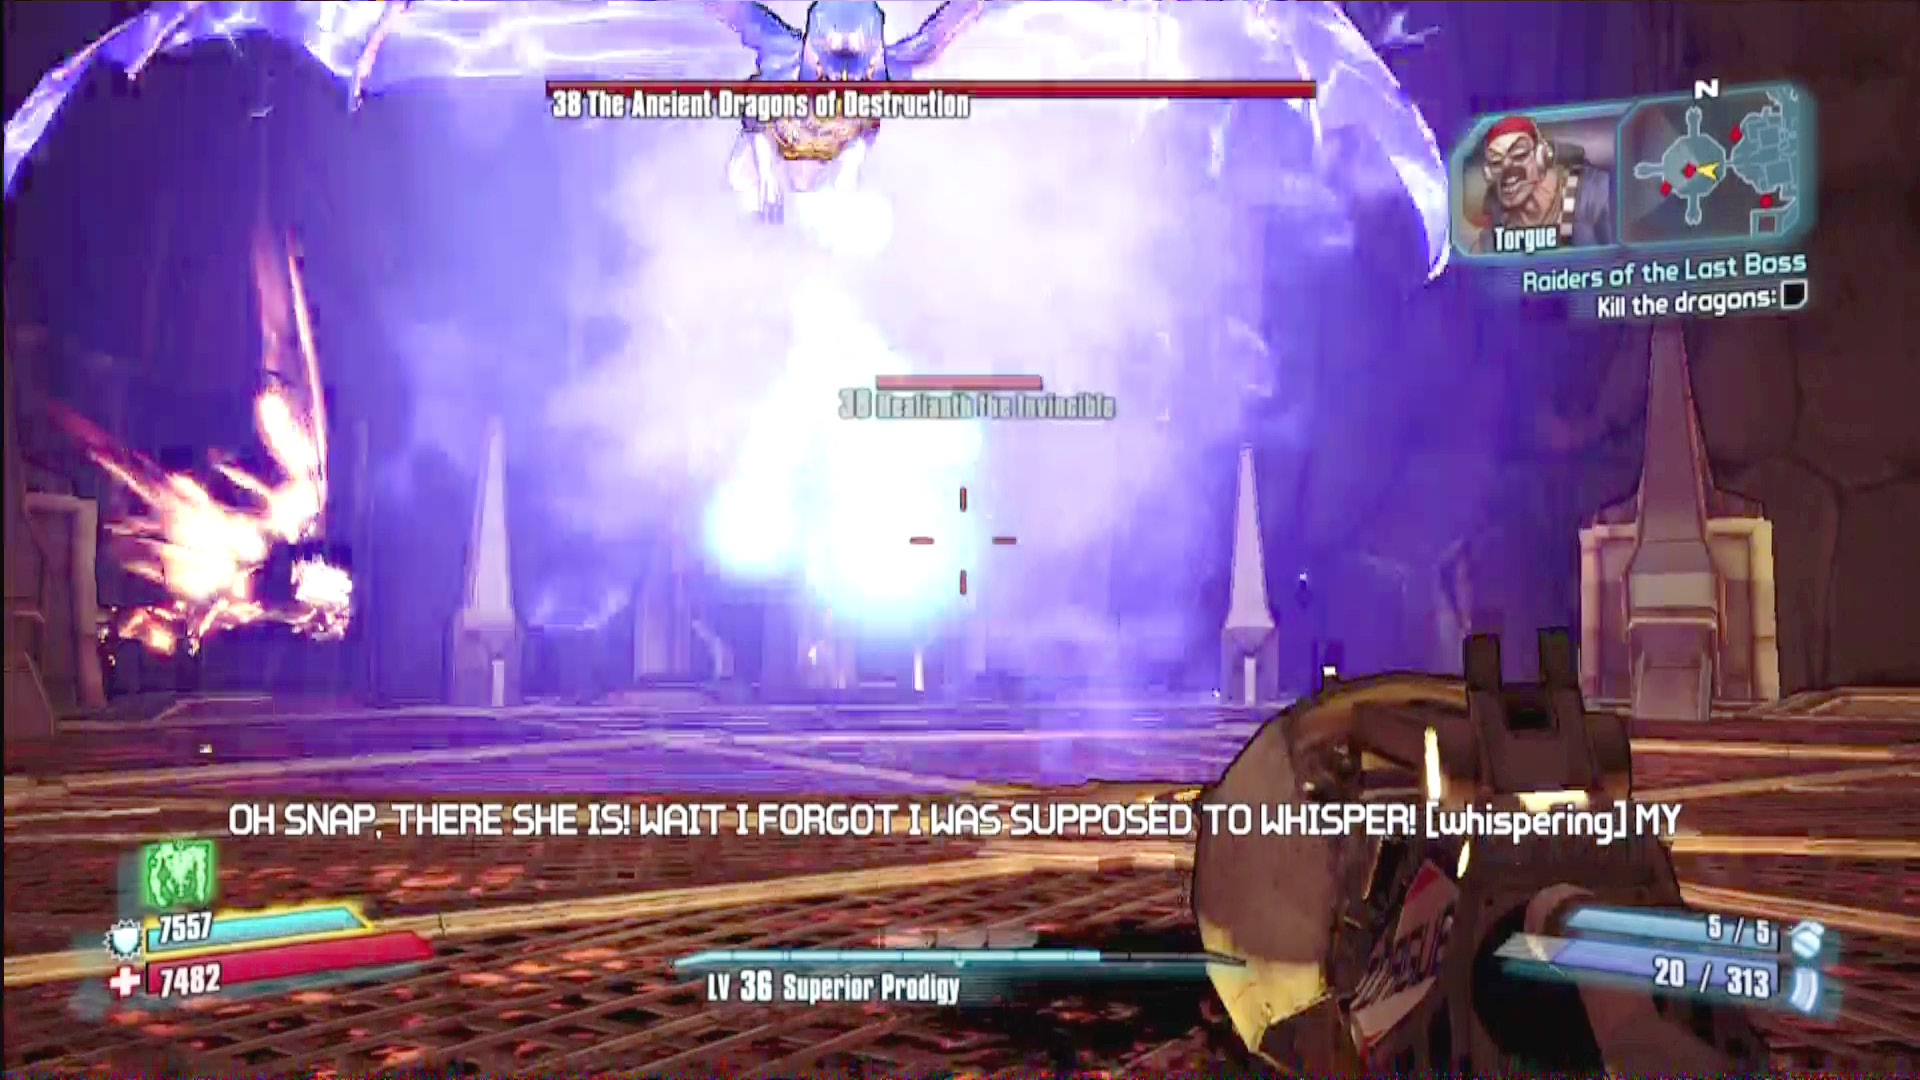
This battle pits you against four ancient dragons, each with an affinity for a certain element. The dragons will circle the battlefield until one of them is hit, and then that dragon will land to engage the party. It will stay down for around 30-50 seconds (depending on the dragon) before returning to the skies; during that time, no other dragon will be able to land. To win this battle, you’ll need to attack the dragons in a strategic order and continue bringing down the same dragon repeatedly until it’s defeated. Work out your order with your party, and tell your Gaige’s not to summon Deathtrap; there’s a good chance he’ll accidentally shoot the wrong dragon. (The same is true of Axton’s turret, but at least Axton can recall it when the dragons are in flight.)
Each dragon has a special ability it can only use when it lands, and that should determine the order in which you challenge them. Healianth is a good first target, since its ability heals the other dragons, and accidentally allowing Healianth to land while battling another dragon could be disastrous. However, weaker parties and solo players may want to start with Brood. Brood’s special ability summons basilisks, which will be useful for getting Second Winds; no other dragon gives you that opportunity.
Incinerator should be killed third. It has the most powerful attack upon landing, igniting the panels on the floor in various patterns. While Incinerator is igniting the panels, he is invulnerable to damage and reflects bullets. The seventh time Incinerator lands, he’ll ignite every panel, killing the entire party at the same time. Effectively, you only have six tries to kill him—so make sure Healianth is long gone before you start in on Incinerator.
Boost’s ground move levels up all of the other dragons, so it’s a good idea to make sure there are no other dragons for him to level up. Kill him last.