
Borderlands 2 Game of the Year Guide Bestiary
Rats
Every bandit lives off the beaten path, especially on a world like Pandora, but rats are a little too far off the beaten path. These lank survivalists have developed intricate tunnel networks that only they can access, allowing them to pop out of the ground as though from a nest, like varkids. They come to the surface to hunt and scavenge.
In keeping with their insect-like domain, the rats also dine on so-called strange meat… that’s right, they’re cannibals. If rats and other bandits get along, it’s mostly because their paths don’t much overlap. But to a rat, a dead marauder is dinner just the same as a dead Vault Hunter or Hyperion soldier. If there are corpses strewn about, rats can gnaw at them to regain lost health!
The slim builds of rats, better suited to duct-crawling and tunnel-swimming than brawling and boxing, mean that rats prefer ranged attacks, for the most part. They’d rather fire their rifle than get in close; really, they’d rather steal something and get back dirtside than engage in battle at all!
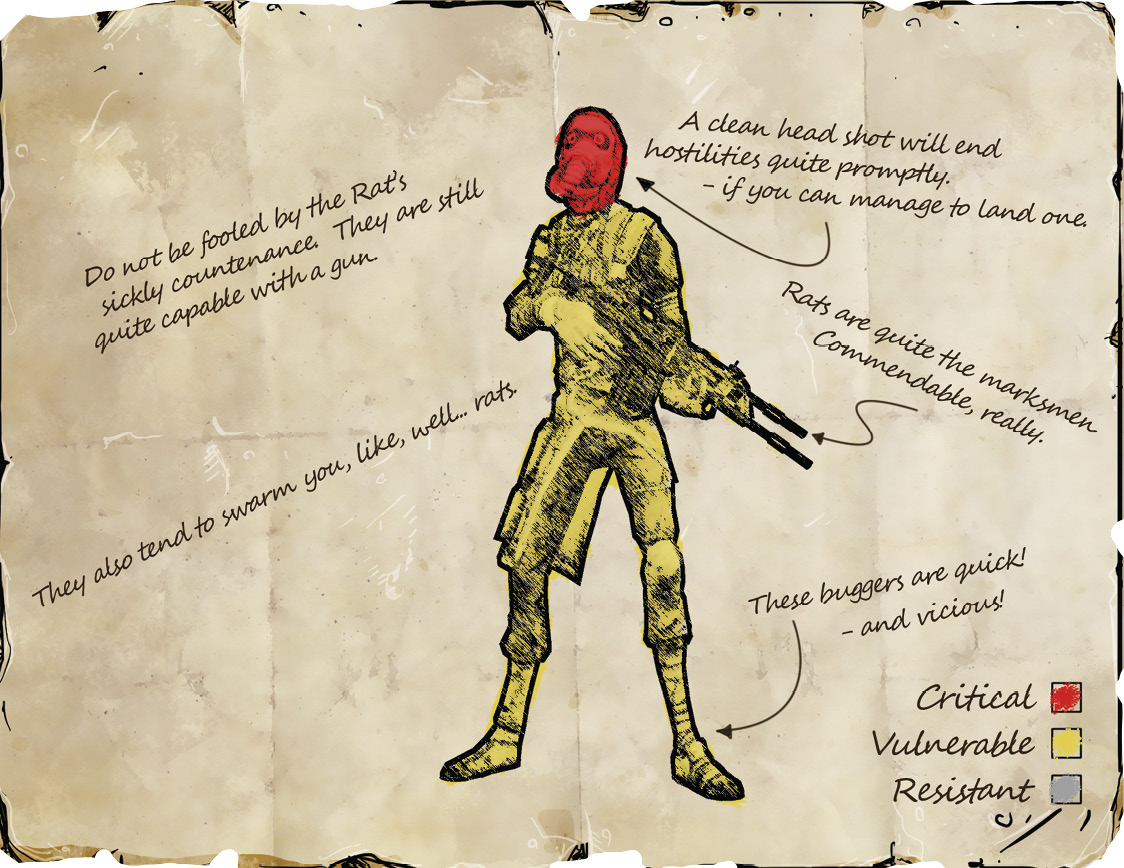
Tunnel Rat
TVHM name: Cannibal Rat
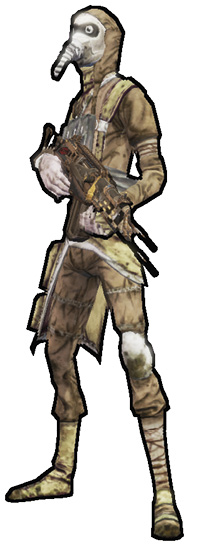
The Tunnel Rat is the most basic of this species. These mud dwellers would rather be left alone than fight. They pick up items they like, so you must kill the scrounging Tunnel Rat to have a chance at the spoils. They rely on their rifles and grenades to fight from far away; if you get too close, they leap at you to push you away.
| Health Multiplier | Shield Level | DMG. Multiplier | XP Value | Crit. Areas | Weak./Res. |
|---|---|---|---|---|---|
| 1 | 0.15 | 1 | Normal | Head |  / — / — |
Location: Bloodshot Ramparts, The Dust, Tundra Express, The Fridge, Lynchwood, Sawtooth Cauldron
Rat Thief
TVHM name: Rat Bastard
The Rat Thief is even less interested in combat than the Tunnel Rat; he’s a lot more interested in money. He’ll try to sneak up on unsuspecting Vault Hunters, to snatch up some of their wallet. If he can manage to pilfer funds from a Vault Hunter, he’ll then run off to hide the profit. Kill him before he buries his find, and you can get the money back… wait until after he buries it, though, and it’s gone for good!

| Health Multiplier | Shield Level | DMG. Multiplier | XP Value | Crit. Areas | Weak./Res. |
|---|---|---|---|---|---|
| 0.85 | — | 1 | Chump | Head |  / — / — |
Location: Bloodshot Ramparts, The Dust, Tundra Express, The Fridge, Lynchwood, Sawtooth Cauldron
Midget Rat
TVHM name: Runty Rat
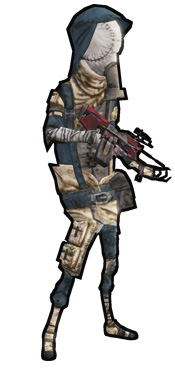
Pint-sized versions of Tunnel Rats, these subterranean pipsqueaks have less health and deal less damage than full-sized rats.
| Health Multiplier | Shield Level | DMG. Multiplier | XP Value | Crit. Areas | Weak./Res. |
|---|---|---|---|---|---|
| 0.5 | 1 | 0.75 | Chump | Head |  / — / — |
Location: Bloodshot Ramparts, The Dust, Tundra Express, The Fridge, Lynchwood, Sawtooth Cauldron
Field Rat
Field rats are well equipped for survival through scavenging and ranged and deceptive gunplay.

| Health Multiplier | Shield Level | DMG. Multiplier | XP Value | Crit. Areas | Weak./Res. |
|---|---|---|---|---|---|
| 3 | — | 2 | Normal+ | Head |  / — / — |
Location: Bloodshot Ramparts, The Dust, Tundra Express, The Fridge, Lynchwood, Sawtooth Cauldron
Lab Rat
TVHM name: R.O.U.S.
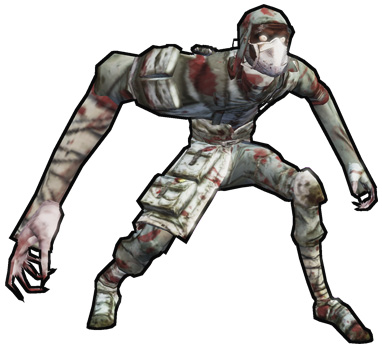
Grotesque experimentation has resulted in a misshapen rat that lumbers along like an injured bullymong, but hits like a Raging Goliath. They won’t attempt to pick up items, unlike other rats. They just try to get close enough to expose their unimaginable face and eyes, blinding the victim and heavily disrupting shields. Give these failures of science a wide berth as you euthanize them.
| Health Multiplier | Shield Level | DMG. Multiplier | XP Value | Crit. Areas | Weak./Res. |
|---|---|---|---|---|---|
| 8 | 0.25 | 8 | Tough | Head |  / — / — |
Location: Bloodshot Ramparts, The Dust, Tundra Express, The Fridge, Lynchwood, Sawtooth Cauldron
Miner Rat
TVHM name: Digger Rat
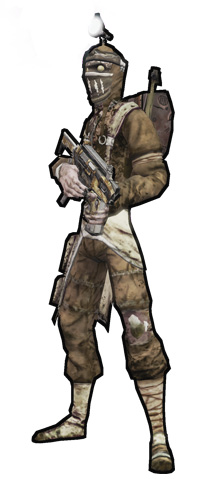
Miner Rats developed the tunnel network in the first place, so they can also move around by burrowing, somewhat like threshers. You won’t be able to hit them when they’re underground, but they’re only slightly tougher than normal rats while they’re topside.
| Health Multiplier | Shield Level | DMG. Multiplier | XP Value | Crit. Areas | Weak./Res. |
|---|---|---|---|---|---|
| 1.25 | 0.15 | 1 | Normal | Head |  / — / — |
Location: Tundra Express
Plague Rat
(TVHM ONLY)
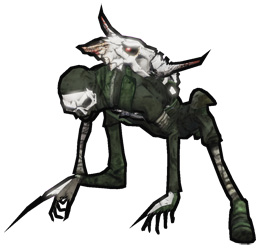
These scurrying, slashing horrors are only around during True Vault Hunter Mode. Unlike the behavior of their vermin brethren, these crazed things bolt right for you, and once they’re in close they slash back and forth with blinding claws that can poison you with corrosive damage. In their aggressiveness they match a few other True Vault Hunter Mode exclusives, like the Rabid Stalker, Rabid Skag, and Armored Maniac. Put these frantic, pesky creatures into the ground for good immediately.
| Health Multiplier | Shield Level | DMG. Multiplier | XP Value | Crit. Areas | Weak./Res. |
|---|---|---|---|---|---|
| 2 | 1 | 2 | Normal | Head |  / — / — |
Location: Bloodshot Ramparts, The Dust, Tundra Express, The Fridge, Lynchwood, Sawtooth Cauldron
Bloody, Crabby, Creepy, Dirty, Greedy, Sleazy, Tipsy
Laney’s dwarves, found during Scooter’s mission “The Cold Shoulder.” They are each individually very weak, but more than a half-dozen of anything can add up if they all have focused attention. During the fight with Laney, there are two opposing Challenges you can uncap related to these fellows—either kill Laney without harming any of them at all, or kill every single one of these guys before you start attacking Laney. Clearly, you cannot achieve both of those goals on the same playthrough!

| Health Multiplier | Shield Level | DMG. Multiplier | XP Value | Crit. Areas | Weak./Res. |
|---|---|---|---|---|---|
| 0.5 | — | 0.75 | Normal | Head |  / — / — |
Location: The Fridge, mission: “The Cold Shoulder”
Loot Midget Rat
If a Loot Midget Rat pops out of a container and you kill him, rejoice, for his dead body will make it rain something proper. The area will be coated in money pickups. Thanks, rats!

| Health Multiplier | Shield Level | DMG. Multiplier | XP Value | Crit. Areas | Weak./Res. |
|---|---|---|---|---|---|
| 6 | — | 2 | Tough+ | Head |  / — / — |
Location: Loot containers
MDK Assassin Rouf
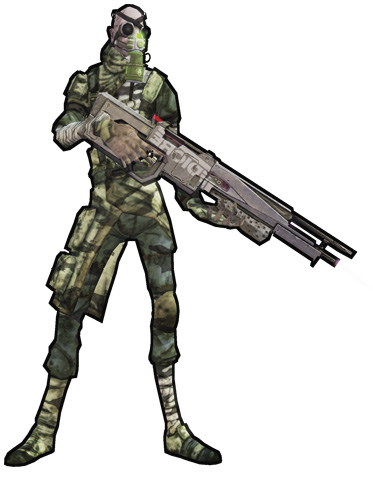
The “Assassinate the Assassins” mission sends you to Southpaw Steam & Power to kill four men, including this one. Finish Rouf with a shotgun (just the killing blow—it doesn’t matter what you use to bring him to the edge of death) to complete an optional objective. Like any of the four assassins, Rouf can drop the legendary Dahl SMG, Emperor, when he dies.
| Health Multiplier | Shield Level | DMG. Multiplier | XP Value | Crit. Areas | Weak./Res. |
|---|---|---|---|---|---|
| 15 | 1 | 3 | Super Badass | Head |  / — / — |
Location: Southpaw Steam & Power, mission: “Assassinate the Assassins”
Dan, Lee, Mick, & Ralph
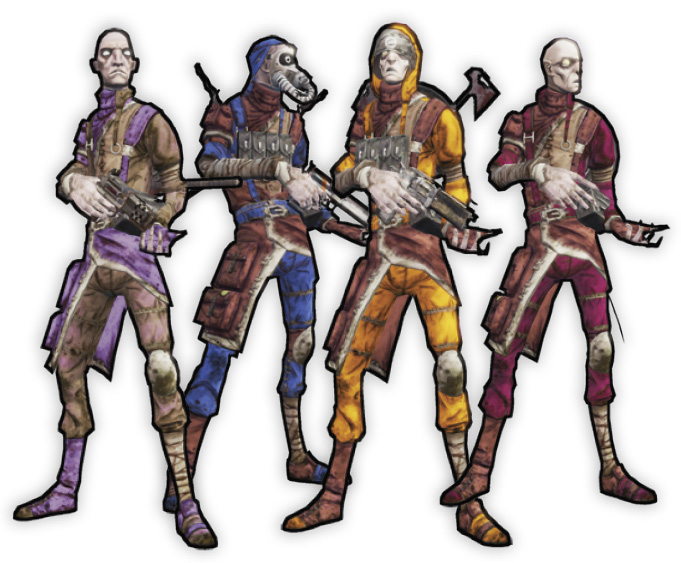
These ninja rats hide out in the sewers beneath Three Horns by Southpaw Steam & Power, scarfin’ up pizza and hangin’ loose. You bring them a special delivery, courtesy of Tannis, during the “Splinter Group” mission.
| Health Multiplier | Shield Level | DMG. Multiplier | XP Value | Crit. Areas | Weak./Res. |
|---|---|---|---|---|---|
| 4 | 1 | 1 | Super Badass | Head |  / — / — |
Location: Bloodshot Stronghold, mission: “Splinter Group”
Laney White
Laney is Scooter’s ex-amore, his former better half. Scooter wants to make sure she’s not just playing hard to get. Fighting Laney also involves fighting her dwarven coterie, Bloody, Crabby, and so on. When defeated, Laney has a chance to drop Gub, the legendary Bandit-made pistol.

| Health Multiplier | Shield Level | DMG. Multiplier | XP Value | Crit. Areas | Weak./Res. |
|---|---|---|---|---|---|
| 10 | 1 | 1.5 | Super Badass | Head |  / — / — |
Location: The Fridge, mission: “The Cold Shoulder”
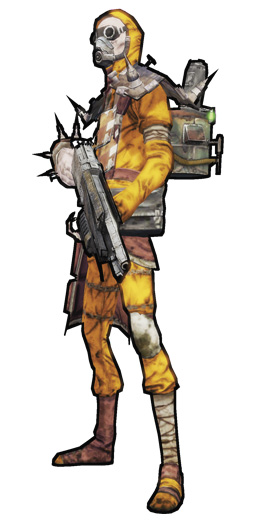
Mortar
Mortar is a boss during the story mission “Toil and Trouble.” You must gain his attention before he even deigns to lower himself to fight with you; perhaps trashing his favorite ride will help? Mortar has a large health pool, deals moderate damage, and emerges into an absolute fuster cluck of an area, so get your bearings and bottleneck him and other bandits if possible. Mortar has a chance of dropping an awesome piece of loot.
| Health Multiplier | Shield Level | DMG. Multiplier | XP Value | Crit. Areas | Weak./Res. |
|---|---|---|---|---|---|
| 15 | 1 | 3 | Super Badass | Head |  / — / — |
Location: Sawtooth Cauldron, mission: “Toil and Trouble”
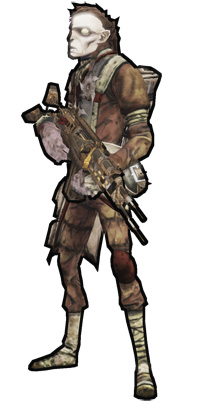
Flinter
The mentor of the ninja rats of the “Splinter Group” mission can be found in a room near the chamber of the four ninja rats, and he’s a much tougher nut to crack than his protégés! Look for a room with a television and several switches—and several lights on the wall. If all those lights were green…
| Health Multiplier | Shield Level | DMG. Multiplier | XP Value | Crit. Areas | Weak./Res. |
|---|---|---|---|---|---|
| 12 | 1 | 4 | Super Badass | Head |  / — / — |
Location: Southpaw Steam & Power, mission: “Splinter Group”