
Borderlands 2 Game of the Year Guide Optional Missions
Breaking the Bank
|
 Mission Briefing
| Level | Money | XP | Gear |
|---|---|---|---|
|
24 |
4 Eridium |
5319 |
— |
Lynchwood
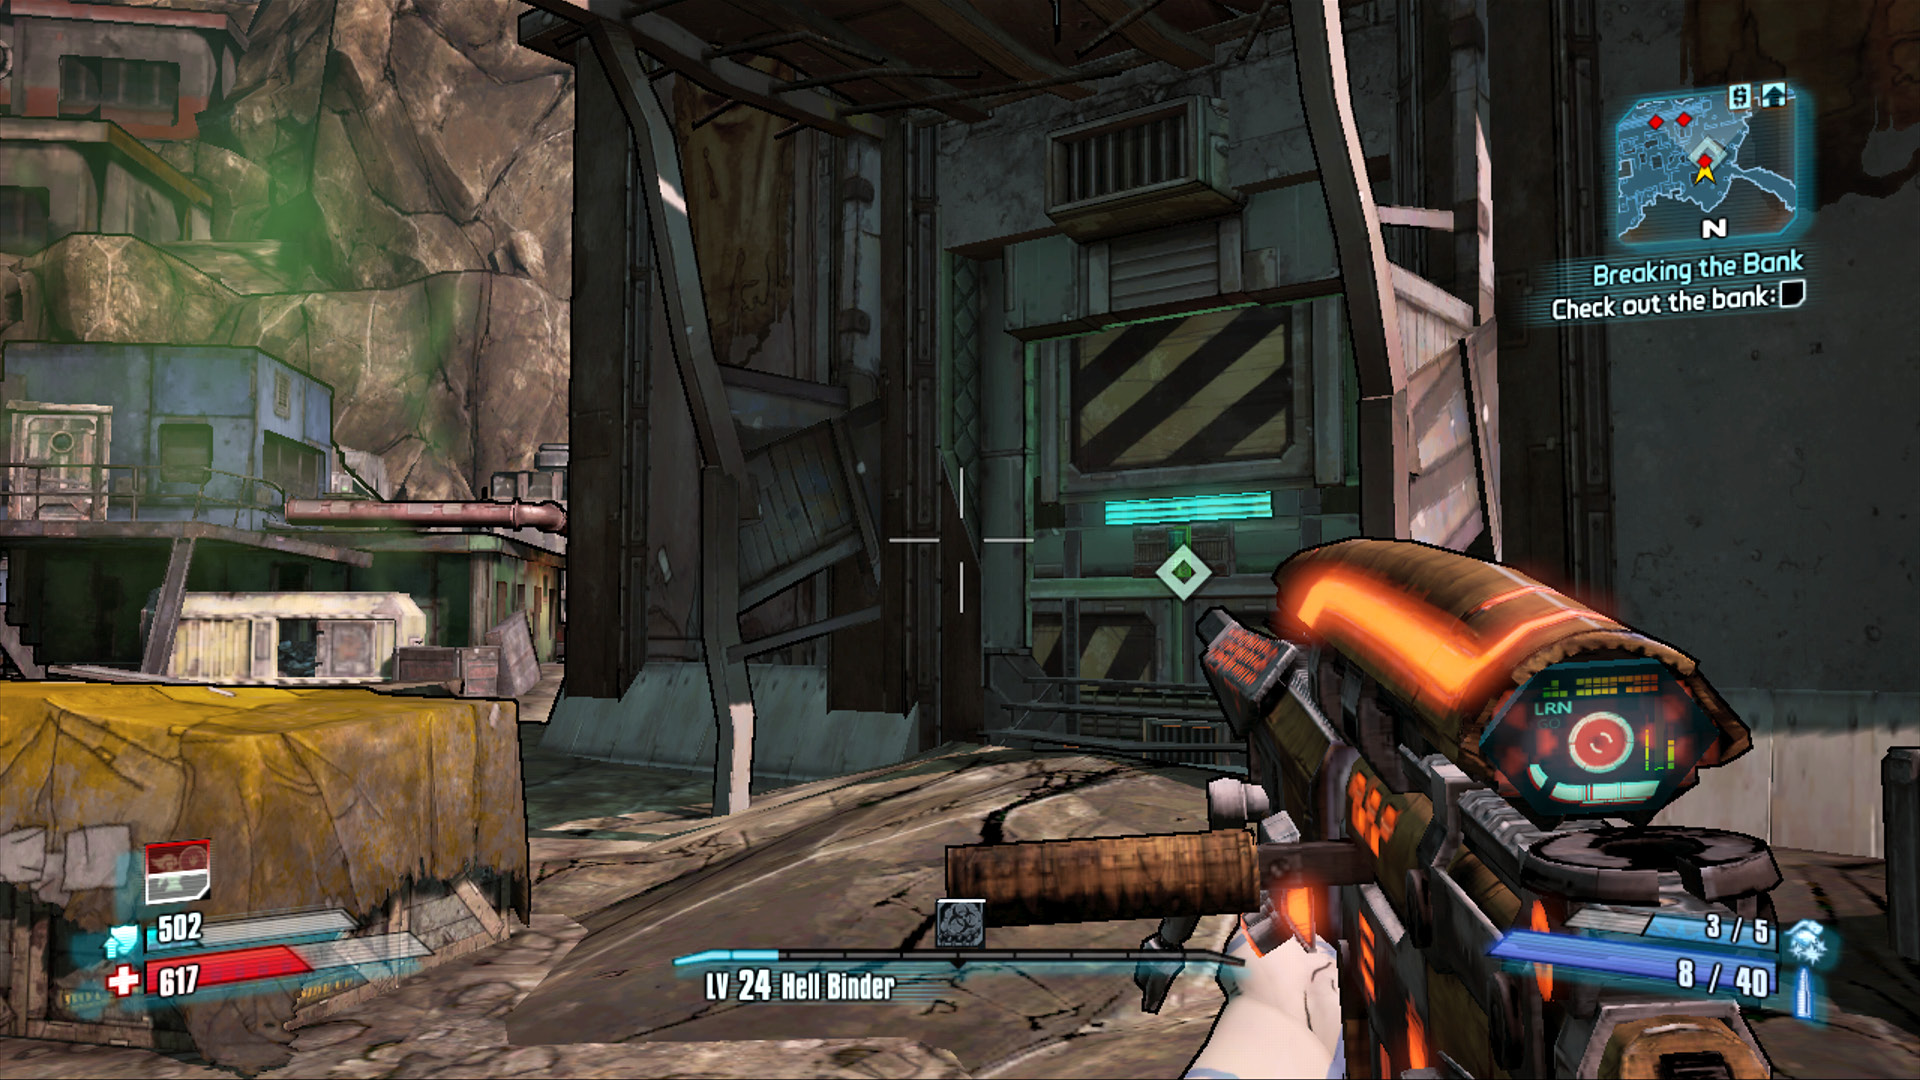
The first step in a successful bank robbery is to scout the security system: you’re up against some heavy locks!
The Sheriff keeps the money she gets from the Eridium mining operation in the Lynchwood bank, a secure facility just steps from the train station. The first step in robbing the bank is to case the joint. Exit the train station, and make your way to the left. The area is likely crawling with more than a few bandits, so take your time and eliminate any who get in your way. Consider walking beneath the raised floor of the bank to maximize your cover. Approach the north side of the bank to see the heavy locks on the vault door.
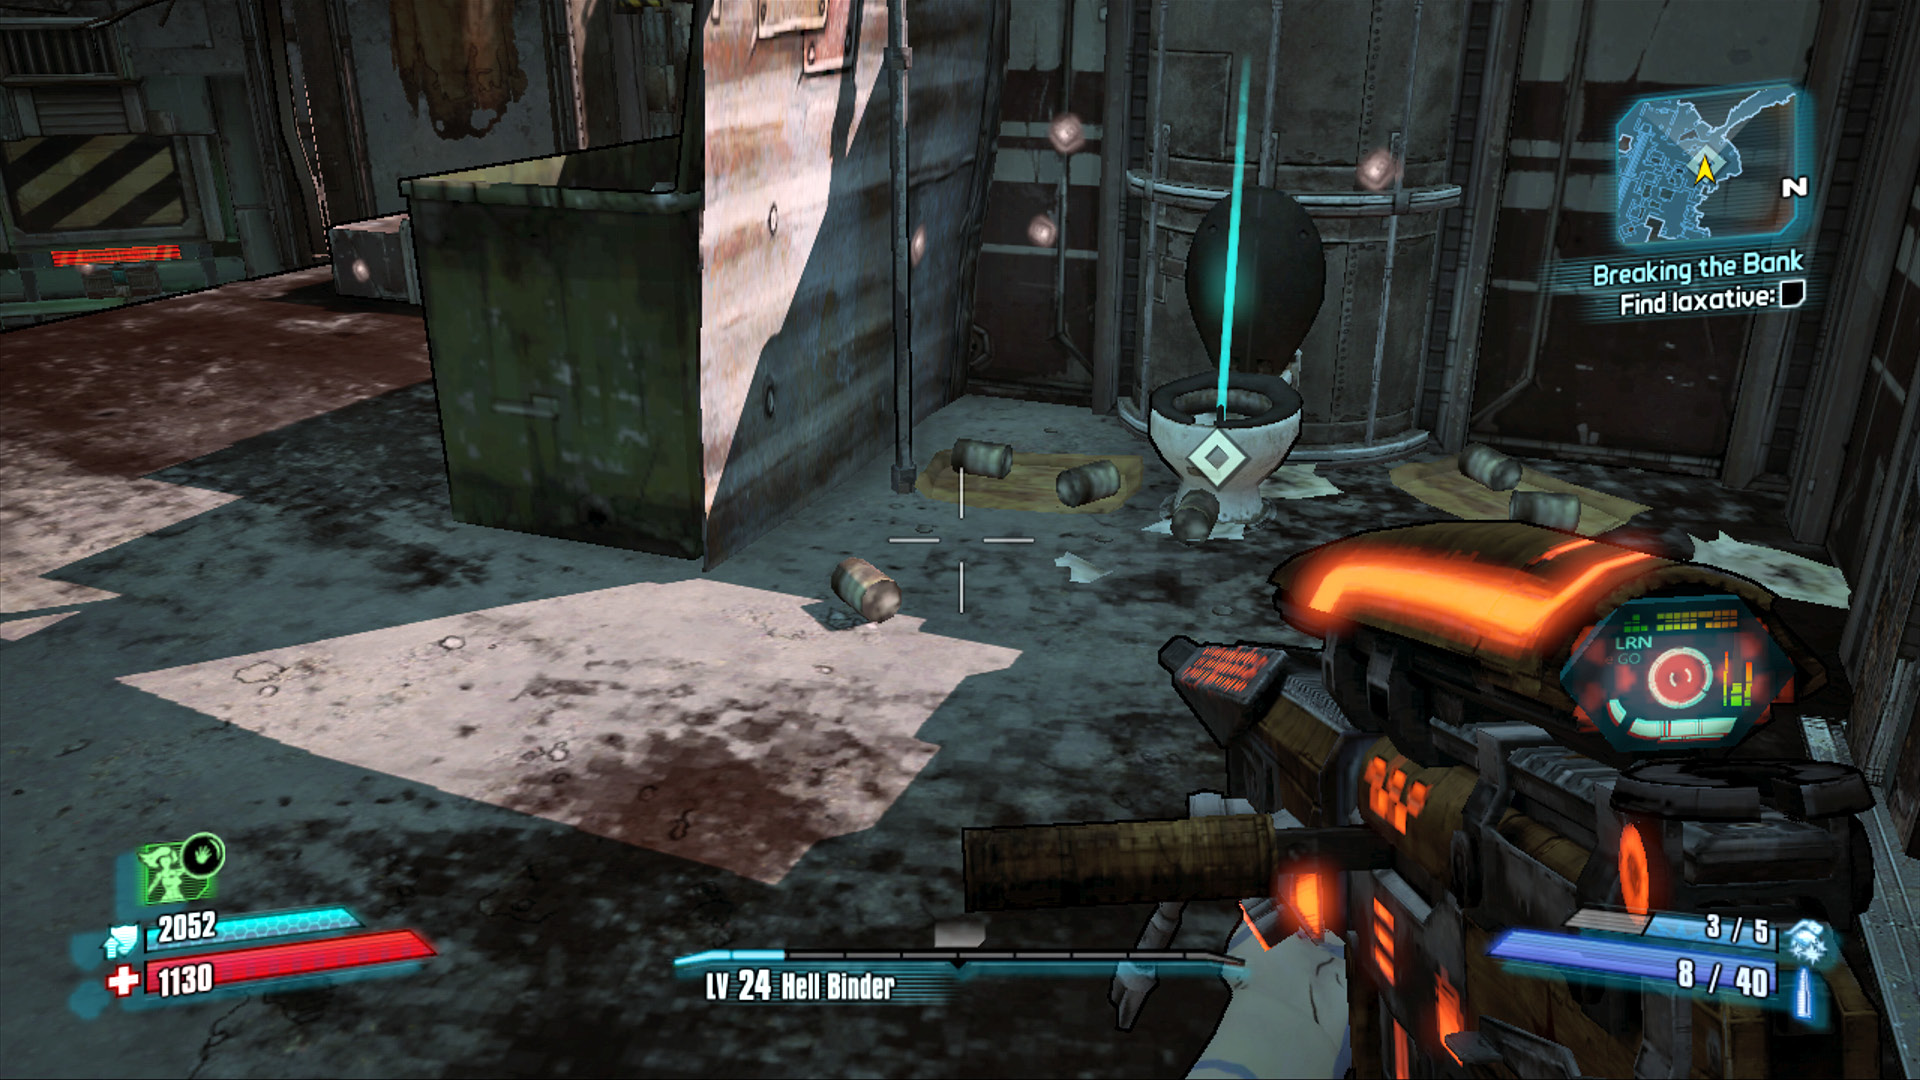
Just reach into the toilet and grab the laxatives. It’s best to not think about this too much.
You’re forgiven if you find Brick’s prescribed explosives a bit unorthodox, but there’s a method to his madness that becomes clear soon enough. First, you need to find some laxatives. Make your way up the nearby stairs, and leap across to the roof of the building just north of the bank. There’s a rooftop toilet on the building nearest the cave leading to Gunslinger’s Corner—find the toilet, and you’ll find your laxatives!
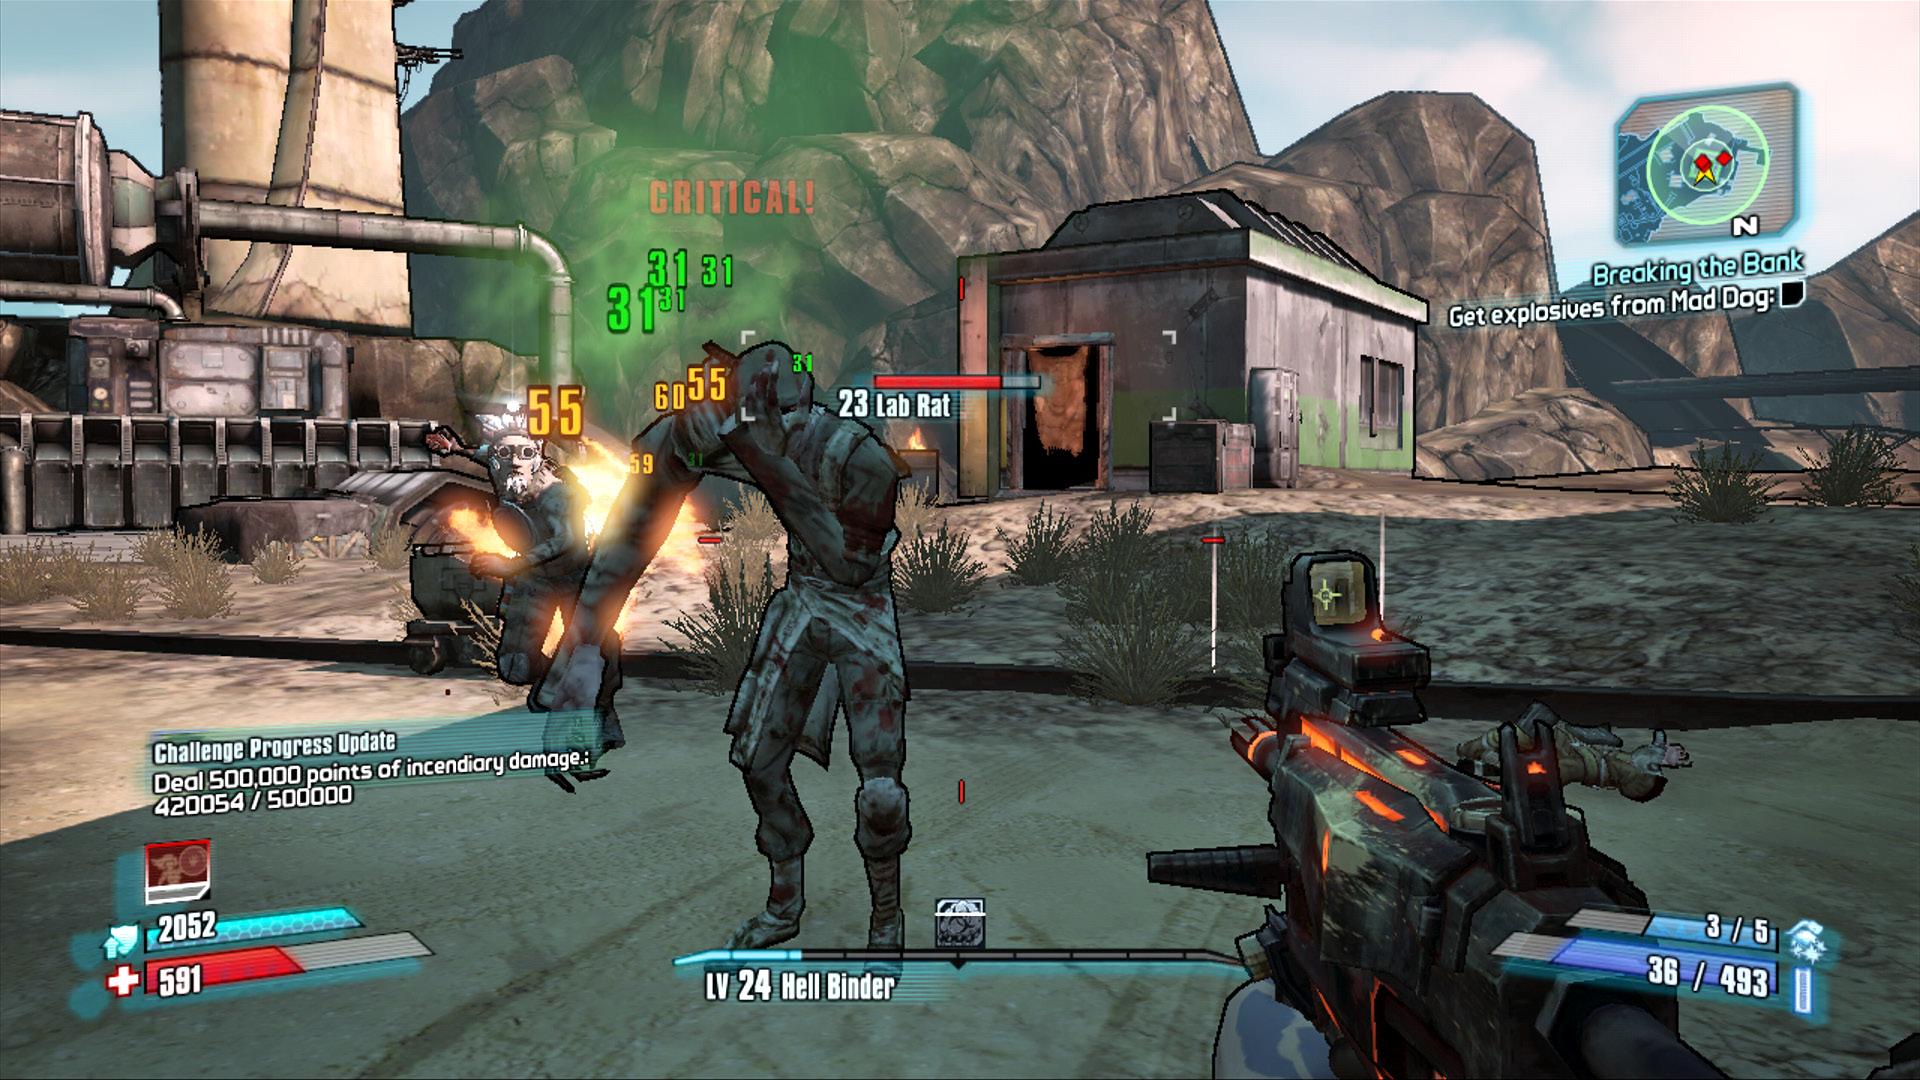
Fire weapons work exceptionally well against Mad Dog and his accompanying rats.
Now it’s time to get the explosives you’ll need to blow the door open. Head south from Main Street and ride the elevator up to Death Row Refinery. Make your way to the western edge of the refinery to draw Mad Dog out of hiding. Mad Dog attacks amongst numerous rats, but he can be put down with relative ease provided you’re packing some Fire weapons. Kill any Lab Rats that attack but focus your firepower on Mad Dog to force him to drop his stash of dynamite.
Fight your way north toward the Grinders area. This way is crawling with rats of all kinds, as well as several Armored Skag Riders. Target the riders over the skags to unlock the Look Ma, No Hands Challenge. And remember to use Corrosive weaponry against these armored creatures—it’s not just for Hyperion Loaders! Locate the abandoned mine tunnel on the north side of the area, near the flaming barrel, and place the bomb down in the spot marked. Now, coat the bomb with the laxative you collected. A Pup Skag that lives in the mine tunnel comes out and ingests the volatile concoction, then promptly evacuates it from its system. Pick through the skag pile to find the Bile Bomb—now you’re ready to rob a bank!
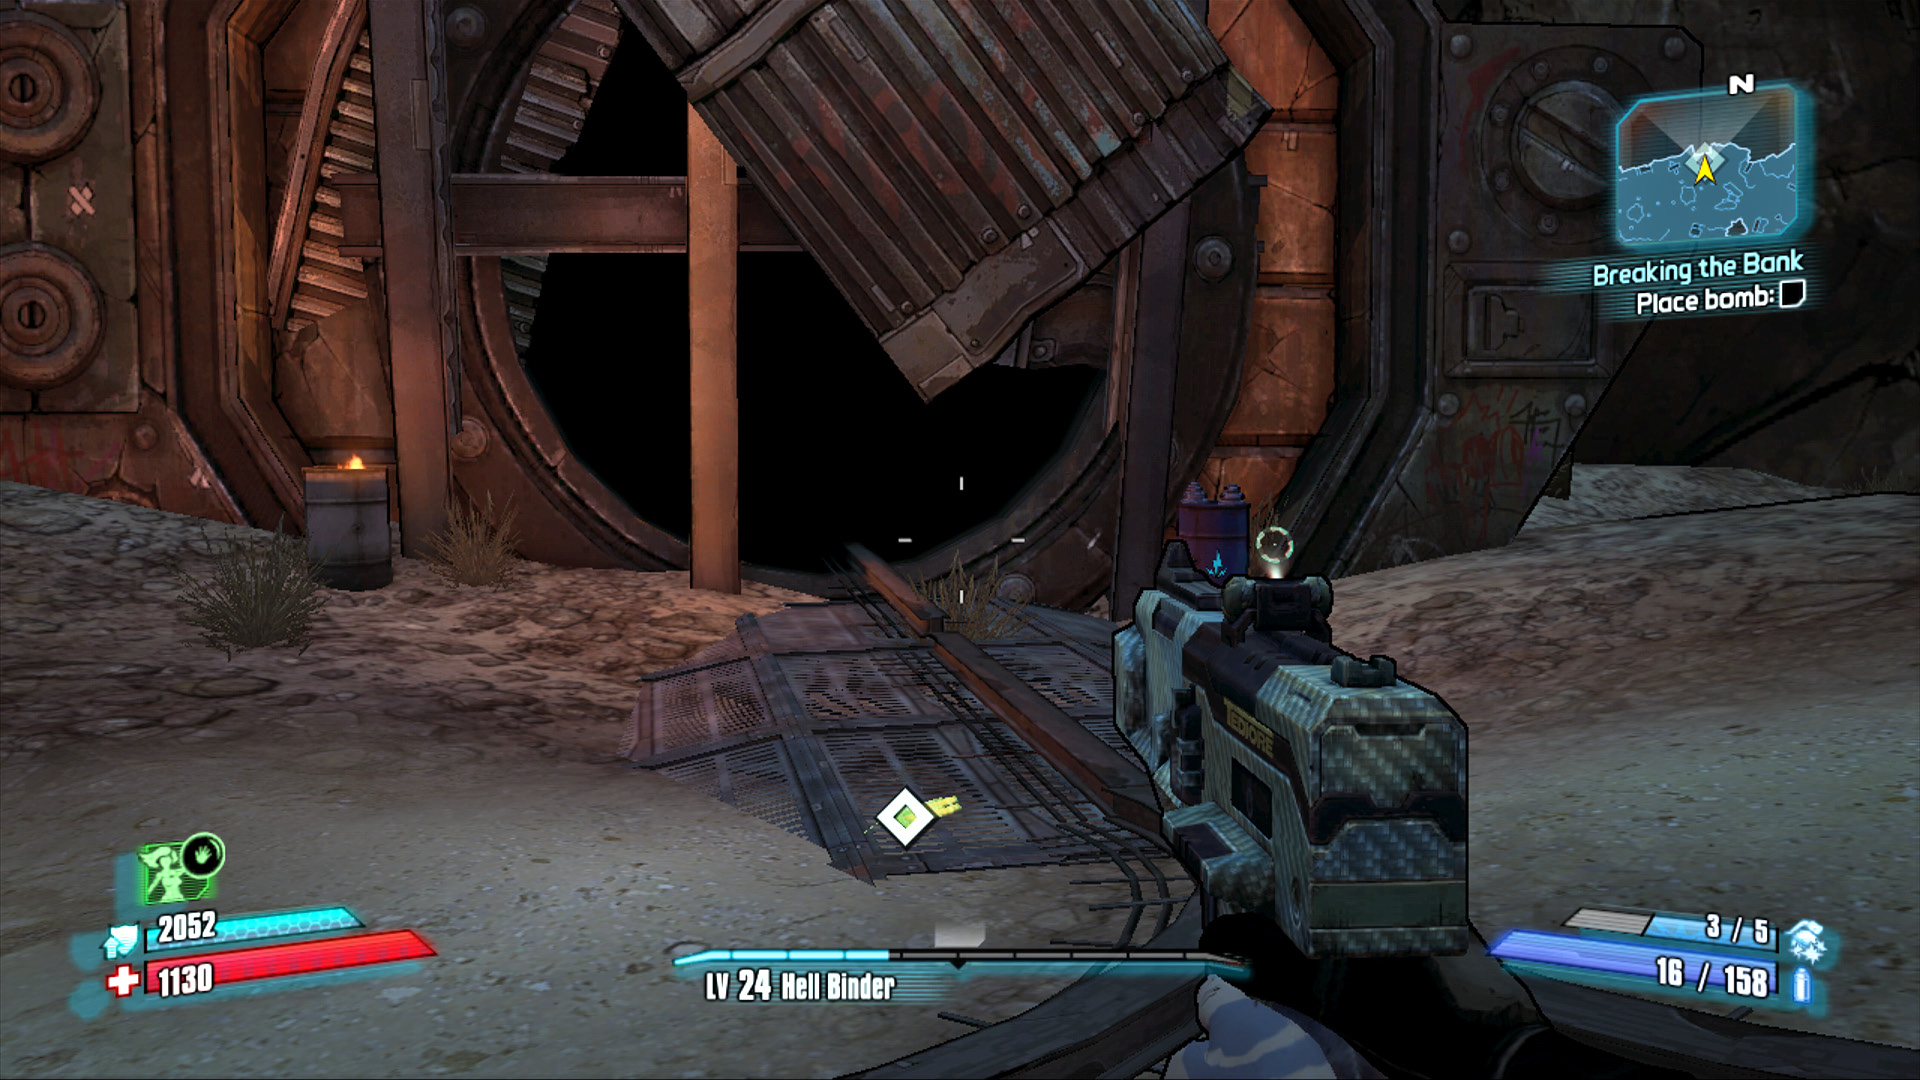
Follow the lone rail to the Pup Skag’s home, and place the bomb and laxative out in front for it.
Bring the Bile Bomb back to the bank and place it on the locked vault door to blow the bank open. This certainly attracts the Sheriff’s attention, but there’s little she can do at this point. Enter the bank and open each of the 25 deposit boxes inside the bank to collect all of the loot. Gather all 25 bundles of money, then sprint east through Main Street and up the stairs toward the quarry above town. Use your Action Skill to dispatch any attackers on the stairs, and brace yourself for an attack by the Sheriff’s Posse—multiple Armored Skag Riders!
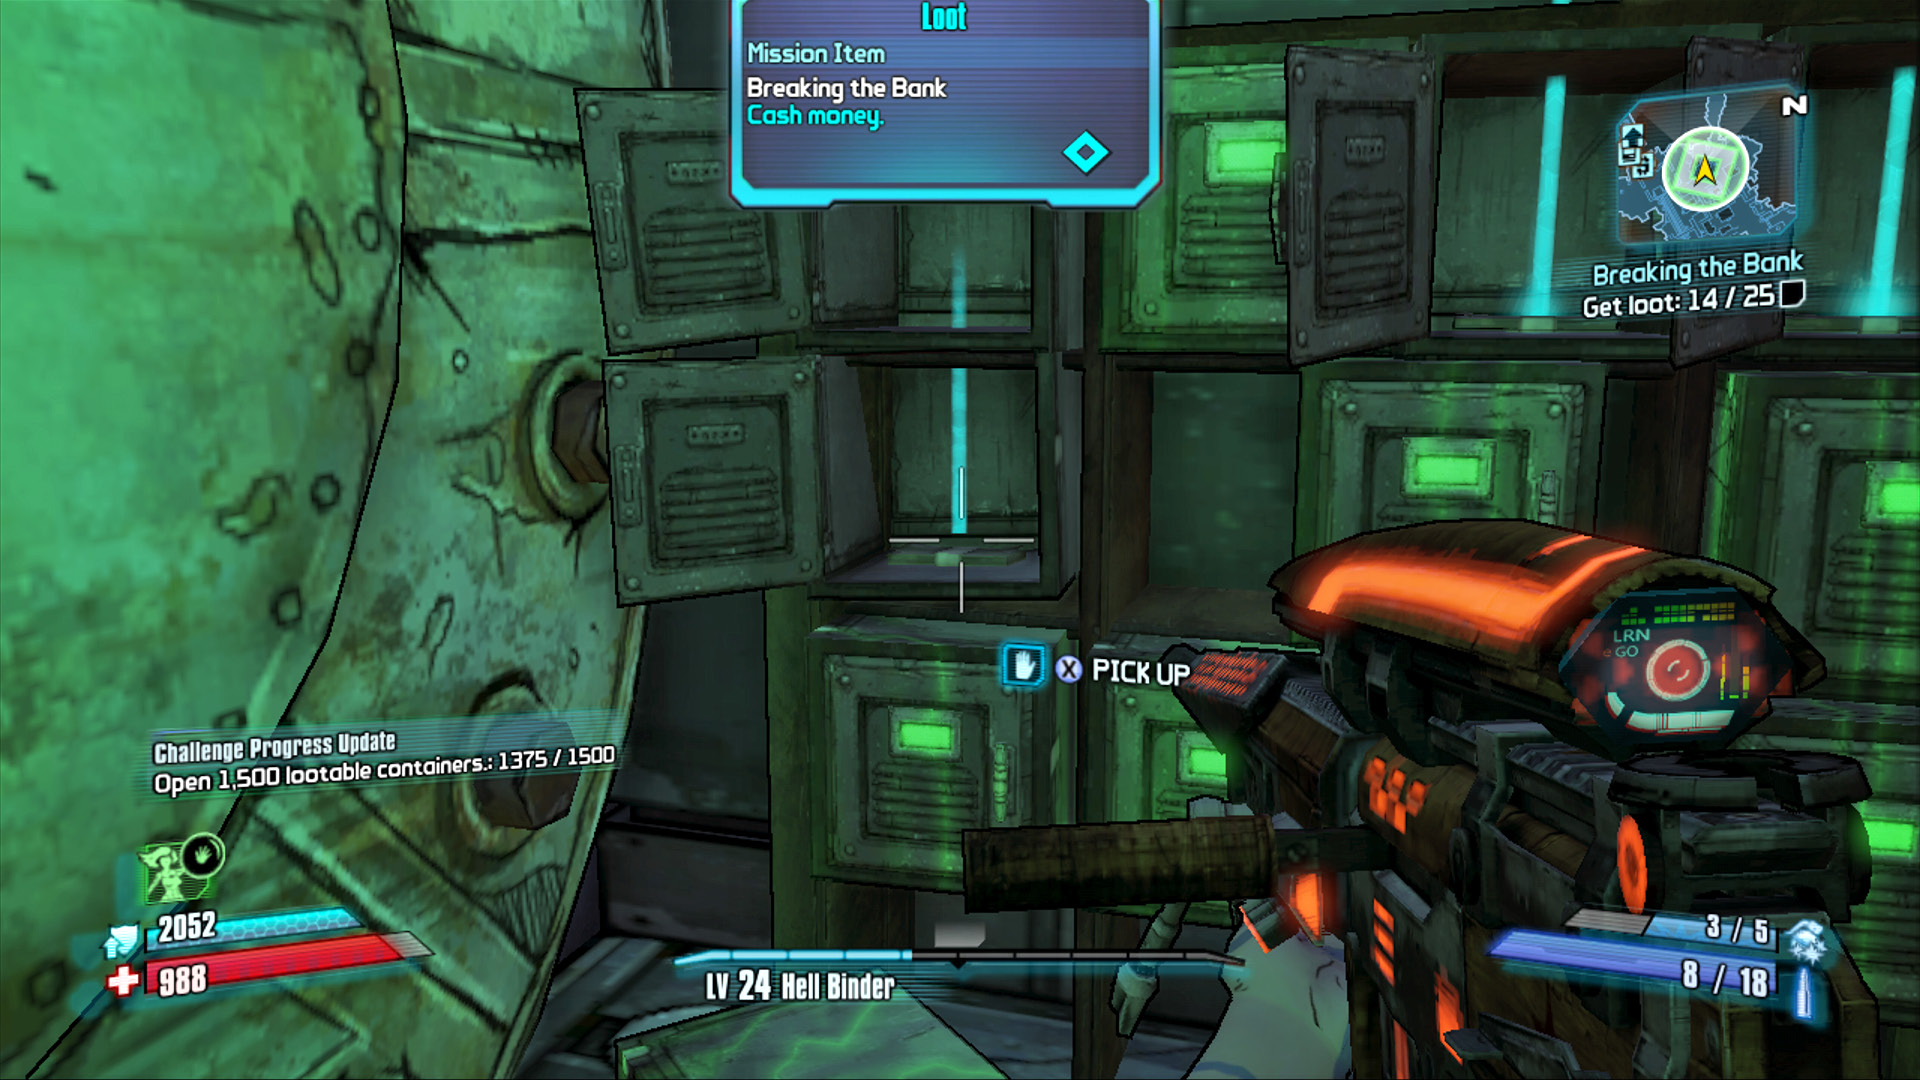
Cash money and lots of it!
Brick has updated your ECHO minimap with three locations where he wants you to stash the money; he’ll collect it later. Take up an elevated position and rain Corrosive attacks down on the Sheriff’s Posse and the Armored Skags they ride upon. It’s better to take your time clearing out the Sheriff’s Posse from afar than it is to risk being killed while burying the evidence. With the Sheriff’s Posse slain, you’ll be free to bury the loot in relative calm. The first hiding spot is beneath the rock chute on the east side of the quarry. Hiding the money is a two-step process. First, you need to lay the money in the spot marked—often the inside of a partially buried tire—and then you need to cover it up. Don’t just lay the money down and run away, as that won’t count! Return to the Lynchwood Bounty Board as soon as you’ve hidden the money in the three hiding spots.
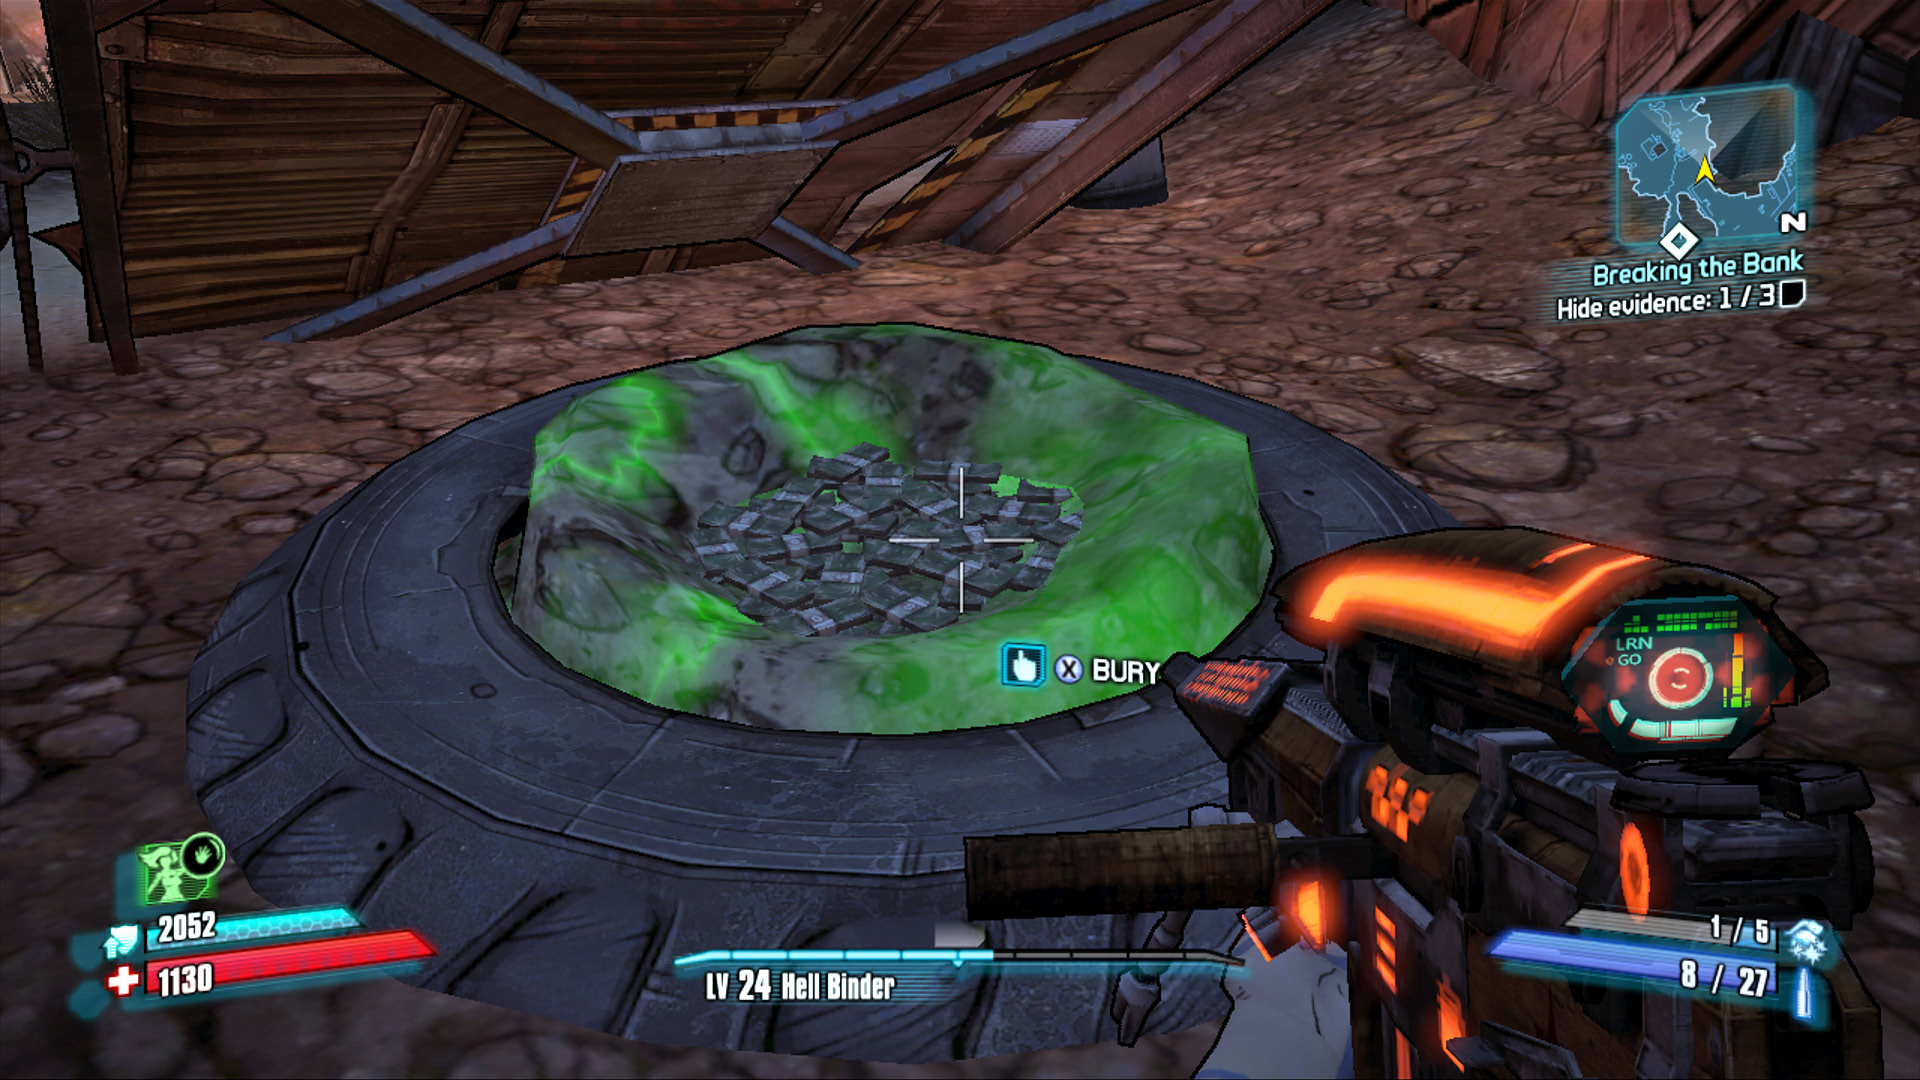
Place the money in the hiding spot, and then bury it. Don’t forget to bury it!