
Borderlands 2 Game of the Year Guide Optional Missions
Shielded Favors
|
 Mission Briefing
| Level | Money | XP | Gear |
|---|---|---|---|
|
3 |
$31 |
160 |
Custom Skin (Green) |
Gateway Harbor
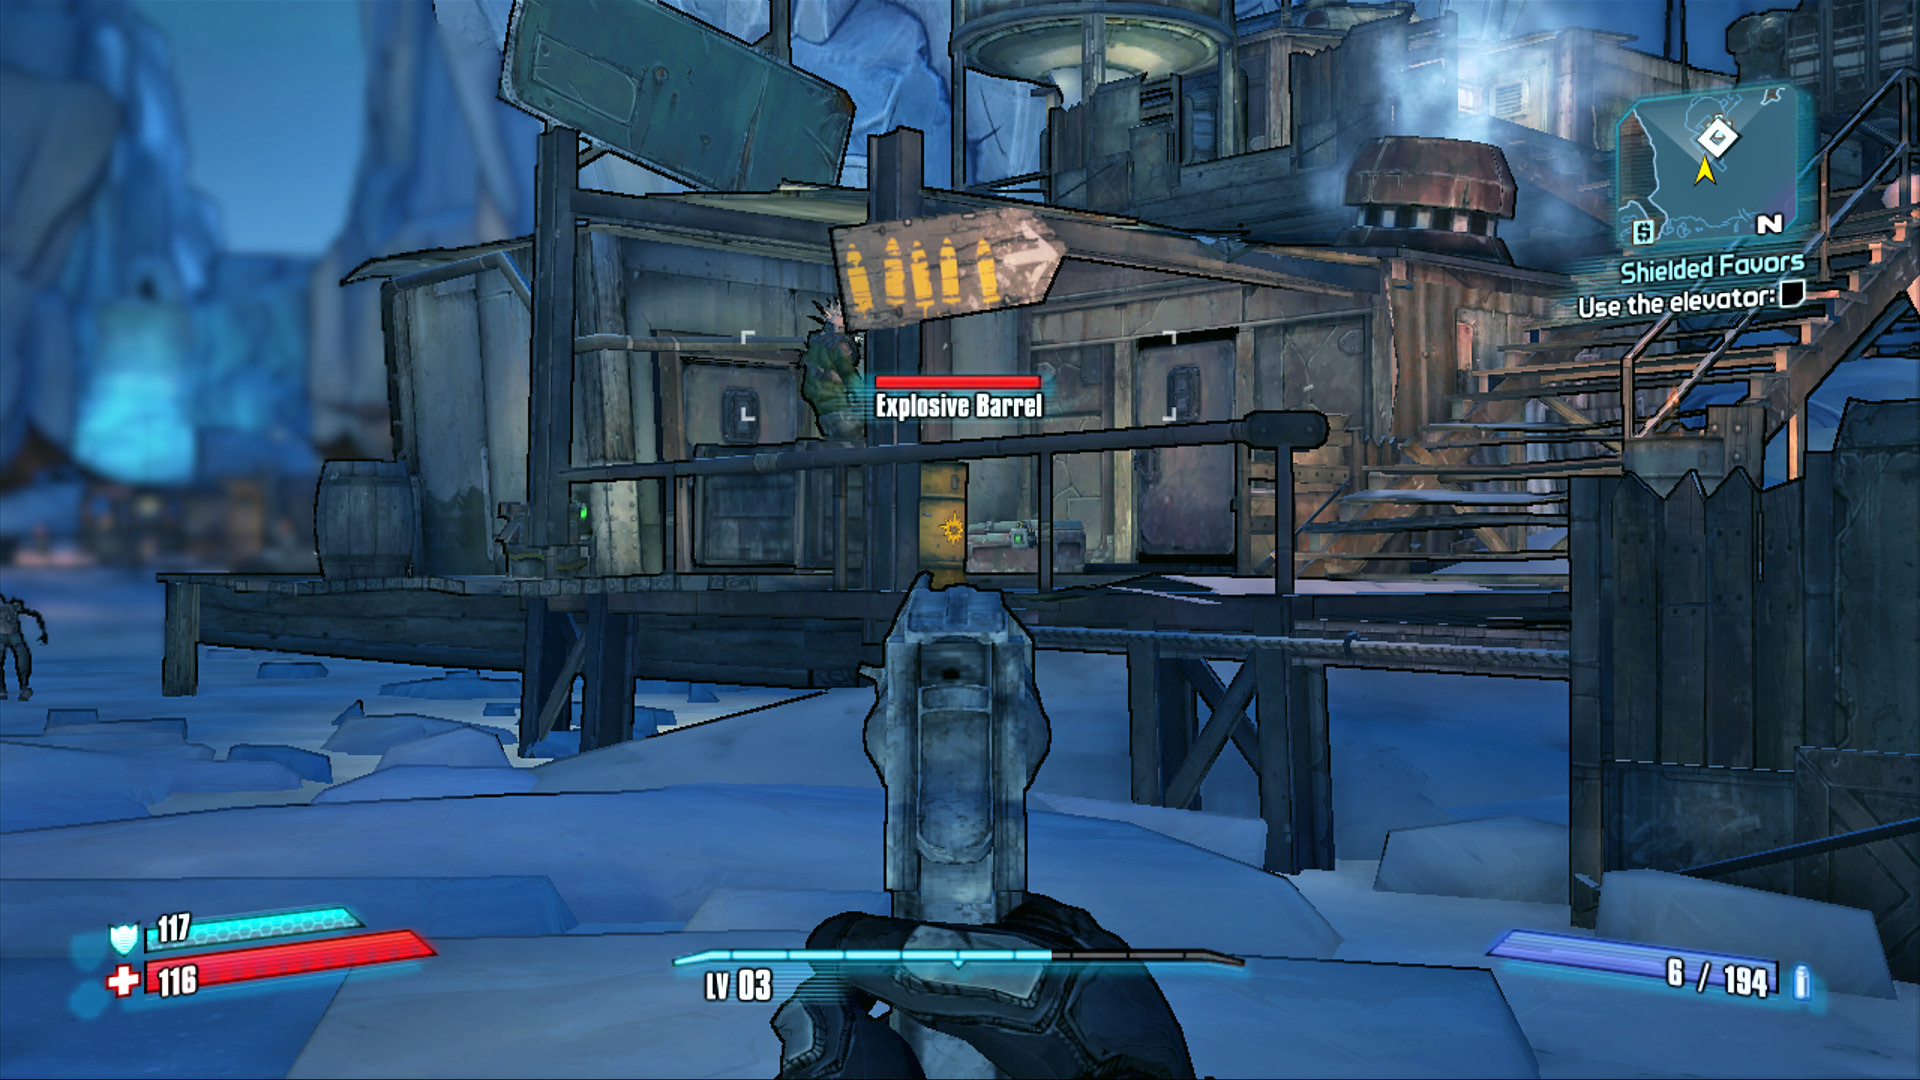
Elemental barrels are in fixed locations, but their properties are random.
The old Crimson Raider base has a better supply of shields for purchase than the vending machines in Liar’s Berg, and it’s not far from town. Throw the switch to the right of Hammerlock’s house to open the gate on the western side of town and drop off the cliffs onto the ice of Gateway Harbor.
The buildings above the dock directly ahead house the vending machine you need, but it’s guarded by a few bandits. Equip your highest precision weapon and take aim at the barrel on the lower dock. Wait for the marauders to get within range, and pop the barrel to gain a quick advantage in the fight. Strafe toward the end of the dock on the right for cover and methodically pick off the marauders and psychos that appear. Look to the second floor roof, as well. There’s plenty of cover down at the end of the dock for long to medium-range attacks, provided you kept the pistol or gained an assault rifle from earlier quests.
The lift to the upper elevator is currently out of service due to a missing fuse—bandits steal just about everything that isn’t nailed down these days. You’re going to have to head south to the bandit base in search of a replacement!
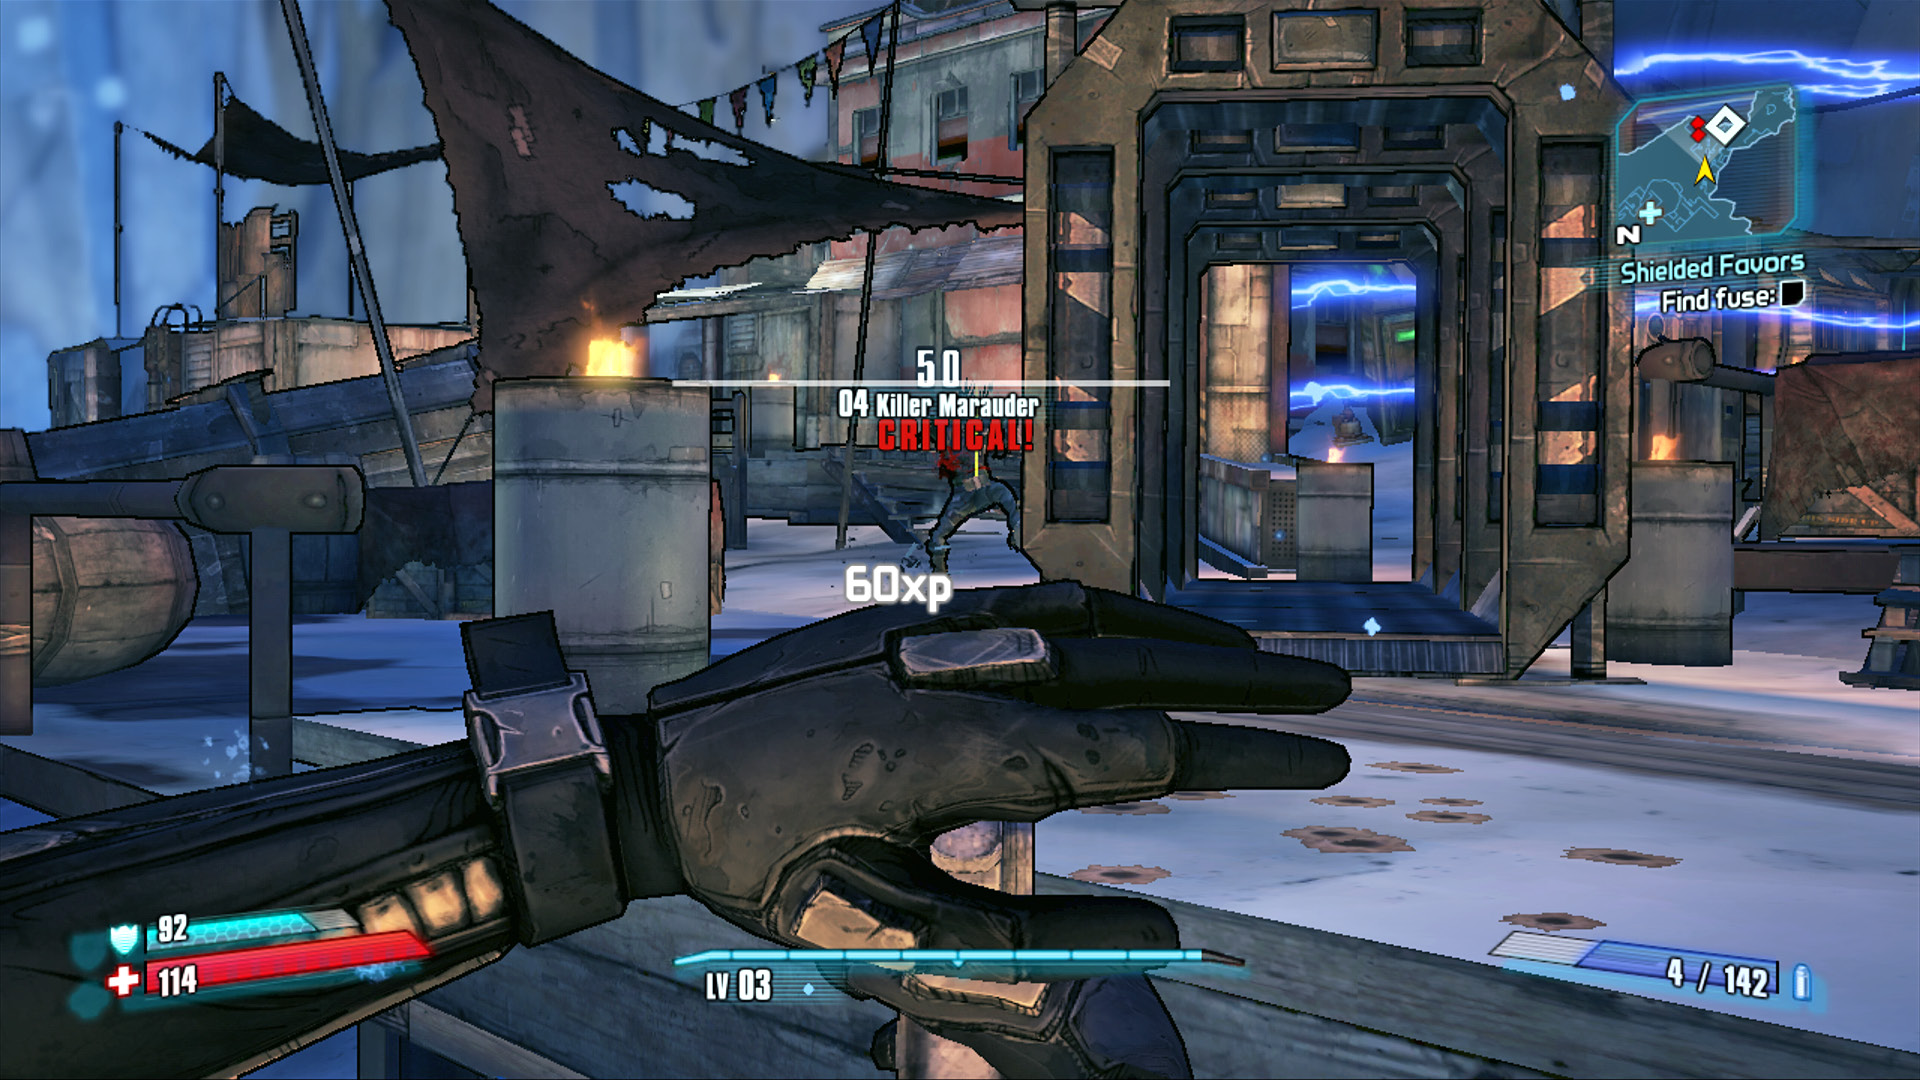
Keep your distance at all times (unless you’ve acquired a higher capacity shotgun) and use the edge of the dock and the Hyperion container for cover.
Circle around the camp and continue south to the larger (and much more heavily protected) bandit base. Once again, keep your distance and aim for any elemental barrels you see in the foreground. The enemies here are split between the right and left and likely include at least one or two Killer Marauders with full energy shields not unlike your own—it definitely pays to target a Shock Barrel if one should be present! Target explosive gas tanks, and watch the minimap for enemy locations; it’s easy to overlook the one on the upper left-hand corner.
Claptrap alerts you to a usable fuse beyond the electric barrier. He’ll try to coax you into simply running through the electric forcefield, as if it wouldn’t harm you. He’s simply trying to pass along the trick that Sir Hammerlock played on him in Liar’s Berg: don’t listen to him! Instead, simply shoot the electrical fuse box beyond the electric forcefield to disable it. This allows you to fetch the power fuse without having to risk electrocuting yourself.
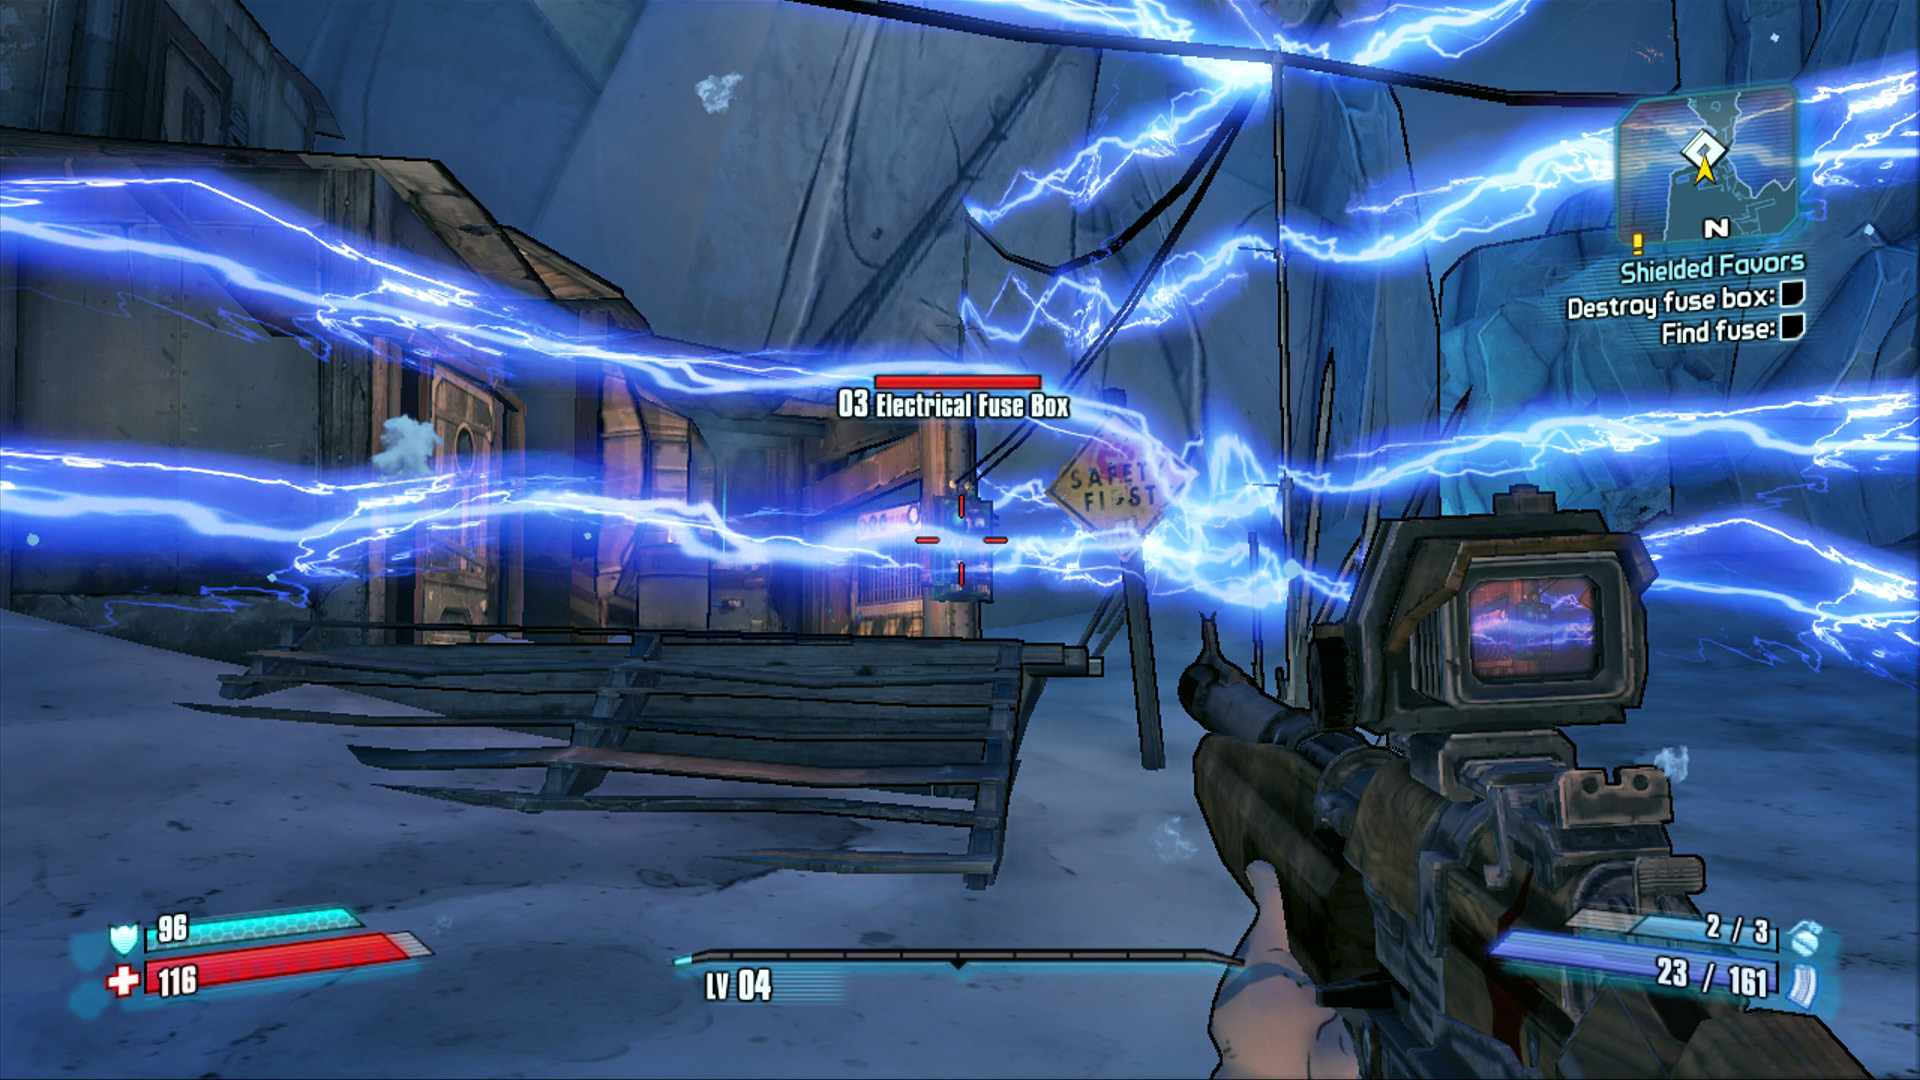
You’ll feel energized by this shockingly easy solution. You see, that’s funny because the barrier is made of electricity. Get it? It’s a pun.
Grab the power fuse and return to the lift at the previous area. Plug in the fuse, pull the lever to lower the lift, then ride it up. Enter the old Crimson Raider base through the door and buy a shield from the vending machine to complete the mission. Buying a shield better than the one you already have may cost you more money than you possess. If so, sell off your unwanted weapons and raid the lockers and boxes in the shop for cash. Lastly, head out the back door of the shop and carefully run along the siding to the lift support, then leap to the arched roof to access the balcony above the multi-colored lights. There, you’ll find a large treasure chest along with a Cult of the Vault symbol.
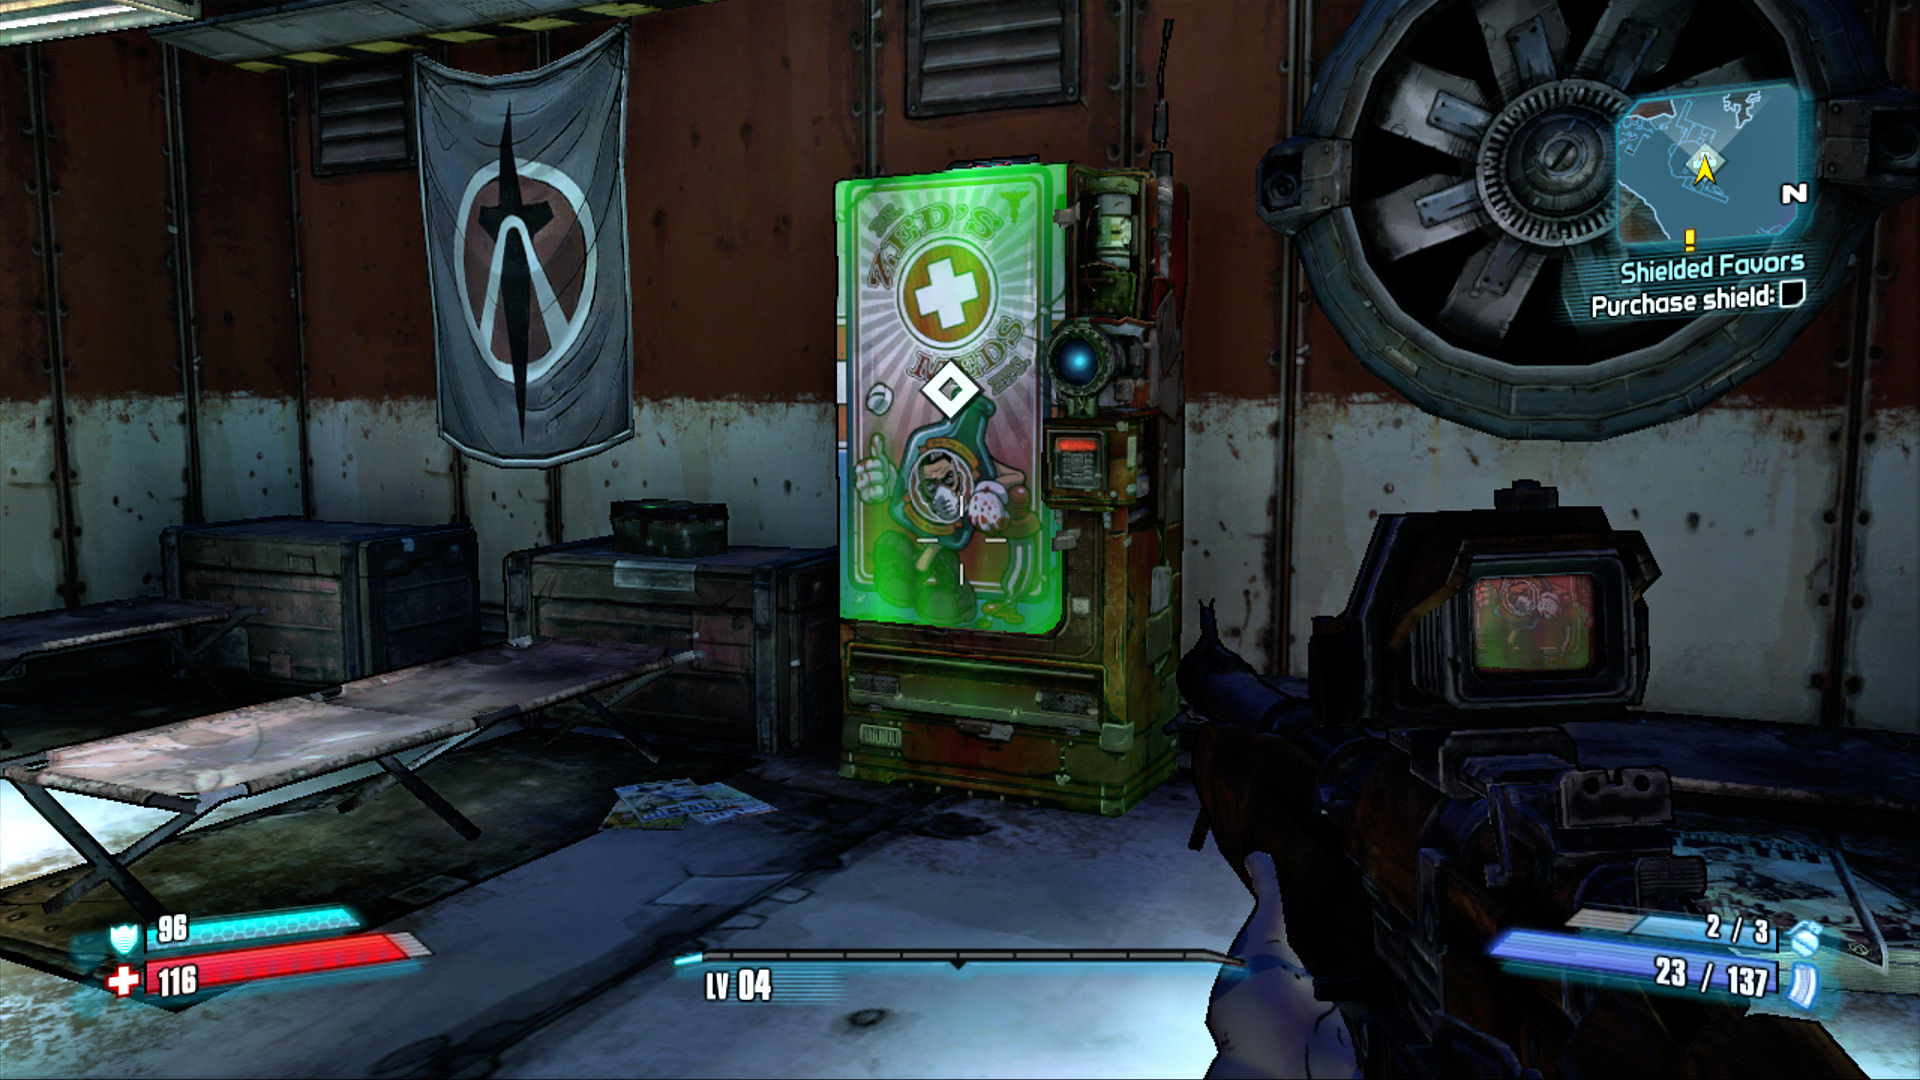
Ride the lift up to the shop and buy any shield you can afford from this vending machine to complete the mission.