
Borderlands 2 Game of the Year Guide Walkthrough
Where Angels Fear to Tread
|
 Mission Briefing
| Level | Money | XP | Gear |
|---|---|---|---|
|
24 |
4 Eridium |
9126 |
— |
*Money and XP may vary based on player’s level at start of mission.
Thousand Cuts
Despite Roland’s warnings, Claptrap is extremely eager to bring the fight to Handsome Jack. Claptrap is under the mistaken belief that Jack attacked Sanctuary in an attempt to get to him, and he couldn’t be more excited to have you, his trusty minion, by his side when the bullets start flying.
Use the Fast Travel station to head to Thousand Cuts, and cross the first bridge on the left to Bloody Knuckle Point. Head south to No Man’s Land, where Claptrap awaits. You may or may not encounter enemies here, depending on the optional missions you did earlier. Shoot any bandits you see in Slab Town, but just run past those you see in Bloody Knuckle Point, as the loaders that appear within moments are more than capable of distracting the Slabs.
Meet up with Claptrap near the scrap piece of metal he so boldly defaced. Graffiti! That’ll show Jack who’s boss! Claptrap, thanks to his upgrade, can pass through the defense field and deactivate it from the other side.
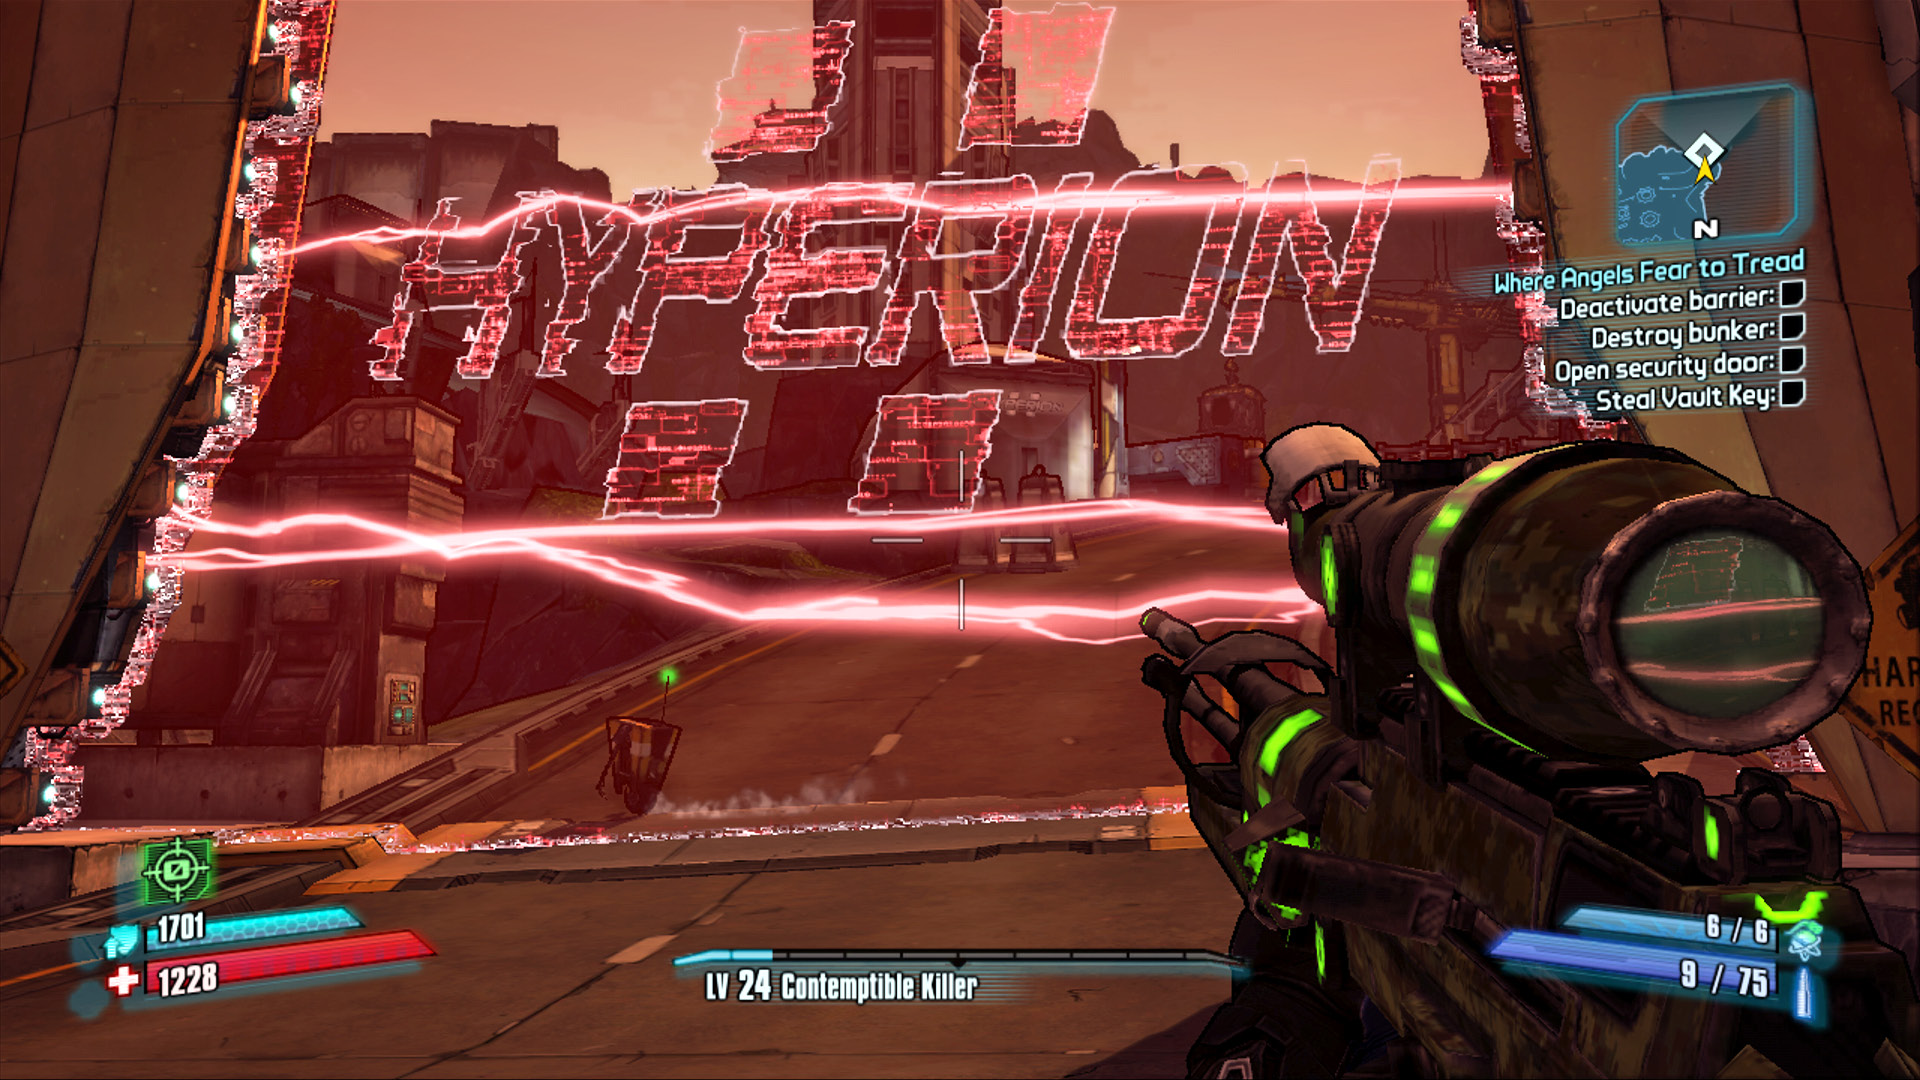
Don’t go near that death wall: it vaporizes all organic matter on contact!
Hyperion Occupied Territory
It’s all fun and games until you sneak into the Control Core Loading Dock! Hyperion’s finest are out in full force to ensure that you don’t make it any further than you already have. The fighting starts the moment Claptrap disables the death wall and all but requires you to have Corrosive weaponry on hand. It also pays to make frequent use of Corrosive or Explosive grenades or (if you have them) Singularity or Transfusion Slag grenades.
Unlike previous encounters with engineers and loaders, it’s critical that you don’t allow any of the enemies to get behind you. Similarly, you must not underestimate the Hyperion Soldiers that attack in this area, as they are quite agile and can deploy Hyperion Field Turrets in a flash. Target them at once!
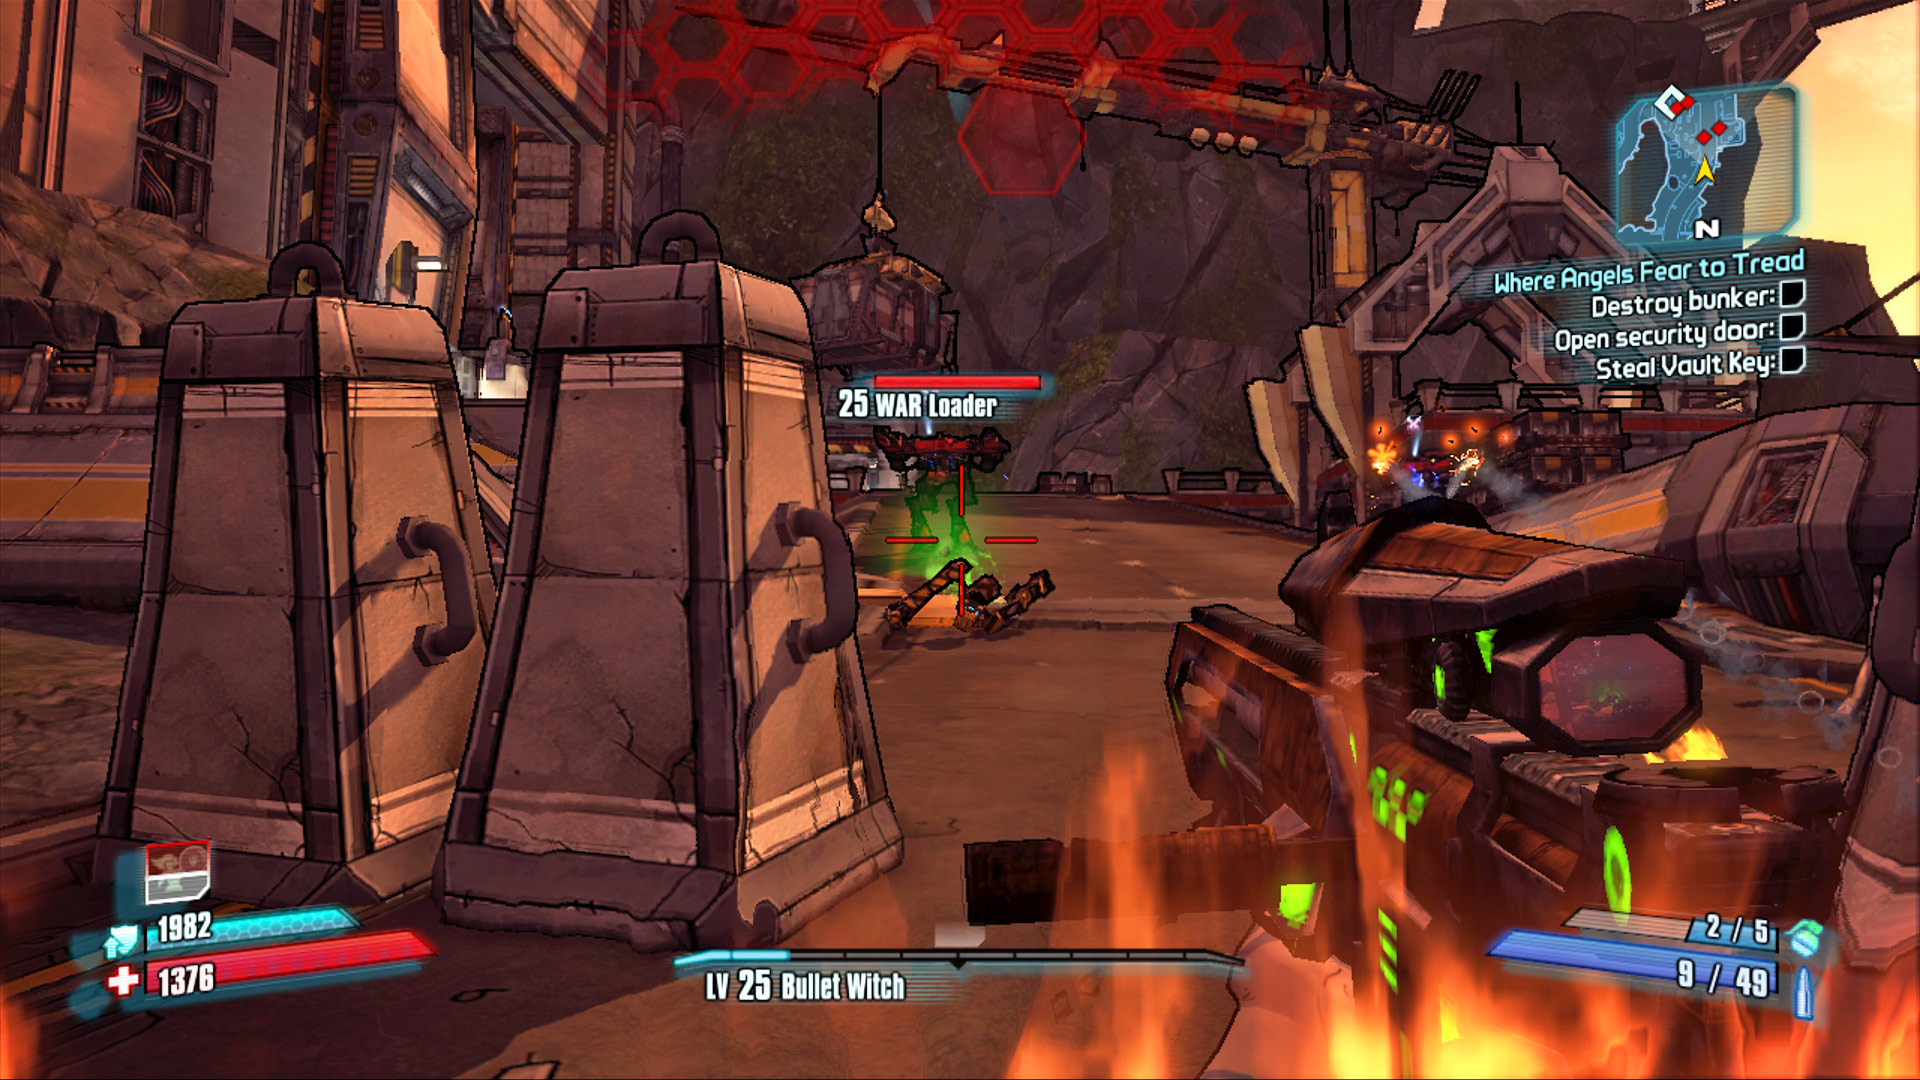
Don’t advance any farther than the large barricades here until the crane drops its container full of EXP Loaders.
Ever-increasing numbers of loaders attack as you advance up the road. Use hit-and-run tactics, stay in cover, and stick to the edge of the map to avoid being caught in the open. ION Loaders can be particularly annoying as they shield the enemies from your attacks. Try to splash them all with Corrosion damage as the ION Loader starts to spin-up the shield so that they at least continue taking damage inside the bubble while you deal with the others. Consider the ION Loaders’ bubble shields as a brief time-out, and use the time to scrounge ammo and Insta-Healths from the numerous yellow loot containers on either side of the road.
You’ve encountered plenty of Repair Surveyors, but this battle also features several JET Loaders. These flying foes transform from a normal bipedal robot into a jet airplane and arrive by air. Though they can be dangerous from above, they’re typically too fast and too far away to be worth focusing on until they land.
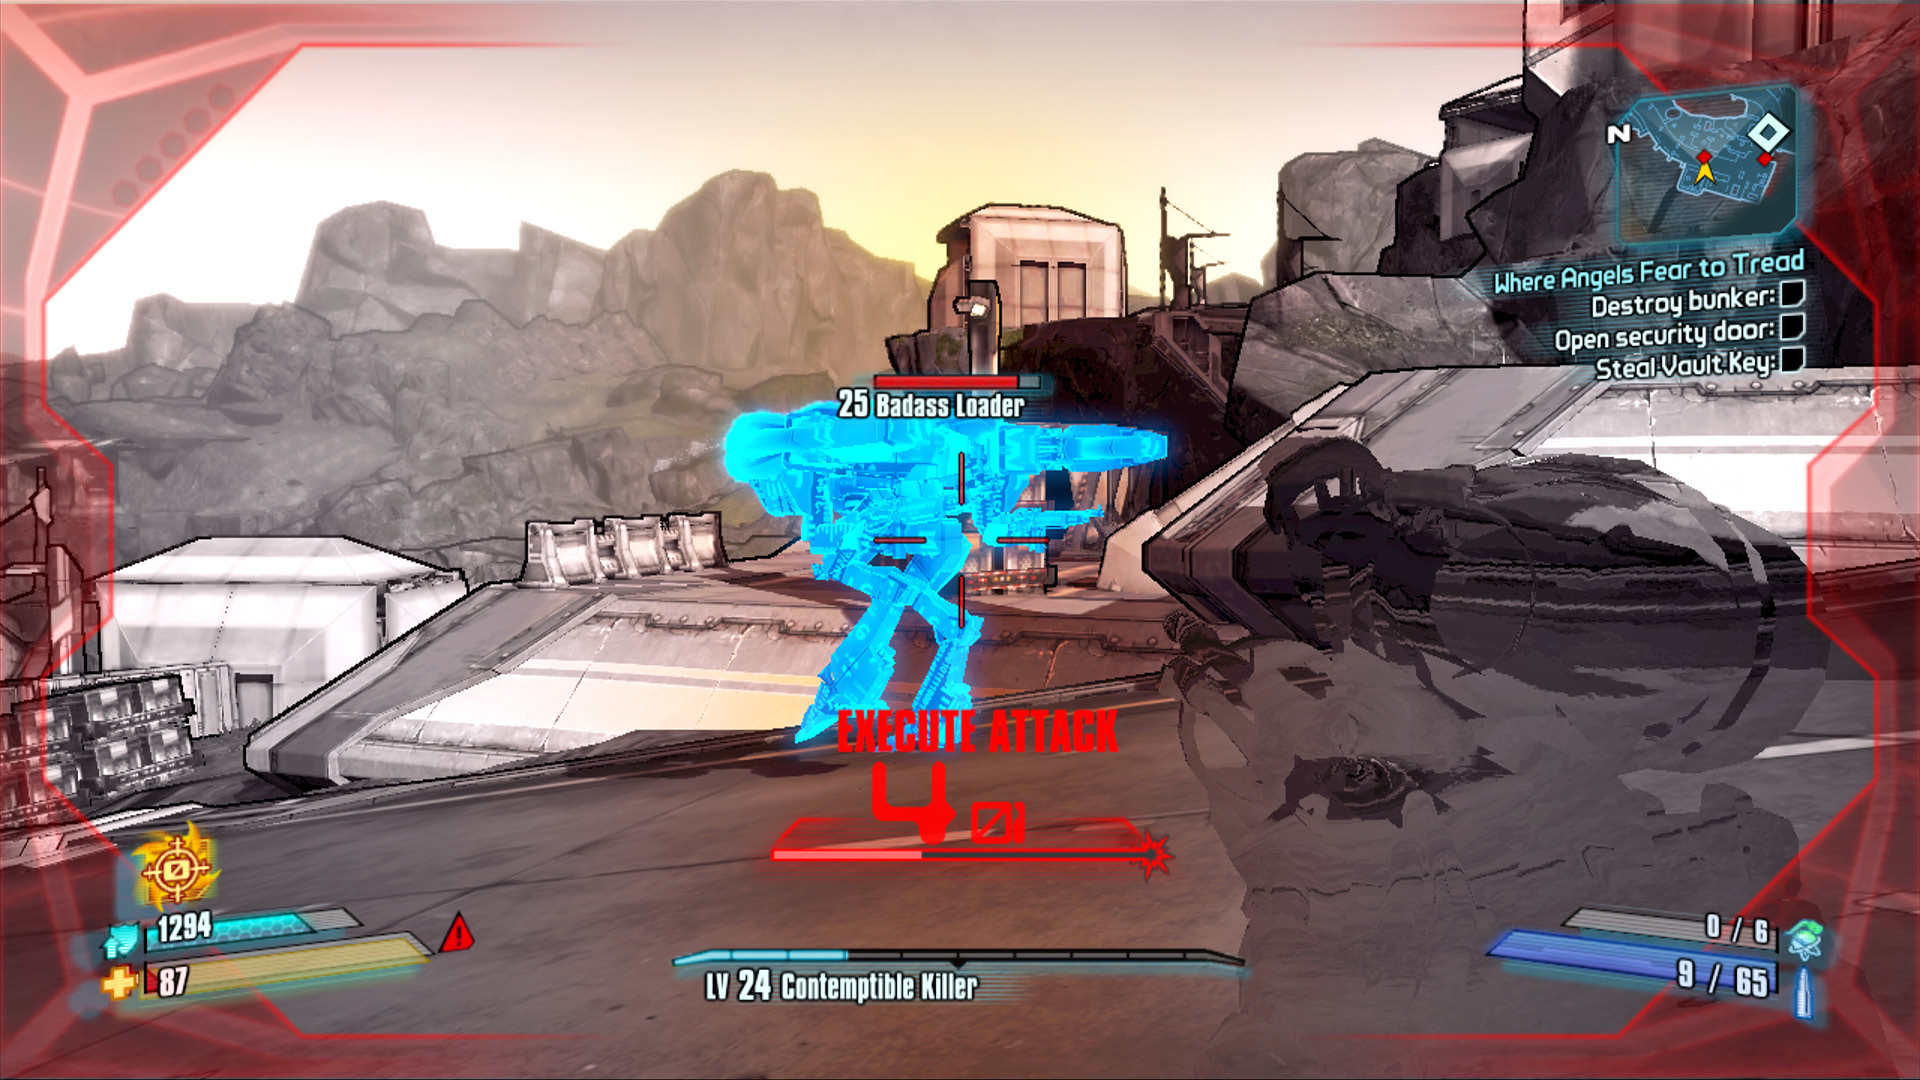
Keep to the edge of the road and use your Action Skill to isolate enemies whenever possible.
Advance no farther than the stairs on the left-hand side of the road until you’ve defeated all visible enemies, including any Badass Loaders or WAR Loaders that attack. Ascend the stairs on the left and creep forward to draw the Constructor Bot out from behind the doors in the distance. Ignore its Constructor turret, and focus on sniping its critical spot over and over. Unload on it with grenades and sniper rifle or SMG fire directly into the eye to take it out before it can fire any rockets or nukes. Duck behind the wall on the left (or backpedal down the stairs) to take cover from the Constructor’s attacks when necessary.
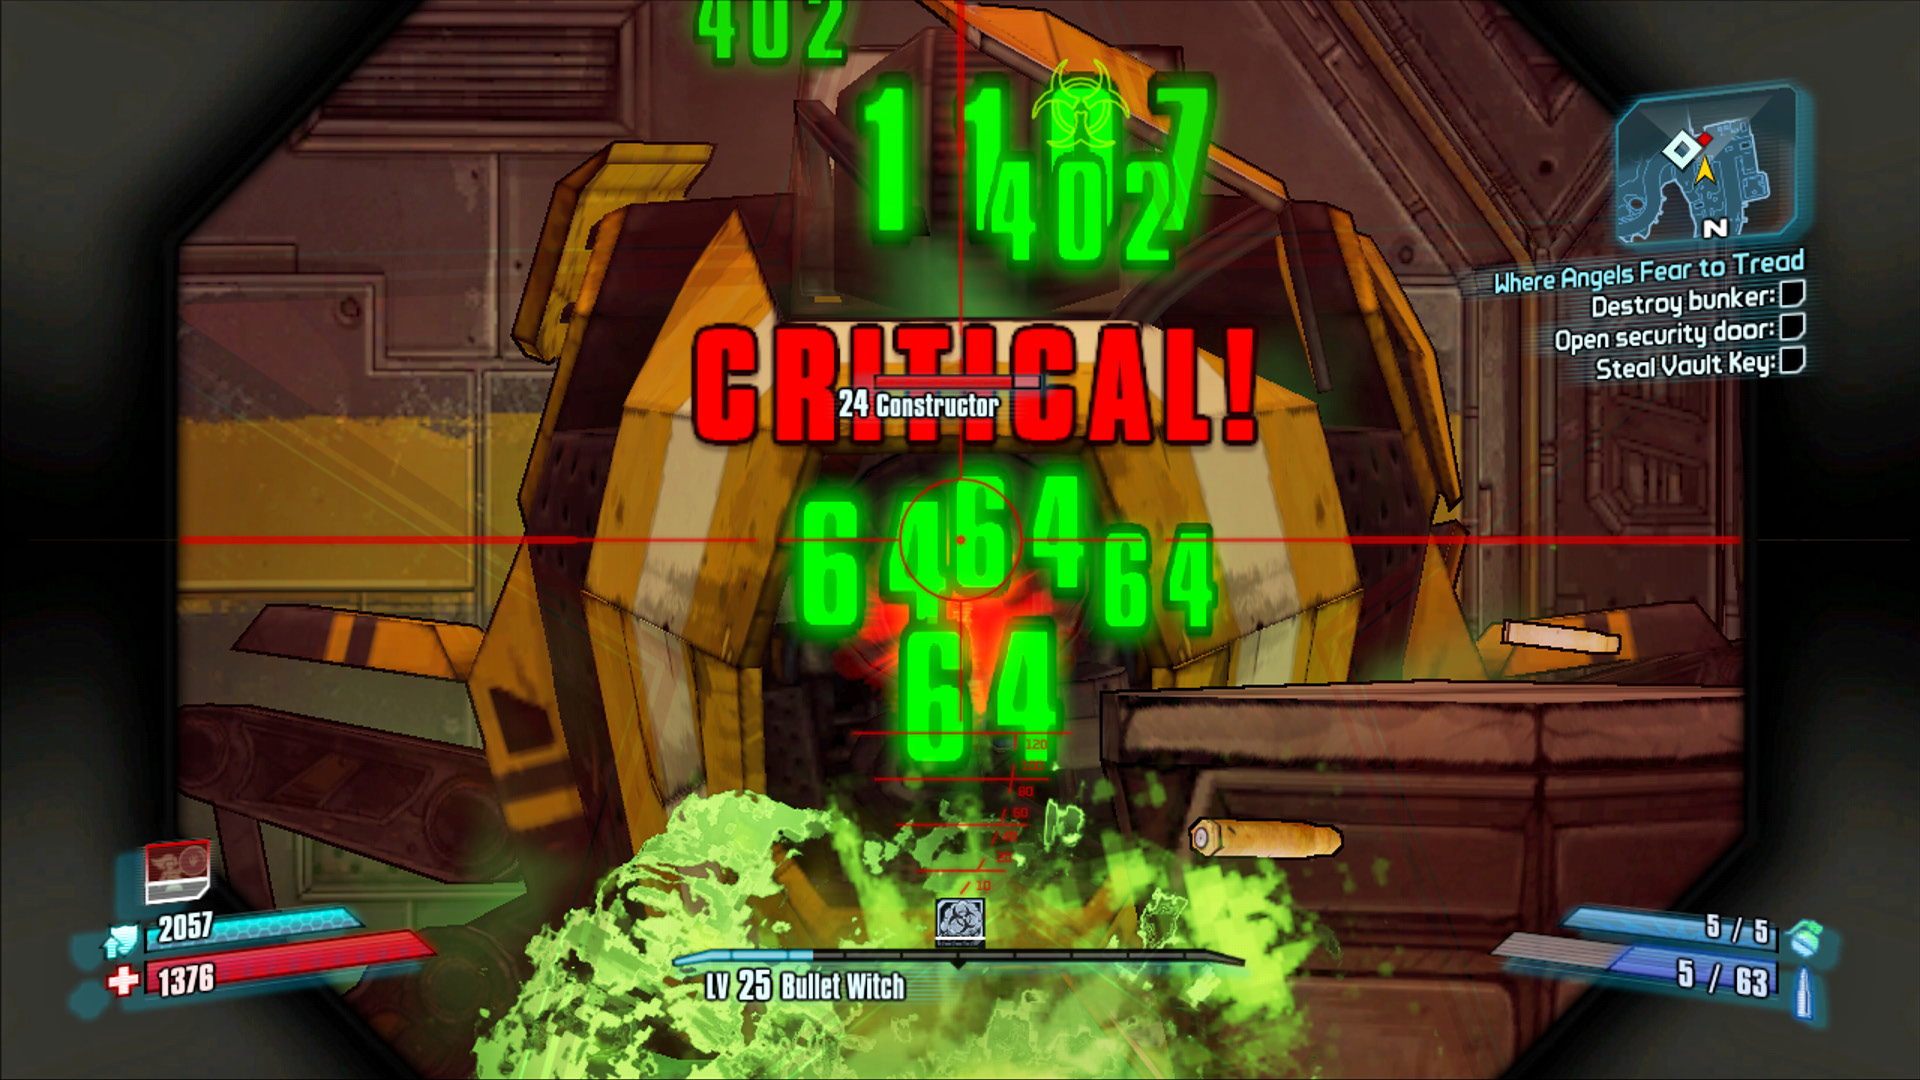
Use the stairs on the left for cover, and snipe the Constructor Bot in the eye repeatedly.
Incoming!
Heavy mortar fire is raining down on the road to the Control Core Supply Depot. You must avoid the red targeting circles, or you’ll sustain heavy damage. Two loaders are set to attack from the right, but you can ignore them if you want, as it’s far more important to get from the New-U station at the west end of the road to the one to the east.
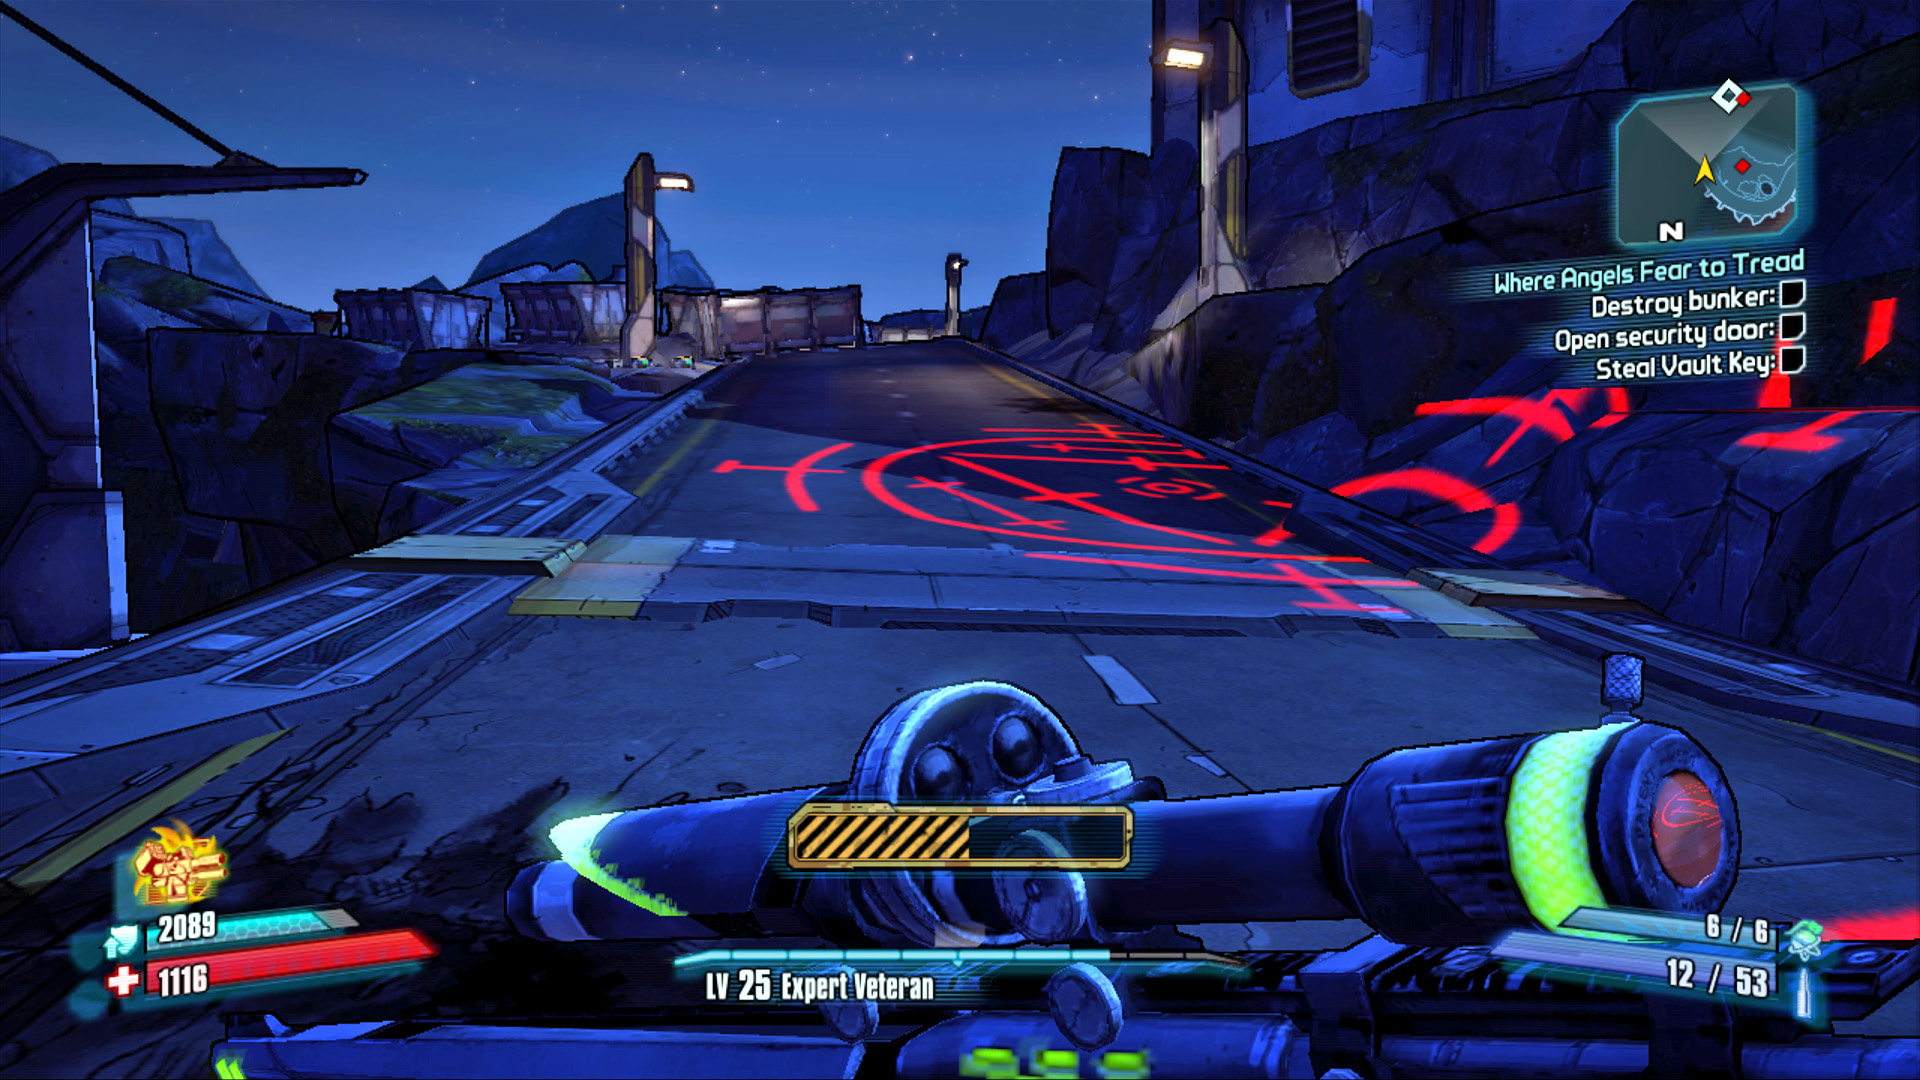
Stay clear of the red targeting circles, or you’ll risk being downed with nothing nearby to get a Second Wind.
Don’t loot the containers on the left just yet! First, target the Hyperion turrets flanking the heavy doors to the Control Core Supply Dock. Destroy those turrets, and hold this position until you’ve destroyed the incoming War Loaders and Repair Surveyors. The containers in this area often conceal a Loot Wee Loader, so only open them while in battle with other enemies if absolutely necessary. Otherwise, it may not be worth the risk.
Stop at the opened gate, and use a sniper rifle to take out any Repair Surveyors hovering above the multi-level facility ahead. Numerous GUN Loaders and Hyperion Soldiers attack as soon as you advance past the gate. Hang back near the entrance, and snipe as many of the Hyperion Soldiers as you can before advancing. The ground level of the Control Core Supply Depot has several enemies, but the big threat appears as you approach the stairs on the right—a Badass Constructor is deployed on the third level and soon moves into position on the second floor. Keep your distance, and inflict as much damage as you can from ground level. Use your Action Skill, sniper rifle, and rocket launcher to weaken it from afar. Use the walls flanking the gate for cover when possible.
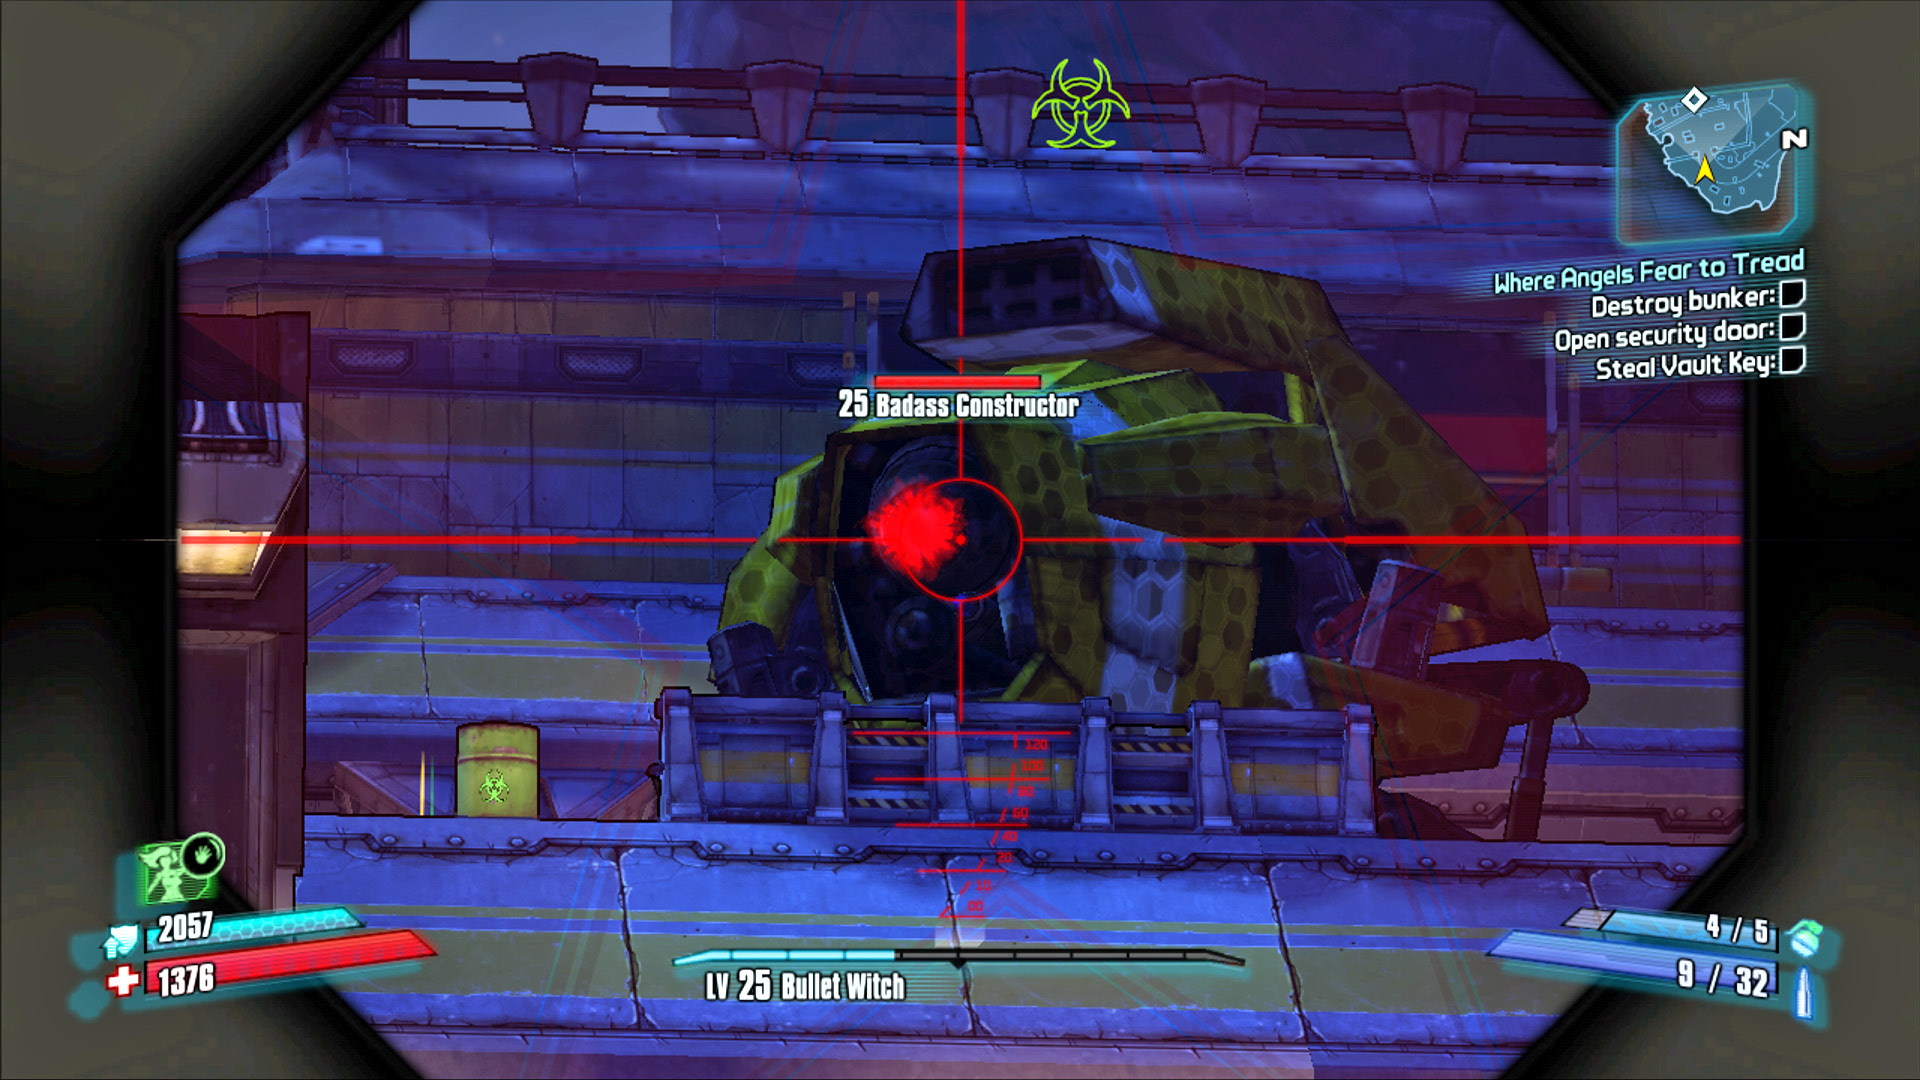
Draw the Badass Constructor into battle, then retreat beyond the gate for cover and snipe from afar.
Several WAR Loaders and a Badass Loader attack as you ascend the first flight of stairs. Take immediate cover under the awning directly below the Badass Constructor if you must, but know that it will begin to fire a nonstop stream of rockets and heat-seeking missiles that could be difficult to avoid as you exit the overhead cover. Some of those missiles may even curve around toward you. This battle can be quite challenging until you destroy that Badass Constructor, not only because of its numerous missiles and nuclear threat, but also because of the Hyperion Soldiers deploying turrets throughout the battlefield.
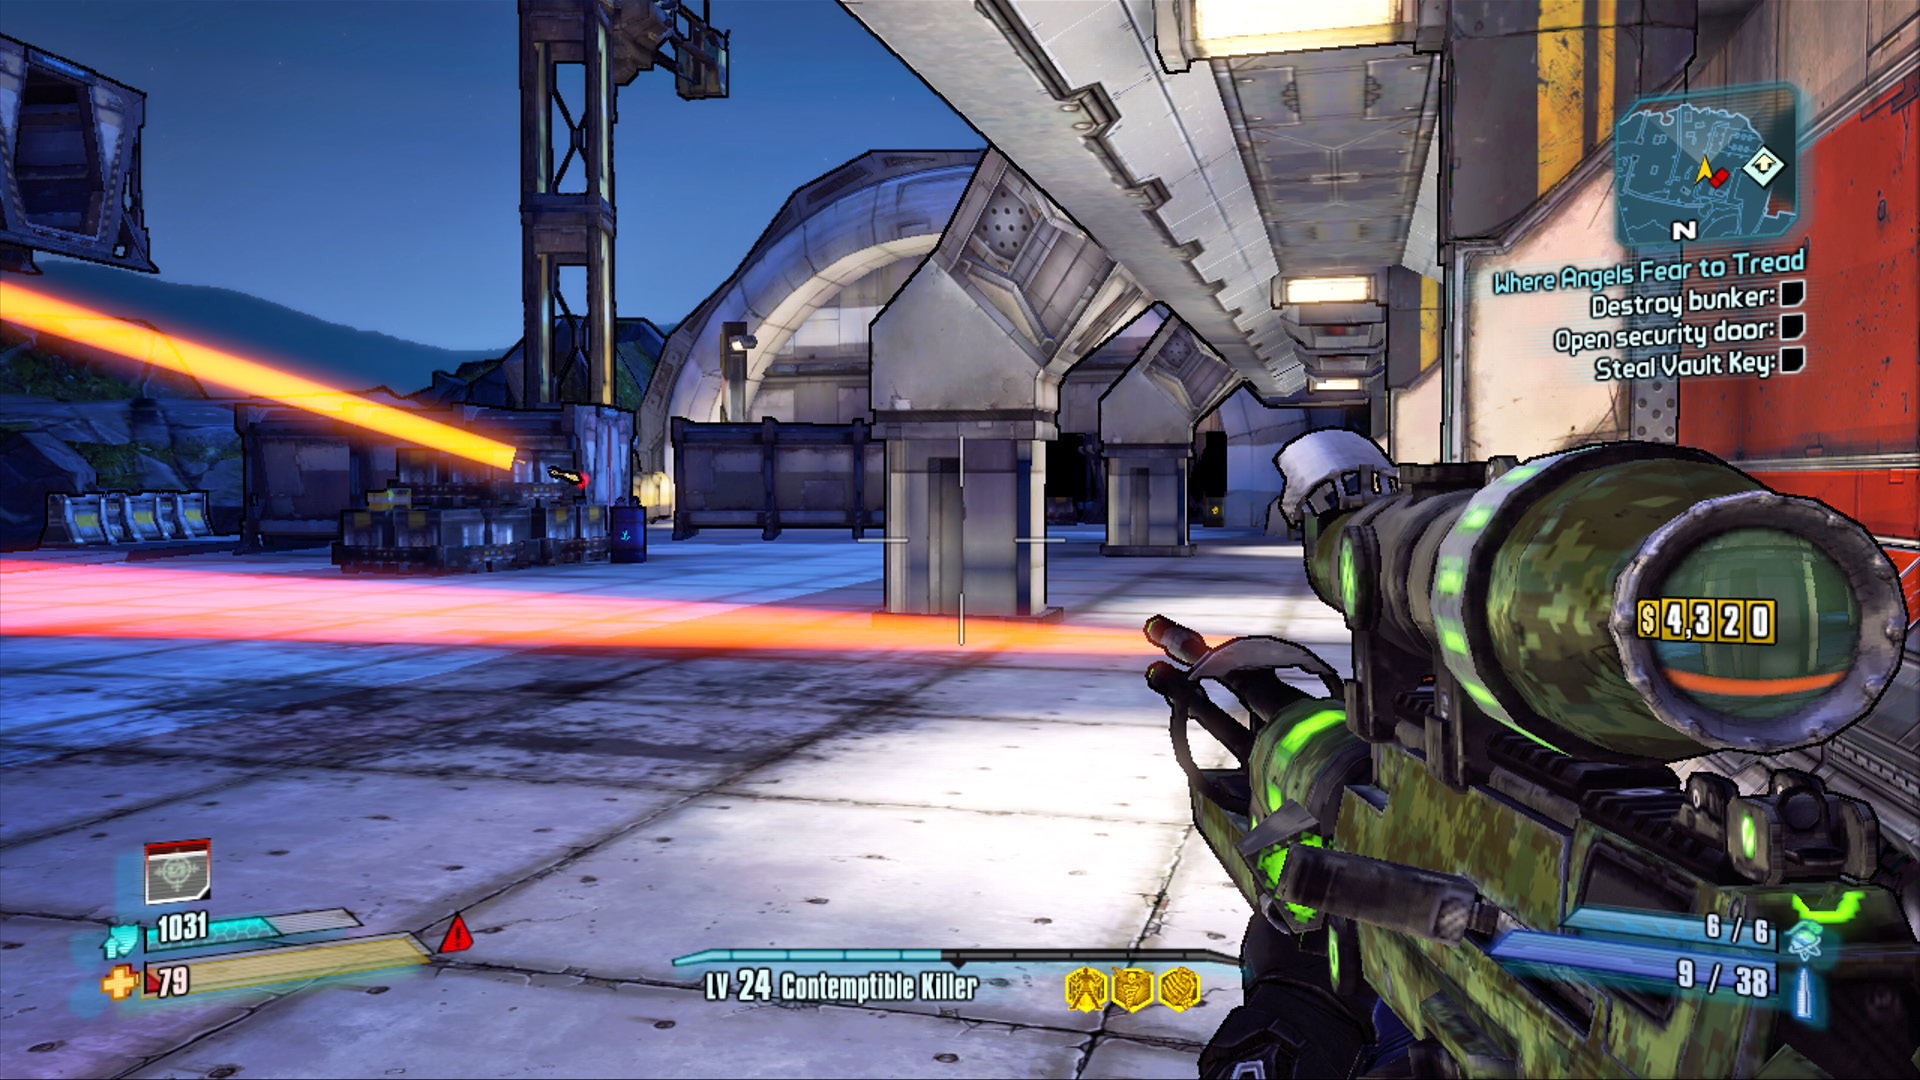
Endeavor to eliminate the Badass Constructor as soon as you can.
Gather up the goods and head to the middle floor where the Badass Constructor was. Raid the chests on the left, and sweep across the map to the right, where numerous other loaders and Hyperion Soldiers are set to attack. This is the last tough spot of the battle. Get through this, and it’s clear sailing to The Bunker. Loot the chests on the right-hand side of the facility’s upper level, and advance to The Bunker.
The Bunker
You enter The Bunker on a rocky ledge below the outer ring of a space-age platform. Enjoy the calm, because it’s not going to last. Follow the trail past the security door that you’ll need to get through later, and continue up the ramp to the vending machines: buy all the ammo you can carry and see if either machine offers an upgrade over your currently equipped shield and grenade mod. Continue up the steps to the outer ring, and turn left.
Some of Brick’s fellow Slabs have arrived in their trusty Buzzards to lend a hand, but they’re getting shot down by an auto cannon. They need you to destroy it! The auto cannon is in the center of the main platform. Access it from the northern end, and open fire with your Corrosive weaponry. Destroying that lone auto cannon helps, but several more immediately deploy to take its place. The auto cannons appear two or three at a time, but they eventually total 11.
Follow the waypoints on the minimap or just roam the outer ring in search of the auto cannons. Numerous HOT, BUL, and GUN Loaders start attacking, but you need only focus on the auto cannons. Shoot any loaders that pose a direct threat or obstruct your progress, but don’t go out of your way to attack them, as more will just take their place. Move between the outer ring and the central platform to avoid enemies, as well as the red lasers.
A greater threat than the numerous loaders are the deadly lasers that sweep across the ground. These lasers can drain your shield in a moment and leave you on your knees with nothing nearby to Second Wind off of if you’re not careful. Fortunately, the blue barriers around the sides of the outer ring and central platform always turn red immediately before the lasers are about to appear. This is your cue to either leave the area or get to higher ground. Run and leap atop a stack of crates to escape the lasers, and don’t hop down until the barrier railings turn from red to blue, indicating that the lasers are shutting down.
Some of the auto cannons appear on the north side of the central platform, which typically can’t be seen from the outer ring, but most can be shot from the perimeter. There are typically fewer loaders on the outer ring and the narrowness of it essentially forces them to line up to fight you, which is always an advantage.
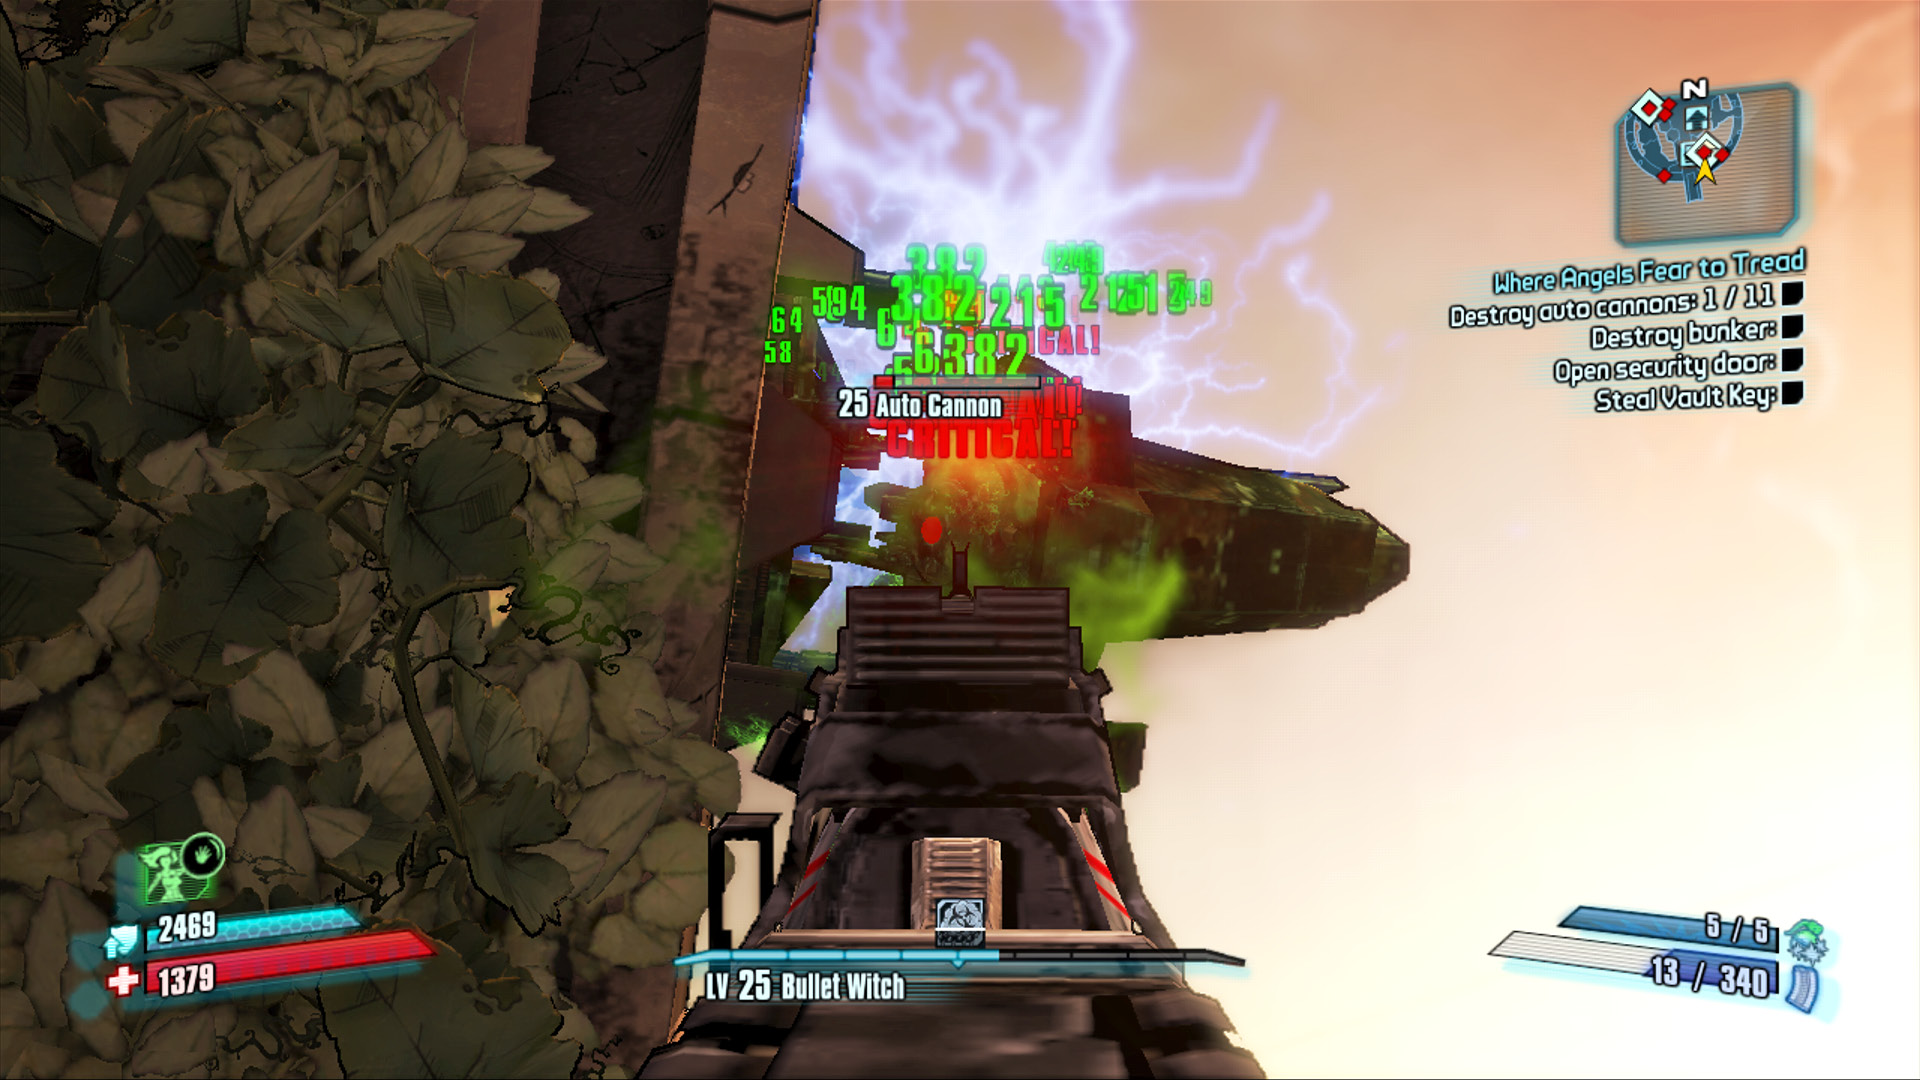
The auto cannons can deploy on any flat surface; some even protrude from the sides of the main platform.
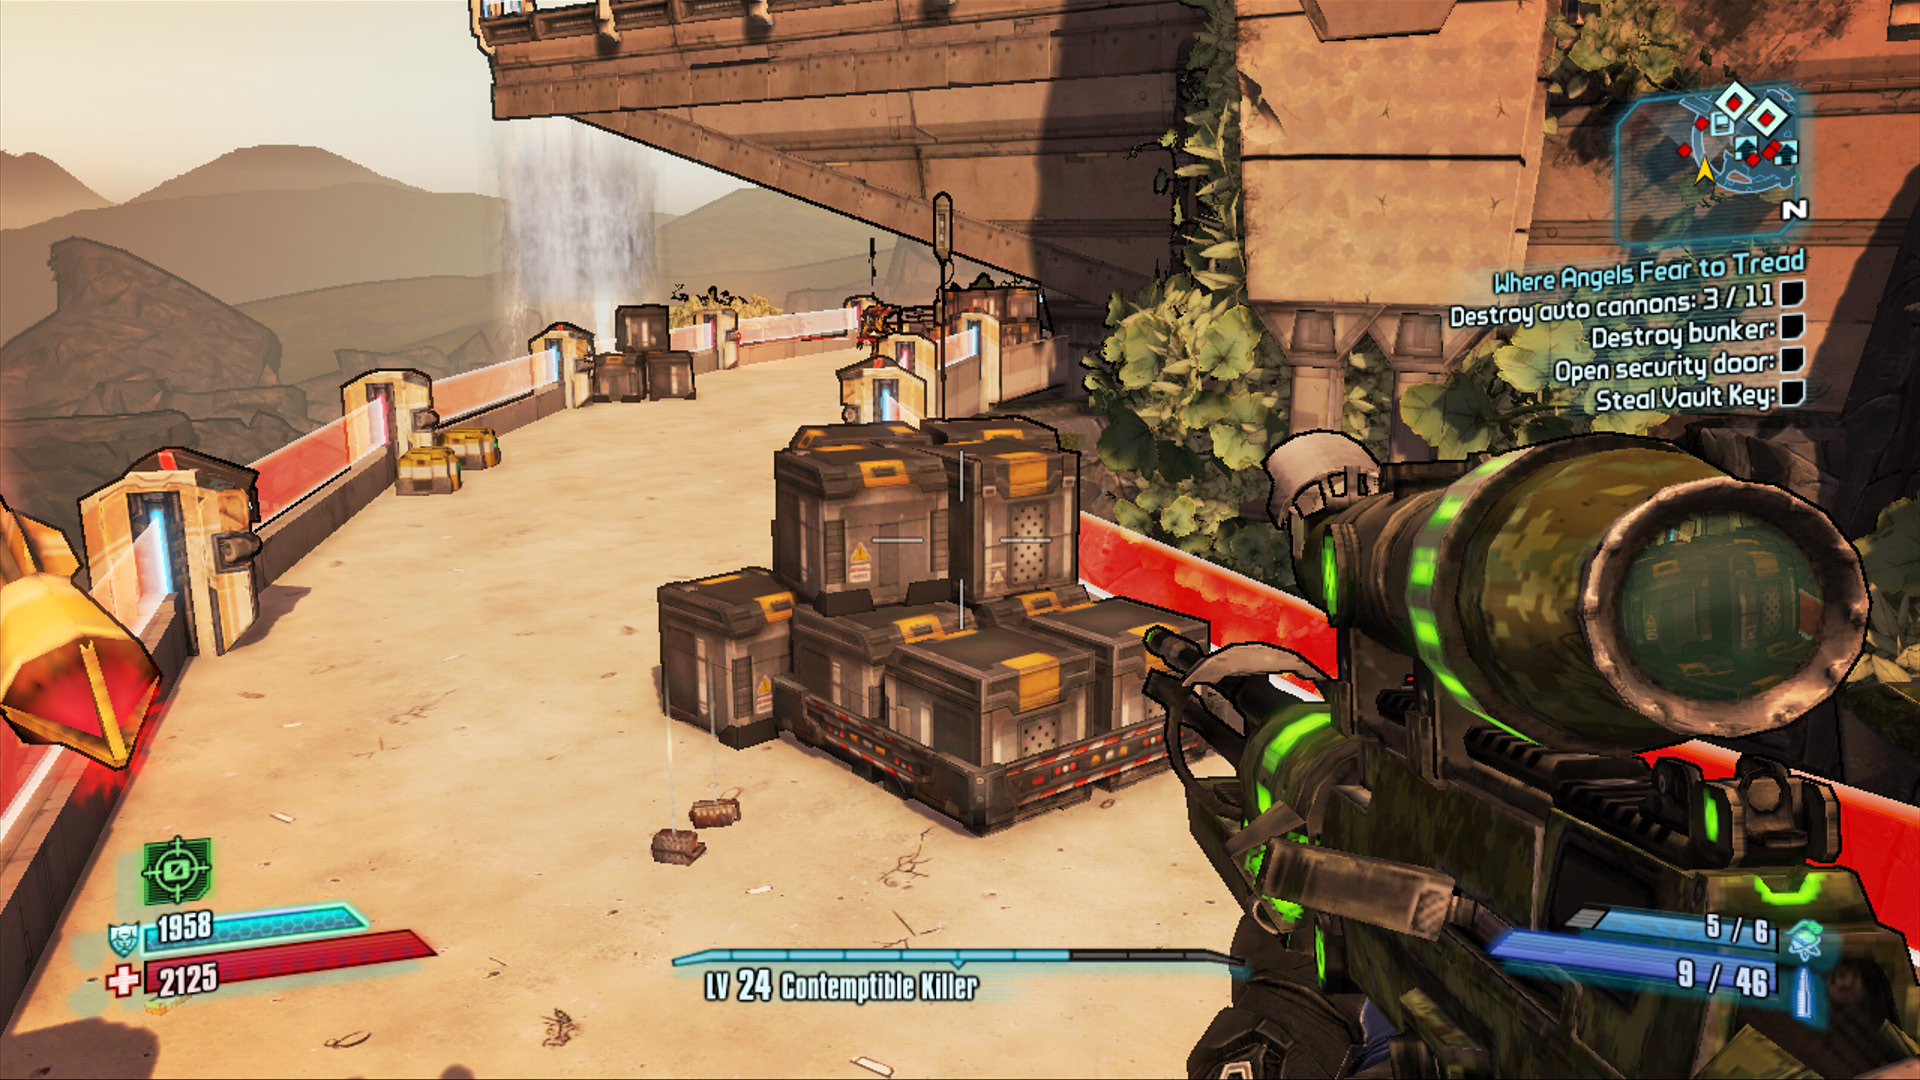
Jump onto a stack of crates whenever the side rails turn red, as this is your cue that the lasers are about to sweep through the area.
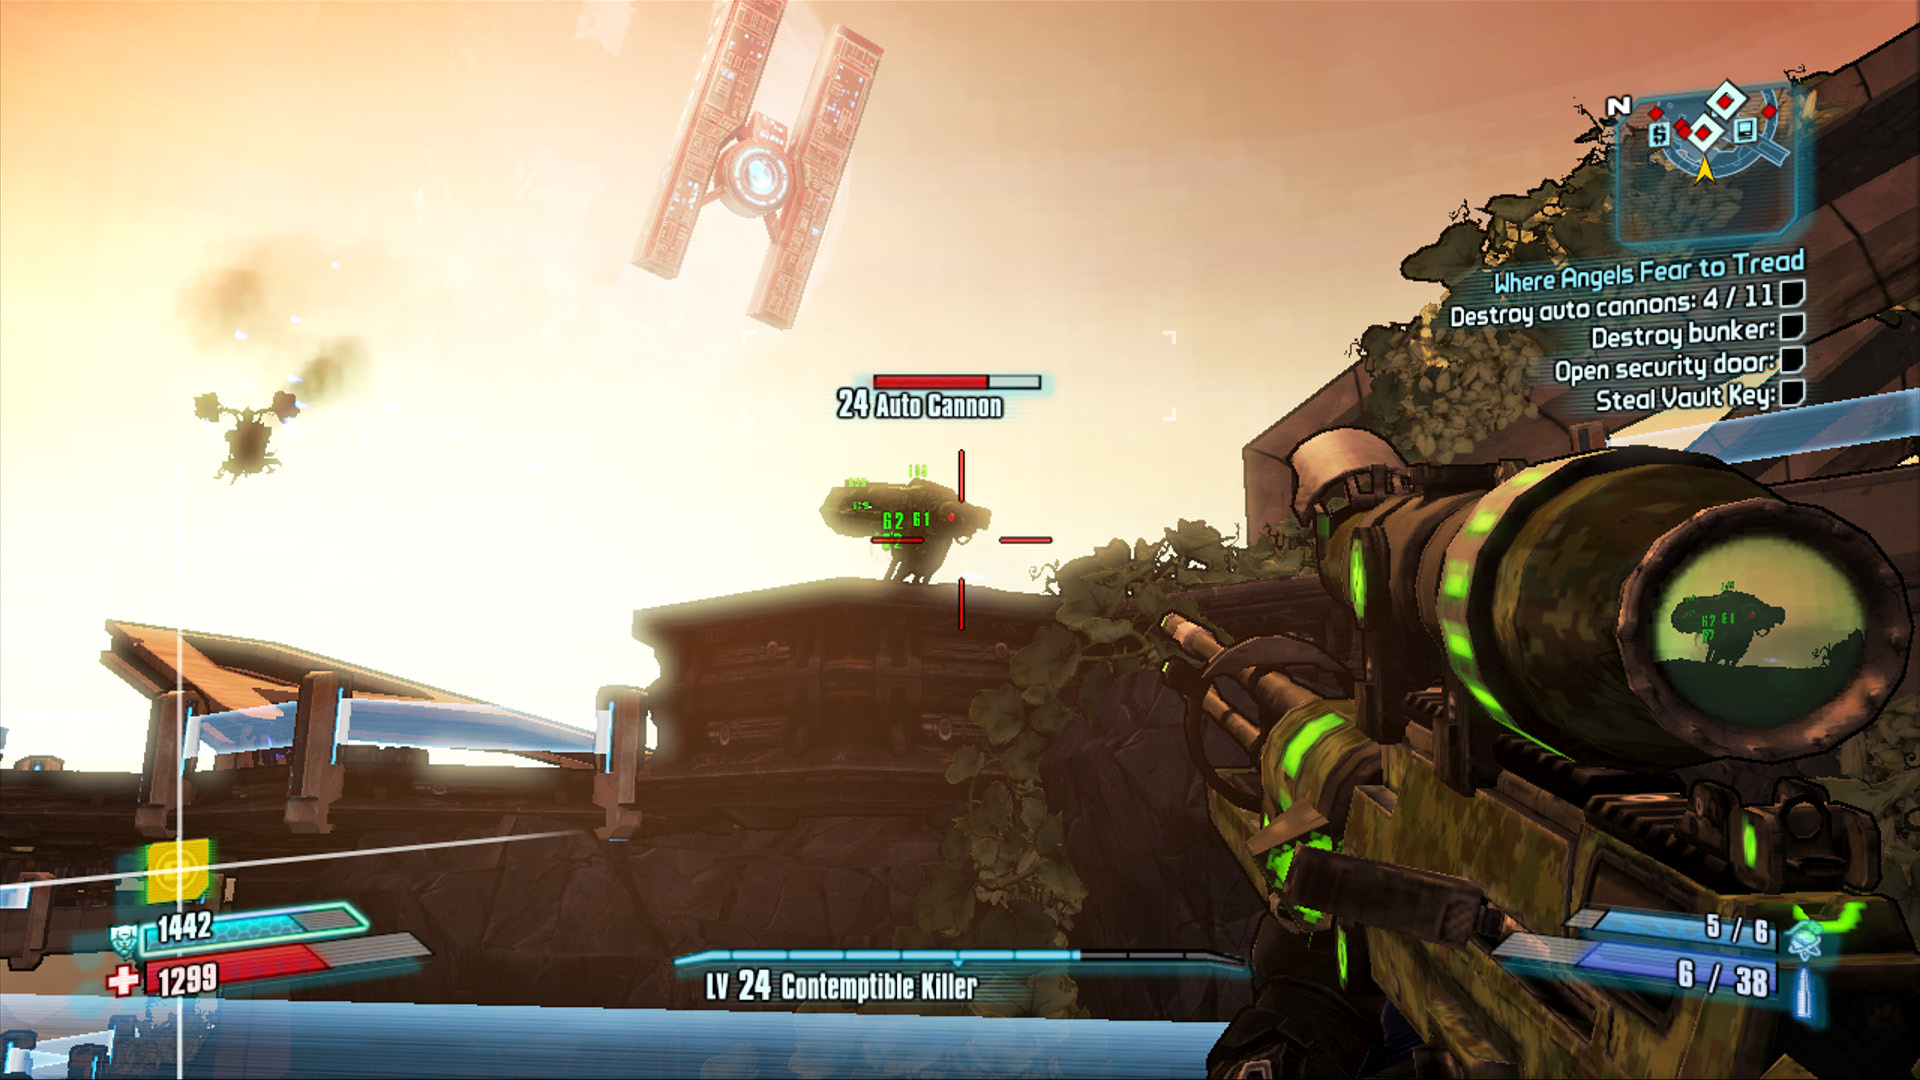
It’s generally safer to stick to the outer ring. You can shoot most of the auto cannons from there, regardless of their location.
BNK-3R
BNK-3R Vitals
| Health Multiplier | Shield Level | Damage Multiplier | XP Value | Critical Areas | Weakness/Resistance |
|---|---|---|---|---|---|
|
150 |
— |
1 |
Super Badass |
Eye sensor |
— |
The Crimson Raiders were wrong to think that The Bunker was just a place. The Bunker was actually BNK-3R, a massive flying ship outfitted with the most high-tech weaponry ever seen on Pandora. And it’s coming for you! This battle can be quite long and tough, but there are no more lasers or auto cannons to contend with, only a smattering of loaders and the BNK-3R itself.
The good news about having to fight BNK-3R is that its sudden takeoff has opened up access to the upper waterfall area. Immediately head up the stairs on the south side of the central platform and use the ivy-covered buttresses for cover from BNK-3R’s numerous attacks. Aim for the exposed flap just above BNK-3R’s nose for Critical Hits, and be sure to use Corrosive weaponry. BNK-3R is not resistant to Fire, but Corrosive inflicts the most damage.
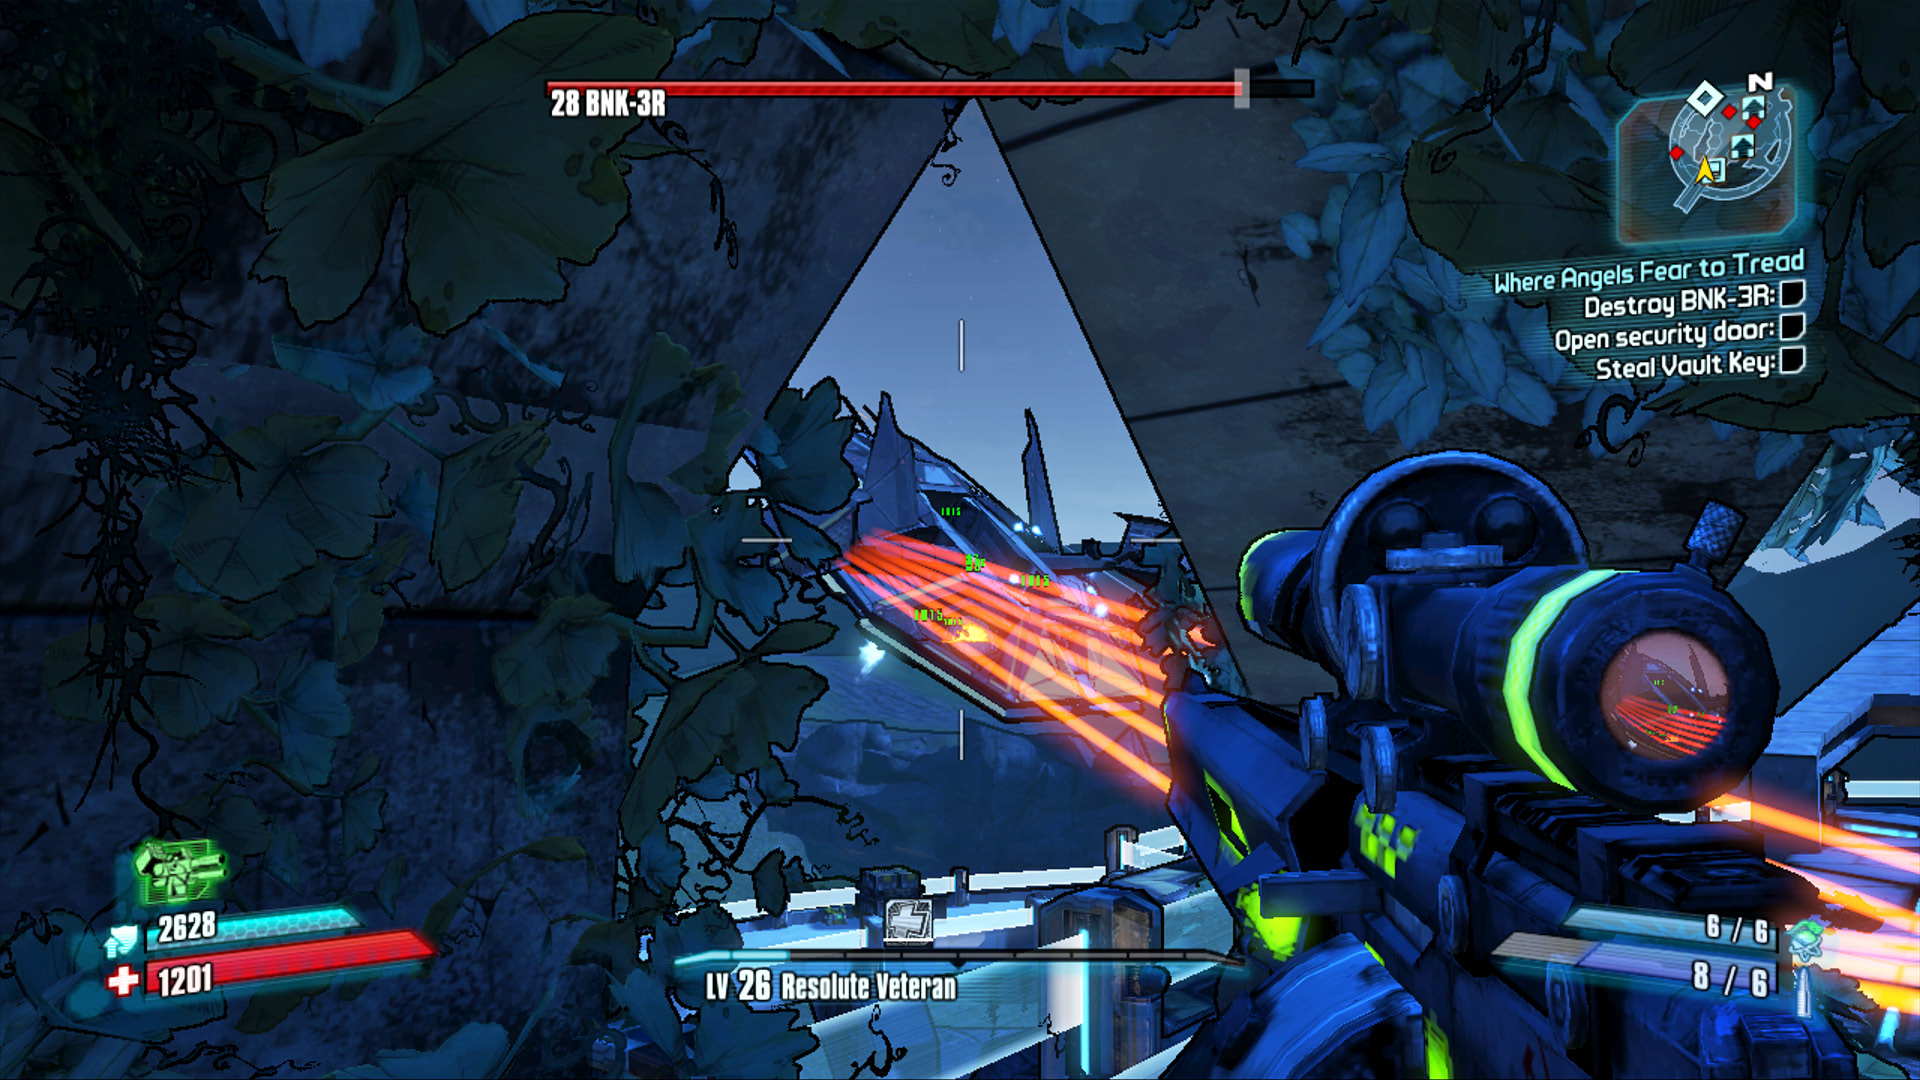
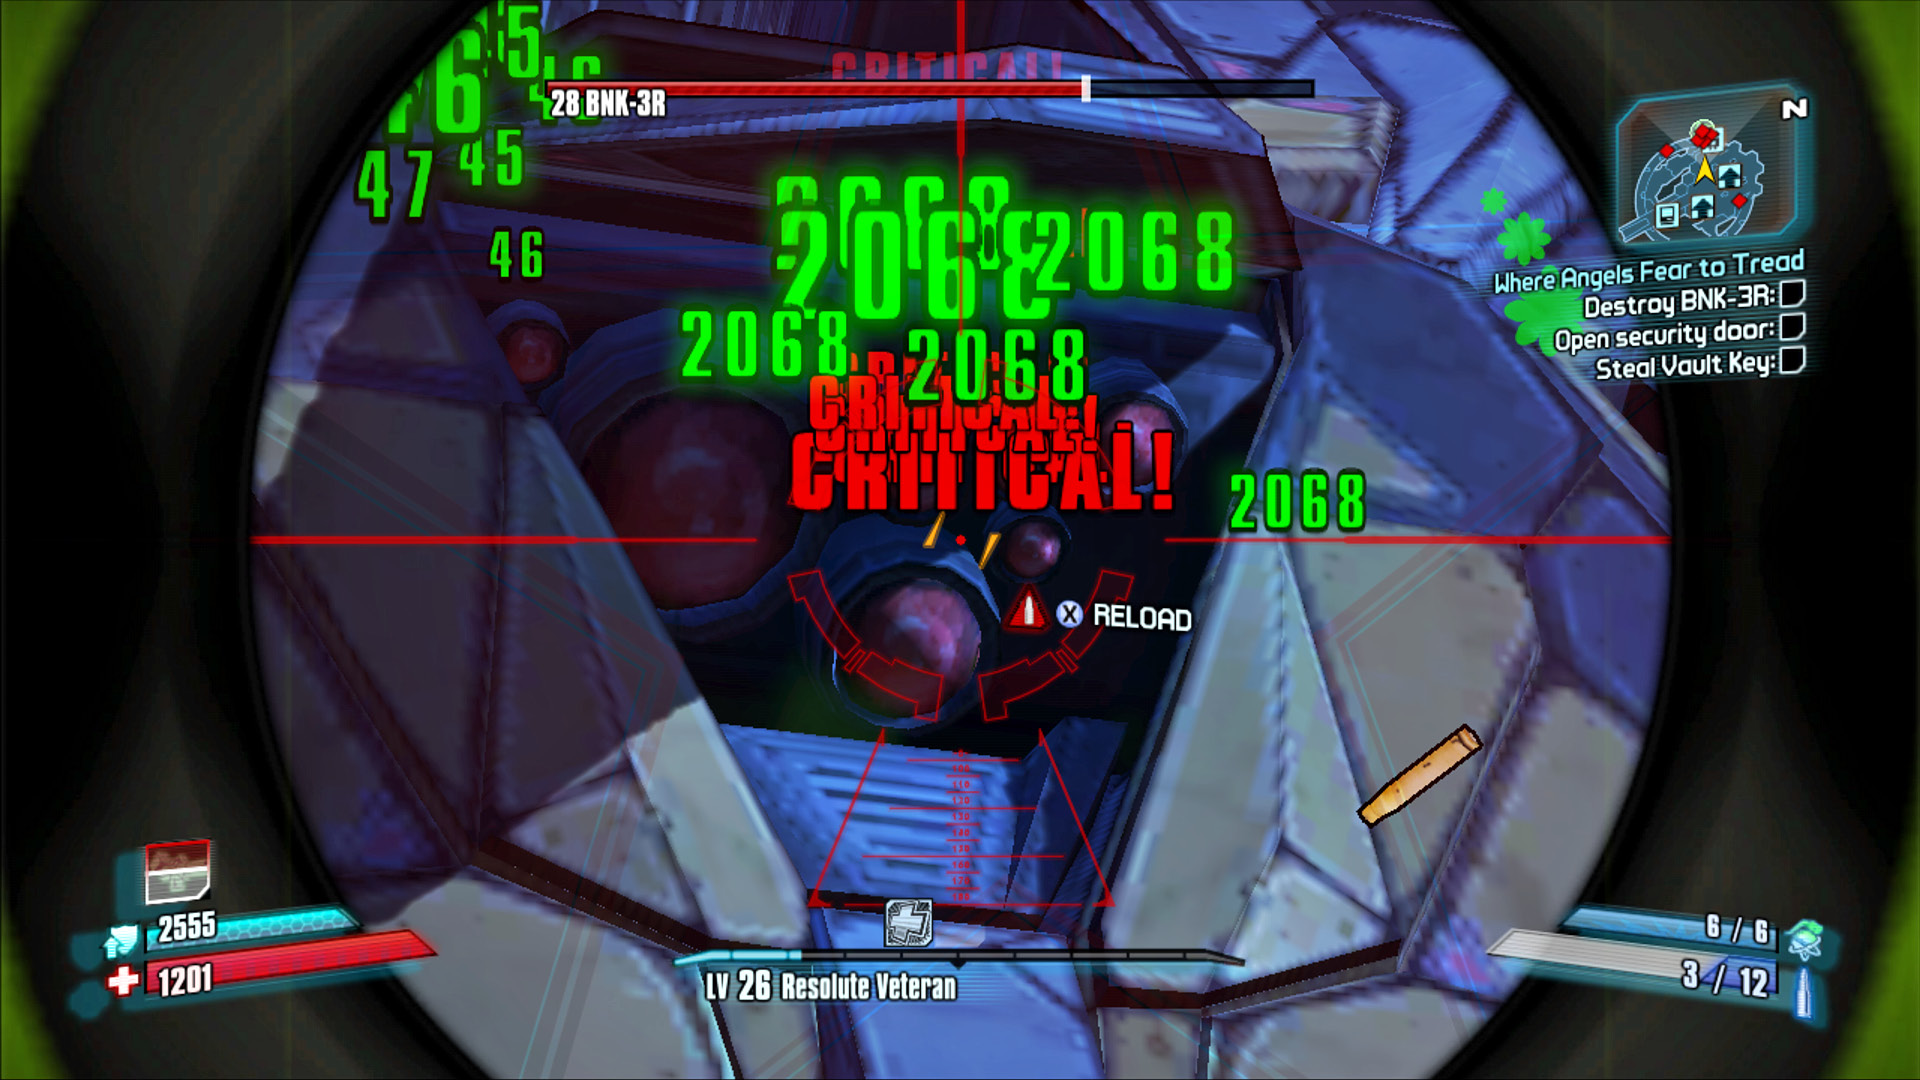
Stay in cover atop the stairs for as long as you can—occasional loaders spawn near the chest behind you, so watch the minimap—and continue to pepper the ship’s critical weakness with sniper and assault rifle fire. The Slab Buzzards continue distracting both BNK-3R and many of the loaders, thus giving you the opportunity to focus almost entirely on inflicting maximum damage. The Buzzards also drop health and ammo throughout the area. Listen for their cues over the ECHO device, and pick up the supplies whenever you need them. The Buzzards often drop them on the central platform, but it’s not unheard of for them to deposit the supplies on the outer ring.
BNK-3R attacks with mortars, spread-lasers, a number of auto turrets mounted on its underside, and a massive death ray that can down you in an instant. Unlike most major enemies, BNK-3R periodically leaves the immediate area and circles you for a few laps, leaving you no choice but to focus on avoiding the red targeting beacons that mark the incoming mortars. Use this time to collect ammo and Insta-Healths. Since non-Longbow grenades are all but useless against BNK-3R, go ahead and lob them at the loaders as you collect ammo. This is a time when it pays to have a grenade with a longer fuse: toss it if you get low on health so that it might net you a Second Wind if you get downed.
Remain atop the stairs near the waterfall and listen for Brick’s tips about where the health and ammo drops are being performed and when BNK-3R is readying its guns. BNK-3R will fly around the map, then come to a stop on either the left or right-hand side and activate its auto cannons. The auto cannons primarily focus on the Slab Buzzards, but they do fire at you, too. Destroying the auto cannons does damage BNK-3R, but it also sends it flying off into the distance that much sooner. Provided you have enough ammo and health and don’t need to buy yourself any time, try to avoid the auto cannons to prolong the time you have shooting BNK-3R in its weakest point.
Of all the attacks BNK-3R has, the one you really need to watch out for is the purple death ray. The attack comes from a raised weapon module that extends from the top of the ship and can deliver an instant down if you take a direct hit. Don’t hesitate to run up the stairs and take cover behind the chest on the south side of the map whenever this weapon begins to charge. Watch the minimap to see where the boss is at, and use hit-and-run tactics during this death ray phase.
Finally, BNK-3R moves to the north side of the platform and makes one last attempt at keeping you from reaching Control Core Angel. Take cover behind the crates just left of center on the central platform, and continue to pepper BNK-3R with Corrosive weaponry while using your grenades and Action Skills to keep the loaders off your back. BNK-3R erupts in a shower of loot, Eridium, and money upon death. More importantly, now you can enter the bio-detection chamber and gain access to Control Core Angel.
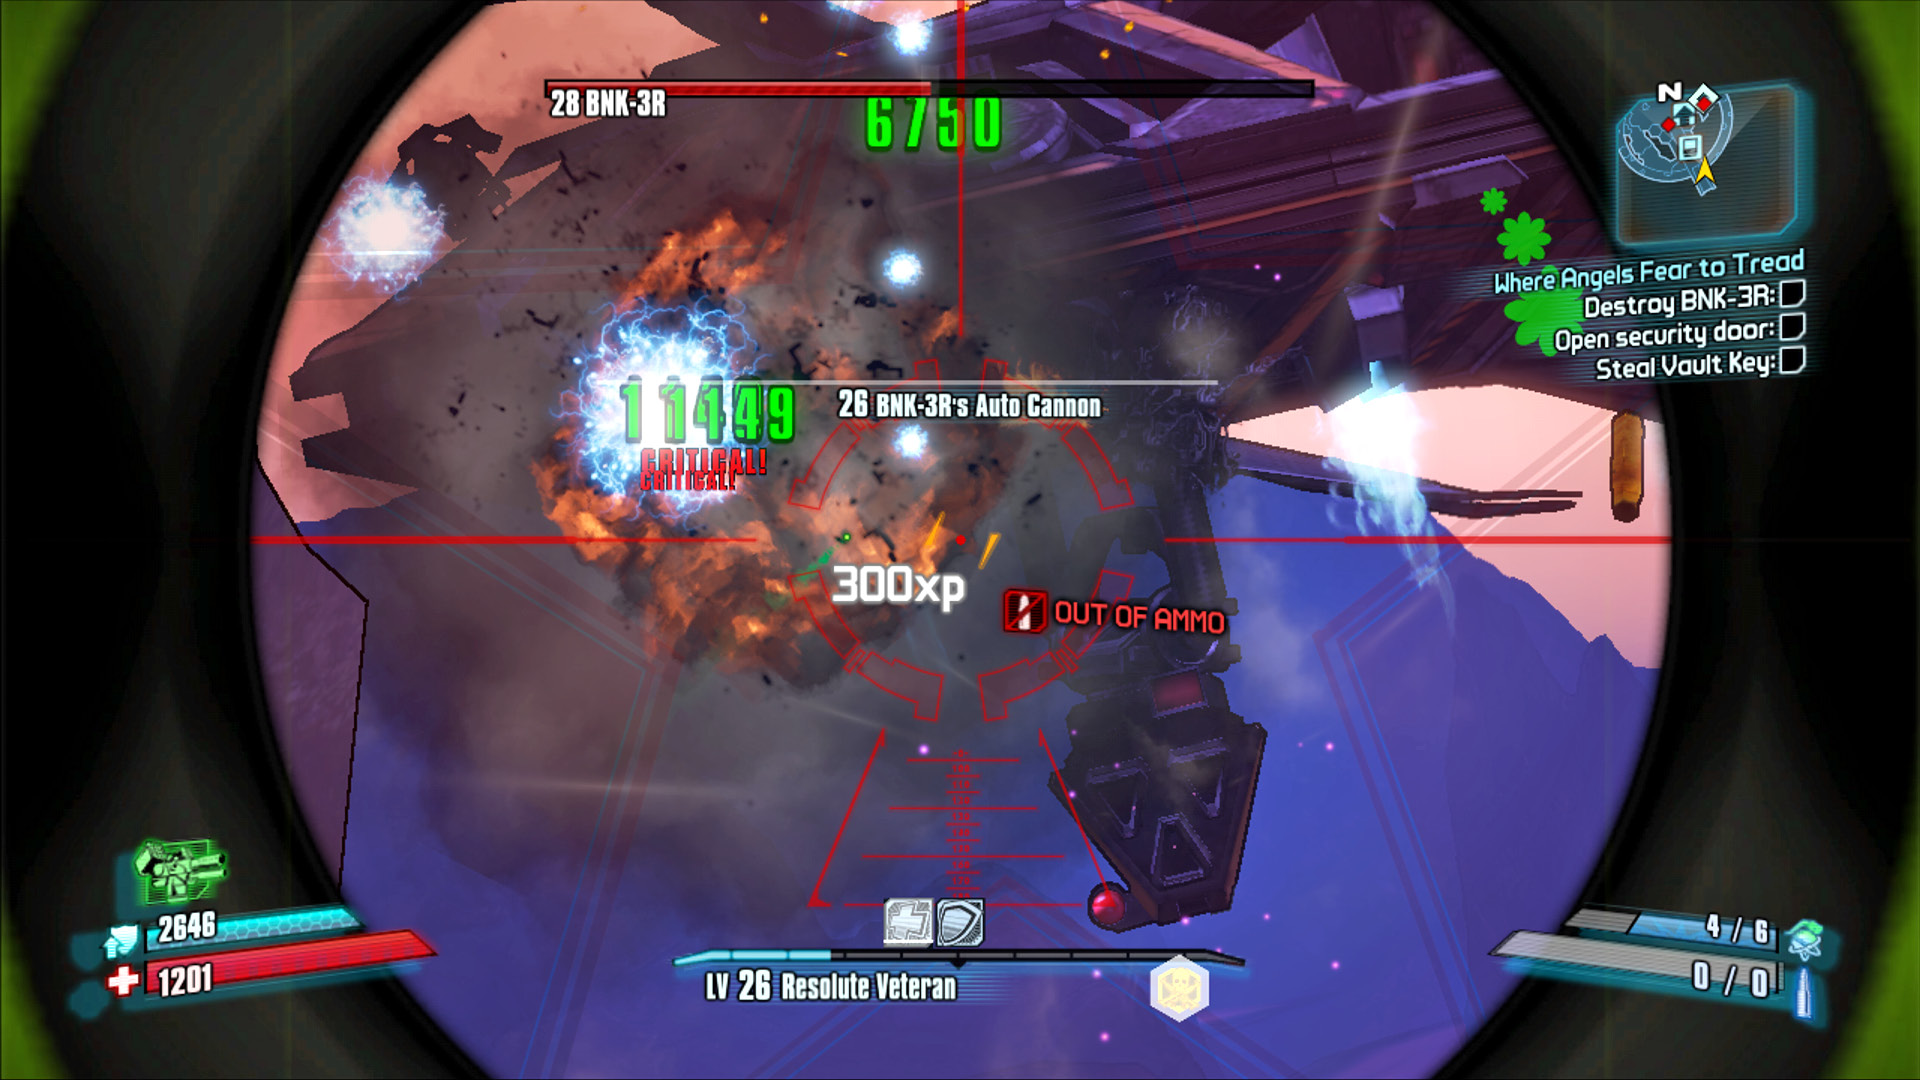
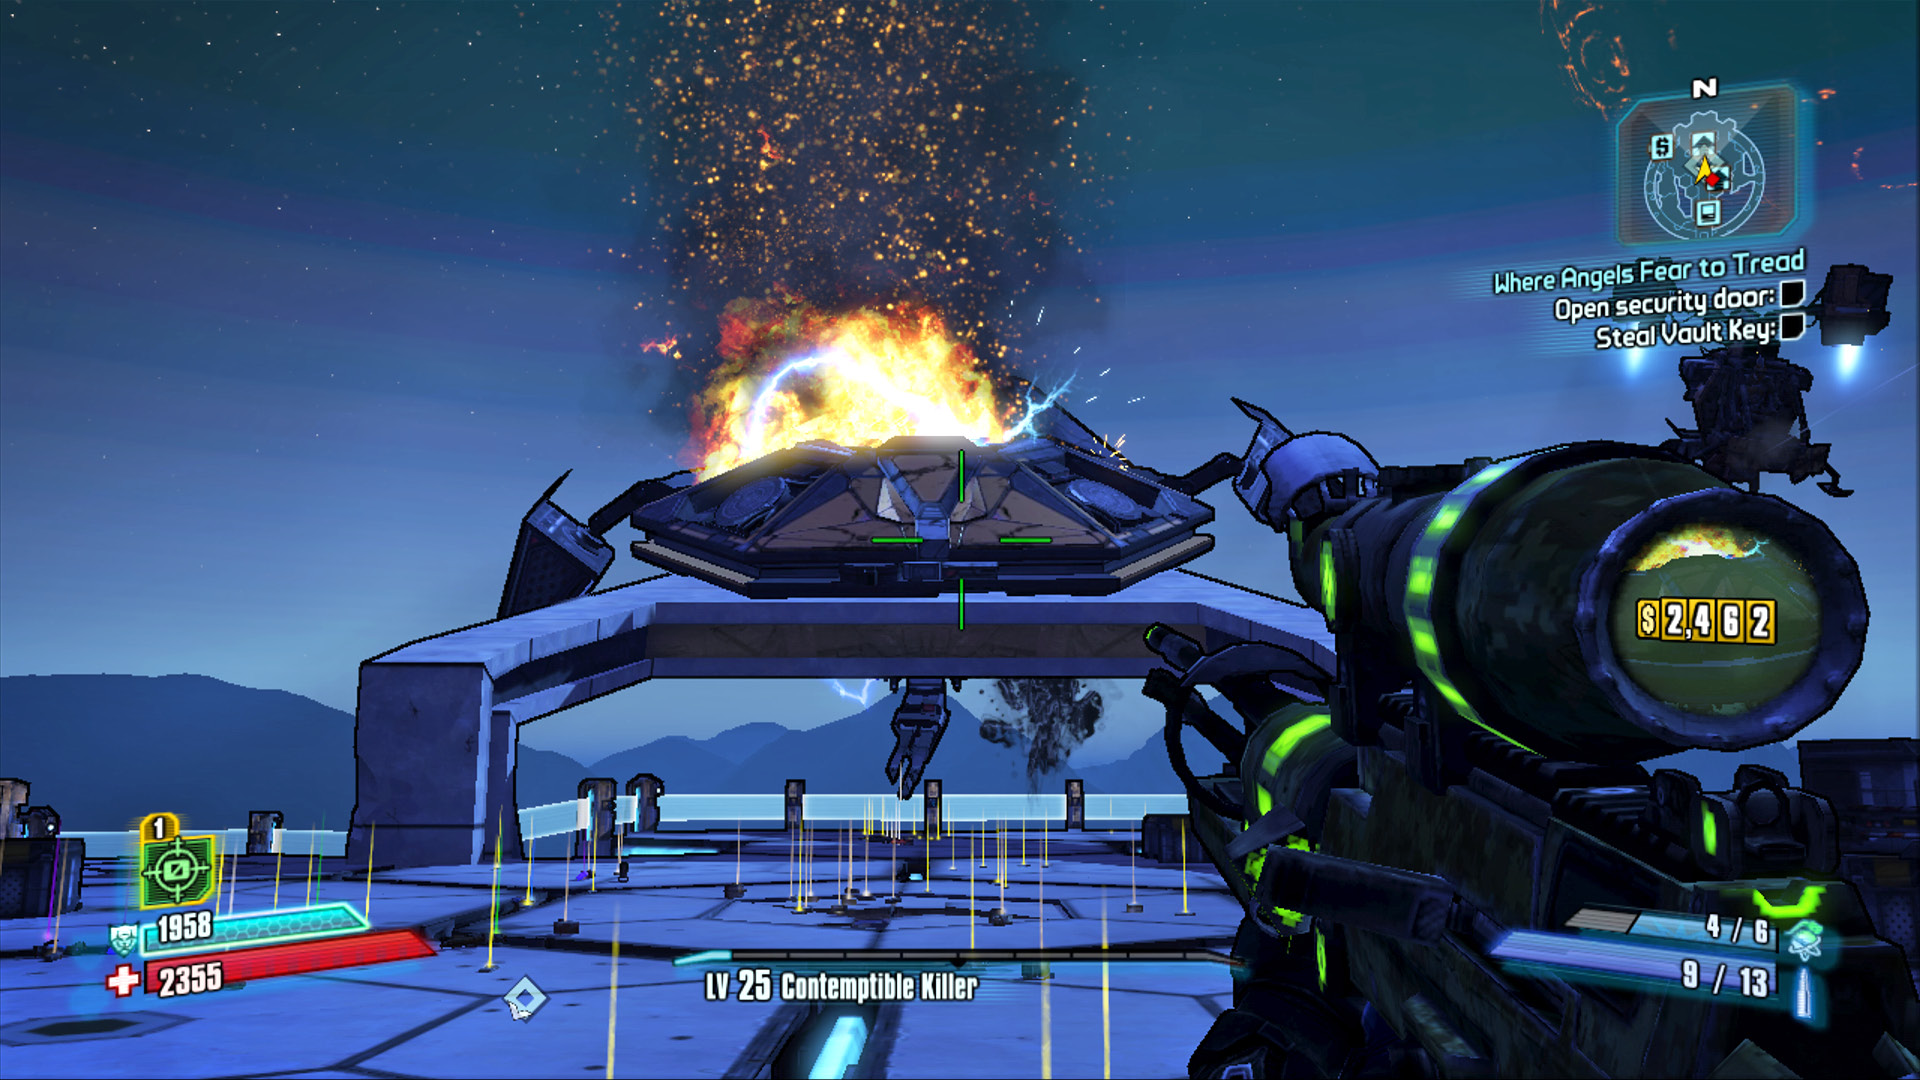
Consider the following techniques for completing the “BNK-3R Buster” Challenge with each class:
Axton: BNK-3R’s auto cannons aren’t always in play, but they can emerge at any time, making it very risky to deploy the Sabre Turret. The one exception is if you use it behind cover so that it can only fire at loaders. Resist the urge to use rocket launchers, and focus exclusively on Critical Hits with a precision weapon.
Maya: BNK-3R is far too large to be Phaselocked, but the blast from Helios or other skill effects can certainly damage the auto cannons. Furthermore, it’s extremely difficult to use Phaselock with the accuracy needed to avoid hitting the auto cannons. Try to Phaselock BNK-3R while it’s flying around the platform during its mortar phase; otherwise, save it for the loaders.
Salvador: Whether or not it’s safe to use his Gunzerking ability depends on the weapons you have chosen. Consider equipping a pair of Hyperion pistols, and fire at loaders (or empty space) until the targeting circles shrink to near-perfect accuracy. Only then should you really risk hip-firing at BNK-3R, especially while Gunzerking.
Zero: Deception can give your sniper attacks a tremendous boost against BNK-3R’s Critical Hit area. Activate Deception, and wait until the final second to inflict maximum damage on the nose of the ship. You can also use Deception to safely avoid the loaders while scavenging for extra ammo and Insta-Healths.
Take a moment to enter the underground hallway containing a rare chest on the south side of the map. This is also a good time to identify the Cult of the Vault symbol right nearby. To get to Control Core Angel, make your way to the east side of the outer ring and descend the stairs to the rocky path beneath the main platform. The entrance to Control Core Angel is on the north side of this path. Don’t enter it just yet: first, hit up the vending machines just beyond this entrance on the western side near the New-U station.
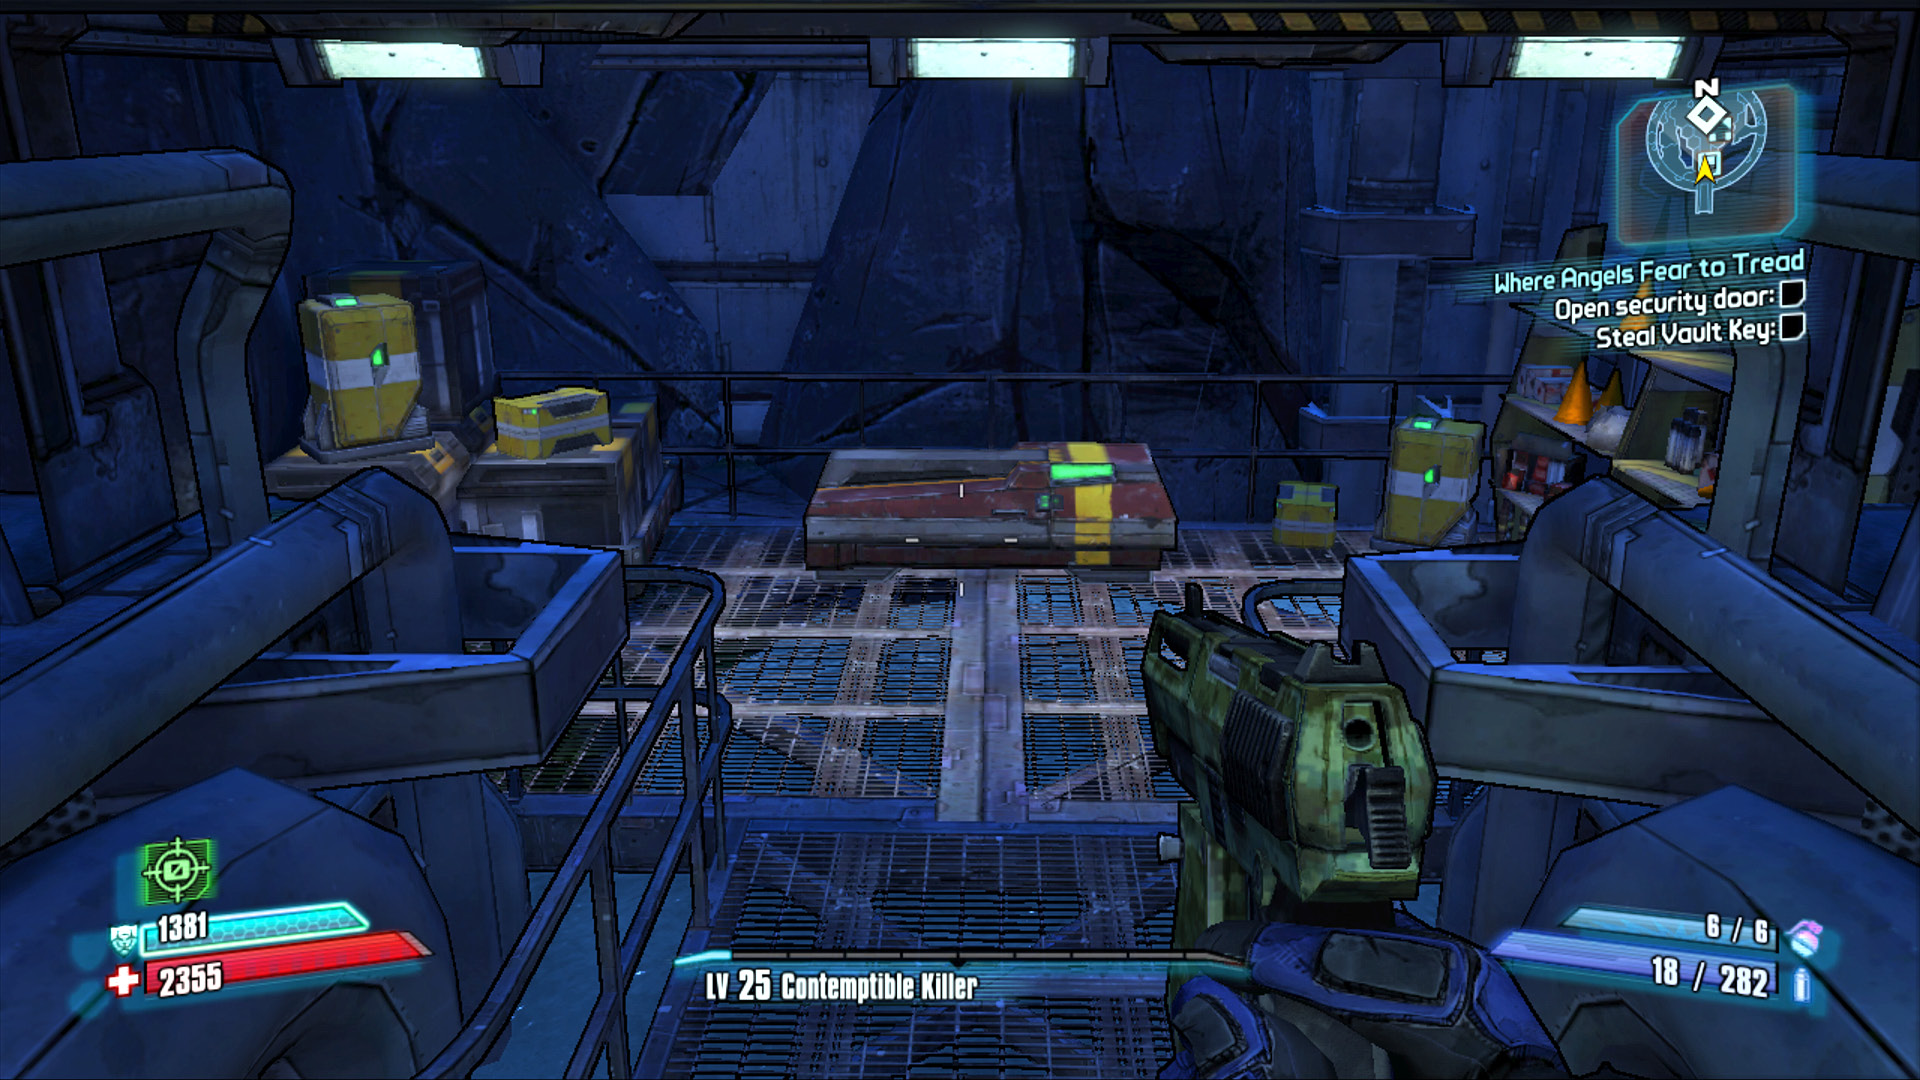
Defeating BNK-3R gains you access to this secret room on the south side containing a rare chest.
Control Core Angel
Follow Angel’s instructions to access the interior of Control Core Angel. After a brief introduction, you’re told to destroy the three Eridium injectors located near the ceiling. Fire a few bullets at the nearest Eridium injector, but know that Handsome Jack is quick to activate their shields. So long as those shields are covering the injectors, you won’t have any hope of cutting the flow of Eridium into the Vault Key.
Angel is going to try to think of a way to disable the shields on the injectors, but in the meantime, you’re going to have to fend off an endless supply of loaders. Shockfield generators also rise up from the floor of the circular room and emit powerful electric currents that can quickly drain your shield and slow your movement if they’re not destroyed. Target them at once so you needn’t worry about them while you fight the Loaders.
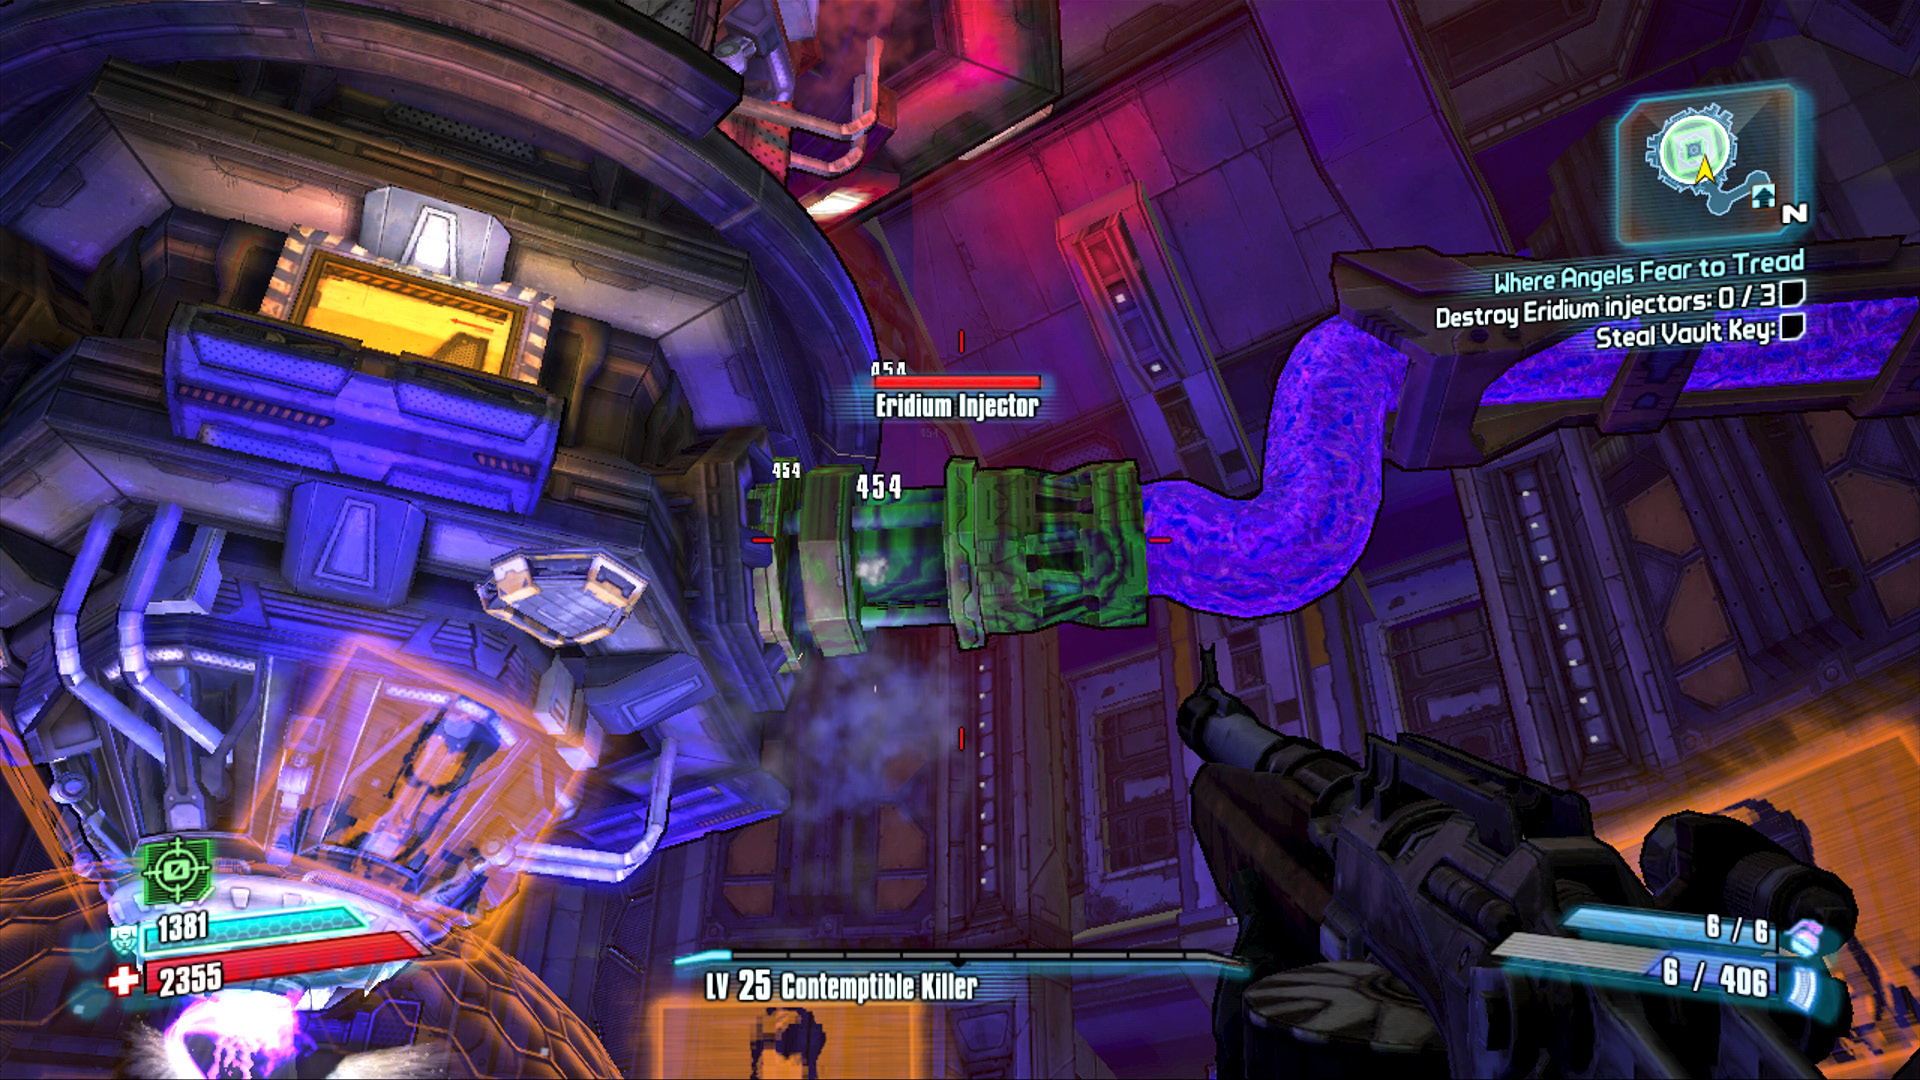
You’ll need to destroy the three Eridium injectors in order to stop the charging of the Vault Key.
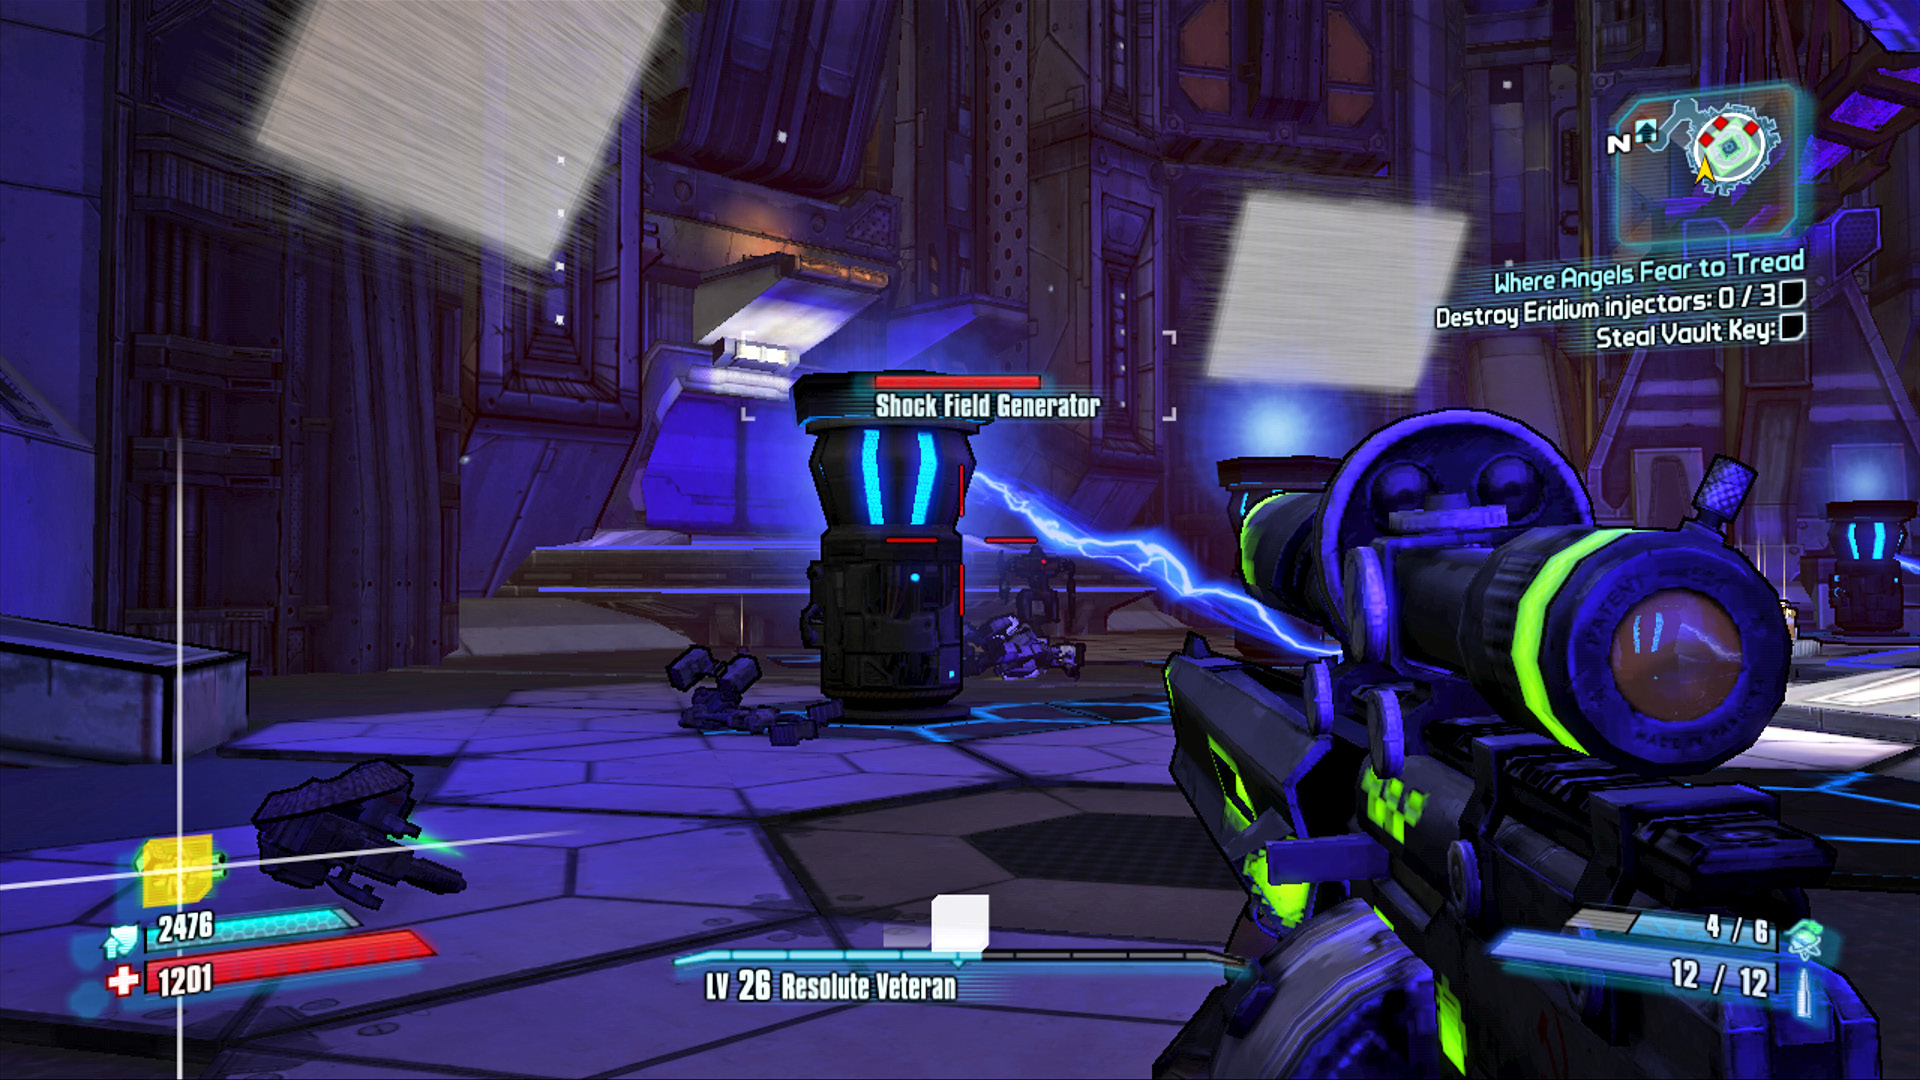
Avoid the Shockfield generators to preserve your shields.
Move around the perimeter using Corrosive weapons and grenades to destroy the loaders as they spawn. A unique type of loader known as the Angelic Guard soon arrives on the scene, boasting a sweeping laser attack and lots of resiliency. Crouch to avoid their laser attacks and bombard them with Corrosive gunfire.
Angel can’t do anything about the loaders, but she’ll routinely restock the yellow supply containers near the center of the room. Listen for her alerts, and gather up the supplies from these containers whenever you’re in need. Stay on the move, use what little cover there is, and don’t be stingy about the firepower or grenades. Continue to hurl grenades at the loaders, especially as you start to lose health. Smart use of your Action Skill can tilt the odds in your favor: save it for when your shields are down and you’re taking damage, especially if playing as Axton, Salvador, or Zero.
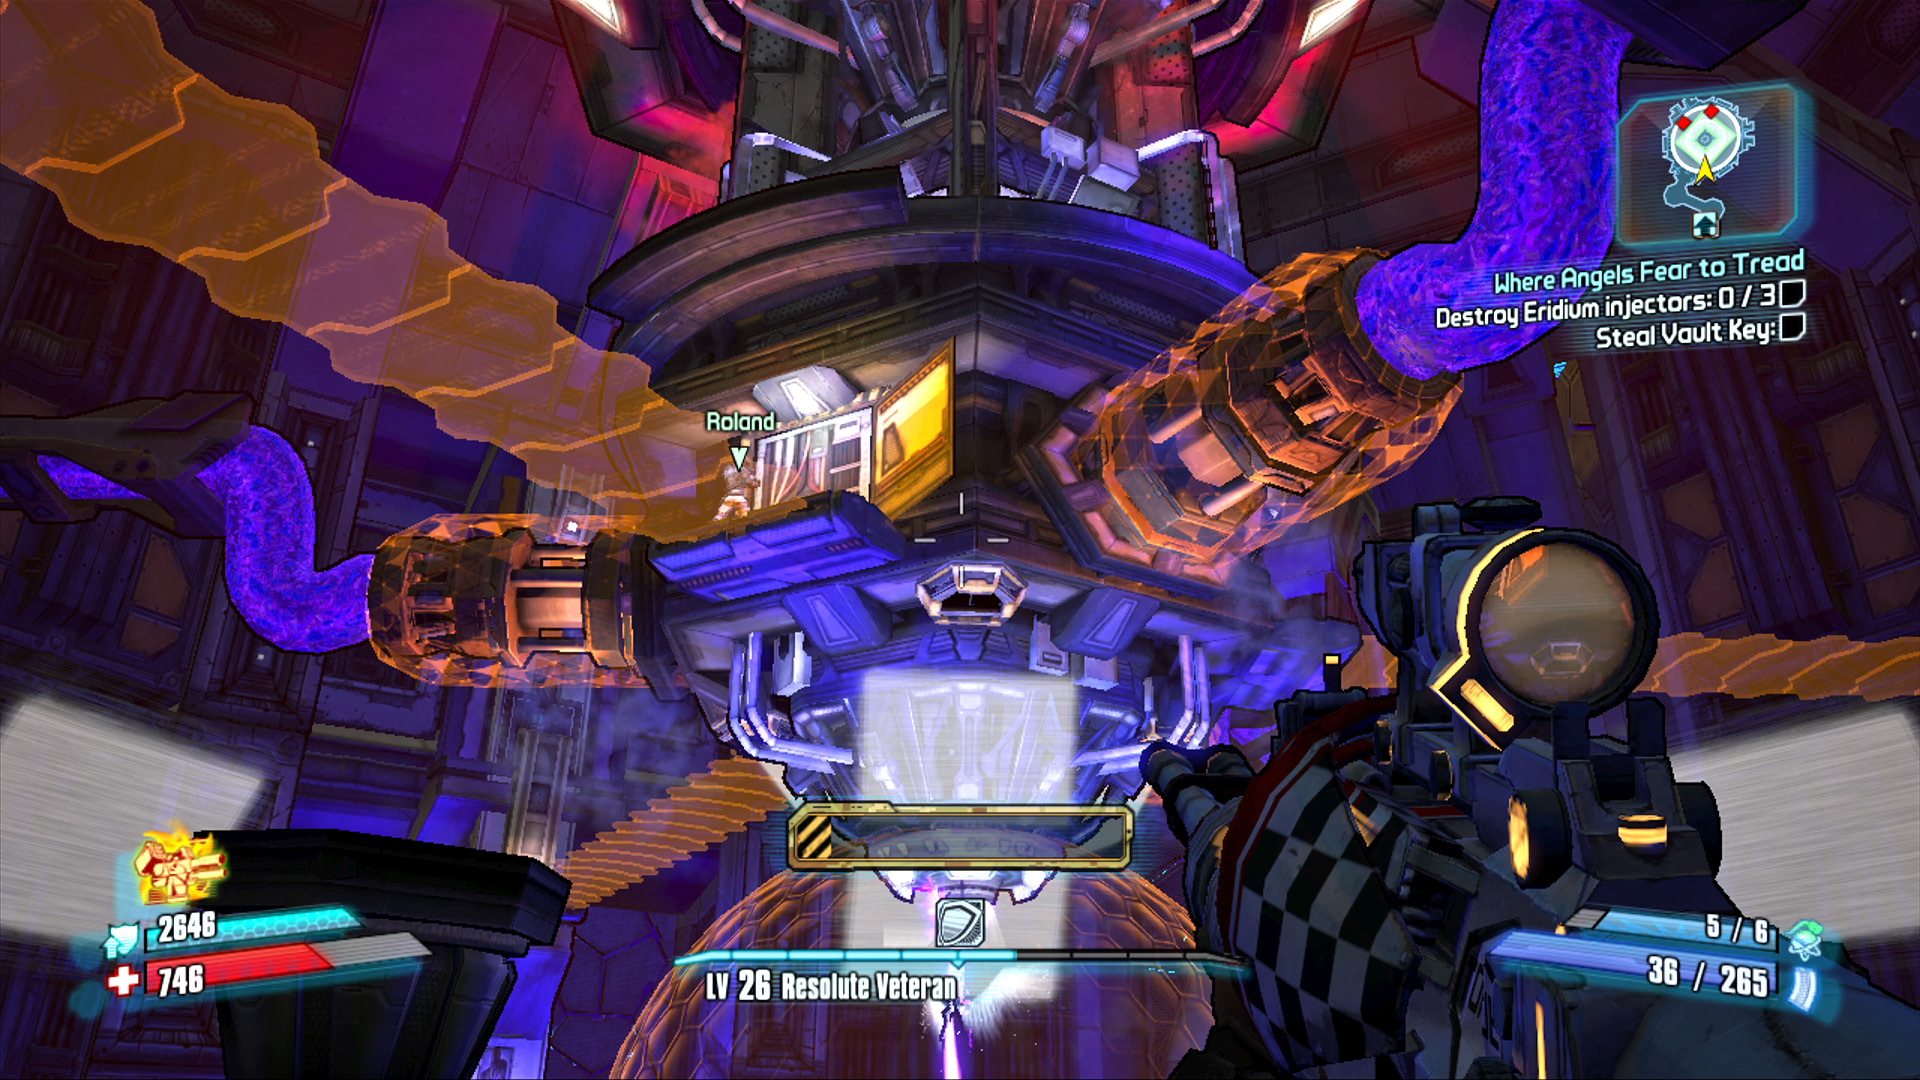
Roland soon arrives on the scene and helps disable the shields. Destroy the first Eridium injector as soon he gives you the signal.
Several core defense turrets join the fray shortly after Roland makes his appearance. They’re mounted high on the central core and attack with powerful lasers—they are a top-priority target you should shoot immediately. Keep the battle going until all that’s left is a WAR Loader. Roland will likely disable one of the shields just as you’re blowing up the WAR Loader. Shoot the injector to rupture the connection. One down, two to go!
Roland joins the fight for a few moments, granting you the added benefit of his Scorpio Turret. Take cover behind the Scorpio Turret’s shield and enjoy the health replenishment it provides. The battle continues to rage on much like before until a brief lull affords Roland time to climb up to the second bridge and begin deactivating another shield.
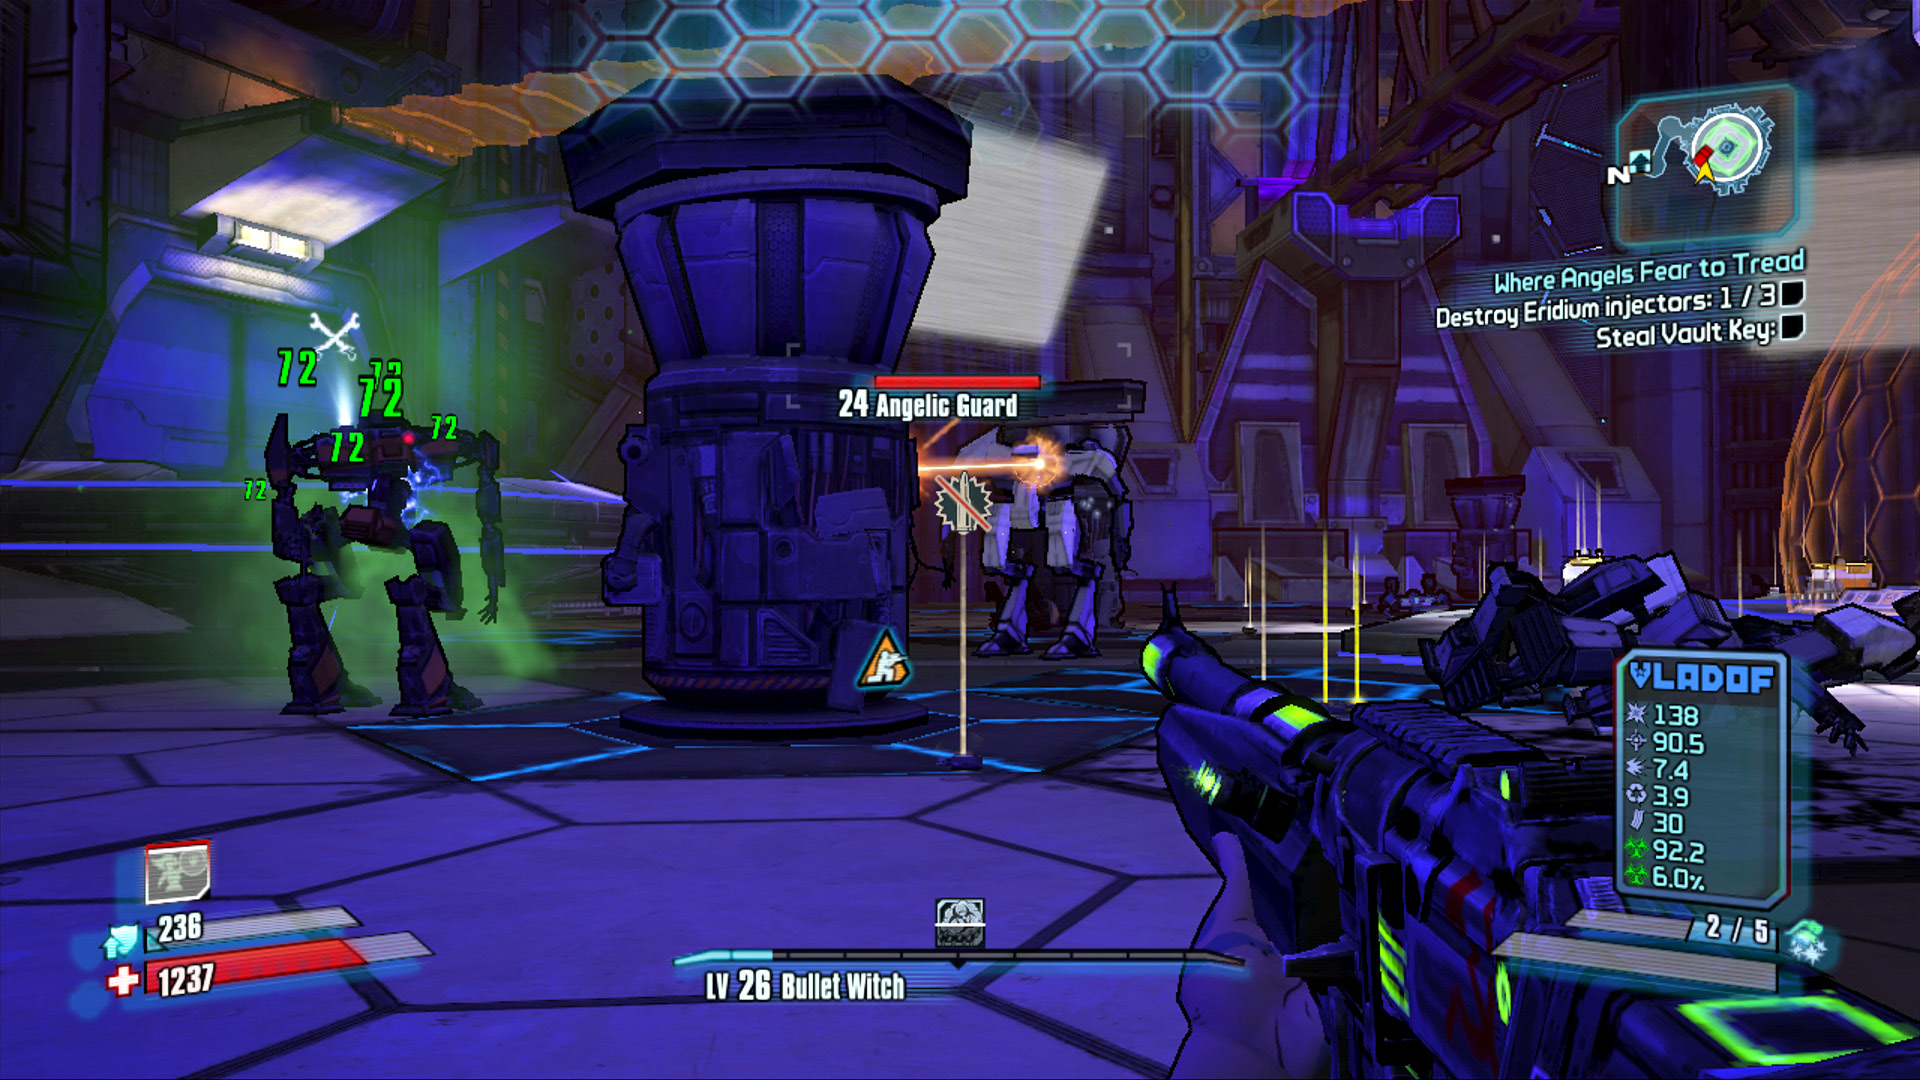
Use the disabled shockfield generators for cover against the Angelic Guard’s sweeping laser attacks.
Continue the fight and listen for Roland’s signal to destroy the second Eridium injector (and avoid the Eridium that pours out, as it can Slag you). Unfortunately, the explosion knocks Roland to the ground while simultaneously destroying the bridge needed to reach the controls for the third injector. Fortunately, Lilith appears on the scene, much to Roland’s initial dismay. Lilith joins the combat for a short while, offering significant assistance to you and Roland. She’ll stick around to help you kill a WAR Loader, then phases herself and Roland up to the third injector’s shield controls.
Multiple WAR Loaders and a Badass Loader attack in the final wave. Lilith rejoins the fight while Roland works on disabling the shield. Lilith moves about the room in flashes, using her Siren powers to strike and move in a flurry. Use the dimmed columns of the shockfield generators for cover, and hold nothing back. You’ve come too far to die now. Continue to raid the ammo containers that Angel keeps stocked, and soak anything that moves in Corrosive gunfire. Roland will have the third and final Eridium injector ready to be destroyed just as soon as you defeat the Badass Loader.
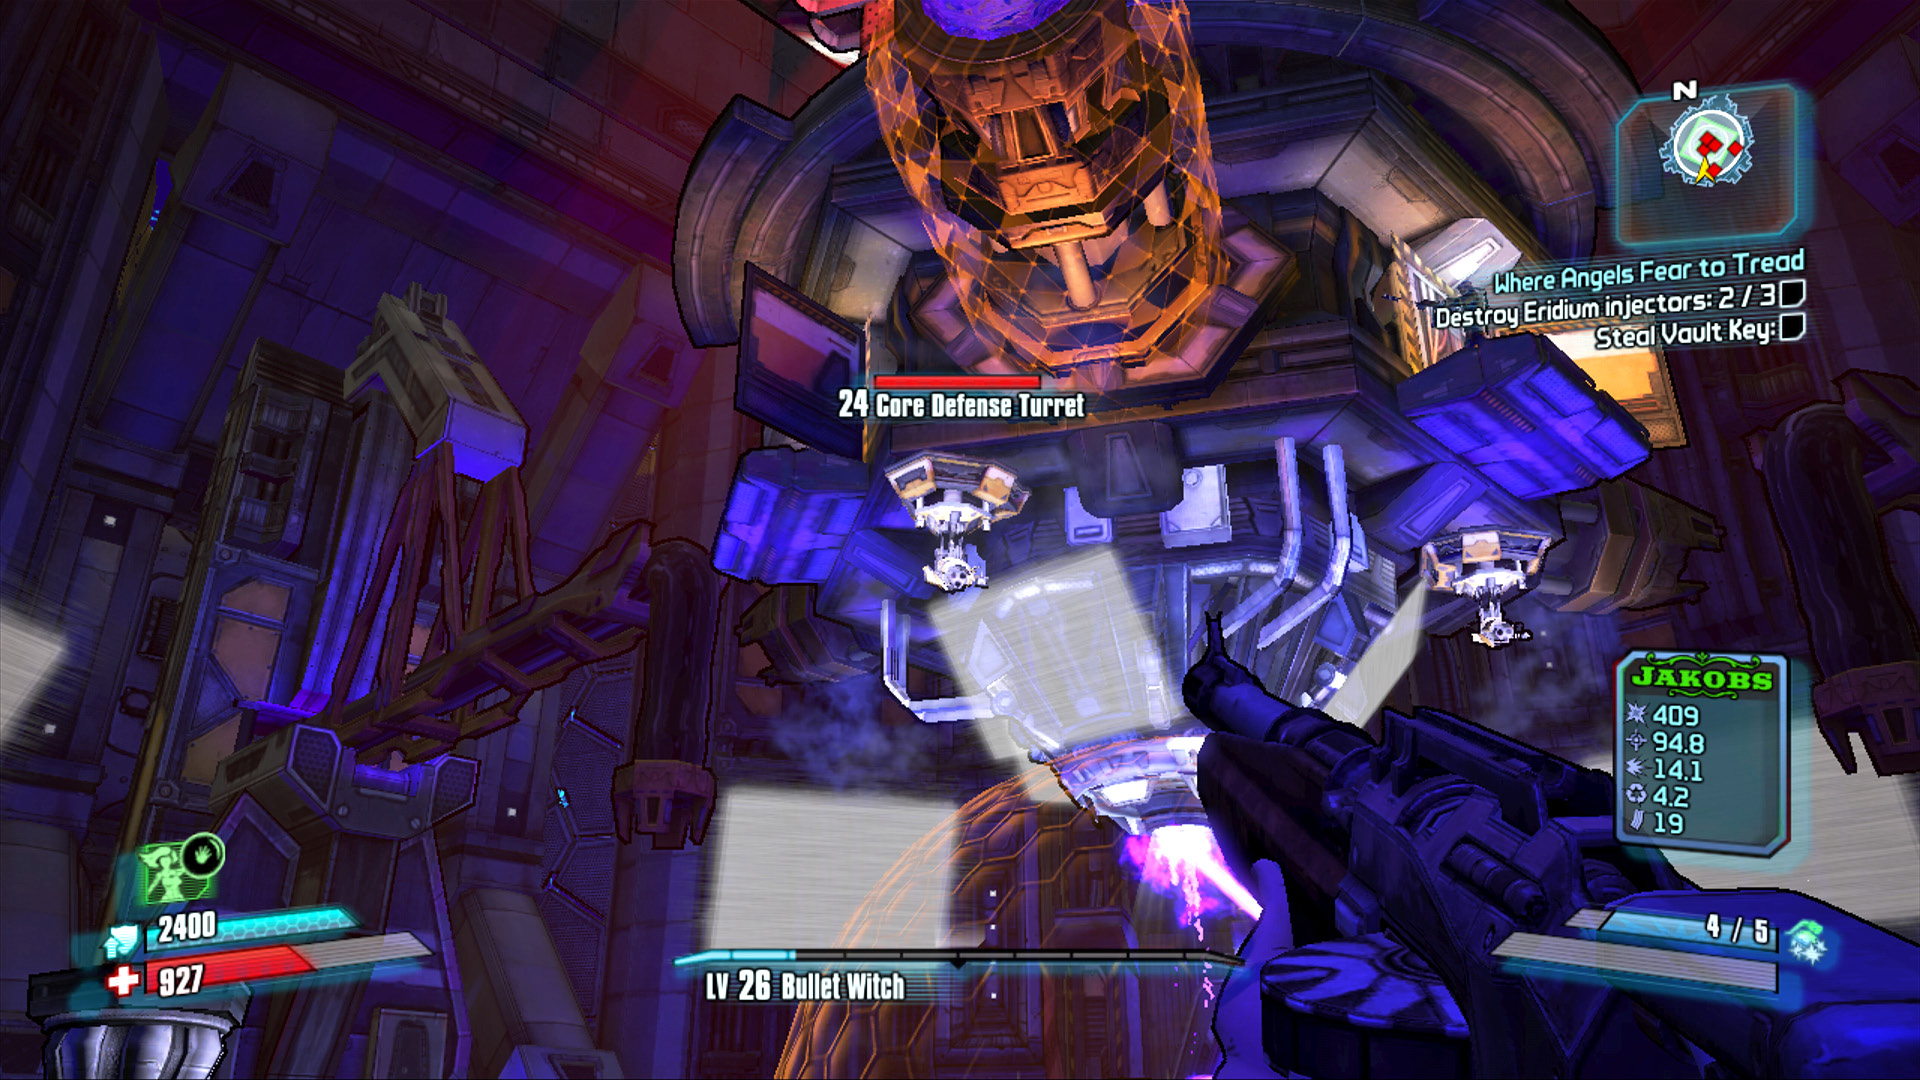
Heed Angel’s warnings about the reappearing core defense turrets, and target them immediately!
Eridium Blight
This apocalyptic stretch of land was never all that pretty, but Hyperion’s Eridium mining operations sure don’t help matters. The Blight used to be a vast desert, dry and dangerous; now it’s a scorched wasteland, burnt black by Eridium poisoning. Black smoke chokes the sky, while rivers of lava crisscross the landscape. The Blight would certainly have been left to the Bullymongs that still inhabit the scarred landscape if not for the many vital areas that spur from this location. Those looking to venture to Sawtooth Cauldron, Arid Nexus, or Hero’s Pass will likely run afoul of the numerous bandits living in the northern hills. And those seeking to brave the fiery slopes of Mount Hellsfont will encounter even greater trials.
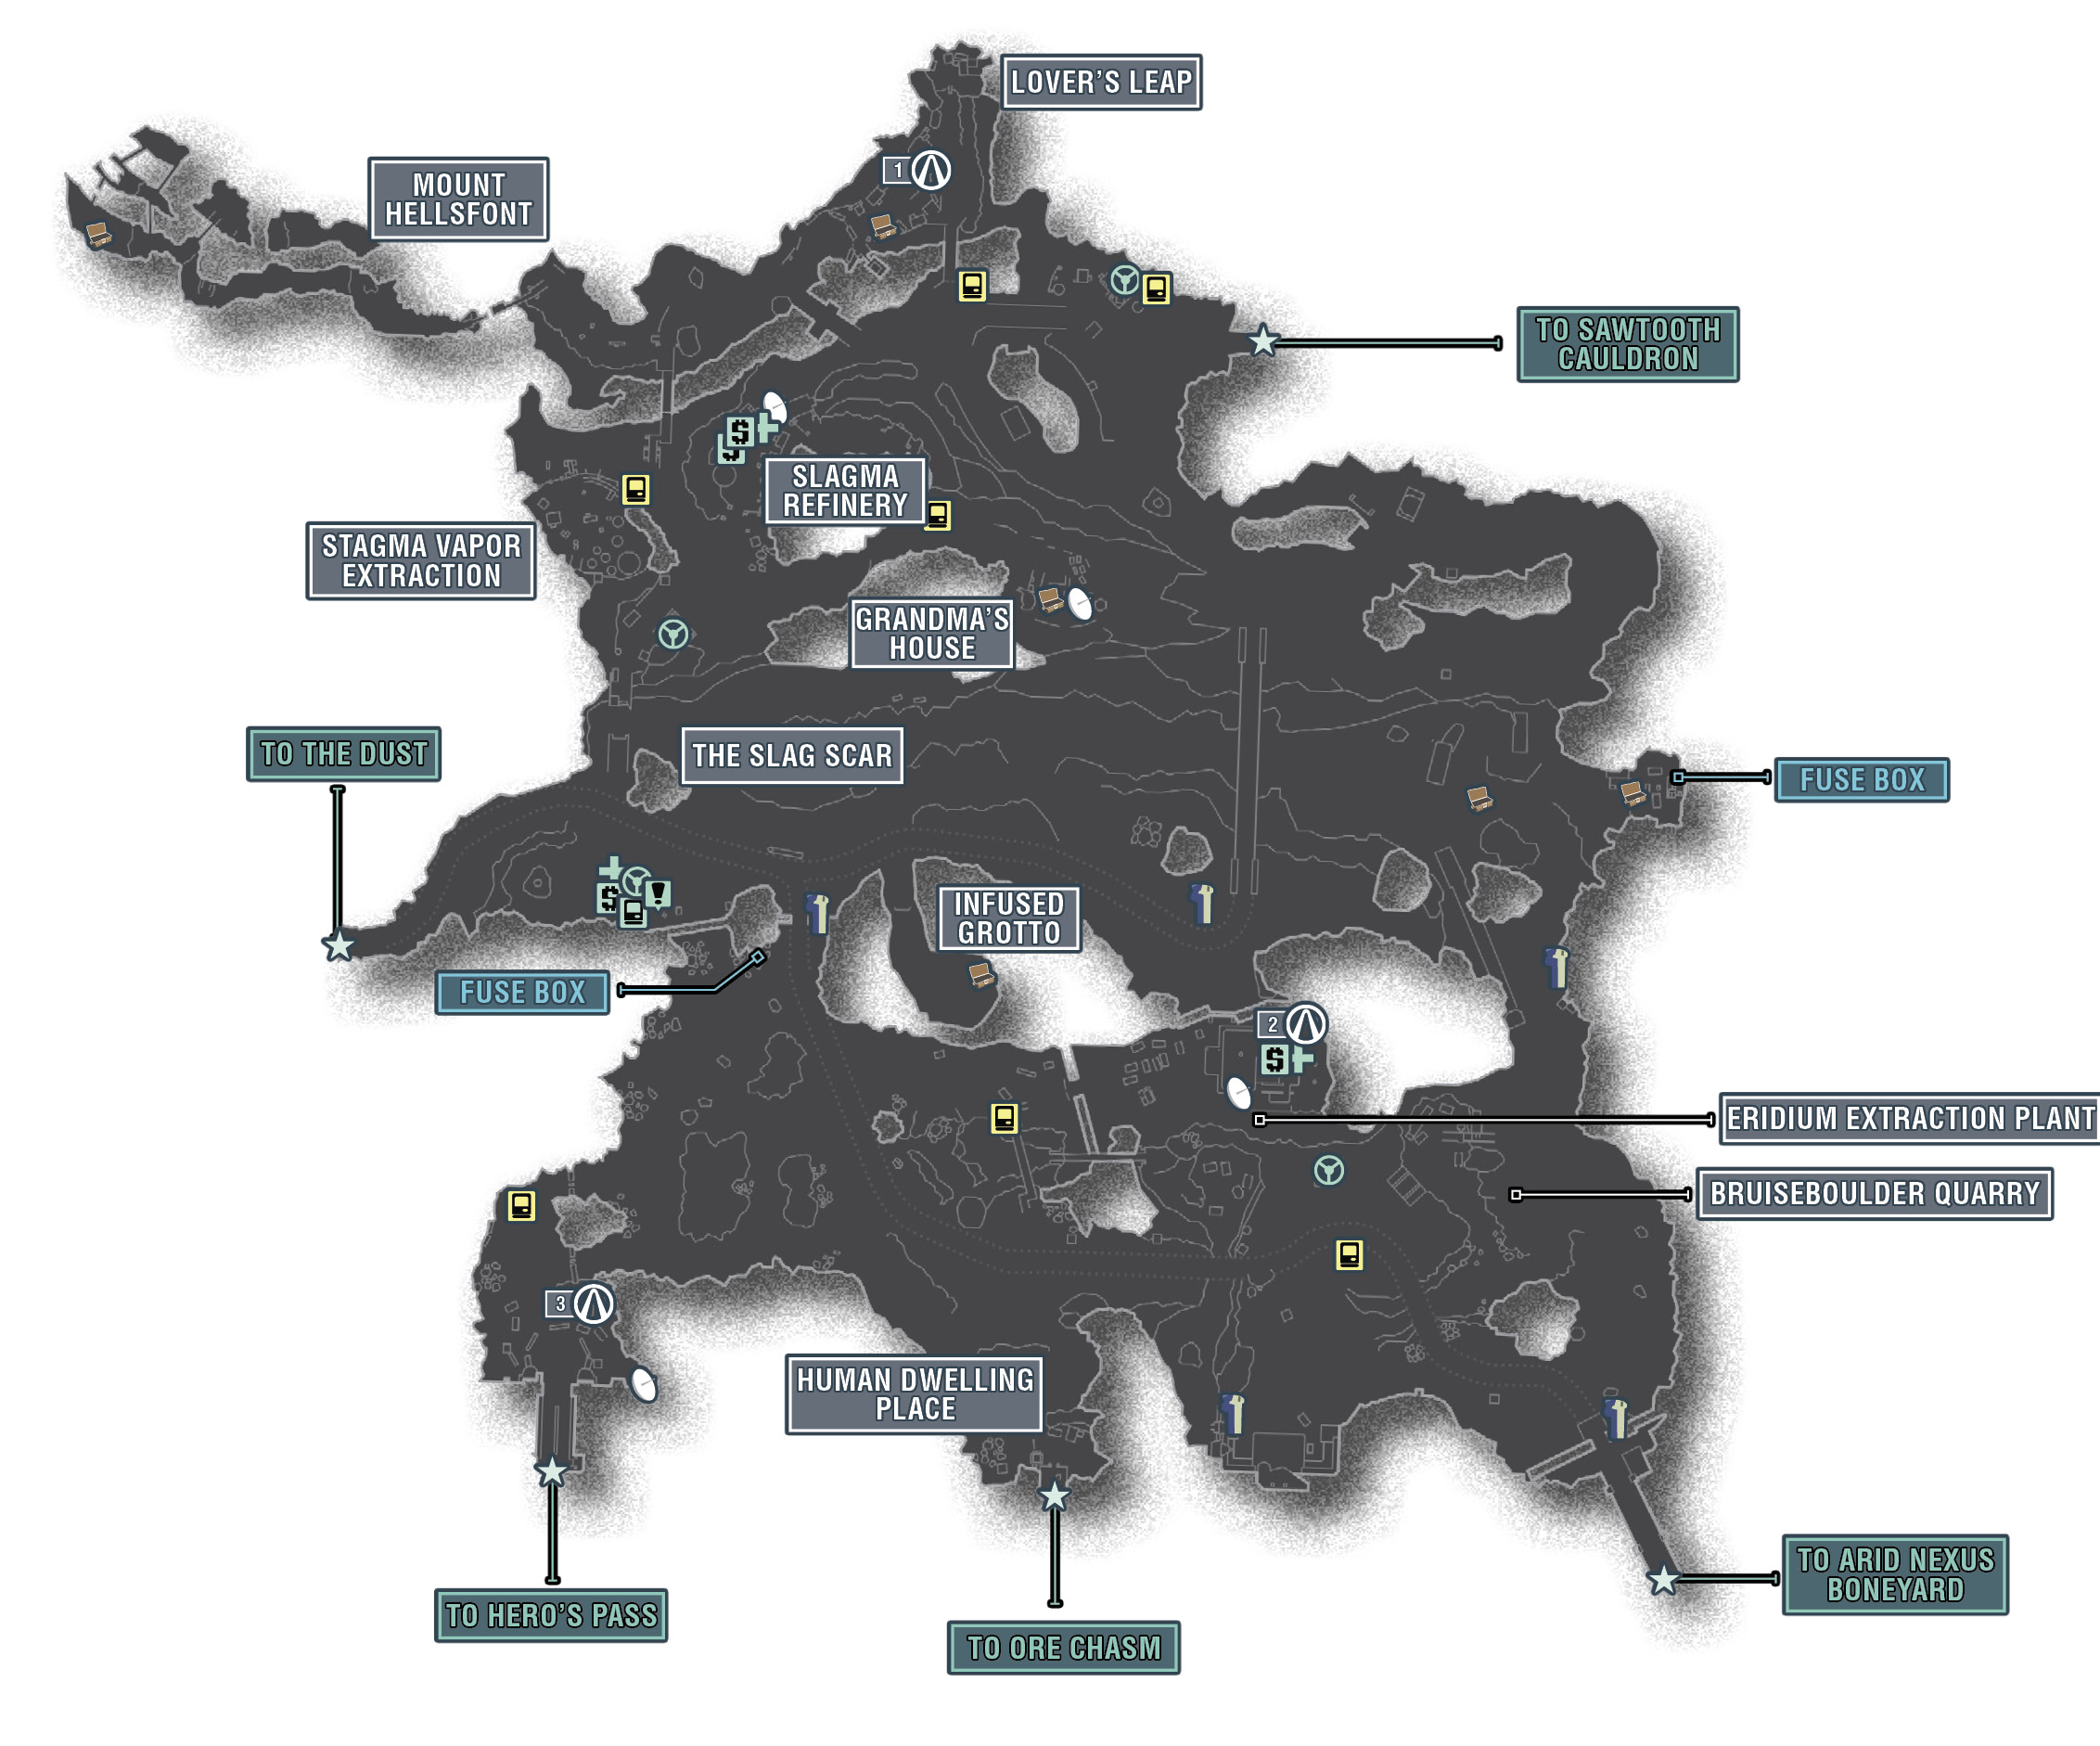
The Districts of Eridium Blight
| Locale | Limited Access? | First Visit |
|---|---|---|
|
The Slag Scar |
No |
Free exploration. |
|
Grandma’s House |
No |
“To Grandmother’s House We Go” optional mission. |
|
Slagma Refinery |
No |
“A Real Boy: Face Time” optional mission. |
|
Lover’s Leap |
No |
“Kill Yourself” optional mission. |
|
Mount Hellsfont |
No |
“A Real Boy: Clothes Make the Man” optional mission. |
|
Slagma Vapor Extraction |
No |
“A Real Boy: Face Time” optional mission. |
|
Infested Grotto |
No |
Free exploration. |
|
Eridium Extraction Plant |
No |
“Customer Service” optional mission. |
|
Bruiseboulder Quarry |
No |
“Customer Service” optional mission. |
|
Human Dwelling Place |
No |
“A Real Boy: Clothes Makes the Man” optional mission. |
Dangerous Beasts
| Enemy Family |
|---|
|
Bruisers |
|
Loaders |
|
Hyperion Soldiers |
|
Auto Cannons |
High Value Targets
| Enemy | Family |
|---|---|
|
King Mong |
Bullymong |
|
Donkey Mong |
Bullymong |
 Cult of the Vault
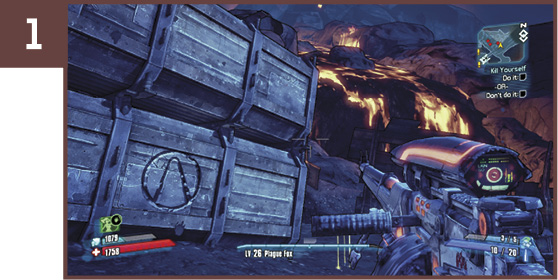
The first Cult of the Vault symbol is on the side of a stacked Hyperion container in the Mount Hellsfont area. You’ll undoubtedly spot it during any of multiple optional missions, especially if you are headed to Lover’s Leap.
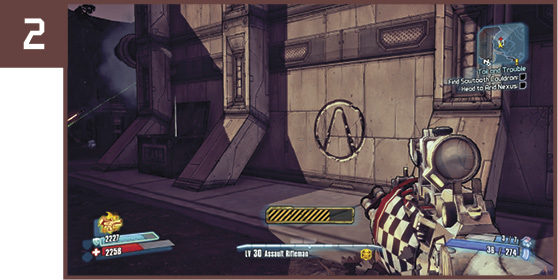
The gate to the Eridium Extraction Plant opens automatically as you approach. Fight across the facility yard to the back left corner to find this Cult of the Vault symbol.
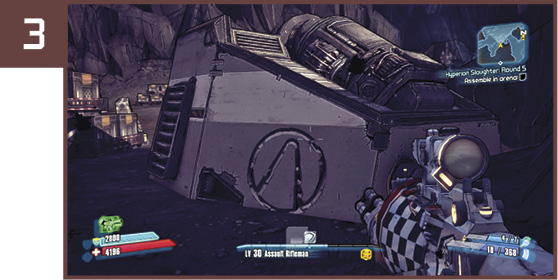
Stop and identify this Cult of the Vault symbol on your way to Hero’s Pass in the southwest corner of Eridium Blight. It’s on the side of a large piece of machinery.
 Can You Hear Me Now?
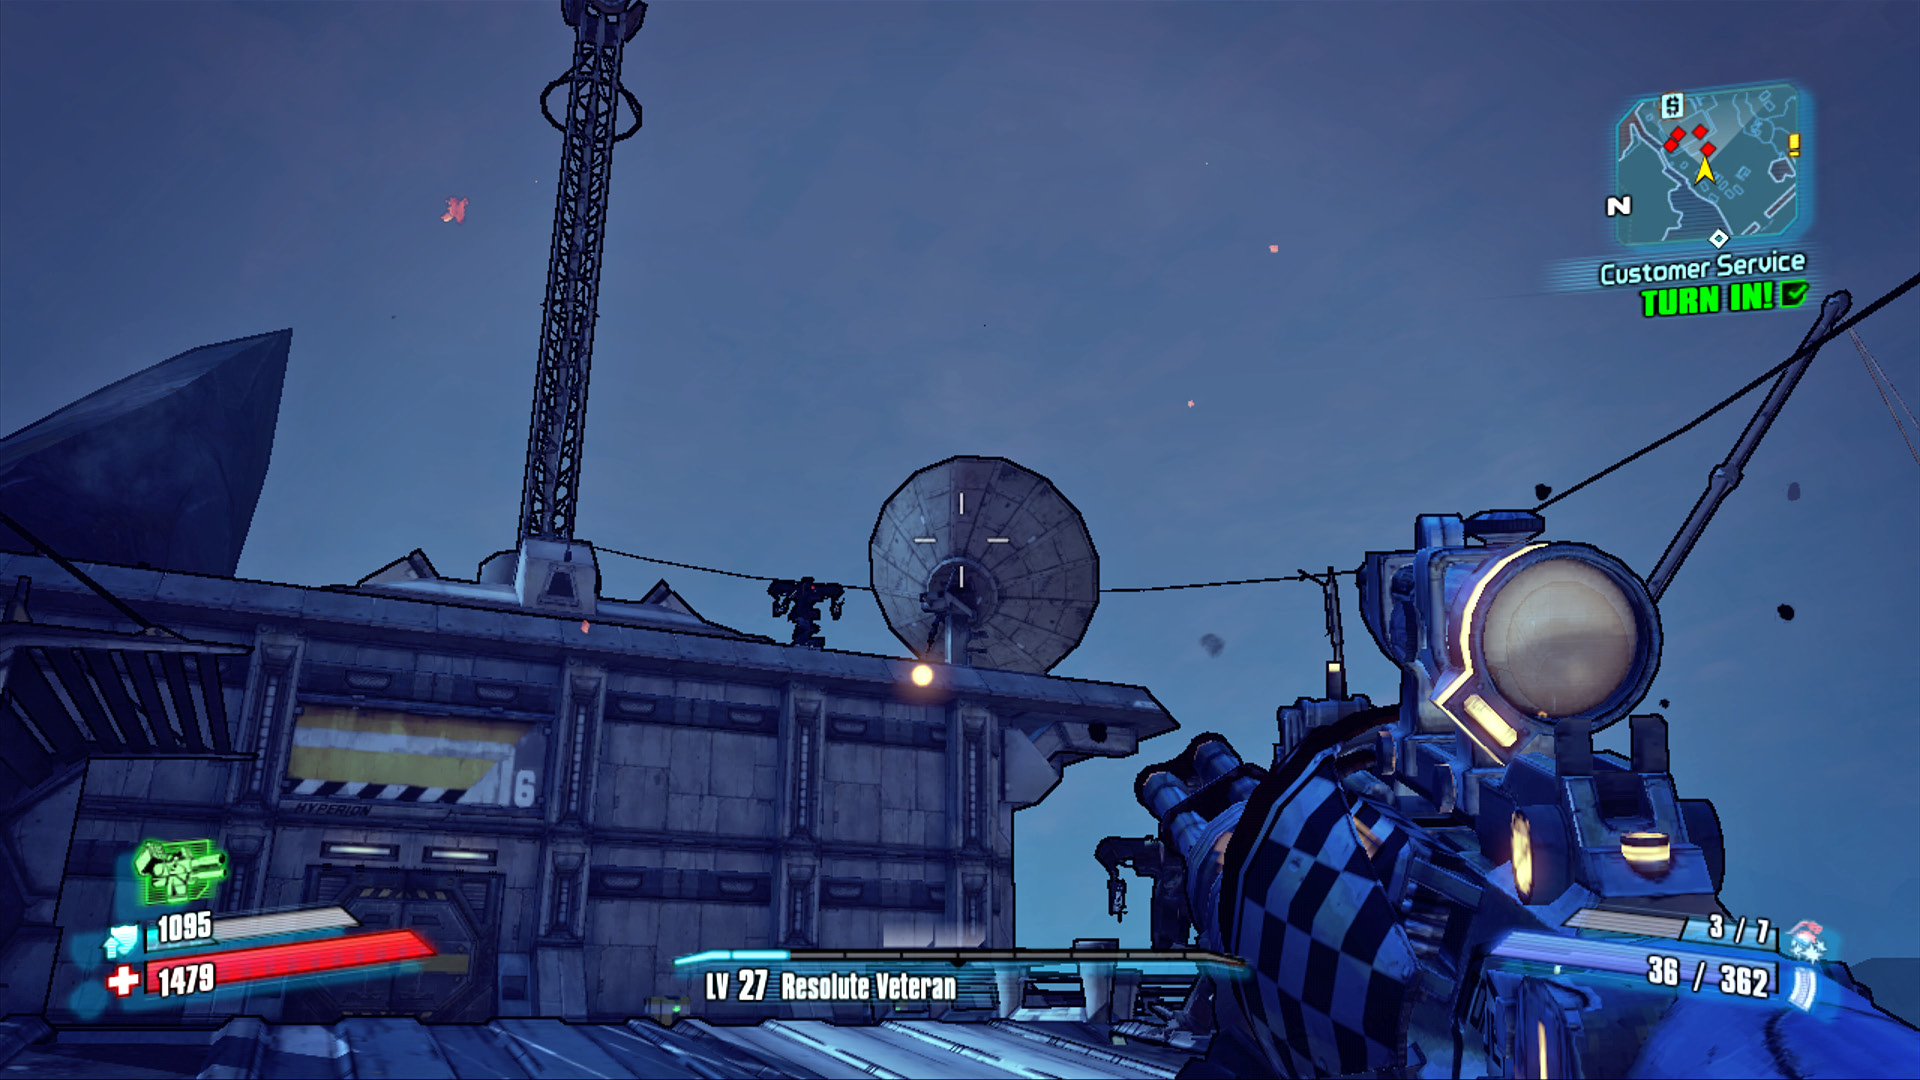
Unlock this Challenge by destroying all four of the large satellite communication dishes perched atop the buildings and towers in Eridium Blight. The four locations are marked on our map, but they’re also relatively easy to find if you scan the horizon from atop higher ground. Fire a few rounds with a sniper rifle or assault rifle to take them out from afar. Two are north of The Slag Scar: one is atop Grandma’s House, and another is at the Slagma Refinery. The other two are located on the southern half of the map. You’ll find one in the Eridium Extraction Plant, and the other on the corner of the wall near the entrance to Hero’s Pass.
 Bring out the Big Guns
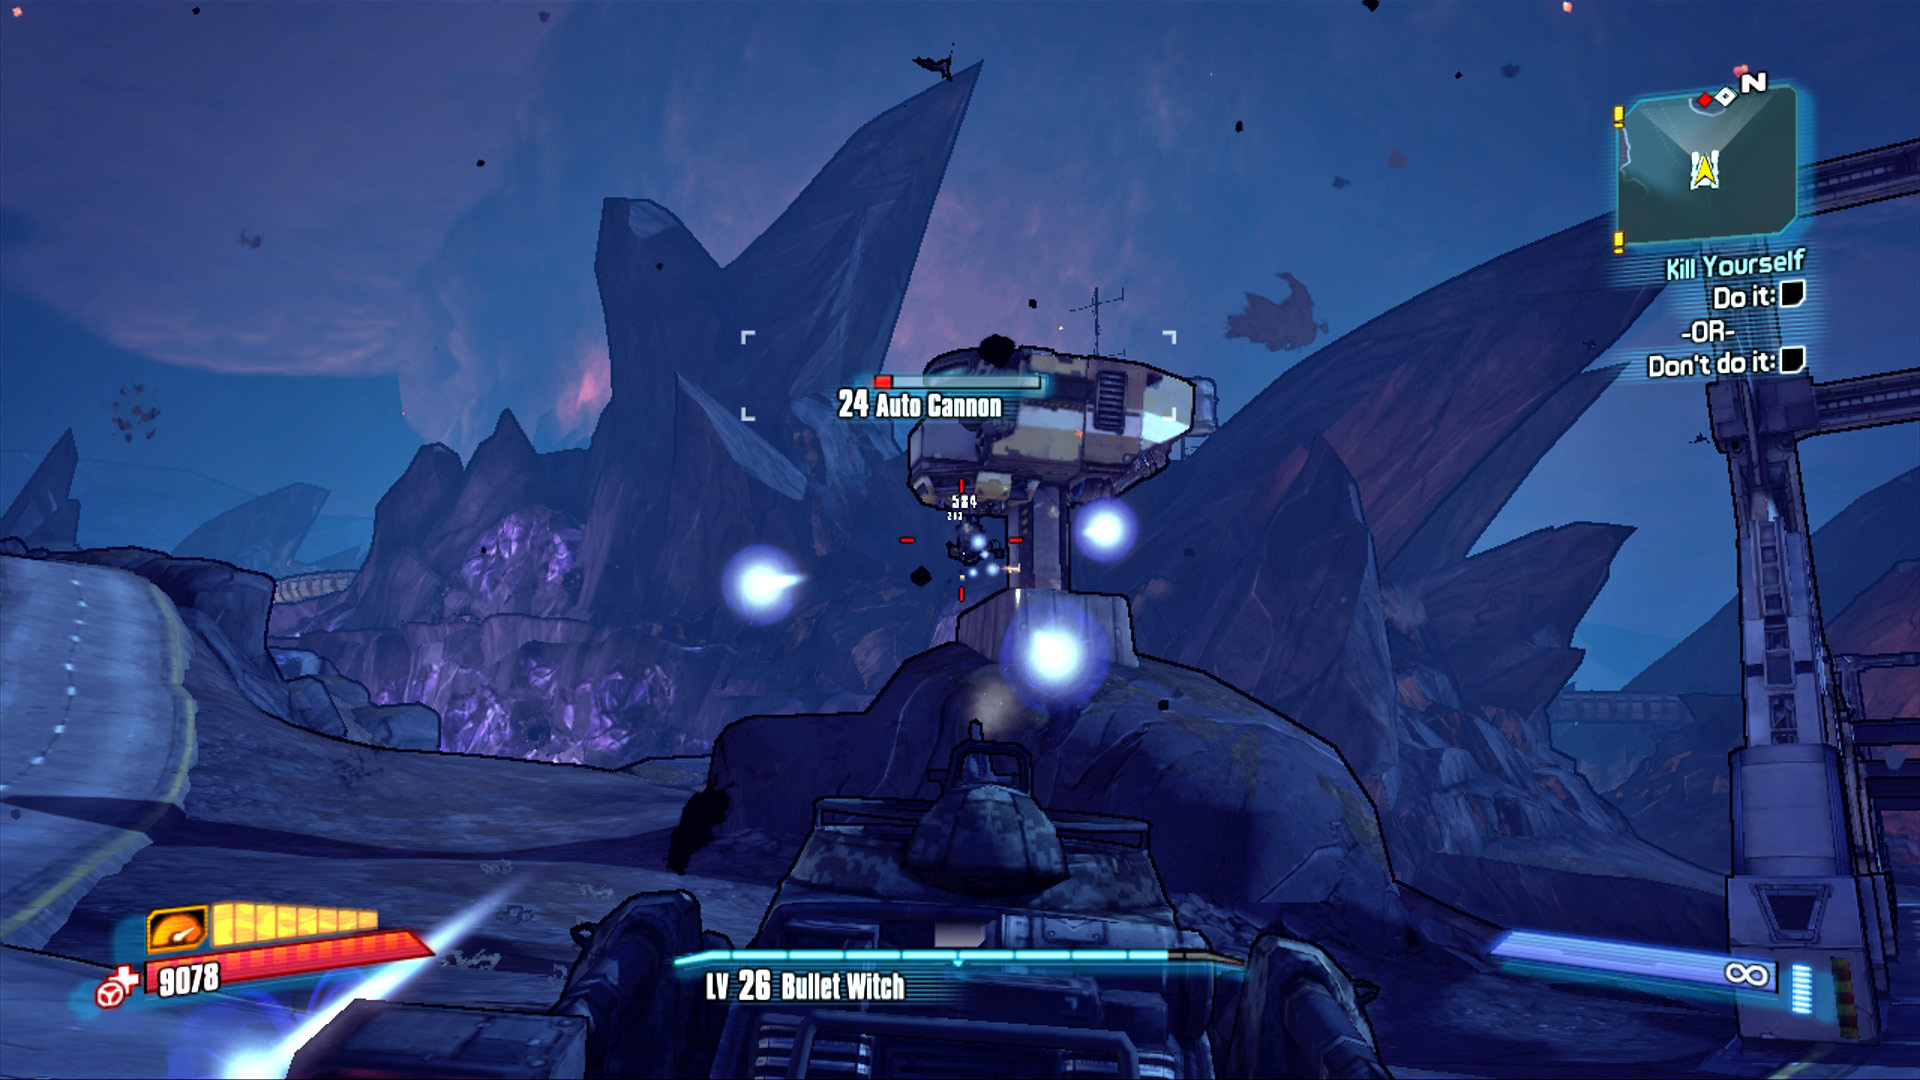
Scattered throughout the southern half of Eridium Blight are five Hyperion tower turrets. These auto cannons automatically fire at you whenever you run or drive by, and they are (in general terms) quite the pain. The five turret locations are marked on our map. Chances are, they’ll announce their presence by shooting at you before you even spot them. To find them, head east from the Jack Bounty Statue to find the first near the gate on the right and another near the bridge. Continue east and drive down the hill toward Bruiseboulder Quarry to find a third on the wall to the left. The final two are located along the south edge of Eridium Blight, one near the bridge to Arid Nexus and another near a fort just west of the bridge.
Pipe Dreaming
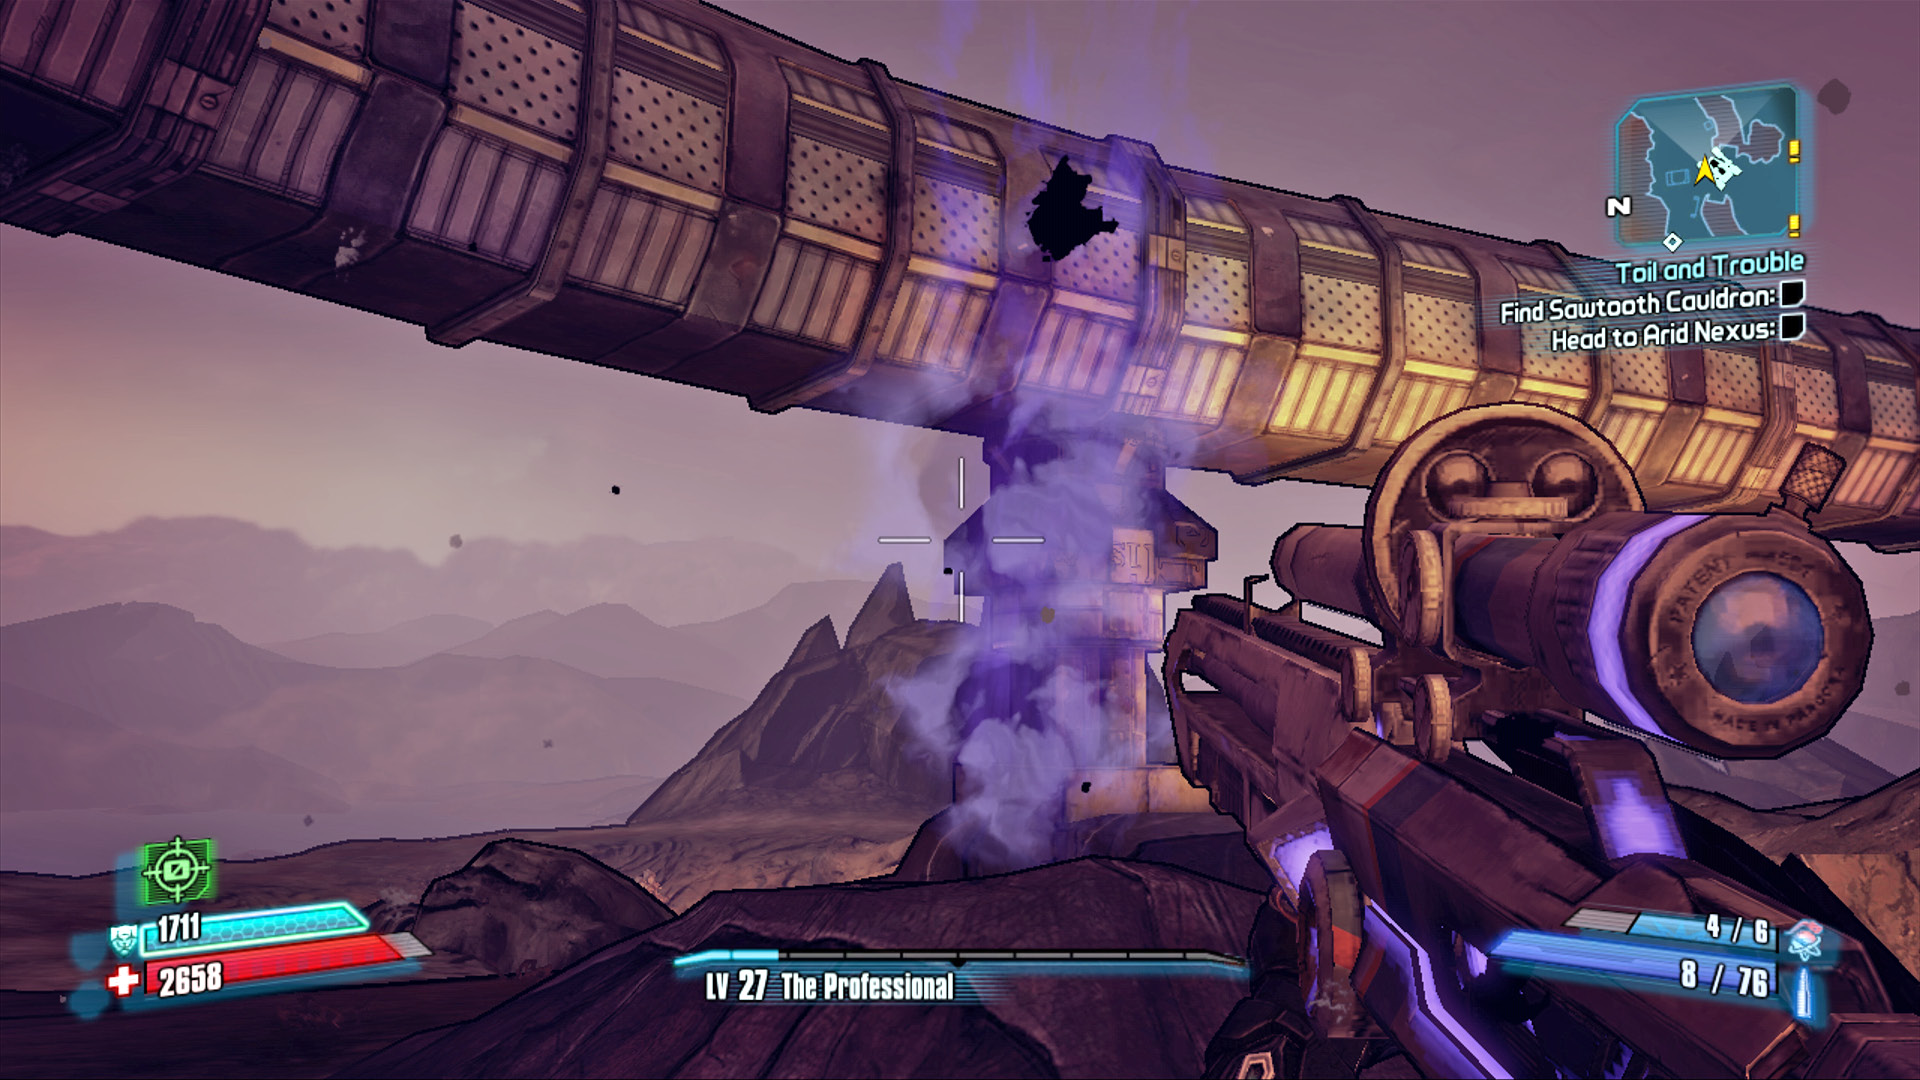
Complete this Challenge by walking on the Eridium pipeline in a very specific place. Head east through The Slag Scar under the main bridge toward the fractured pipeline in the distance. Find a chest on a segment of the pipe to the right—reach that piece of the pipeline to complete the Challenge. You can do this one of two ways. One way is by using the geyser on the north side of the canyon to jump-boost your way onto the pipe. This isn’t easily done, but it is possible. The other way is to use the dumpster near the building to gain access to the roof and make a couple of tricky jumps to reach the pipe. You’ll have to flip the lid of the dumpster open in order to gain the height necessary to reach the rooftop.
‘Twas Slag Killed the Beast
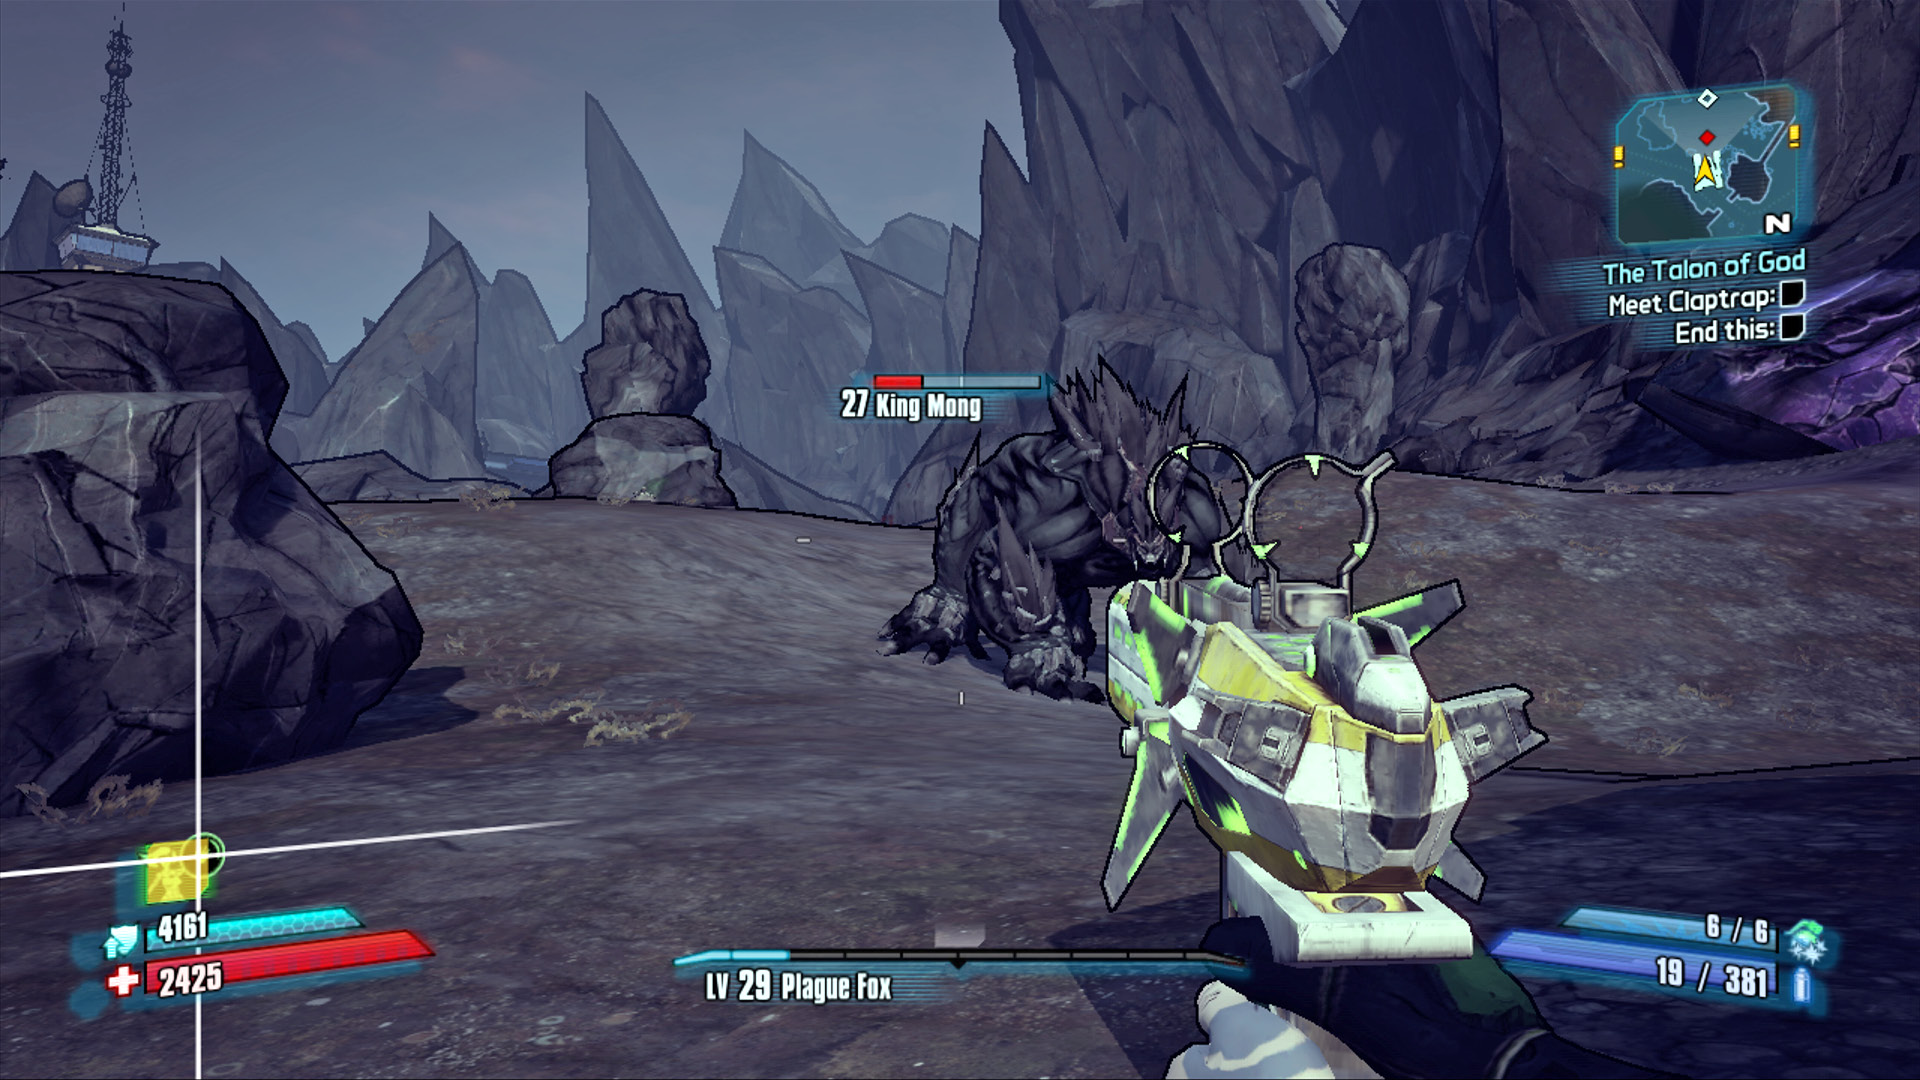
The hulking beast known as King Mong can be anywhere in Eridium Blight, but you’ll know when you see him. He’ll make sure of it! King Mong is a massive bullymong that doesn’t hesitate to leap into action against you, even if you’re in a vehicle. Though not particularly difficult to kill with some potent Fire weaponry and a grenade or two, you’ll only unlock this Challenge if you kill King Mong while he’s Slagged. Since it’s very common for the Slag effect to wear off moments before you inflict the fatal bullet, it’s best to soften him up a bit with your other weapons before Slagging him. Wait to hit him with your Slagged bullets until he’s been reduced to half of his health, then switch to a Fire or Explosive weapon, and finish him off!
Vault Hunter vs. the Volcano
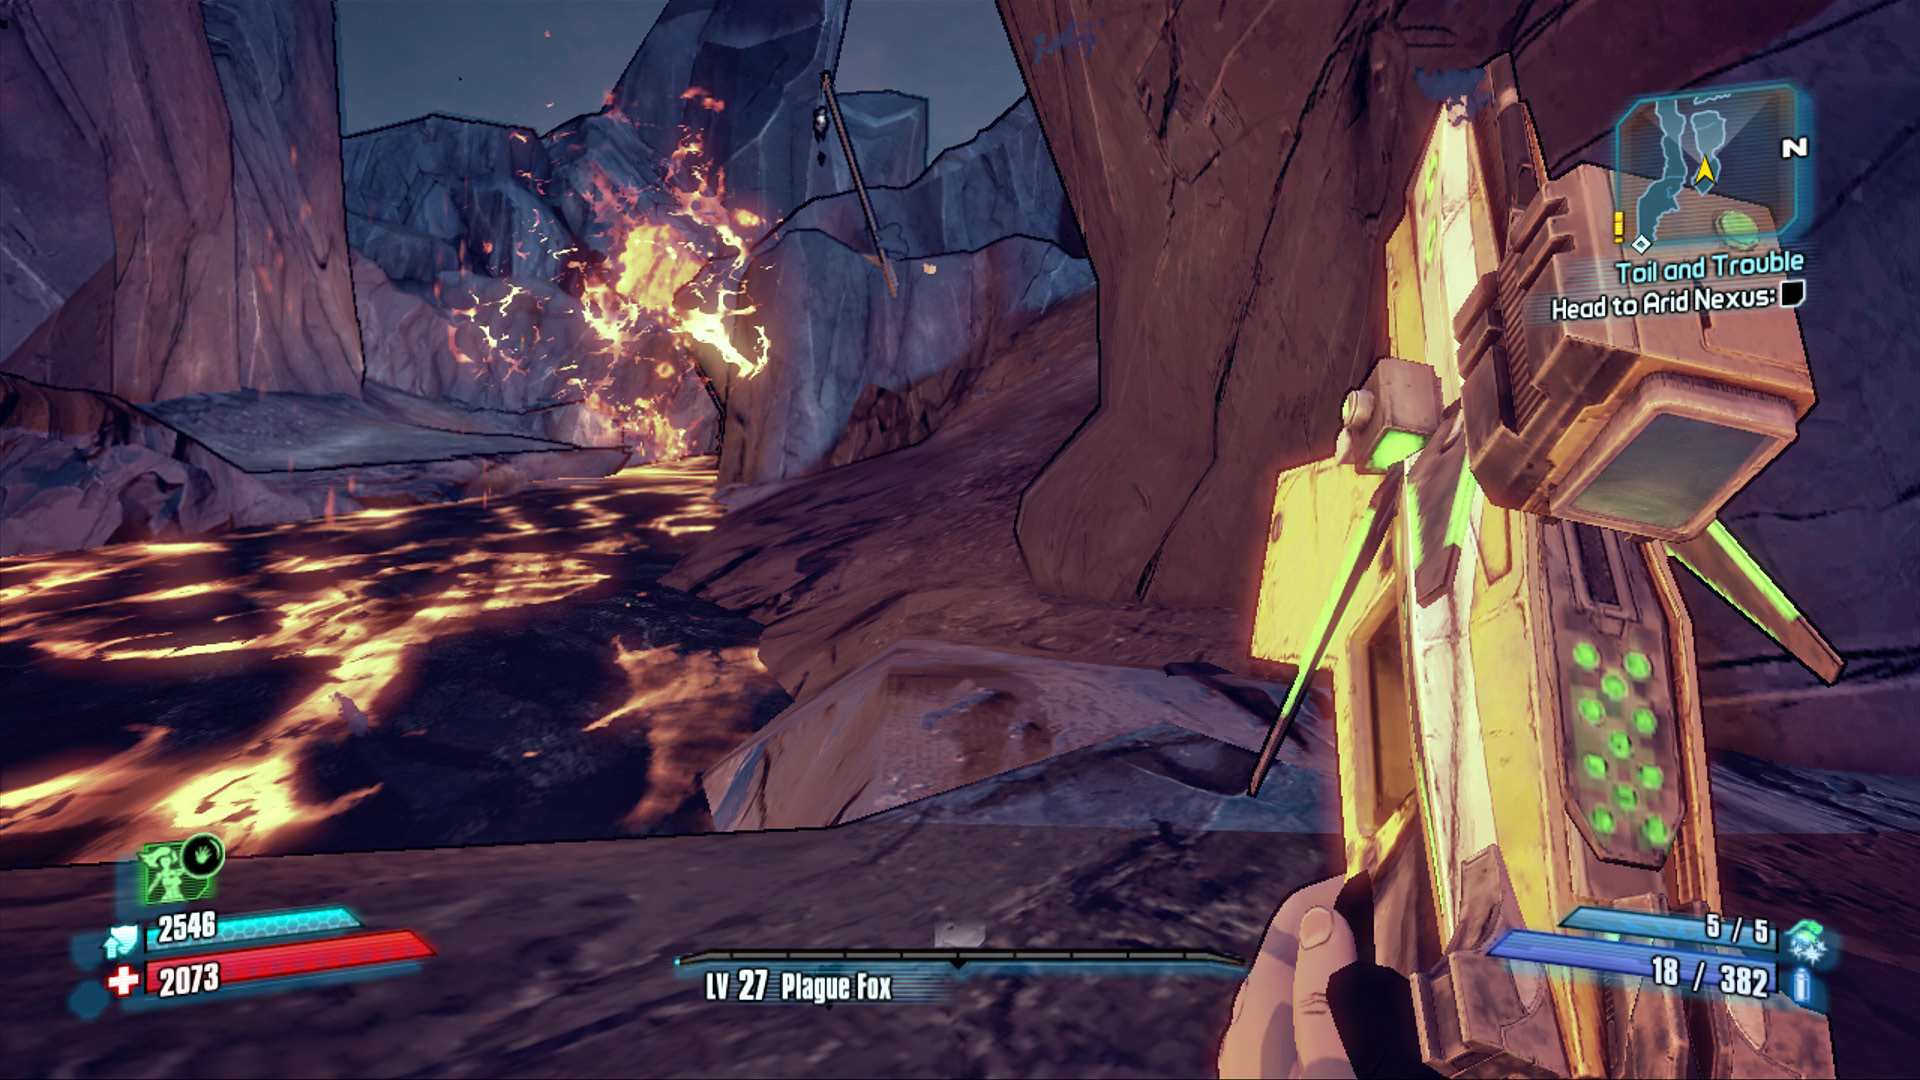
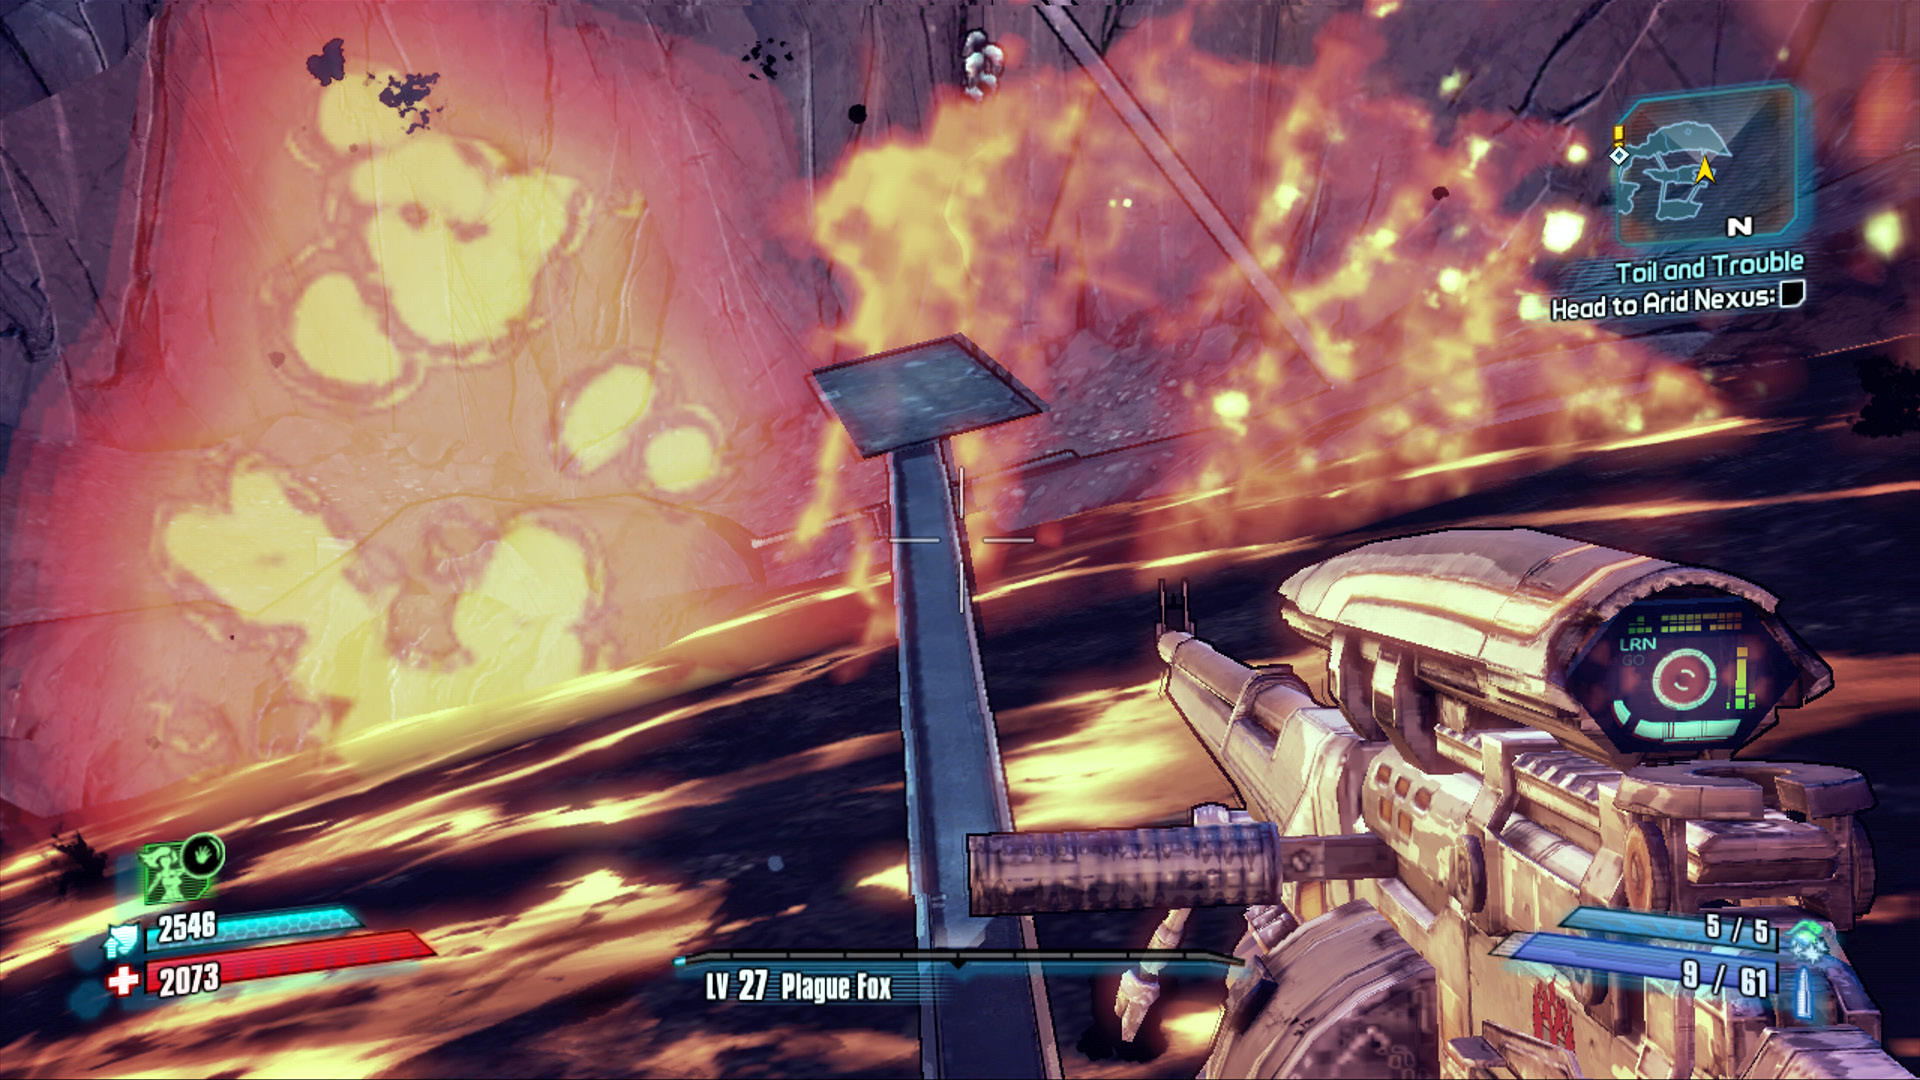
The northeast corner of Eridium Blight is dominated by an ominous volcano that never ceases to spout with rivers of lava and blanket the region in a swath of ash. This is Mount Hellsfont. Those who manage to leap and balance their way up the zigzagging path as it crosses back and forth over the molten river of lava will find a chest and an increase to their Badass Rank. The trek to the summit is straightforward—there is but one way to go—but it surely tests your ability to stay cool under fire. Only those who time their jumps accurately and avoid any and all contact with the bubbling torrent of lava will survive the journey. And only those who manage to take with them a certain Relic from Claptrap’s Place will discover the true secret of Mount Hellsfont.
Tie Clip
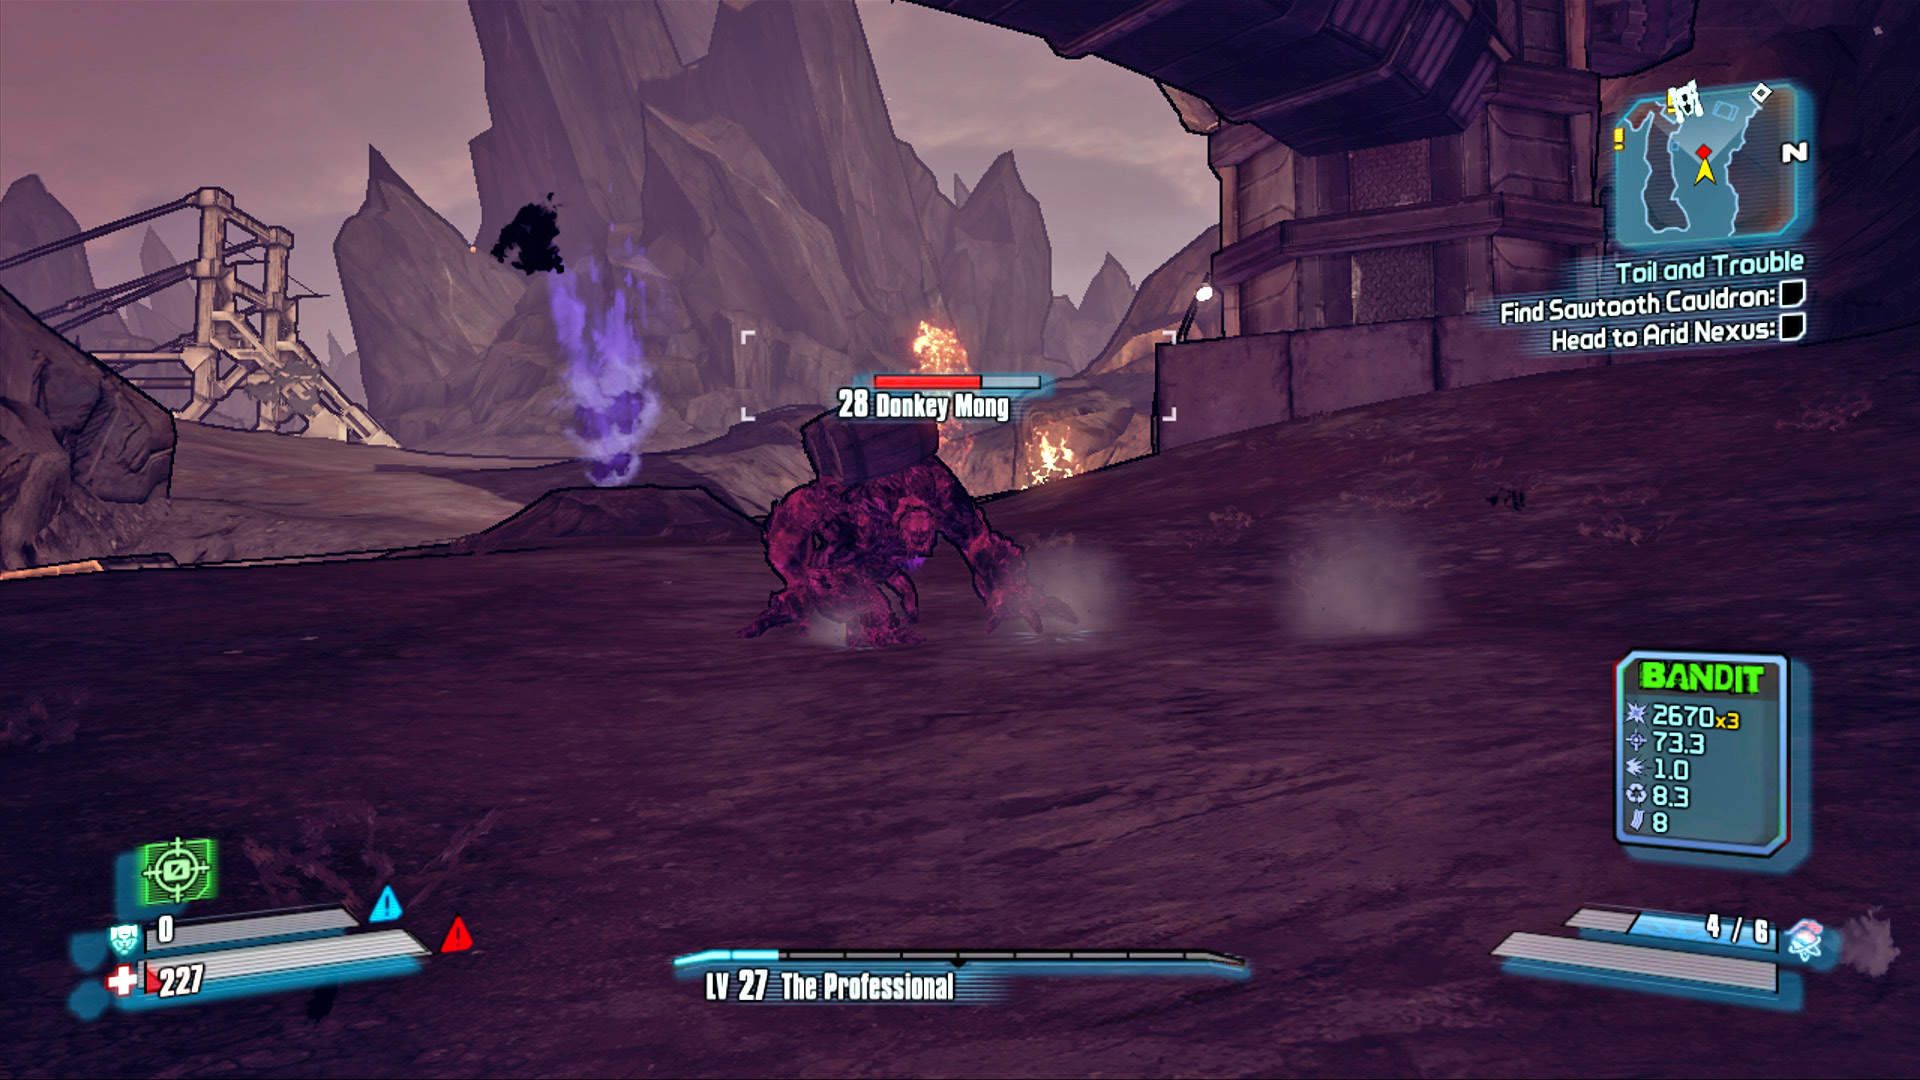
If you thought King Mong was tough, wait until you get a load of Donkey Mong. Similar in size to King Mong, you’ll be able to tell Donkey Mong apart by the bandolier of wooden barrels he wears on his back. Rather than leap toward you in an effort to claw and scrape at close range, Donkey Mong prefers to keep his distance and chuck his barrels at you from afar. Not only is he deadly accurate, but his barrels pack quite the punch! Depending on your health and shield status, a single barrel can down you in an instant! Defeating this beast relies not just on killing him; you must also dodge-and-weave his barrel attack and get close enough to cut his necktie. Have your finger ready to hit the Action Button when you see the “Cut” prompt flash on the screen. Of course, cutting the tie isn’t enough to complete this Challenge. You need to cut the tie and kill Donkey Mong without ever being hit by a barrel. That includes both before and after the tie has been cut. Good luck!
Additional Challenges
Save the Turrets: Complete the fight at the gate before the Loaders destroy the tower turrets (see “The Talon of God” story mission for details).
Ore Chasm
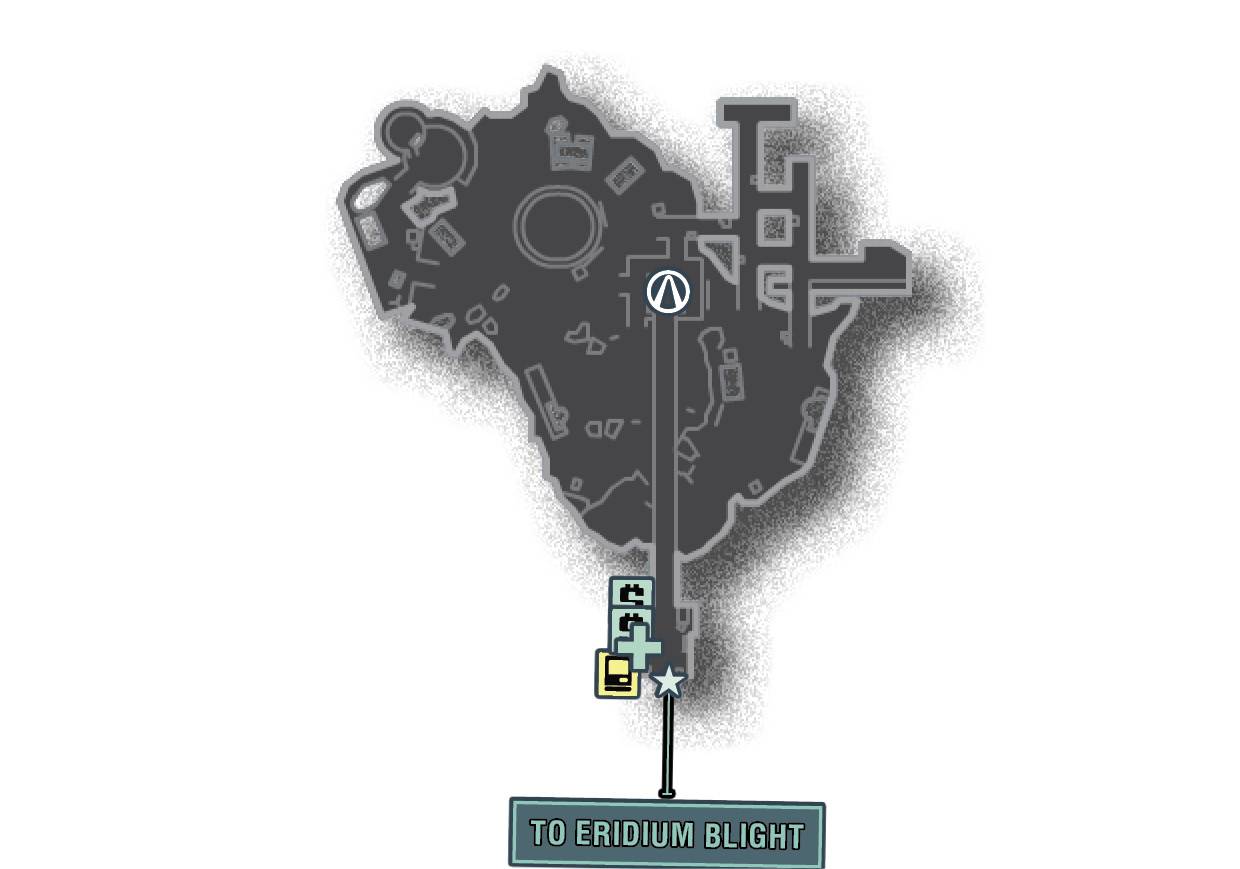
The final Circle of Slaughter owned by Moxxi and operated by one of her protégés, the Ore Chasm was named by the “person” who runs it—a reprogrammed Hyperion Loader named InnuendoBot 5000. After a failed Hyperion assault on Sanctuary, Moxxi reprogrammed a loader to be as effective a tournament host as she is—which is to say, Moxxi programmed InnuendoBot 5000 to speak in nothing but horrifically obvious sexual innuendos. His endless double entendres are a teeth-grinding distraction to those pitted against the multitudes of Hyperion soldiers and combat ‘bots mysteriously wrapped up into this challenge arena. Well, might as well grab a Corrosive gun and start thinning their ranks!”
Dangerous Beasts
| Enemy Family |
|---|
|
Loader Bots |
|
Surveyors |
|
Constructor Bots |
|
Hyperion Soldiers |
|
Engineers |
High Value Targets
| Enemy | Family |
|---|---|
|
— |
— |
 Cult of the Vault
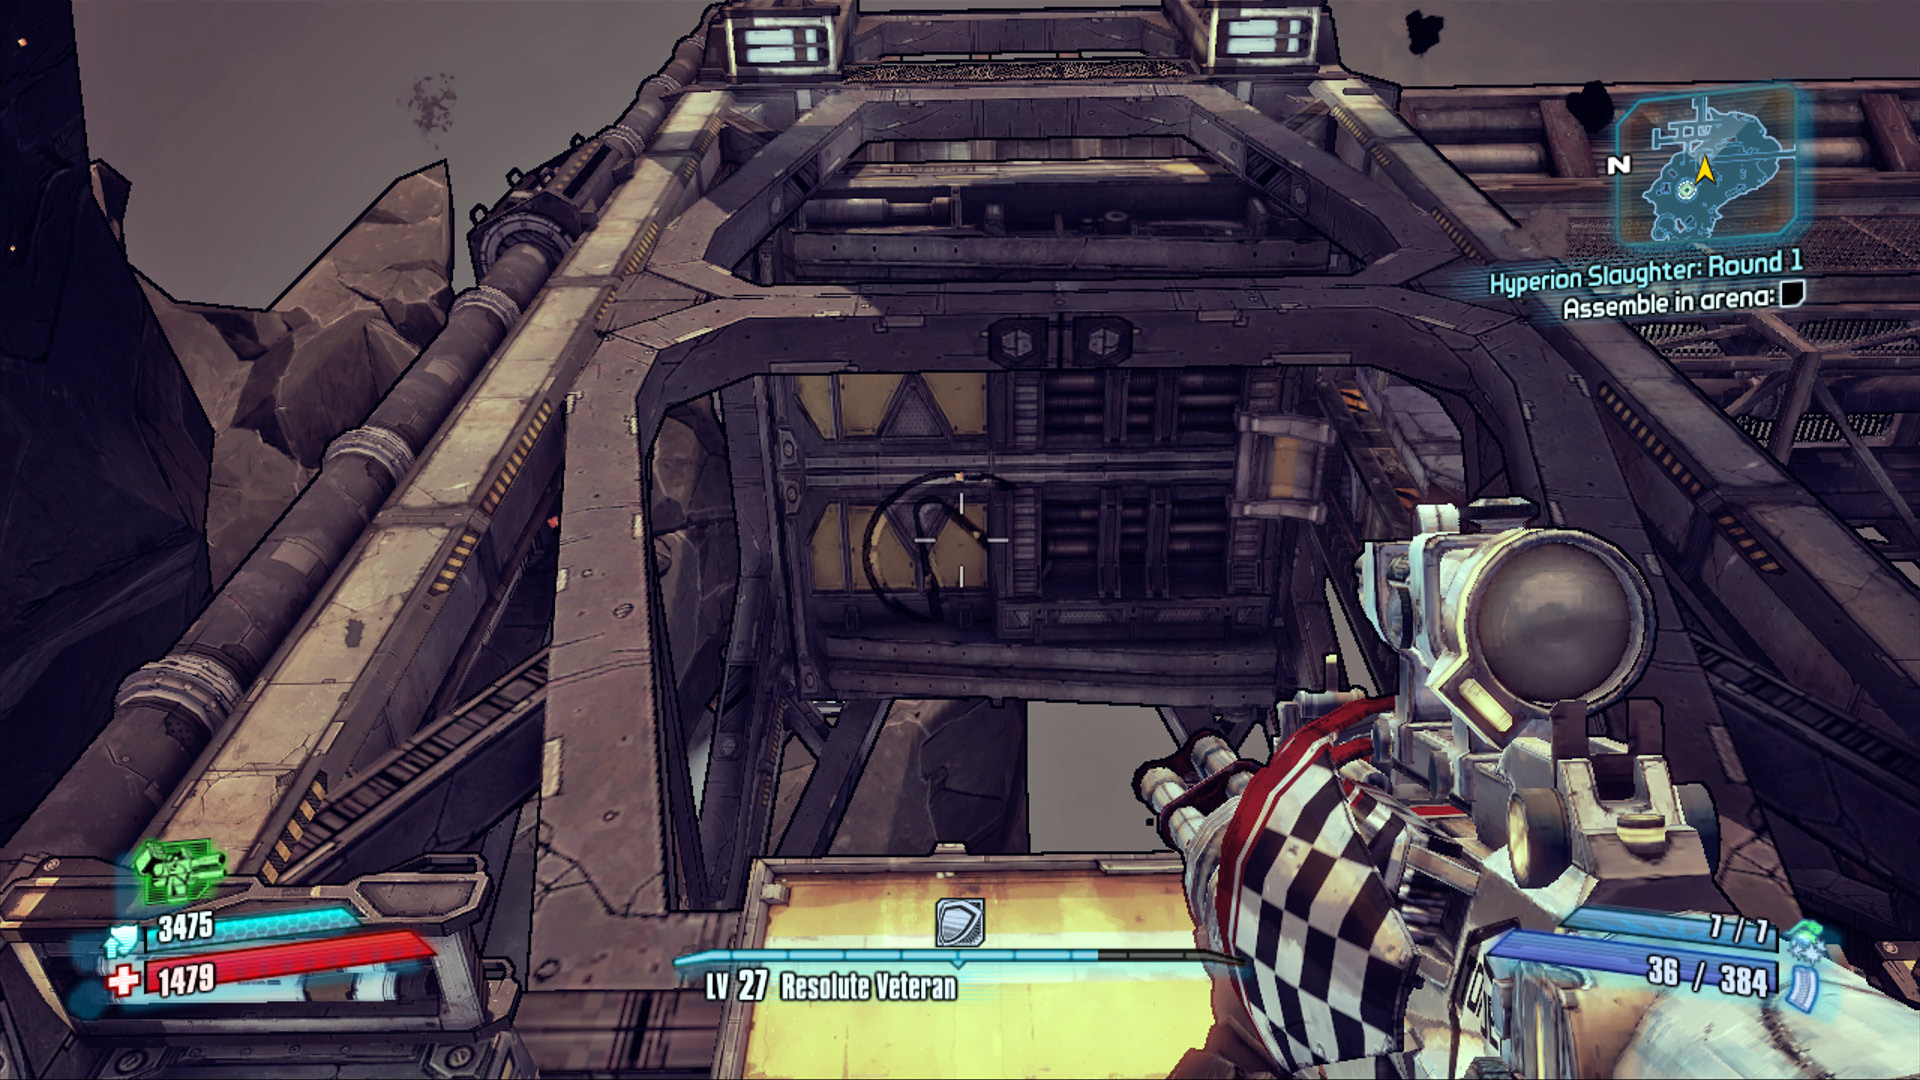
This well-hidden Cult of the Vault symbol is located on the underside of the elevator that you ride down into the arena. Since the elevator automatically returns to the upper catwalk at the start of the battle, you’ll have to identify this symbol before stepping into the circular ring that serves as the starting point for the battles. Crouch down and crawl beneath the elevator’s platform to reach it.
Sawtooth Cauldron
The bandit clan known as the Sawteeth are known for feuding with Brick’s Slabs and selling out potential Vault Hunters to Hyperion. Boasting a surprisingly large roster sheet of bandits, the Sawteeth have managed to essentially take over the sprawling mountainside region now known as Sawtooth Cauldron. Specializing in demolitions and Buzzard assaults, the Sawteeth couldn’t have picked a nicer spot for their headquarters: the entire area is a big crater filled with Threshers and magma, with only a few pockets of drinkable water sprinkled throughout. Sane people wouldn’t make a base of operations here. Needless to say, Mortar and his Sawteeth bandits are not sane.
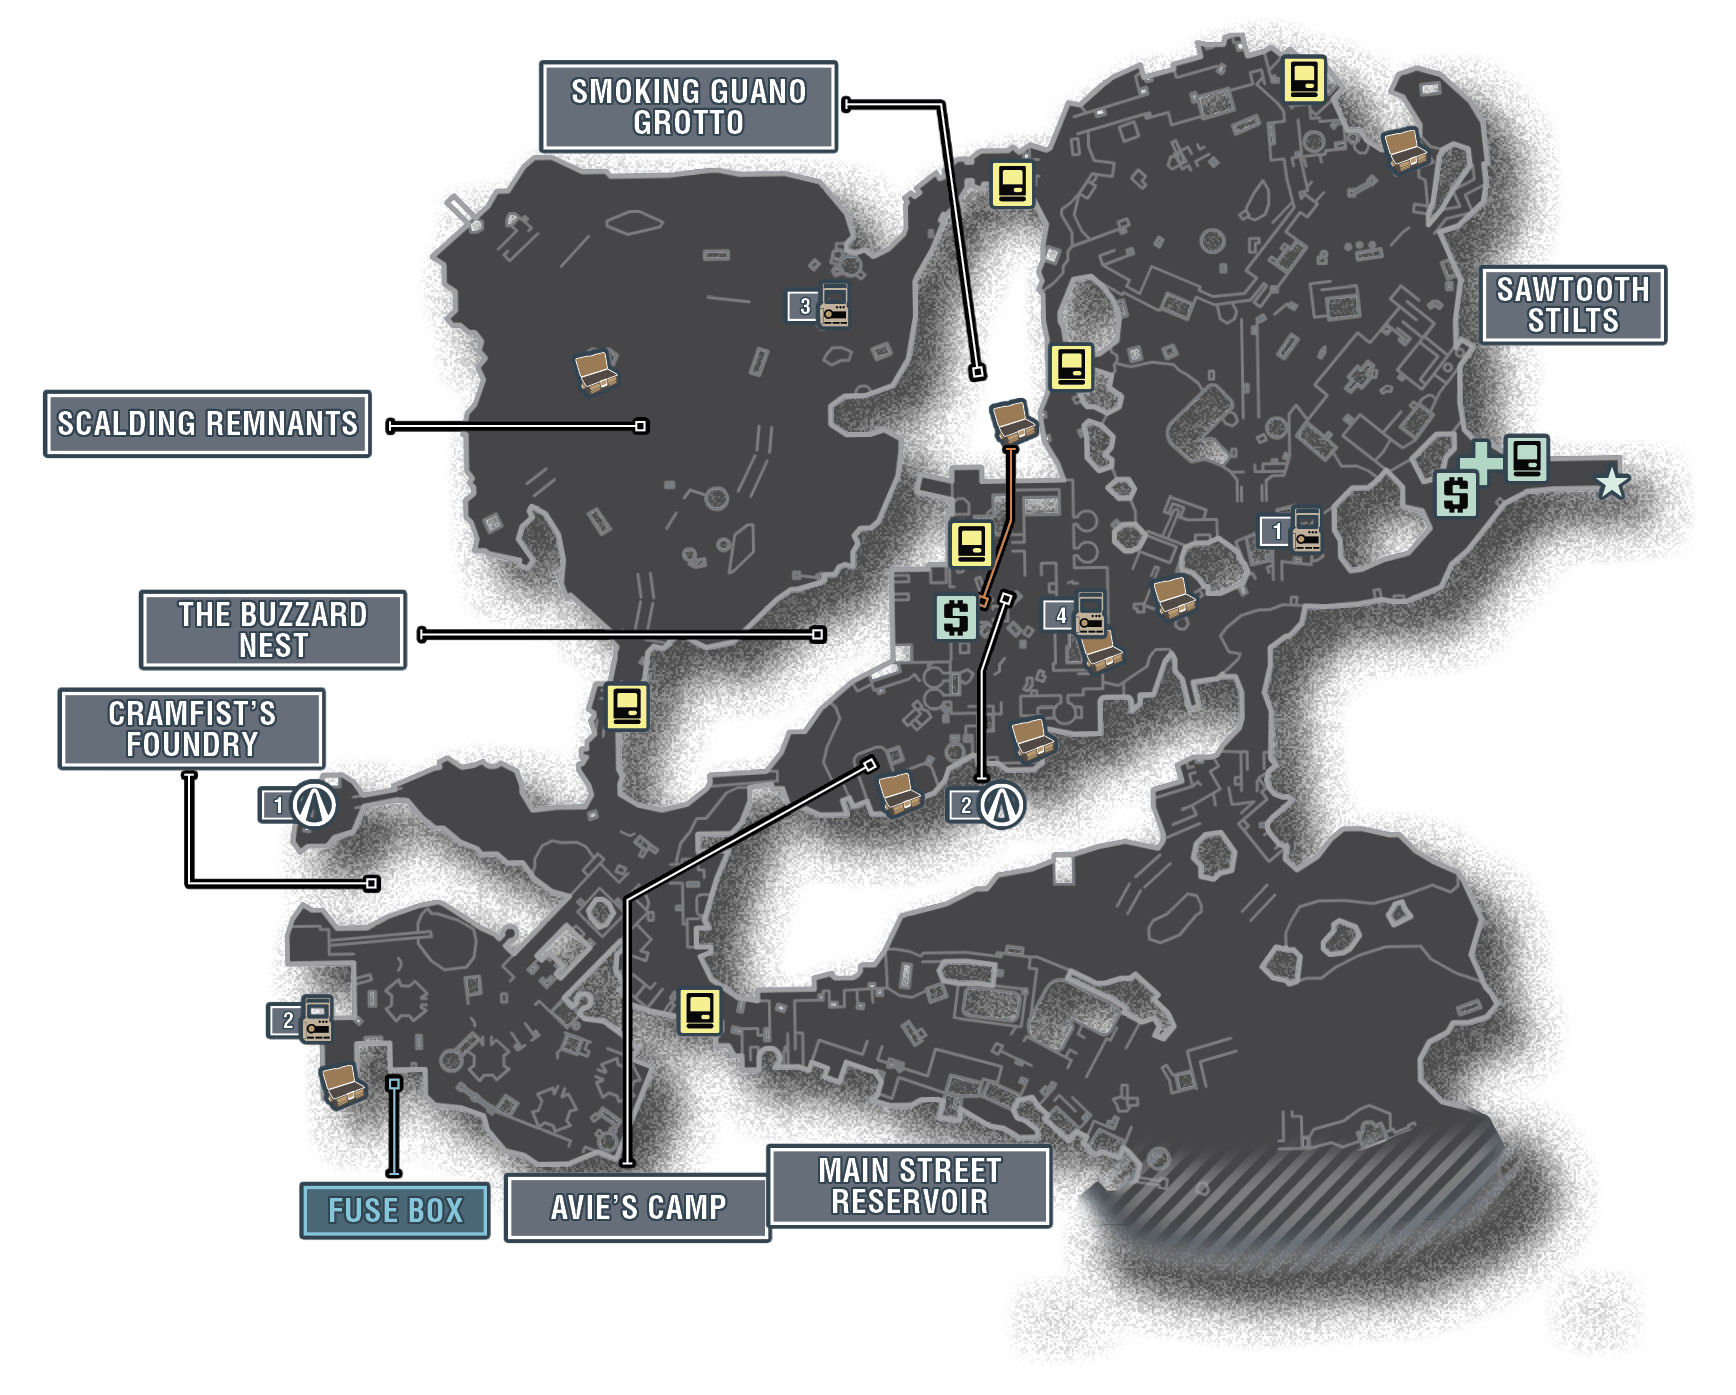
The Districts of Sawtooth Cauldron
| Locale | Limited Access? | First Visit |
|---|---|---|
|
Sawtooth Stilts |
No |
“Toil and Trouble” story mission. |
|
Smoking Guano Grotto |
No |
“Toil and Trouble” story mission. |
|
Cramfist’s Foundry |
No |
“Toil and Trouble” story mission. |
|
Main Street Reservoir |
No |
“Toil and Trouble” story mission. |
|
The Buzzard Nest |
Yes |
“Toil and Trouble” story mission. |
|
Scalding Remnants |
No |
“Capture the Flags” optional mission. |
|
Avie’s Camp |
Yes |
Free exploration, but must complete “Toil and Trouble” story mission. |
Dangerous Beasts
High Value Targets
| Enemy | Family |
|---|---|
|
Mortar |
Rat |
 Cult of the Vault
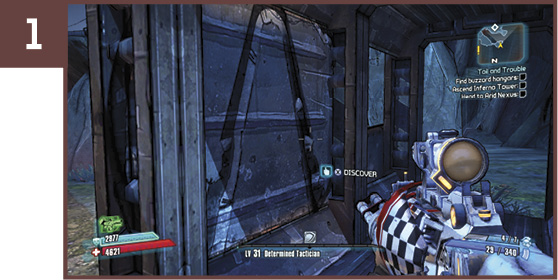
Make your way up the road in Main Street Reservoir to Cramfist’s Foundry and continue west across the bridge to the small campsite in the distance. The Cult of the Vault symbol is inside the Hyperion container on the western edge of this rocky ledge.
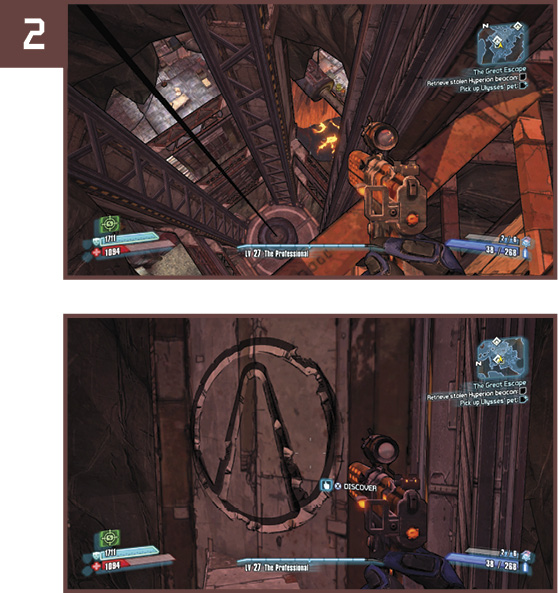
This Cult of the Vault symbol is in the elevator shaft that leads from Smoking Guano Grotto up to The Buzzard Nest, just above the third beam from the bottom. It can only be reached after completing “Toil and Trouble.” Return to The Buzzard Nest and ride the elevator down. Jump out of the elevator to land on the uppermost beam on the west side. You’ll notice a very well-hidden treasure chest on the south side. Leap for the chest (or the beam below it), and then leap across to the northern beam farther down the elevator shaft to reach the Cult of the Vault symbol.
 Haiku Hitman
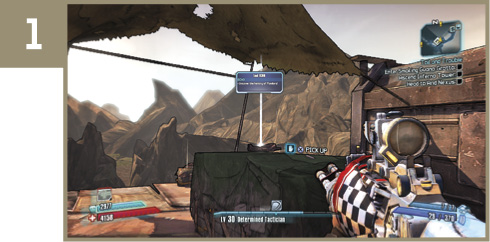
The first of the four ECHO Recorders is near the entrance to the area. Proceed along the main path—don’t jump off the cliff to reach Sawtooth Stilts—and search the crates under the canopy on the right for the first ECHO Recorder.
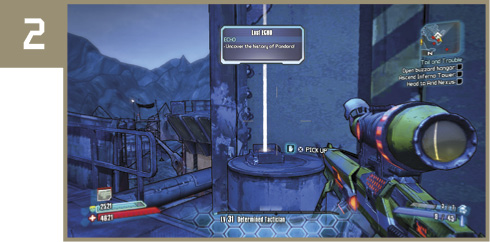
Make your way to the Buzzard hangars in Cramfist’s Foundry, and loop around the right-hand side of the building in the rear to the ladder. Climb the ladder to find this ECHO Recorder atop a barrel.
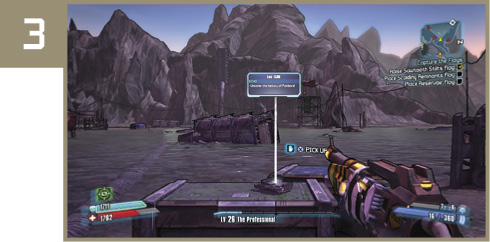
Approach Scalding Remnants via the small path connecting it from Sawtooth Stilts, and descend the path toward the water. This ECHO Recorder sits out in the open on a crate near the water’s edge.
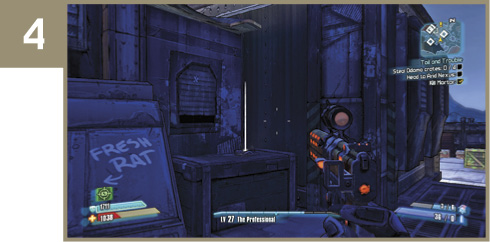
Don’t leap off The Buzzard Nest without first snagging this ECHO Recorder. It’s in a shadowy corner on the eastern side of the tower, right near an ice chest.
Race to the Top
Think you can get from Sawtooth Stilts to the top of The Buzzard Nest in under two minutes? Well, doing that means one of two things: either you’re crazy, or you’ve already completed “Toil and Trouble” and have access to Mortar’s elevator. Assuming you have already gained the freedom to use Mortar’s elevator whenever you want (seriously, it’s a requirement for completing this Challenge), go ahead and exit Sawtooth Cauldron to Eridium Blight to reset the clock, so to speak. Enter Sawtooth Cauldron and immediately run and leap off the cliff near the start toward the tunnel leading west from Sawtooth Stilts into Smoking Guano Grotto. Circle around the grotto in a clockwise direction up and over the stairs and walkways to loop to the elevator in the distance. Rush past Mortar if he respawned, and leap into the elevator and press the button to ride it to the top. Exit the elevator to complete the Challenge. You have two minutes, but provided you don’t stop to do any unnecessary fighting, it should only take about 90 seconds.
Happy Camper
Hidden high on the hills overlooking Main Street Reservoir and Cramfist’s Foundry is a small, isolated campsite belonging to a bandit named Avie. Avie must have used his gyro-coptering skills to access this special campsite, as there’s no other way he could have reached it. That is, unless he leapt off the southwest corner of The Buzzard Nest and just so happened to land in this special site with a view. Of course, Avie probably wasn’t blessed with an invulnerability to fall damage. You, however, do possess such a gift. Approach the gap in the railing in the aforementioned southwest corner of The Buzzard Nest (accessed at the end of “Toil and Trouble”), and make a running leap for the campsite you see way down below.