Borderlands 2 Game of the Year Guide Captain Scarlett and Her Pirate's Booty
My Life for a Sandskiff
|
 Mission Briefing
| Level | Money | XP | Gear |
|---|---|---|---|
|
15 |
$246 |
3500 |
— |
*Money and XP may vary based on player’s level at start of mission.
Making Friends and Influencing People
Make your way north along the docks to the old sandskiff in the bay near the vending machines. Any attempt to board the sandskiff results in its spontaneous combustion. Fortunately, Shade has several “friends” around Oasis Docks that he’s loaned some spare sandskiff parts to. You’re free to use those parts to fix the sandskiff if you can find them.
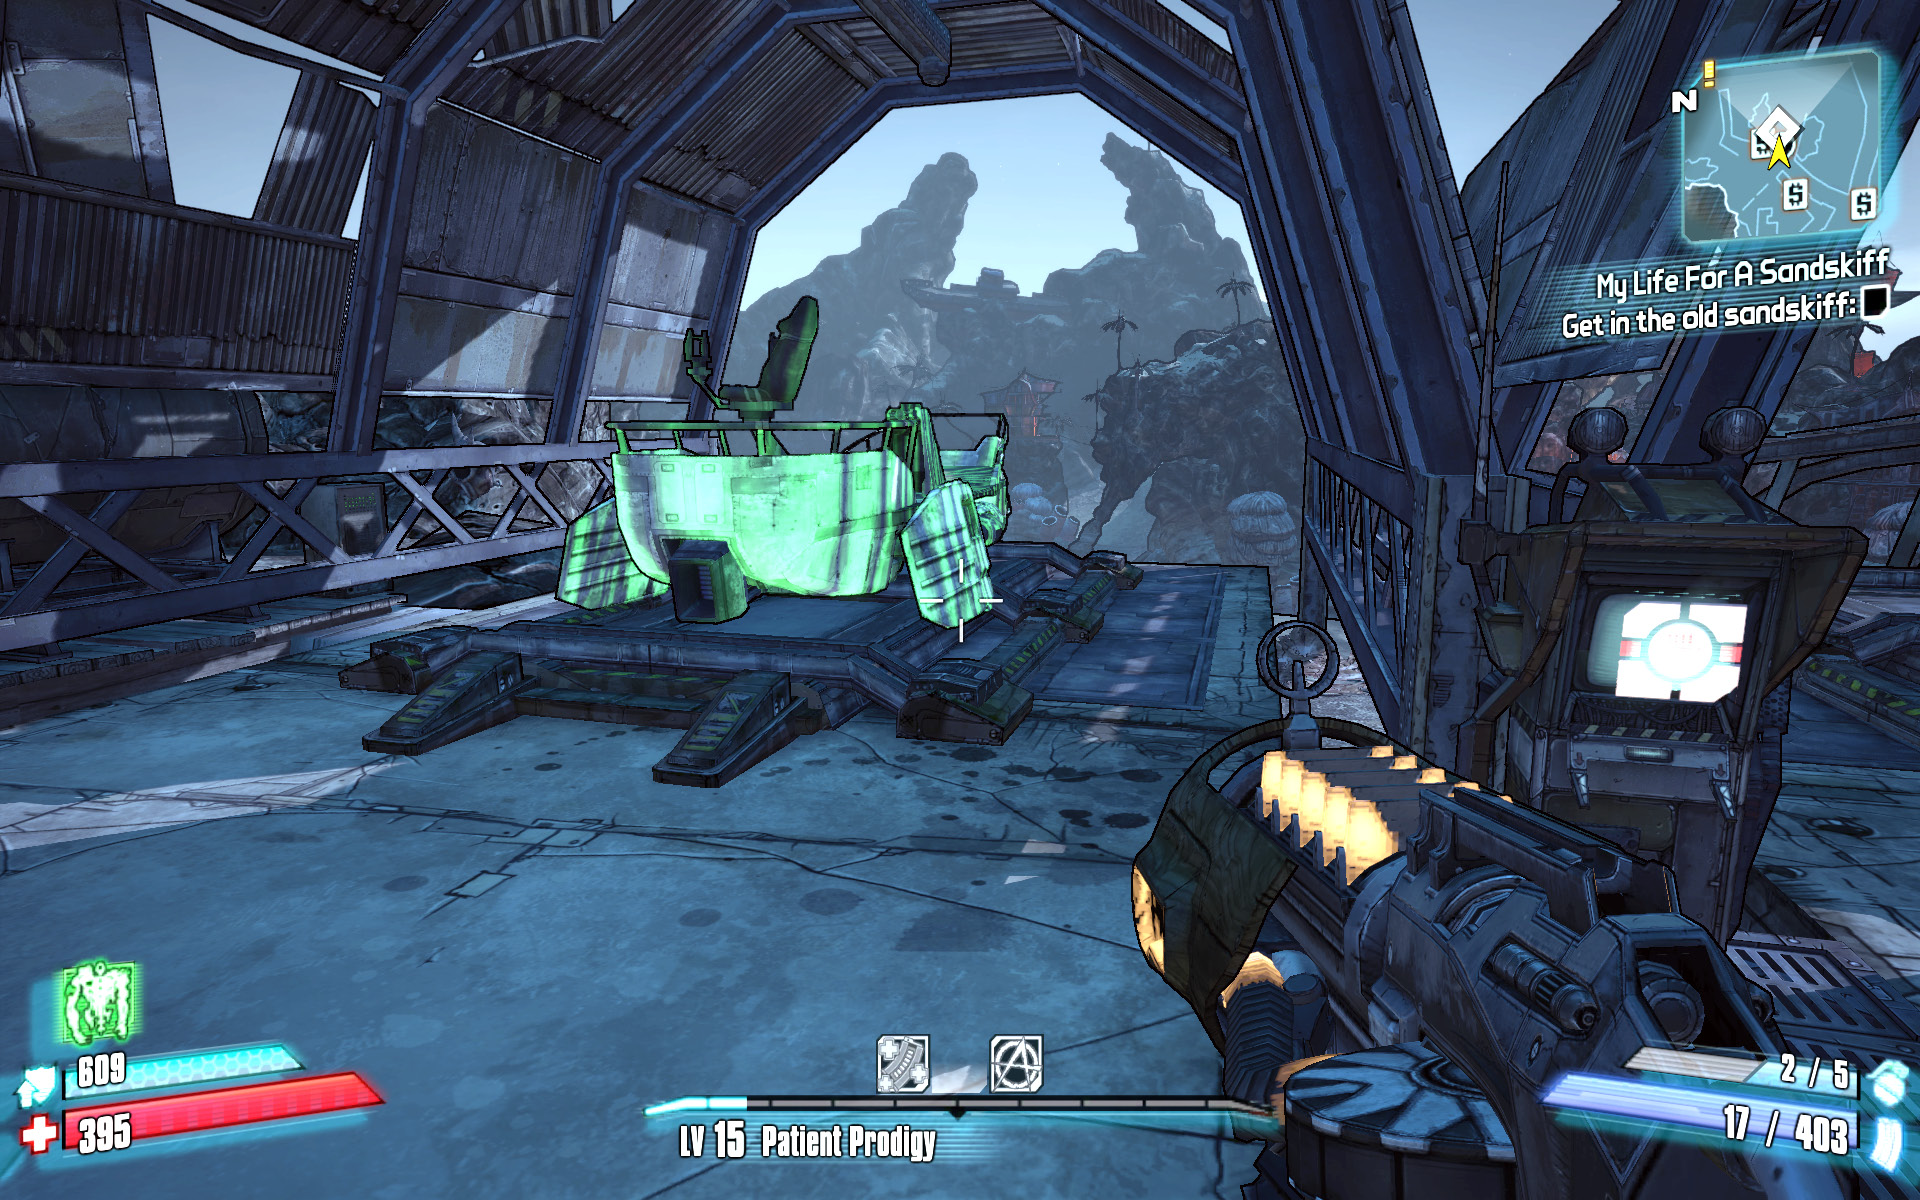
Sandskiffs behave similarly to other vehicles, but they can only be driven in Oasis and neighboring zones.
Climb the ladder to the fishing pier and head out to the far end to find Lionel, the first of Shade’s imaginary mannequin friends. Interact with Lionel and listen to the recording that plays, then leap off the pier to get the engine capacitor dangling off Lionel’s fishing line. As soon as you reach for it, the Queen Sand Worm leaps from the ground and swallows the engine capacitor.
Fight your way to the northwest, across the hard desert sand, to the area where the Queen Sand Worm has fled. Gun down any lesser sand worms you encounter along the way (think of them as less dangerous threshers). Save your Action Skill for use against the Queen Sand Worm, and aim for her open mouth when she emerges from her burrow. Fire and explosive elemental weapons work well against her. Collect the engine capacitor she drops, then return to the docks.
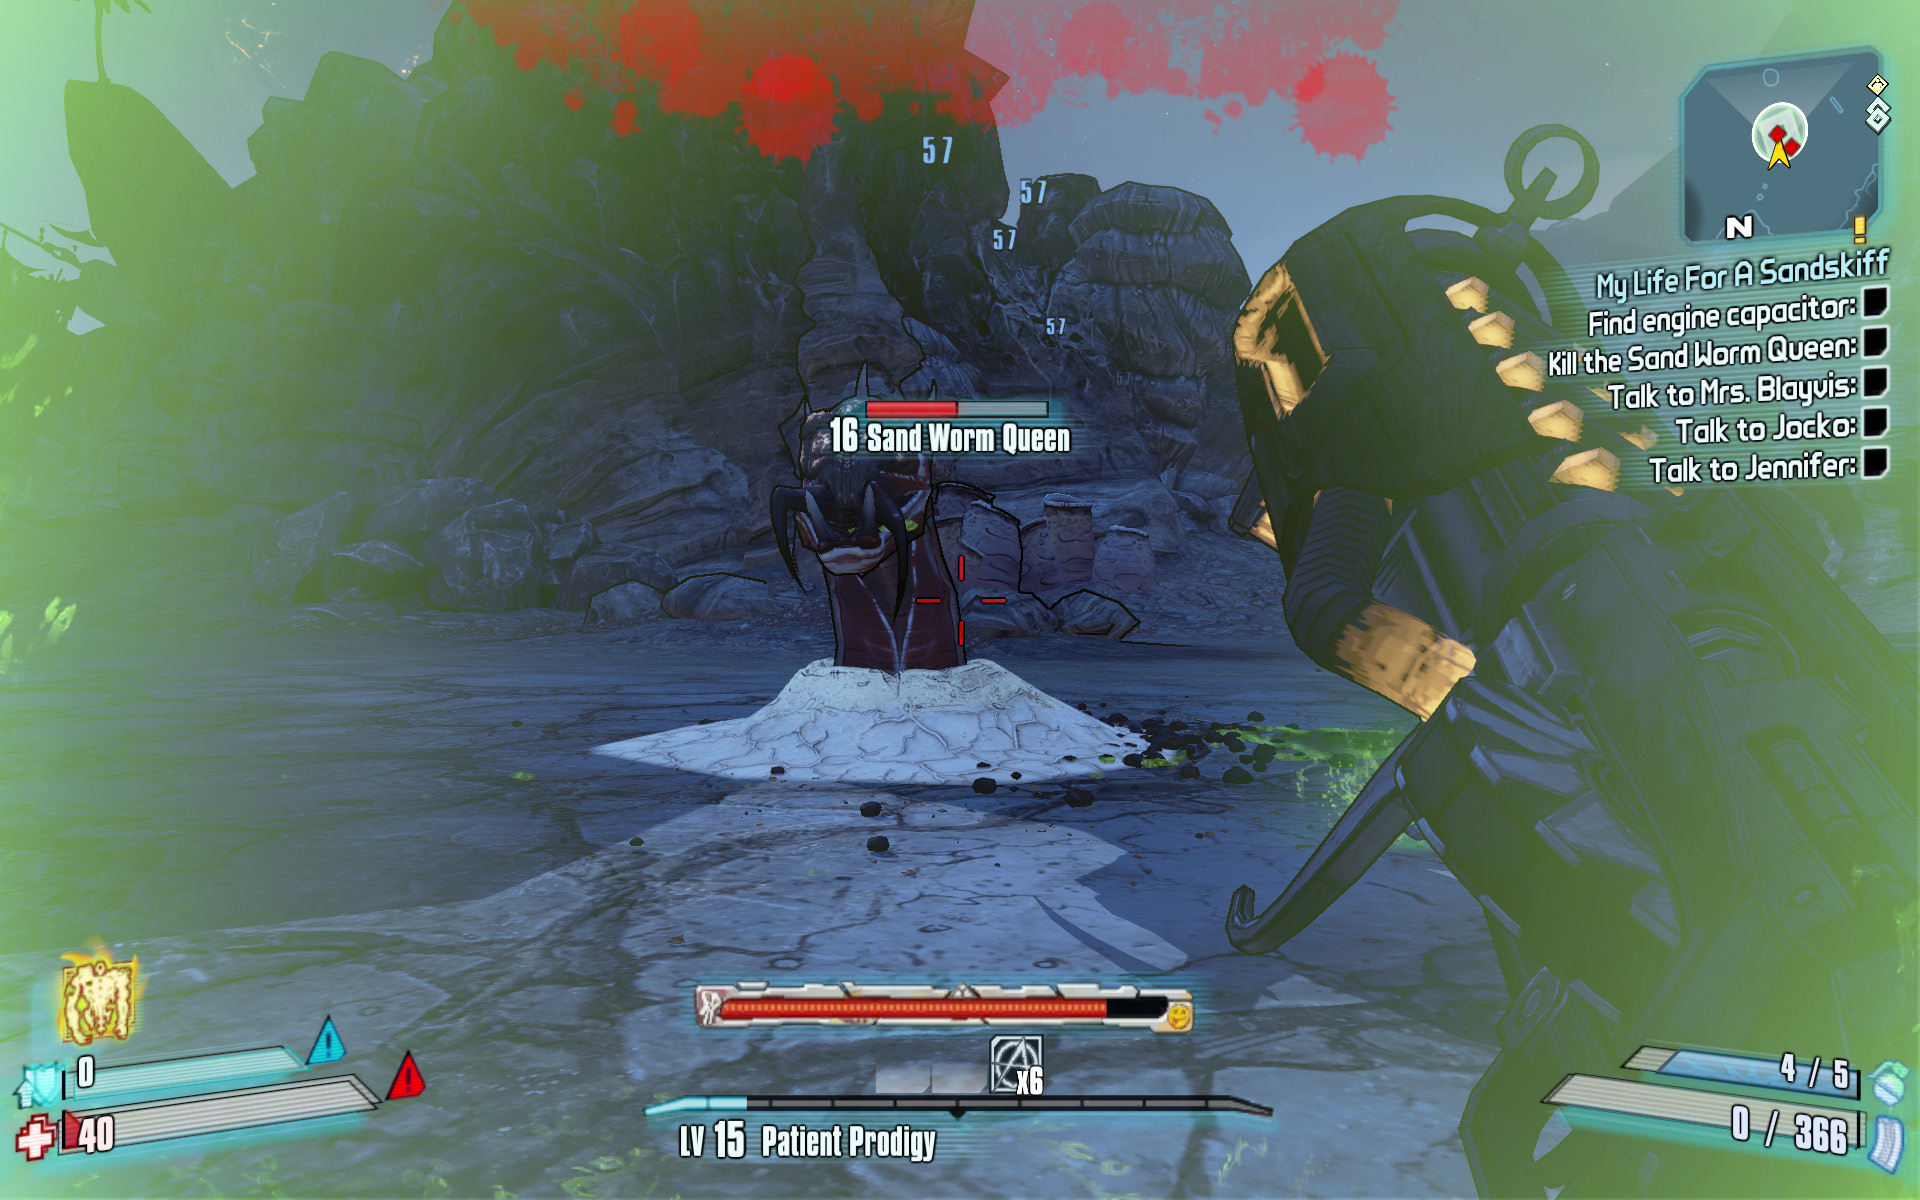
Leave any nearby sand worms alive in case you need to get a Second Wind.
Mrs. Blayvis is tied to a pole in the center of Oasis Docks, just a few steps from Shade. Listen to the recording, then collect the coolant disperser from the floor of the decrepit car nearby. The mannequin named Jocko is near the Bounty Board in the center of town. Jocko has the pressure regulator, but it’s all the way atop the building above the Bounty Board. To reach it, you’ll have to circle around to the far side of the building and climb the stairs. Leap to the ladder nearby, then run across the rooftops to reach it.
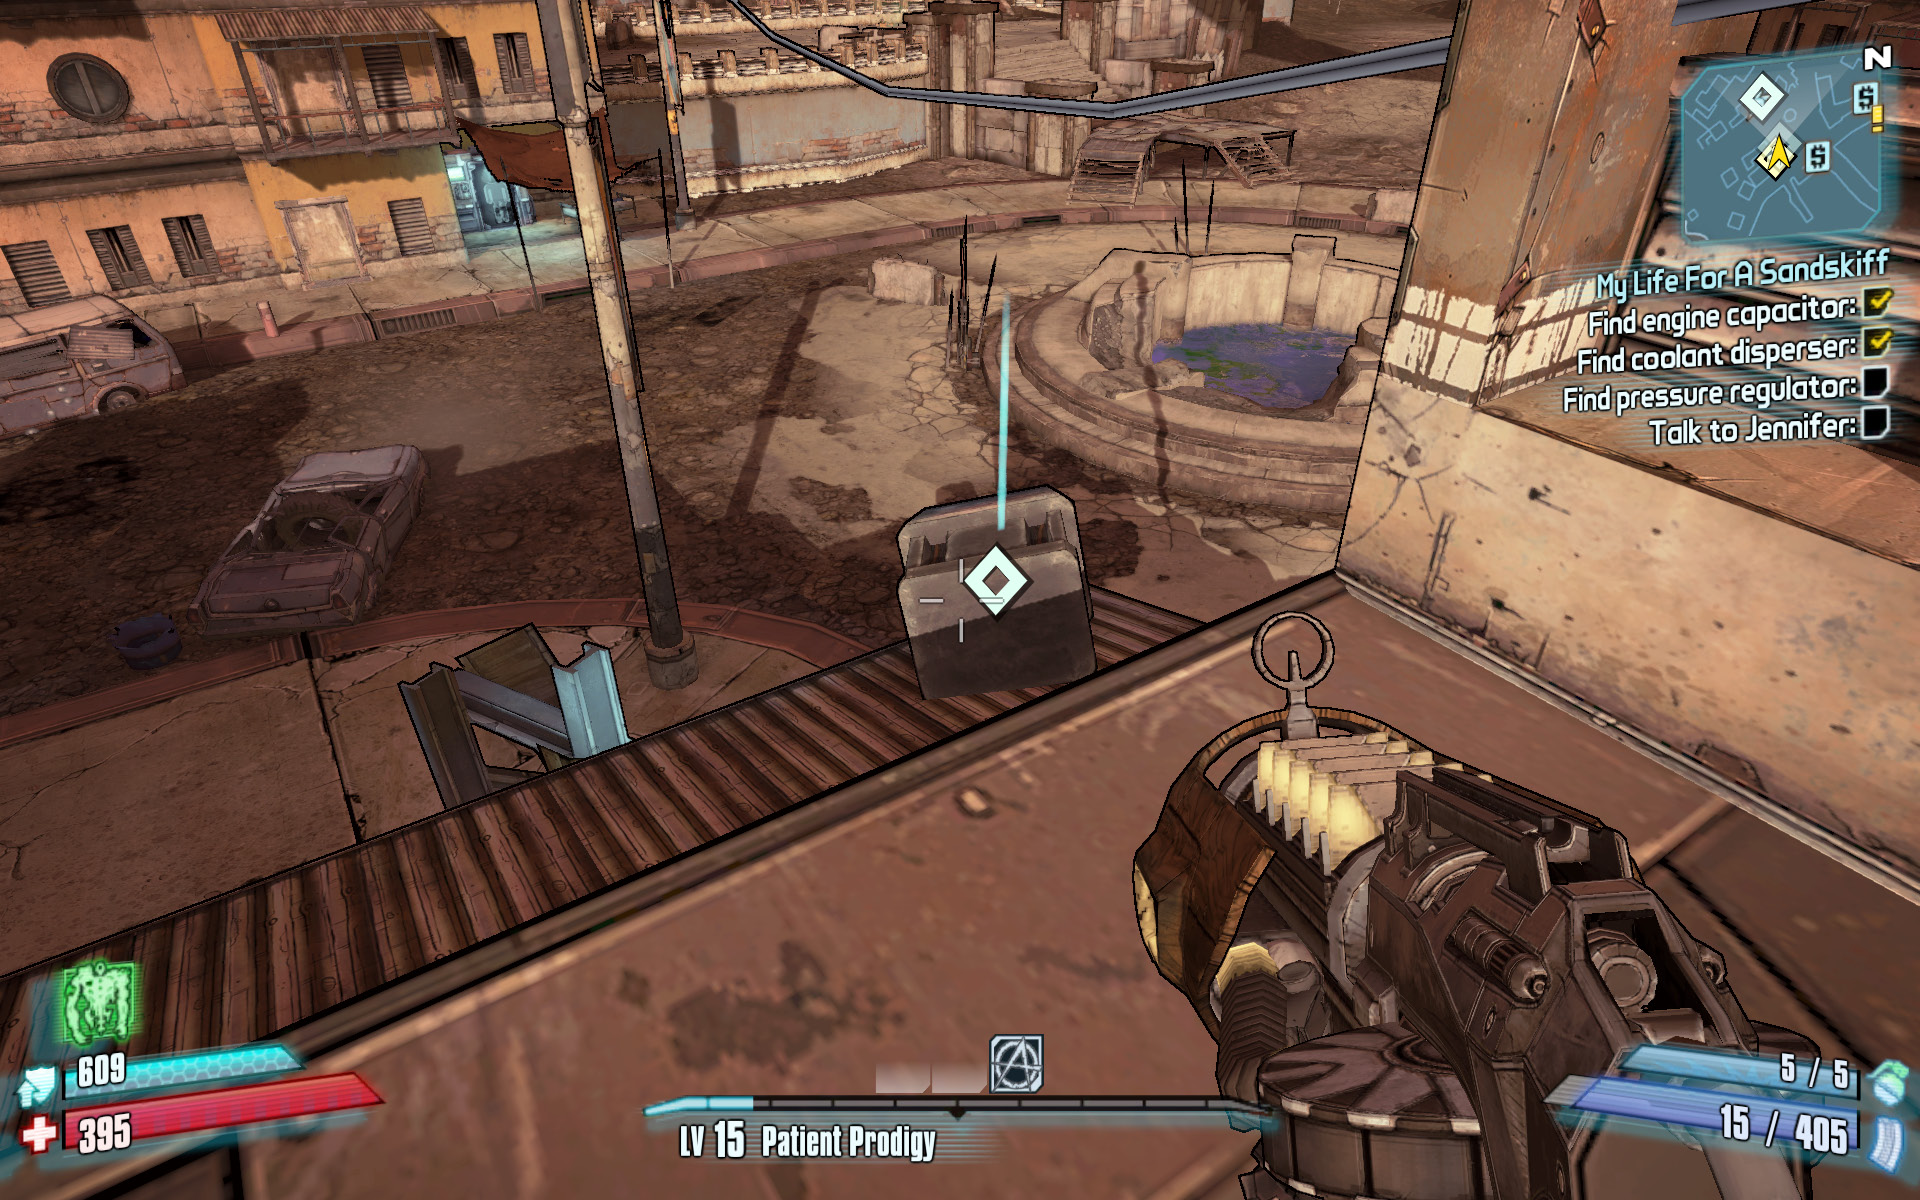
Use the stairs and ladder to the south to reach the pressure regulator on the roof.
You can find the final sandskiff part under the bed near the New-U Station. Talk to Jennifer, the mannequin on the bed, then crouch down and collect the magnetic overthruster tucked underneath the cot. Return to the broken sandskiff, interact with each of the green-lit areas to install the missing parts, then use the Catch-a-Ride terminal to scan the sandskiff. Return to Shade to collect your reward and begin the next quest.
Fire Water
Nothin’ says “party” like booze and corpses!
Optional Mission Rewards
| Level | Money | XP | Gear |
|---|---|---|---|
|
15 |
$123 |
2333 |
— |
*Money and XP may vary based on player’s level at start of mission.
Board a sandskiff and take off in a northeasterly direction, heading across the sand to Wurmtail Plateau. Use the sandskiff to run down as many sand worms as you can on the way. Note the house atop the coral near the suspension bridge, which is the tiny but appropriately named Coral Island Camp. The whiskey you seek is across that bridge! Circle around to the east, and exit the sandskiff near the Catch-a-Ride station.
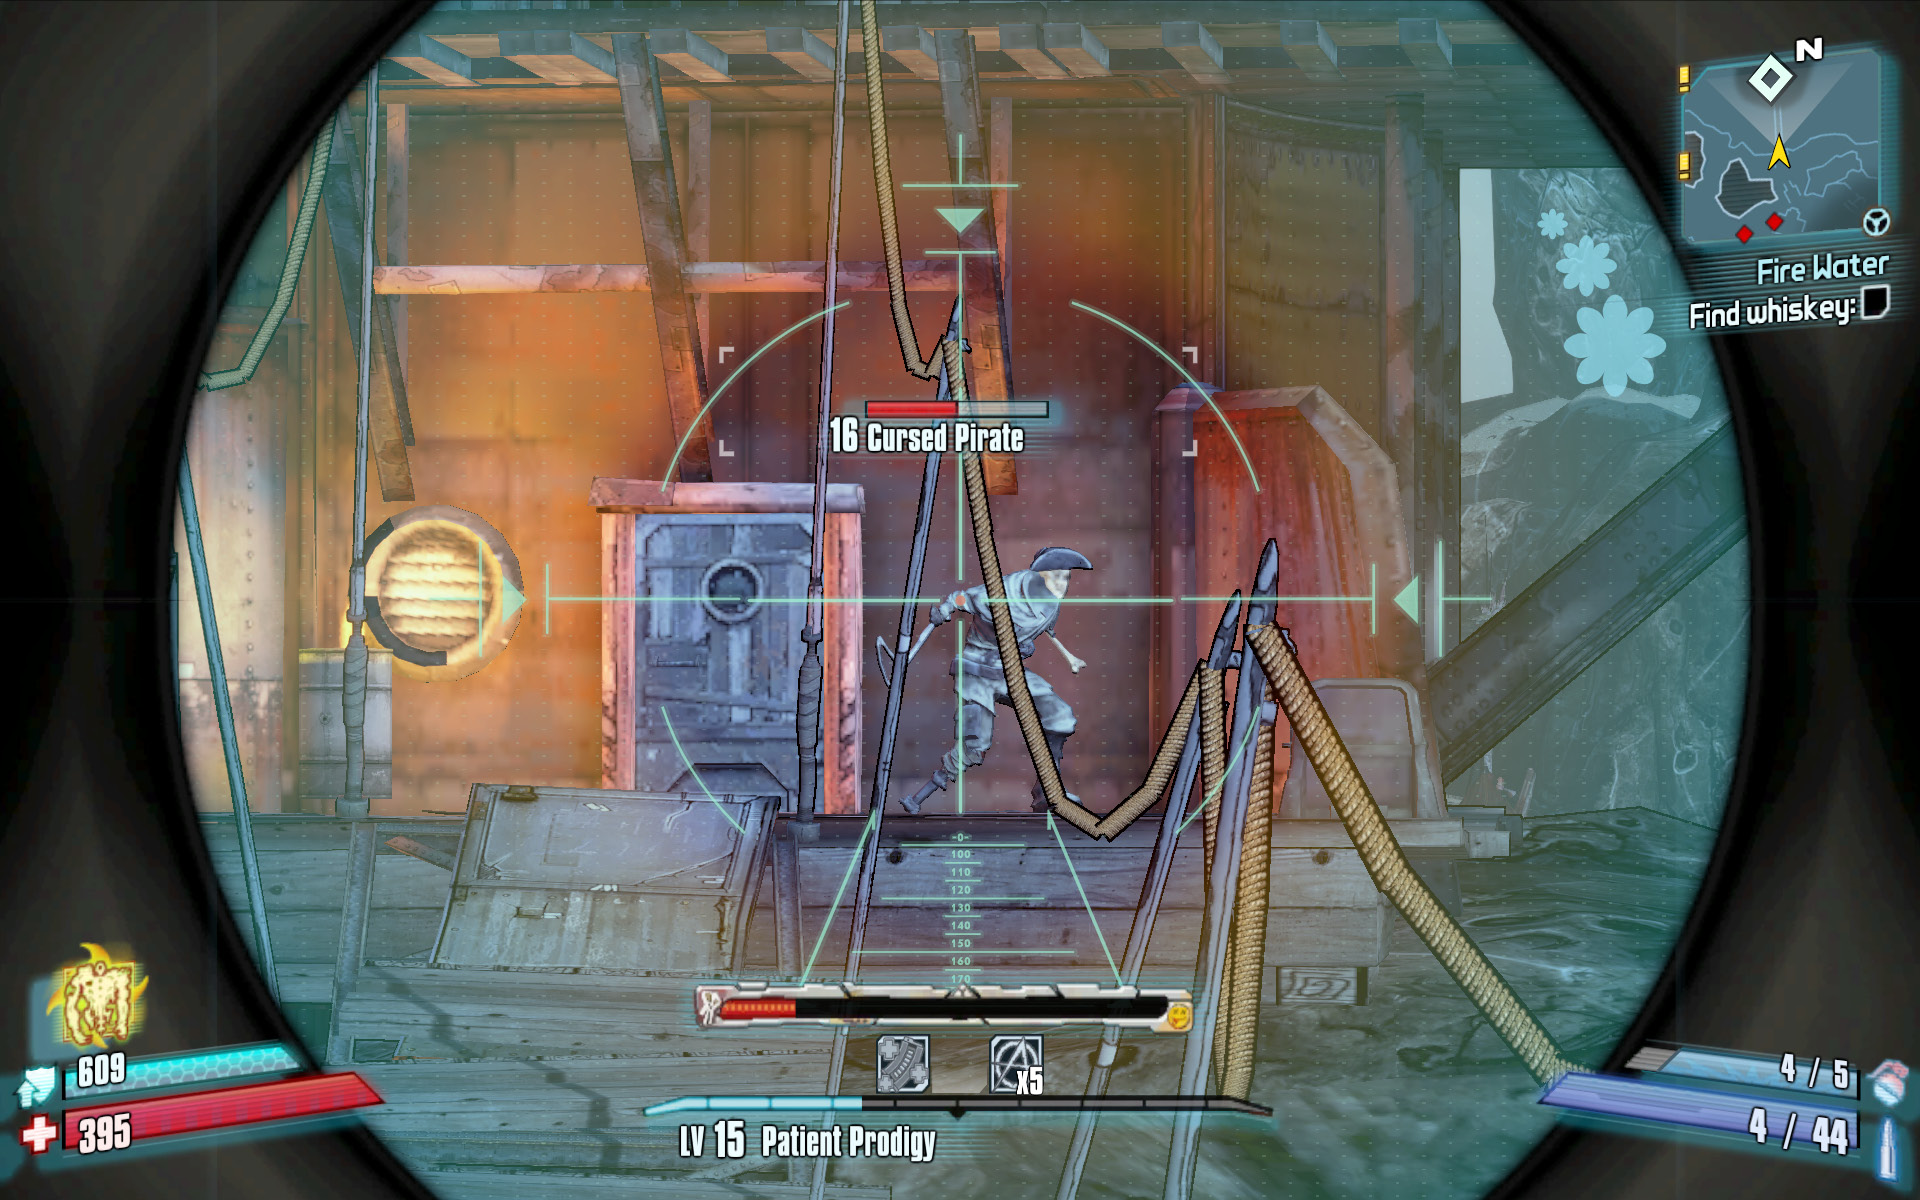
Fight your way through the small encampment as you angle toward the suspension bridge to the north. Draw your sniper rifle and use it against the two Cursed Pirates near the cabin across the bridge. The Cursed Pirates charge across the bridge and rely on melee attacks and Life Steal, so keep your distance and use grenades and your Action Skill to keep them at bay. Take the bottle of whiskey from atop the barrel near the cabin, and return to the Oasis Docks. Shade’s friend Frank is lying face-down in the sand near a beach umbrella and chaise lounge. Give him the whiskey, then return to Shade to turn in the mission.
Giving Jocko a Leg Up
Collect pirate gear for Jocko.
Optional Mission Rewards
| Level | Money | XP | Gear |
|---|---|---|---|
|
15 |
$123 |
2333 |
Pistol (green) |
*Money and XP may vary based on player’s level at start of mission.
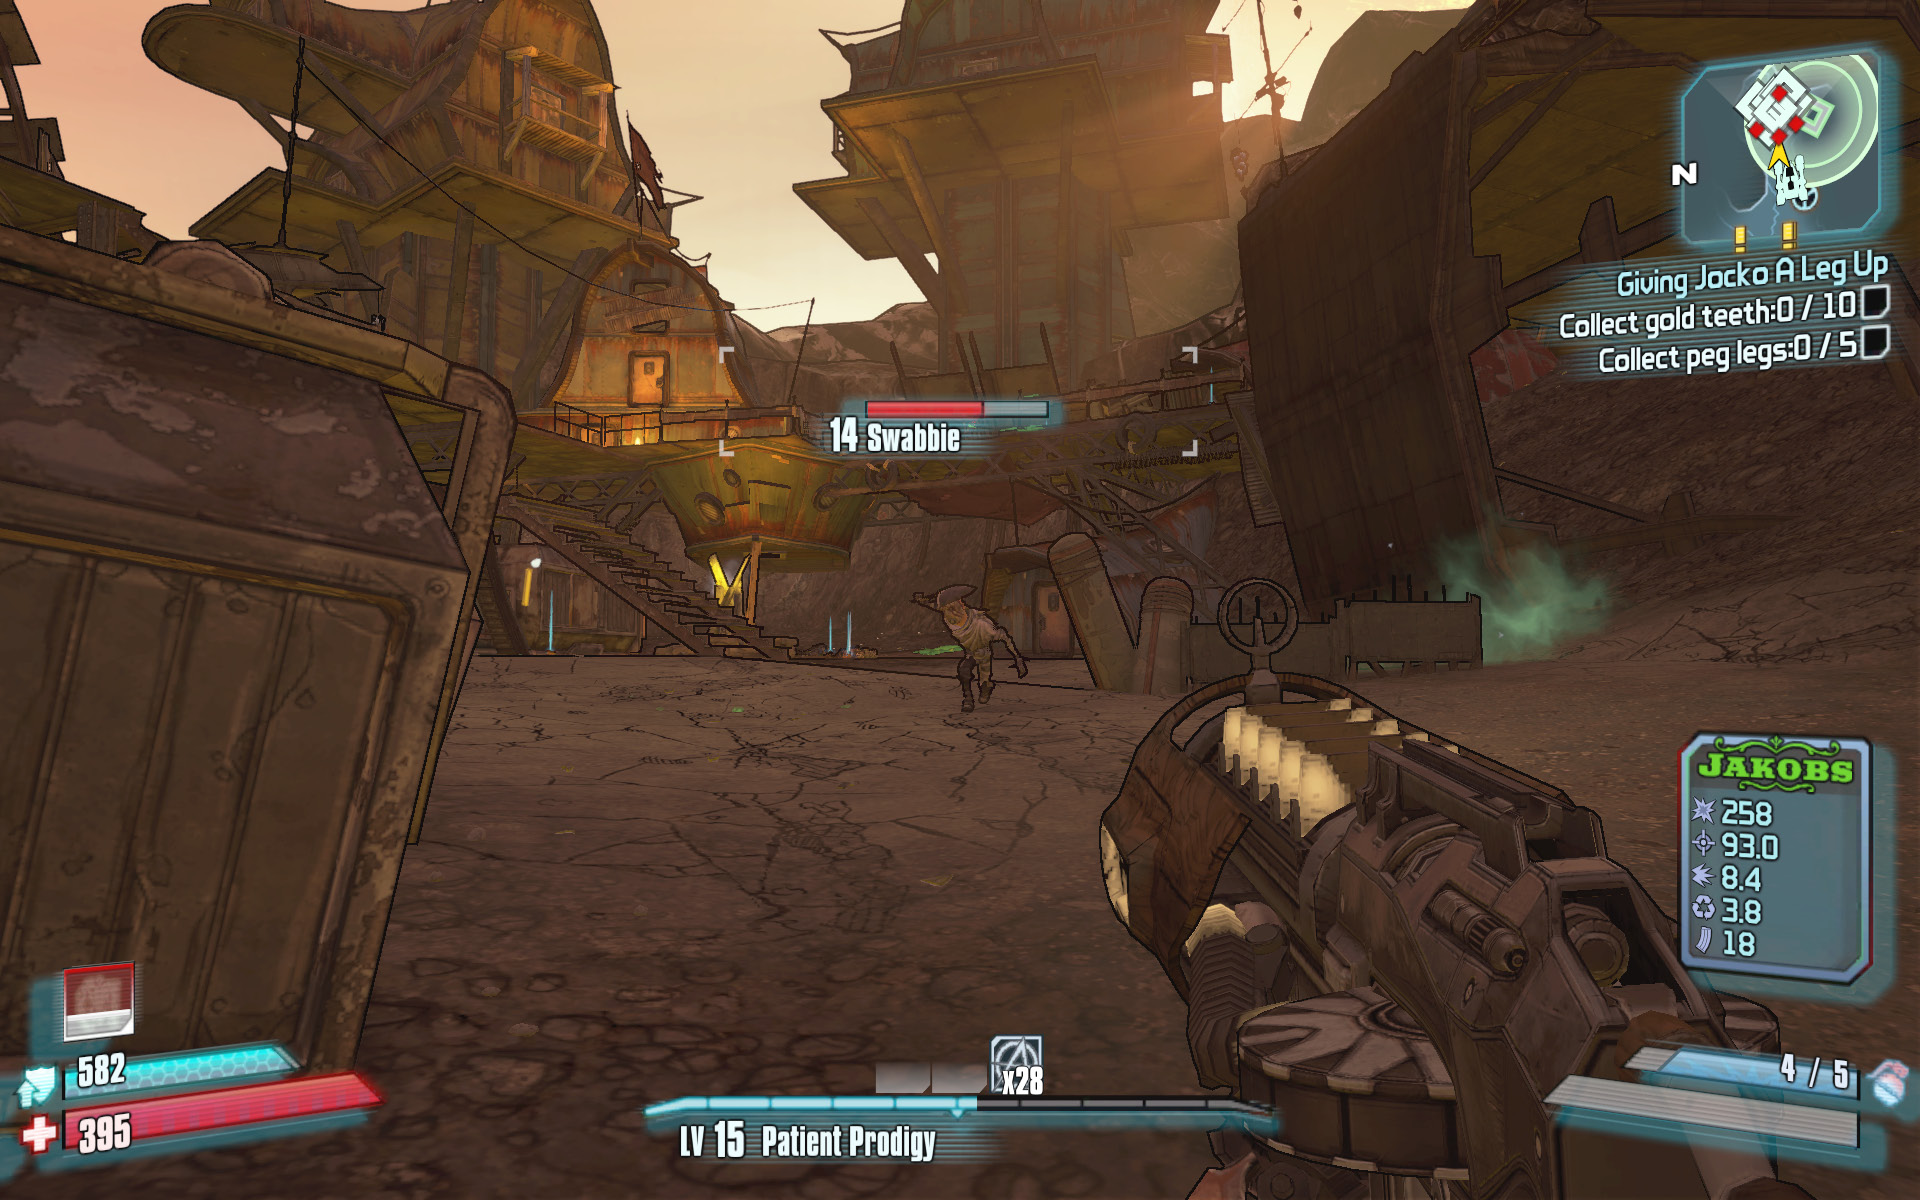
Shade wants you to help his friend Jocko, the mannequin near the Bounty Board, dress up like a pirate. To do so, you must collect 10 gold teeth and five peg legs. You can find these pirate accoutrements by defeating the pirates of Canyon Deserter Camp. Take the sandskiff to the southeast corner of Oasis, and draw your sniper rifle. Take cover behind the cargo container near the entrance of the camp and begin picking off every pirate you see. Hold your ground here and wait to collect the peg legs and gold teeth until the mini-map is clear and you’ve dealt every last Sand Pirate a fatal blow.
Sweep the ground clear of collectibles, then make your way up the stairs and across the upper balcony where the pirates were. You’ll likely be in need of a few remaining gold teeth, so continue deeper into the Canyon Deserter Camp, proceeding toward any red dots on your mini-map. Advance slowly and keep the pirates in front of you. There are a lot of nooks and crannies in this camp and you don’t want to get surrounded. Gather up the remaining collectibles, then return to Shade to complete the mission.
Wingman
Help a brother out.
Optional Mission Rewards
| Level | Money | XP | Gear |
|---|---|---|---|
|
15 |
$123 |
2333 |
— |
*Money and XP may vary based on player’s level at start of mission.
Shade wants you to help him propose to Natalie, but first, you’re going to have to fetch the engagement ring. The ring is out in the Horrid Hideaway to the north of Oasis Docks. Use the sandskiff to blast your way across the dangerous sand worms, and park near the narrow path leading up the stairs due north.
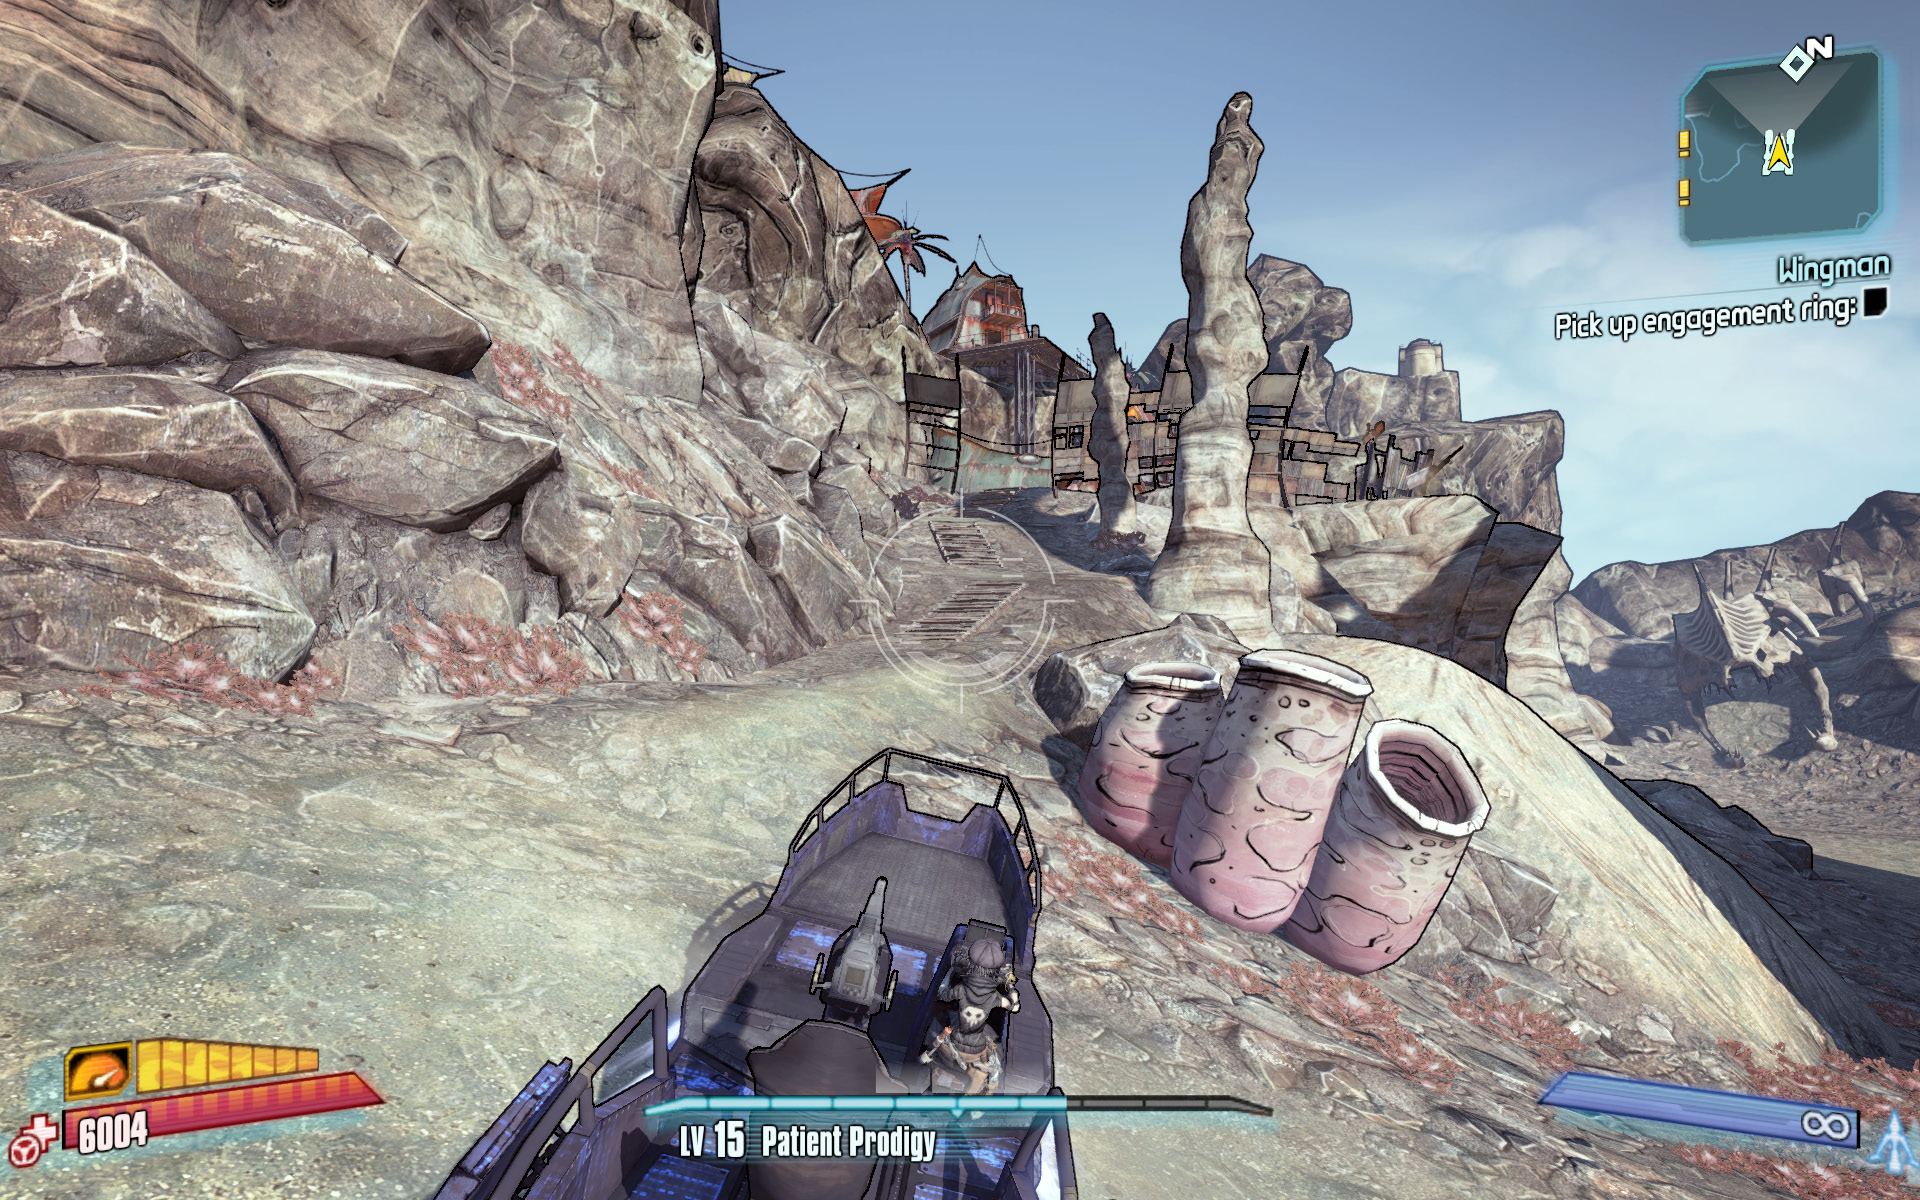
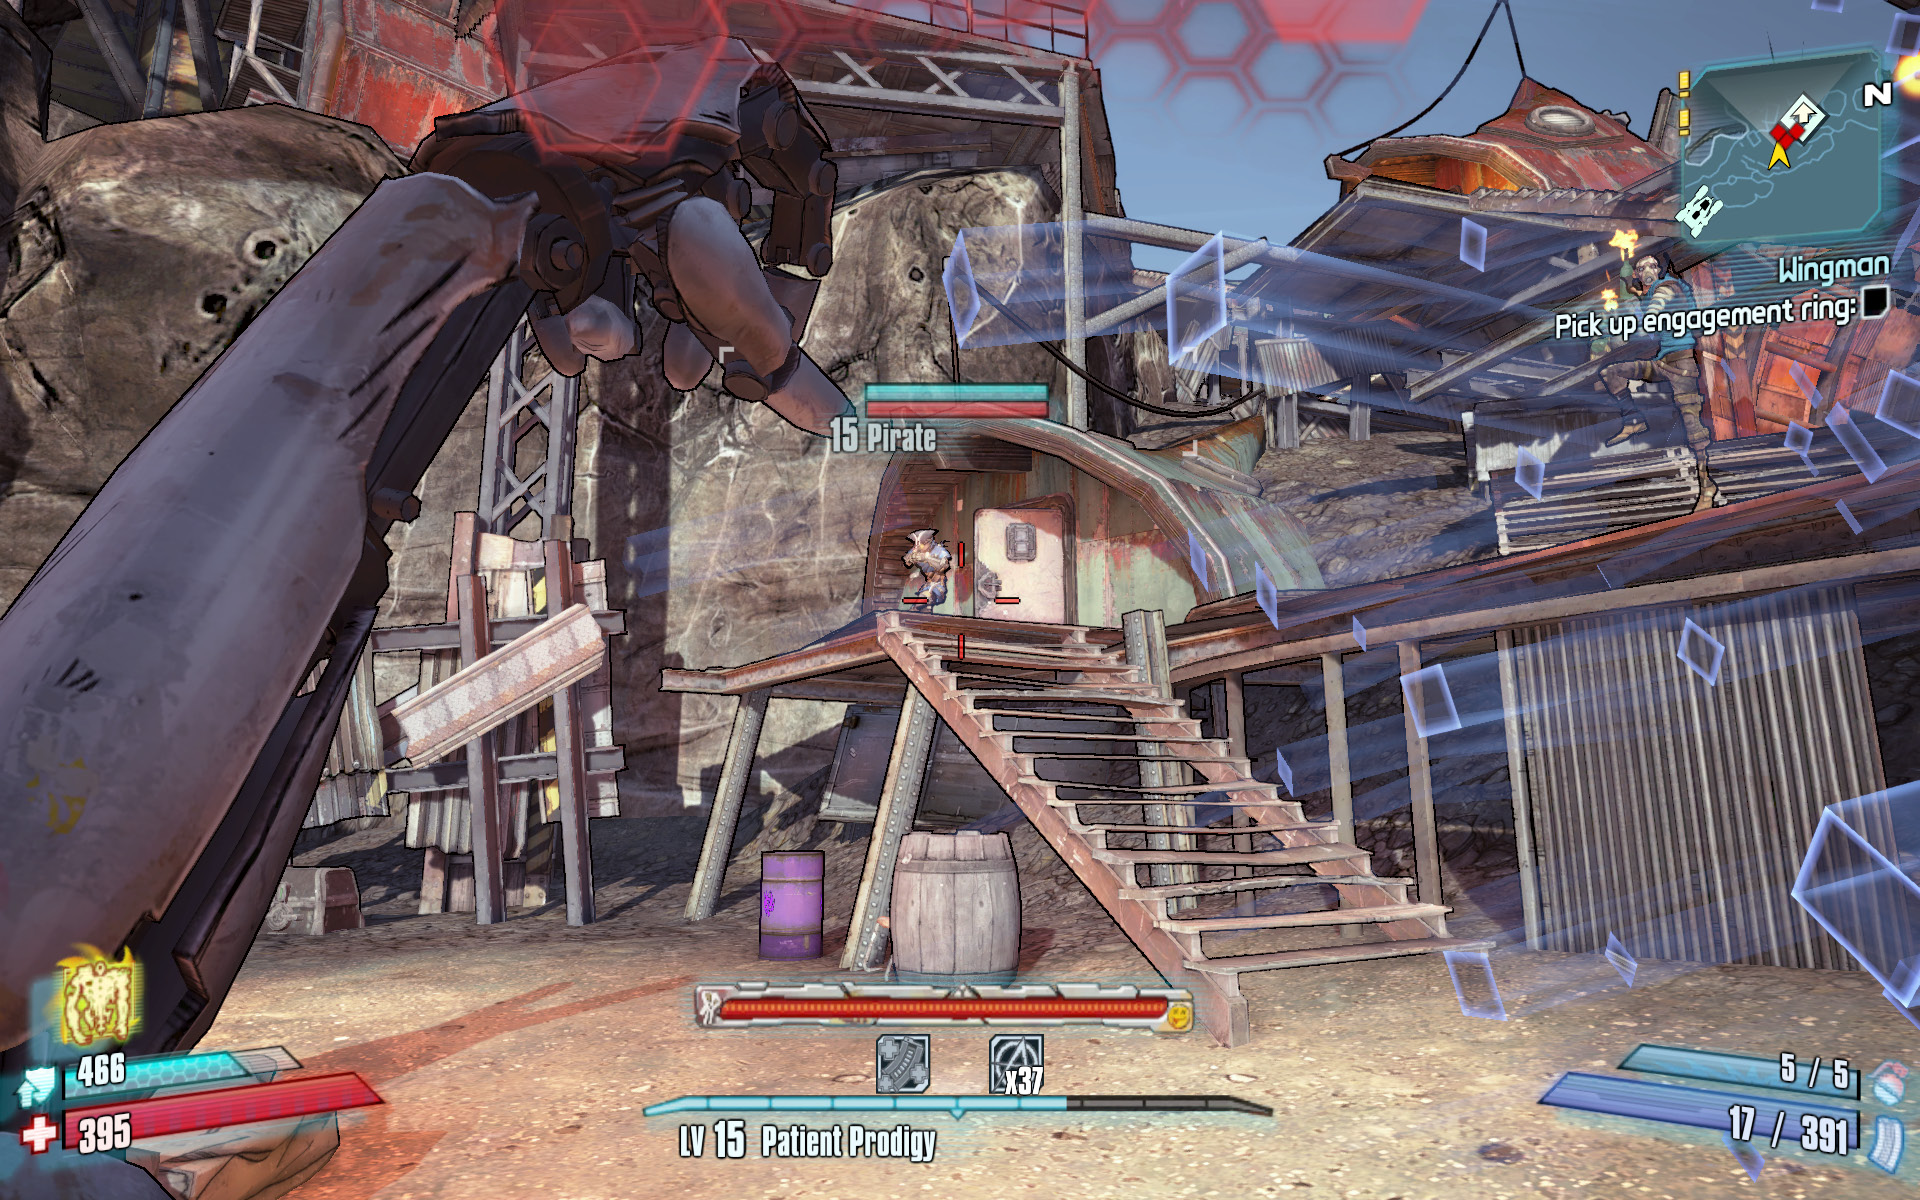
Fight your way up the stairs into the vertical camp, pausing whenever additional pirates emerge. Many of the pirates in this area have shields, so equip a shock-based weapon if you have one. Clear the camp of pirates as you ascend through Horrid Hideaway, but stop short of the stalker-infested clearing to the west. The engagement ring you seek is on a shelf near an overgrown birdcage, located to the right of the red house at the top of the camp.
Return to the sandskiff and drive back to the Town of Oasis. Natalie is sunbathing atop the building across from Shade’s shack. Climb the ladder on the back side of the pink-colored building to reach the roof, then jump down to Natalie’s location on the lower rooftop and propose to her. Return to Shade to collect your reward.
Burying the Past
This mission has explosions.
Optional Mission Rewards
| Level | Money | XP | Gear |
|---|---|---|---|
|
15 |
$492 |
1166 |
— |
*Money and XP may vary based on player’s level at start of mission.
Aubrey Callahan III, the bored great-granddaughter of a former pirate queen, wants you to blow up the family’s pirate ship, thus destroying the evidence of her family’s murderous past. The first thing you need to do is to get the explosives, which you’ll find across the sands from the Oasis Docks, near an old abandoned vessel. Equip your electric grenades and any shock-based weapons you have, since the area is crawling with Tri-Tail Stalkers. Circle around to the other side of the boat to get the dynamite sitting on the couch.
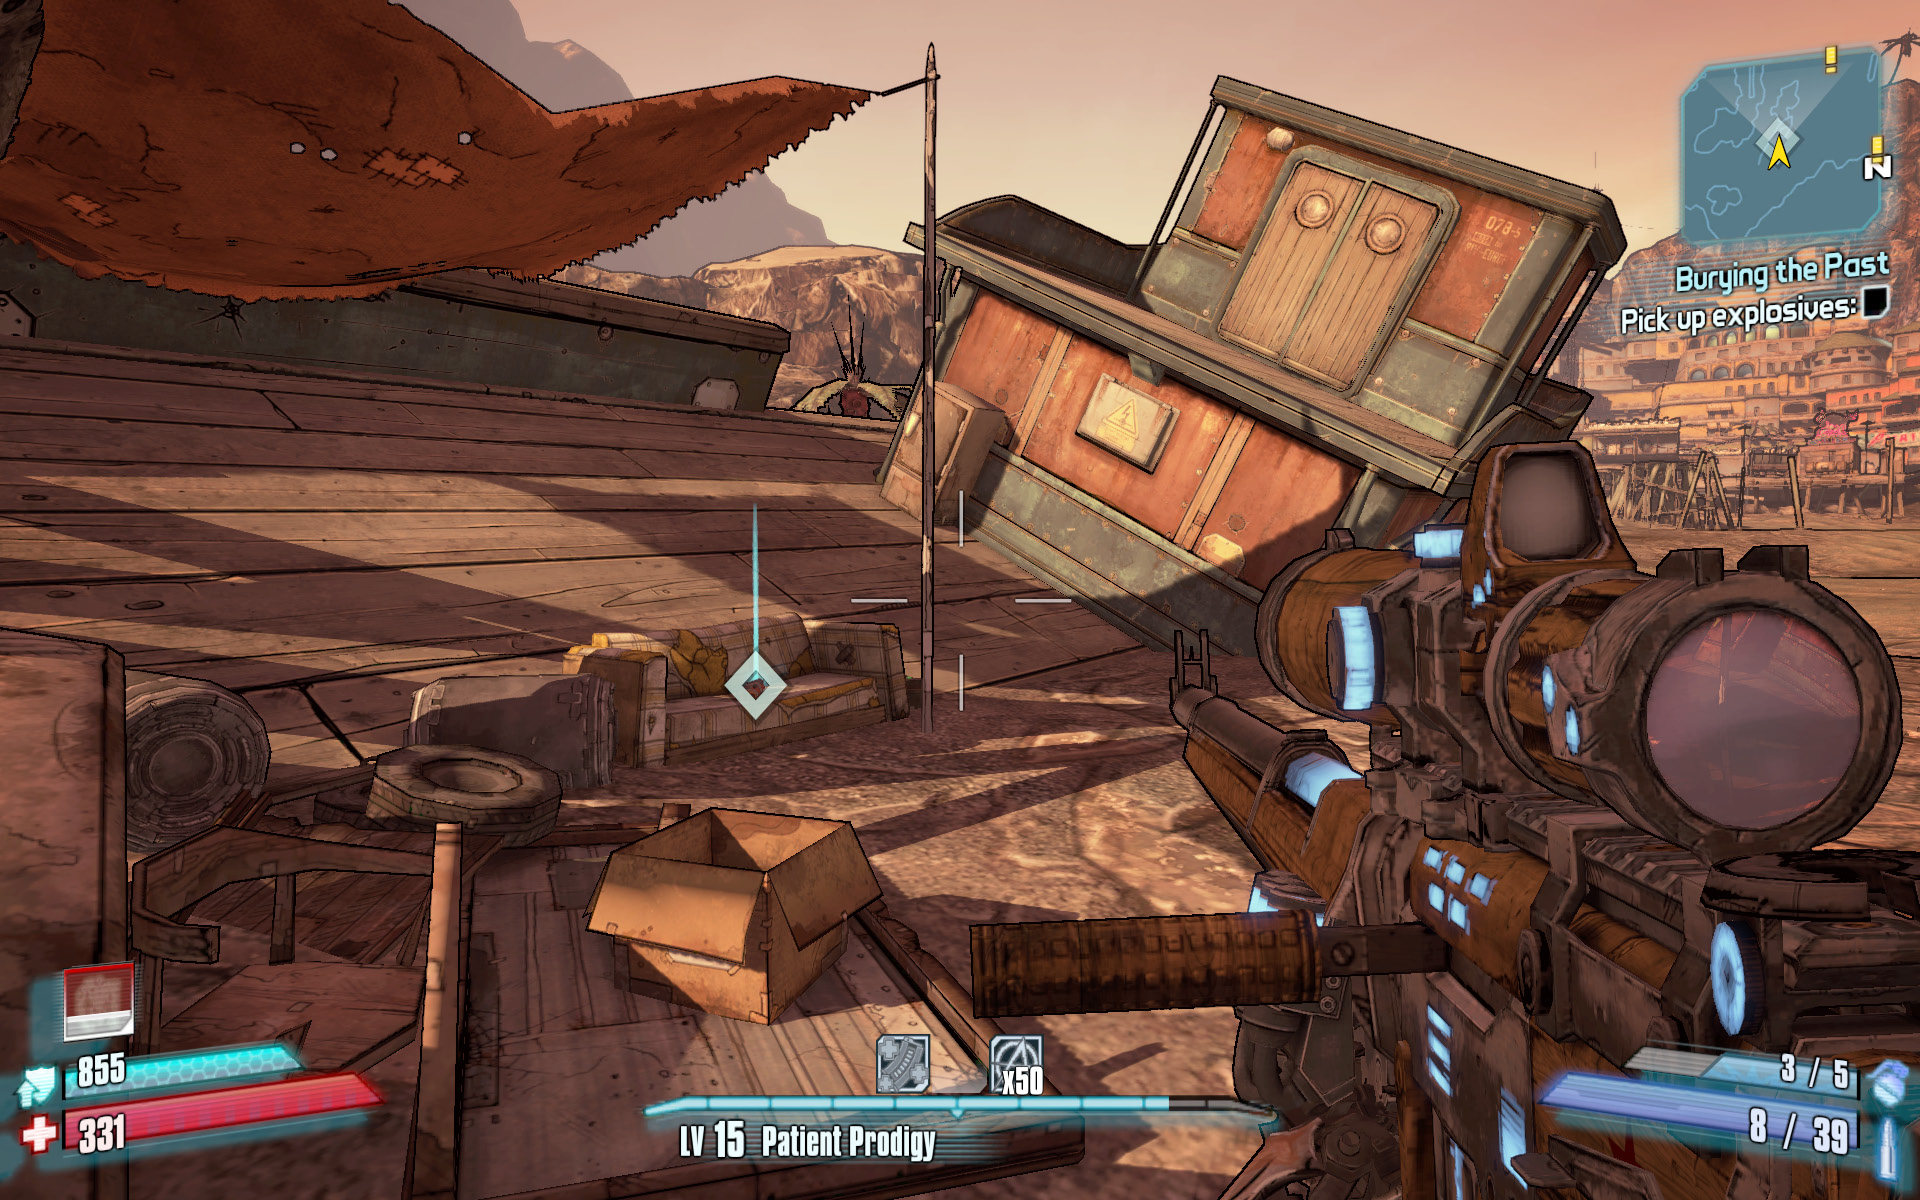
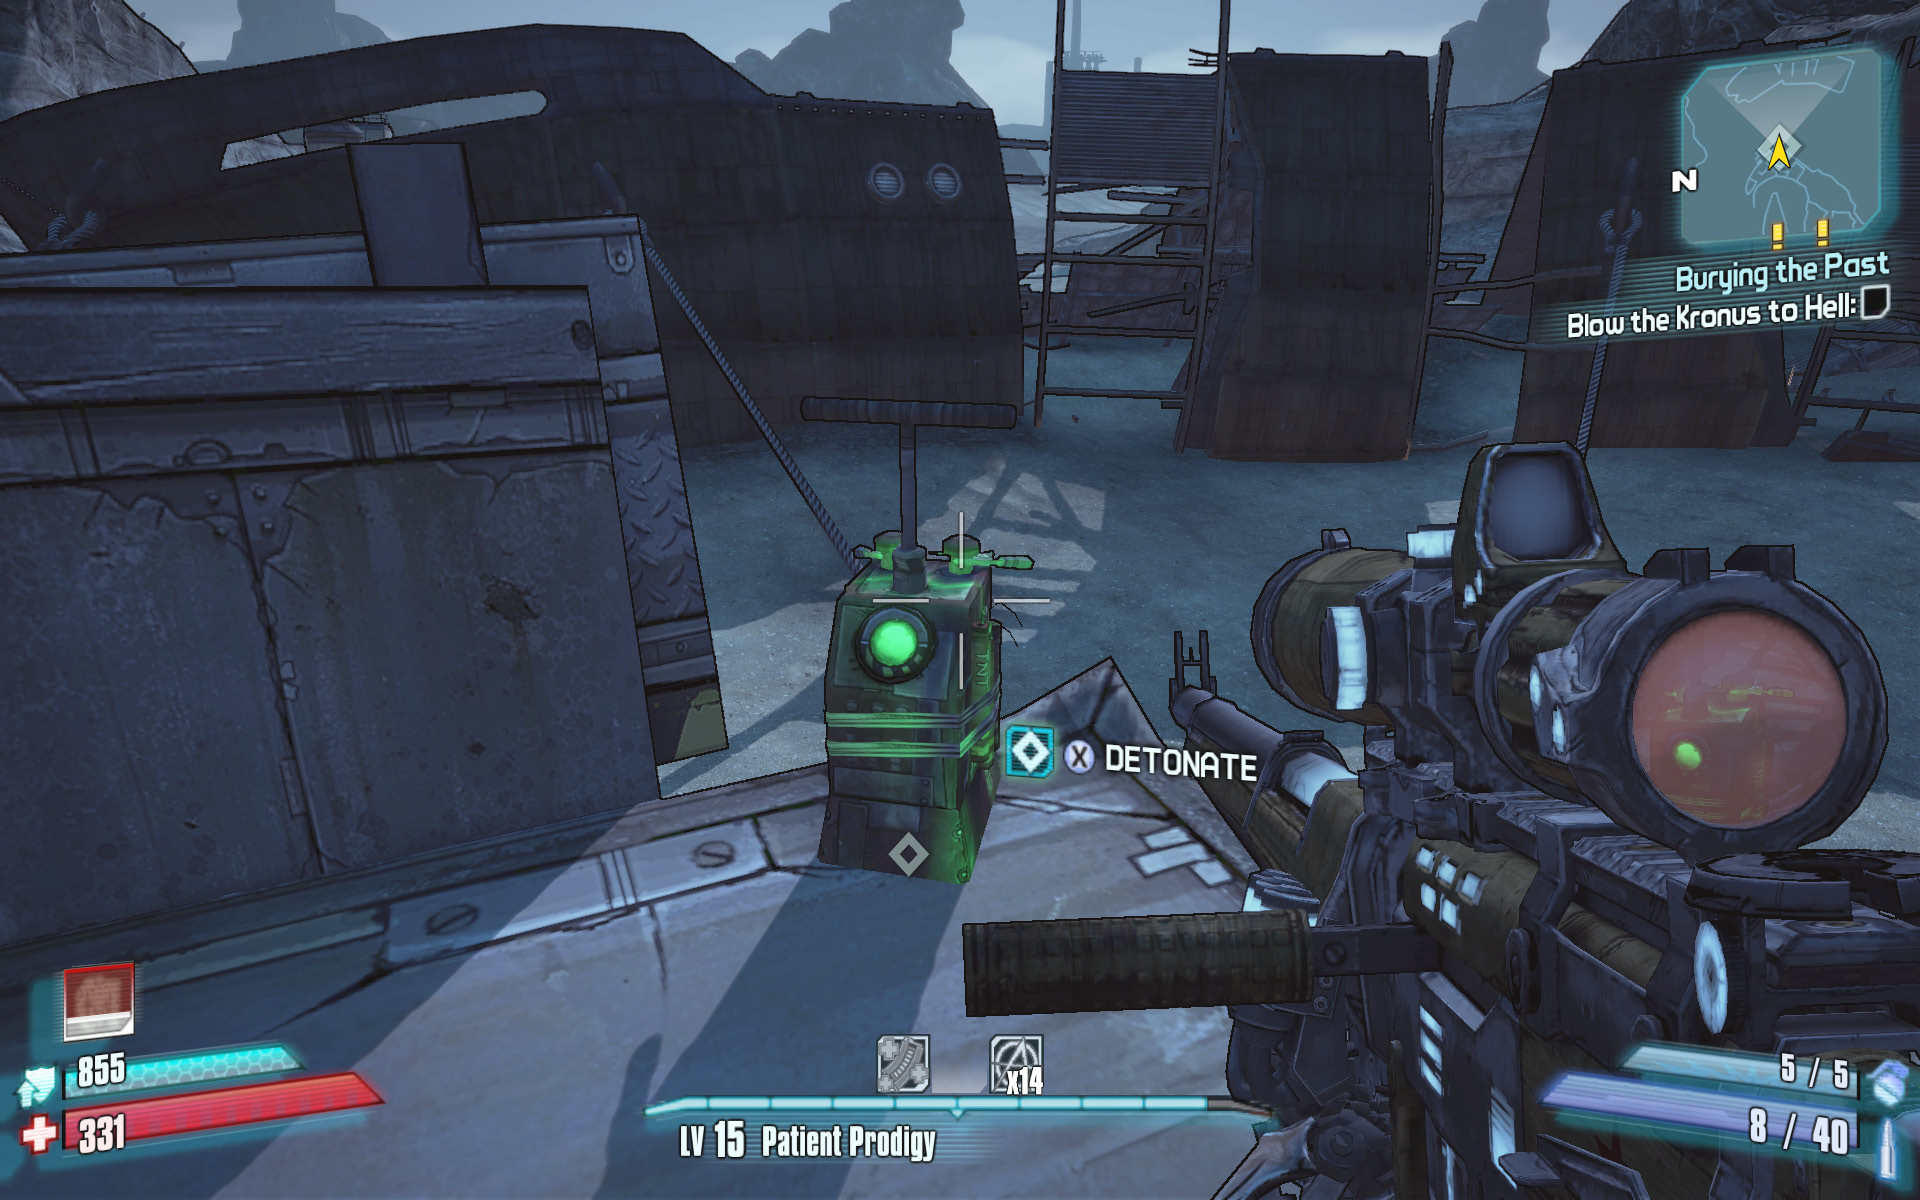
Make your way across Oasis to the northeastern corner of the zone, to the Wreck of the Kronus. The Kronus is the ship that Aubrey wants you to destroy. There’s a detonator nearby, but you must first place the dynamite on the hull of the beached ship. Take a moment to search the wreckage for chests and to find the Cult of the Vault symbol on the opposite side of the ship’s deck. Place the explosives on the ship where indicated, then scamper up the hill to the west to find the detonator. Kill any pirates in the area, then use the plunger to detonate the explosives. Return to the Bounty Board to receive your reward.
Man’s Best Friend
Can you help Aubrey Callahan with her stalker problem?
Optional Mission Rewards
| Level | Money | XP | Gear |
|---|---|---|---|
|
15 |
$123 |
2333 |
Assault Rifle (green) |
*Money and XP may vary based on player’s level at start of mission.
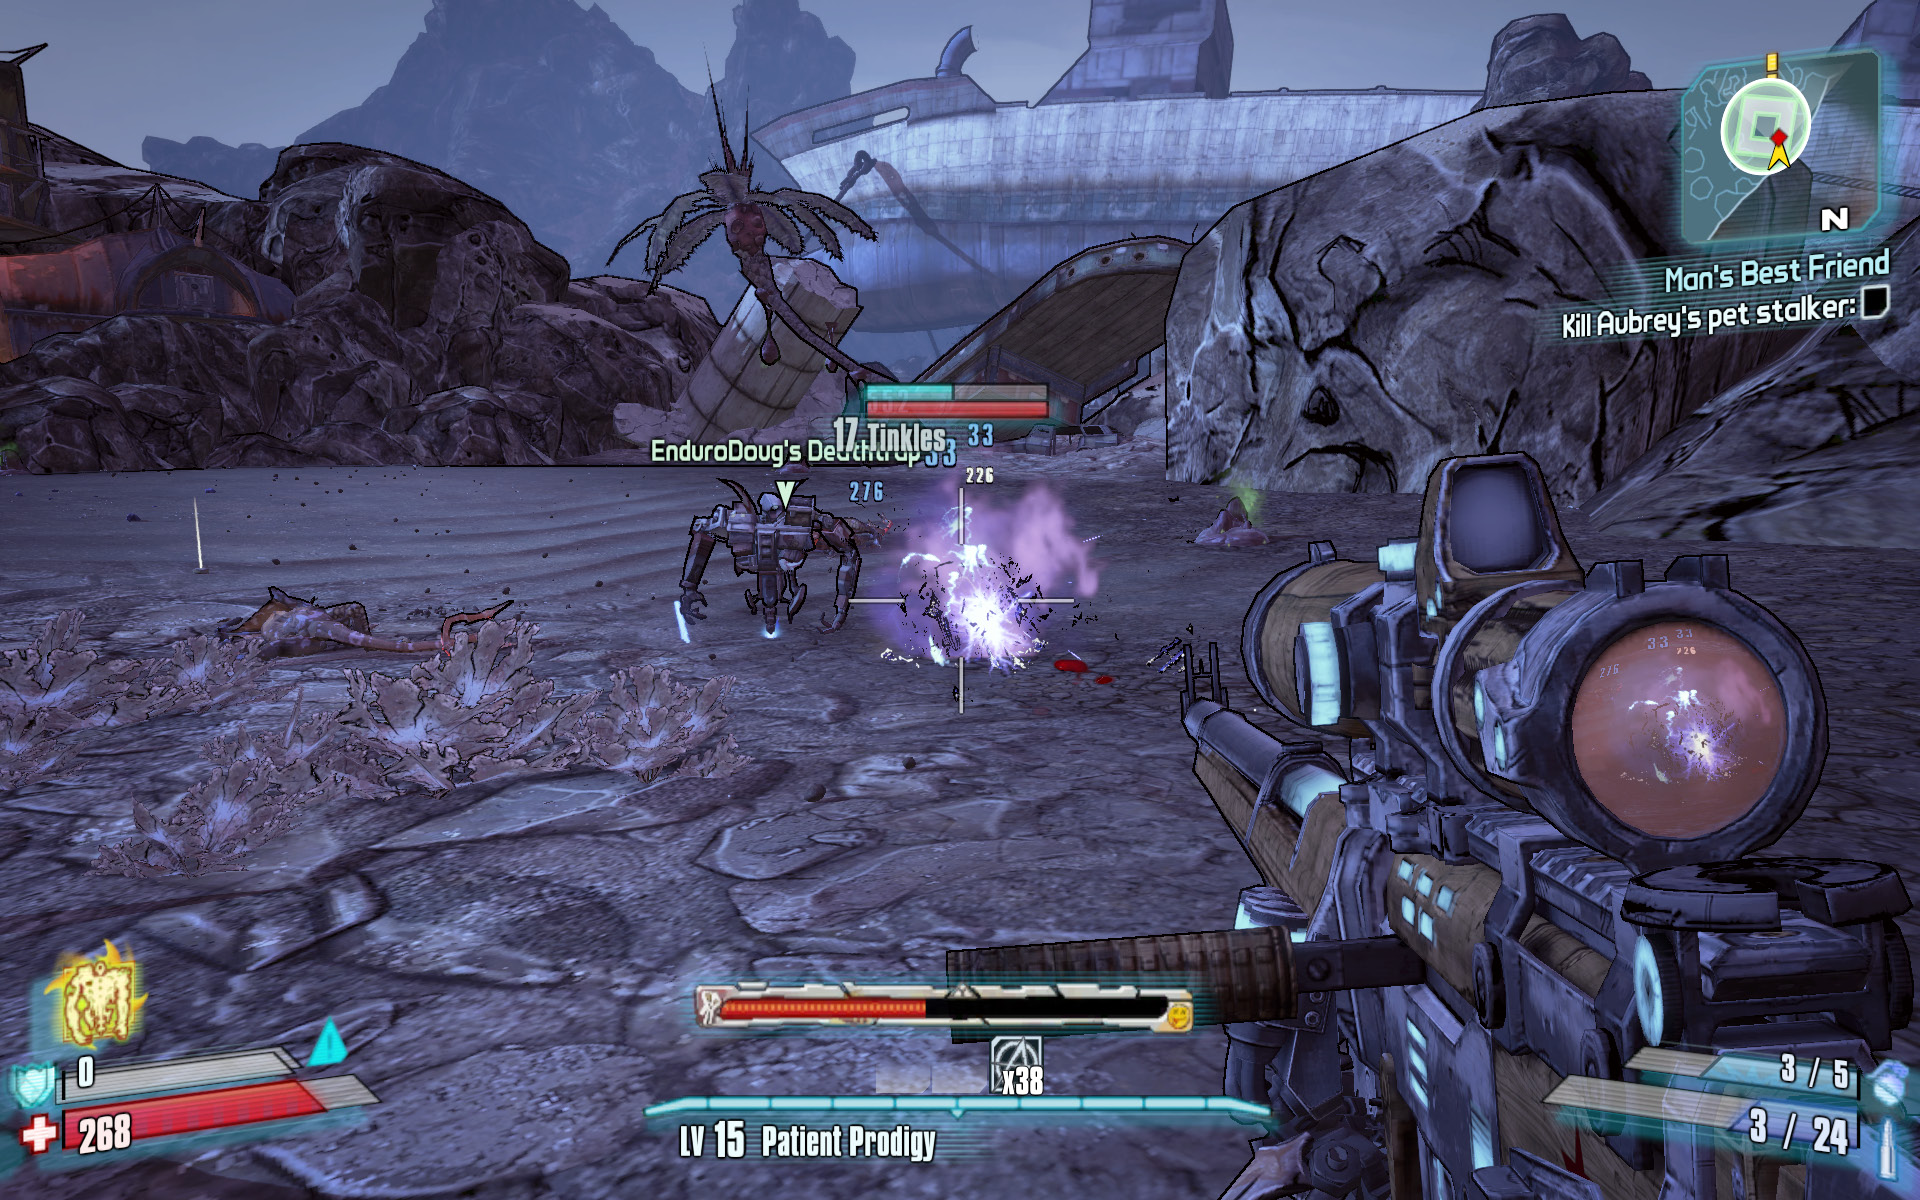
Young Ms. Callahan has another favor to ask of you. She’s inherited a pet stalker named Tinkles, and she would like you to dispose of it. Return to the Horrid Hideaway and ascend the stairs through the camp to the stalker-infested plateau above it. Bring shock grenades and at least one shock-based gun, since Tinkles has a very substantial shield. It’s also wise to have a rocket launcher equipped so that you may quickly swap to it if you get downed.
Advance into the clearing slowly to draw out the lesser stalkers first. Focus on killing several of them, but try to leave at least one Tri-tail Stalker alive in case you need to target it for a Second Wind while fighting Tinkles. Tinkles is probably two or more levels higher than the mission level, so treat her with respect. Open fire at once with your shock-based attacks to destroy her shield, then switch to explosive or fire-based weaponry to finish her off. Tinkles often charges your position and can deal heavy damage with her vicious tail slap. Keep on the move, and continue lobbing grenades at Tinkles while shooting. Return to the Bounty Board for your reward.
Message in a Bottle (1 of 5)
Optional Mission Rewards
| Level | Money | XP | Gear |
|---|---|---|---|
|
15 |
$246 |
233 |
Shotgun (blue) |
*Money and XP may vary based on player’s level at start of mission.
Make your way to the Rockview Rest Stop, and head up the steps to the wooden platform where the park benches are. Examine the bottle with the note in it to uncover the first clue to a secret treasure. Each of the major areas in this campaign has a bottle just like this one. The note inside the bottle highlights an area on the mini-map where you can find some secret treasure. The trick is finding the X that marks the spot.
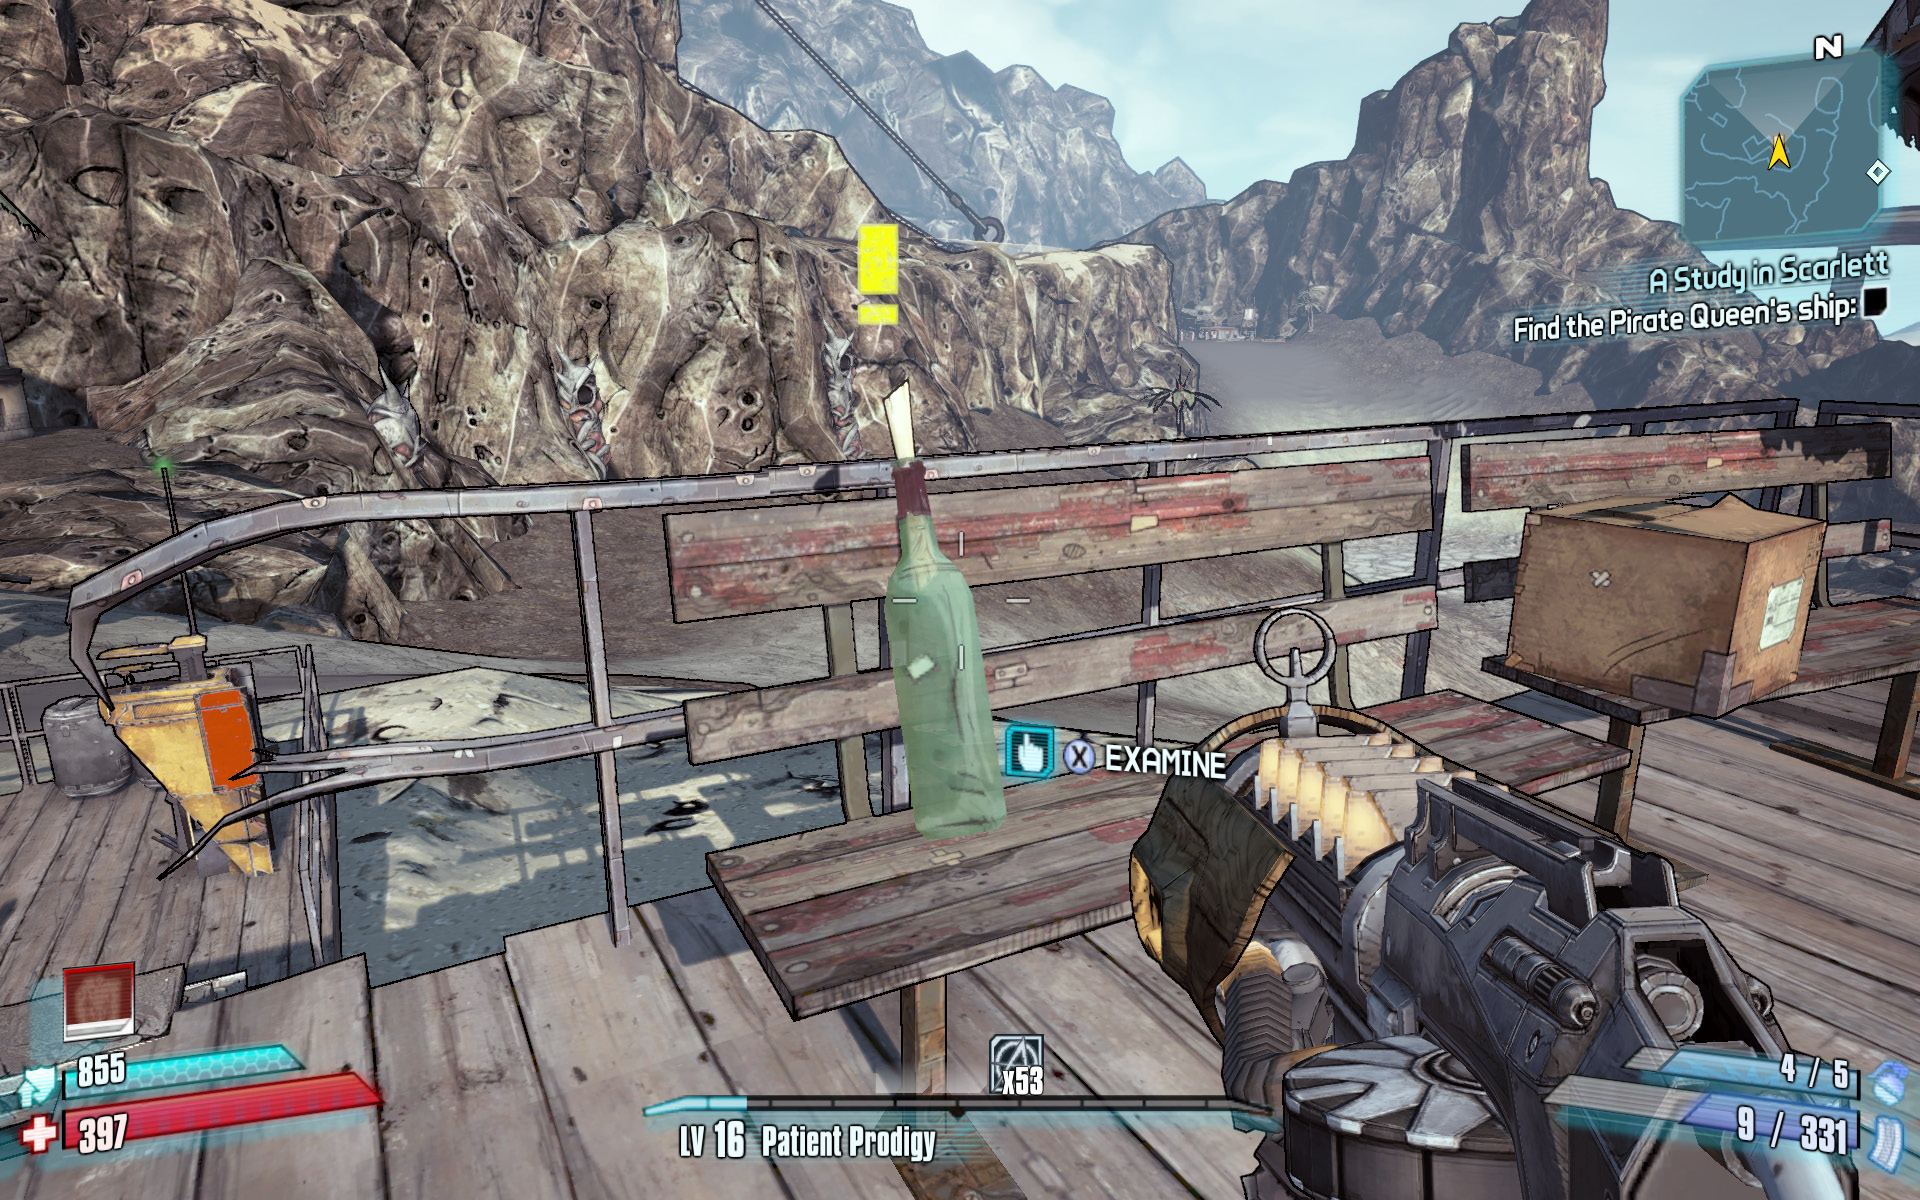
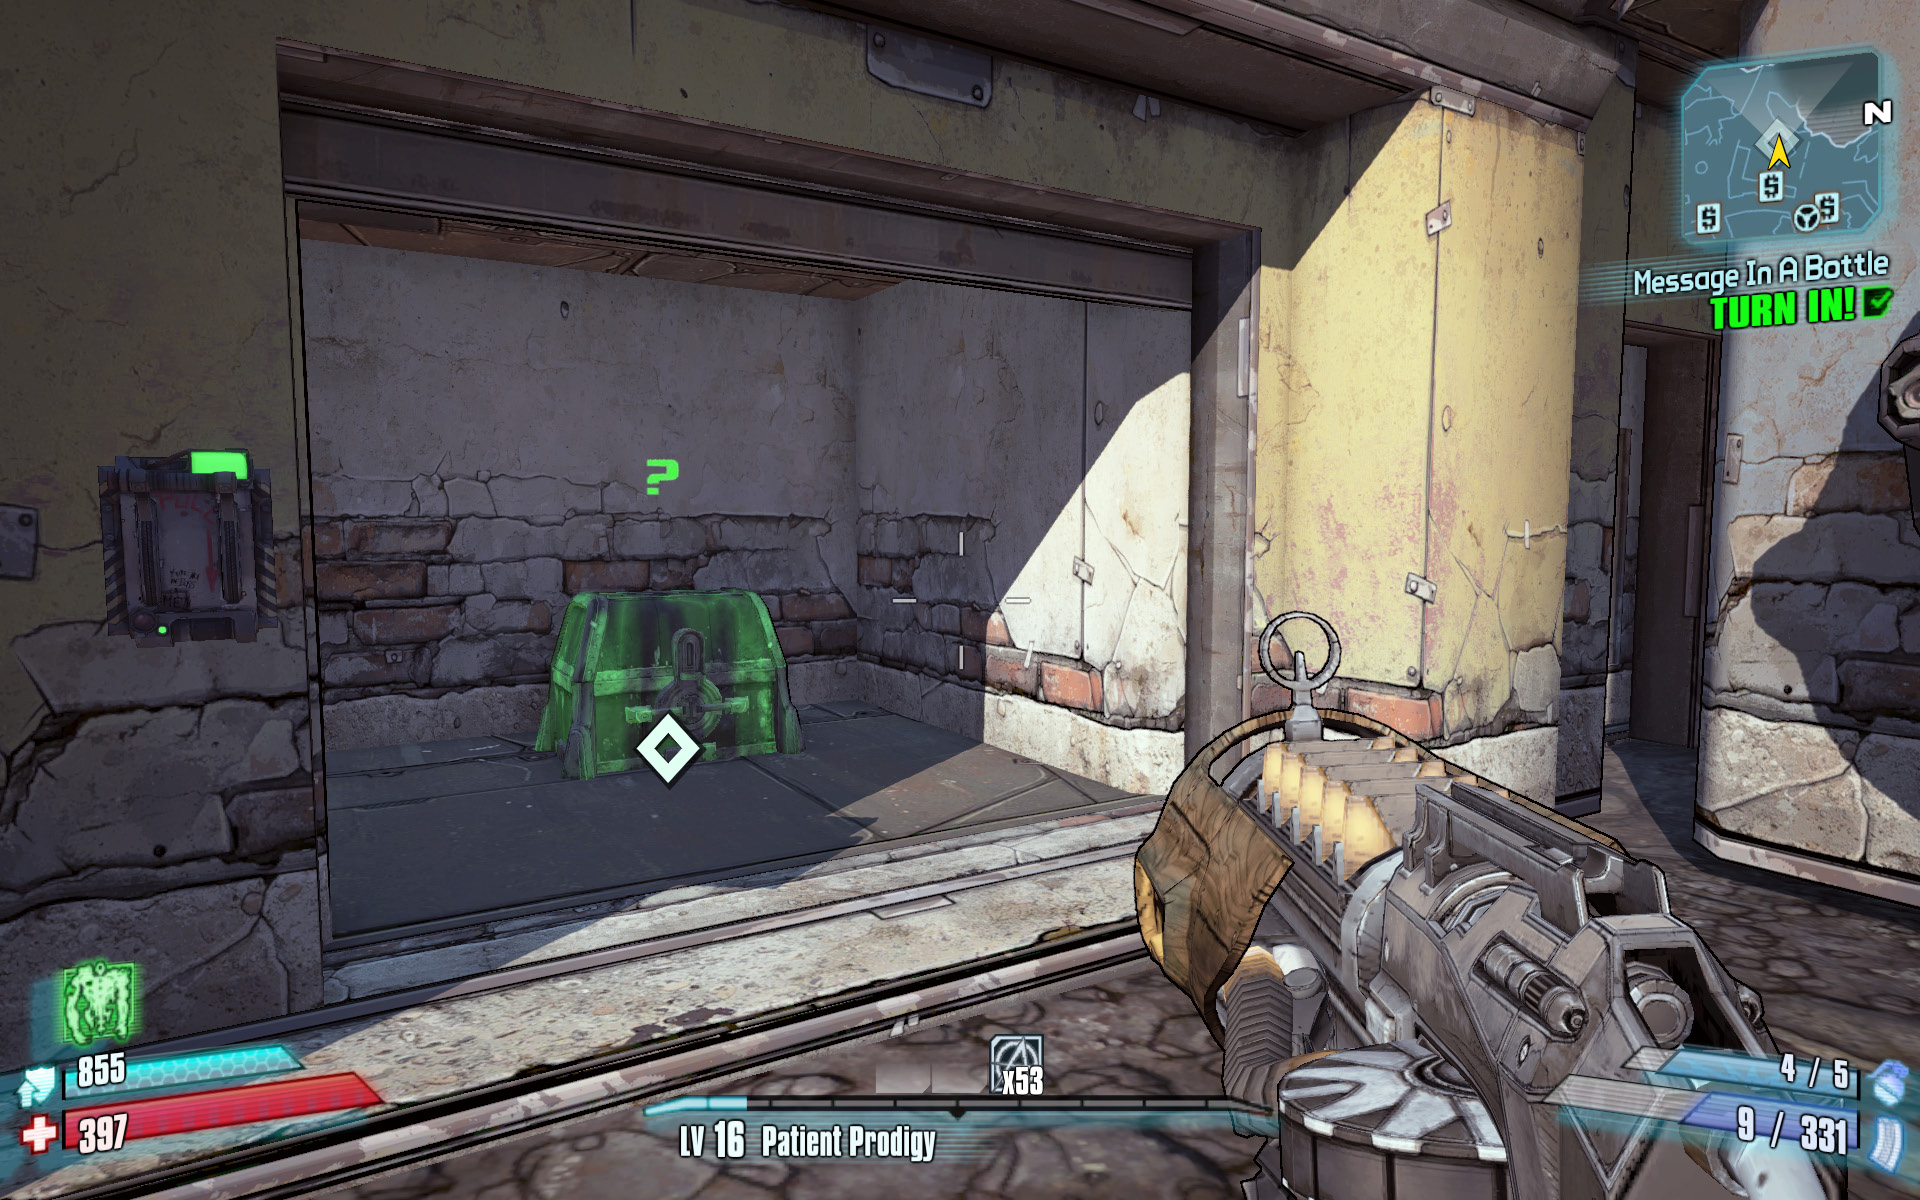
This first Message in a Bottle quest is rather simple. Return to the Oasis Docks, and approach the yellow building around the corner from Shade and west of the Catch-a-Ride. The “X” you seek is painted on a large garage door. Pull the green-lit handle to the left of the door to unveil a chest containing the Rustler’s Orphan Maker shotgun. This mighty Jakobs shotgun deals +850% weapon damage but consumes two ammo per shot.