
Borderlands 2 Game of the Year Guide Captain Scarlett and Her Pirate's Booty
X Marks the Spot
|
 Mission Briefing
| Level | Money | XP | Gear |
|---|---|---|---|
|
20 |
$434 |
5789 |
Custom Head (blue) |
*Money and XP may vary based on player’s level at start of mission.
What Once was Lost is Now Found
Magnys Lighthouse has lit up the ground near Riptide Reef in Wurmwater, and Captain Scarlett is already on her way there. Leap out the east side of the lighthouse, and begin making your way to the one-way Fast Travel station atop the lighthouse plateau (as opposed to the lift leading back down to the pirate settlement).
Naturally, Captain Scarlett has decided to double-cross you. It shouldn’t be a surprise, since she’s been very forthcoming about her tendency to backstab everyone she allies with. Of course, she’s too busy searching for the lost treasure to bother fighting you herself, so you’ll have to deal with her crew instead. Equip your most potent weapons, preferably ones that have fast firing rates and can accurately hit rapidly moving enemies from moderate distance. Fire and explosive weapons work well, as few of her band are equipped with shields.
You won’t be able to leave the area until after you’ve dealt with her two lieutenants. Leave them for last, and first focus on killing the numerous Scarlett Corsairs who attack. Scarlett Corsairs are tall, fast-moving pirates armed with twin daggers. They tend to jump toward you, slash with their knives, then quickly leap back. If you can snipe them from afar, go for it; otherwise, switch to a shotgun or Torgue assault rifle and blow them away as they get close.
The Scarlett Corsairs meet you en route to the pond in the middle of the plateau. Deal with them there, away from the Fast Travel station, to avoid having to contend with the Scarlett Crew and lieutenants simultaneously. Collect ammo from the chests scattered around the pond, and use the rocks for cover as you snipe any of the gun-toting Scarlett Crew pirates. Lieutenants White and Hoffman attack last, serving as the final guard for Captain Scarlett. They’re both ranged assailants—White has a shotgun while Hoffman has an assault rifle—and both have shields. Try to keep the large rocks in the center of the island between the two of them so you can deal with them one by one. If you’re playing as Axton or Gaige and can use an Action Skill to distract one of them, go for it. Similarly, Maya’s Phaselock can really help neutralize one of the two Badass-quality pirates while you deal with the other.
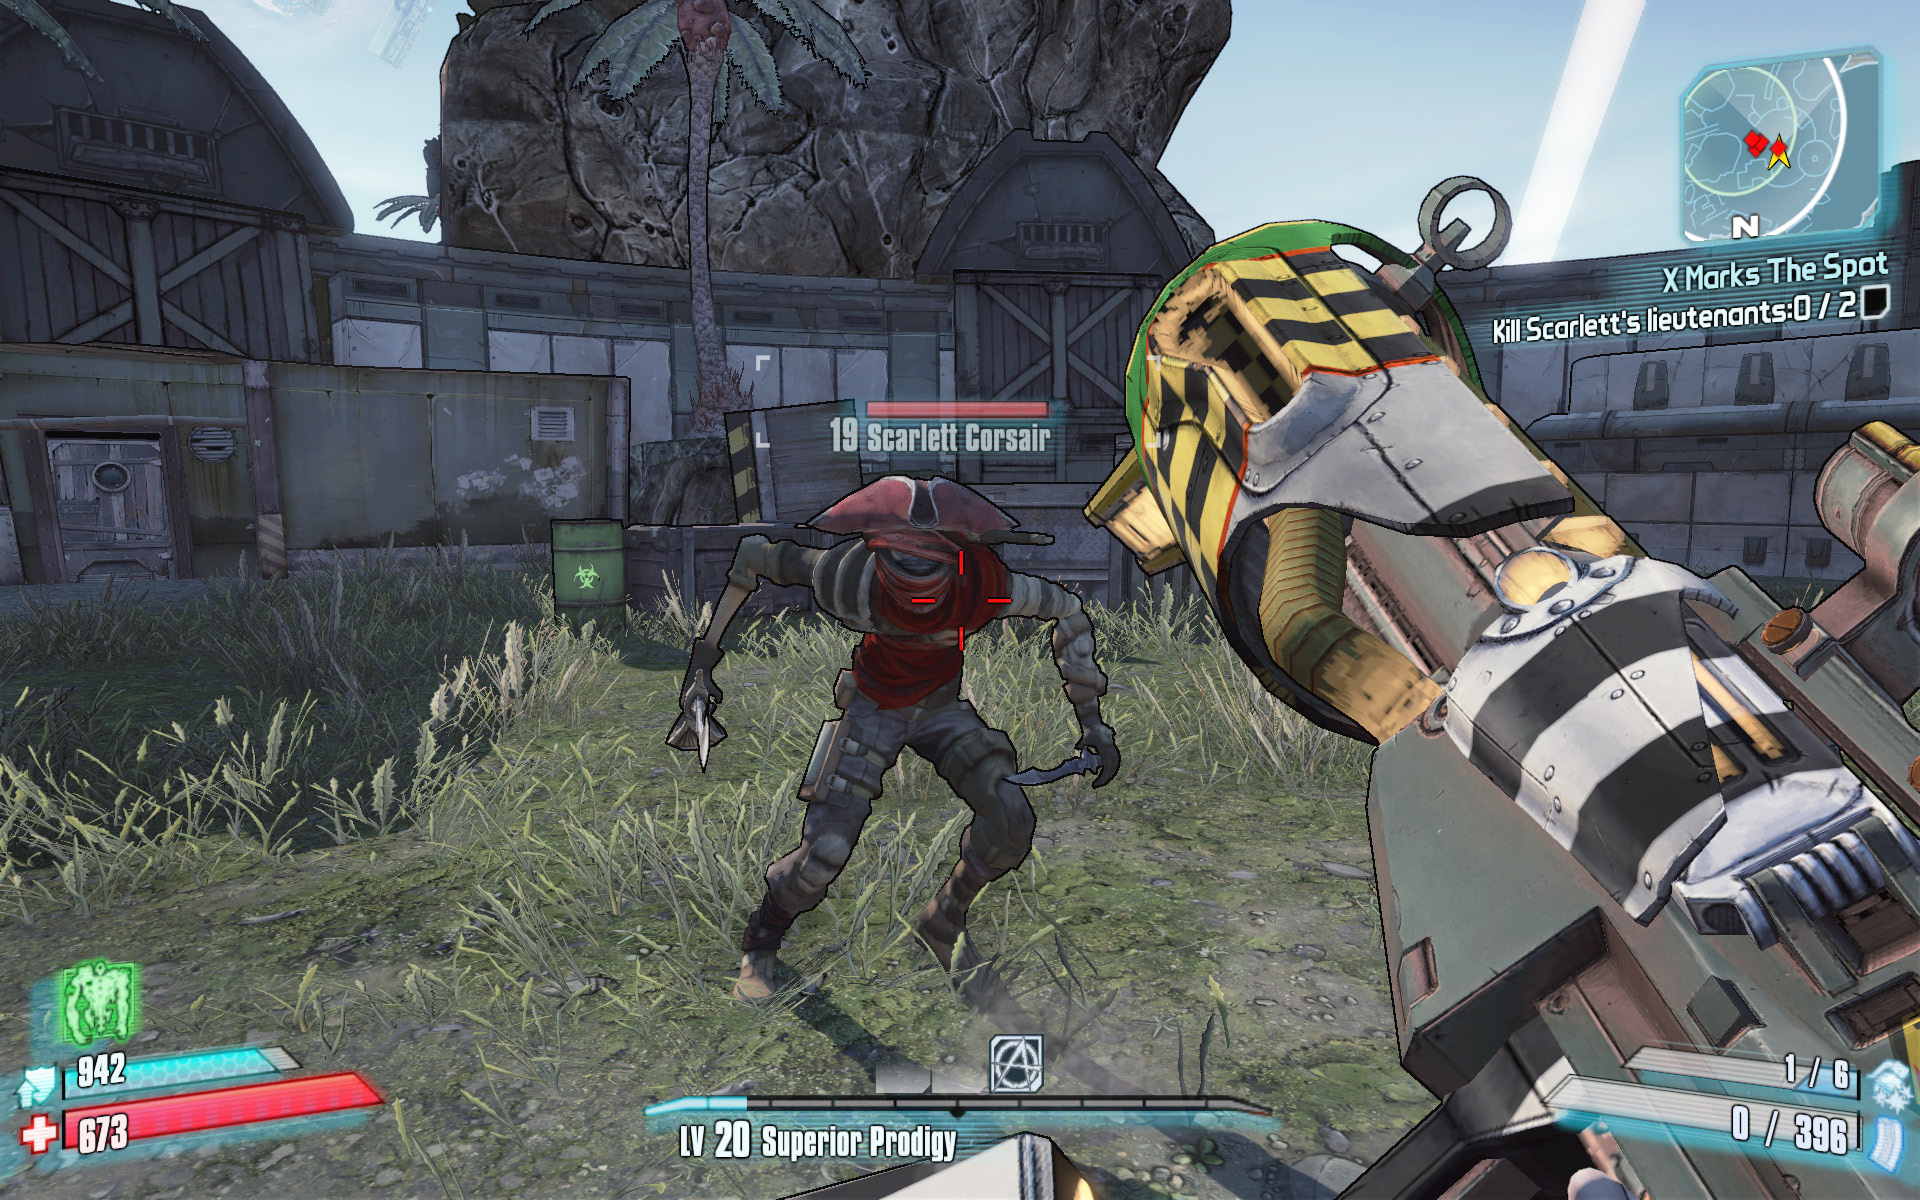
Scarlett Corsairs leap to slash with their knives. Have a shotgun or explosive assault weapon on hand.
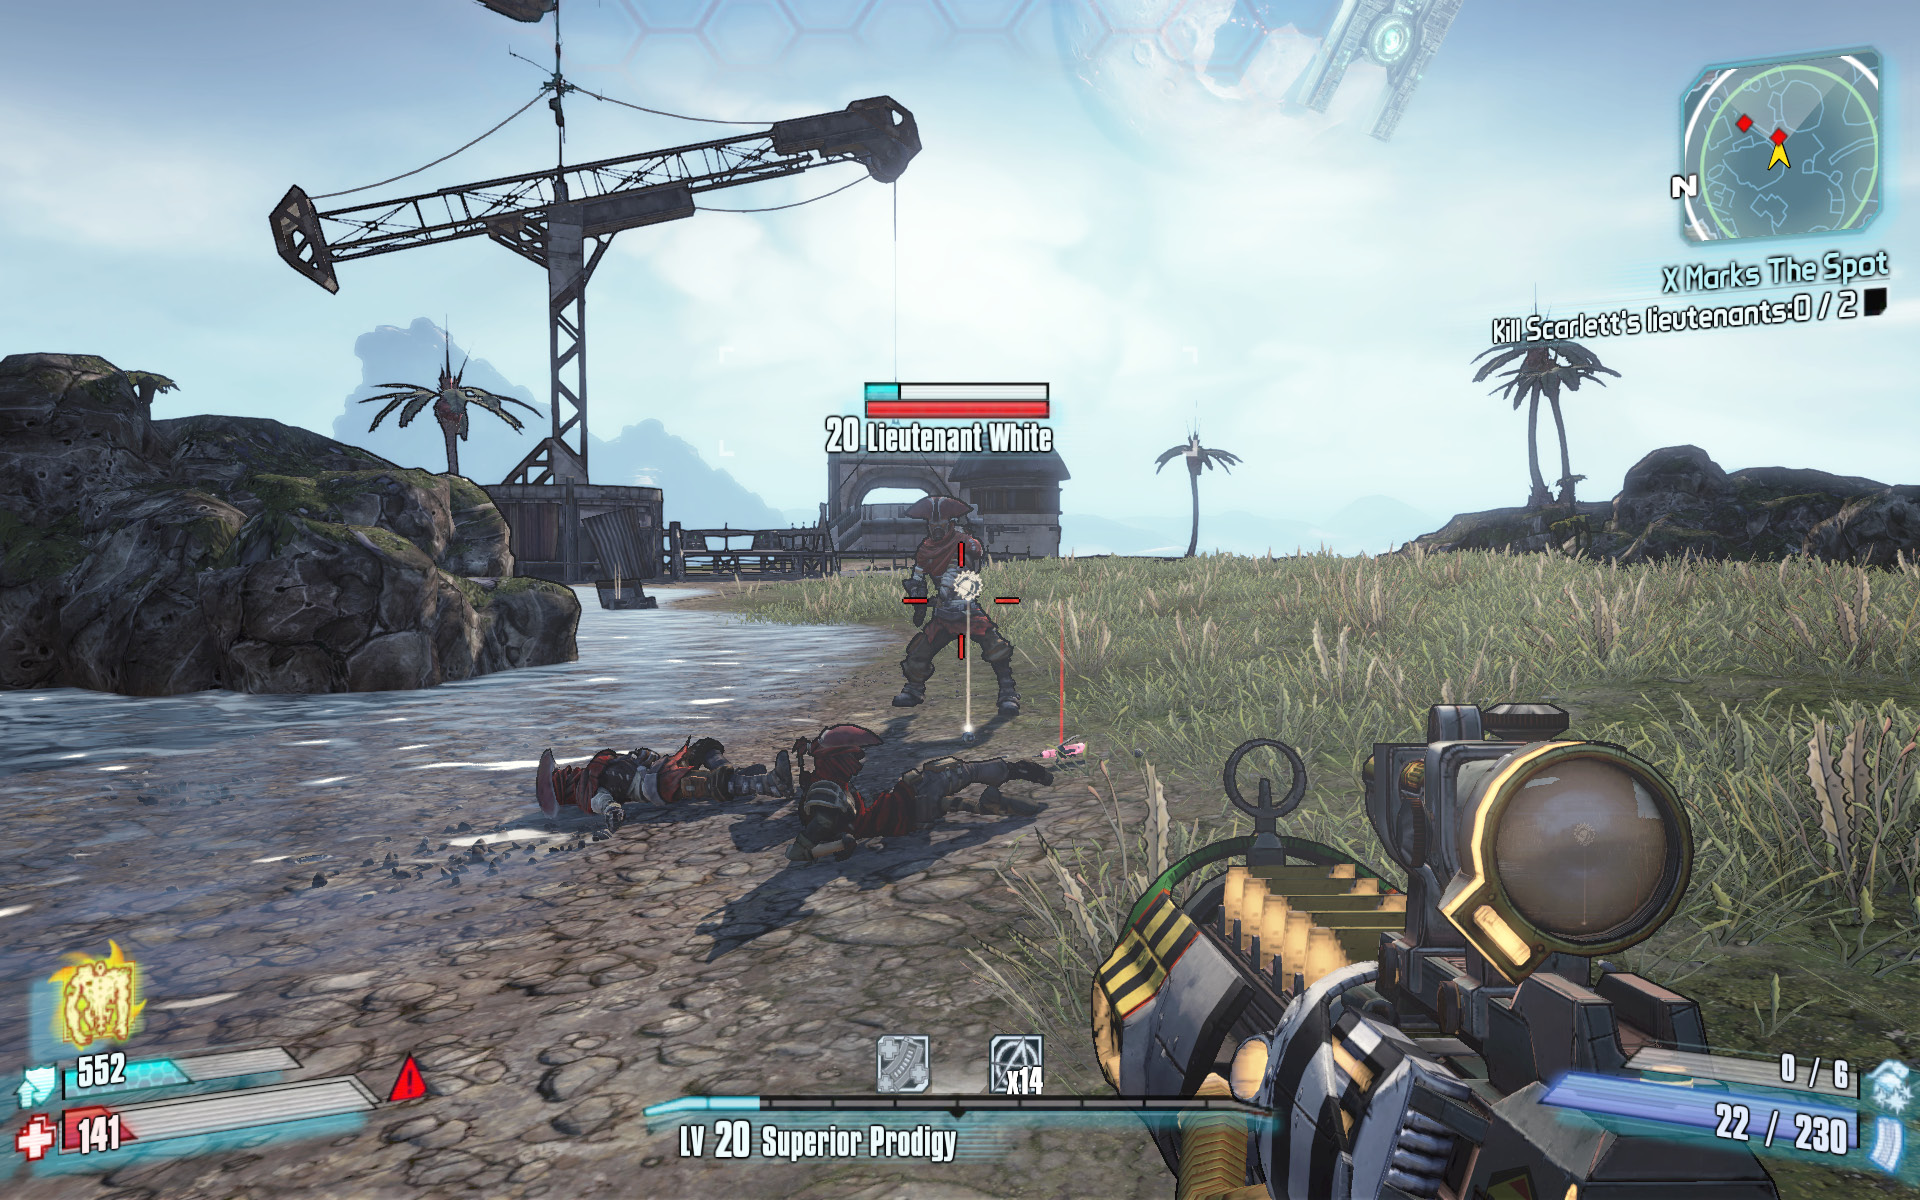
Keep your distance from Lieutenant White’s shotgun while peppering him with explosive rounds.
Kill the last of Scarlett’s men, and use the Magnys Escape Fast Travel station to return to Wurmwater. Use the Catch-a-Ride and take a sandskiff to the large open plains south of the Buccaneer’s Bacchanal. Drive the skiff out onto the patch of ground where the lighthouse beacon is shining.
So, following the beam of light led to you being swallowed whole by the Leviathan. Bet you didn’t see that coming! On the bright side, at least you’re not alone. Load up on ammo, and use the vending machines inside the Leviathan to create some room in your backpack. Then, head down the beast’s gullet to the entrance to Leviathan’s Lair, where Scarlett and her pet are waiting.
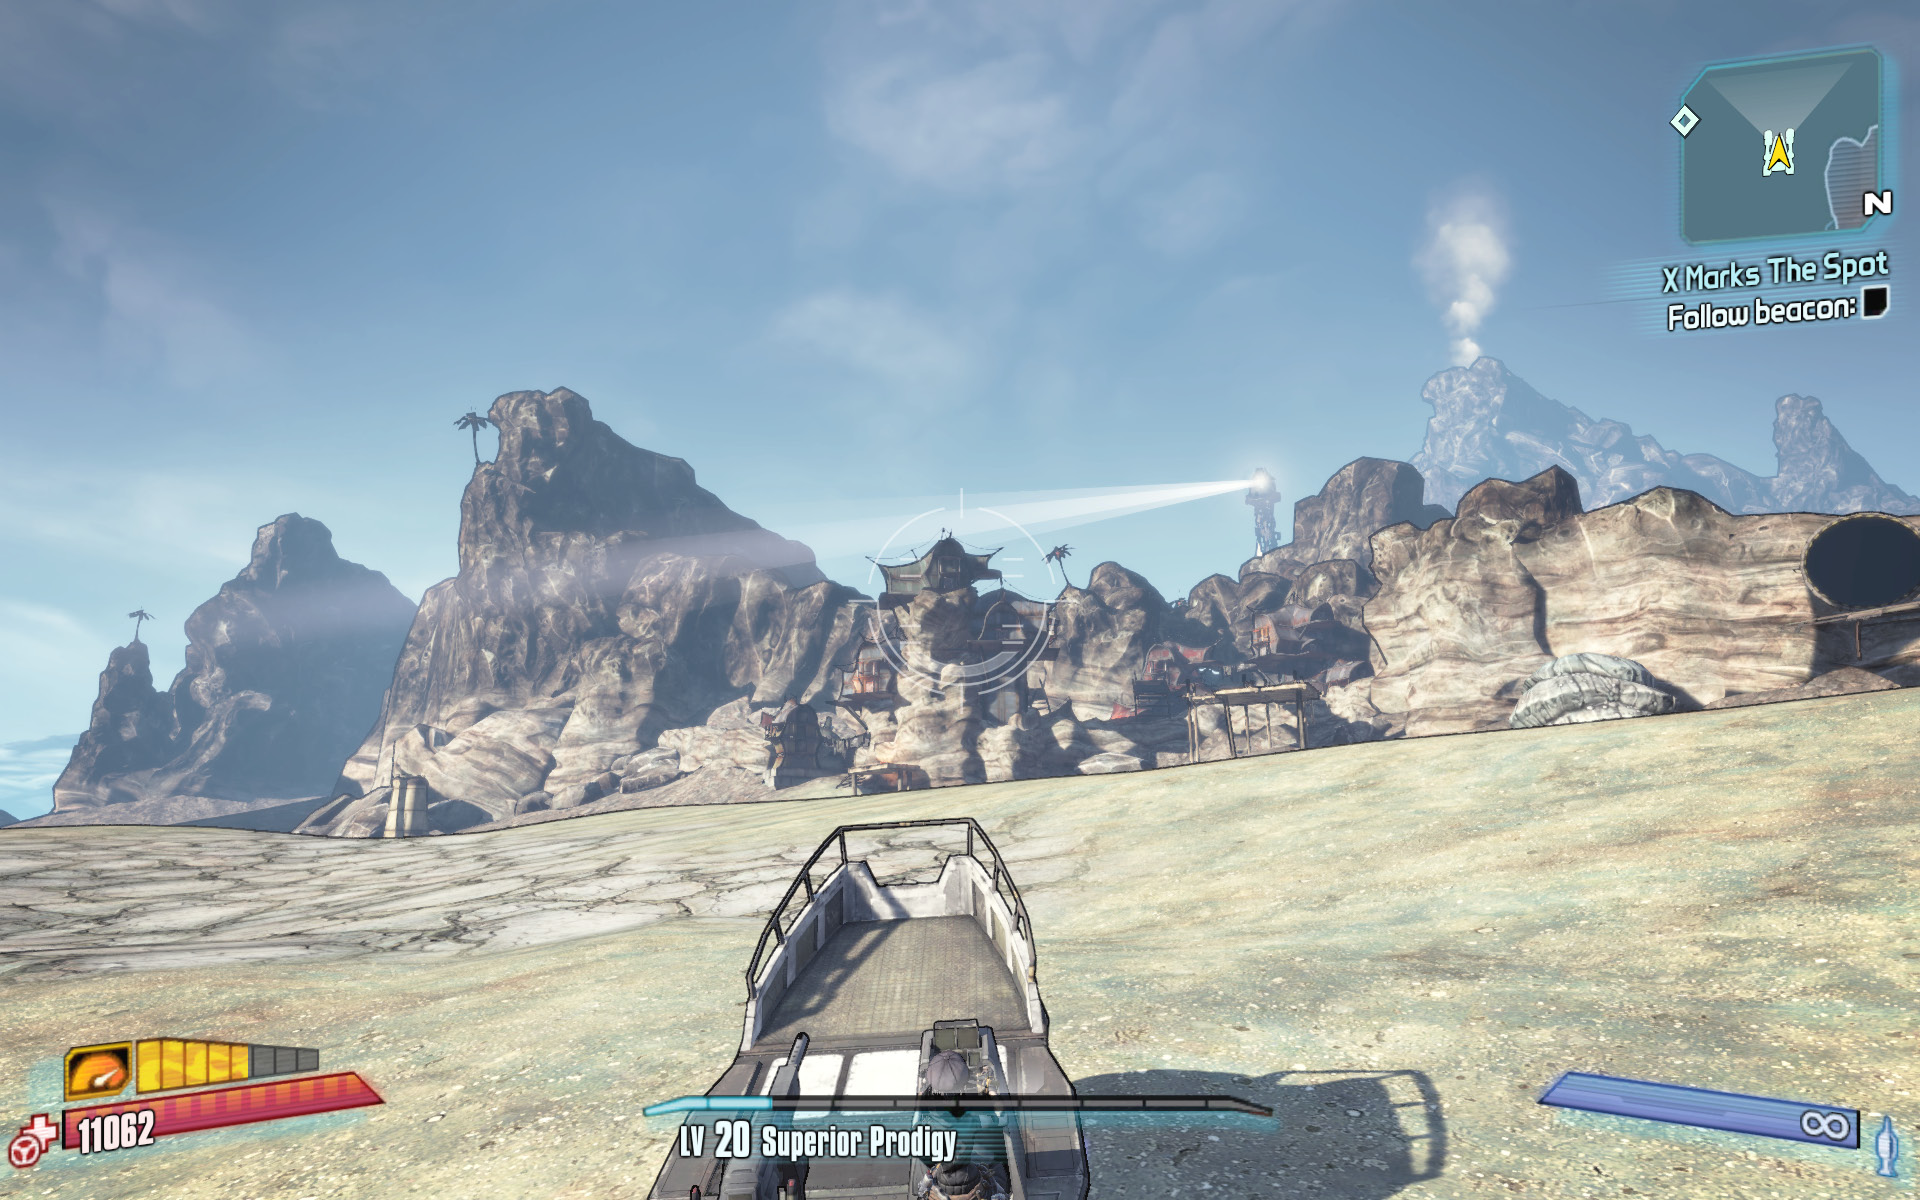
Follow the beam of light to the treasure.
Roscoe
Roscoe’s Vitals
| Health Multiplier | Shield Level | Damage Multiplier | XP Value | Critical Areas | Weakness/Resistance |
|---|---|---|---|---|---|
|
60 |
1 |
1.25 |
Super Badass |
Eye |
|
 /—
/—Scarlett found her pet Rakk Hive, Roscoe, inside the Leviathan and is all too happy to ride atop this hulking beast as he attempts to trample you. Roscoe is a gigantic quadruped that moves very slowly, but with determination. His primary attack is a powerful ground-pound attack that unleashes a mighty shockwave over considerable distance. Watch for Roscoe to rear up on his hind legs before pounding the ground with his mighty paws. Immediately leap to the air as his feet hit the ground to avoid the shockwave.
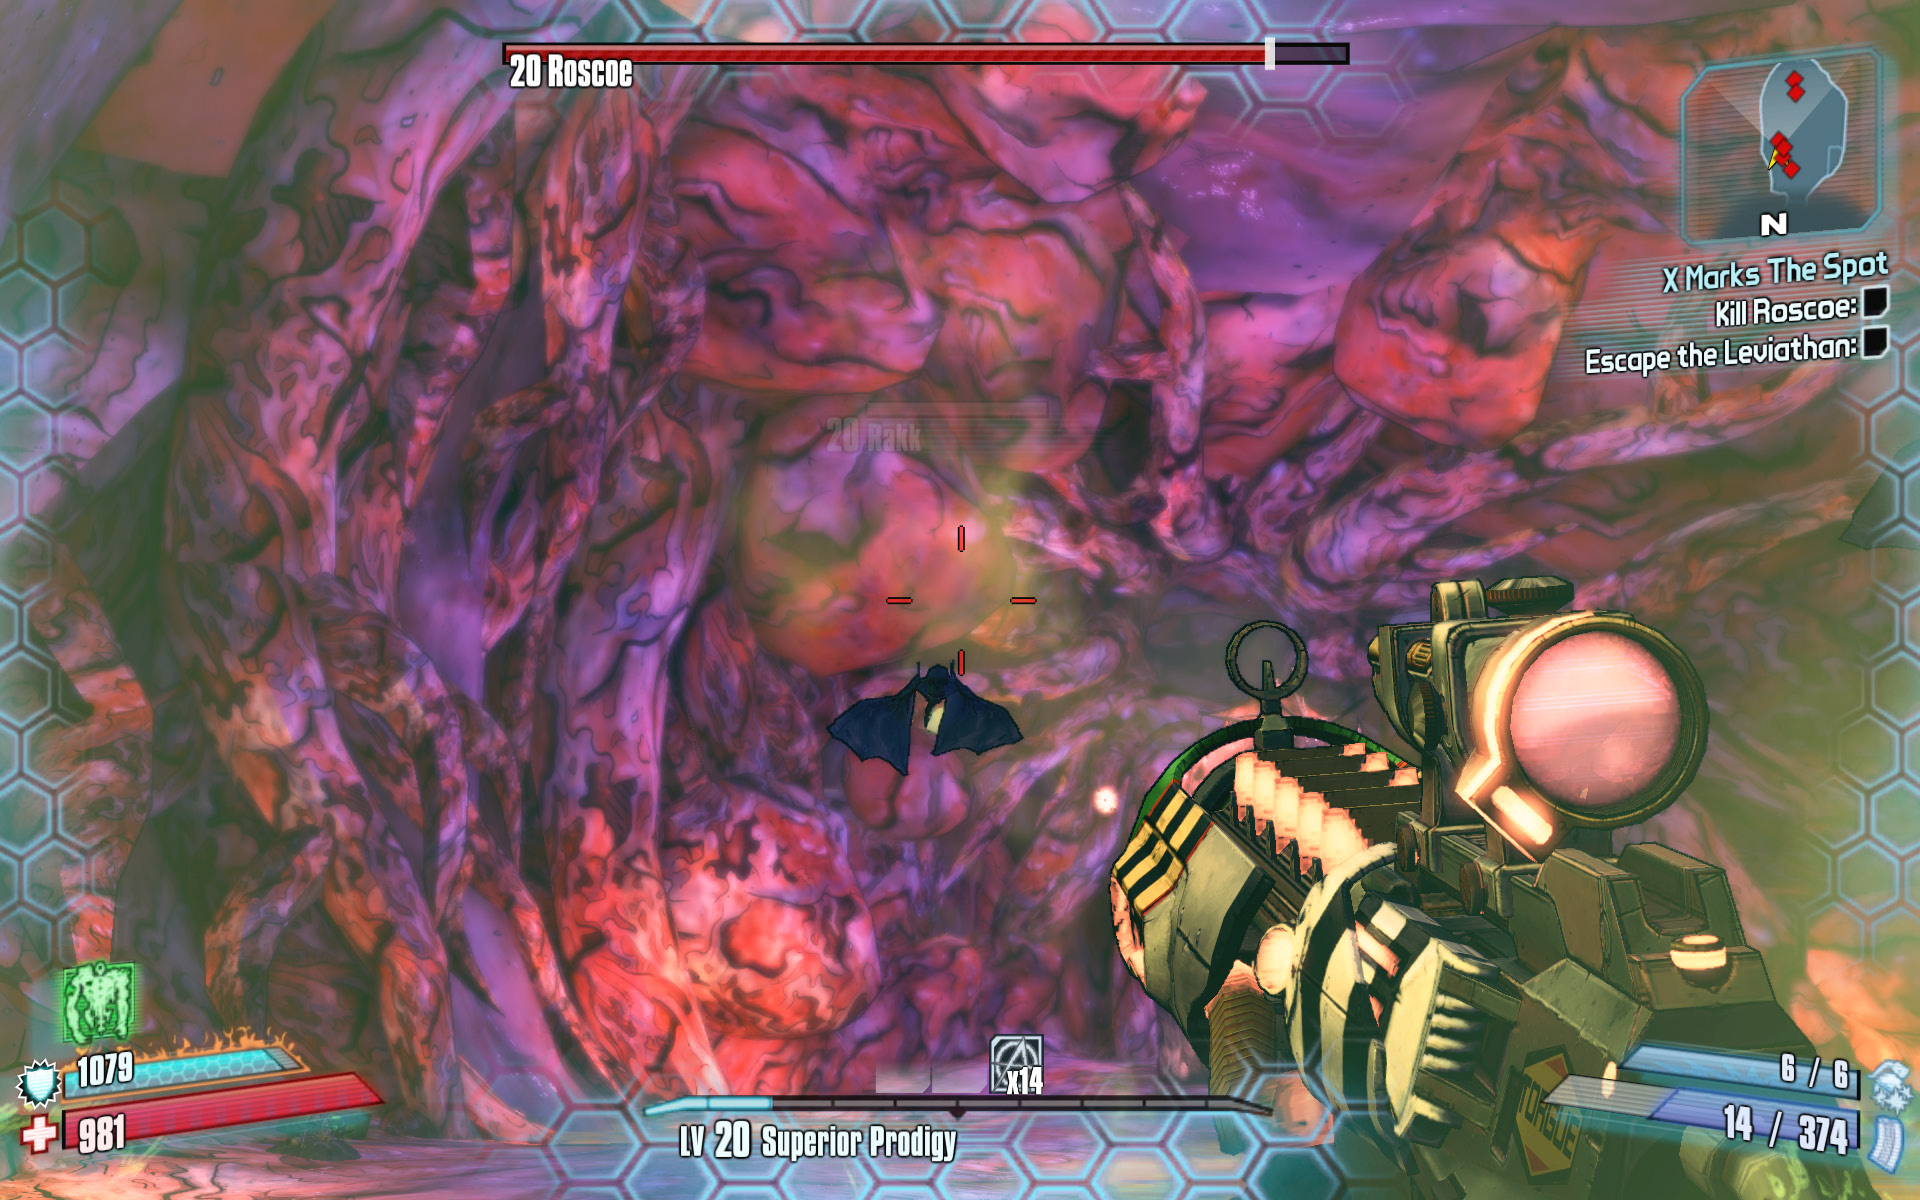
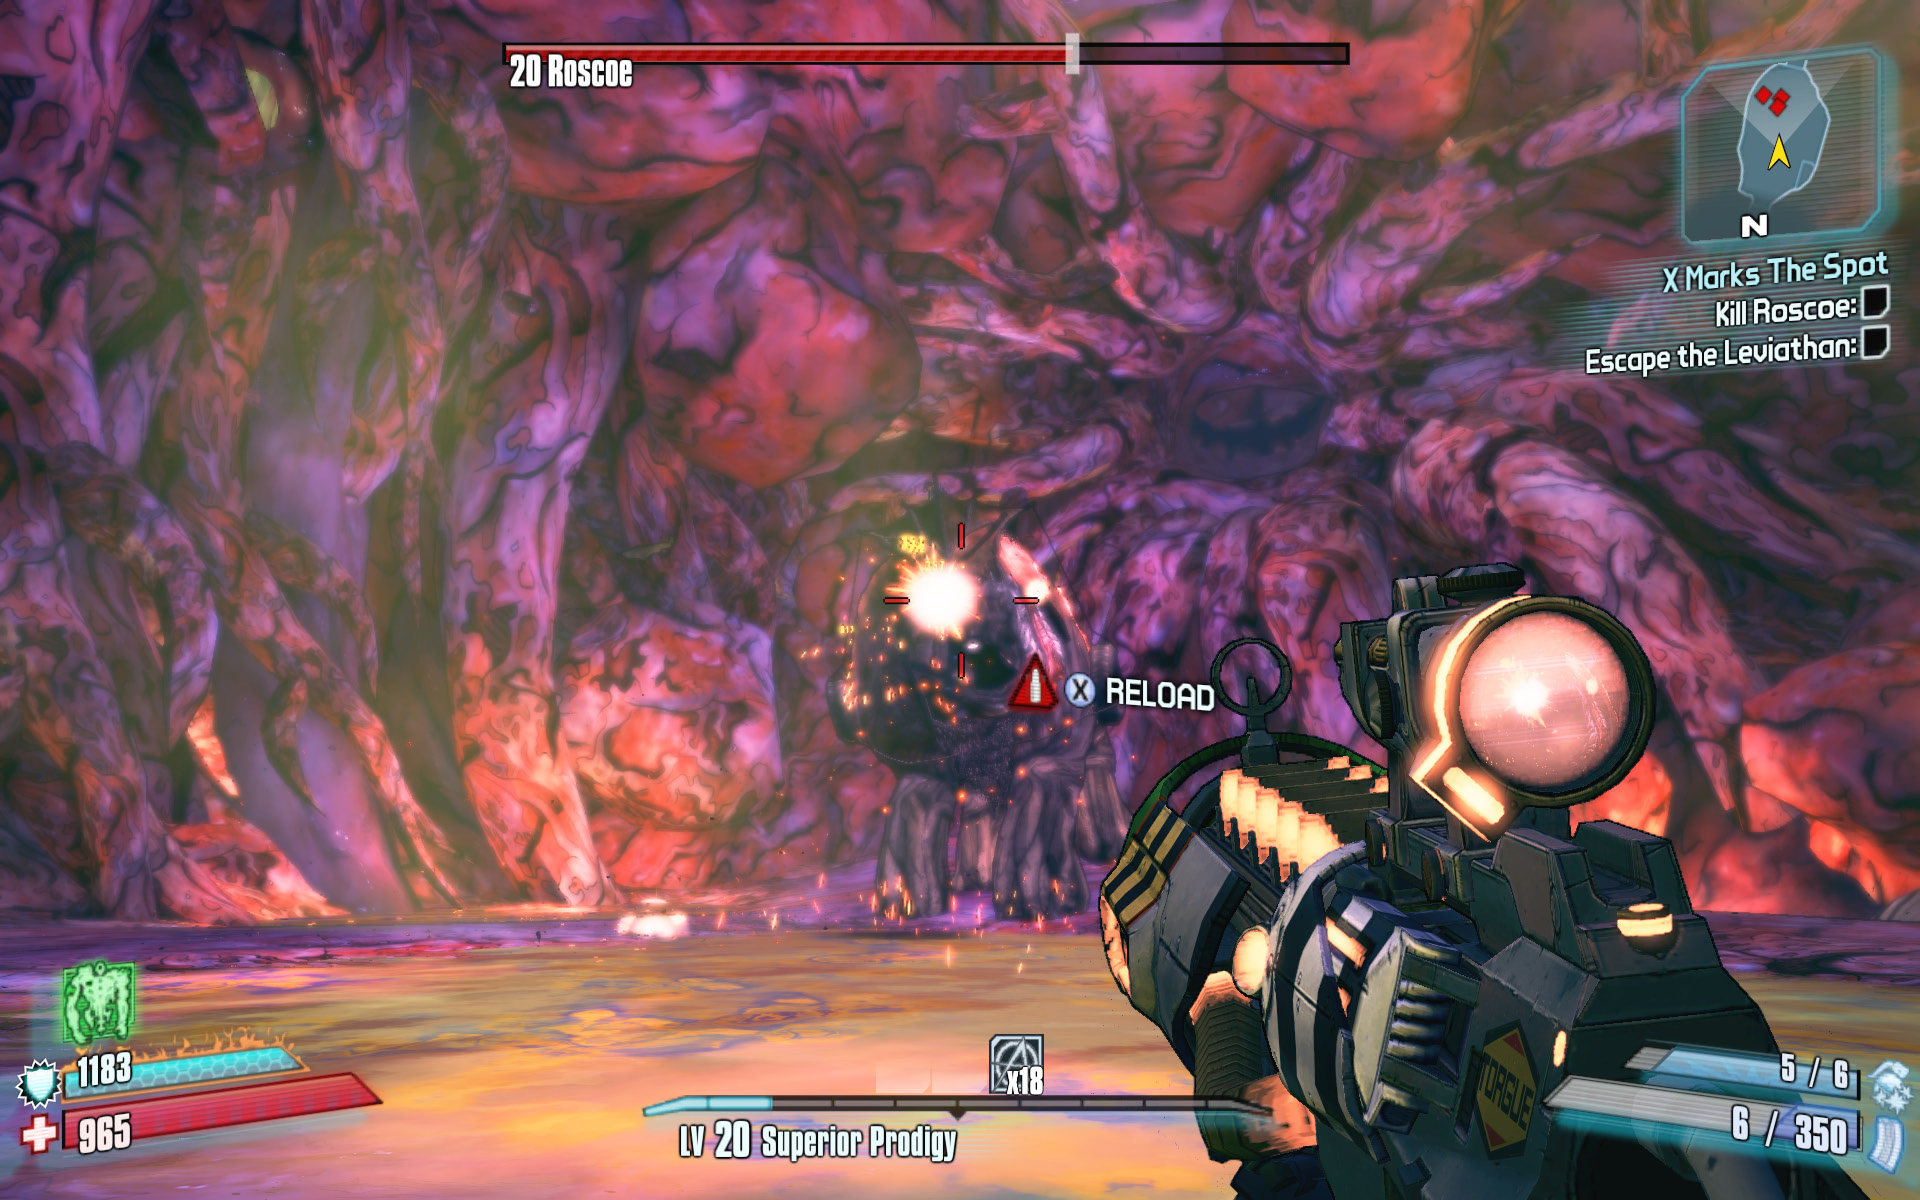
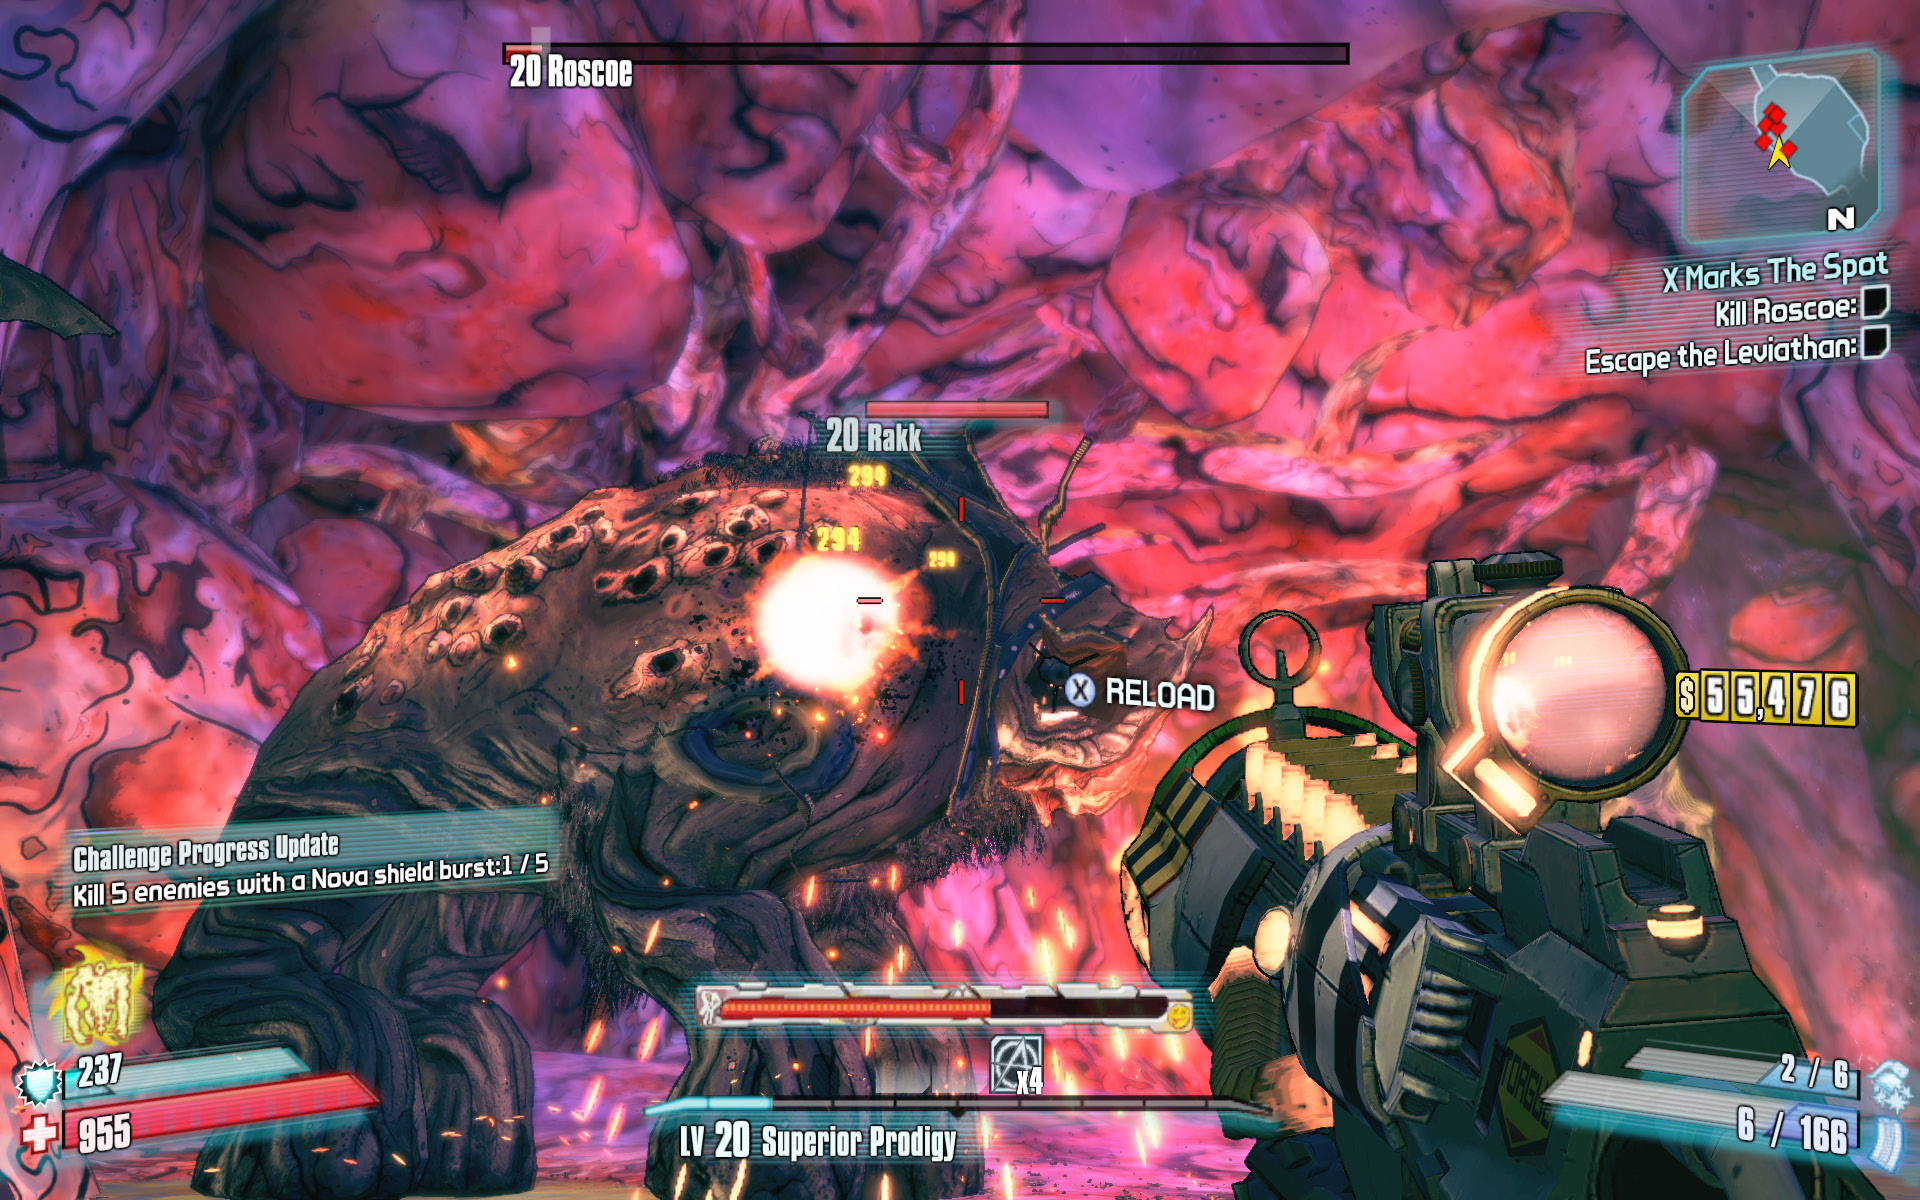
Roscoe’s other attack, naturally, is to spawn flocks of dangerous rakk that circle the skies above you and then dive-bomb your position. The rakk can be a nuisance, but not enough to take your eyes off Roscoe. A nova or spike shield can keep you safe from the rakk and even kill some of them off while you deal with Roscoe. Of course, in the odd case you get downed, open fire on the rakk at once for a Second Wind.
Captain Scarlett isn’t going to participate in this fight, other than to ride atop Roscoe, but that doesn’t mean there aren’t other threats. The Leviathan’s Lair contains several pools of stomach acid that can cause minor damage and drain your shields if you stand in them for too long. Roscoe adds to these puddles with putrid, corrosive projectile attacks that emanate from either end of his body, depending on where you’re standing.
Roscoe is susceptible to gunfire all over his body, so you needn’t worry about aiming for a specific spot on him—flags cover his eyes and make it difficult to land a critical hit. Focus on strafing around the perimeter of the arena to avoid being trampled, and continue shooting. It’s possible to kill Roscoe within seconds, even while solo at an equal level, if you load up on Longbow explosive grenades and rocket launcher ammo and combine their use with your Action Skill effectively (see the “Bleeding Scarlett” challenge tip below).
Scarlett flees the scene after Roscoe’s death, but not before dropping her pistol. Look for the rare sidearm near where Roscoe perished before you load up on ammo and continue to the exit.
Leviathan
Leviathan’s Vitals
| Health Multiplier | Shield Level | Damage Multiplier | XP Value | Critical Areas | Weakness/Resistance |
|---|---|---|---|---|---|
|
35 |
1 |
8 |
Boss |
— |
|
 /—
/—The Leviathan has found your battle with Roscoe most unsettling and has vomited you out onto a ledge within its underground lair. The Lost Treasure of the Sands isn’t far, but you’re going to have to kill the Leviathan to reach it.
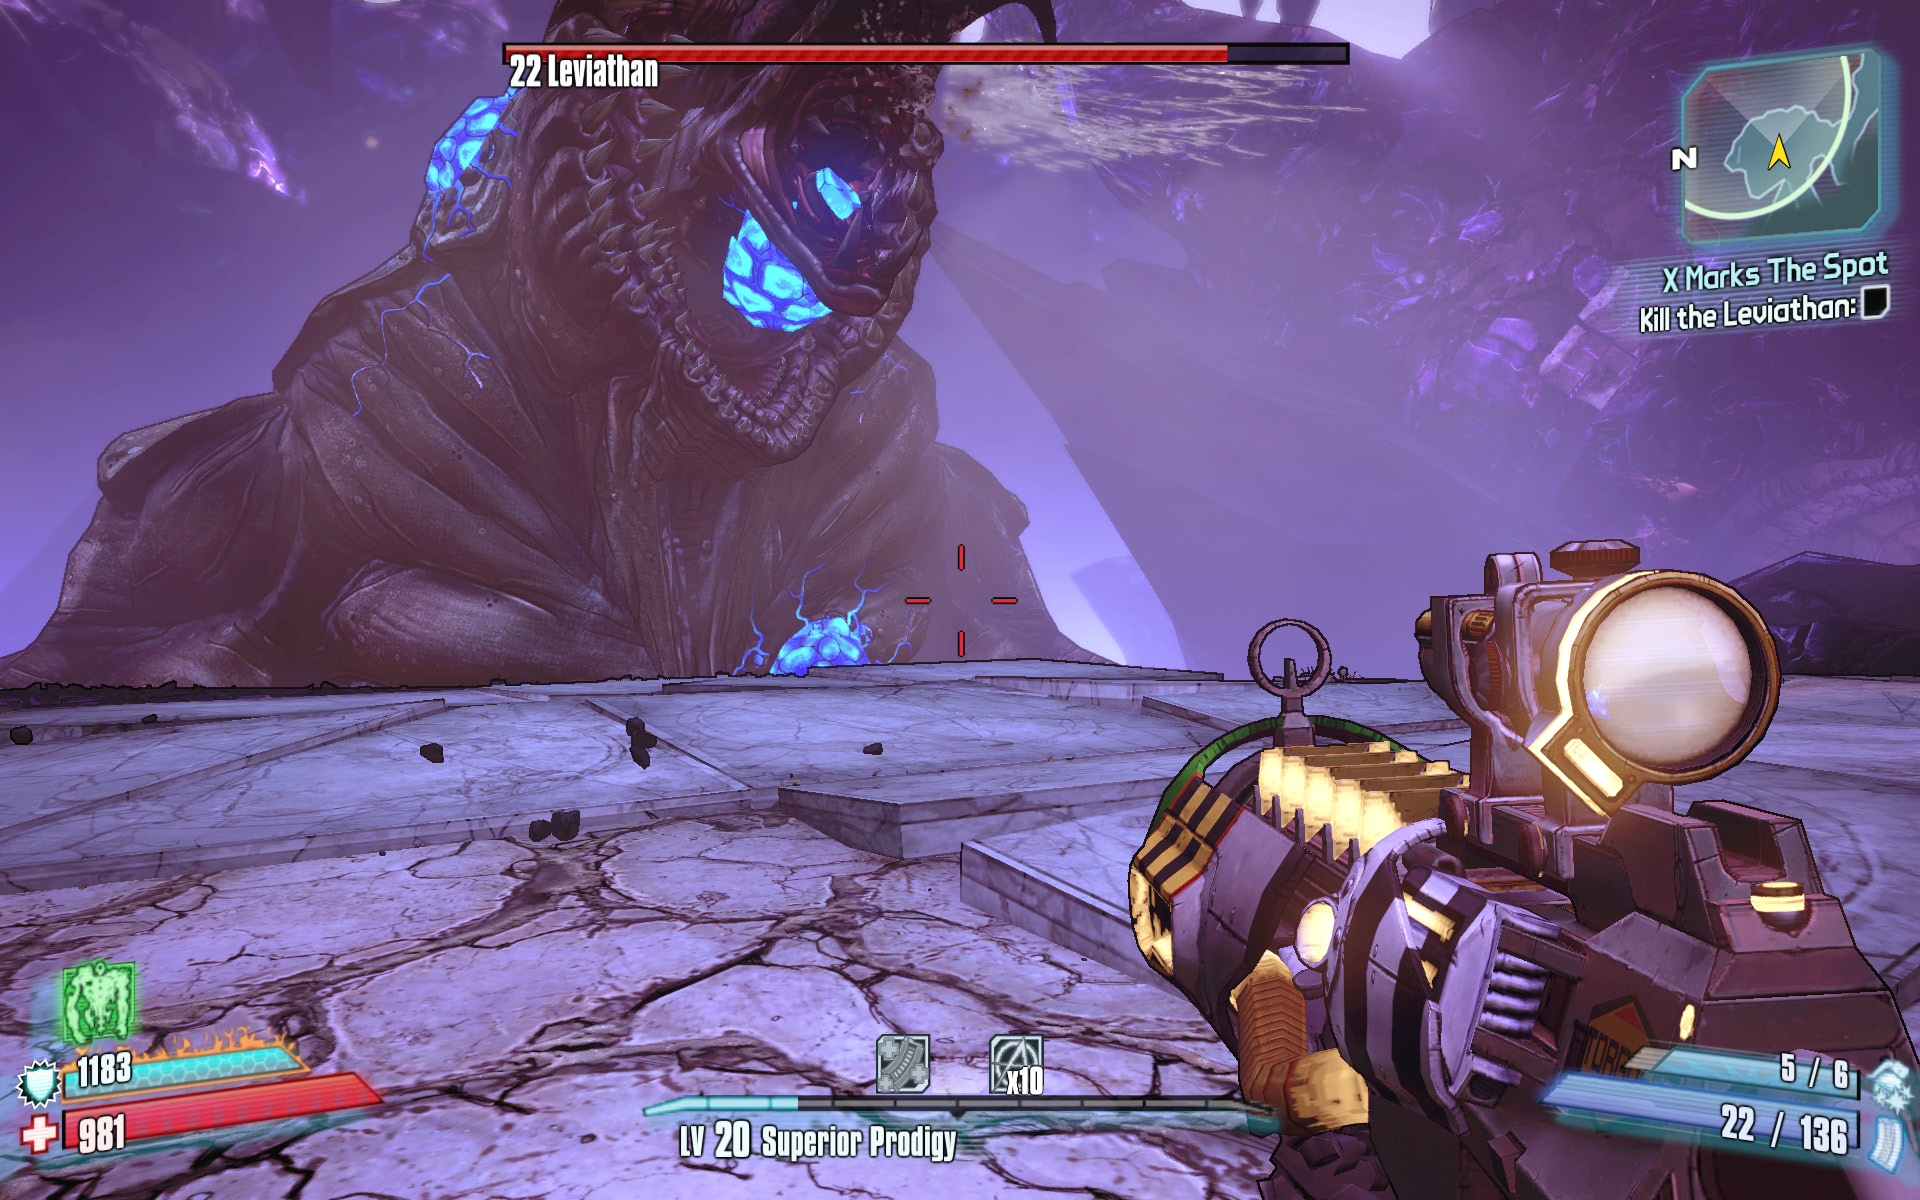
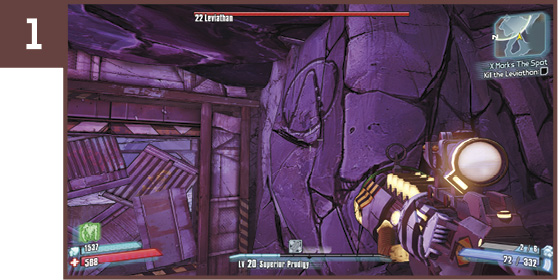
Unlike Roscoe, the Leviathan has four distinct vulnerable areas, each effectively representing one-fourth of its health. You can only damage the Leviathan by attacking the blue growth on its chest, the two blue patches on its eyes, and a fourth that it primarily keeps concealed inside its mouth. Its toughened skin and head are otherwise impervious to your attacks. Ignore the one in its mouth for now—it becomes much easier to hit later on—and focus on the one on its chest and the two near its eyes.
The Leviathan has an assortment of attacks at its disposal, including a spittle spray attack that showers much of the ledge where you’re standing and inflicts minor damage. This attack can be difficult to avoid, but it isn’t much of a threat. On the other hand, the Leviathan also occasionally spits a glob of gooey Slag that can make you very susceptible to follow-up attacks, particularly those from the sand worms that inhabit the area. Lastly, the Leviathan occasionally uses its flipper-like appendages to slam the platform you stand on, unleashing a seismic quiver that drops rocks from the ceiling.
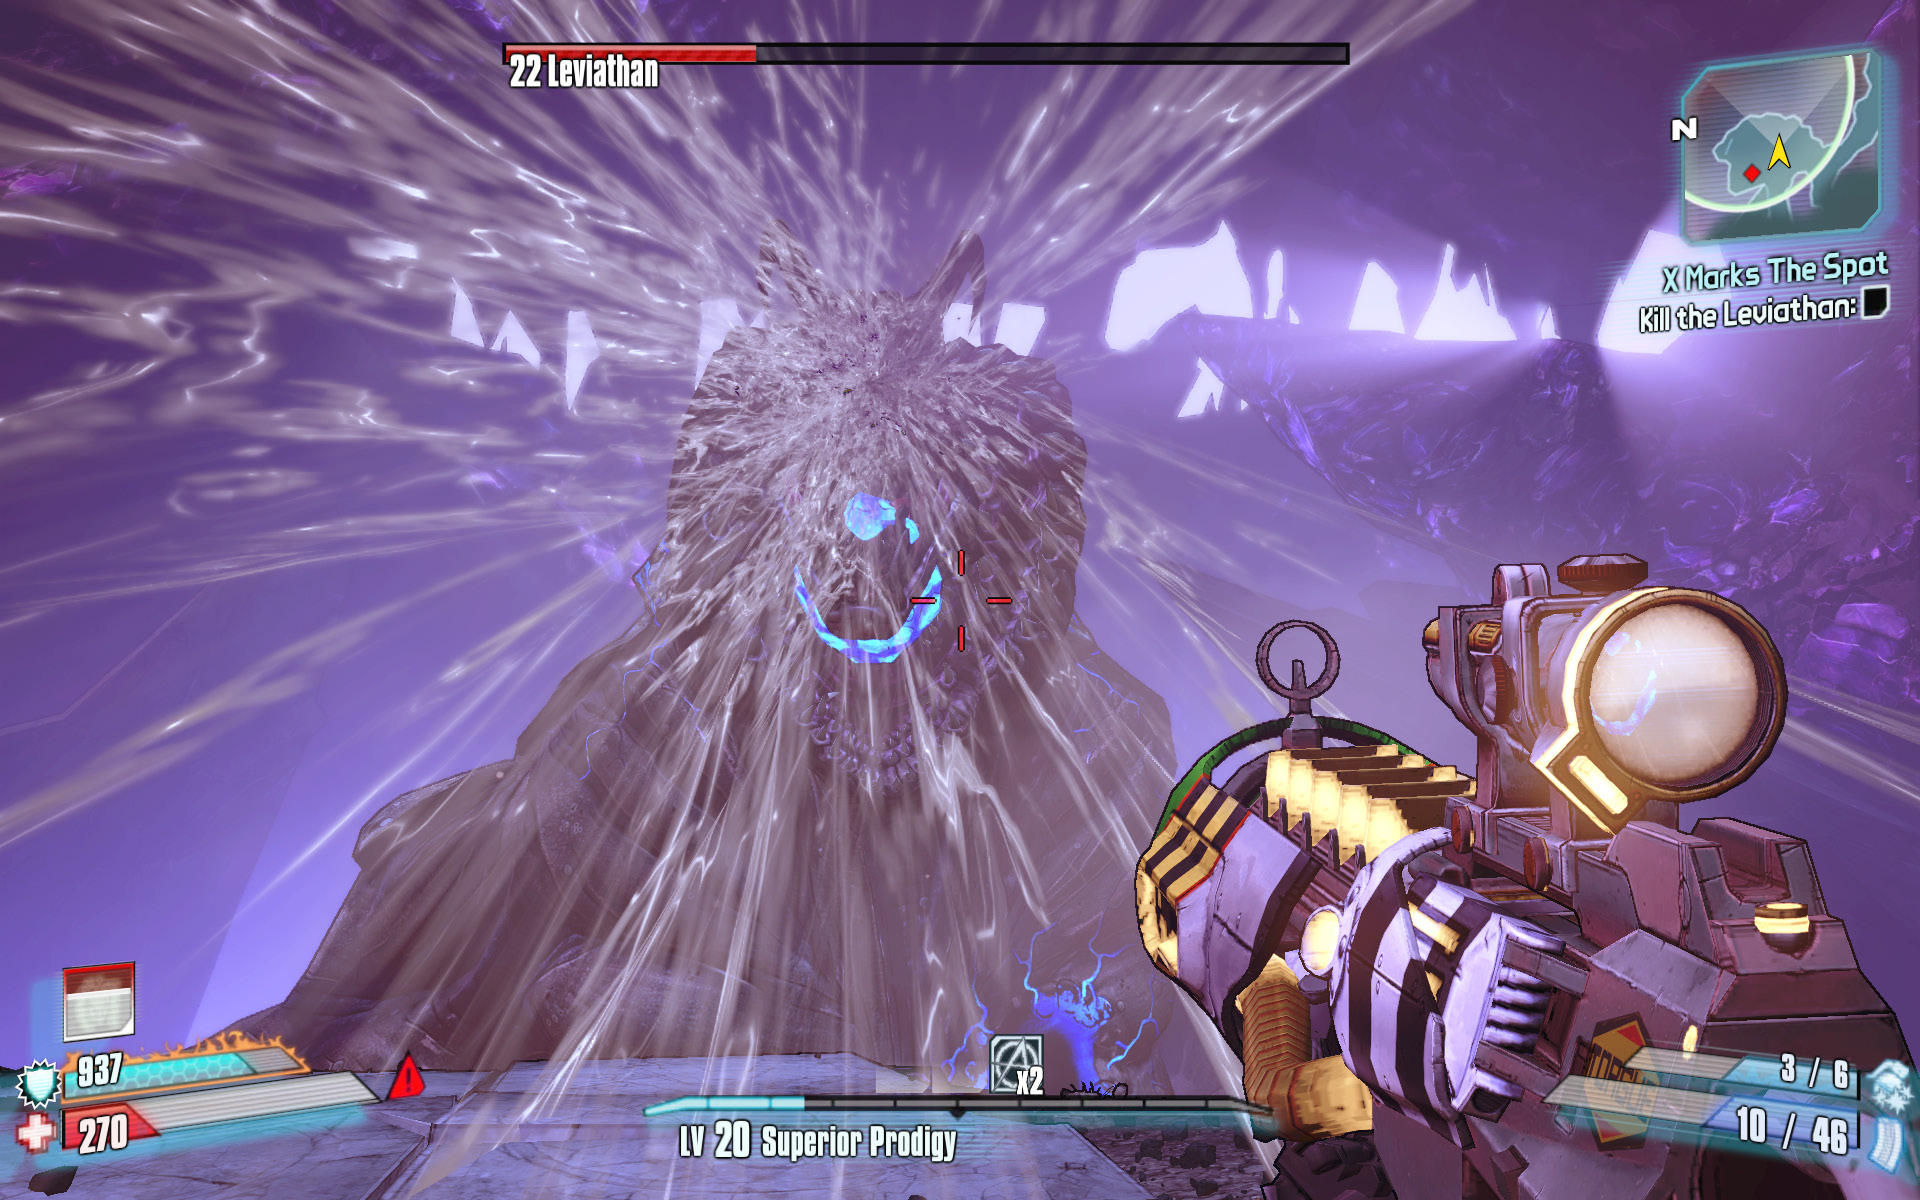
Begin the battle by targeting whichever of the three visible blue patches you have a clear shot at. Get close to the ledge, and hit them with explosive rounds from an assault rifle or from a Longbow grenade. Dahl-made weapons with burst fire can work well, but you’re better off using weapons that you can fire from the hip. As the battle gets underway, numerous sand worms start to emerge from the rocky ledge. Keep a potent shotgun or rocket launcher on hand, and use it against the sand worms if you need to get a Second Wind. Otherwise, try to ignore these lesser sand worms while you rupture the sores on the Leviathan’s body. The sand worms periodically spit globules at you that can cause heavy corrosive damage if you don’t have an Adaptive Shield or one that nullifies corrosive damage. Stay on the move, and focus on the Leviathan unless the sand worms are directly in your path.
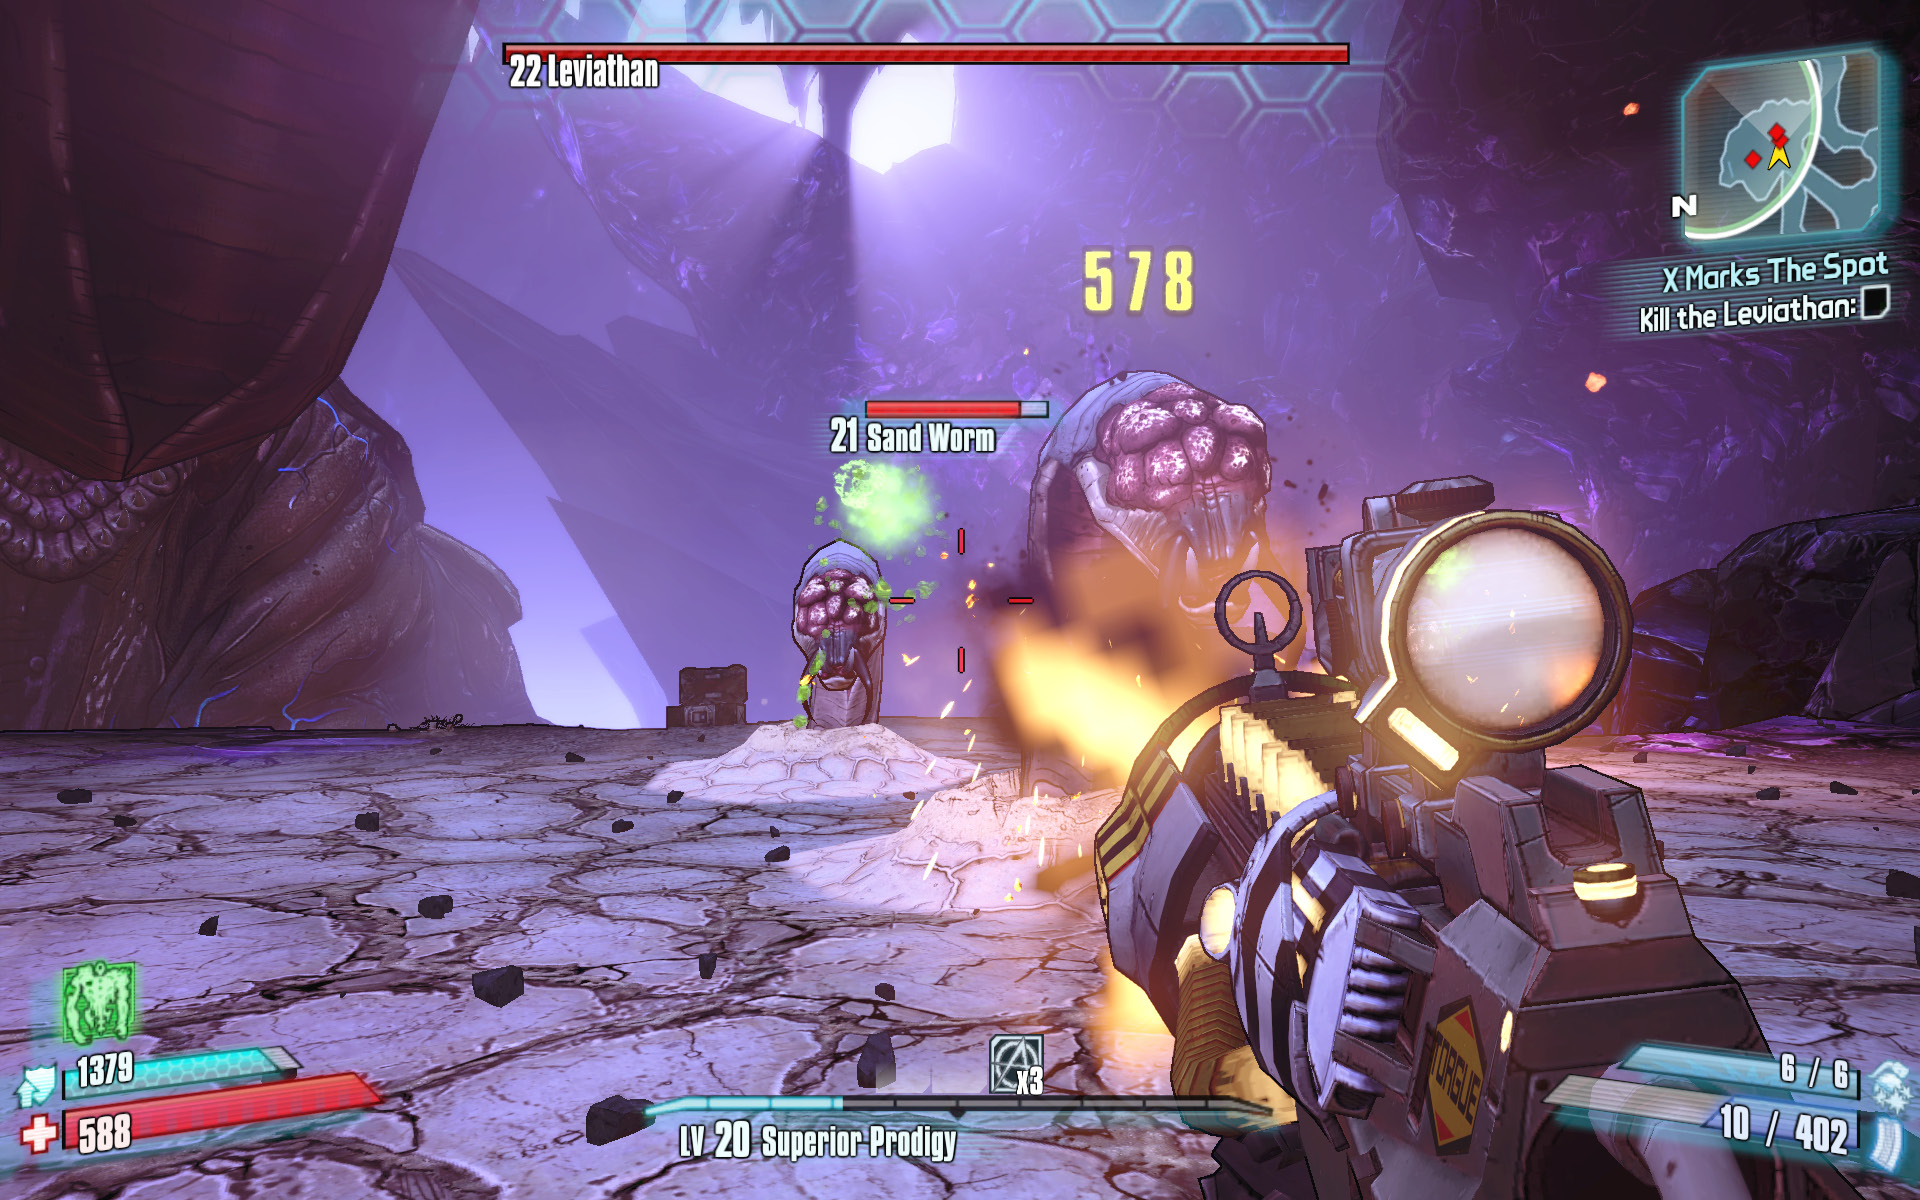
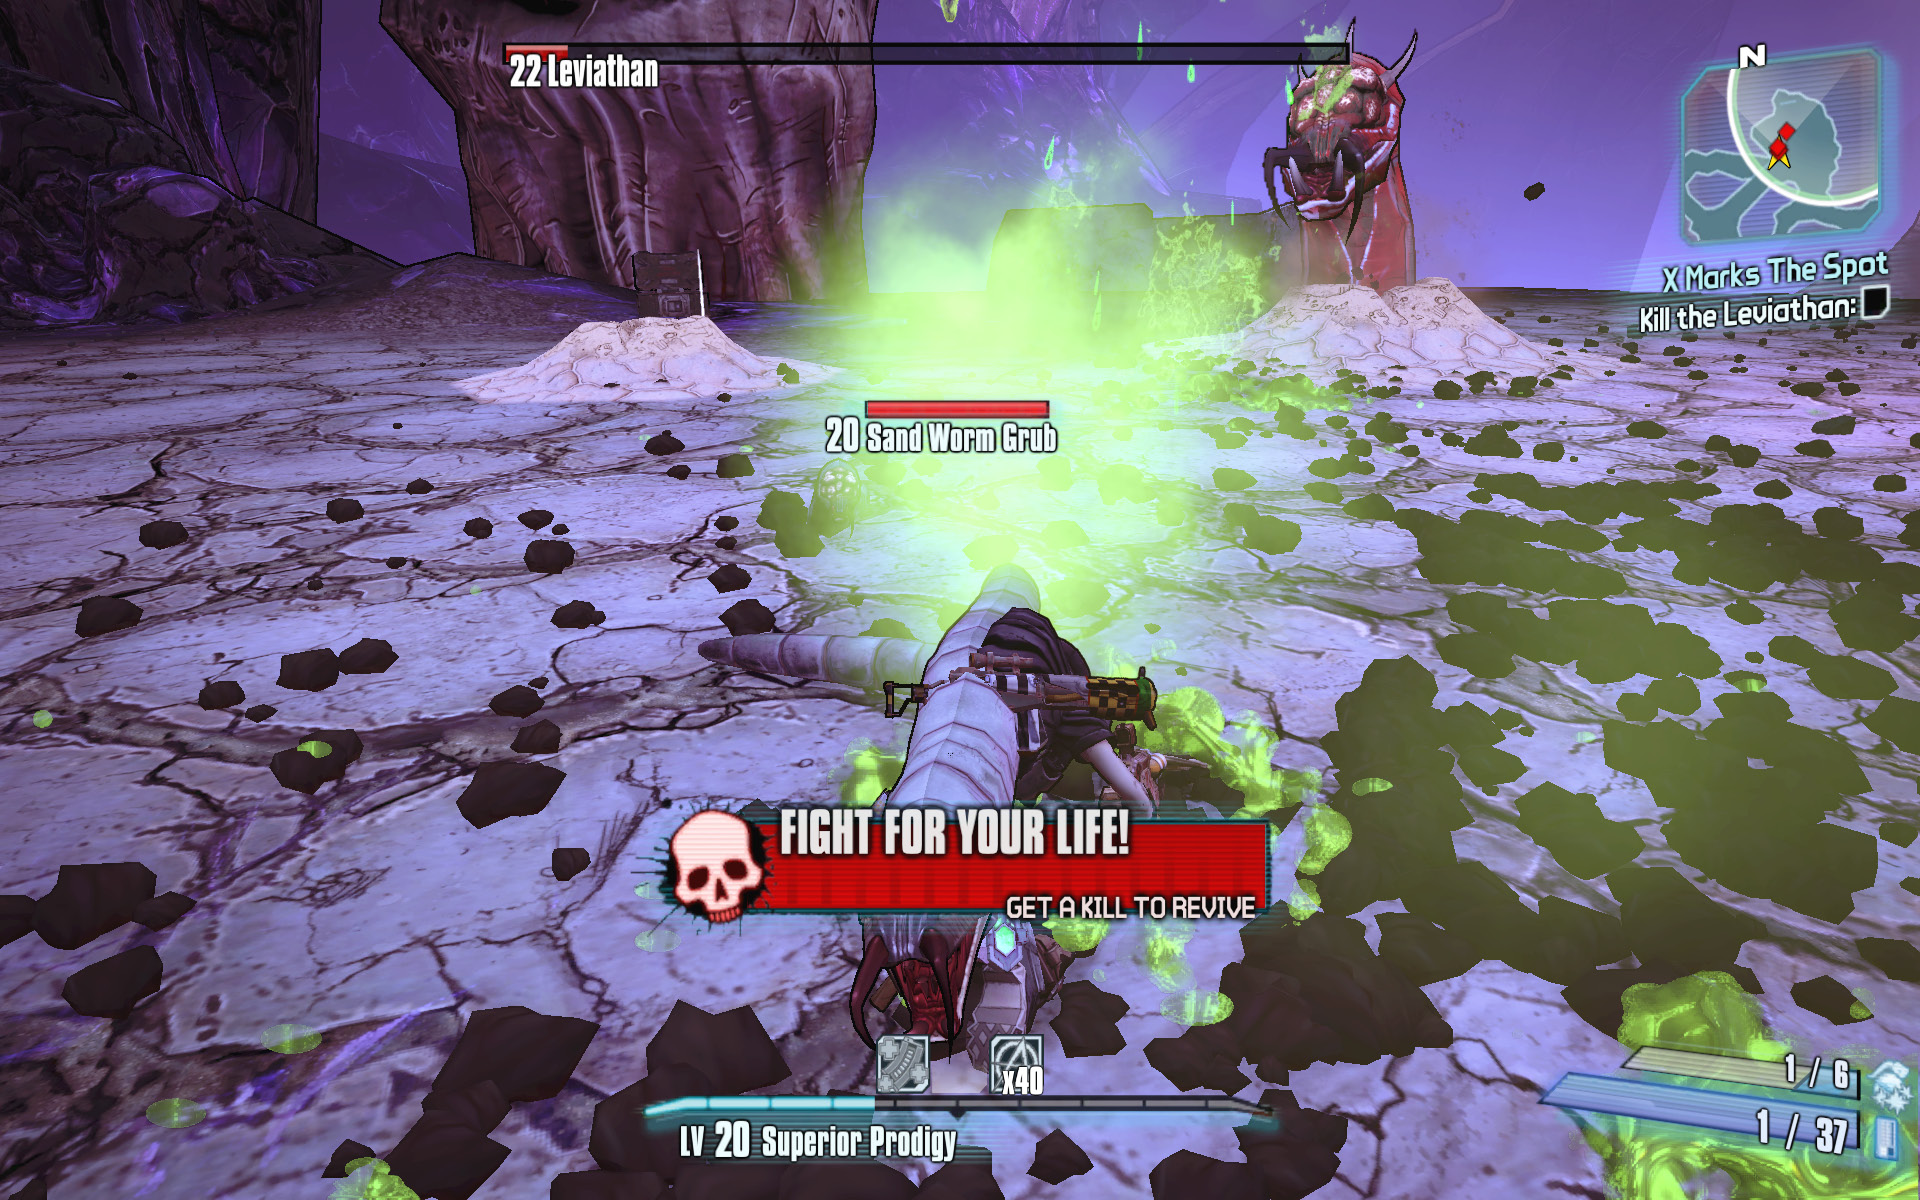
Destroy the three sores on the Leviathan’s body to enter the second phase of the battle. The Leviathan essentially becomes an observer as two Sand Worm Queens attack alongside their offspring. Avoid shooting the Sand Worm grubs at all costs, as they’re your ticket to an easy Second Wind. Instead, switch to your most potent weapon—perhaps even a rocket launcher—and focus on the Sand Worm Queens. The Sand Worm Queens attack with corrosive globs of spit at a higher frequency than normal sand worms, and they’re also far more durable than standard sand worms. Focus your firepower on the Sand Worm Queen while circle-strafing around her to try to avoid her corrosive attacks. Kill them both, then switch to your rocket launcher and prepare to finish off the Leviathan.
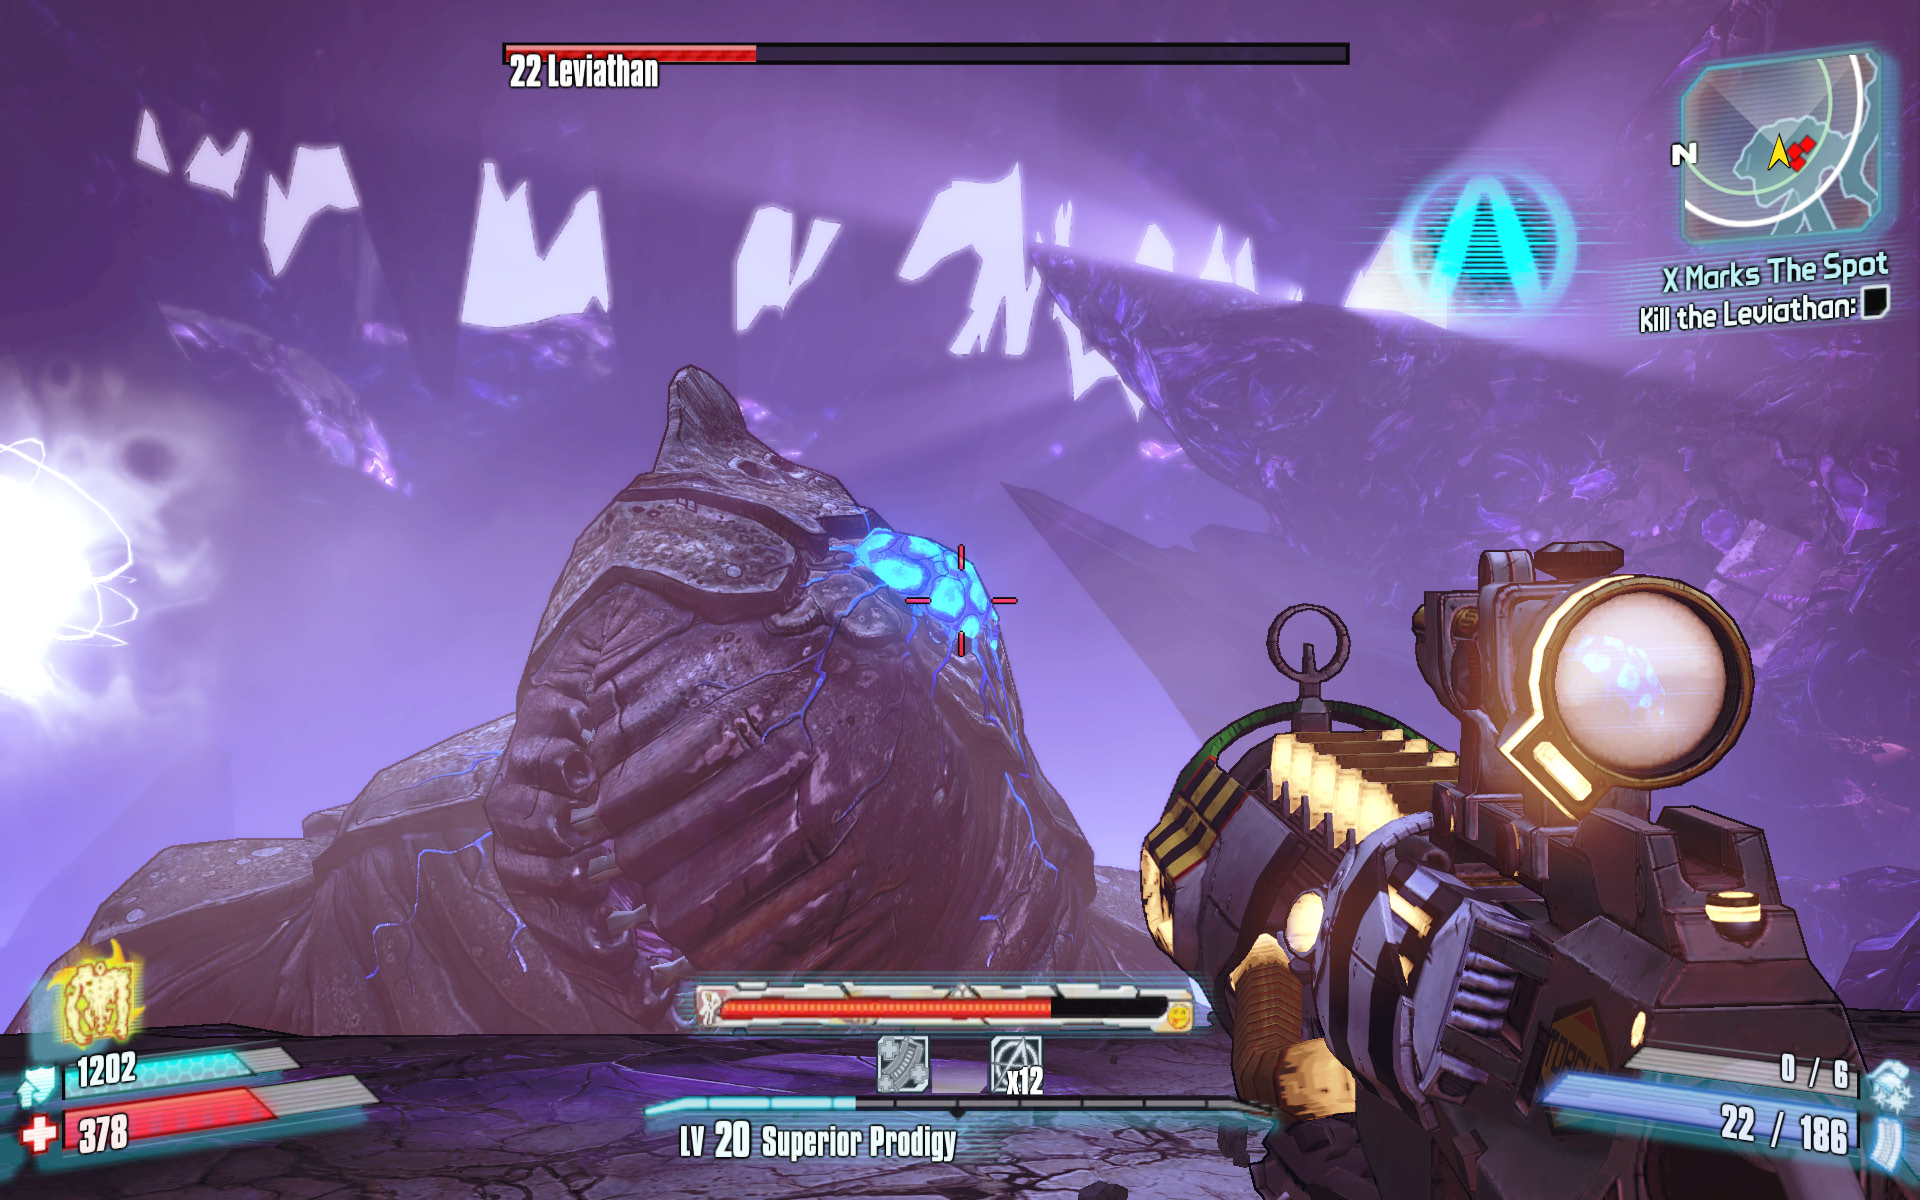
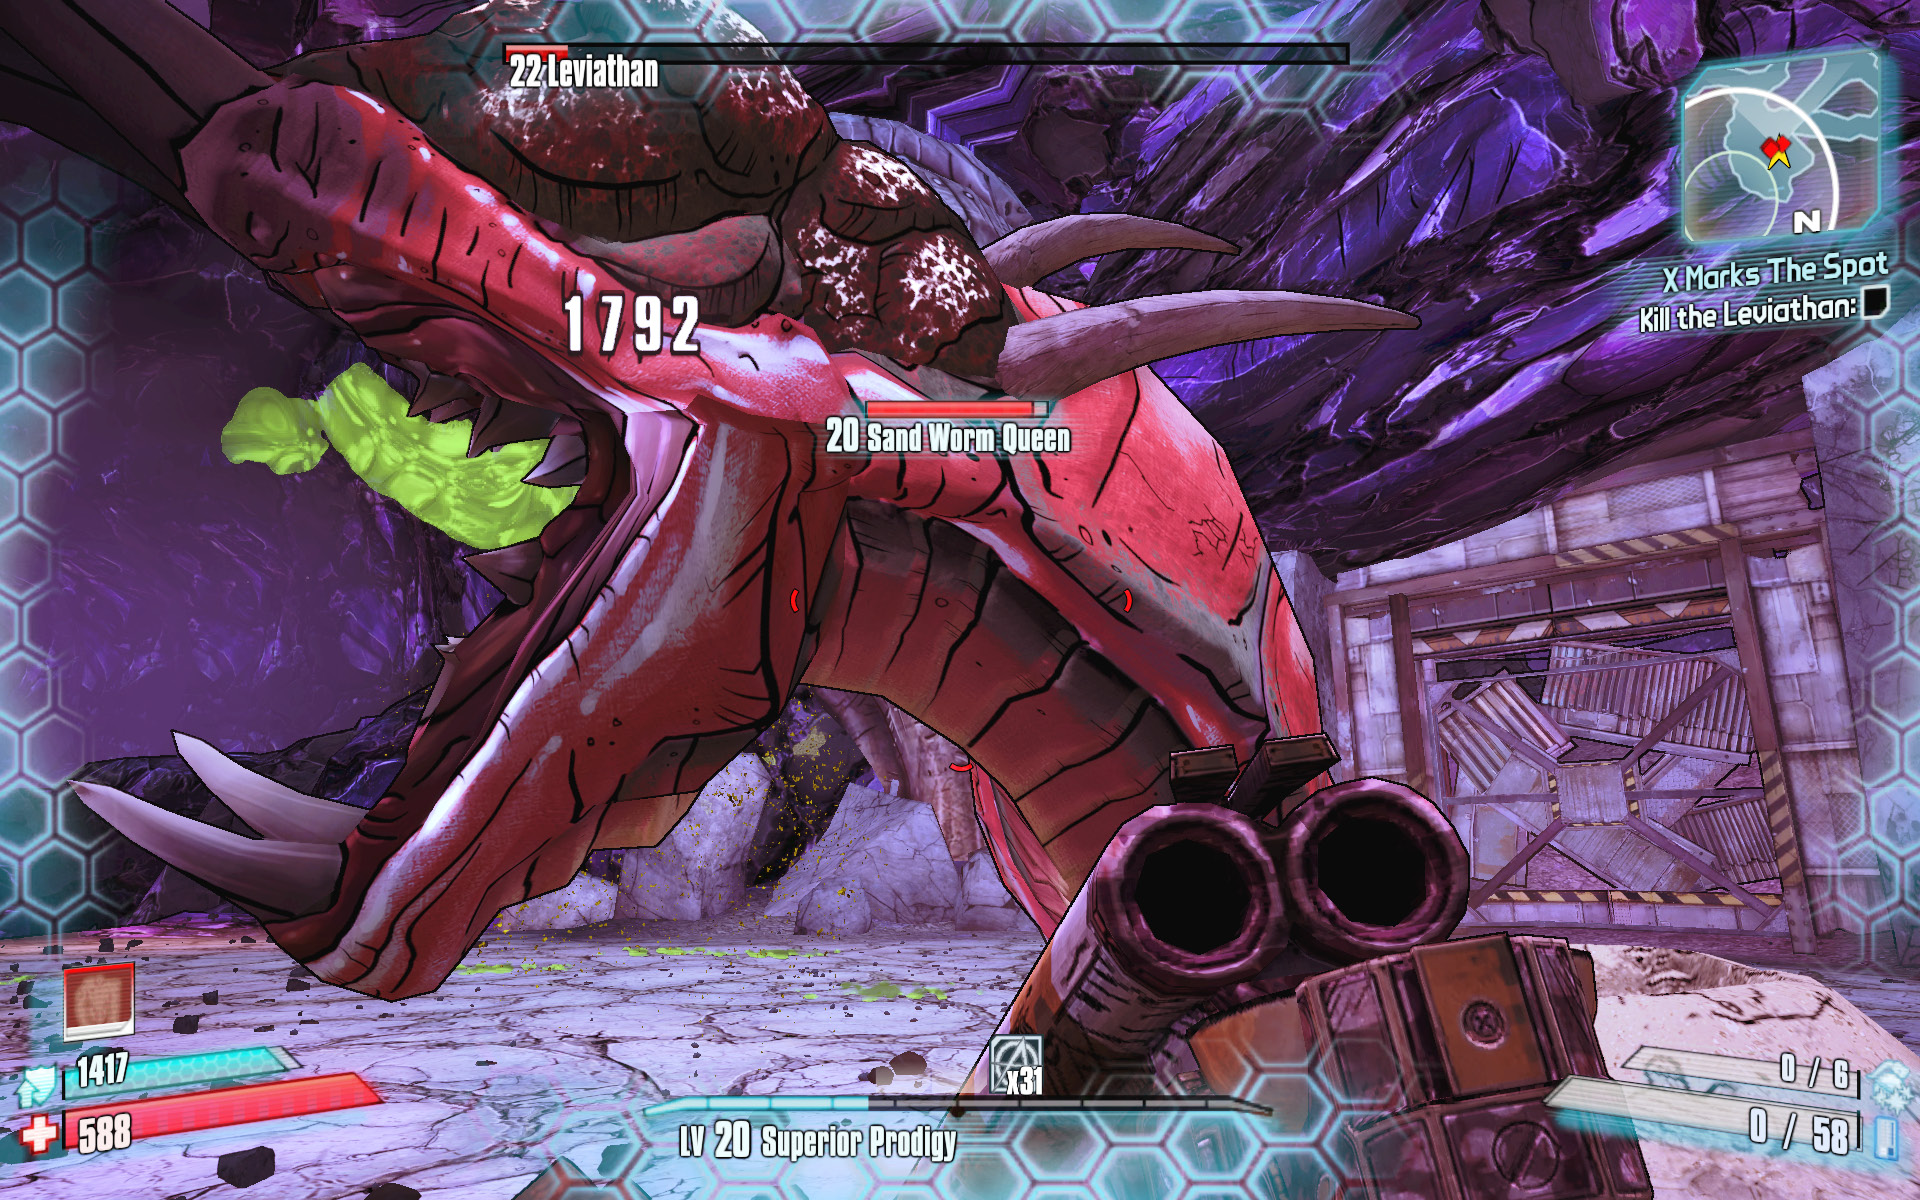
Once you have killed the Sand Worm Queens, the Leviathan rises back up. (Normal sand worms continue to attack). Stand off to the side of the platform, and watch for the Leviathan to open its mouth. A lengthy tongue-like appendage emerges from the beast’s mouth, presenting the best chance you’ll get to target the blue sore on its underside. Fire a rocket at it to rupture the sore and kill the Leviathan.
Finding the Treasure
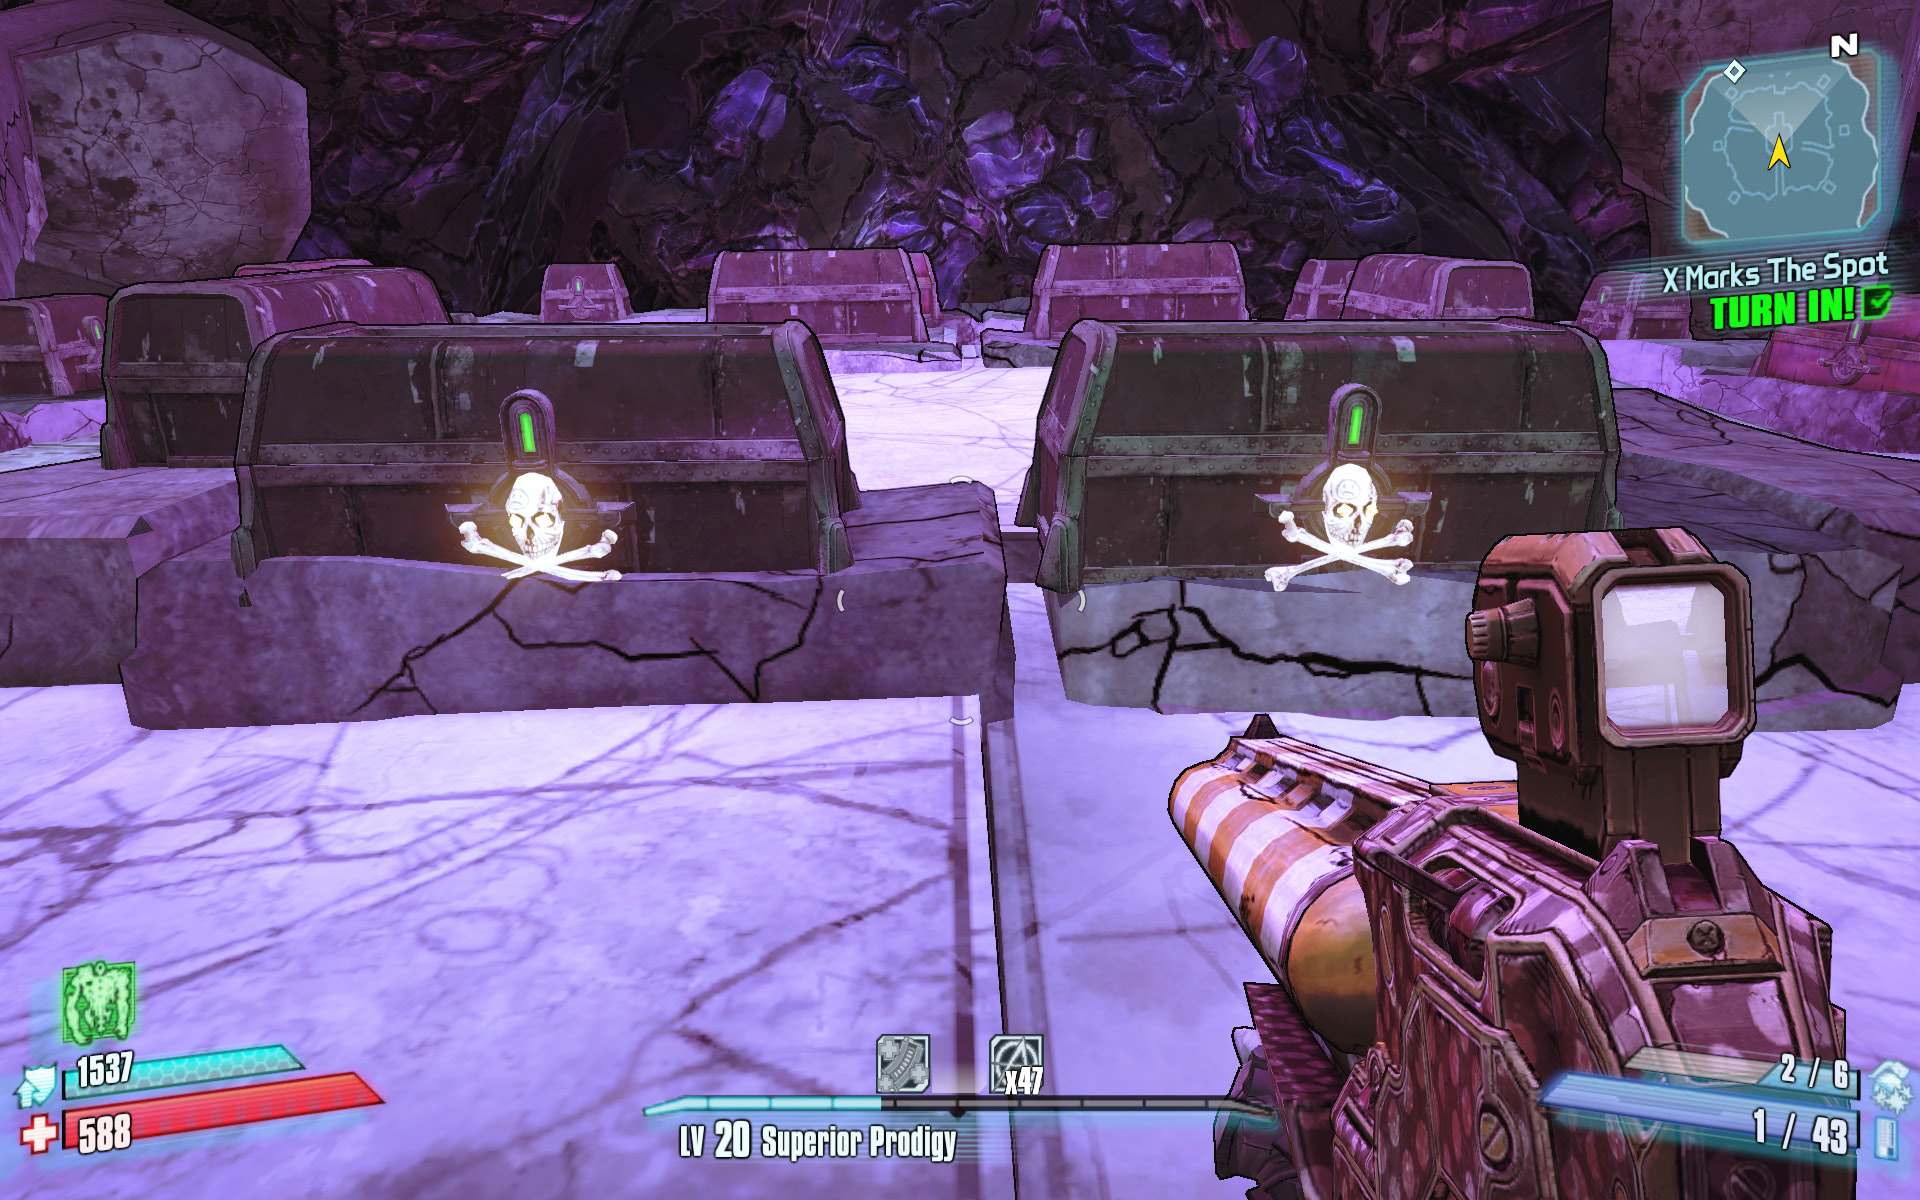
Approach the edge carefully, and leap onto the Leviathan’s corpse. Run along its outstretched arm to the path in the distance, and continue down the hill to the south, making your way toward The Chamber of the Lost Treasure. Skirt the perimeter of the area to the wooden bridge on the right, and cross over to the purple-tinted pyramid. Climb the side of the pyramid using the gray blocks as steps, and help yourself to the bounty of treasure chests atop the pyramid. Congratulations! You’ve uncovered the Lost Treasure of the Sands. Leave this area by leaping from the pyramid on the north side and heading back up the path to where it exits to a cordoned-off area in Oasis, near the Town of Oasis.
Leviathan’s Lair
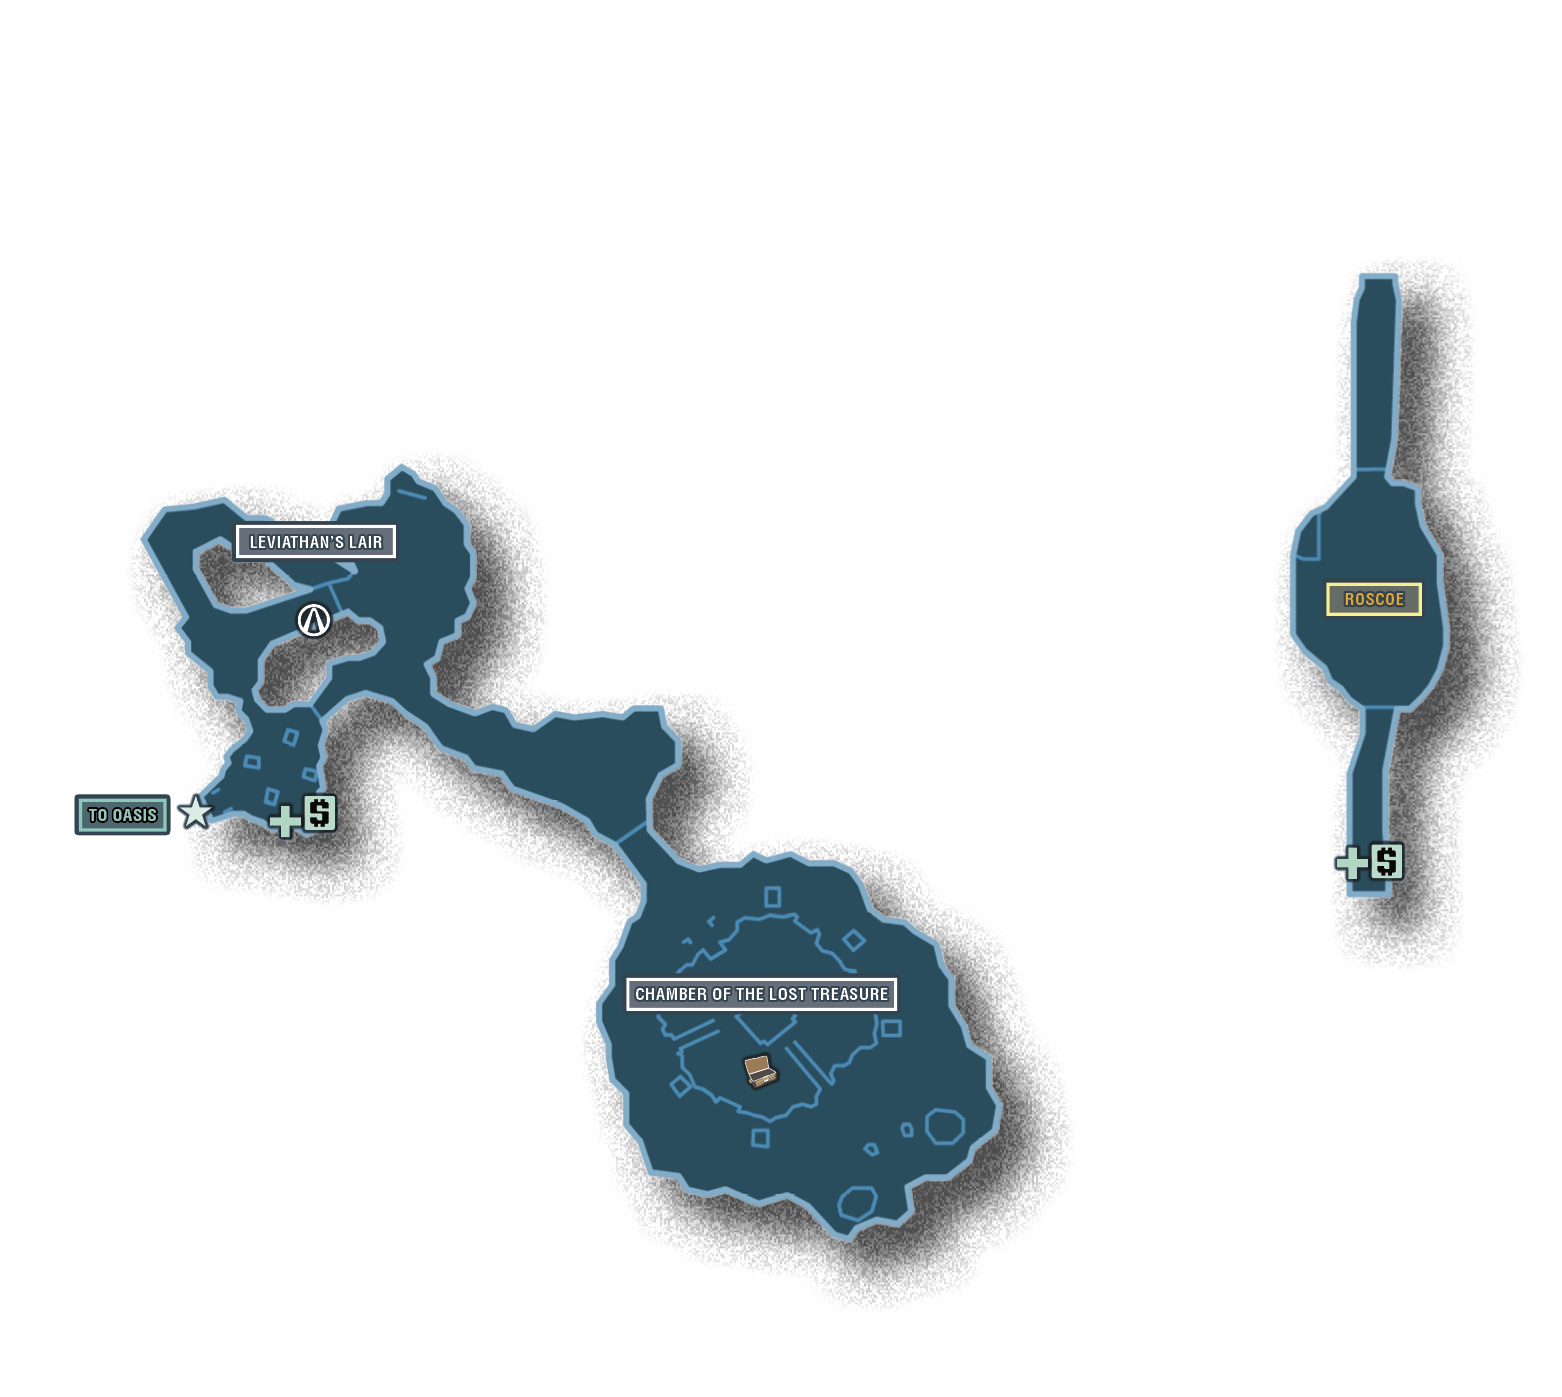
Little is known about the legendary Leviathan, the Lost Treasure of the Sands, and the lair where both can be found. Some say it’s all a rumor, an old wives’ tale like mermaids and unicorns, but others, including Captain Scarlett, believe it’s true. Only those who come to possess all four pieces of the compass can ever know for sure.
Dangerous Beasts
| Enemy Family |
|---|
|
Sand Worms |
High Value Target
| Enemy | Family |
|---|---|
|
Roscoe |
Rakk Hive |
 Cult of the Vault
This symbol is on the path leading down to the Leviathan (as opposed to the hole you drop through when fighting him the first time). It’s on the right-hand side near the gate.
Bleeding Scarlett
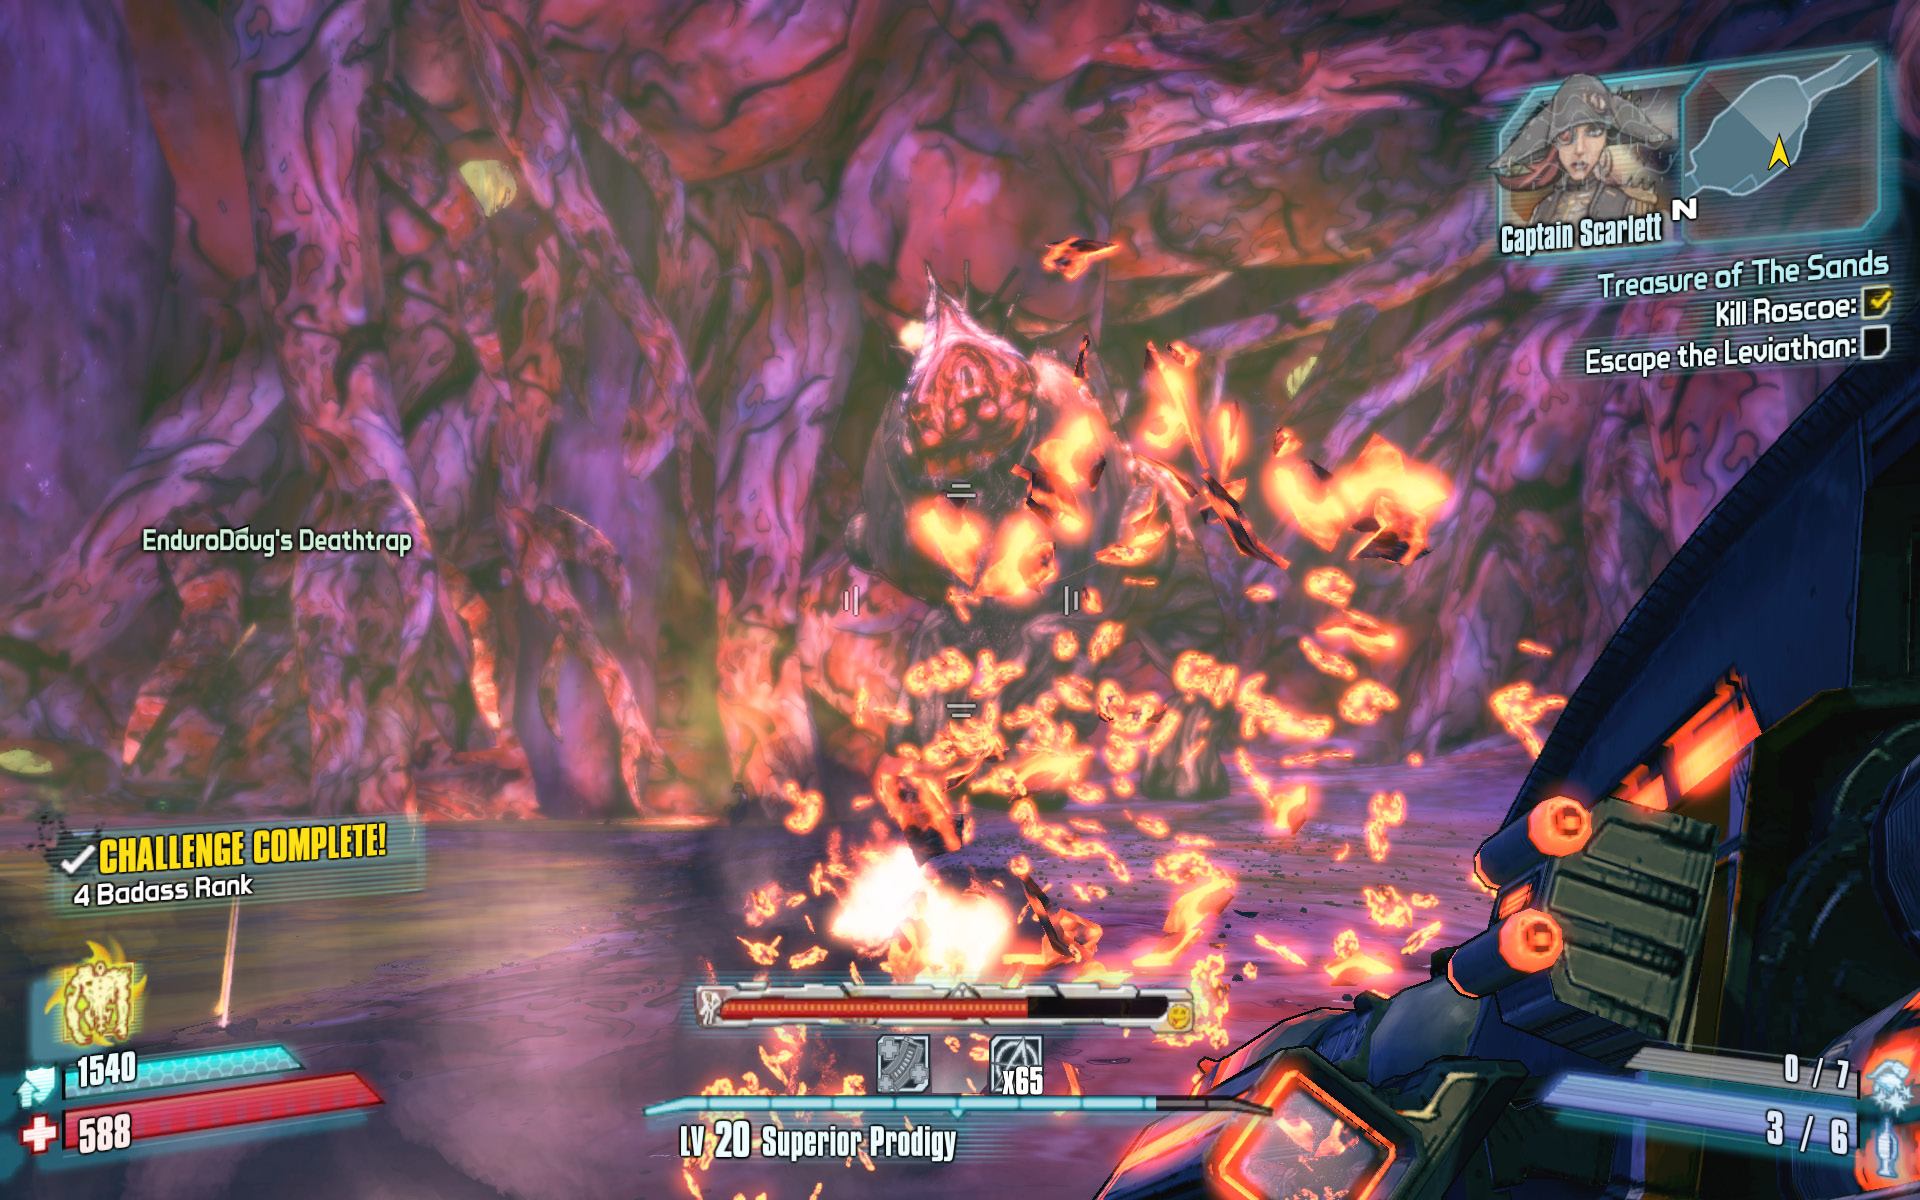
Return to Leviathan’s Lair during the Lost Treasure of the Sands quest for a second chance at Roscoe. Now that you’ve experienced the battle once, you should have little trouble defeating Roscoe and Captain Scarlett in under a minute. Immediately begin hurling Longbow Explosive grenades at Roscoe while firing a rocket launcher at it as fast as you can. Pepper its head with explosive firepower in hopes that some of the shots will hit its eyes for critical damage. Stand your ground, ignore any rakk that are unleashed, and hit it with everything you’ve got. Those playing with Gaige are advised to bring a sizable stack of Anarchy into the fight.
Lost Lost Treasure
There’s a secret chest tucked inside an alcove at the base of the pyramid on the southwest side. Carefully descend the pyramid on the southwest side all the way to the ledge where all of the blocks are gray. Follow this path to the secret crawlspace inside the pyramid.
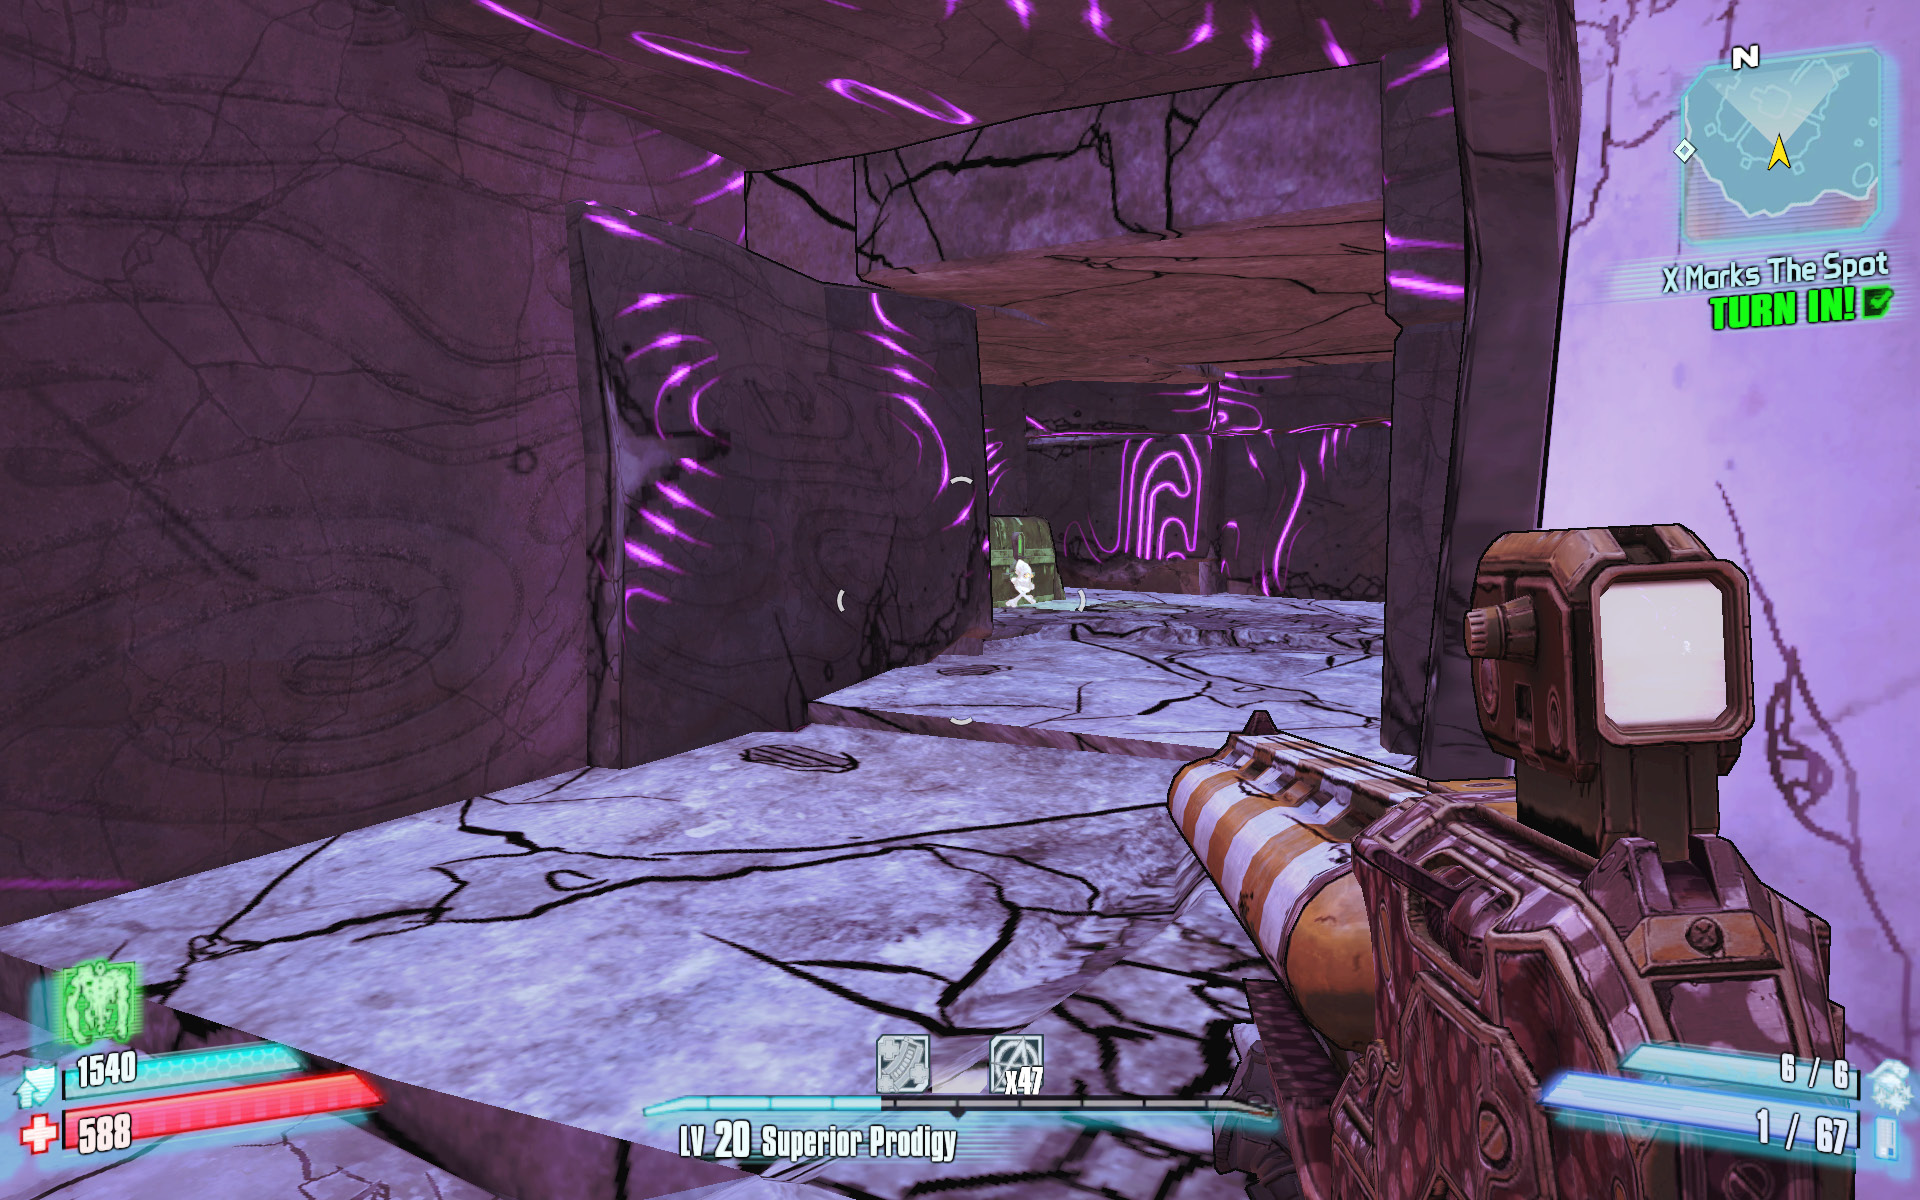
Treasure of the Sands
The Lost Treasure is yours… Again!
Optional Mission Rewards
| Level | Money | XP | Gear |
|---|---|---|---|
|
20 |
$434 |
3859 |
— |
*Money and XP may vary based on player’s level at start of mission.
This optional quest gives you the chance to play the final two story missions a second time for another crack at some rare and powerful treasure! Return to Magnys Lighthouse, fight your way through the pirate settlement, and activate the beacon just as before. Slaughter Captain Scarlett’s crew and lieutenants en route to the Fast Travel station, then present yourself to the Leviathan for swallowing once again. Kill Roscoe and pick up Captain Scarlett’s pistol, Greed, once more (fingers crossed for a better version), and head down the path to deal with the Leviathan. Everything plays out exactly as it did during the “X Marks the Spot” mission, only this time around, you know what to expect and need to turn in at the Bounty Board instead of to Shade.
Hyperius the Invincible
The Seraphs are waiting…
Optional Mission Rewards
| Level | Money | XP | Gear |
|---|---|---|---|
|
30 |
$674 |
7890 |
— |
*Money and XP may vary based on player’s level at start of mission.
Hyperius the Invincible is at rest when you enter the arena, but that all changes when you fire the first shot. Hyperius is the first “Seraph Guardian” you’ll encounter on Pandora. If you’re playing on Ultimate Vault Hunter Mode, defeated Seraph Guardians will drop pink-rarity Seraph items if you’re lucky, or Seraph Crystals if you’re not. Seraph Crystals can be collected and brought to Seraph Vendors like the one in Oasis to purchase the Seraph weapons, relics, and mods you weren’t lucky enough to win outright. Either way, you won’t get your loot without a fight; this is a very difficult battle, and is best tackled with a party of three or four.
Hyperius rises to his feet and summons four loaders as bodyguards. Hyperius releases a damaging red pulse every 40 seconds and has a protective shield around him that mitigates 90% of all damage. The loaders each have an energy beam connecting them to Hyperius until they lose 20% of their health. At that time, the loader’s connection to Hyperius is terminated the loader brings up its own repair shield. Hyperius will release a blue energy pulse that can drain the players’ shields once all of the loaders are in a repair state.
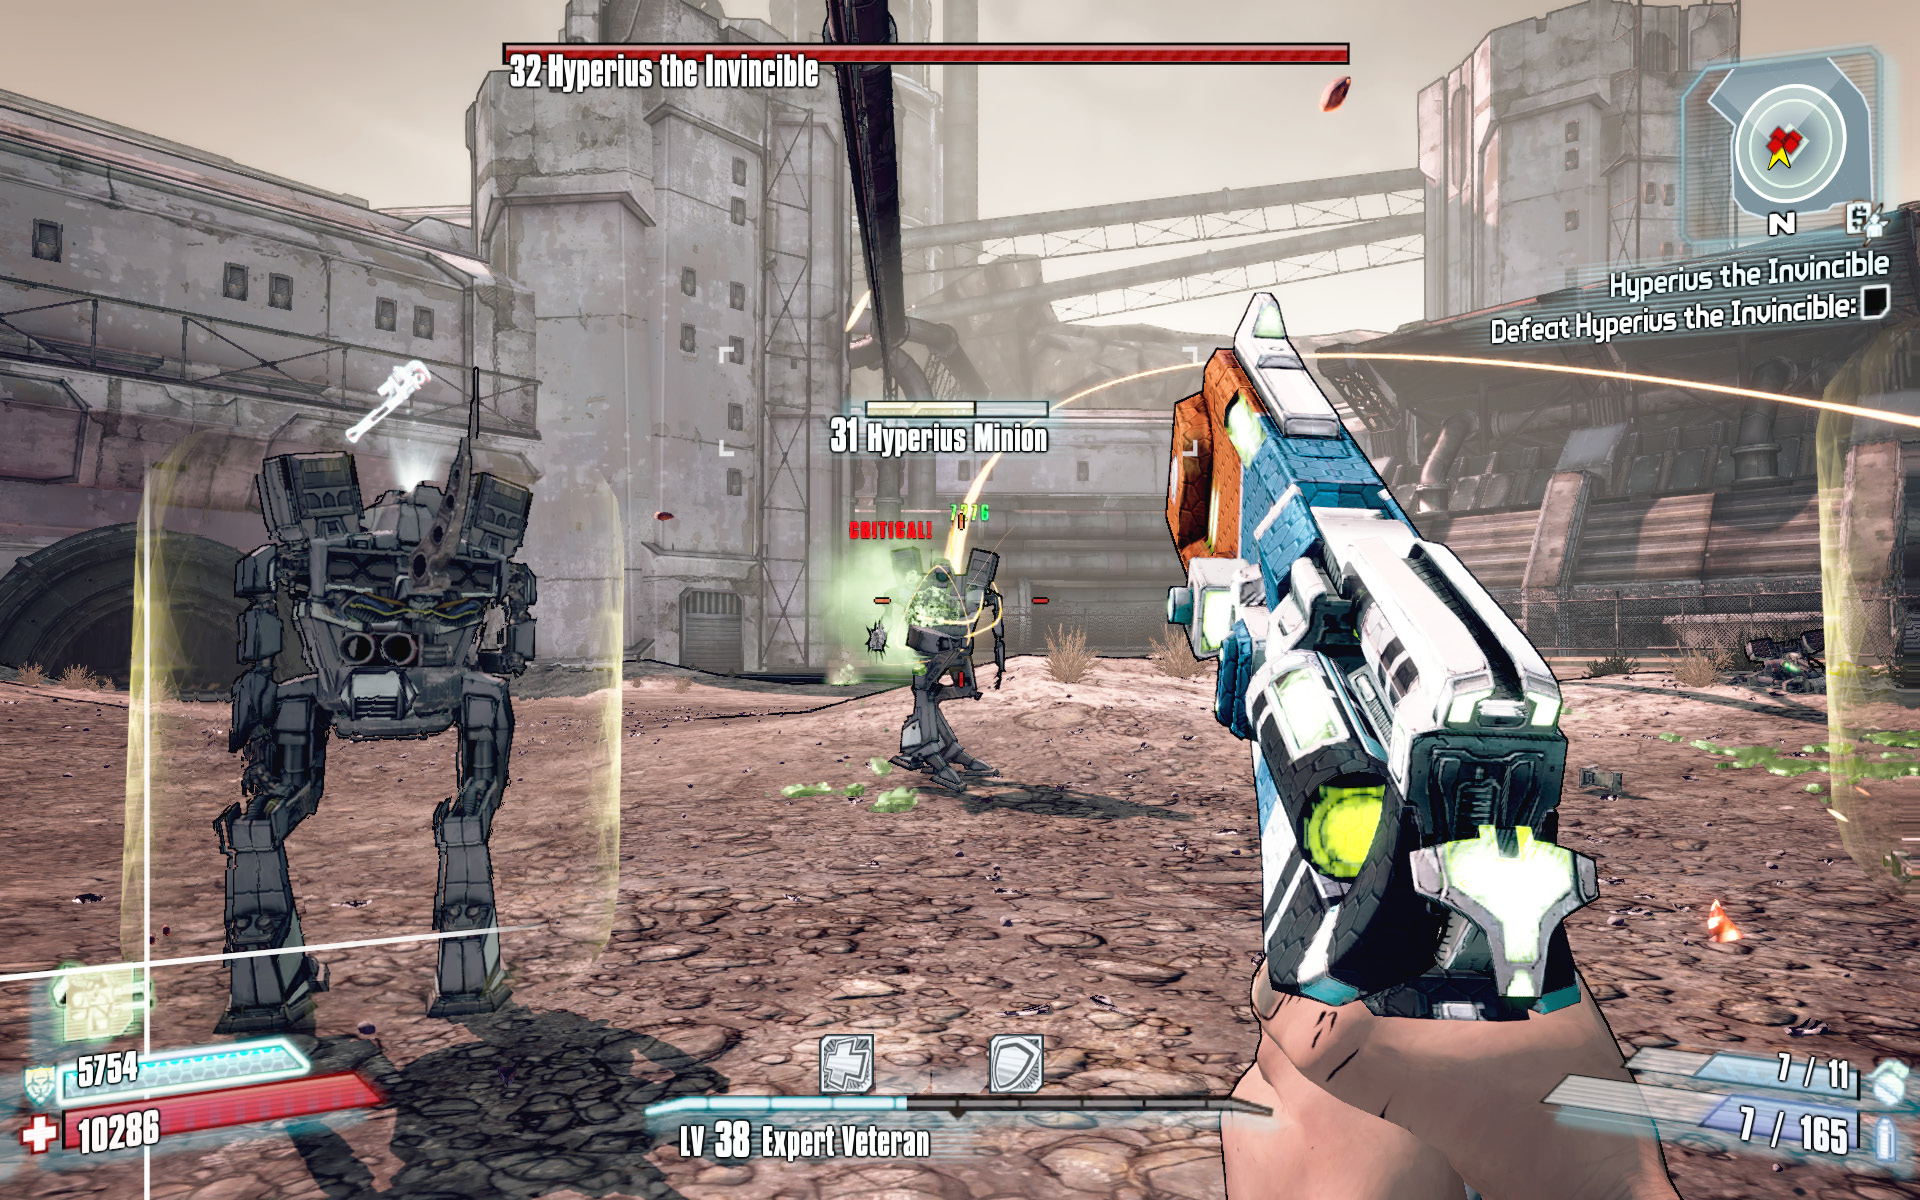
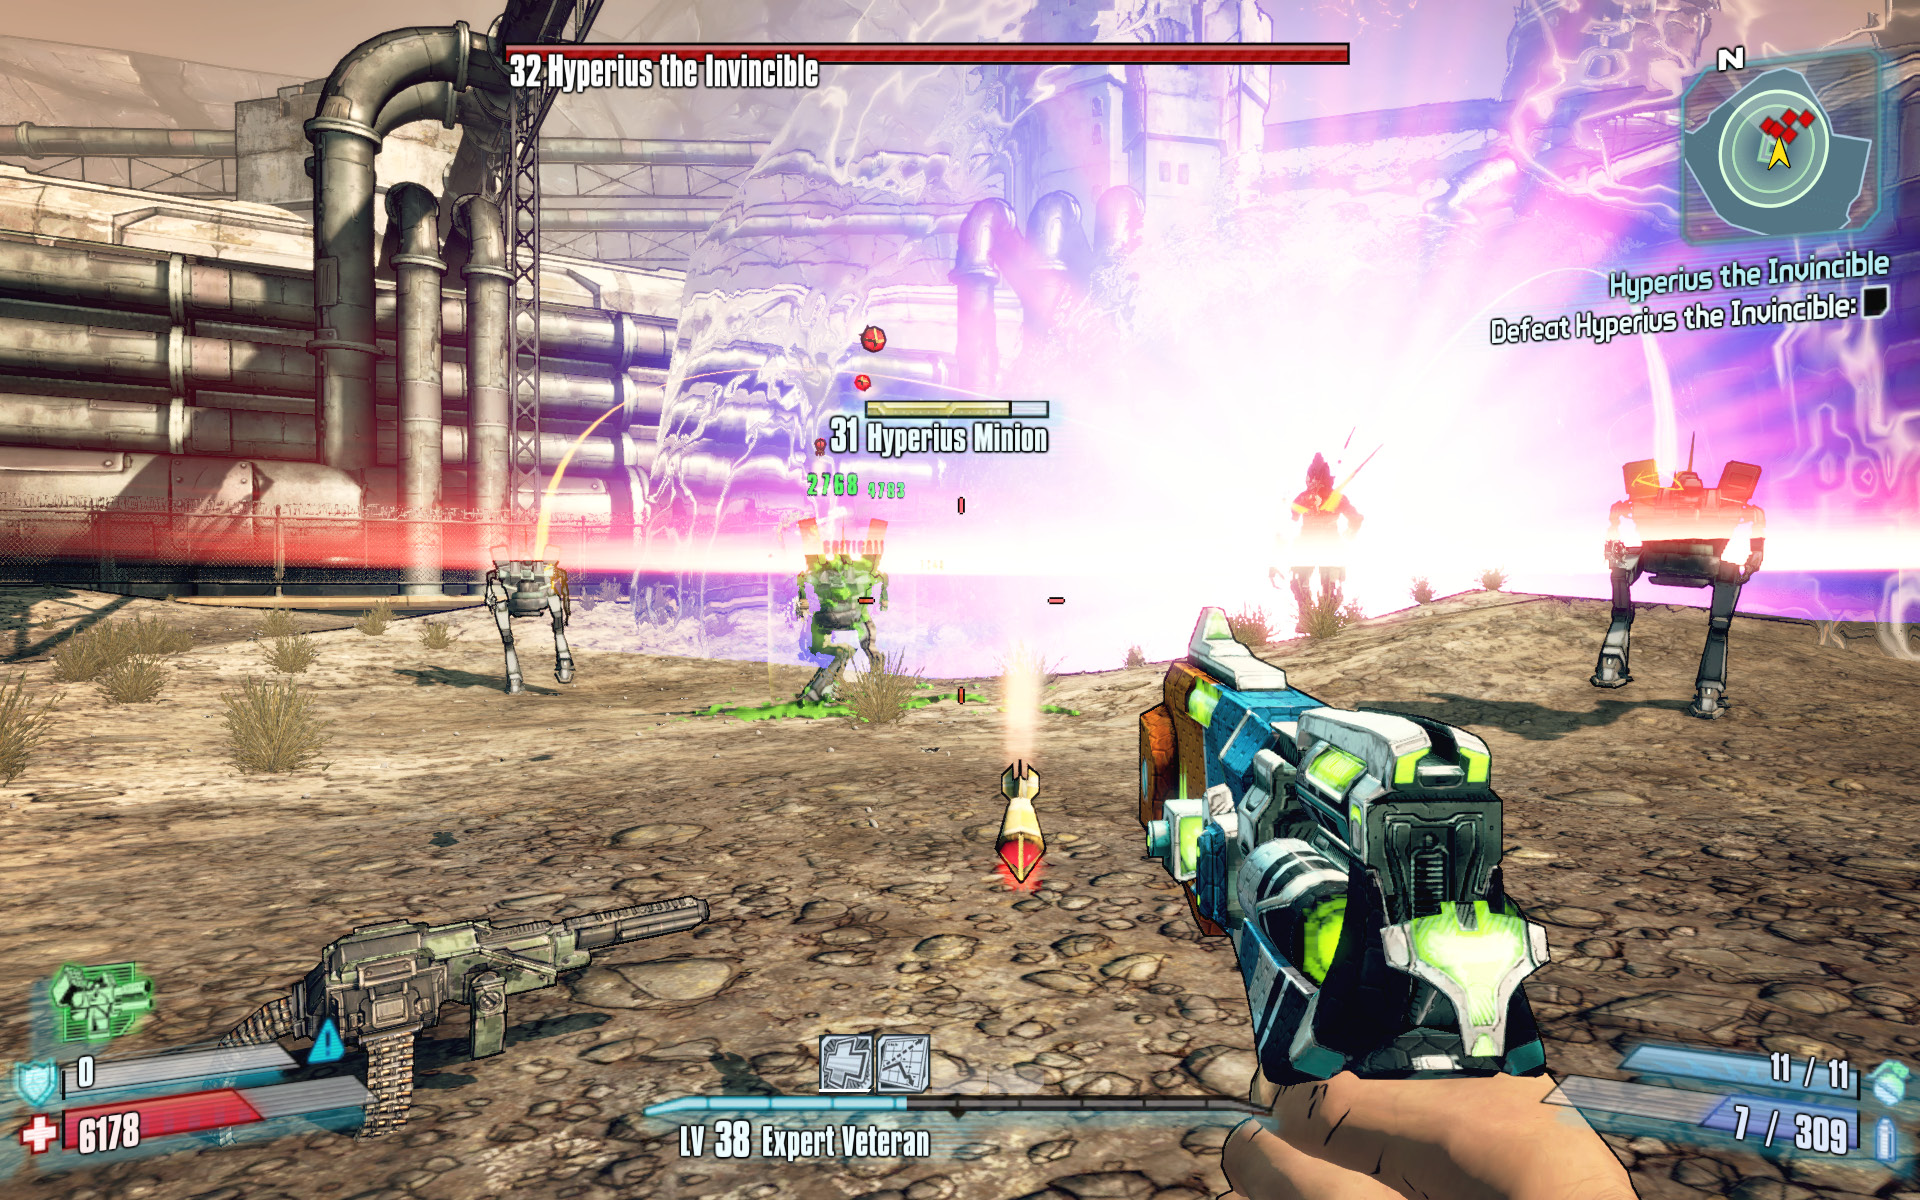
The first phase of the battle ends when the four loaders are dead. Here are some specific tips for accomplishing this:
- Launch an attack on Hyperius right at the start of the battle, during the short burn phase, before Hyperius’ shield goes up.
- Each player should focus on an individual loader so as to put them all into their repair state simultaneously. Time this well to maximize the time you’ll have to damage Hyperius.
- Maintain a safe distance from each loader to be able to strafe out of the way of their rockets.
- Wait for Hyperius’ red pulse attack then damage the loaders. You don’t want to trigger Hyperius’ shield-draining blue pulse moments before the next red pulse occurs.
- Select gear that favors survivability, as all players need to be upright in order to damage the loaders simultaneously. Consider the Neogenerator or other adaptive shield.
- Equip a high DPS corrosive weapon for the loaders and Hyperius. The Hornet is one of the best for this.
- Coordinate with teammates to keep Hyperius slagged during the short burn phases that occur while his shield is down.
Hyperius doesn’t have a shield during the second phase, since he drew power for it from the loaders. That being said, Hyperius is far more active during the second phase and leaps around the arena frequently as he releases his red pulse every 10 seconds instead of every 40 seconds. Hyperius will continue to grow in size during the second phase of the battle. The larger he gets, the more powerful his red pulse attacks get.
Hyperius’ starting size and strength in phase two of the battle is determined by how long it takes you to kill the four loaders in the first phase. Consider the following tips for winning the fight:
- Lob transfusion grenades at Hyperius to make it easier to survive the red pulse attacks.
- Spread out so your party has time to avoid Hyperius’ leap attacks and aren’t taken out by a single jump.
- Keep Maya far away from Hyperius, since the party needs her for survivability.
- Save your rockets for when you get downed, as it’s possible to get the last 10-20% of Hyperius’ health while in a downed state. The Badaboom and Norfleet are the top options here.
Master Gee the Invincible
The Seraphs are waiting…
Optional Mission Rewards
| Level | Money | XP | Gear |
|---|---|---|---|
|
30 |
1.348 |
867 |
— |
*Money and XP may vary based on player’s level at start of mission.
Optional Mission Rewards (2nd playthrough)
| Level | Money | XP | Gear |
|---|---|---|---|
|
50 |
13,005 |
4301 |
— |
Master Gee lurks in Hayter’s Folly and offers Vault Hunters an epic three-stage battle, provided you pay the 8 Eridium it costs to open the gate to his arena. Master Gee is completely invulnerable to your weapon damage during the first phase of the battle. The only way to damage him is to defeat the sand worms that spawn in the arena and lure Master Gee into the toxic pools of acid that the sand worms leave behind. Whoever soaks up the acid—the player or Master Gee—takes permanent damage over time for the duration of the battle, but also gains +50% damage per pool they soak up. Master Gee can only be damaged by soaking up these acid pools during the first phase, but this comes at the risk of him growing in attack power. The first phase ends once his shield has been depleted.
The second phase plays much the same as the first, only Master Gee can now be damaged directly with your guns. Phase two will continue until Master Gee falls below 40% health.
The third phase begins with the orb in Master Gees chest falling to the ground. The orb generates a protective bubble that protects those inside it from the acid pools and damage over time effects from acid pools previously soaked up. The bubble extends its protection to anyone inside it, both players and Master Gee alike.
There are a number of tactics to employ against Master Gee, including hiding behind the rock in the entrance cave and allowing the damage over time effects to slowly whittle down his health. Here are a few other tips to consider:
- One approach is to spread out (or take cover behind the rock in the cave) and make Master Gee soak up all of the acid pools. His virtually unavoidable axe throw will eventually be strong enough to one-shot players so you’ll need lots of teamwork to stay alive.
- Another tactic is to allow Master Gee to soak up a few of the sand worms’ acid pools while the party of Vault Hunters soaks up the rest. Allow Salvador and Axton to soak up the most and consider keeping Maya away from the acid pools entirely as she can’t Bullet Heal herself.
- A third option is to only allow Master Gee to soak up a couple of acid pools and have just one or two player soak up all of the rest. The players soaking up the acid pools must have plenty of passive health regen to withstand this must damage over time. The players not soaking up any acid pools should equip the Bee or other amplify shield.
- Stay in the protective bubble once it has been dropped and focus all of your attacks on Master Gee. There is no reason to fear the sand worms anymore. Have one player focus on keeping Master Gee away from the bubble.