
Borderlands 2 Game of the Year Guide Walkthrough
Cleaning Up the Berg
|
 Mission Briefing
| Level | Money | XP | Gear |
|---|---|---|---|
|
3 |
$12 |
321 |
Shield (White) |
*Money and XP may vary based on player’s level at start of mission.
Defending the City Gates
Follow Claptrap out the back door of the barge and onto the cliffs above Southern Shelf. This vantage point gives you a clear view of the glacier’s terminus with the gated town of Liar’s Berg on the left and the frozen sea in the distance. Claptrap makes his way down the icefall with all the grace that can be expected of a blind mono-wheeled robot. Take a moment to appreciate the view, then hop down after him. Use your new weapons to blast the bullymongs that meekly threaten your progress and make your way to the gate.
Liar’s Berg’s lone resident, the scholarly blueblood Sir Hammerlock, agrees to come out of his safe house only if the Vault Hunter—that’s you—promises to lay waste to the bandits attacking his town.
Reload your weapon and advance along the snow-covered road, opening fire on the Marauders that appear. Take out the ones on the left first, then sweep to the right and mount the hill near Fillion’s Bed, Breakfast & Bullets inn and the generator. Several Brat Bullymongs will leap down from the cliffs and attack. You can stand back and watch as the Marauders and Brat Bullymongs turn their aggression toward one another, but doing so will likely cost you XP. Instead, continue to pepper the Marauders with gunfire to deliver the fatal shots yourself before the beasts effectively steal those kills from you.
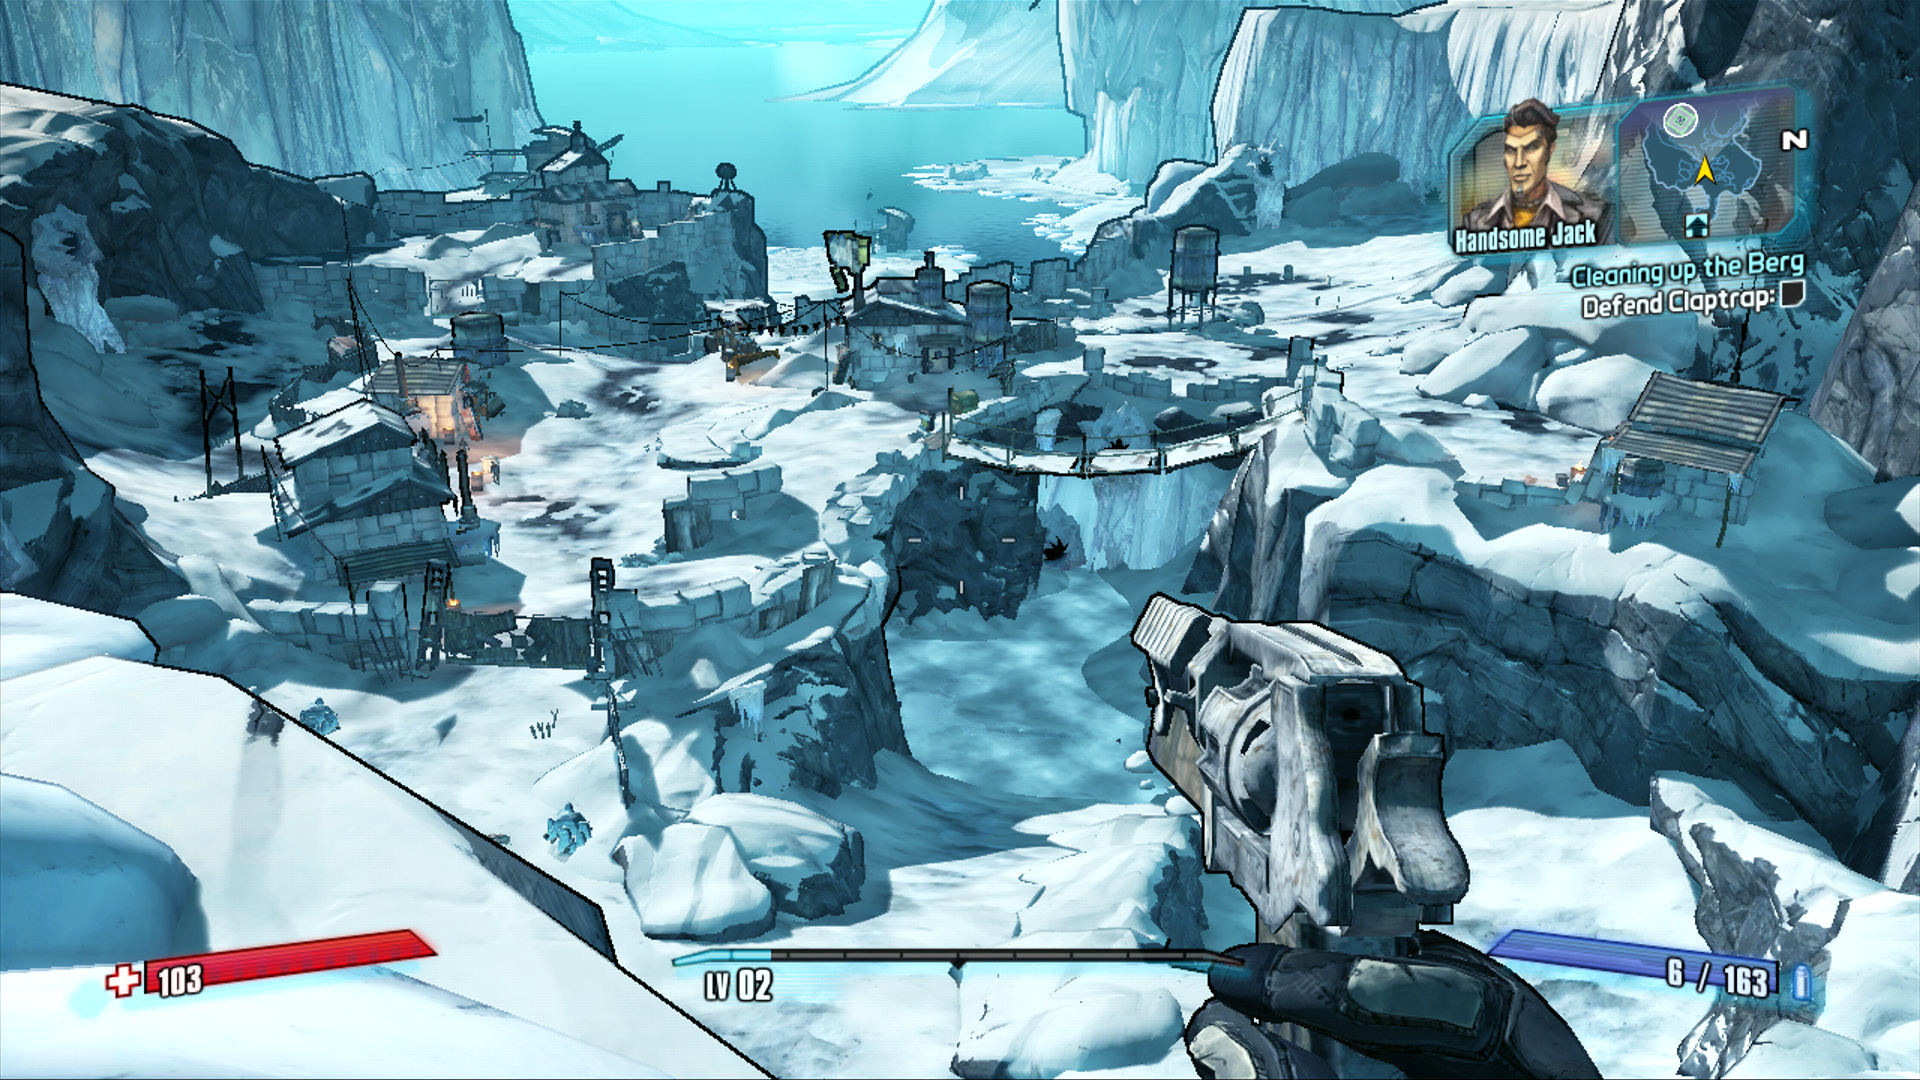
Descend the cliff and head left toward the Liar’s Berg gate and introduce the bullymongs to your shotgun.
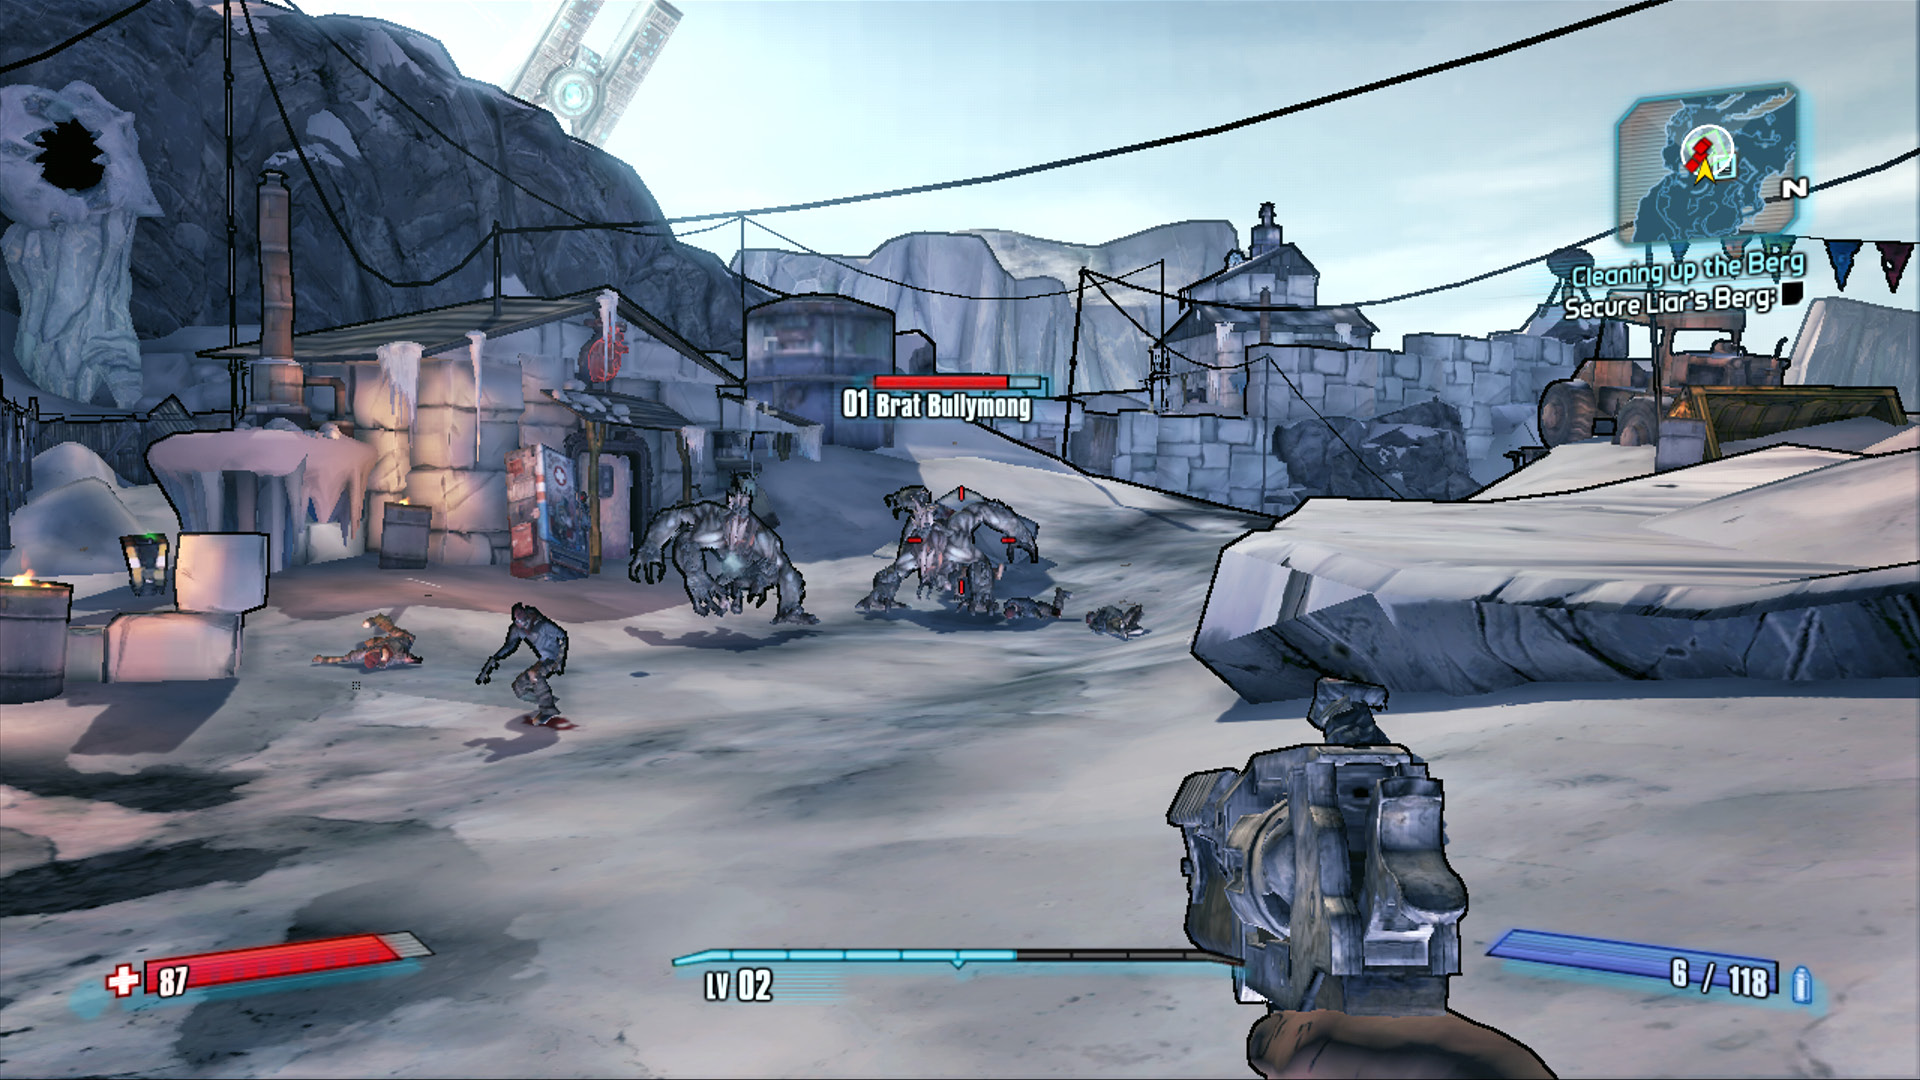
Stick to the hill near the generator and try to kill as many Marauders as you can before the bullymongs do.
Stay up on the hill and shoot at the brawling Marauders and Brat Bullymongs with your pistol and switch to the shotgun you obtained in the barge if anything gets too close. It’s possible to earn more Badass Ranks here by scoring headshots for critical kills if your aim’s good enough.
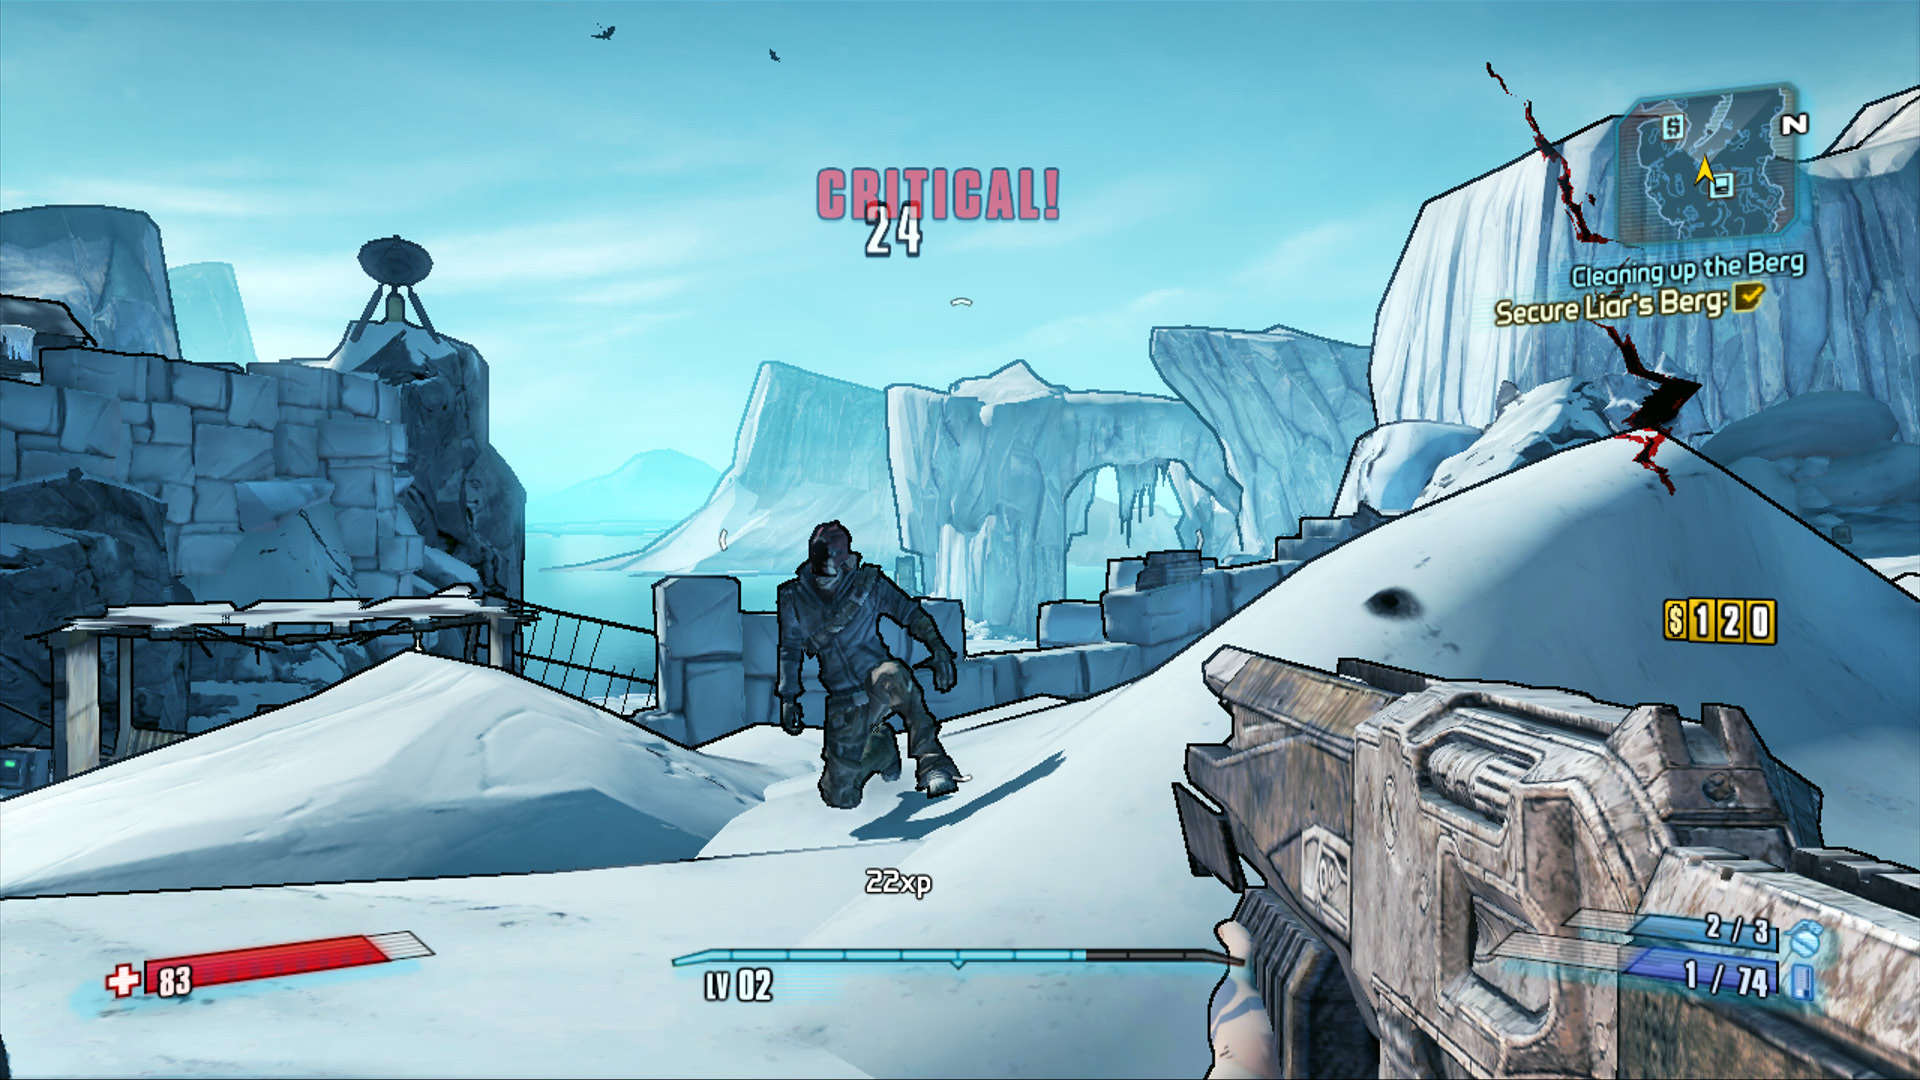
Apparently these Marauders want to meet your new shotgun, too.
With the battle won and the town secure, follow Claptrap to Sir Hammerlock’s electric fence. Stand back and wait for your robot companion to open the gate, then hand over Claptrap’s eye. Take a moment to scout around Sir Hammerlock’s house for loot, then follow him to the center of town. He’ll fire up the generator so you can make use of the vending machines and Fast Travel Station. The Bounty Board still doesn’t work, but you can speak with Sir Hammerlock to receive and turn-in quests.
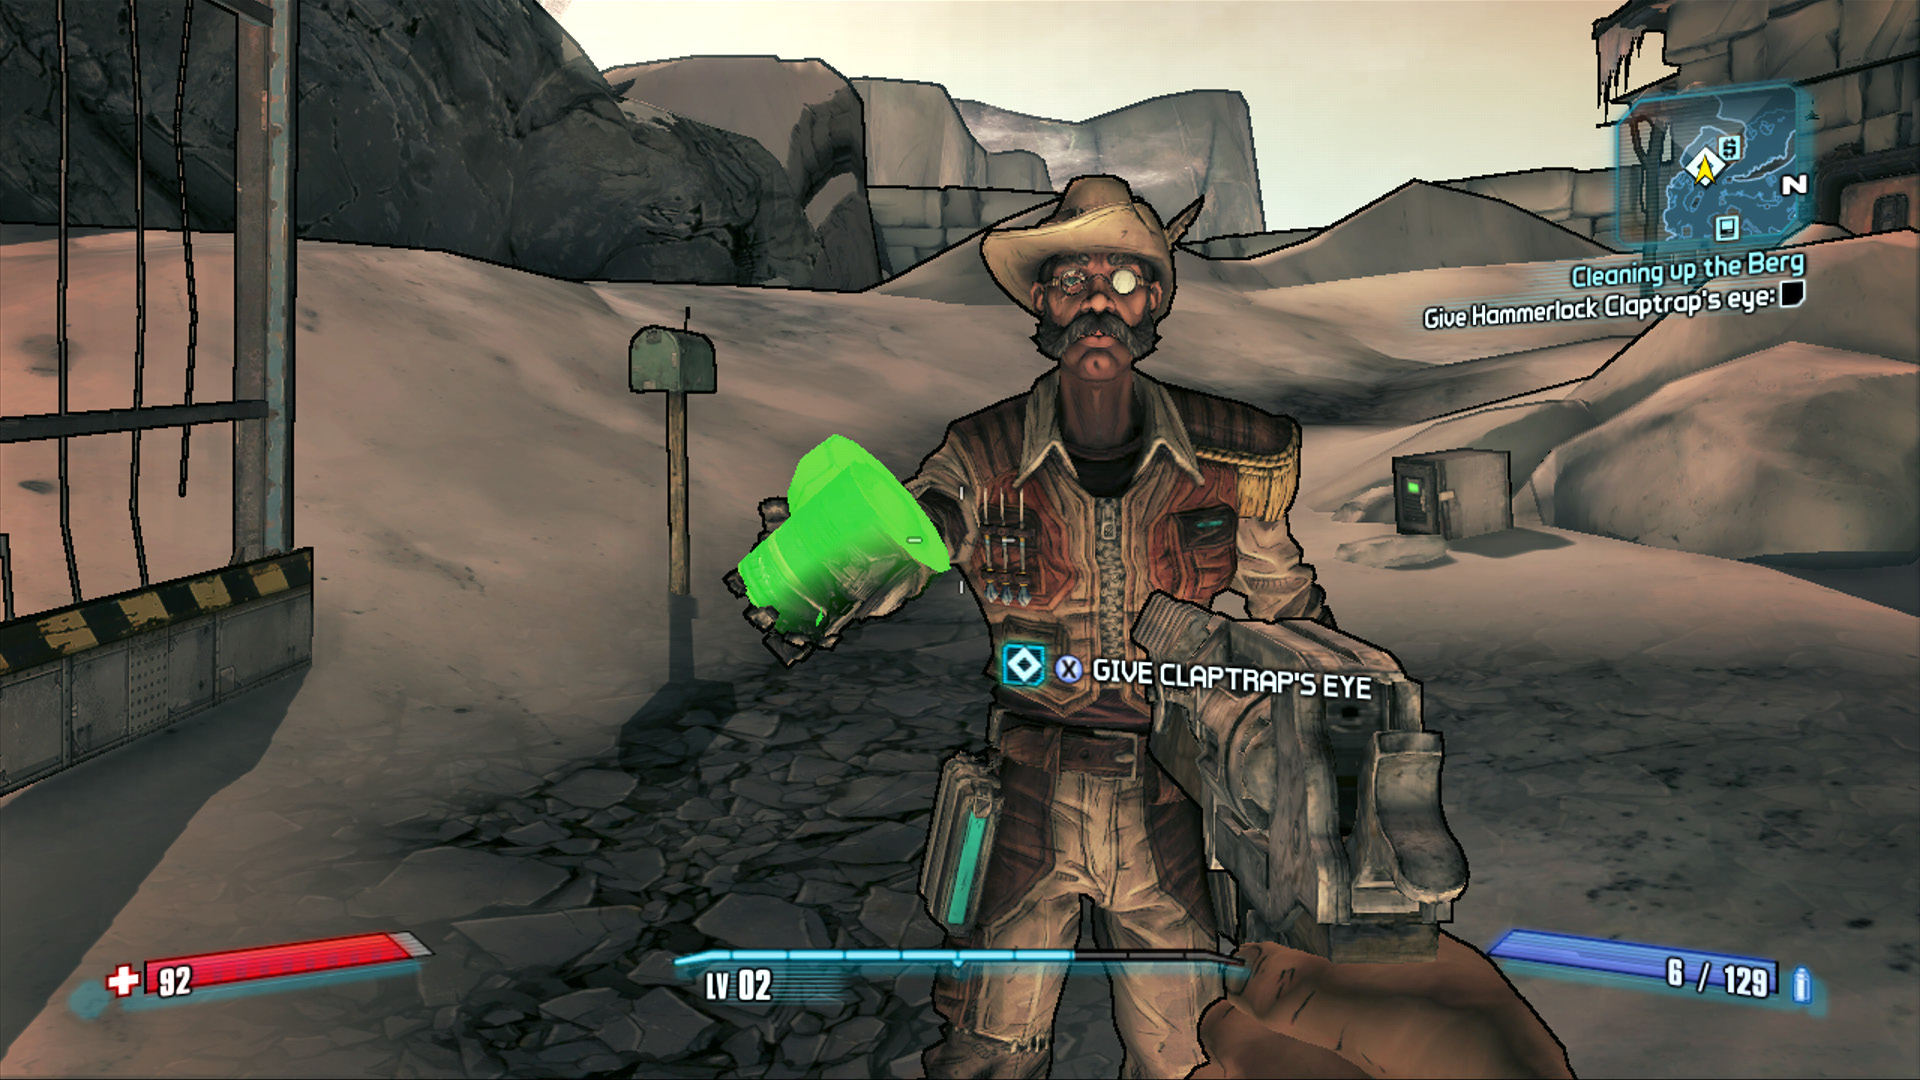
He spared you a nasty shock. What hospitality! Now, give him the eye.
Southern Shelf Bay
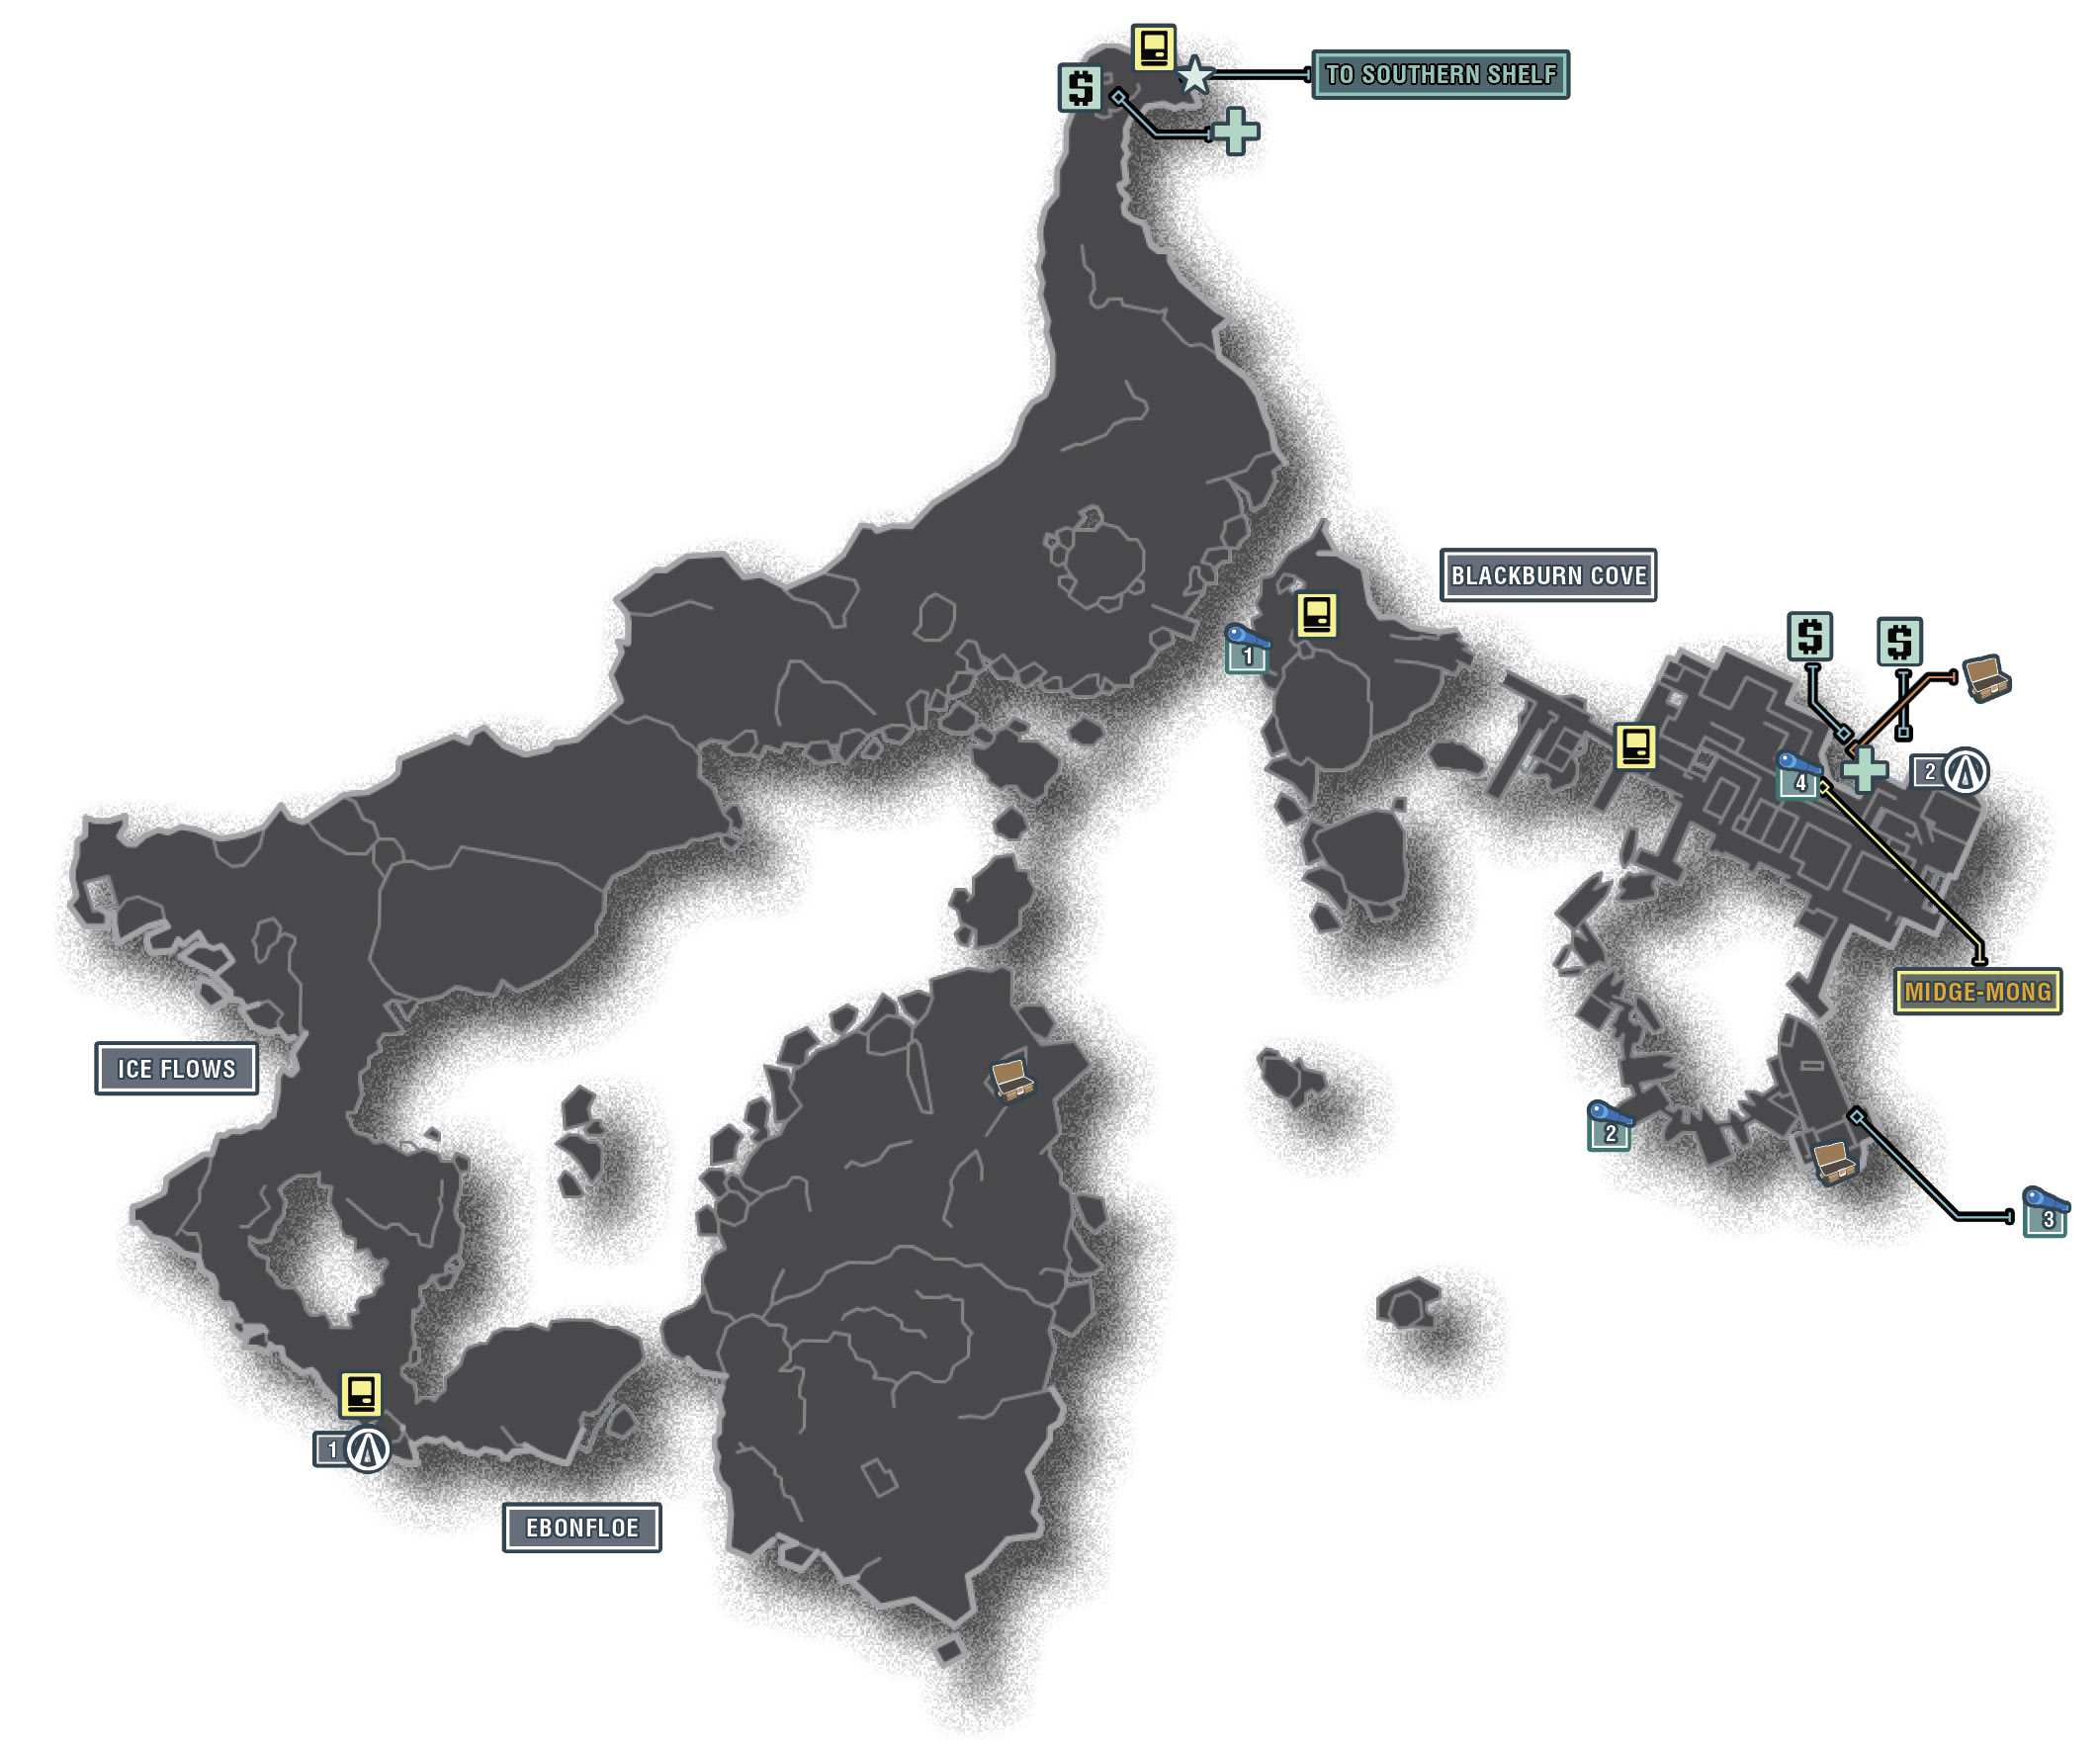
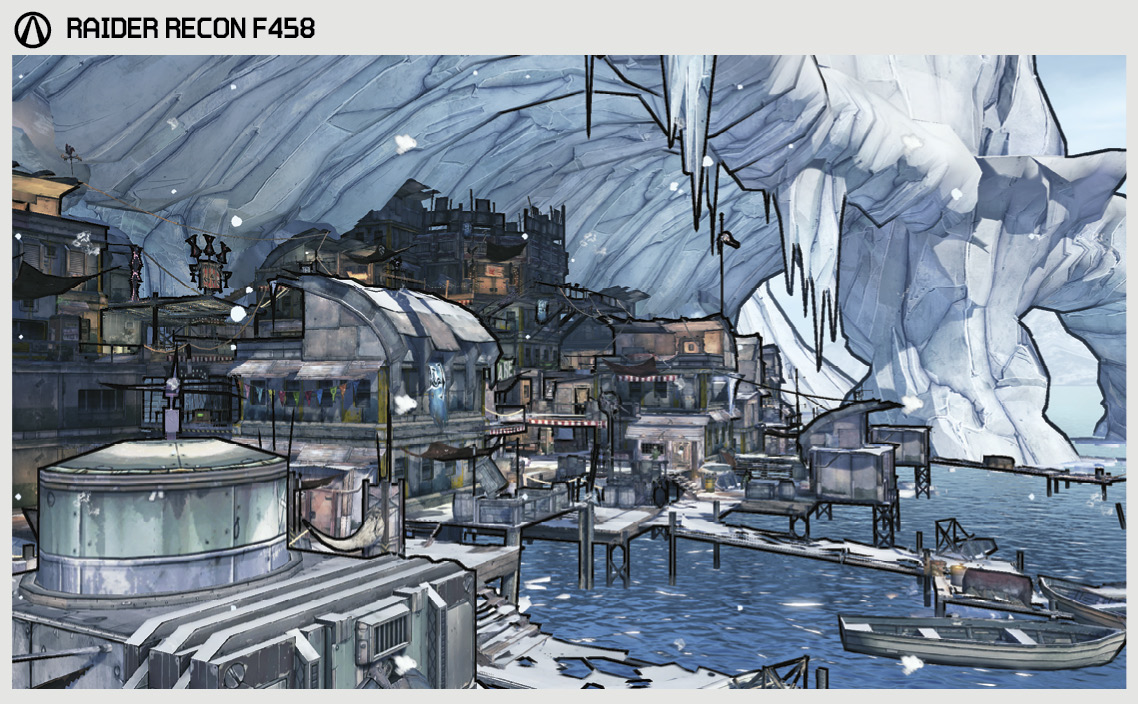
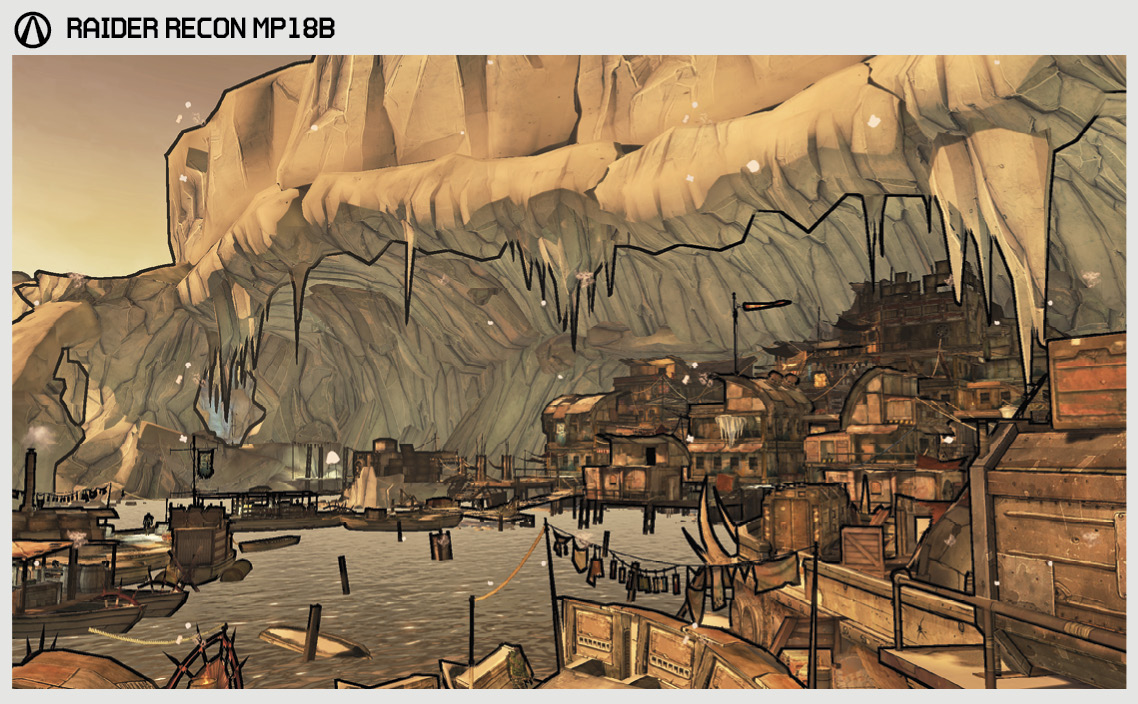
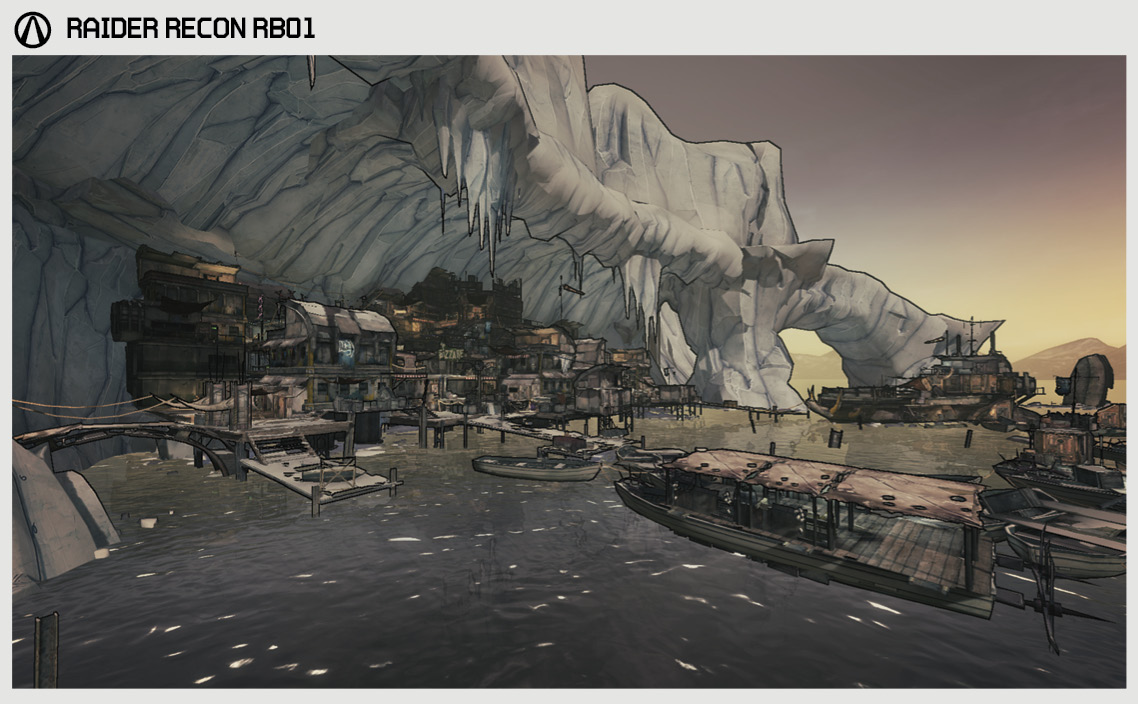
When Captain Flynt’s men need to take a brief break from murdering and pillaging, they head to Southern Shelf Bay. Once you get past the bullymongs, the shantytown known as Blackburn Cove has everything a growing bandit needs: alcohol and exploding barrels.
Southern Shelf Bay, a frigid offshoot far removed from where any law-abiding citizen of sound mind would venture, lies beyond a narrow canyon to the south of Gateway Harbor. This sprawling region is dominated by water, icebergs, and the wreckage of ships that ran afoul of said icebergs. Much of Southern Shelf Bay is home to all manner of bullymongs, ranging from Monglets to monstrous Badass Bullymongs. Their dens line the bay and they are intensely territorial. Flocks of insufferable Rakk glide along the polar winds, patiently waiting for an opportunity to dive-bomb hapless prey. The region’s lone populated area, Blackburn Cove, is home to a variety of Marauders, Psychos, and Midgets, making it ‘populated’ only in the loosest definition of the term.
The Districts of Southern Shelf Bay
| Locale | Limited Access? | First Visit |
|---|---|---|
|
Blackburn Cove |
No |
“Symbiosis” optional mission. |
|
Ice Flows |
No |
“Symbiosis” optional mission. |
|
Ebonfloe |
No |
“Symbiosis” optional mission. |
Dangerous Beasts
| Enemy |
|---|
|
Midgets |
High Value Targets
| Enemy | Family |
|---|---|
|
Midgemong |
Bullymong |
 Cult of the Vault
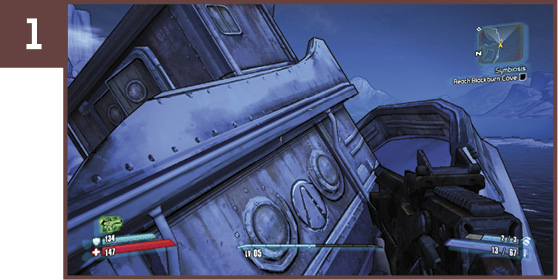
Locate the remains of the ship on the southern edge of the Ice Flows area and carefully hop onto the starboard rail. The Cult of the Vault symbol is on the side of the boat, between the two windows.
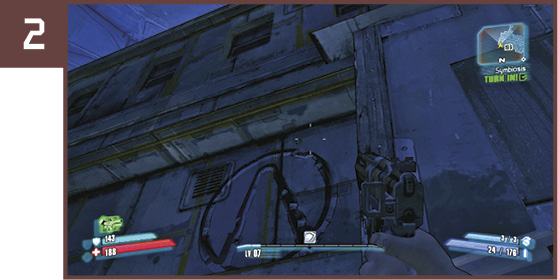
The second Cult of the Vault symbol is on the rear of the easternmost building in Blackburn Cove, facing the ice. It’s really hard to access, but you can leap up to discover it.
 I Can See Your Corpse From Here!
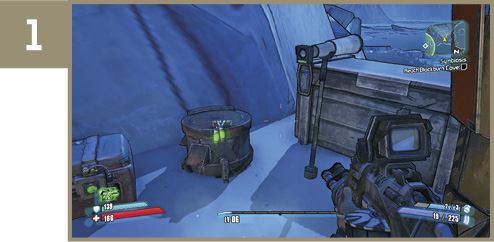
Head east across the river (see Vault Hunter on a Wire Challenge) and up the hill to the New-U station and several loot containers. The first telescope is on the right. Pay the $5 to use it.
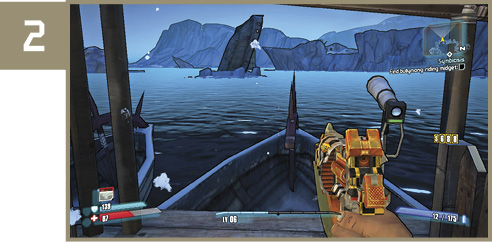
Make your way across the flotilla of boats and docks that arc around Blackburn Cove to the south. The second telescope is on the southwestern-most boat.
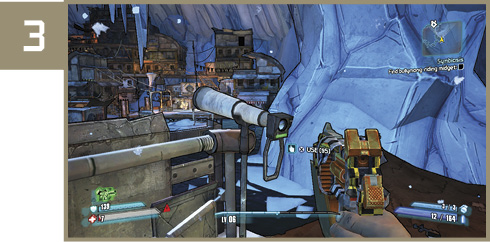
Continue across the string of boats to the large ship to the southeast. Fight your way up the ladder to the captain’s house to find the telescope pointing ashore.
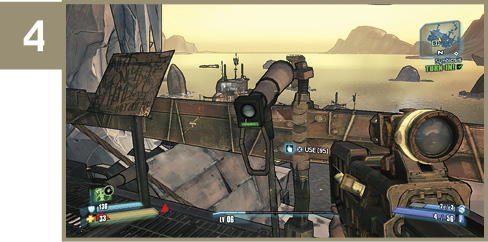
The fourth telescope is on the uppermost level of Blackburn Cove, just outside the bar where Midgemong is hiding during “Symbiosis.”
Vault Hunter on a Wire
To get to Blackburn Cove via tightrope, all you have to do is run across the outstretched chain to the other side instead of using the floating platform. Unlike the power lines and other cables you see around Pandora, this particular chain is sturdy enough to walk along. You will receive credit for this Challenge whether you move the platform to the near shore or leave it where it was before crossing.
Additional Challenges
Midge-Mong Has No Friends: Kill Midgemong and his rider before they summon backup (see “Symbiosis” optional mission for details).