
Borderlands 2 Game of the Year Guide Headhunter Packs
T.K. Baha's Bloody Harvest
Fast Travel Location: Hallowed Hallow
Don’t lose your head in the Halloween-themed TK Baha’s Bloody Harvest where the candy isn’t chocolate and there are more tricks than treats. Help Zombie T.K. Baha take down the terrifying Pumpkin King and add a new set of heads and skins to your collection.
Candy
Killing enemies and smashing pumpkins will occasionally spawn some candy for the player to pick up. There are four different types of candy with varying effects for the player. These effects are non-stackable and wear off after a short time.
| Color | Effect |
|---|---|
| Blue | Ammo regeneration and a knockback when dealing melee damage. |
| Green | Health regeneration. |
| Yellow | Movement and reload speed boost. |
| Orange | Damage increase. |
The Bloody Harvest
Reward: Character head customization and XP
Find T.K. Baha
After using the fast travel to teleport to the Hallowed Hallow, head west across the bridge to find Zombie T.K. sitting in a chair watching a television in front of his trailer. Speak with him to complete this quest step.
Kill Pumpkin Kingpin
Head south after speaking with T.K., then follow the path to the west. You’ll eventually stumble upon a few Undead Psychos and Marauders while heading to the objective. As you near the gate leading to the fight with the Pumpkin Kingpin, a magical lock will be summoned, thus preventing entry.
Find the Enchanted Skeletons and Pick Up Key Parts (3)
It takes a little bit of digging around to find the Enchanted Skeletons. After searching a tomb or grave, an enemy will immediately begin to spawn. This enemy is not always the Enchanted Skeleton, so be prepared for a little bit of hunting.
If your character is at a high enough level to easily handle these enemies, it may be faster to search several graves at once until the correct one is found!
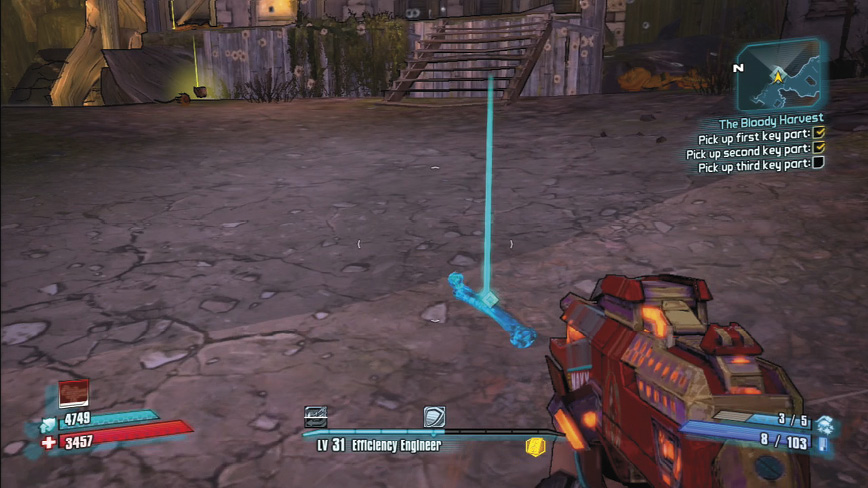
The first skeleton is located in the area near the gate. Once it is found, the objective marker will disappear and you can move on to the next area.
The second Enchanted Skeleton is a short walk away. Head south toward the way you came, follow the path around to the west and then back up north to the second zone. This time there are more places to search and, with that, comes more enemies. Clearing the area before beginning your search for the Skeleton will make this task much easier.
Once the second Skeleton is defeated, head north into Lavashore Village and continue the search for the last Enchanted Skeleton. This task is the same as others, but this time even more enemies will spawn. Once the last Enchanted Skeleton is defeated, pick up the third part of the Skeleton Key.
Head To The Blacksmith
With all three parts of the key in hand, head west out of Lavashore Village and into The Colony. Fight through a few random Spiderants and follow the path up to The Forge. To gain entry, press the button to the right of the door to open it. Before entering The Forge, make sure to stock up on ammo because the first boss fight takes place right inside the door.
Kill the Blacksmith
Once inside The Forge, Sully the Blacksmith will spawn. Sully unleashes close-range attacks including a powerful AoE attack. Sully is built much like a Spiderant, so his critical point is located in the lower rear of his body. Eliminate any Spiderant workers and stay on the move.
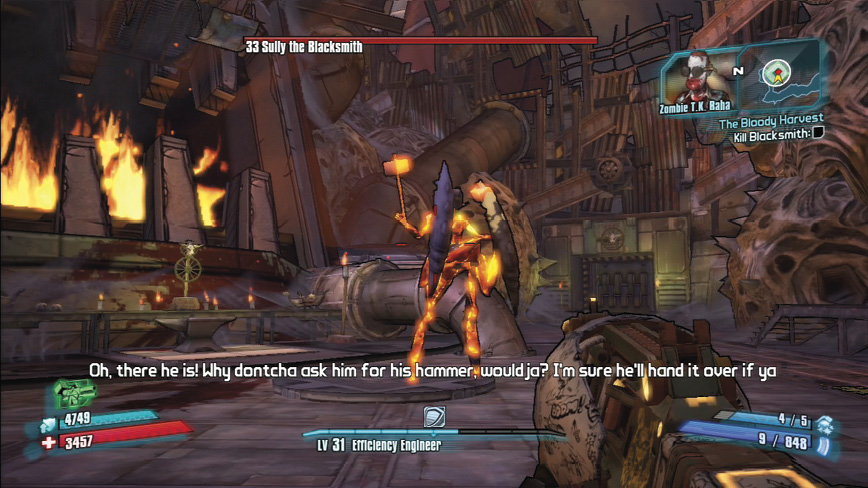
Crafting the Key
Pick up the Hammer from the Blacksmith and head over to the anvil. Place all three key pieces and use the Hammer on them three times. Next, pick up the key and return to the gate. Take the path northeast path out of the arena; although this route may contain more enemies, it is shorter and there are two chests on the way to the gate.
Unlock the Gate
Head to the gate marked on the map and use the crafted Skeleton Key to break the hold the lock has put on the gate. Note that the fight to kill the Pumpkin Kingpin until you reach the Pumpkin Patch, where you are tasked with spawning the Pumpkin Kingpin.
Flood the Pumpkin Patch
Head west toward the Windmill and destroy the six Skrakk Nests clogging up the Windmills. The Nests can be destroyed from a distance by simply shooting them. Three are located just up the stairs in front of each windmill, while the other three are located higher up on the windmill itself.
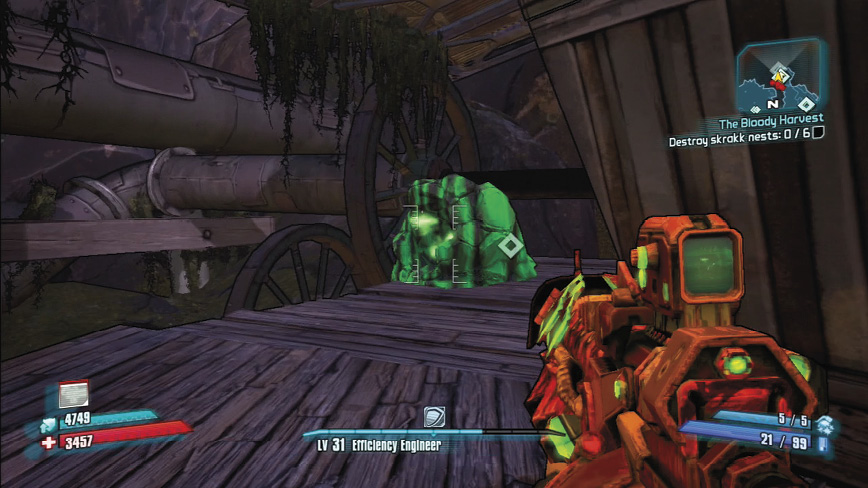
Head back into the Pumpkin Patch and turn the valve to desecrate the garden and spawn the Pumpkin Kingpin.
Kill the Pumpkin Kingpin
A good AoE weapon, like a Shotgun or Rocket Launcher, will make this fight a piece of cake! The Kingpin is fairly slow so most of his attacks are easy to dodge, especially if you picked up yellow candy at any point during the fight.
Pumplings will spawn during the fight. Although they don’t pose much of a threat, they can climb onto the Pumpkin Kingpin and quickly heal him. If the Pumplings make it onto the Kingpin’s shoulders, use a Rocket or Shotgun to make quick work of them and stop the healing as soon as possible!
Aim for the head! The critical point for the Pumpkin Kingpin is his gigantic pumpkin head. This makes it extremely easy to land critical hits with almost any weapon.
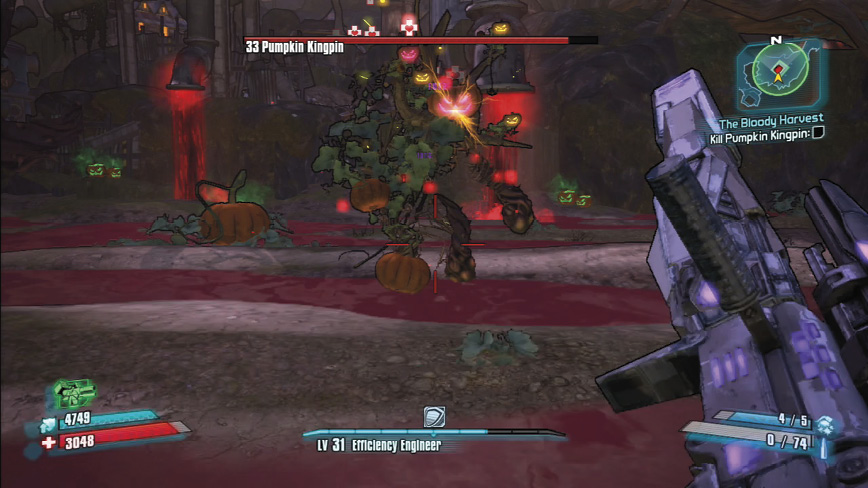
When the Pumpkin Kingpin’s life bar is drained, he will fall to the ground and his head will take off in flight. While his head moves around the Pumpkin Patch, it will fire at your Vault Hunter. It doesn’t have much in the way of health, making the real challenge landing hits to take it down. This is the last stage of the fight, so hold out a little longer and defeat the Pumpkin Kingpin’s head to seal your victory! Head back to T.K. and turn in the mission to receive your reward!
Trick Or Treat
Candy! Brains!
Reward: Cash and XP
Collect Brain Candy (5)
Use the mini-map to locate five pieces of brain candy for Zombie T.K. This quest will lead you all around the map, including a trip back through the Pumpkin Patch. Most of the candies are in easy to reach places without any enemies, so the majority of the combat in this quest is simply found along the path to the candy.
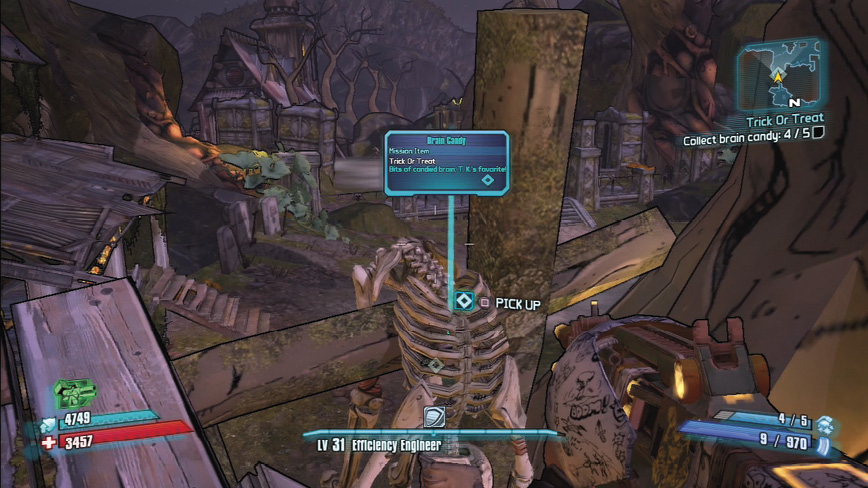
After collecting all the pieces, return to T.K. to complete the mission.