
Borderlands 2 Game of the Year Guide Optional Missions
Creature Slaughter: Round 4
|
 Mission Briefing
| Mode | Level |
|---|---|
|
Normal |
28 |
Mission Reward: Cabrera
| Mode | Money | XP | Gear |
|---|---|---|---|
|
Normal |
$2149 ($3224 with bonus) |
3491 |
— |
The Natural Selection Annex
Round 4 is all about stalkers, so make sure you have a shock weapon and plenty of ammo for it. Take cover behind something you can move freely around, like a varkid hive, and let the Ambush Stalkers come to you (if you chase after them, they’ll just go invisible and engage you from behind). Deal as much damage with sniper rifles as you can, then move side to side behind your cover, blasting them with close-range weapons as they gather in front of your cover. They generally won’t come around to get you, and they won’t be able to get a bead on you for their projectile attacks as long as you’re moving.
The second wave introduces Spring Stalkers, which (like the bullymongs) cannot use their leaping attack thanks to the roofs over the cells. If you manage to start the round behind cover, they may not notice you at all, and you can snipe them with impunity.
The hold-your-ground strategy only works until the thresher shows up. Keep an eye on your auto-map, and when you see a cluster of red dots appear, rush in and unload with rocket launchers, grenades, and rapid-firing elemental weapons. Once the thresher burrows underground, run onto the metal platform with the switch so it won’t be able to emerge beneath you. When it does pop up again, continue your artillery barrage.
Save some heavy ammo for the King and Queen Spiderant in the final wave. Start the round behind cover so you can inflict some damage before they’re able to figure out where you are. If you’re determined to fulfill the bonus Critical Hit objective, these spiderants are your last and best chance.
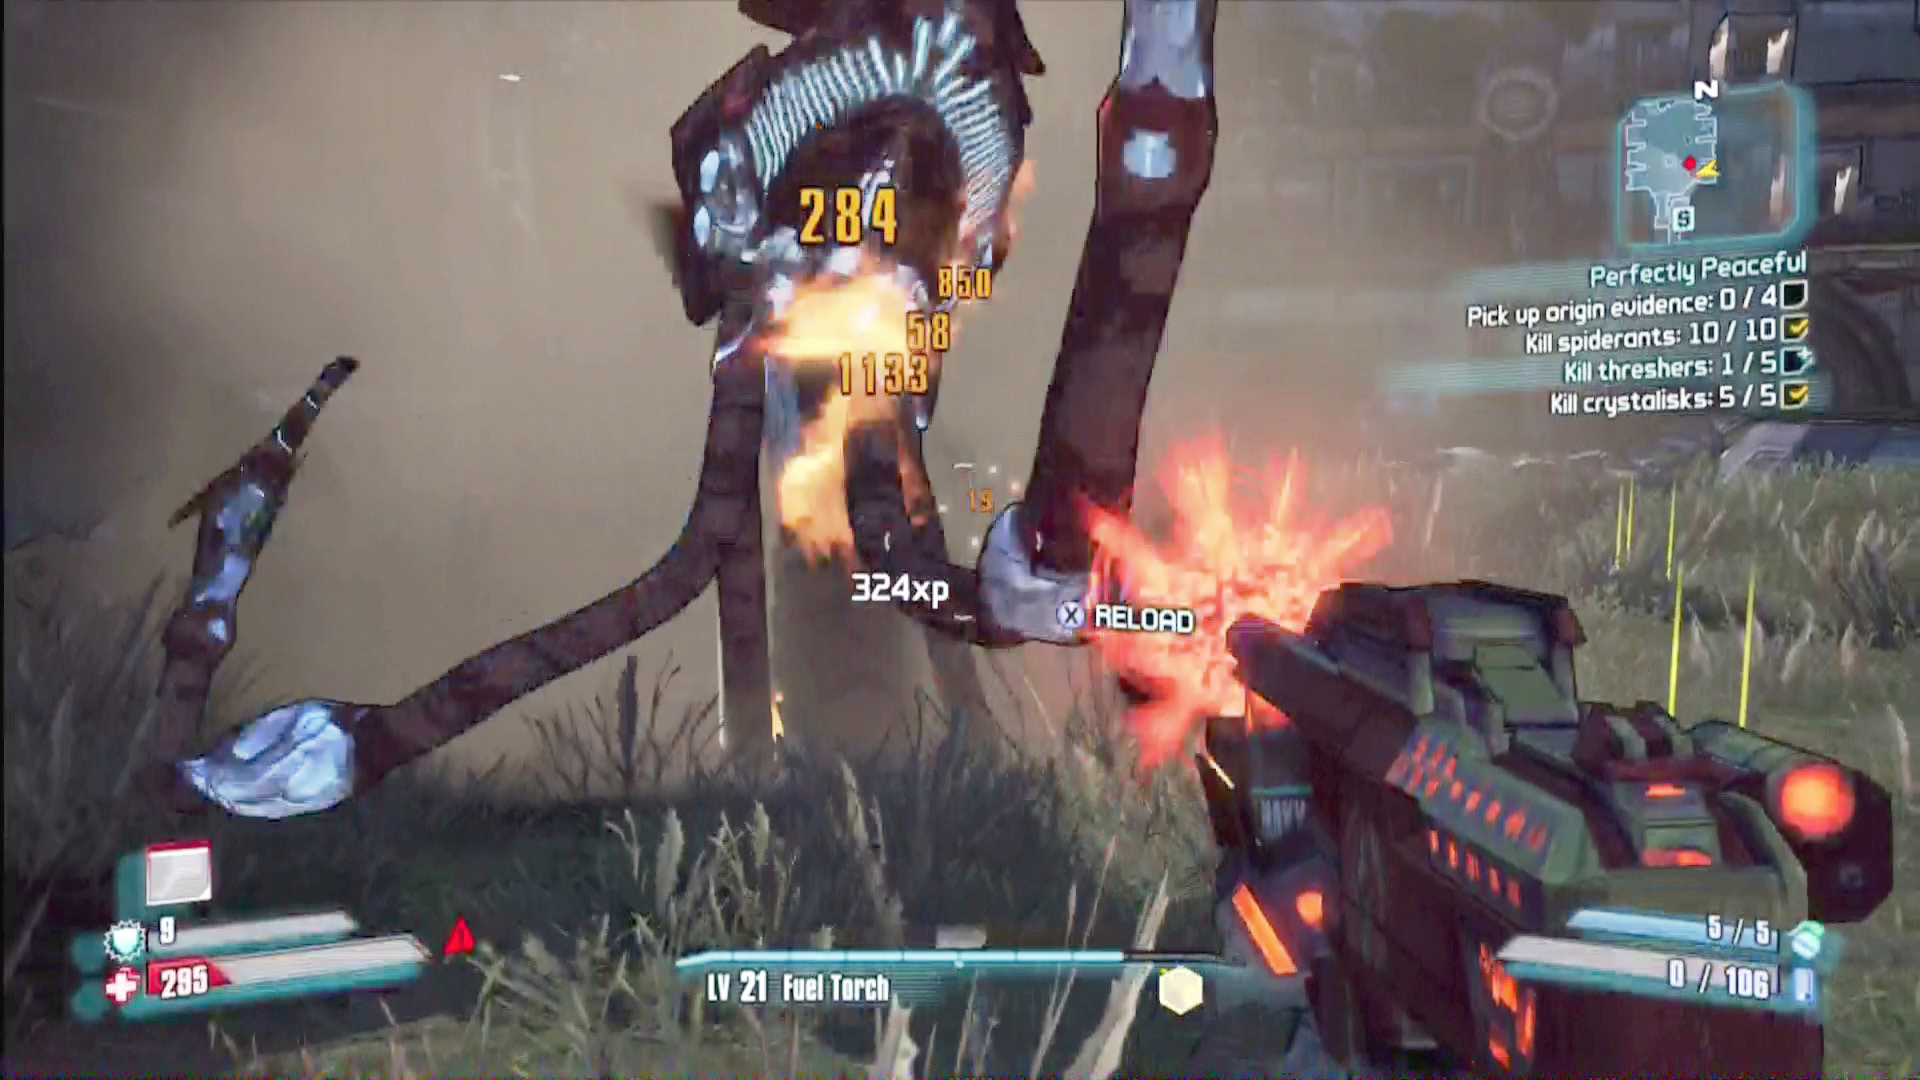
When the thresher exposes its main body, give it everything you’ve got.