Borderlands 2 Game of the Year Guide Optional Missions
The Overlooked: This is Only a Test
|
 Mission Briefing
| Level | Money | XP | Gear |
|---|---|---|---|
|
18 |
— |
3208 |
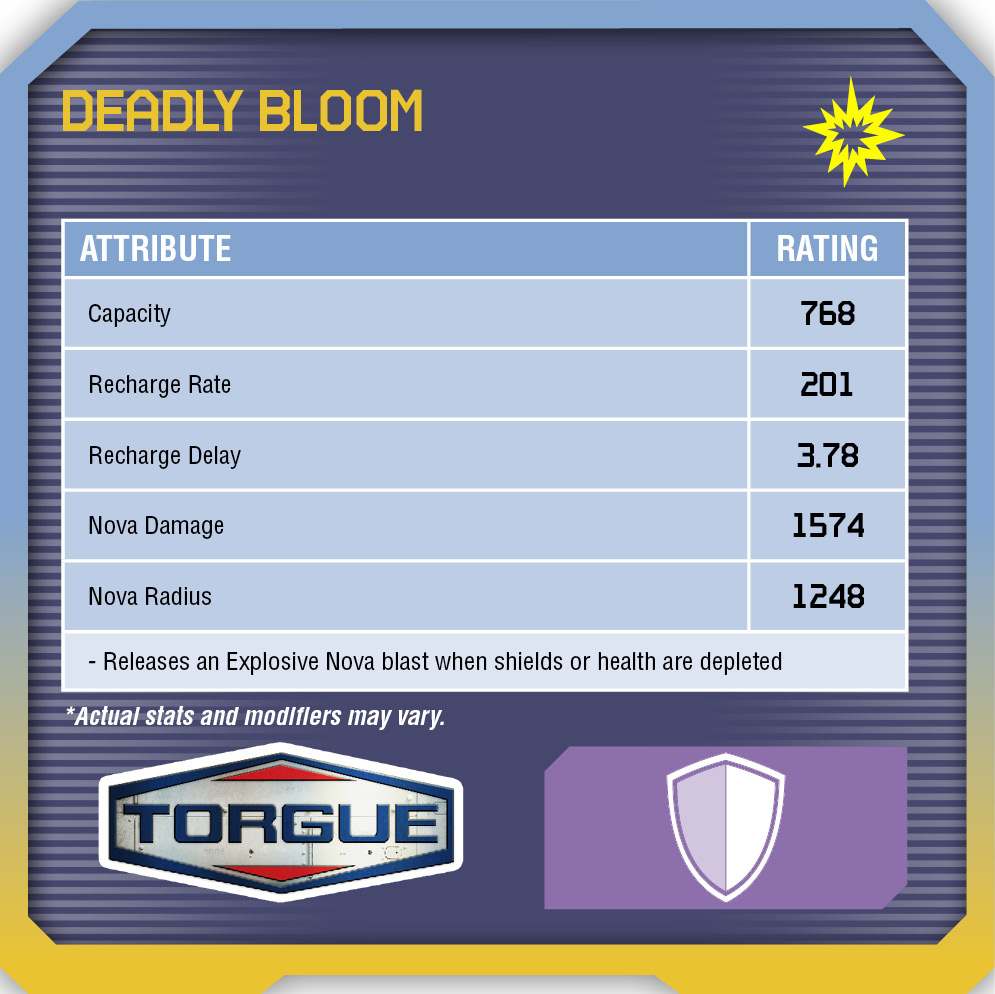
Shield (Purple) |
The Highlands
Karima wants you to test out Overlook’s new shield with the Hyperion mortar situated on the bluffs overlooking Blake Bridge. Though the mortar is due south of Overlook and not far from the main highway, the only way to access that point is by driving around the mountain through the tunnel to the south, toward the Aggregate Acquisition area. Though you can continue through the main entrance near Frothing Creek Mill, there’s a better way that allows you to maintain an elevated advantage for much of the very tough, lengthy fight through Hyperion-controlled territory to reach the mortar. After all, you’re infiltrating the area to use their mortar to test your shield. Hyperion can’t even know you have a shield!
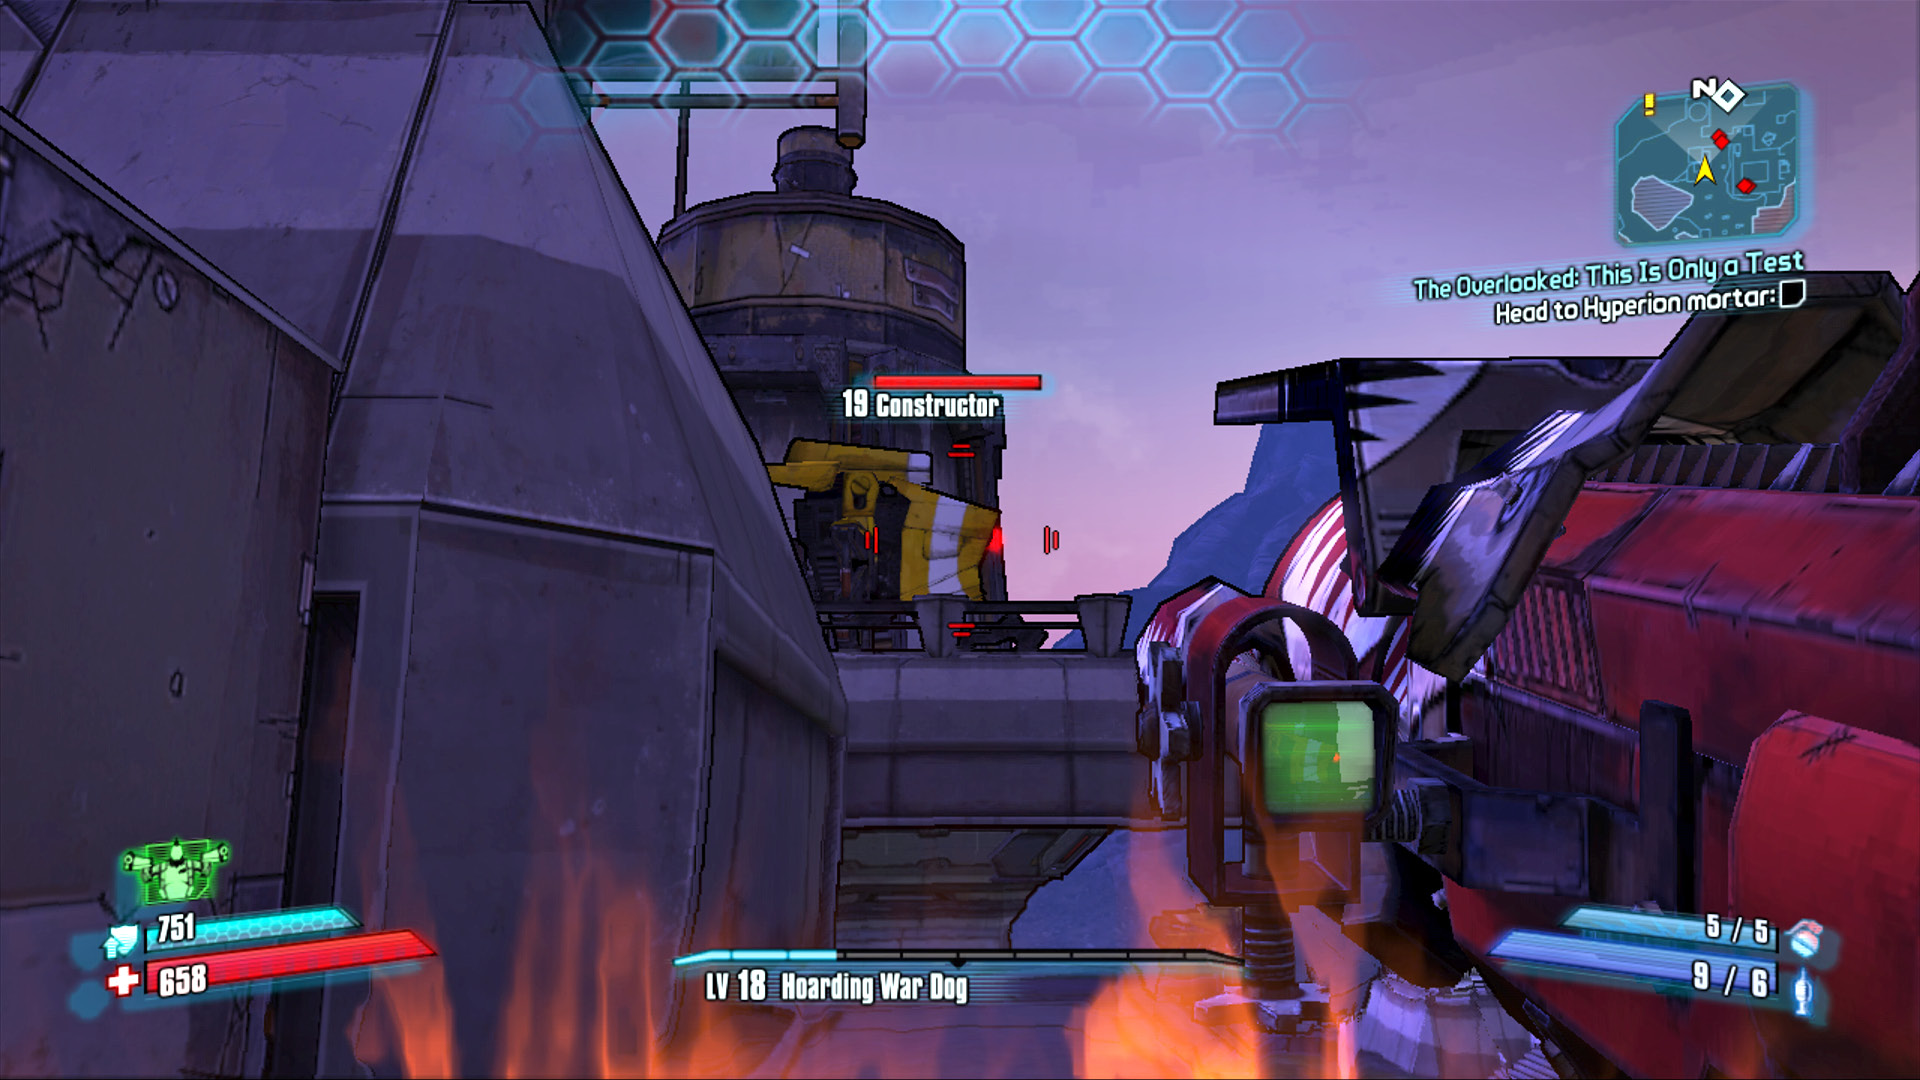
Strafe to the right outside the ammo supply room and fire on the Constructor, then duck back into the room for cover.
Follow the main road to the south side of The Highlands, then steer your vehicle up the dirt path toward the campsite. Continue up to where the dirt path ends above the waterfall, near the concrete structure on the right. Leave the vehicle here and hop across the rocks above the waterfall to the west, then loop back up and over the rocks near the windsock onto the grassy field above. Kill the first batch of Loaders and Engineers, then retreat the way you came as soon as the Constructor appears on the bridge leading east. Even though the Constructor is likely positioned facing away from you, its nonstop barrage of missiles and periodic nuclear attacks is enough to make this a no-go zone.
Jump onto the roof of the nearby concrete structure where the chests are and loop your way around the corner to the inside (shoot the fuse box above the Constructor if necessary). Raid the ammo supplies in here, and strafe to the right to spot the Constructor Bot on the bridge. Open fire from this position and continue strafing in and out of cover, using the interior ammo storeroom for protection whenever the Constructor’s missiles and bombs deplete your shields. Take your time, allow your shield to recharge, and keep shooting the Constructor from this angle. Once it has been destroyed, head up to where the Constructor was, check the buildings to the left for ammo and loot, and use that same perch to eliminate the twin Badass Loaders in the valley below. Once you’ve defeated the Loaders, leap down and make your way to the mortar.
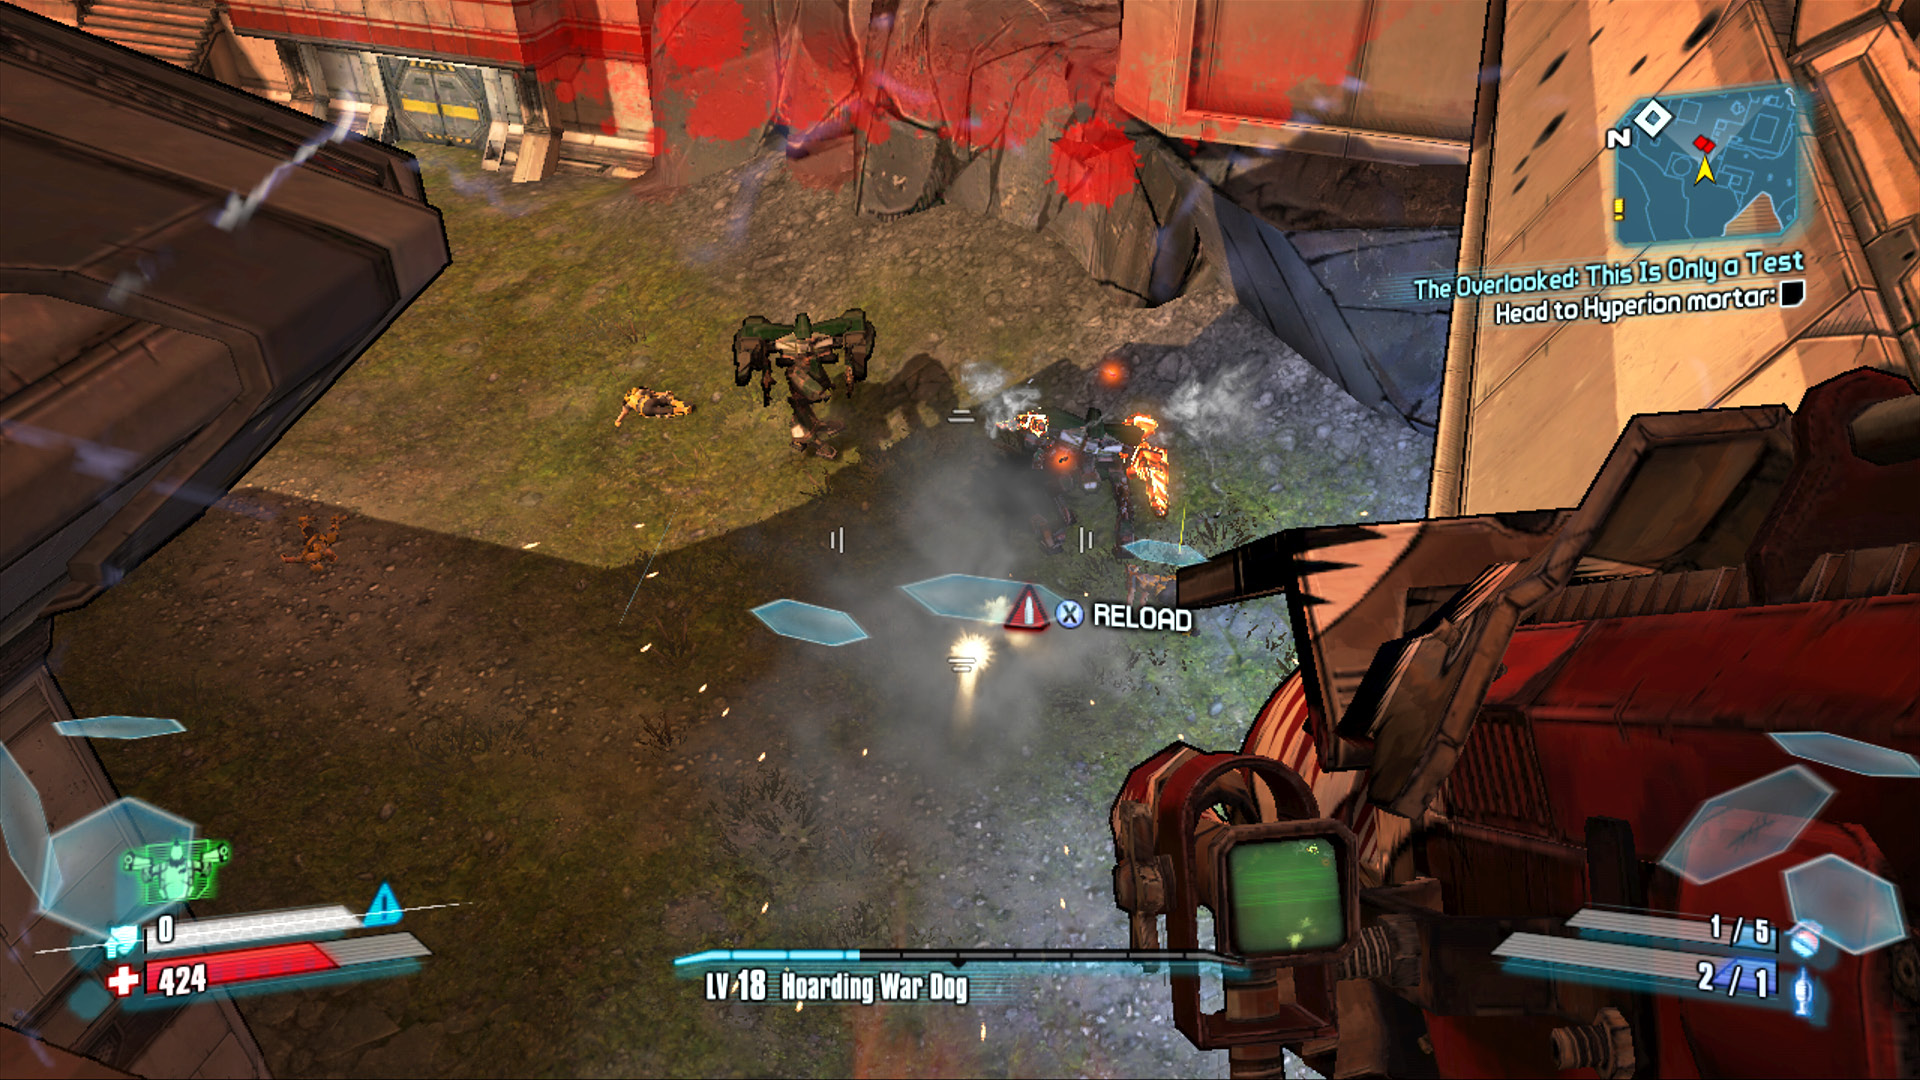
Move to the area where the Constructor was and use your heavy weapons to take out the Badass Loaders in the trench below.
Approach the massive mortar cannon once the area has been secured. Karima then coaches you through the testing procedure. Aim and fire the mortar as instructed, then make your way back to Karima. The fastest way back is to simply leap off the cliff to the north, but you may want to head back to the west and drop down onto the rocks near the campsite below if you haven’t yet unlocked the “What Does It All Mean” secret Achievement/Trophy.