
Borderlands 2 Game of the Year Guide Walkthrough
Talon of God
|
 Mission Briefing
| Level | Money | XP | Gear |
|---|---|---|---|
|
30 |
4 Eridium |
23670 |
— |
*Money and XP may vary based on player’s level at start of mission.
Sanctuary
With the Eridian Warrior’s location known, it’s time to set Brick and Mordecai’s plan in motion. You’ll need Claptrap’s help getting into Hero’s Pass, but take a few minutes to stop and see each of your friends in Sanctuary. After all, this is no ordinary mission you’re going on. They know you might not survive and want to show their gratitude with a going-away gift. Visit Tannis, Dr. Zed, Scooter, Moxxi, Sir Hammerlock, and Marcus before meeting up with Claptrap, unless receiving six rare pieces of equipment doesn’t interest you.
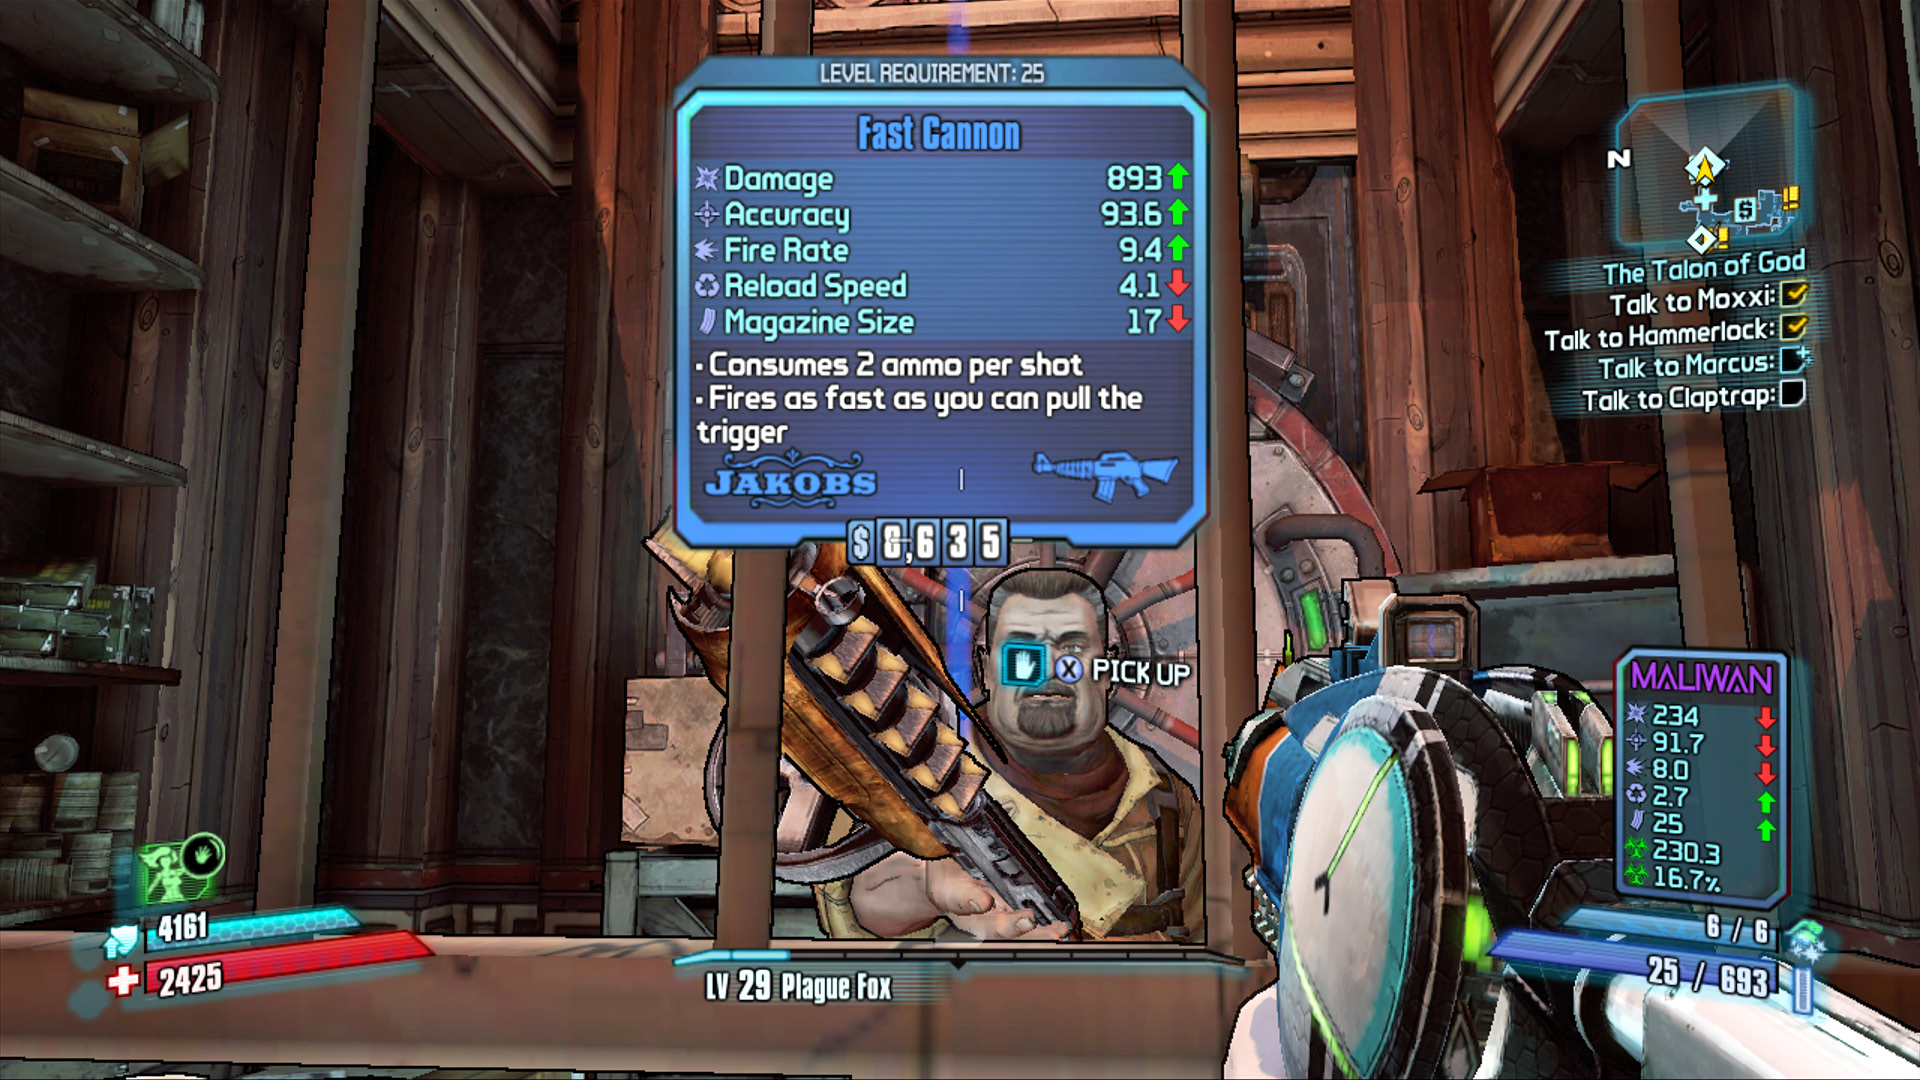
You know things are serious when Marcus starts handing out free guns!
Take a few minutes to thoroughly sort through your equipment to maximize your effectiveness against armored enemies—you’re about to face a slew of them! Keep at least one or two all-around weapons on hand, but equip as many Corrosive weapons as you’re willing to carry. Sell everything else (or put it in the stash or vault) to free up as much room in your Backpack as possible.
Use the Fast Travel station to meet up with Claptrap in Eridium Blight as soon as you’re ready to get the mission under way. The time to end this is fast approaching.
Eridium Blight
Deploy a vehicle, and drive south through the nearby gate and immediately veer off the paved road in a southwesterly direction. You’ll find Claptrap waiting for you near the New-U station beyond the barriers. Leave your vehicle, and follow him up the hill toward the gated entry to Hero’s Pass.
The entrance to Hero’s Pass is locked up tight, and it’s going to take Claptrap a few minutes to bypass the security system. It’s up to you to defend him while he tinkers with the control panel. Numerous GUN and WAR Loaders will be digi-constructed on either side of the gate in an effort to stop you from proceeding. Making matters worse, at least temporarily, is the fact that there are two hostile auto cannons flanking the gate. You can target these auto cannons with gunfire and destroy them just as you would any other, but there is a benefit to keeping them intact, as you’ll soon see. The choice is yours.
Take cover behind the walls, and use your best Corrosive weapons to take the loaders out. Claptrap keeps toiling away at the controls in an effort to hack the security system. His first bit of success comes when he manages to switch the allegiance of the auto cannons (assuming you haven’t destroyed them). Their presence takes a lot of pressure off you, as the loaders suddenly begin targeting the auto cannons. The battle intensifies as a Badass Loader and Badass Repair Surveyors take the field shortly after the auto cannons are hacked. You’ll have access to a vending machine soon enough, so hold nothing back, and don’t be afraid to let loose your quiver of rockets and grenades. You can buy more in a little while!
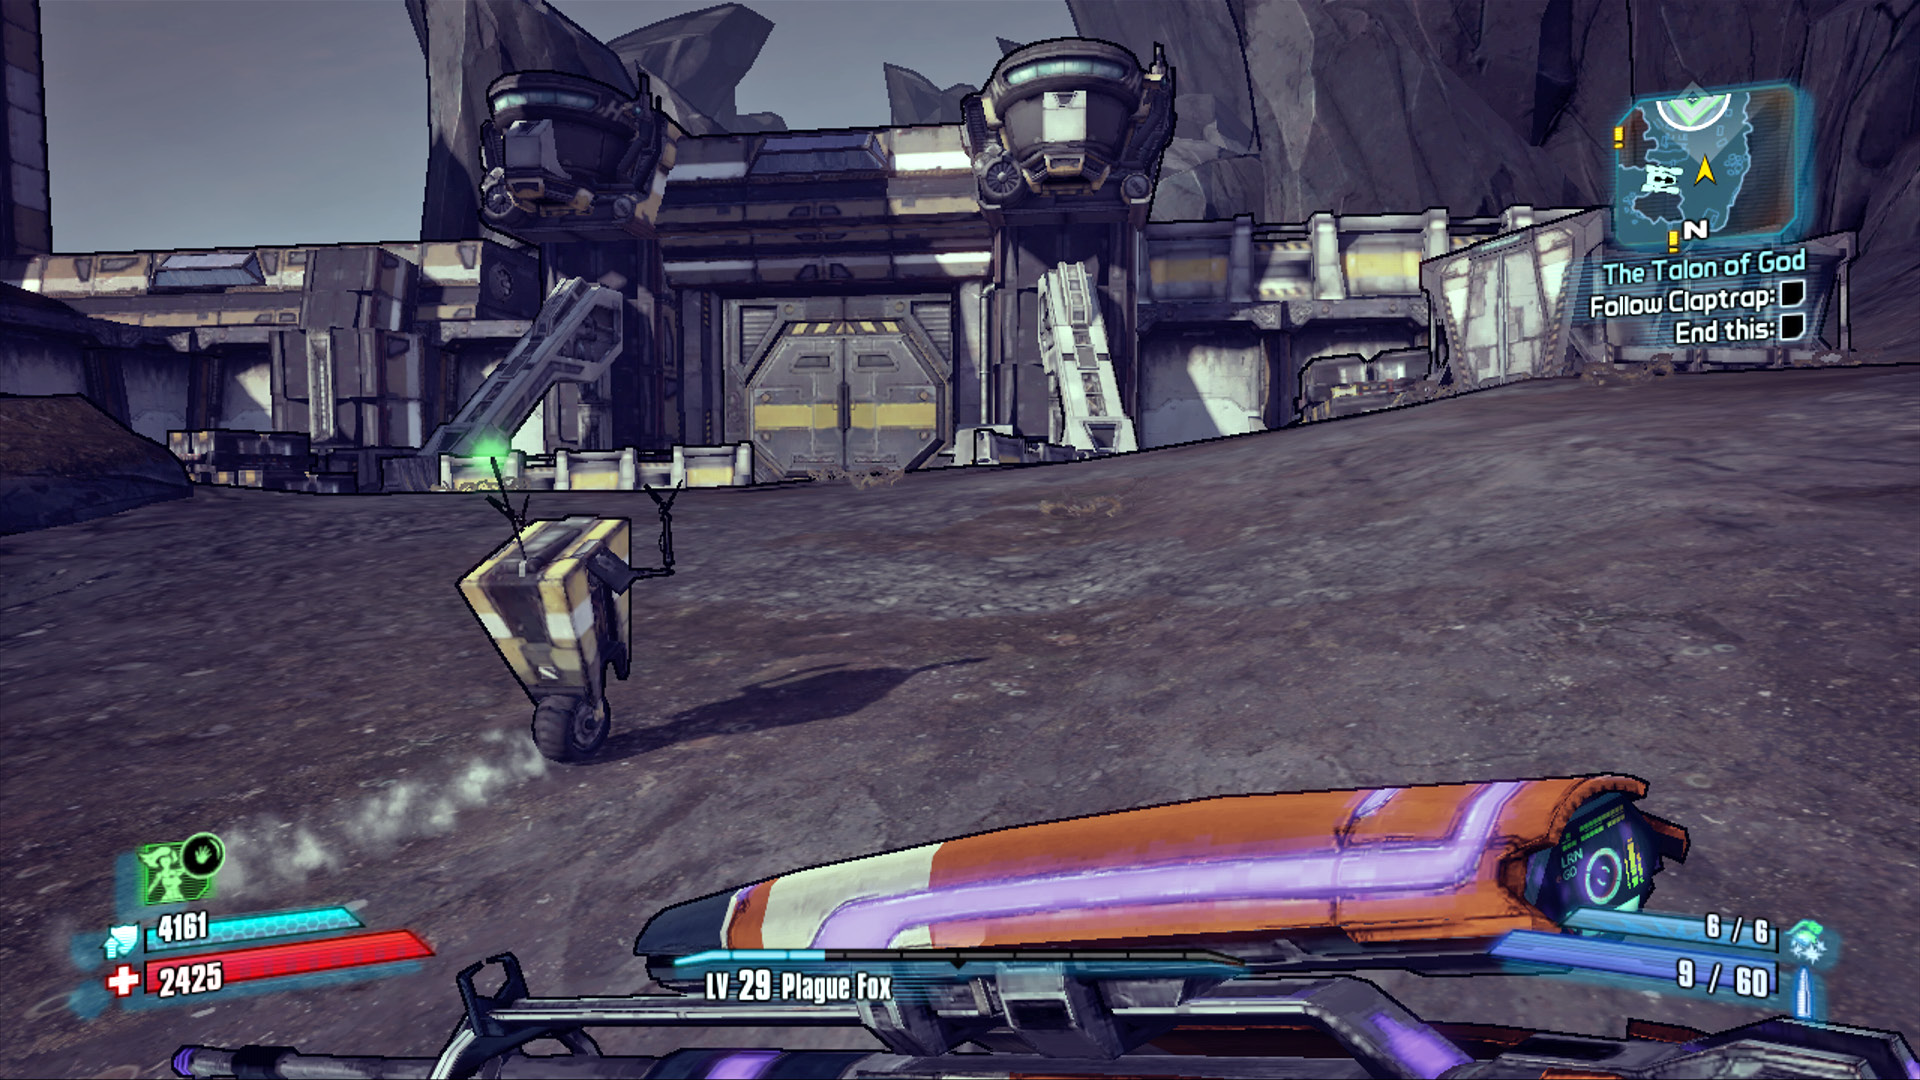
Nothing’s going to stop Claptrap from taking down Jack, not while he’s got his trusty minion by his side!
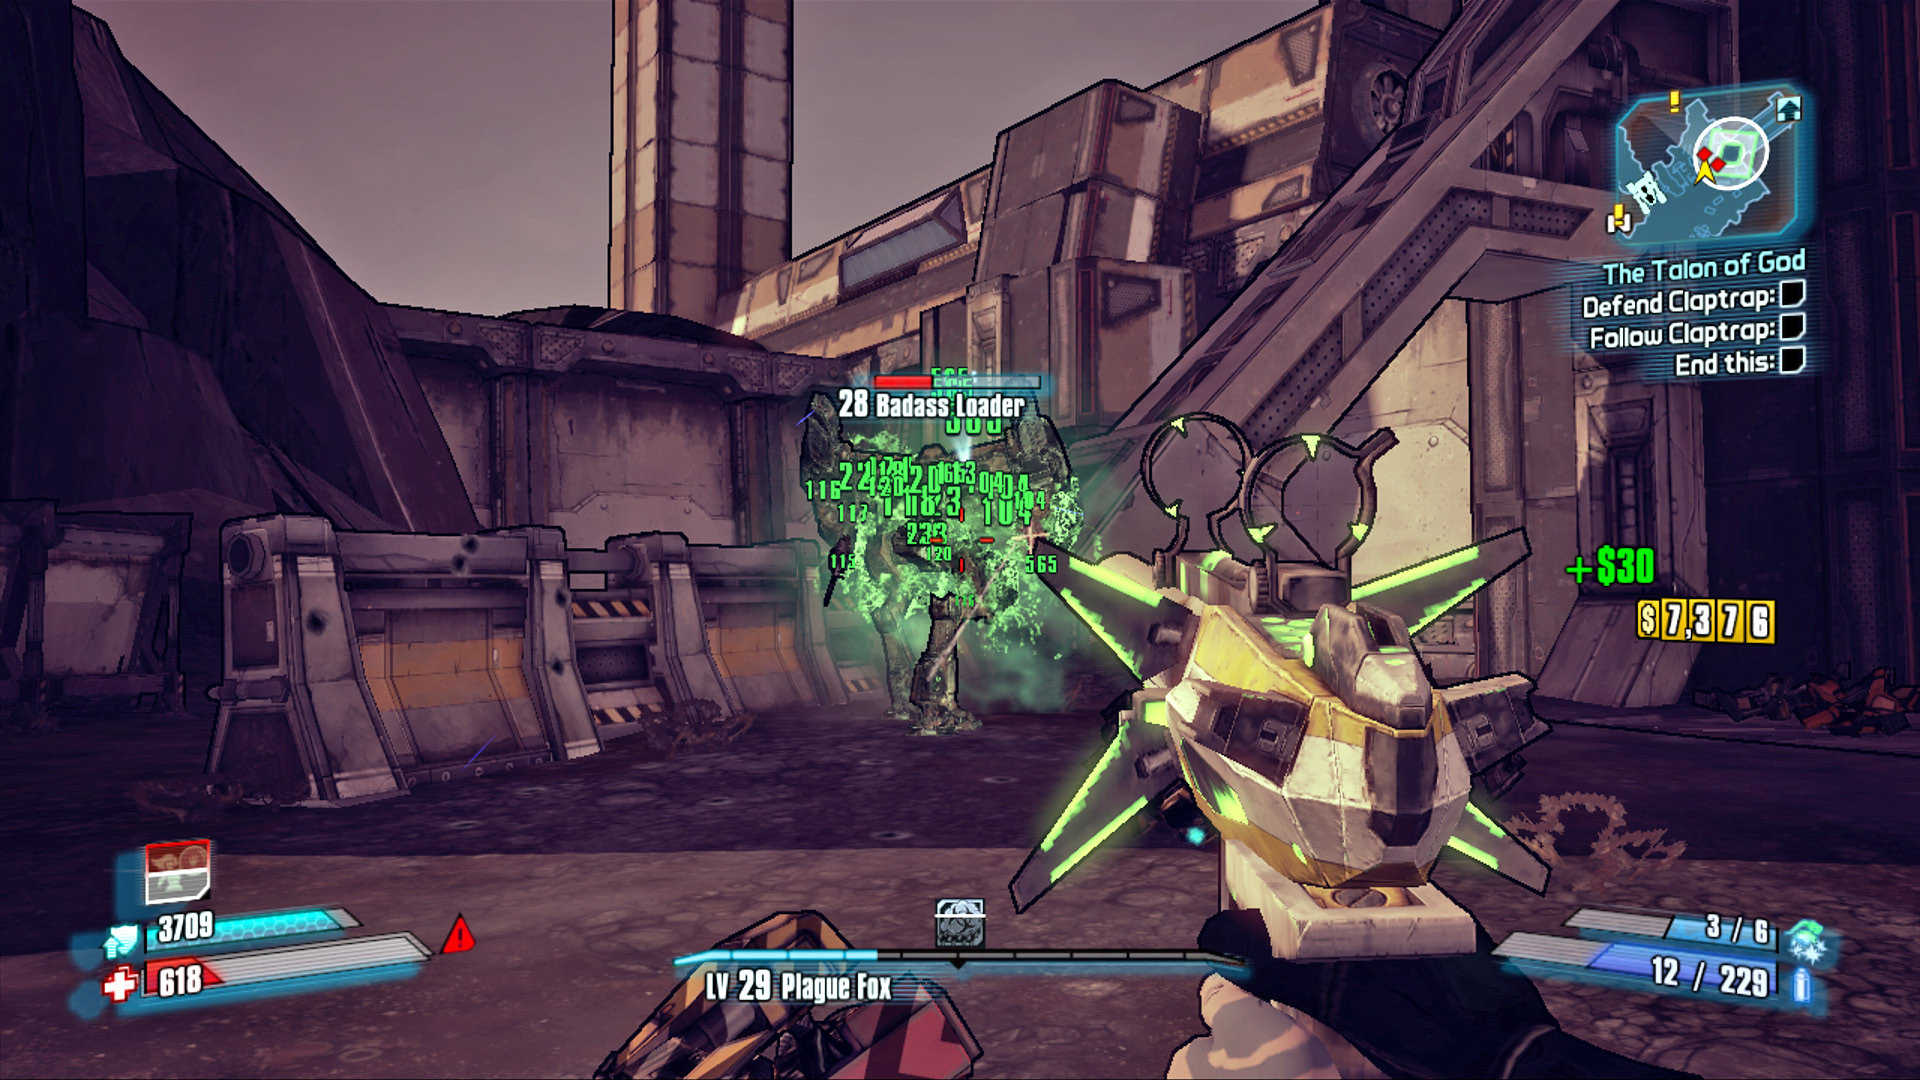
All eyes on the Badass Loader when it appears—drown it in a shower of Corrosive gunfire!
Hero’s Pass
Hero’s Pass consists primarily of a narrow zigzagging path that stretches from the northwest to the southeast, where the entrance to the Vault of the Warrior lies. It’s an excavation site, but it’s also Jack’s last line of defense. Keep your Corrosive weapons handy and advance with caution, as it’s all too easy to find yourself in an untenable situation. Stock up on supplies at the vending machine, and start the journey south.
Note the location of the electric barrier on the right—there are several containers and a weapons chest behind it. The fuse box that controls that forcefield is quite the distance away, but it’s worth disabling and making the trek back to see what you might find. This electric barrier also marks the end of the calm you’ve experienced since leaving Claptrap at the foot of the stairs.
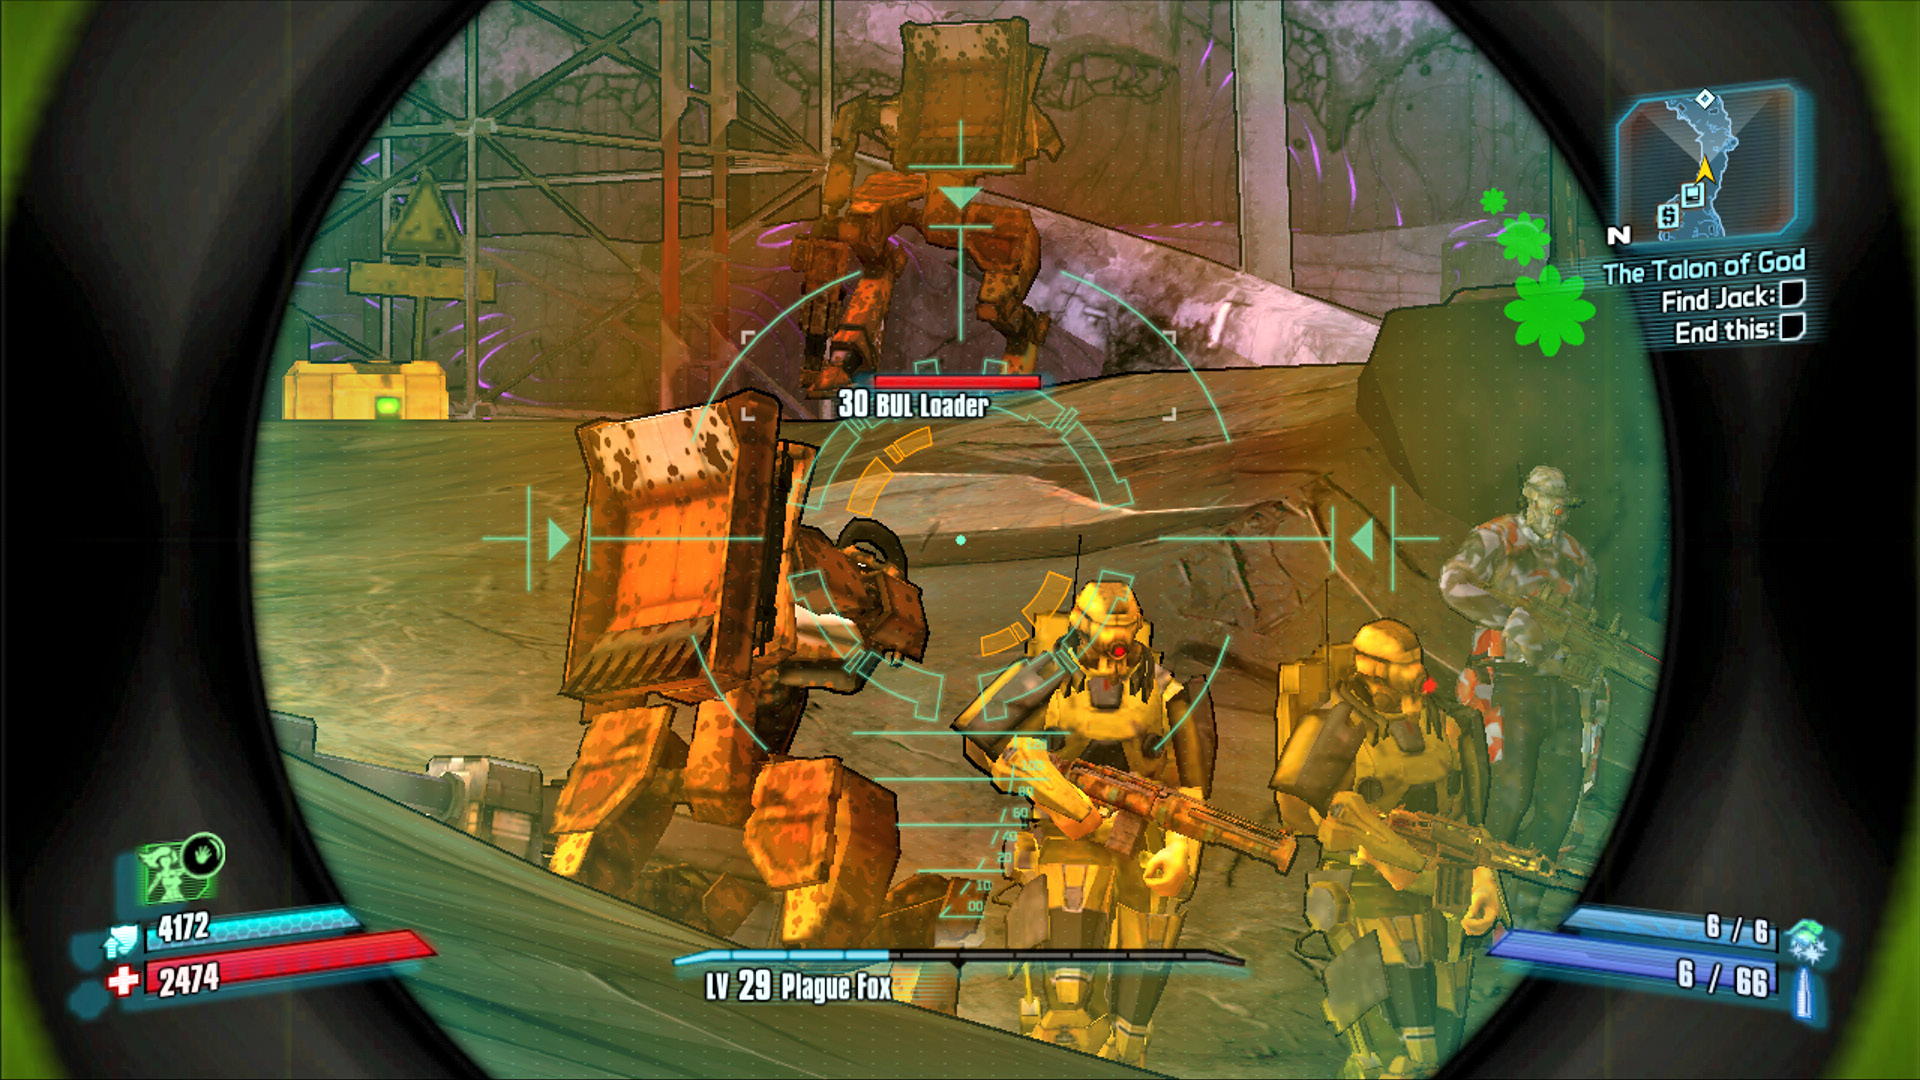
The Hyperion patrols are fast approaching: headshot any Hyperion Infiltrators or Hawks you spot, then throw a grenade.
Squelch the initial wave of Hyperion forces, and follow the path as it bends its way eastward. The scaffolding you see in this area often has a container or two, giving you a chance to top off your ammo while getting a bird’s-eye view of the area ahead.
A drop barge adorned with the Crimson Raider insignia swoops in from seemingly nowhere and deposits Mordecai and Brick up ahead of your position, not far from an inactive digger arm. Loot the chest on the ledge beyond the digger, then cross the slanted bridge to reach the fuse box on the right-hand side, and return the way you came to see what the chests up the path have in store for you. Don’t worry about Mordecai and Brick; they can take care of themselves for the time being.
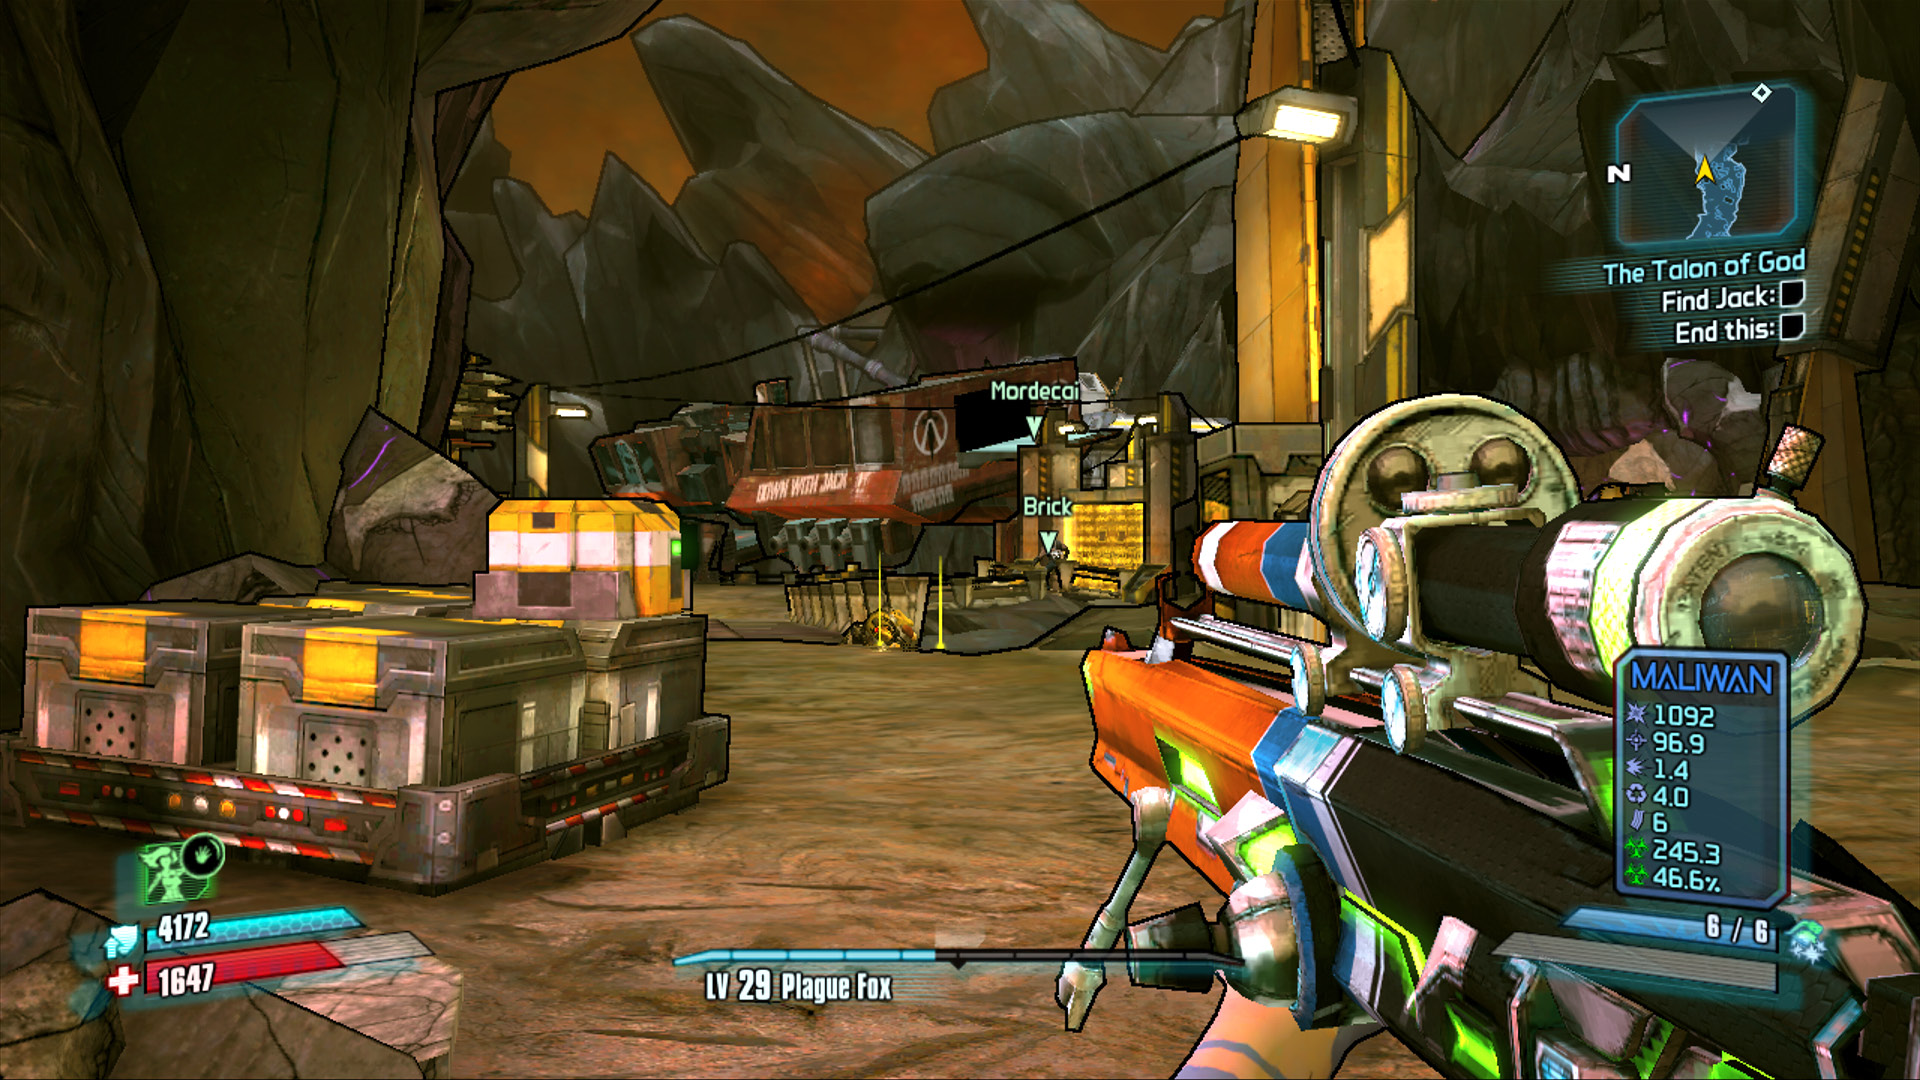
The cavalry has arrived!
Brick and Mordecai do an admirable job in dulling the tip of the Hyperion spear, but you’ll have to do much of the heavy lifting on your own. Pick off the Hyperion Snipers with your Corrosive sniper rifle, and advance to the Emergency Supply Cache. Eliminate any enemies in close proximity, then take a minute to locate the two grinder arms on the left-hand side of the path. Destroy their control panels to disable them before continuing on toward the double bridge leading to the large yellow Hyperion energy barrier to the southwest. Open fire on the auto cannons atop the towers flanking the energy barrier, then duck into cover and wait for the assault to push its way up the bridge.
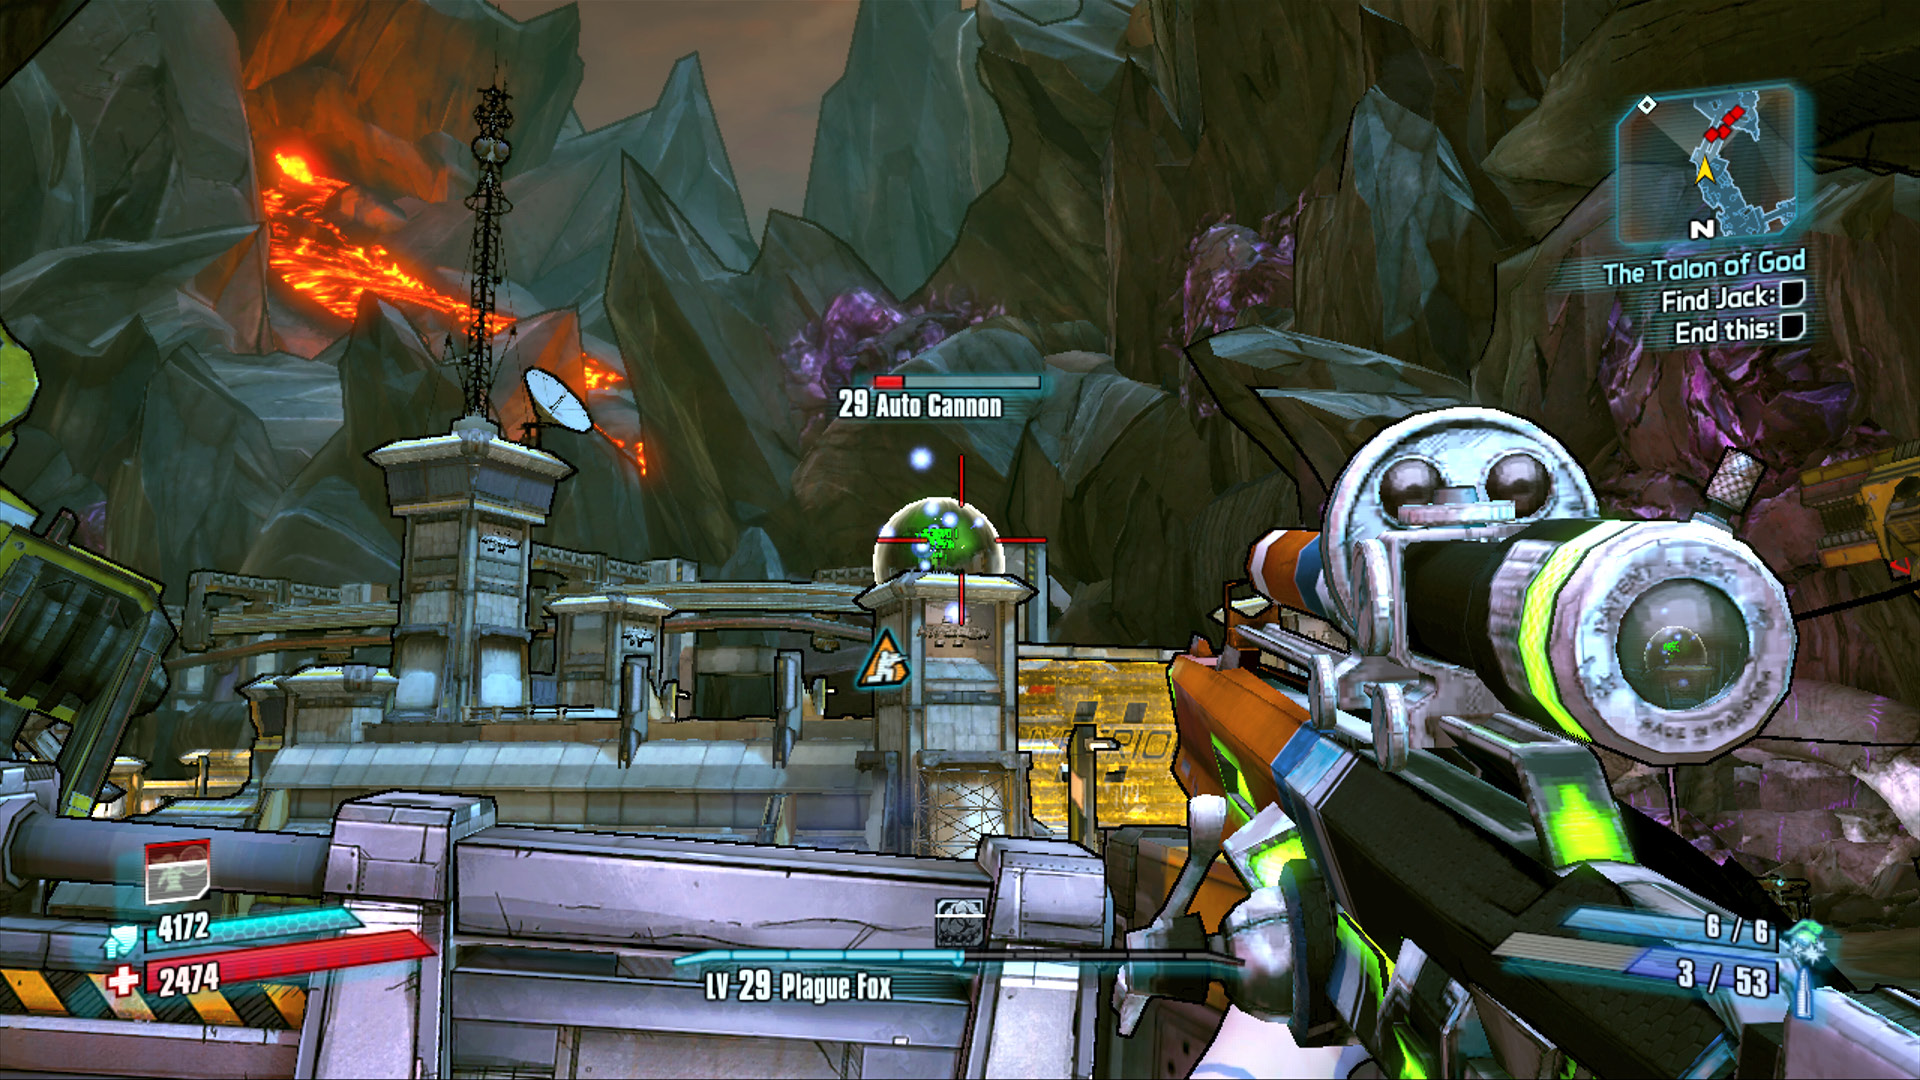
Don’t worry about the bubble shields around the auto cannons: you can take them out from the far side of the bridge.
Stick to the northern end of the bridge, and lend a hand to Brick as he punches his way through the bevy of SGT and EXP Loaders that attack on the bridge. Mordecai continues sniping from afar. Hold your ground, and keep peppering the loaders with a constant barrage of Corrosive gunfire. Mordecai and Brick soon team up to disable the energy barrier, but you’ll be on your own from that point on. Take out any remaining loaders beyond the bridge, and detour to the right to destroy the controls to the third grinder arm.
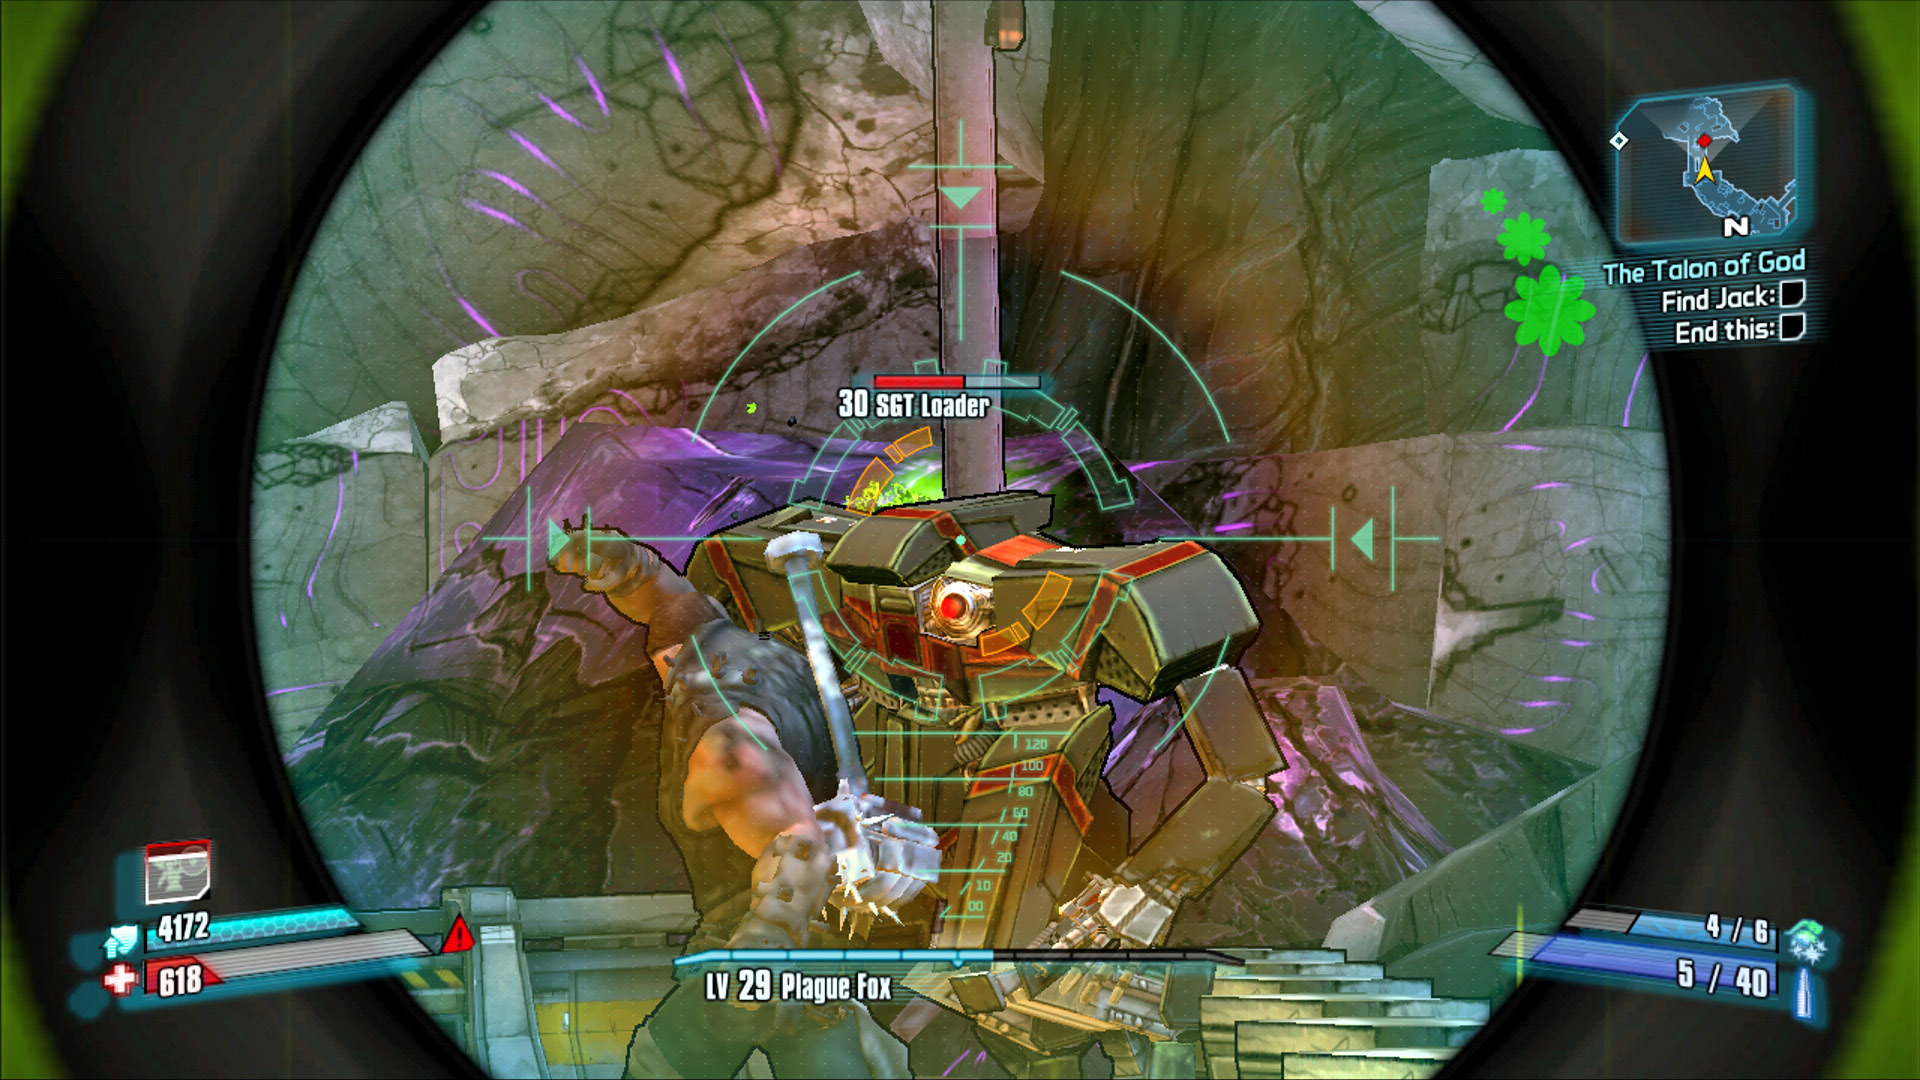
Between Brick’s punches and your gunfire, the SGT Loaders won’t have a chance!
The Final Heroic Push
A Badass Constructor flies into place on a ledge to the south of where the large yellow barrier was. Fire any shots at it you can from afar, then sprint for cover inside the Hyperion container to the right of its position. This particular Badass Constructor has the potential to effectively put an end to your advances if you’re not careful. You essentially have three options for dealing with it: take it on out in the open and risk repeat death, choose to ignore it and sprint right past, or use the Hyperion container for cover and gradually chip away at it between volleys. The third option has the highest success percentage, as the Badass Constructor is still capable of being a threat as you engage the enemies to the east.
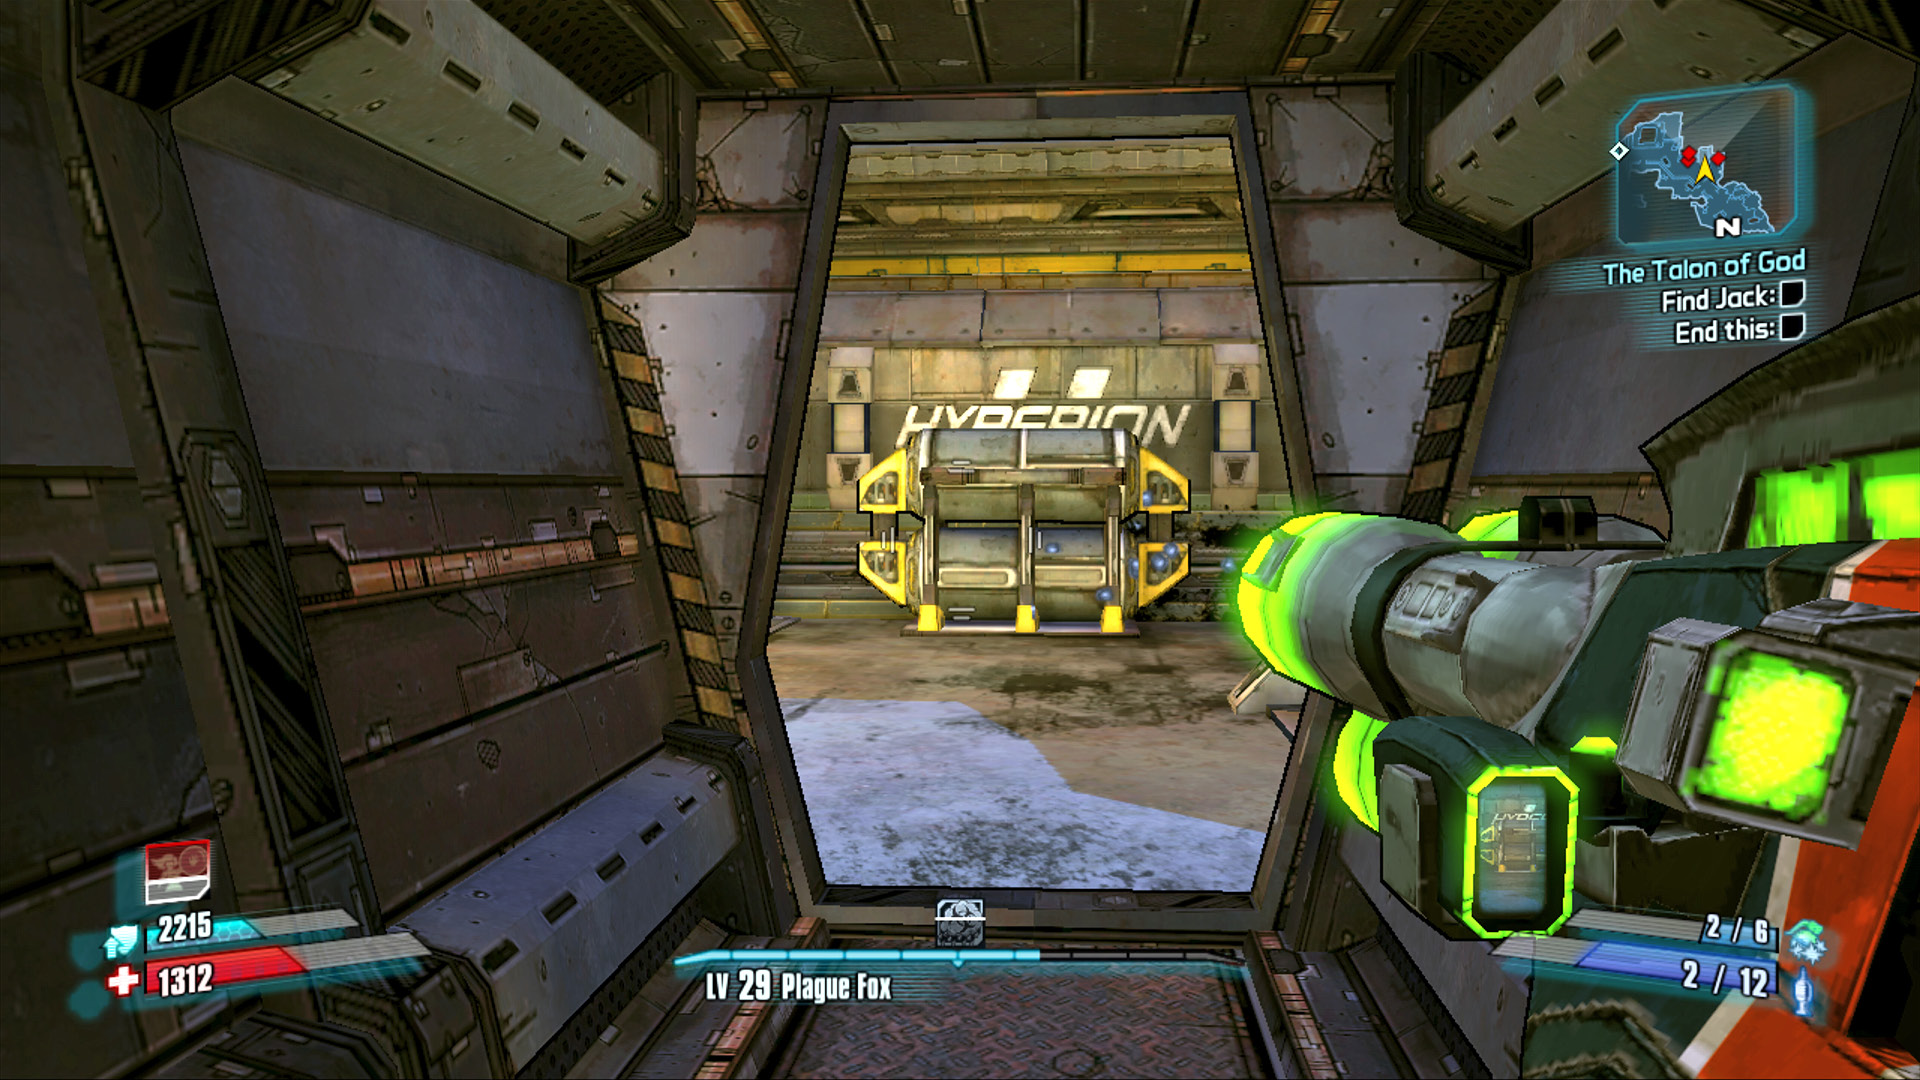
Use this container for protection from the Badass Constructor, reload your weapons, and lean out and attack. Shoot, rinse, repeat!
Continue using the inside of this cargo container for cover until you’ve put down the Badass Loader that attacks alongside the Hyperion Soldiers. Things certainly quiet down for a moment in this corner of Hero’s Pass, with these two Badasses a thing of the past. Take your time moving north along the bridge to properly loot each and every container and chest in the area.
Crouch into cover as soon as you spot the three Hyperion Soldiers in the distance, where the walkway turns back to the southeast and descends a large set of stairs. Do not cross that last stretch of bridge until you’ve first eliminated the massive army on the lower level. The enemies guarding the lower level at this V-shaped bend in the route represent the single greatest concentration of Hyperion forces you’ll encounter outside Ore Chasm. Immediately set to Slagging any and all adversaries, then switch to your Corrosive weapons for maximum results. Those with a Longbow grenade can put it to use; otherwise, it may not be worth the risk of wasting grenades across the massive divide. Use the railing on the right for cover, and employ your best Slag and Corrosive weapons.
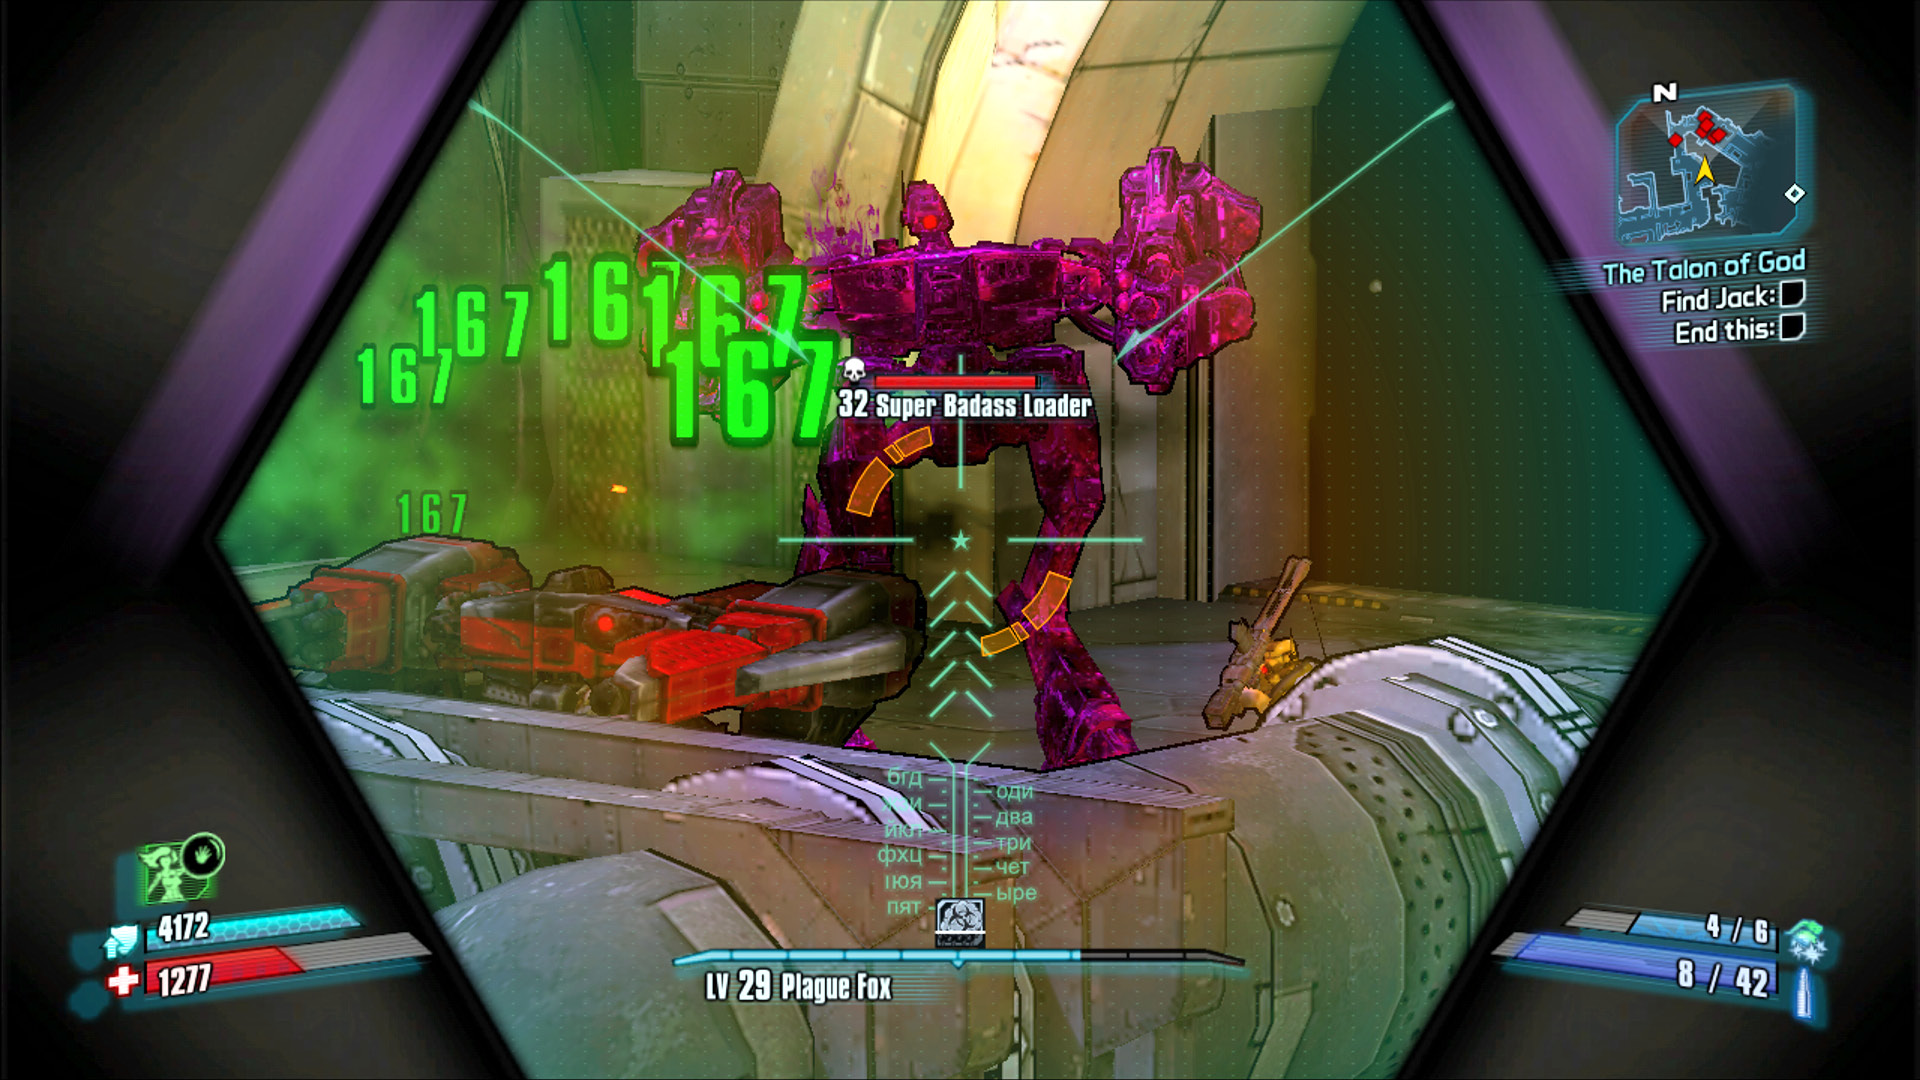
Face due north across the empty space, and use your rocket launcher and sniper rifle to take out the enemies down below before crossing the final bridge to the north.
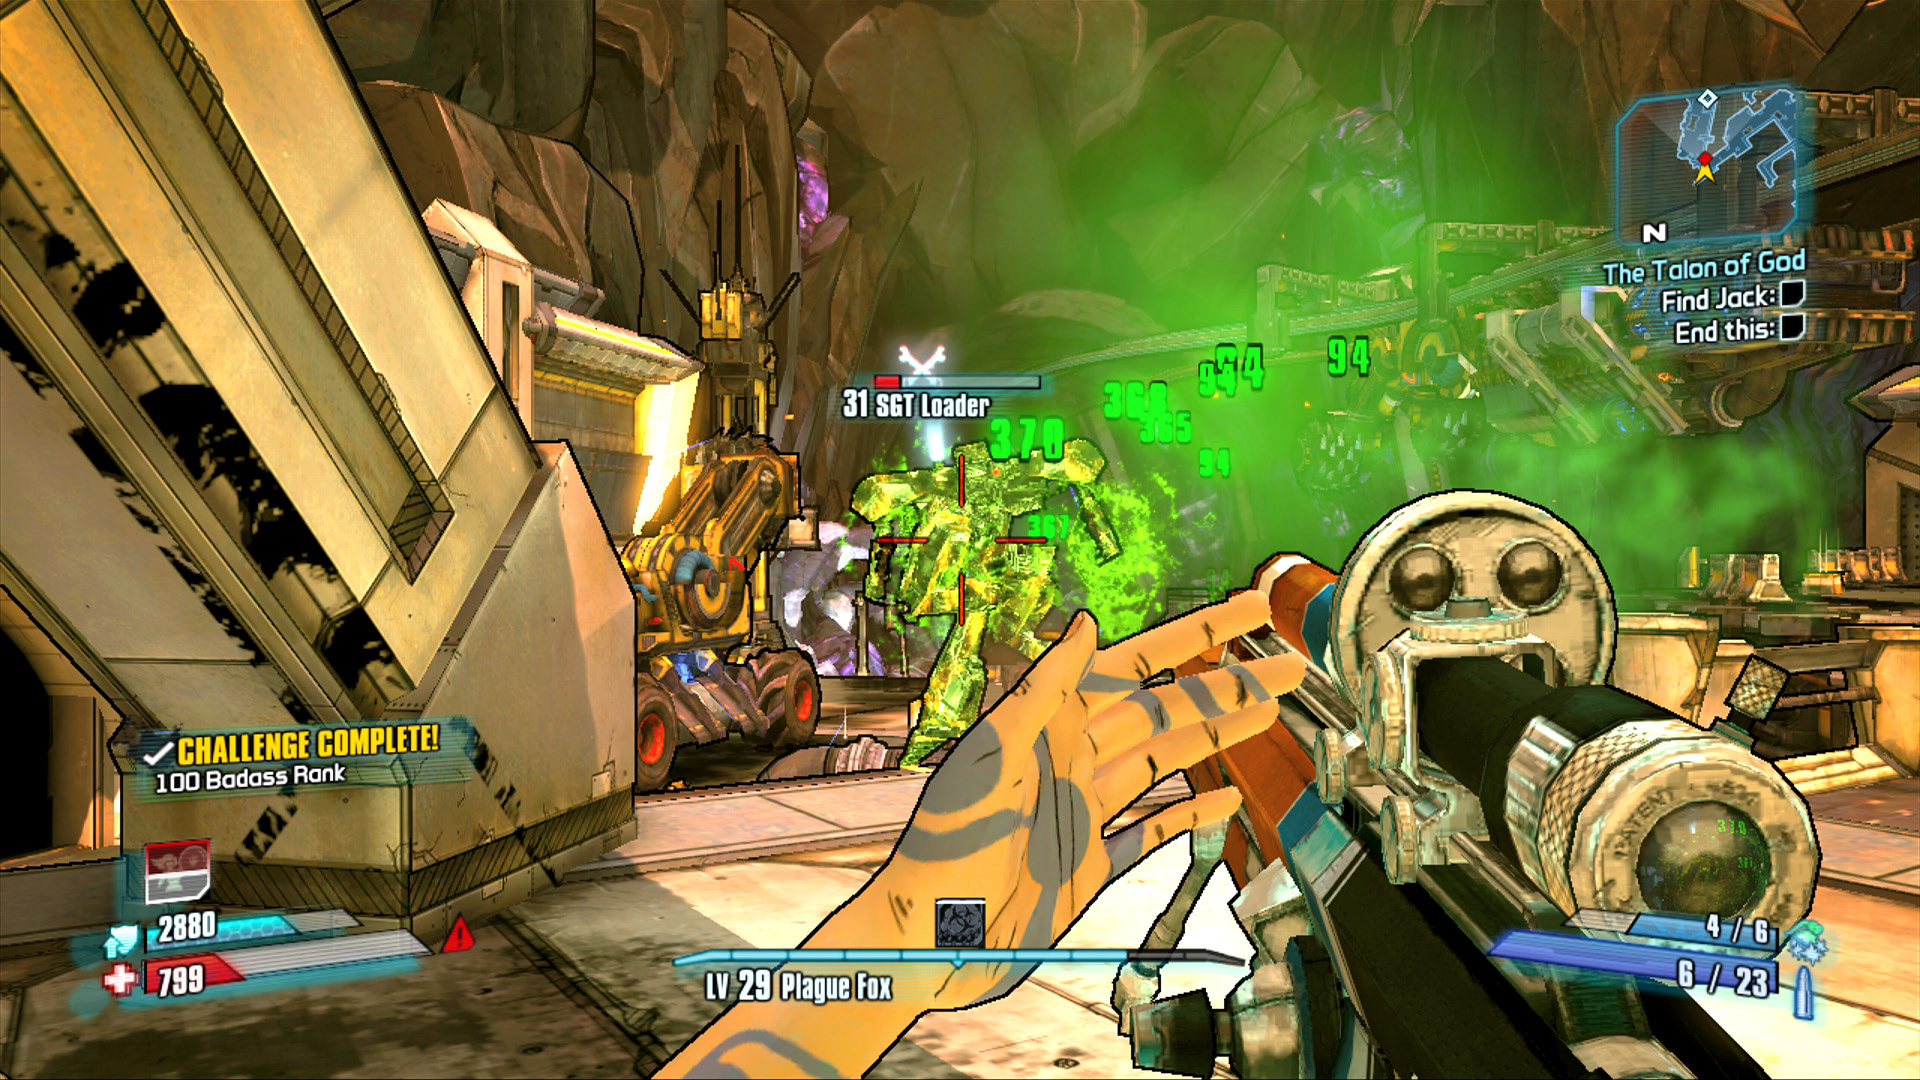
Monitor the minimap closely, and refrain from advancing to the top of the stairs until only one or two enemies remain.
Descend the stairs to where the Super Badass Loader and its ill-intentioned ilk had stood so proudly moments ago. Keep to the far-left side as you advance southward. Use the walls and containers on the left for cover from the mortar rounds and rockets being shot by the Badass Constructor in the distance. Hold your ground atop the stairs, and strafe in and out of cover as you shoot it. The path widens a bit as it steps its way down toward the bare ground and heavy machinery near the Vault of the Warrior entrance. Maintain the high ground, and take your time slaughtering each and every loader and Hyperion Infiltrator that dares attack.
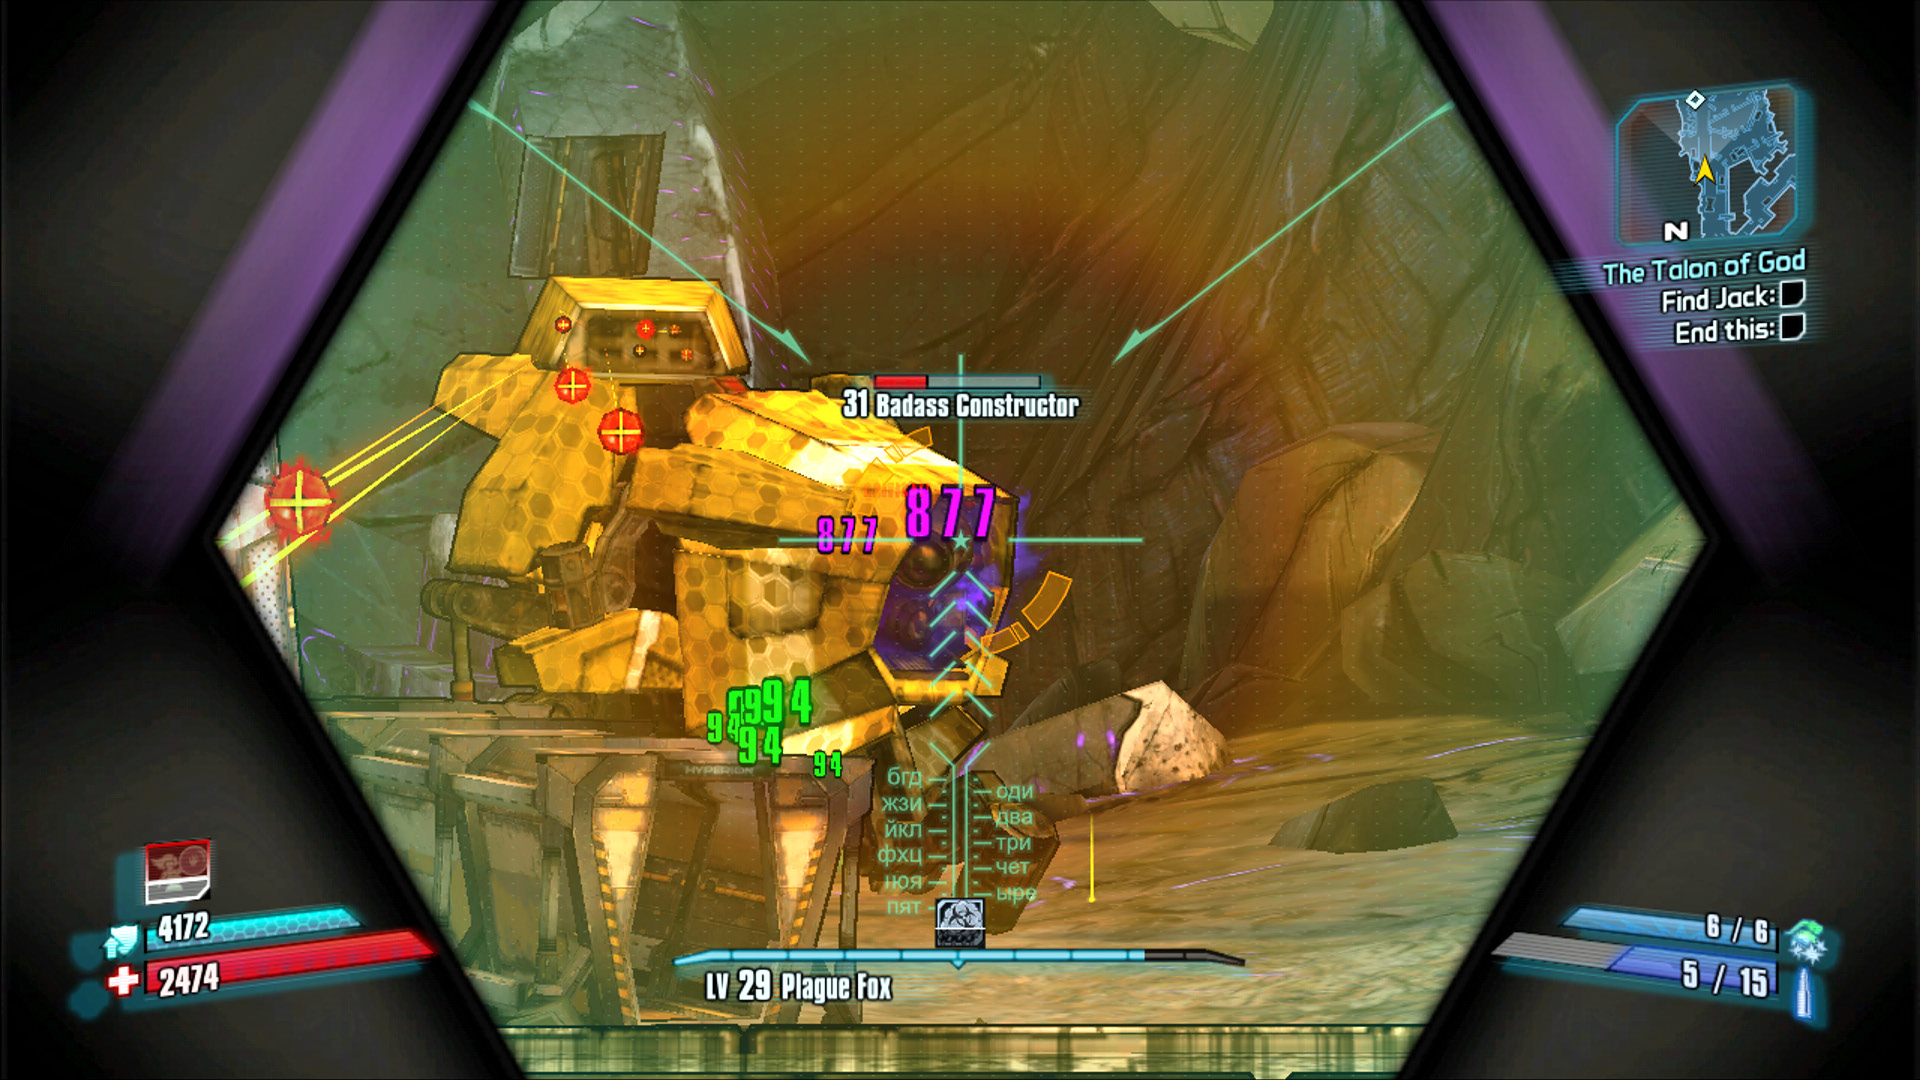
Use the cover on the left-hand side for protection from the Badass Constructor. Lean out to shoot it in the eye, then quickly step back to safety.
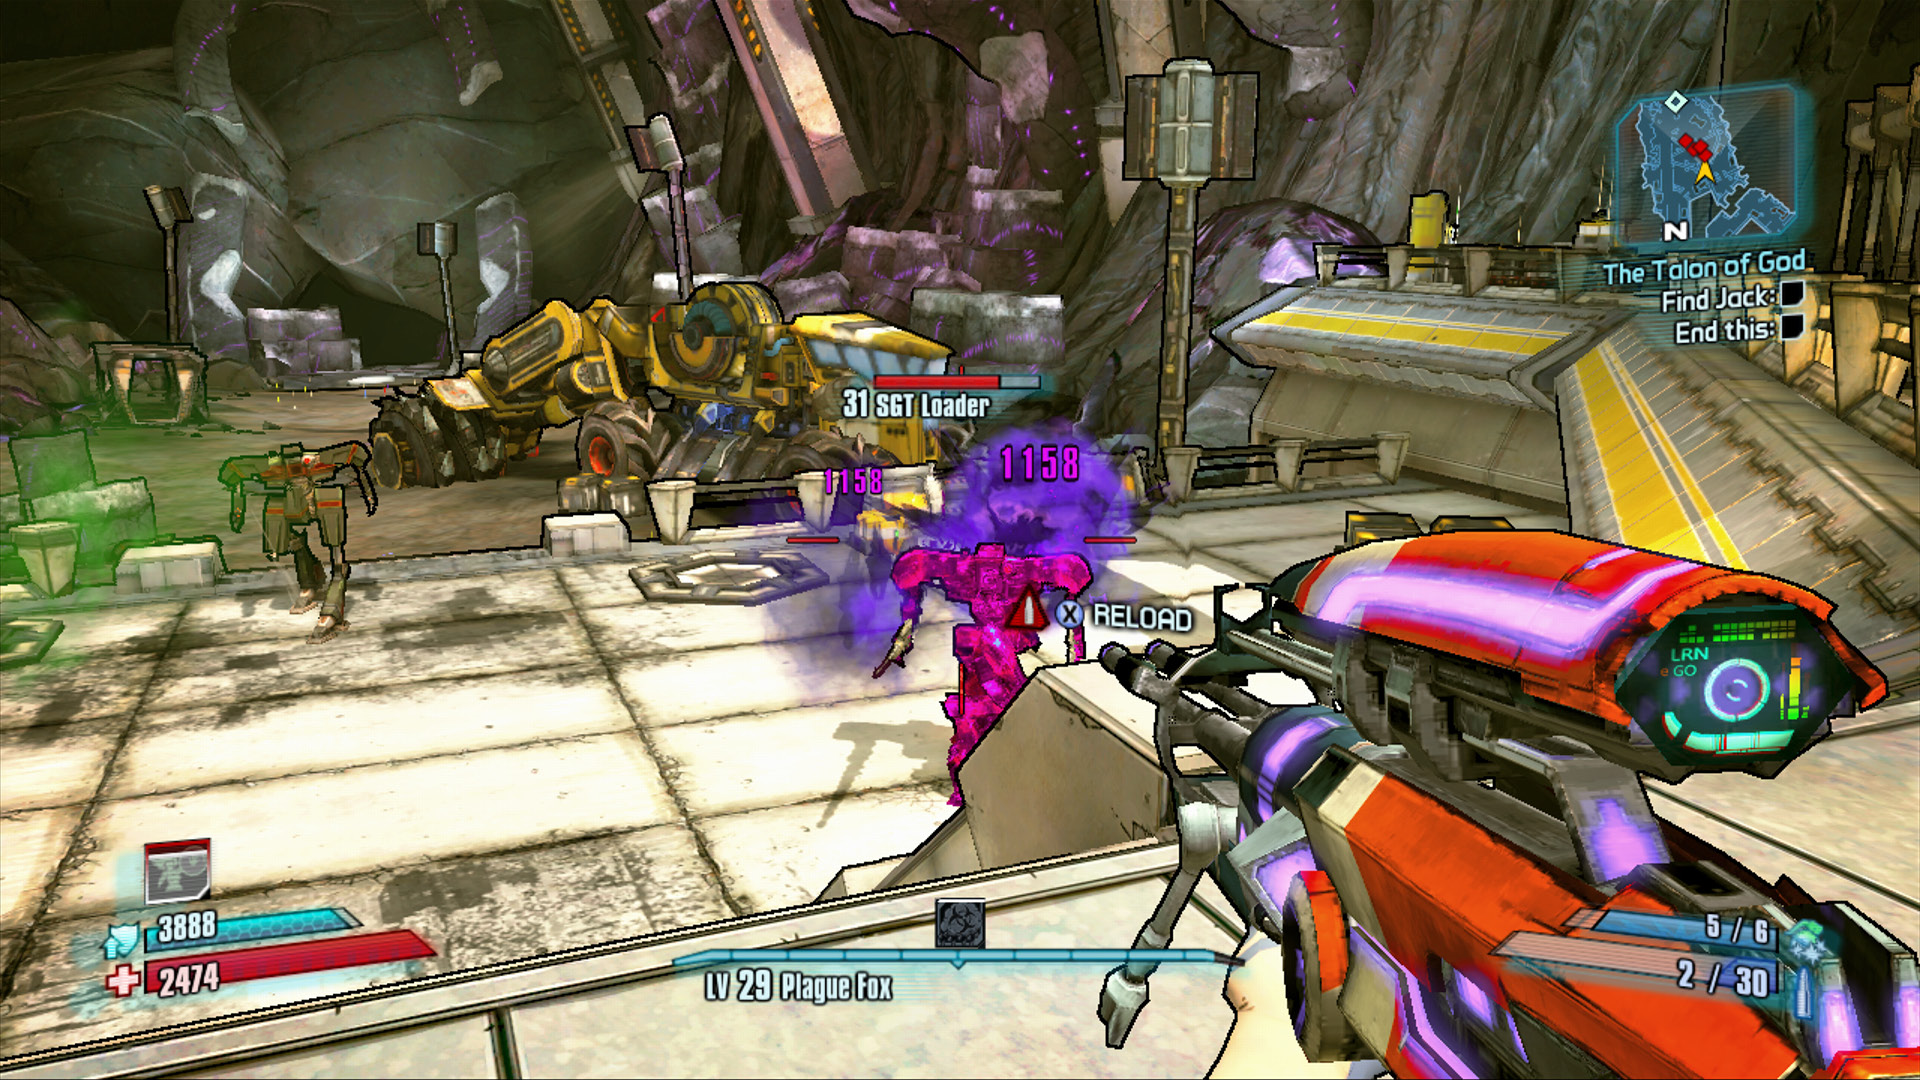
Hold the high ground, and let the SGT Loaders march to their demise.
Vault of the Warrior
You’ve made it into the Vault of the Warrior, but questions still remain. Where’s Jack? What’s he done with Lilith? Will there be treasure, or will there be death? These questions (and many more) will be answered in due time. For now, enjoy the enemy-free walk through the lava-draped cave as it winds its way to the elevator in the distance. Ride it down to the vending machines and one-way Fast Travel station up ahead. Take a minute to further sort your equipment, and (if you have one) consider equipping an Adaptive shield. Equip a Shock weapon along with an Explosive or Fire weapon. This is a good time to focus almost exclusively on rate of fire and damage values, otherwise known as damage-per-second (DPS). Equip those weapons that allow you to inflict the most pure damage as fast as you can without needing to rely on status effect damage-over-time attacks.
Drop off the upper ledge to land near a secret exit to Eridium Blight. This is your way out, should you survive the pending battles. Note, however, that there is no access to this exit from the other direction. Any return trips to the Vault of the Warrior require journeying back through Hero’s Pass.
Keep moving. Jack doesn’t like to be kept waiting.
Handsome Jack
Handsome Jack’s Vitals
| Health Multiplier | Shield Level | Damage Multiplier | XP Value | Critical Areas | Weakness/Resistance |
|---|---|---|---|---|---|
|
12 |
12 |
0.5 |
Ultimate Badass |
Head |
|
 / —
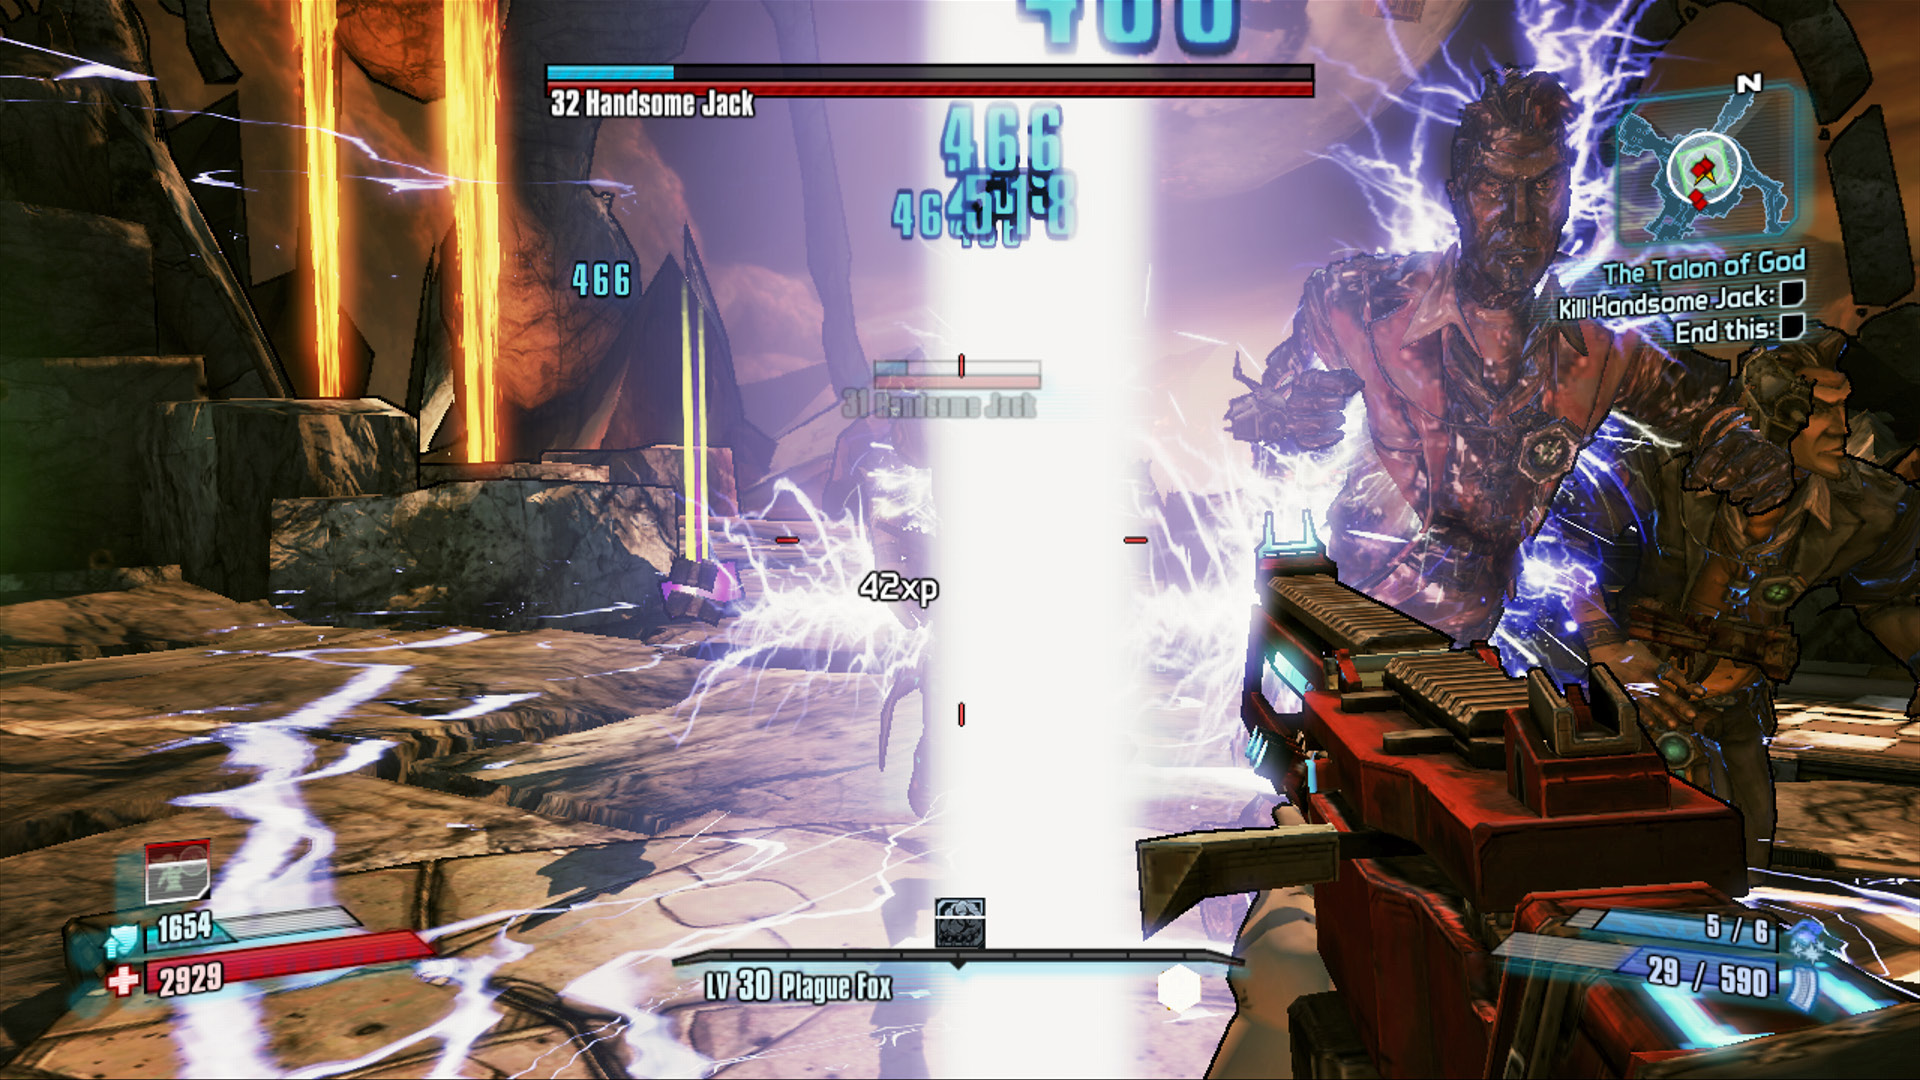
/ —Handsome Jack isn’t as much a boss as he is a giant jerk who thinks a little too highly of himself. You can’t expect Jack to fight you straight up without gimmickry—he knows he would lose—so instead he relies on his growing powers to deploy a number of clones to trick you. Look-alike Jacks spring forth and zip across the battlefield in all directions. Open fire with a quick-shooting Shock weapon to bathe them in electricity, rapidly dropping their shields and putting an end to the charade. Pan around the battlefield for the one true Handsome Jack, and pump him full of lead.
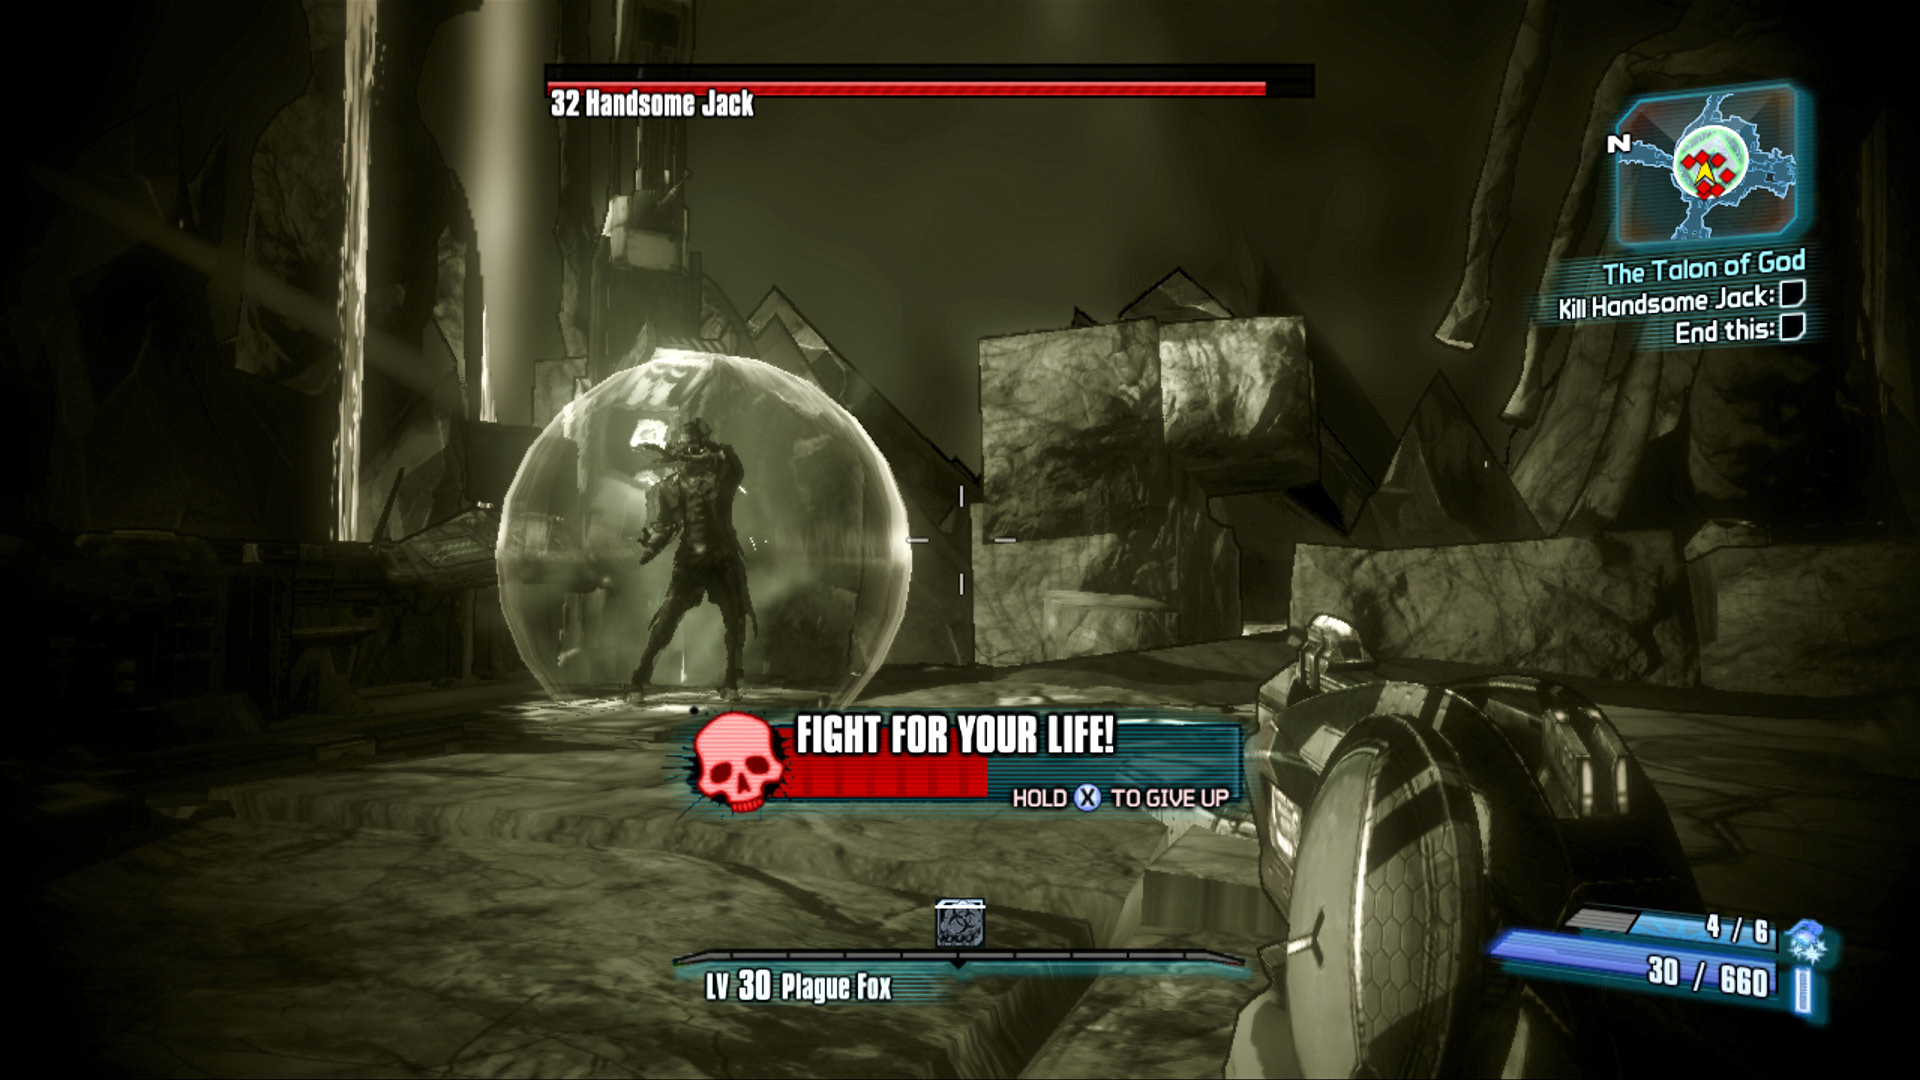
Jack releases a major attack just as his shields are deployed, and you may well get downed in the process. Have no fear! Look to the minimap for guidance, and target any of the rakk flying overhead—they’re your lifeline! Once back on your feet, fire a few rounds at Jack’s bubble shield to test the results. Unload into Jack with Fire or Explosive weaponry to deplete his life as fast as you can. You can only reduce his health to roughly 15% before he does the unthinkable: he summons the Warrior!
The Warrior
The Warrior’s Vitals
| Health Multiplier | Shield Level | Damage Multiplier | XP Value | Critical Areas | Weakness/Resistance |
|---|---|---|---|---|---|
|
50 |
— |
1 |
Ultimate Badass |
Heart, mouth, rib cage |
— |
The most powerful creature Pandora has ever seen. An ancient, Eridian weapon to be wielded by anyone clever and strong enough to summon it. A creature so massive, so powerful, and so important that nobody on Pandora could come up with a better name for it. Thanks to Handsome Jack’s treachery, The Warrior has finally been awakened—it’s time to finish this.
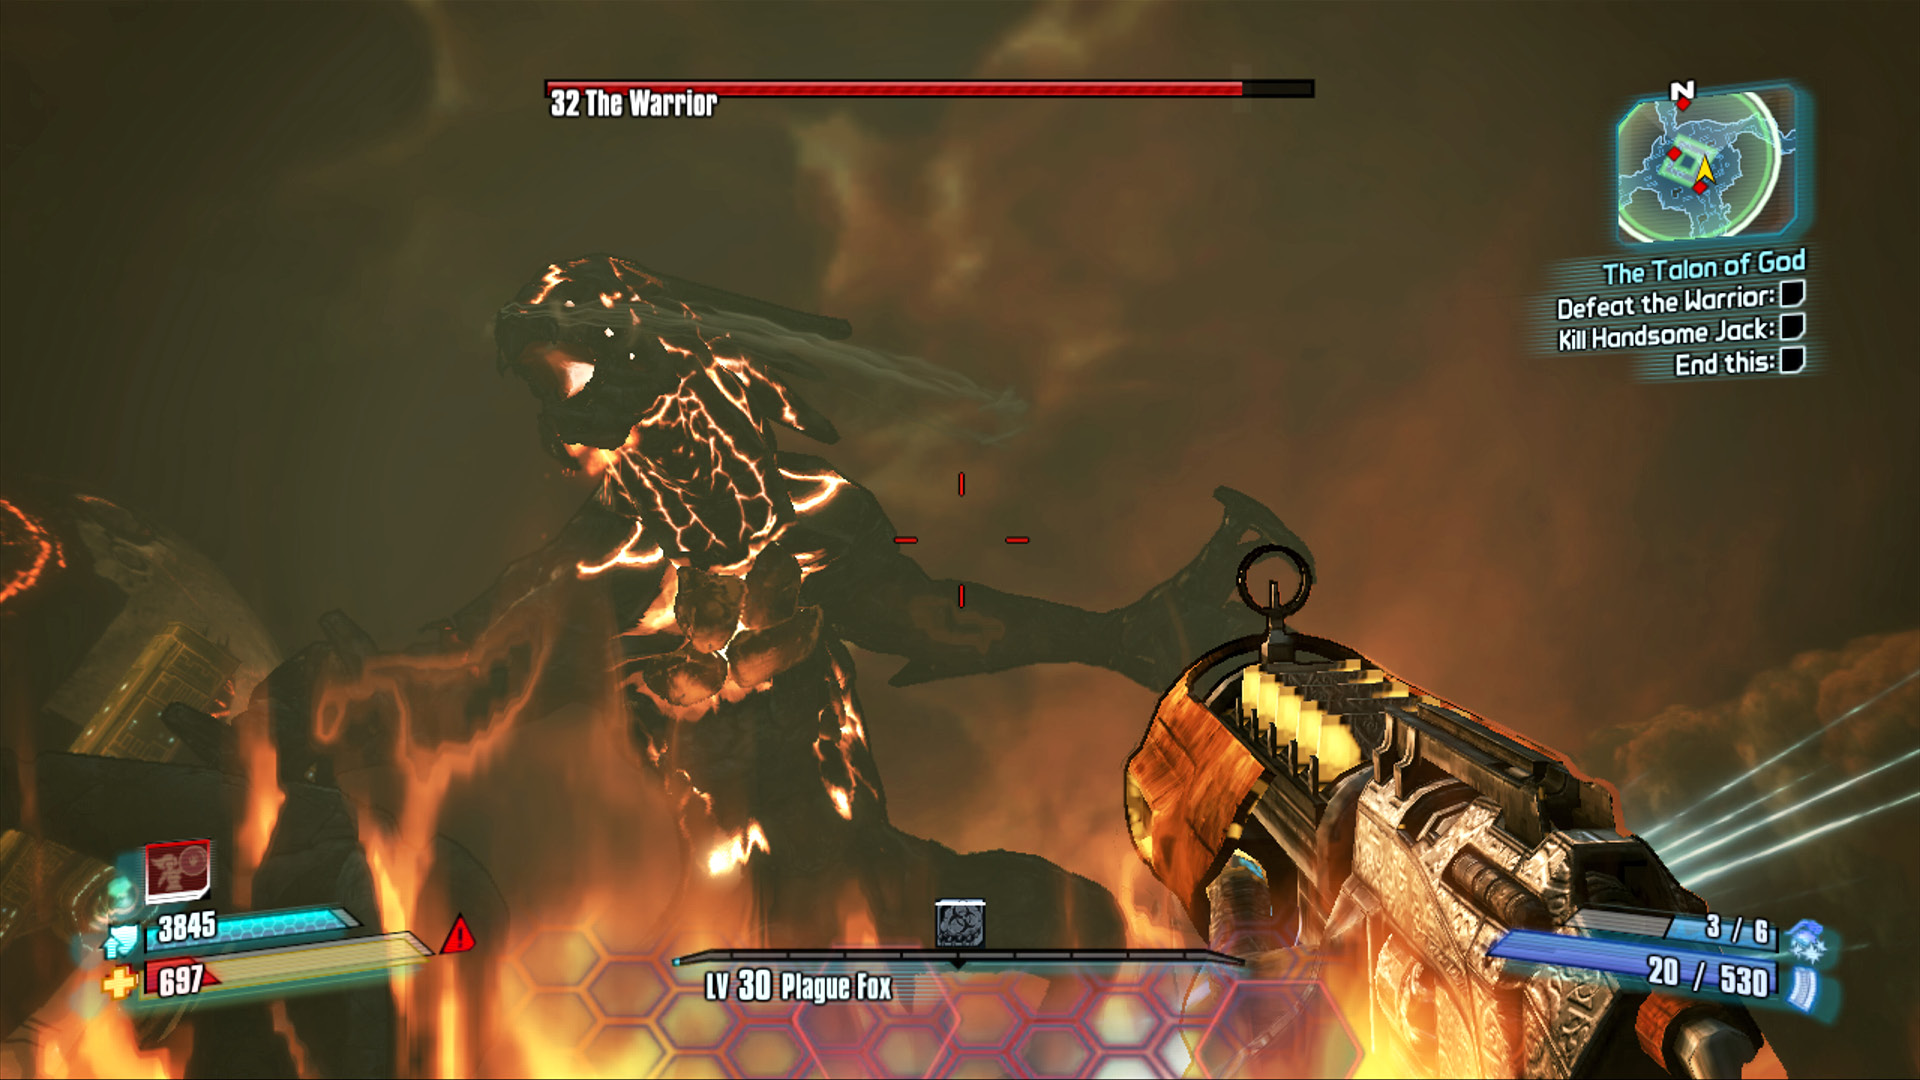
The Warrior is a beast unlike any you’ve ever encountered. Its massive reptilian-shaped body is equal parts rock, lava, and horror! The Warrior is capable of leaping high into the air and flying from one side of the Vault to the other, its body completely blackening the sky as it soars overhead with such surprising grace that you can’t help but stand in awe.
This is no time to gape in slack-jawed amazement! The Warrior has been summoned for the express purpose of killing you—hard! It has three major ways of doing it, too! For starters, the Warrior possesses a molten-hot fireball attack that can inflict major damage if you don’t take cover from it. Seek out the block-shaped rocks, and duck behind the biggest stack you can access for protection. The Warrior’s next major attack—and good luck dodging it—is a powerful tail slam that (if it connects) is all but guaranteed to not only give you a pretty good bounce but also down you. And if these attacks don’t get you, you’ll have to be constantly aware of the fluctuating levels of lava. The Warrior is capable of manipulating the height of the lava within the Vault, and anyone not atop the cube-shaped stone blocks will certainly feel the burn—and no amount of Fire protection can save you from that. Now for the good news: defeating the Warrior isn’t necessarily all that difficult so long as you’re cautious and patient, and you listen closely to Jack’s commands. That last point is important because Handsome Jack has the Warrior under voice command as if it were an obedient dog; a dog that breathes fire and happens to be 120 feet tall and made of stone, but a dog nonetheless. By listening for Jack’s voice, you can frequently take evasive maneuvers in anticipation of the incoming attack and save yourself a lot of struggle.
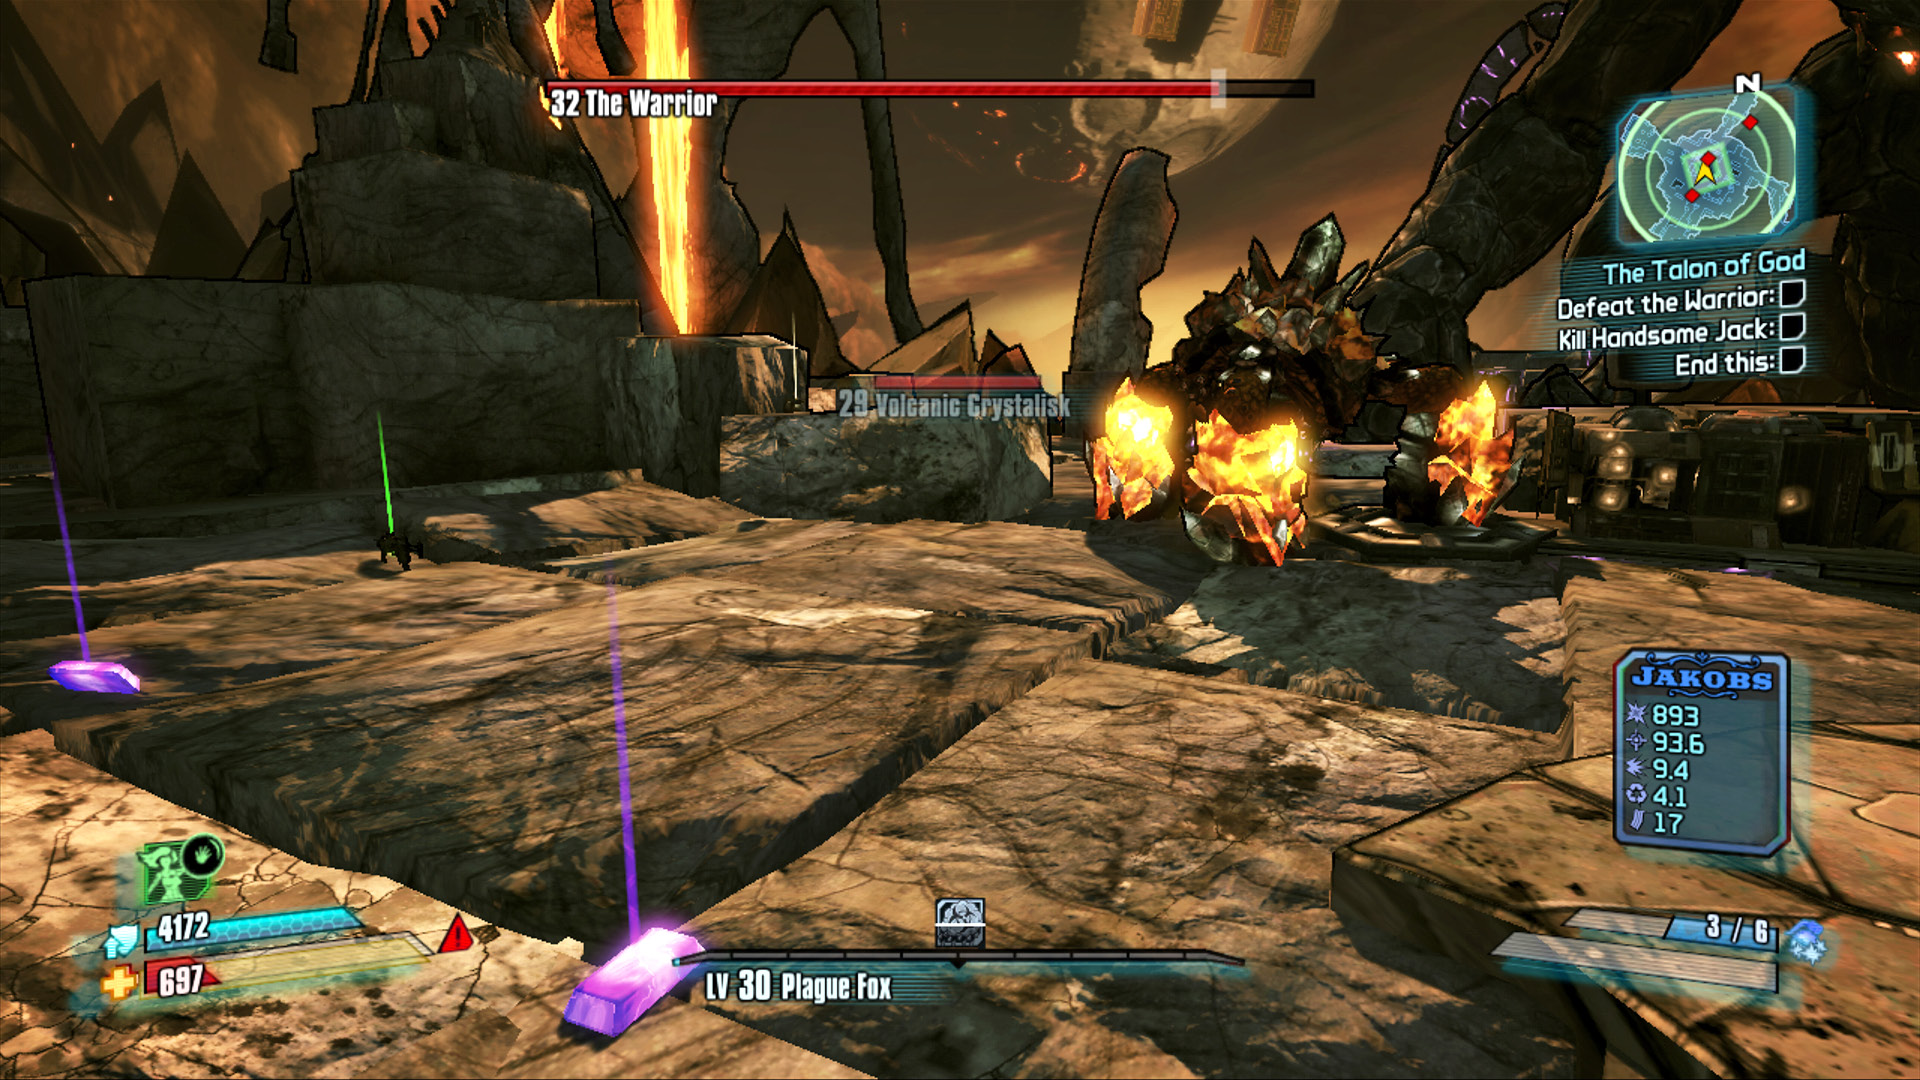
Before you learn how to go about killing the Warrior, it’s important to also acknowledge the other creatures in the area. You’ll be sharing the large central platform with an endless supply of Volcanic Crystalisks. Meanwhile, a flock of rakk circles harmlessly overhead. This may sound absolutely crazy, but it’s actually a good thing. For starters, you can completely ignore the Volcanic Crystalisks.
They’re of no major threat, and the rising lava coupled with the Warrior’s occasional tail swipes will kill them off, leaving behind Insta-Healths and ammo. The rakk, as you may have already learned, are perfect for gaining a Second Wind whenever you get downed. Reach for an SMG or shotgun, and fire into the sky. The minimap can help you pinpoint their flight patterns and get you on your feet in no time.
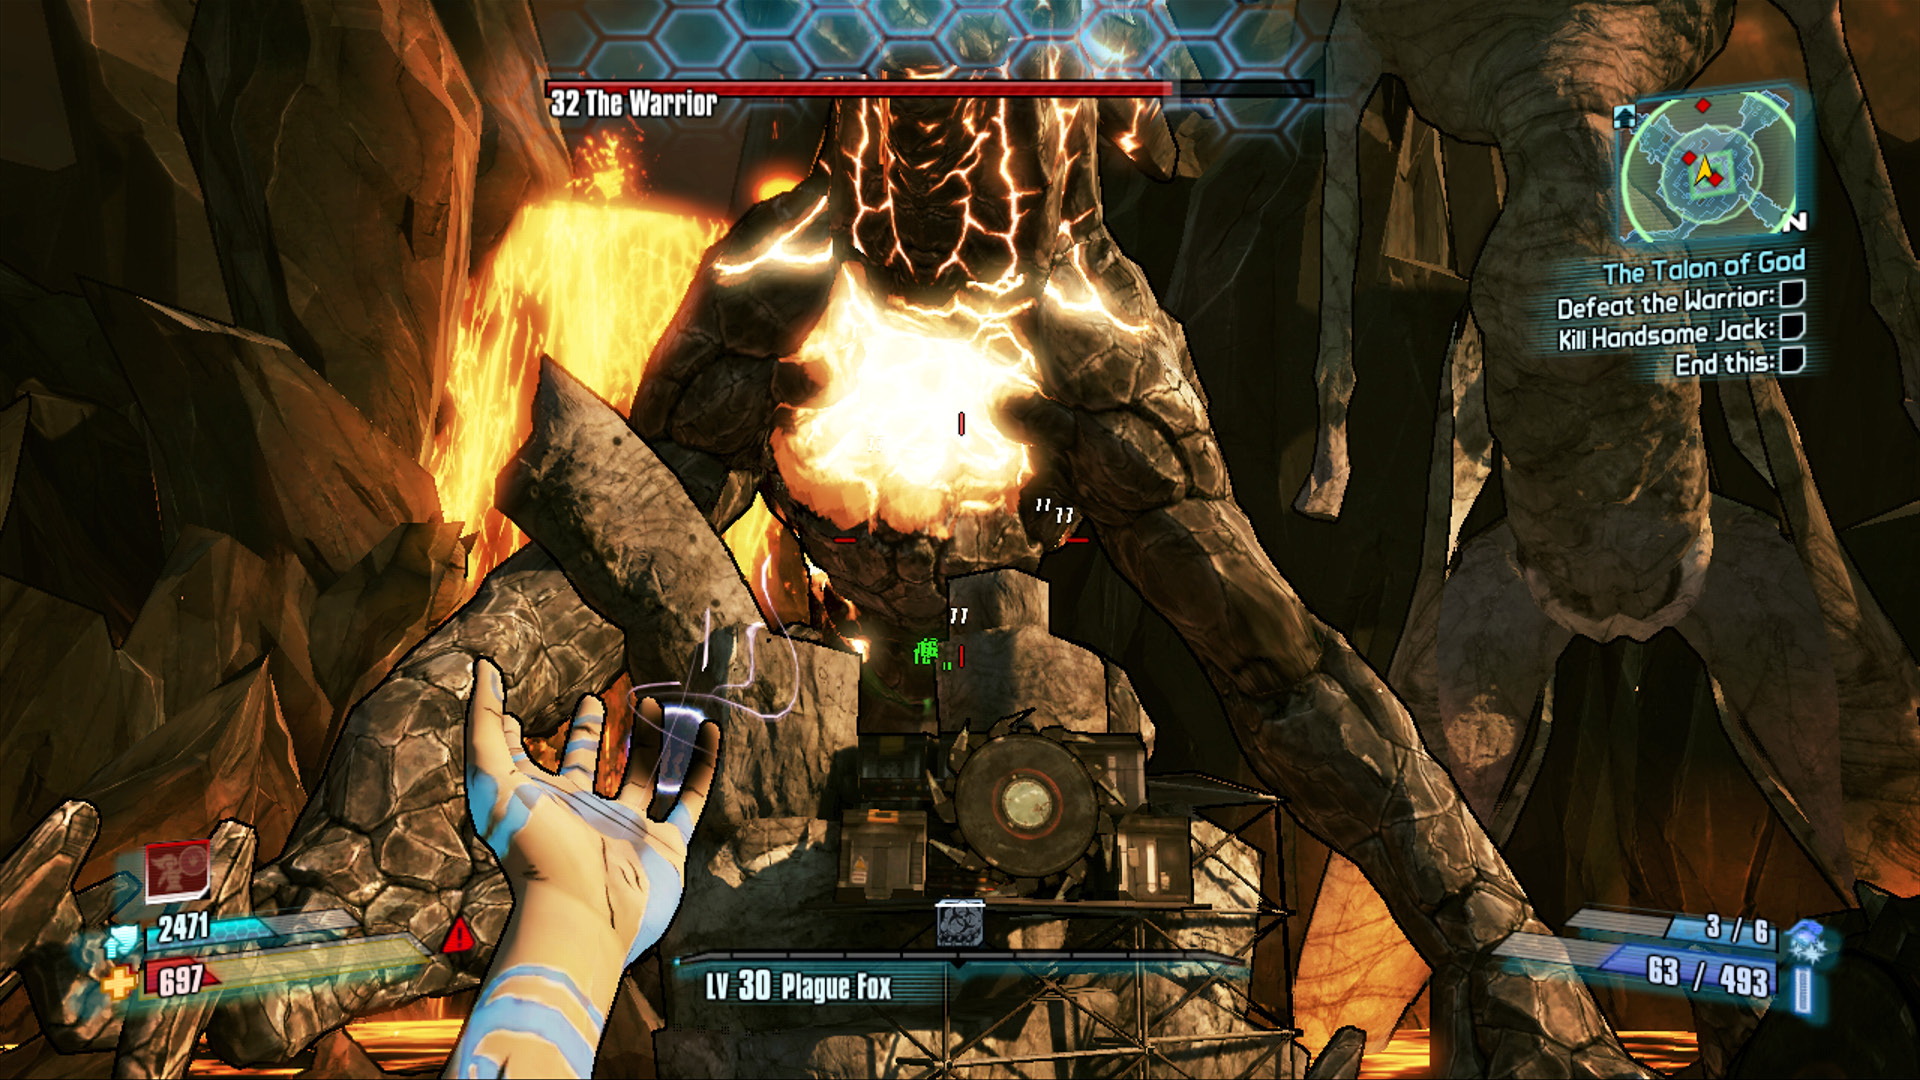
Lastly, it’s time to discuss how you kill this giant of a beast. Well, like most enemies, you shoot it in the head. It really can be as simple and straightforward as that. Fire a ceaseless barrage of bullets into the Warrior’s mouth for maximum results. You can actually inflict damage on the Warrior by shooting it anywhere on its body, but its open mouth deals extra damage. However, there is one spot on the Warrior where it is even more susceptible to damage than inside its mouth: its heart!
The Warrior may look all rough and indestructible on the outside, but its breastplates are actually quite fragile. Fire enough bullets at them, and they’ll actually break away, exposing the Warrior’s juicy, tender heart. Quickly empty your clips into the Warrior’s heart to inflict tremendous damage, and send the Warrior scurrying back into the lava for a breather. This not only takes a chunk out of the Warrior’s health bar, but also buys you a bit of time to scrounge for ammo and Insta-Healths and make a run to the temples at either end of the area to use one of the ammo resupply machines, if needed.
Of course, you need not shatter the Warrior’s breastplates and attack its heart, especially if you’d like to complete The Warrior’s Way Challenge. Here are some tips for doing just that for each class:
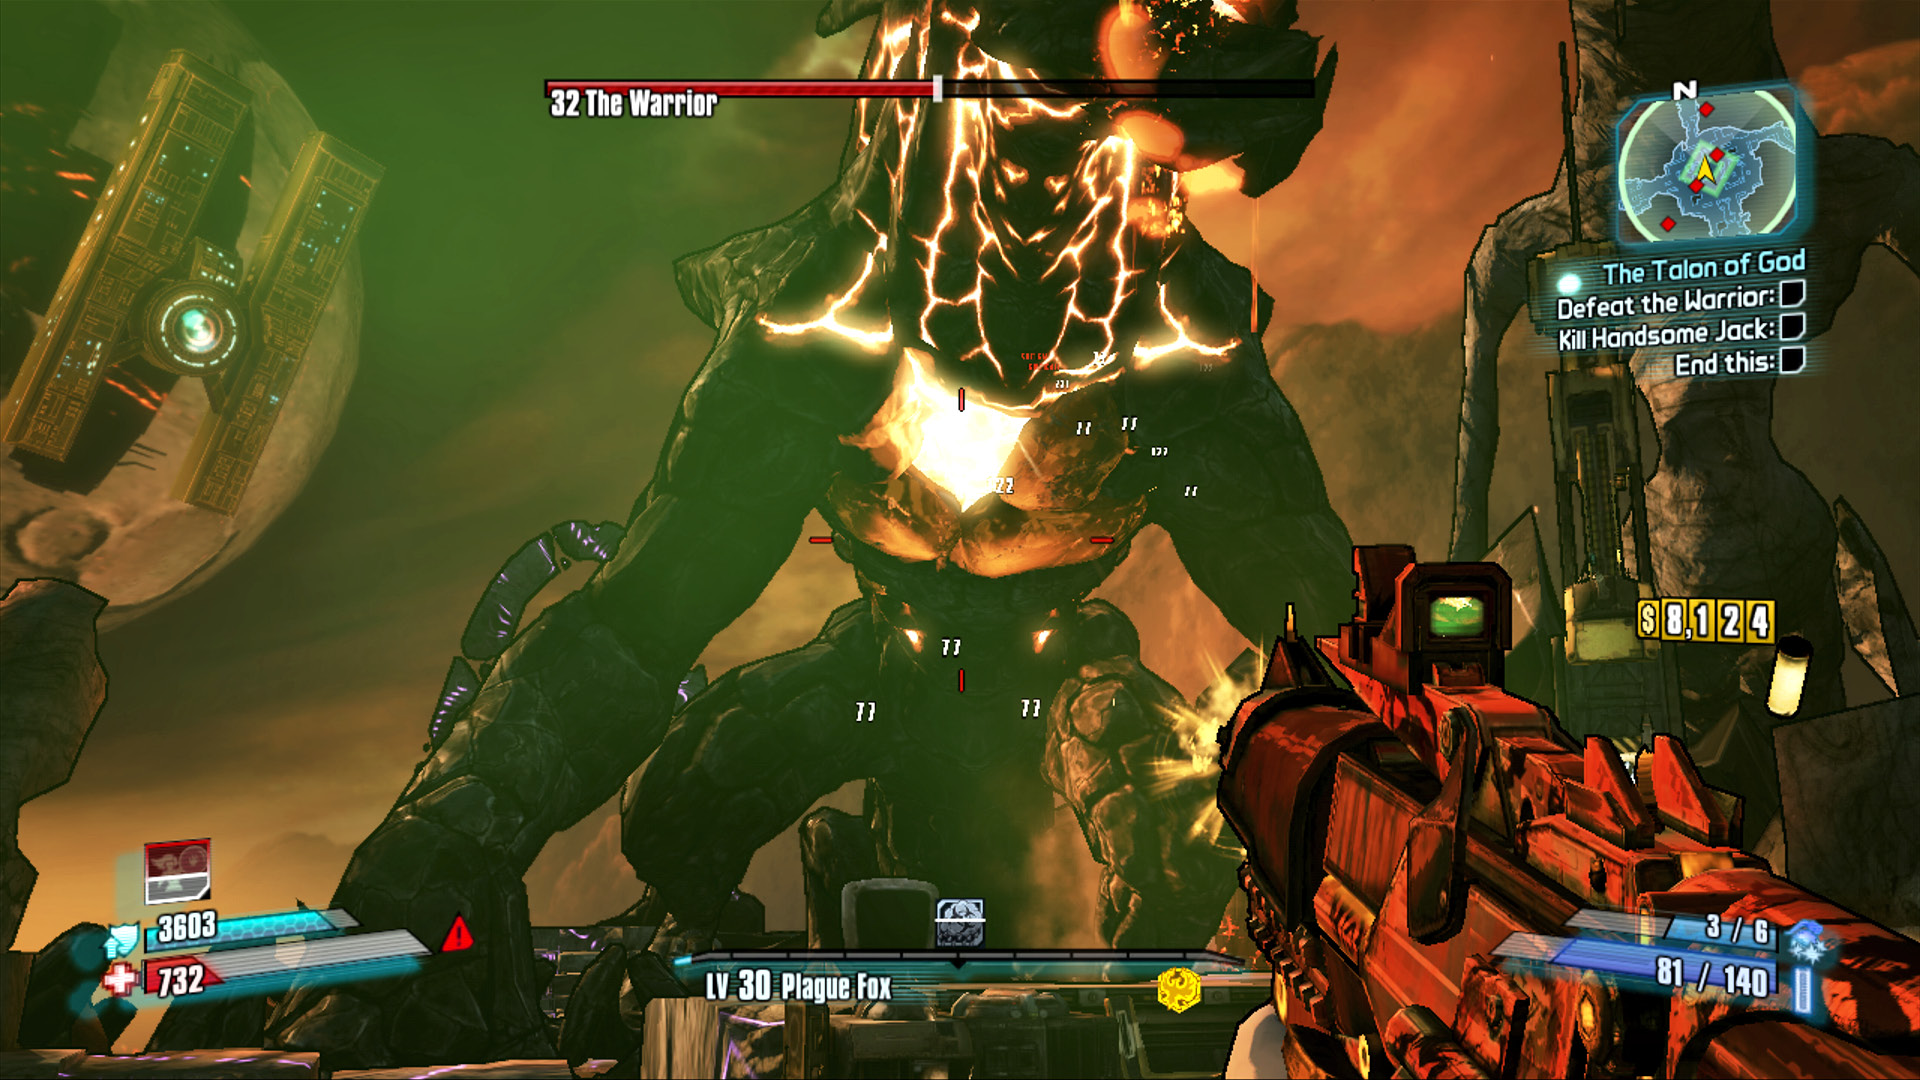
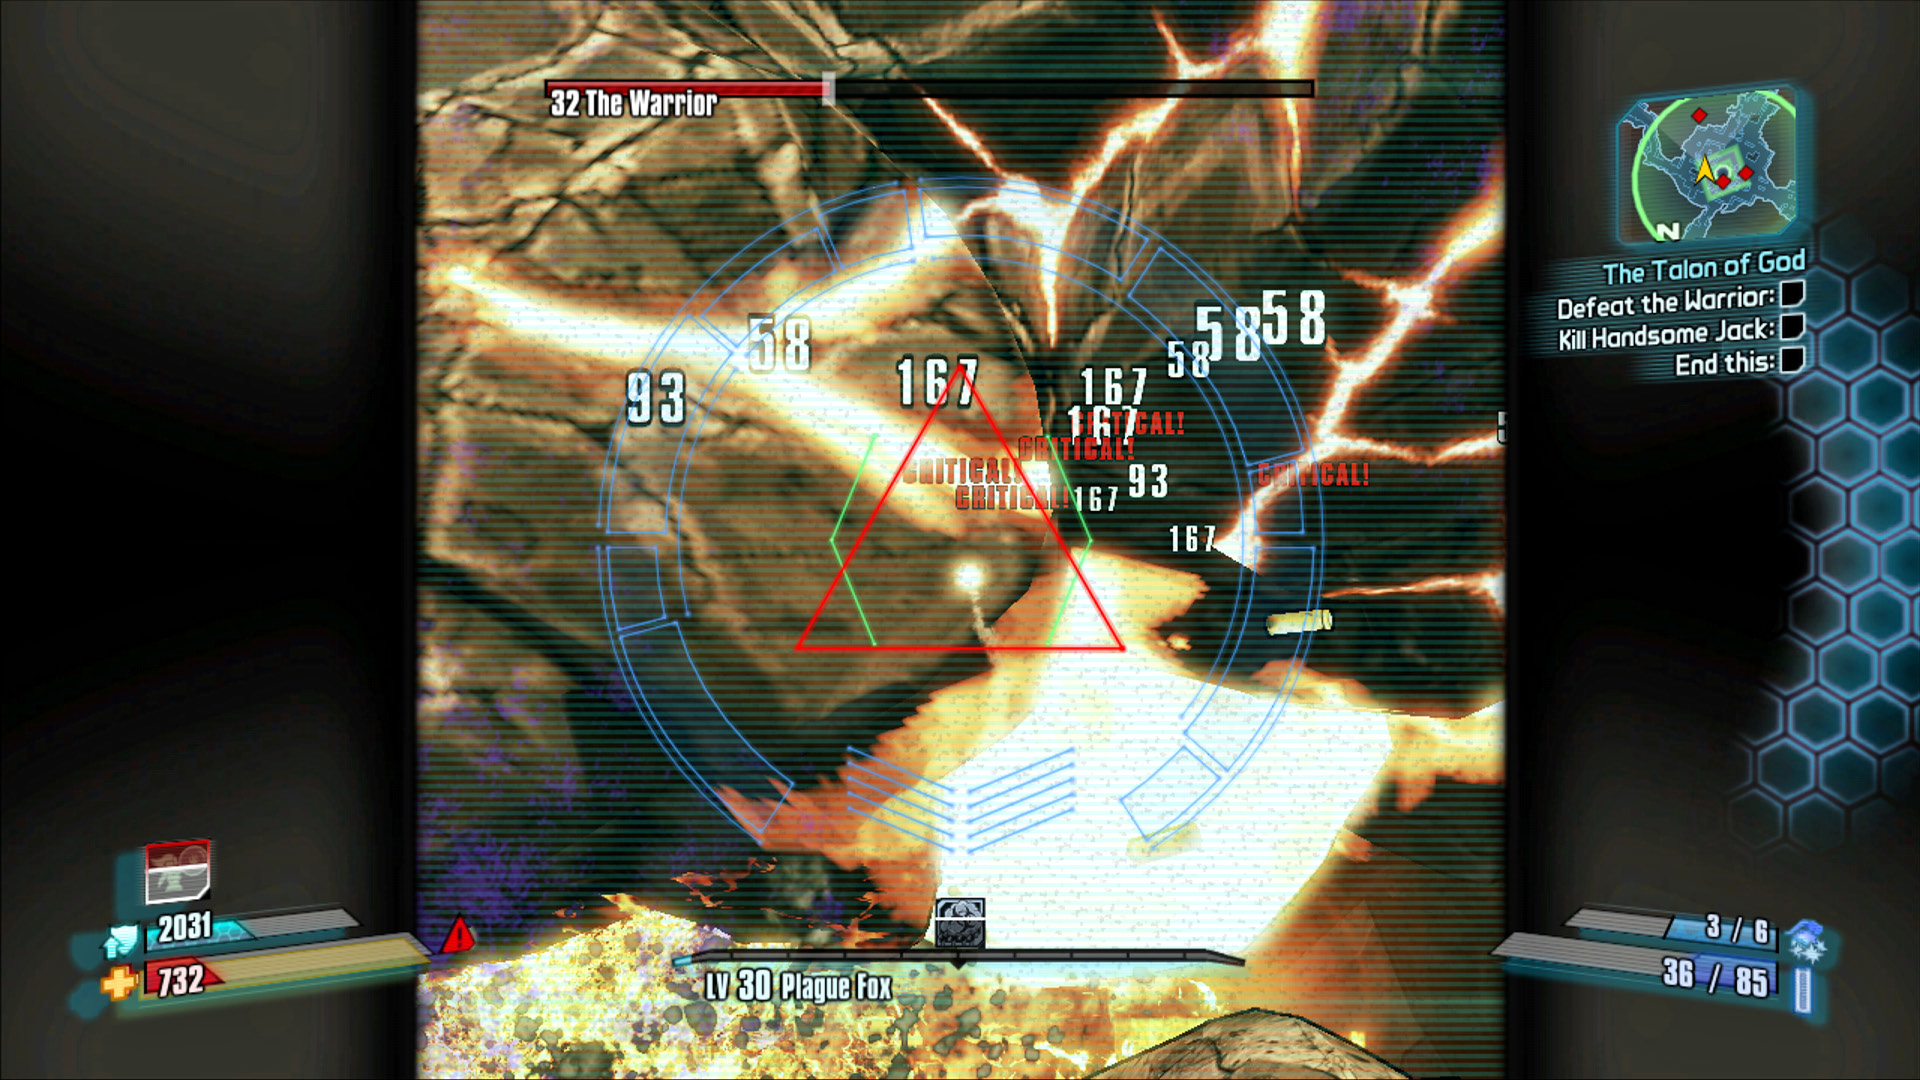
Consider the following techniques for completing “The Warrior’s Way Challenge” with each class:
Axton: It’s risky to use the Sabre Turret against the Warrior provided you stick close by it and re-collect it the moment you see the Sabre Turret targeting the breastplates. Just to be safe, resist the urge to use the Sabre Turret if going for the Challenge, as there’s no telling where the turret is going to fire.
Maya: There’s little harm in using the Phaselock ability on the Warrior, provided you aim the reticle at its head. Helios or your other skills still erupt off the initial impact explosion (the Warrior can obviously not be properly Phaselocked), but the blast is not powerful enough to rupture the breastplates and harm the heart.
Salvador: Salvador’s Gunzerking ability truly shines against the Warrior thanks to the beast’s giant size. Its head is so far from its chest that you needn’t worry too much about being super-precise while hip-firing with two weapons. It still pays to dual-wield with Hyperion pistols or SMGs, if possible.
Zero: Deception won’t necessarily gain you any advantages defensively, but the boost it provides your attacks is certainly worth using against the Warrior. Equip your most powerful sniper rifle, and use Deception to magnify the results. Just don’t wait until the final second to get the shot off, as by then, the Warrior may have already dived out of the way.