
Borderlands 2 Game of the Year Guide Claptrap's Guide to Minioning
The Spoils of War
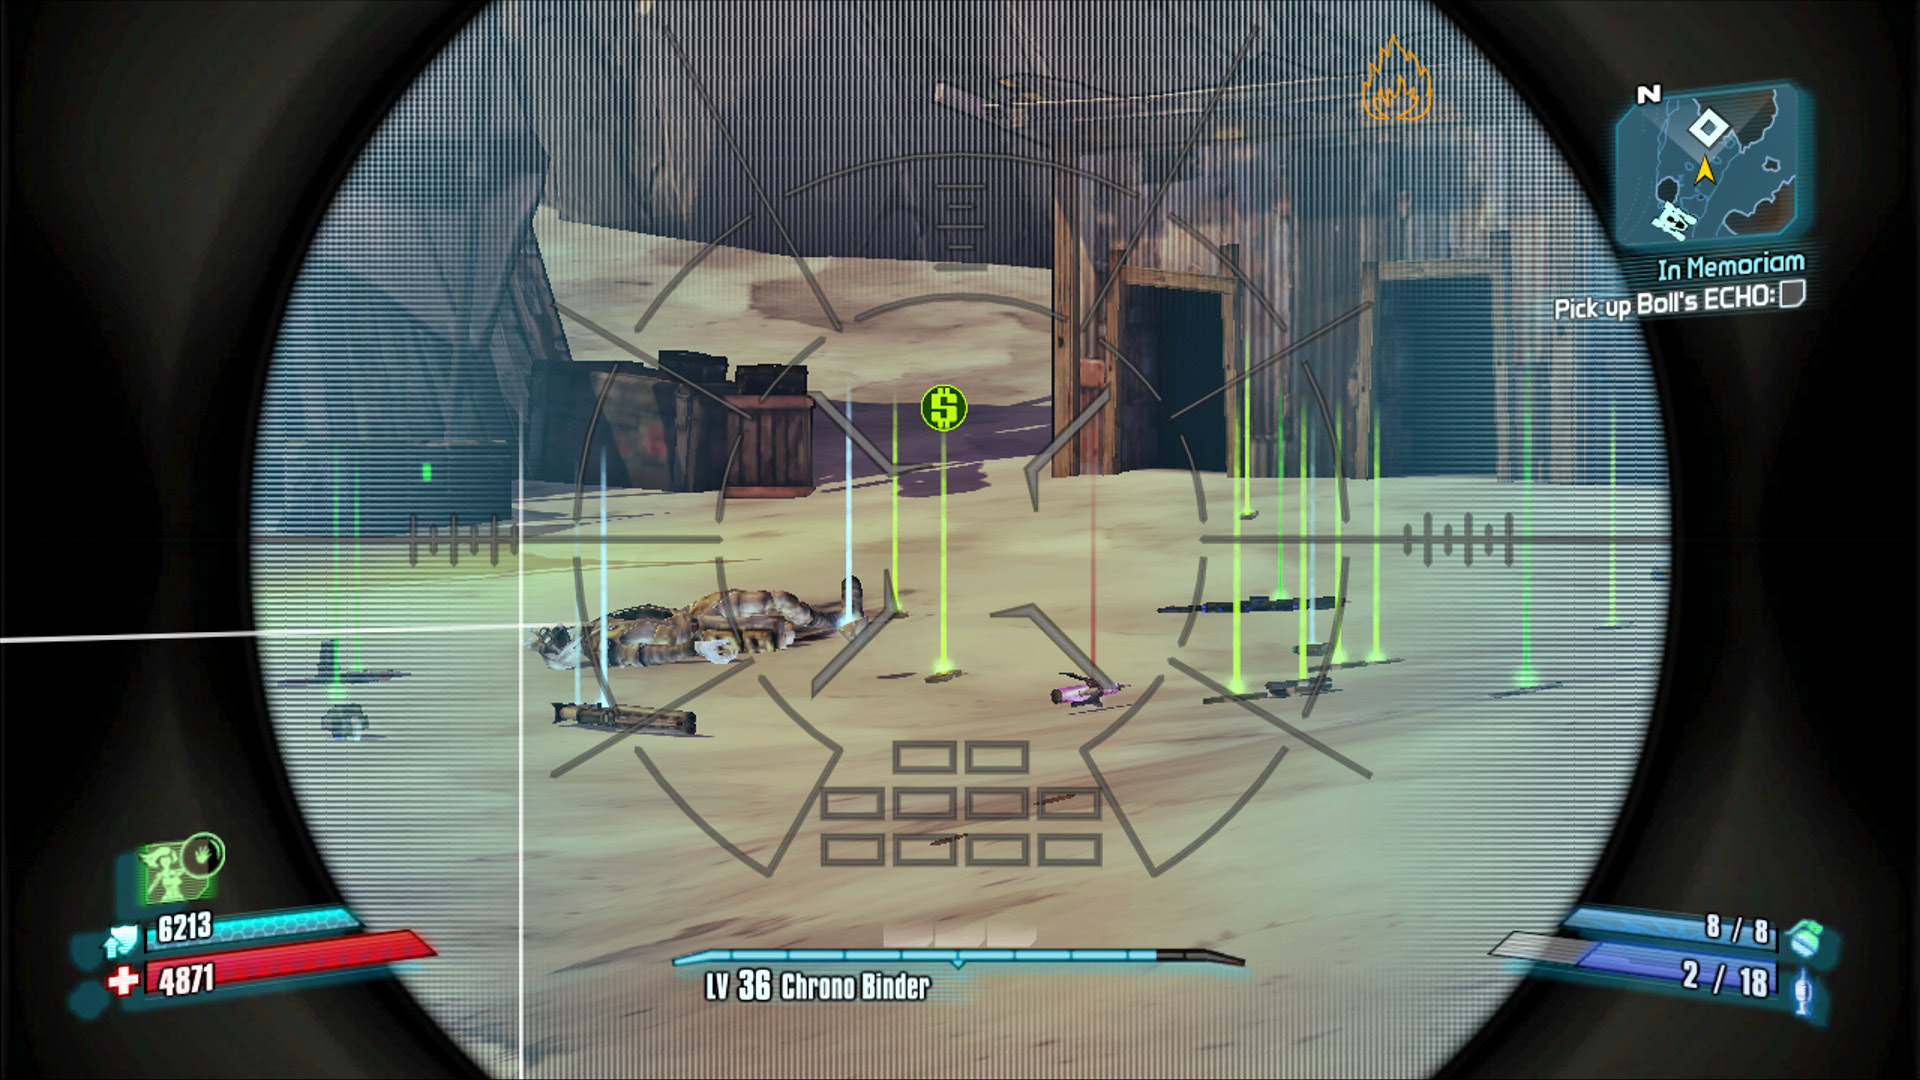
So about those rewards… the whole incentive for Vault Hunting from the first. Using patent-pending new foot-collection technology, you can now pick up ammo, cash, and health drops simply by running over these items. You’ll need to actively pick up weapons, equipment, cash and ammo found in containers, and pieces of Eridium. As in the first Borderlands, you can hold down the “use” button/key on one item to collect everything nearby; when several containers are adjacent to each other, it’s more efficient to open them all, then center yourself among them and use this bulk-collect command than it is to open, collect, open, collect, open, collect, and so on.
Note that if you use the bulk collect command (holding down the “use” command to pick items up en masse) while looking at a weapon, you’ll replace your current weapon-in-hand with the one you’ve just collected.
Weapons and Equipment
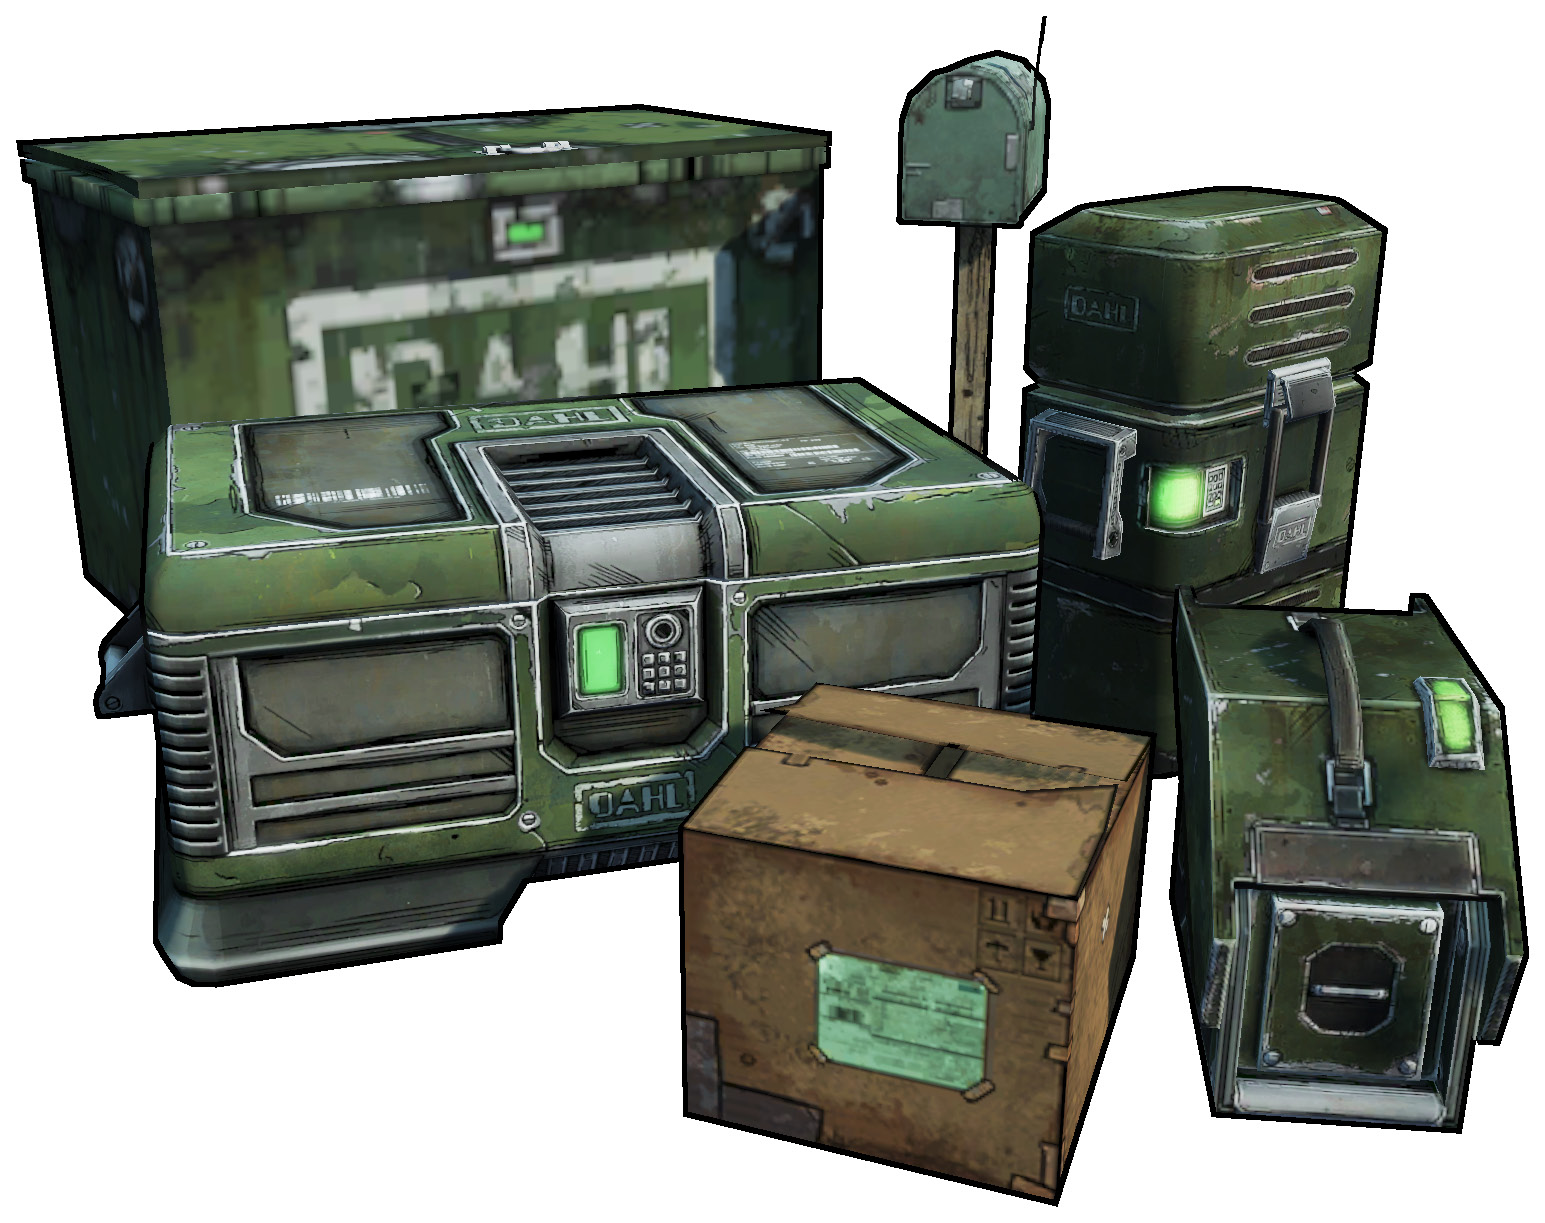
You’ll need guns. Lots and lots of guns. That’s okay, though, because you’re sure going to get them. Throughout the adventure, you’ll receive new weapons and equipment constantly. Enemies often drop their equipment upon death. Pistols and shields are sometimes squirreled away in loot piles and smaller containers. Folks who’ve given you a mission often cough up gear as payoff. Vending machines and slot machines offer a changing assortment of all kinds of gear. And finally, larger containers, like gun loot chests, gun lockers, reappropriated car trunks, loot goon Backpacks and LWT Loader torsos, and appropriately named dook huts will always spit out some items. Skag and bullymong piles and other collections of rubbish can also house equipment, though the results are usually partially digested bandit trash. (Monsters are not particularly discerning regarding their item collection. Or their diets.) For much more on items and firearm mechanics, check out the Marcus Munitions Monthly section of this book.
Initially, you’ll have only two slots for equipped weapons, as well as room for a shield and grenade mod. Later on, you’ll acquire class mods, Relics, and up to two extra weapon slots through story progress.
Item Rarity Grades
| Color | Rarity |
|---|---|
|
White |
Common |
|
Green |
Uncommon |
|
Blue |
Rare |
|
Purple |
Very rare |
|
Magenta |
Very rare–E-tech |
|
Orange |
Legendary |
|
Pink |
Seraph |
You’ll find stuff all over the place, and not all of it is good. Some of it is crap, actually. If you pick something up and you know for certain it’s no good for any of your characters, you can flag it as garbage so it’s easy to find in your inventory and sell the next time you visit a vending machine. Selling weapons you don’t want is perhaps the most lucrative source of revenue in Borderlands 2.
Sometimes, grenades and guns you scoop up will be obviously useless beyond their utility as sales bait, too far behind in level or raw damage to be useful. But if an item’s stats are even on the margin of acceptable for your level and your foes, then it’s worth taking any new weapon out for a test spin… if not in actual combat, then at least looking over the gun with the inventory’s Inspect feature and test firing the weapon. There are possible bullet and firearm behaviors that are NOT expressed on the stat card for the weapon/grenade, and you’ll just never know what you’re missing out on if you don’t at least check!
Dolla Dolla Bills, Y’all
Money makes the world go ‘round as surely on Pandora as elsewhere in the six galaxies. You’ll find money everywhere—off things you kill; inside any pile, box, locker, and chest that can be opened; and as a reward for missions.
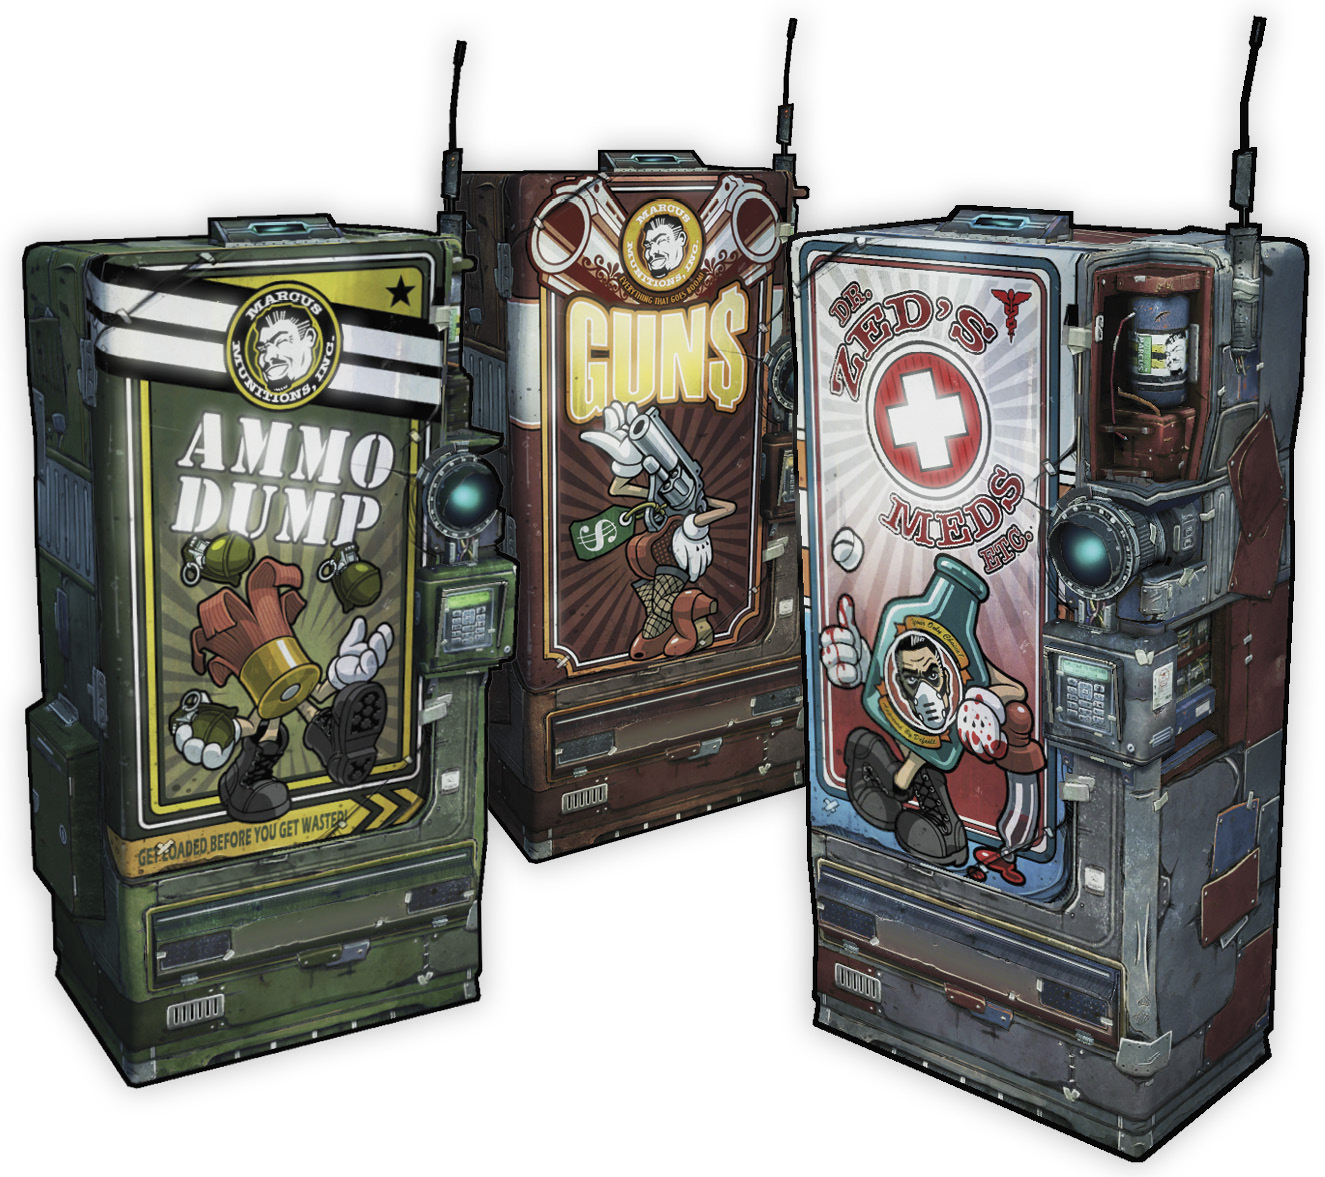
You’ll chase paper mainly so you can buy doses of Health Now! from Zed’s Meds vending machines, and so you can re-up on ammo and snag choice weapons at Ammo Dump and Gun vendors. It’s very rare, but it’s possible for orange rarity legendary gear to show up for sale in a vending machine, so it’s always worth your while to at least take a gander at the current inventory of the machines you pass! If you feel like rolling the dice for weaponry, you can also roll the bones by playing Moxxi’s slots (the slot machines, perv), or by tipping generously.
You’ll also inevitably spend some money on digital New-U reconstruction when you die. (And you are going to die. Yes, you.) This is automatic, so at least on Pandora, you have essentially the best medical insurance possible. New-U reconstruction is a percentage of your total funds, so don’t worry about not having the scratch. Don’t spend too much time thinking about how your reconstructed self is only an indistinguishable copy of your dead self and not the exact same organism. What is self, anyway?
Finally, you’ll have to spend a little cheese when respecing skill points, but the nominal fee is a small price to pay for the flexibility of redoing your build as needed.
Faces & Skins
At the outset, every character starts with several faces and body skins to mix and match in order to produce your own beautiful Vault Hunting snowflake. Ditto Scooter’s Catch-A-Ride vehicles, once you have access to them. (SPOILER ALERT: there are vehicles in Borderlands 2. Sorry!) But on top of all the other stuff you’ll find, you’ll also uncover new looks for each of these aspects of player characters.
Heads: Character heads are a lot more exclusive than vehicle skins. Three are rewards for optional missions. One is a rare drop from any Badass enemy in the game. One is acquired by completing the fifth and final tier of the Challenge “…to pay the bills,” which is focused on Action Skill use. Finally, several heads are low probability drops from some of the game’s baddest bosses and rarest foes.
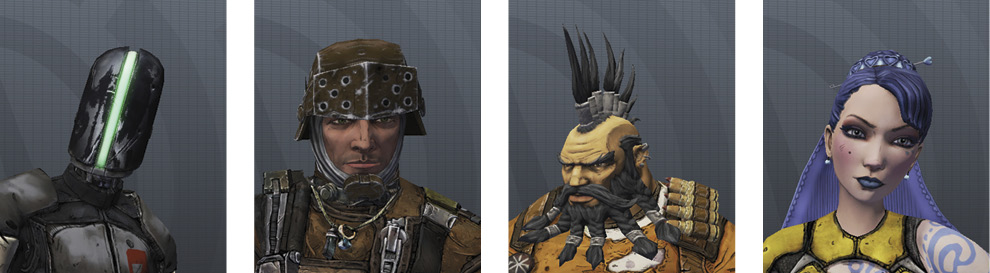
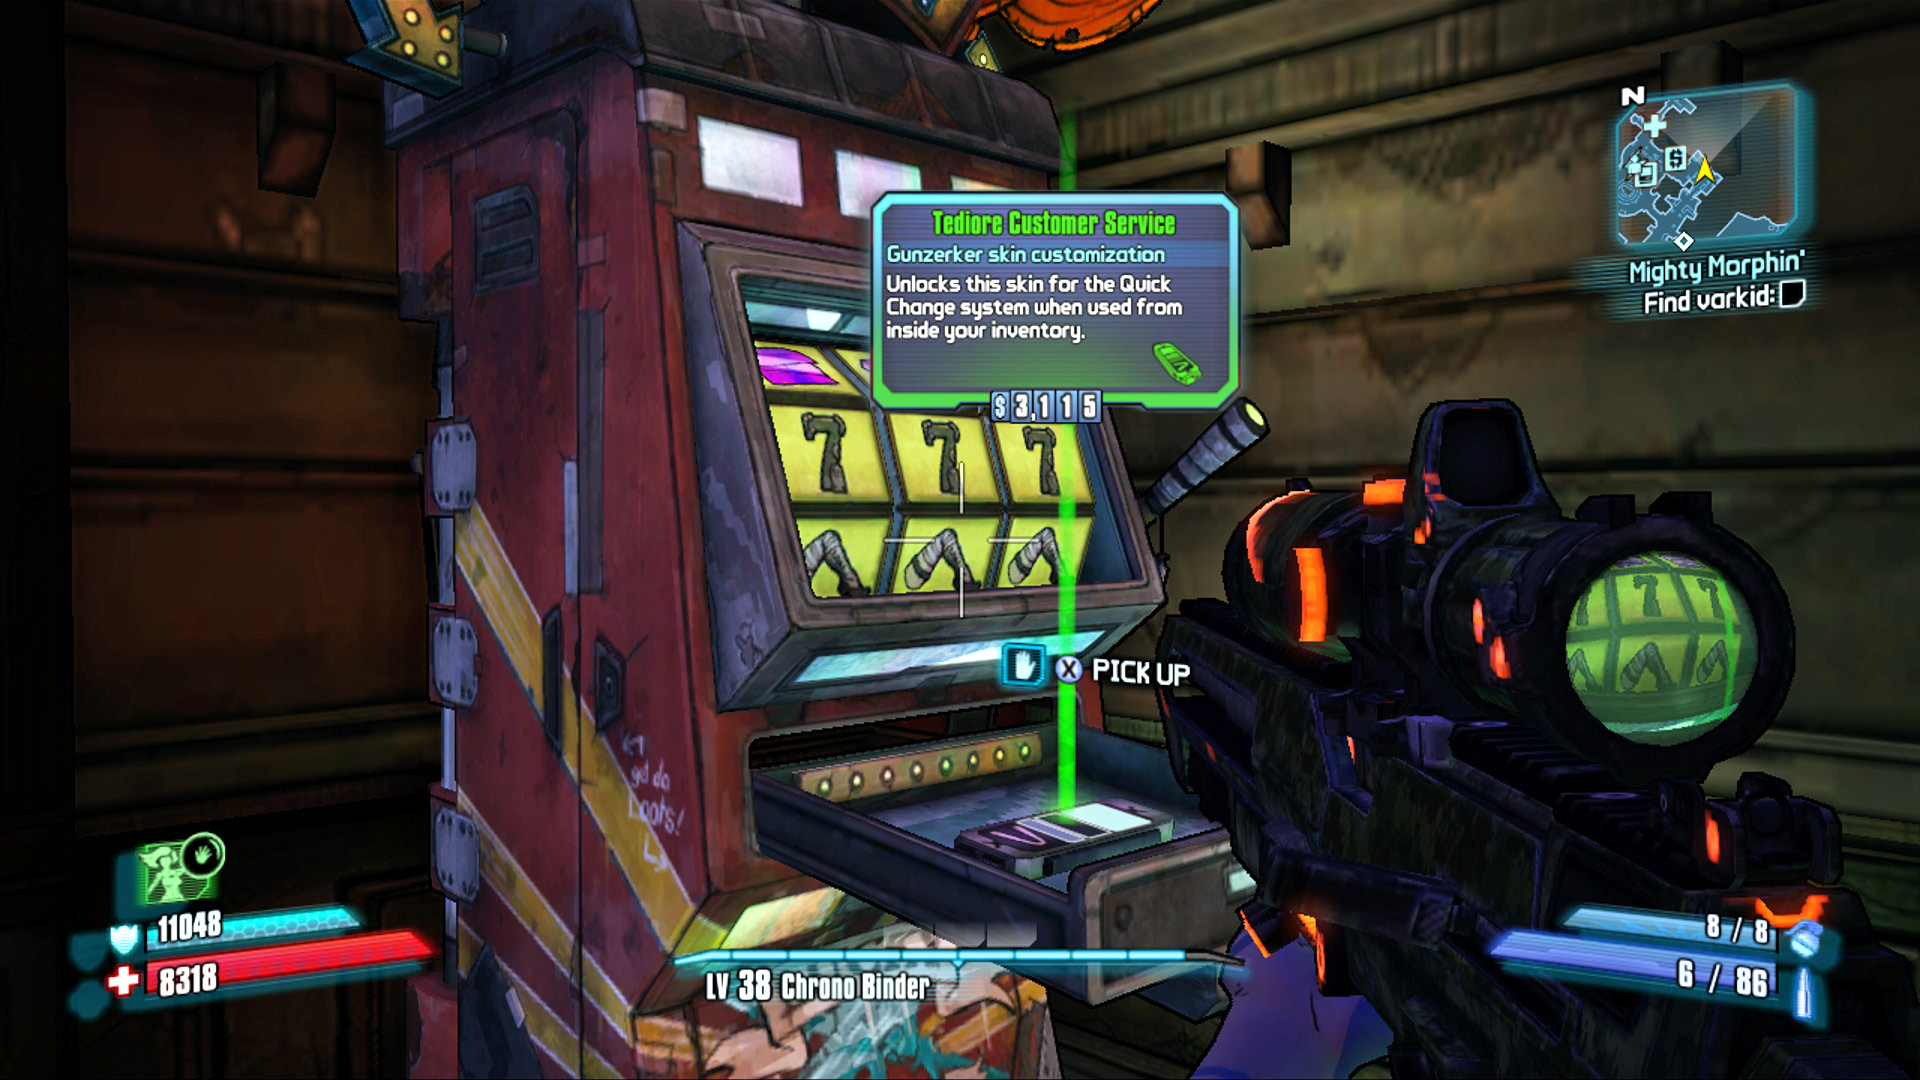
Player skins: Like the vehicle skins, there are lots more character skins than additional heads. Eight skins come from completing optional missions. Thirty-three are acquired from completing various Challenges. The eight manufacturer-branded skins are found (rarely) in vending machines. Two skins can only be won from slot machines. And finally, 14 skins are general enemy drops.
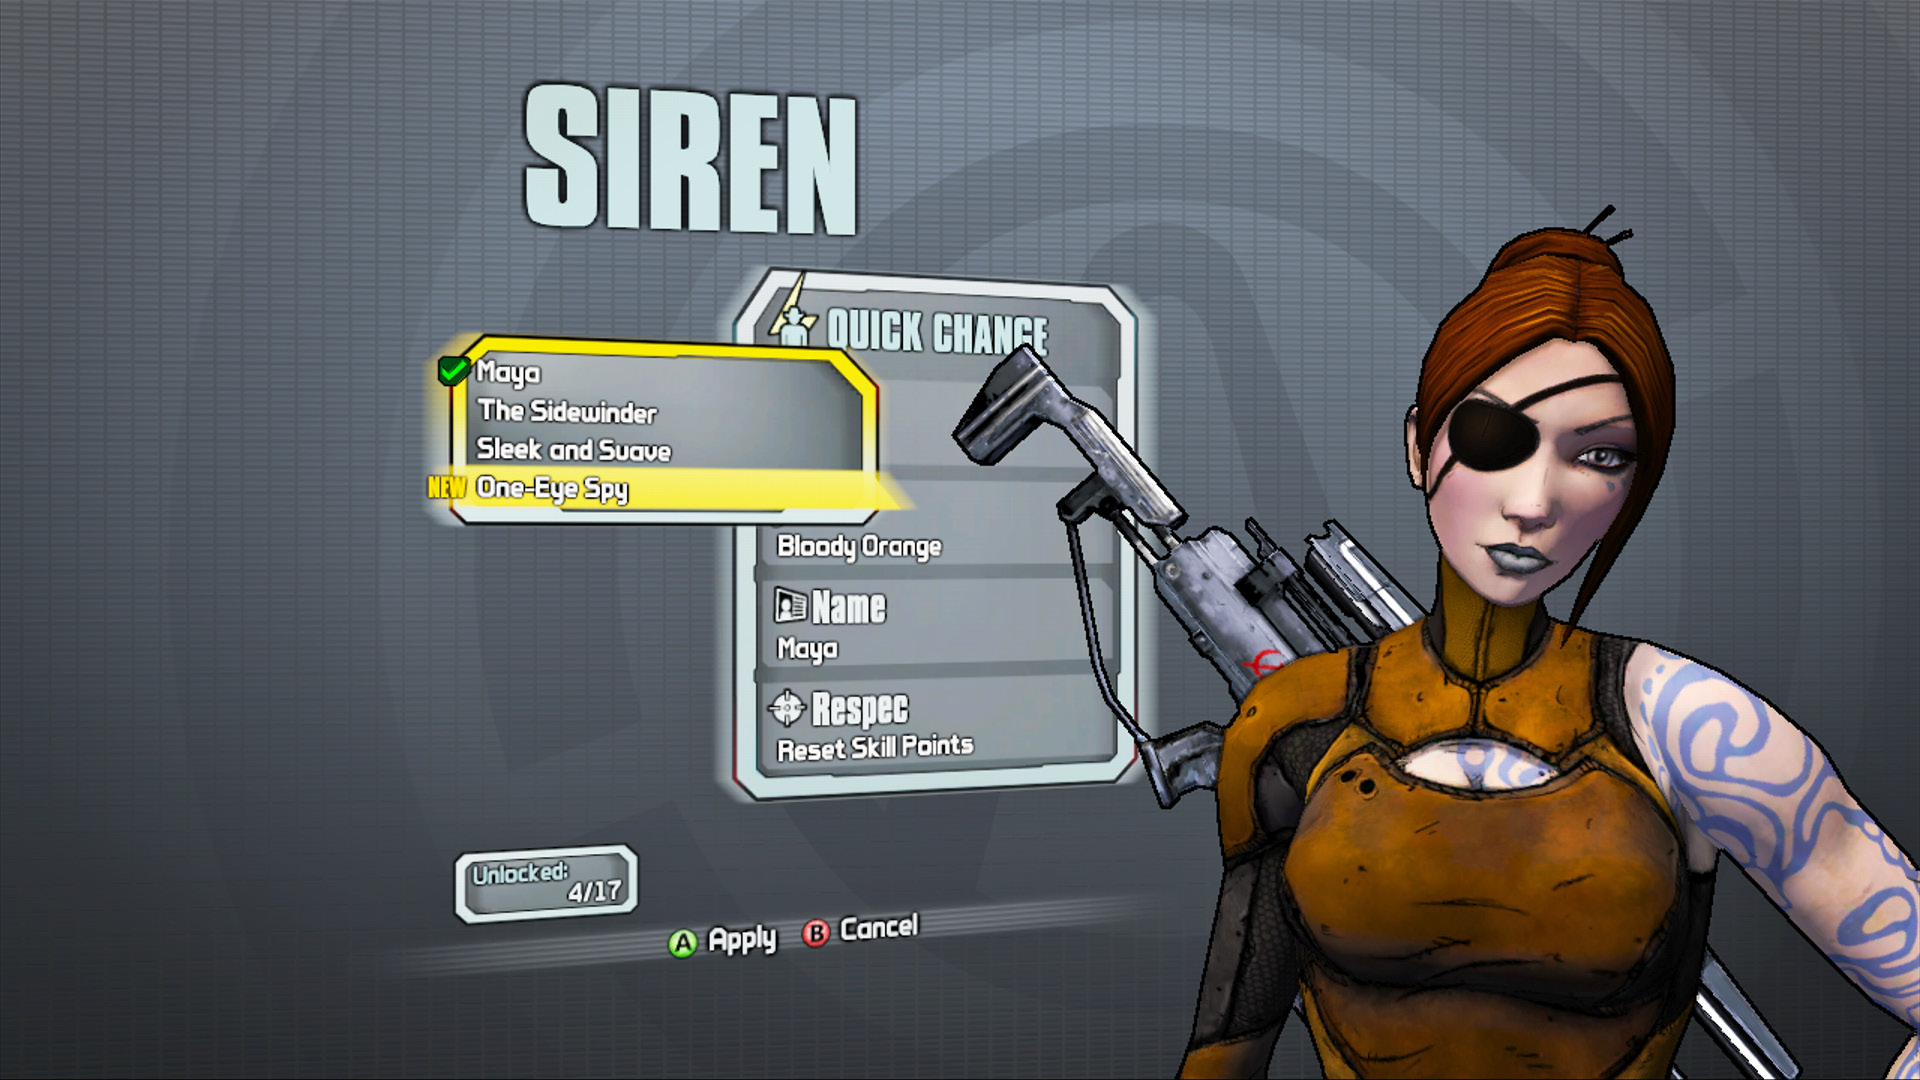
As with respecing skill points, changing appearance is accomplished at Quick Change stations.
Vehicle skins: You’ll snag more looks for vehicles by killing enemies and searching loot piles (the piles you can shoot or punch to open up, not loot chests and loot containers!). Vehicle skins are strictly bandit-scavenged in this way. Pimp your ride!
Unique Items
Unique items are distinguished from the common pool of weapons and equipment that are simply the result of the characteristics of their manufacturer and components. These items are specially crafted to behave differently than just any other item. Weapons may have abnormal bullet behavior or a peculiar reload, and shields and grenades can have their quirks, too.
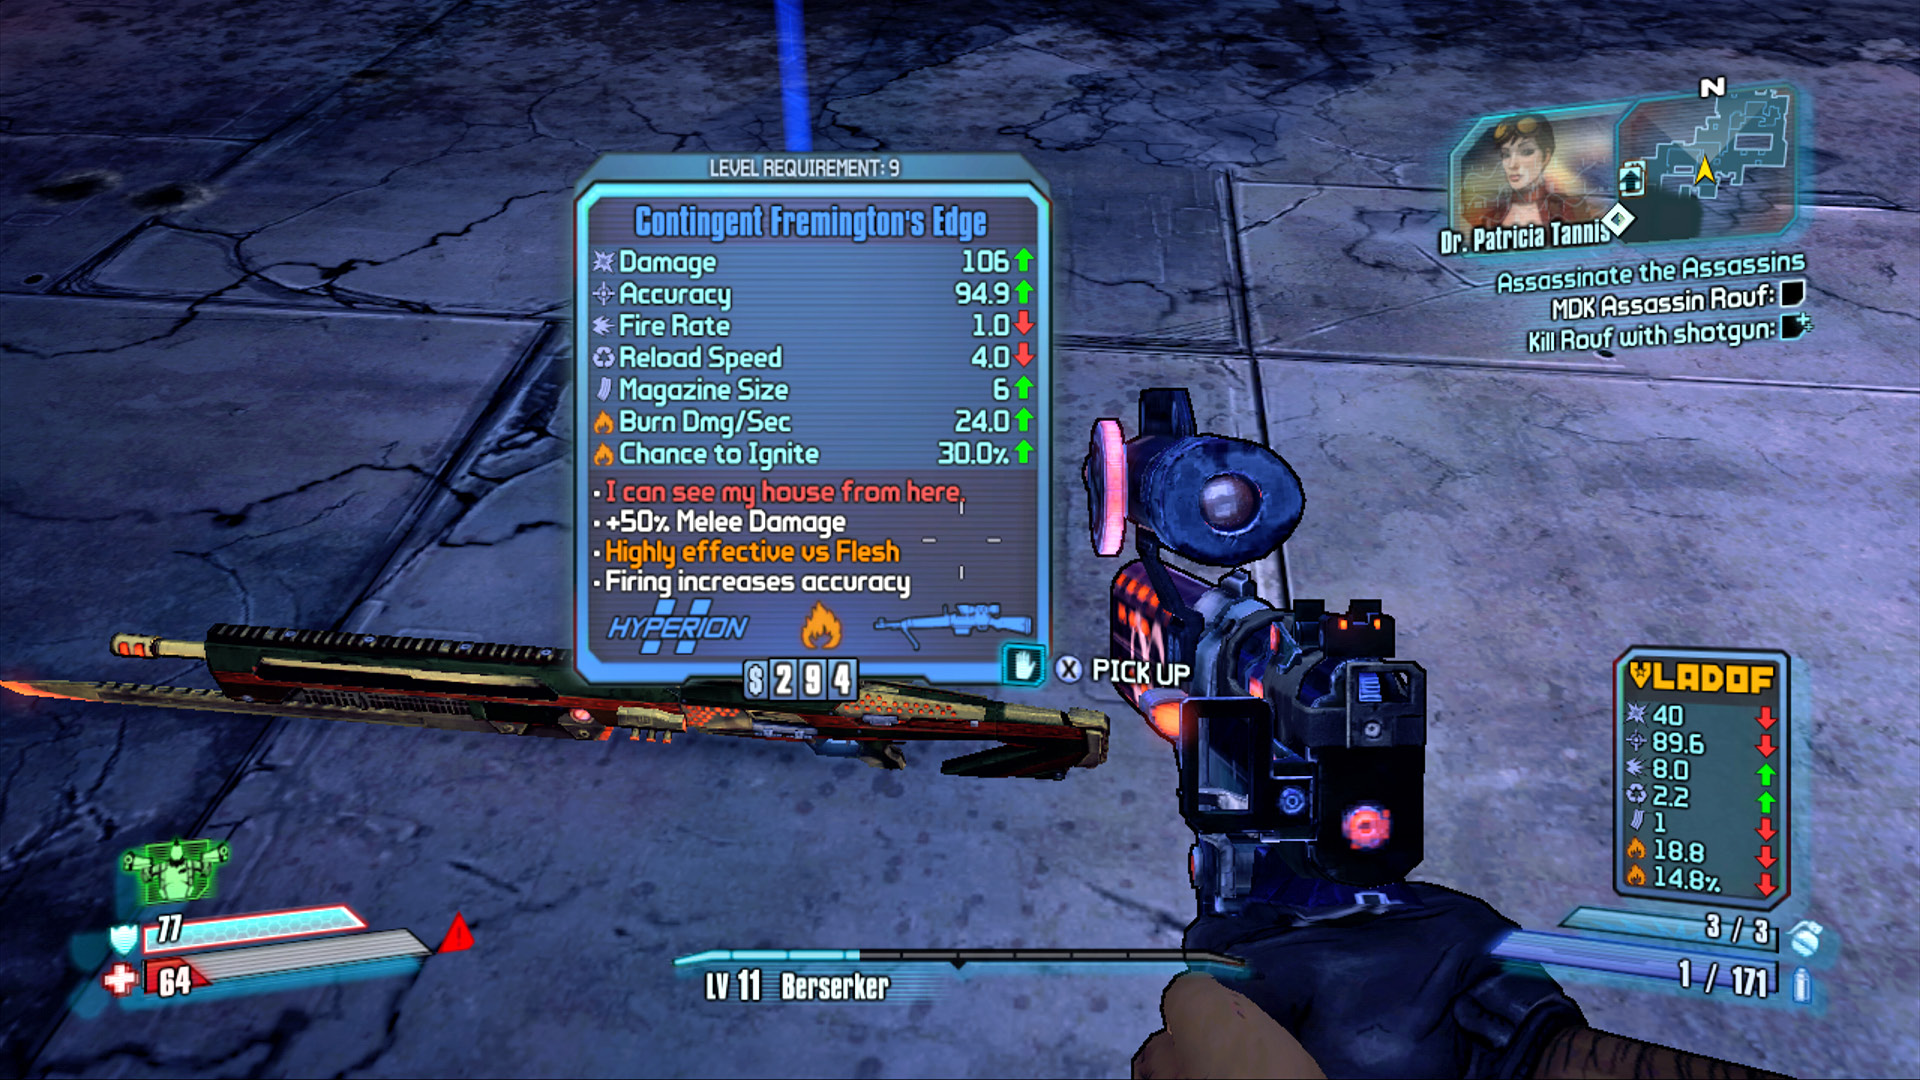
Unique items have red text on their stat card that references the inspiration of the unique item or hints at its function. Check out unique items in the viewer by pressing in the right stick so you can get a good look at the special decals and designs emblazoned on the rare pieces.
Uniques are obtained in a variety of ways. Although they aren’t randomly generated like the common pool of things, they’ll have some variability, as some of their components are still random. So it’s possible to hunt for a better version of a unique weapon if it comes from something you can perform repeatedly, like hunting one monster. If it comes from a mission, you won’t have the same ease of taking more cracks at the same item, though you’ll have another chance at the same mission and a better version of the same item during True Vault Hunter Mode. You can also join an online host in any mission they’re undergoing, including any you’ve already completed.
Legendary Items
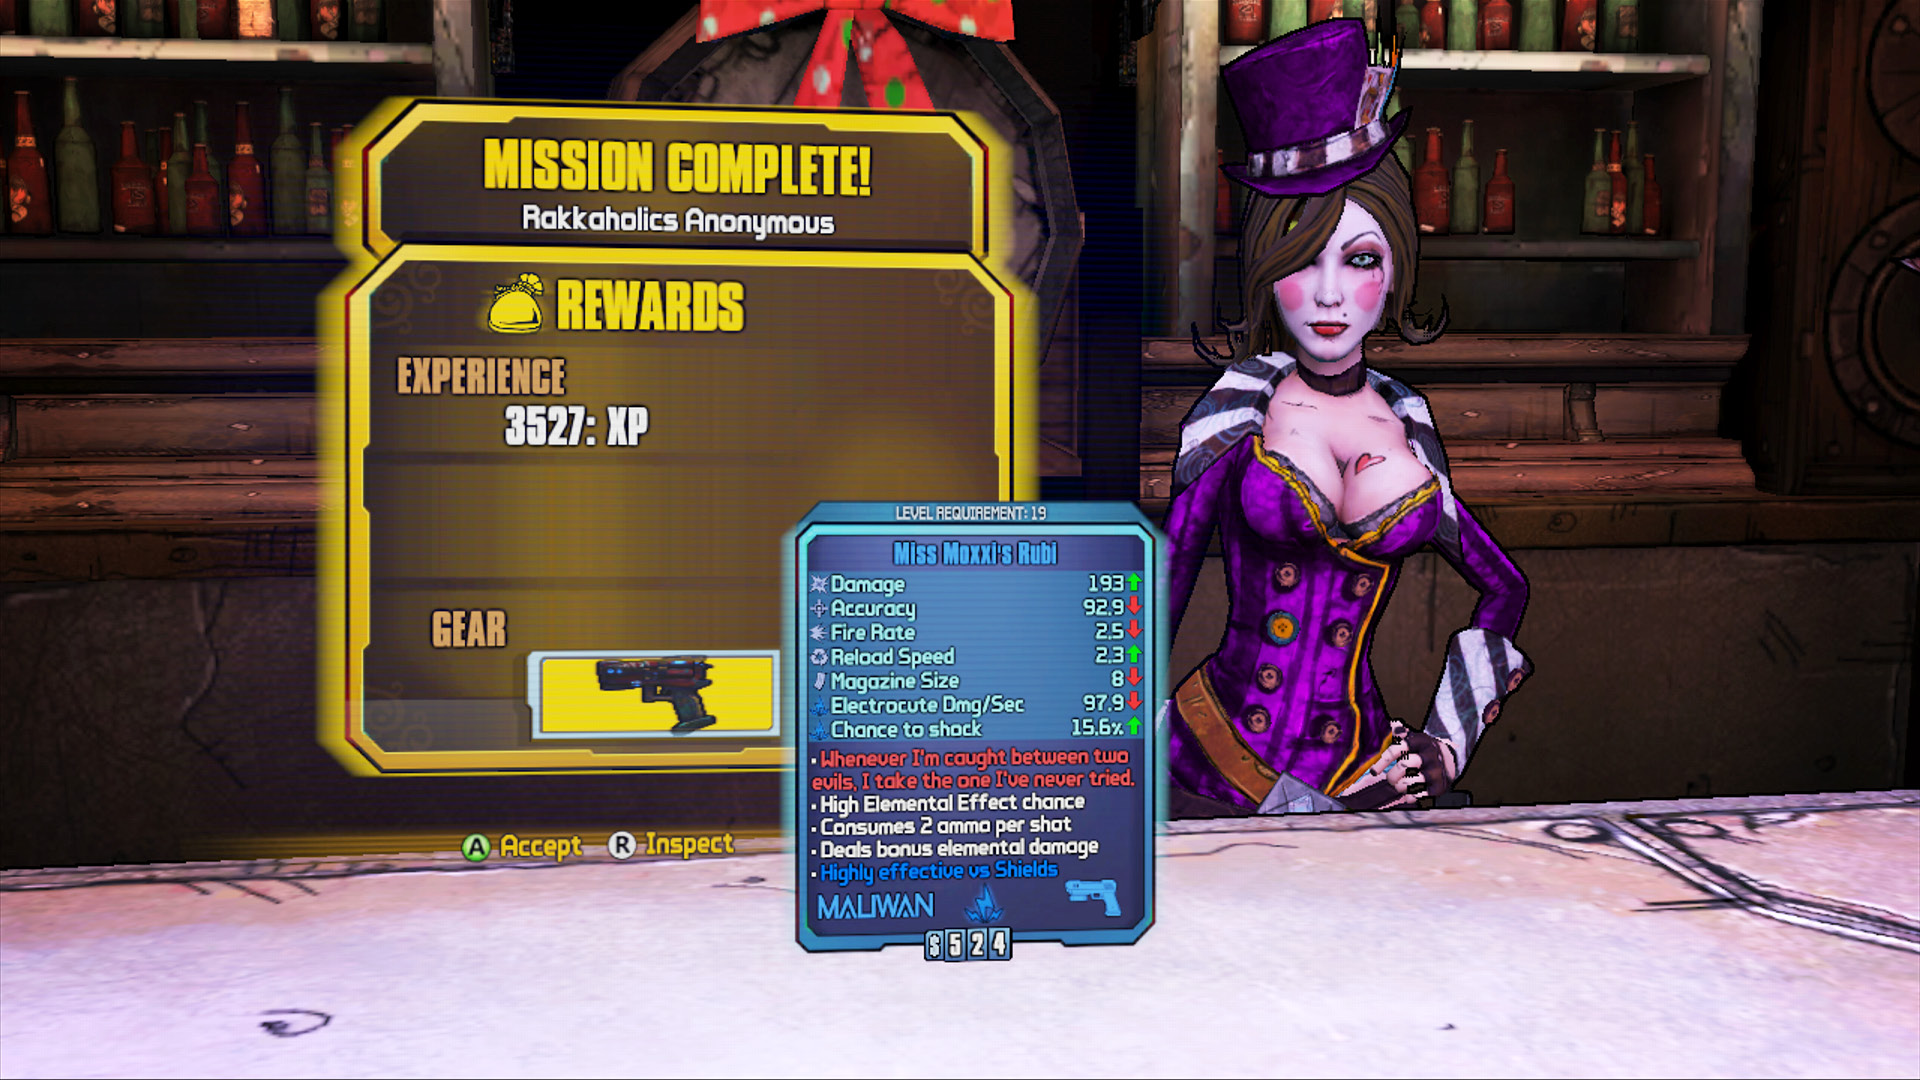
Taking it one step further, the rarest of uniques are colored orange and considered legendary. Legendary items are extremely rare—you might make it through your entire first playthrough scoring only two or three. Within the common pool of drops from any given enemy, chest, or vending machine, legendary items are very scarce. In other words, you’re very unlikely to get an orange item just anywhere, though it is possible. But legendary weapons always have a monster or a particular category of monster from which they’ll drop at a much higher rate, around one in 20.
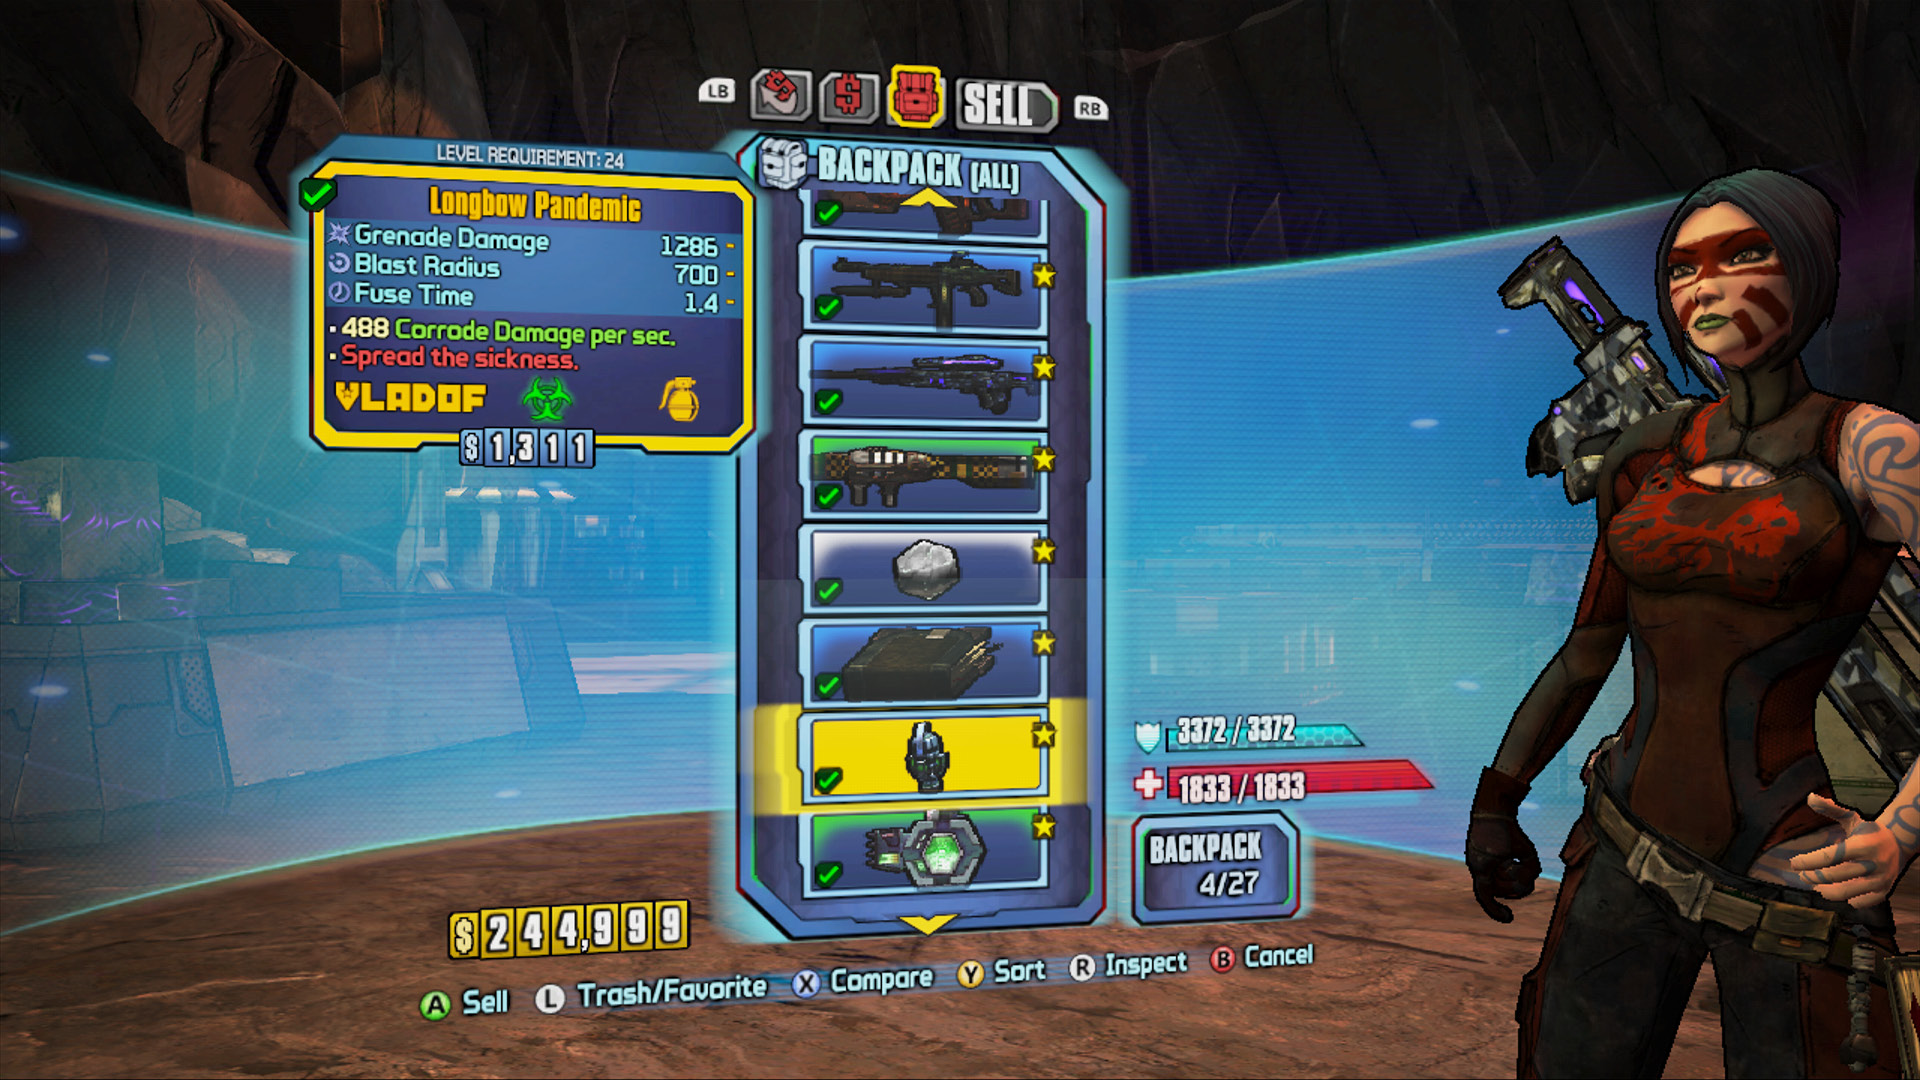
All legendaries are unique, but not all uniques are legendaries. Now you are ready for the Pandora SAT.
Rare means rare. You’re not likely to pile on the orange-colored drops, so cherish the ones you do get. Even if it’s not a weapon type you normally like, give legendaries a try; they’ll surprise you. And if you’re not going to use a legendary—whether it really does underwhelm you or you simply level up beyond its window of usefulness, consider tossing it into Claptrap’s secret stash for another one of your characters, or trading it with a friend. Perhaps even duel a friend, with orange items like Pandoran pink slips on the line. Just don’t pawn off orange rarity goodies if you can help it.
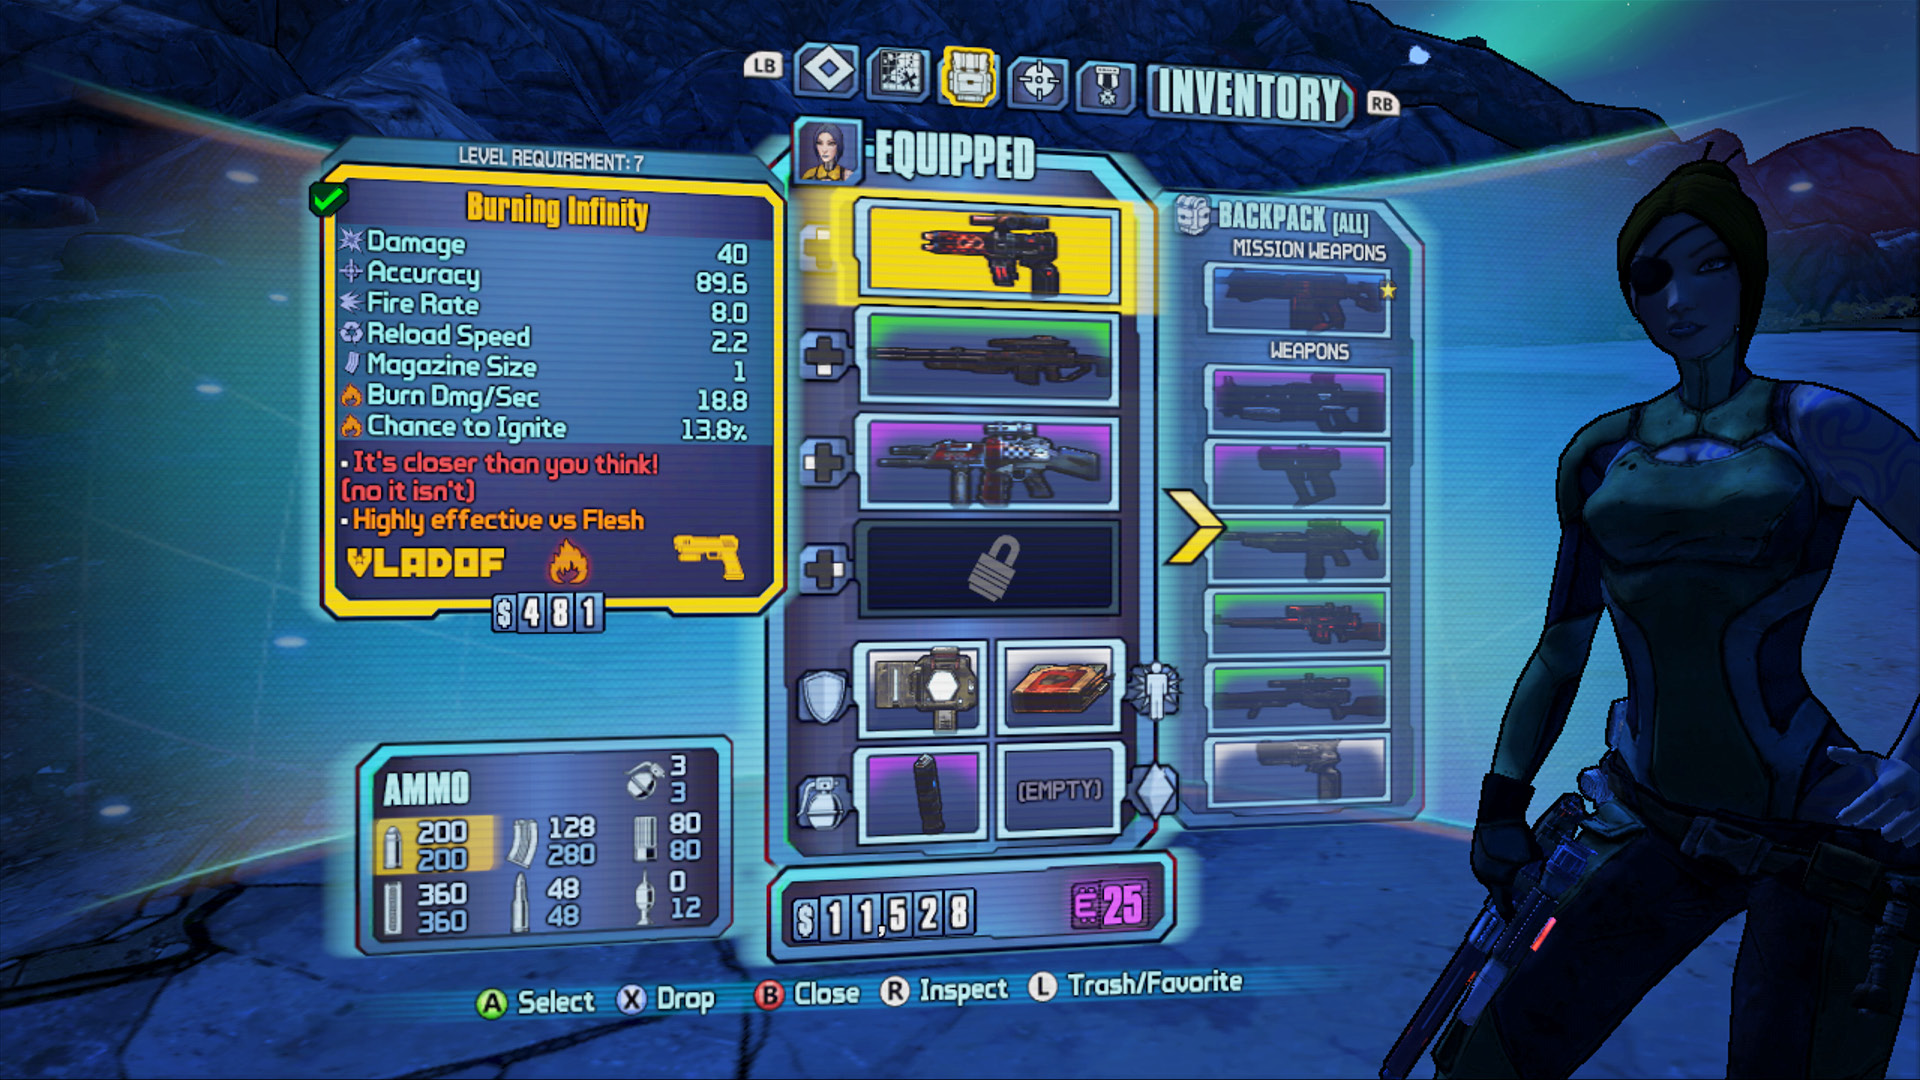
The opportunity to re-roll unique weapons and to do runs for legendaries is the main reason most bosses will respawn if you revisit their battleground later on in the story. Sure, you killed them already, but Pandora won’t hold that against them—most of them will be back for the farming. (Well. Not right away after the first time you kill them. But come back later.) Some bosses also drop unique player customization heads and skins in addition to unique and legendary weapons, so there’s additional reason to hunt them down again beyond the promise of a better unique gun, or an orange rarity trinket…or just good XP and a fun fight.
But once you’ve drastically outleveled any boss, it’ll be just like fighting outleveled peons, unless you’re just going for the skins at that point—the overmatched boss will be no real challenge, and the rewards are less likely to be valuable relative to your current level.
There are a lot of unique and legendary weapons—even if the millions of procedurally generated weapon combinations didn’t exist, Borderlands 2 would still have more weapons than any other game like it. And many are covered in the Marcus Munitions Monthly section of this book!
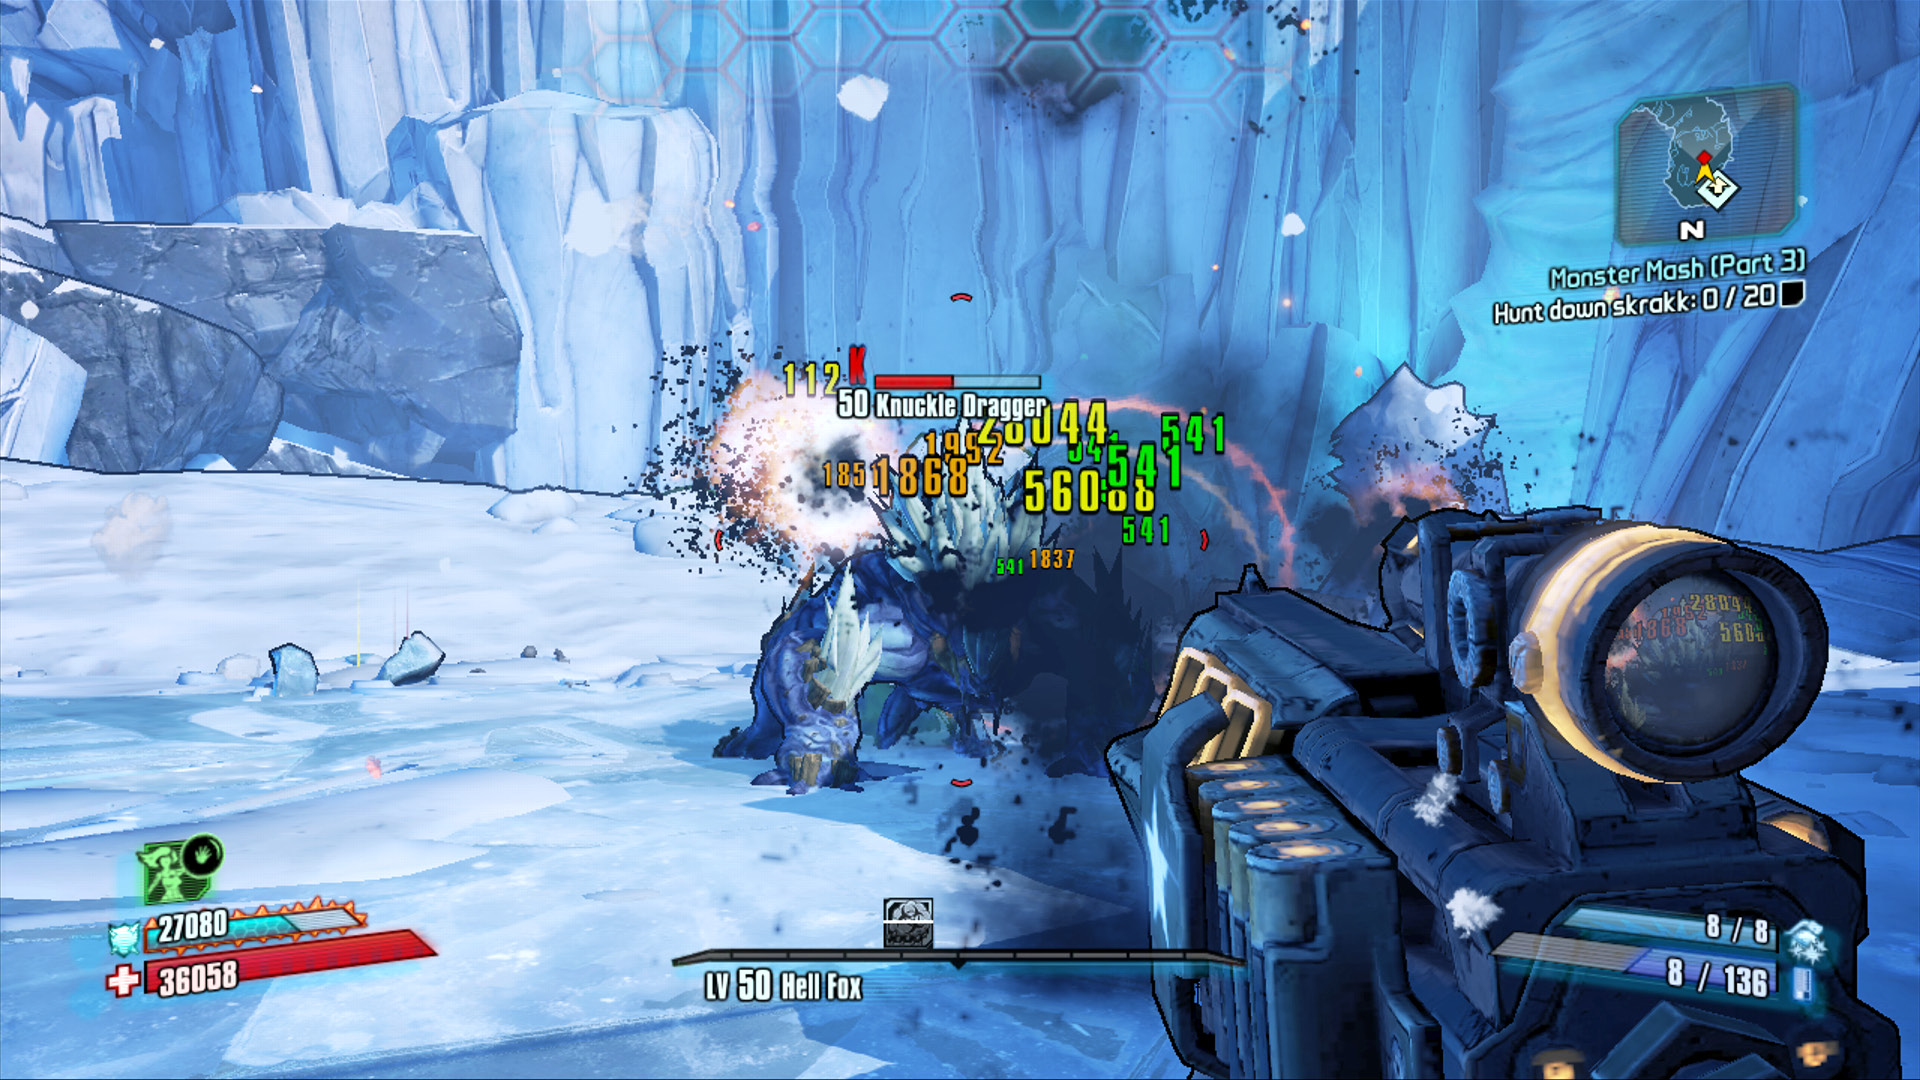 The farming fun doesn’t really start until you’ve completed True Vault Hunter Mode…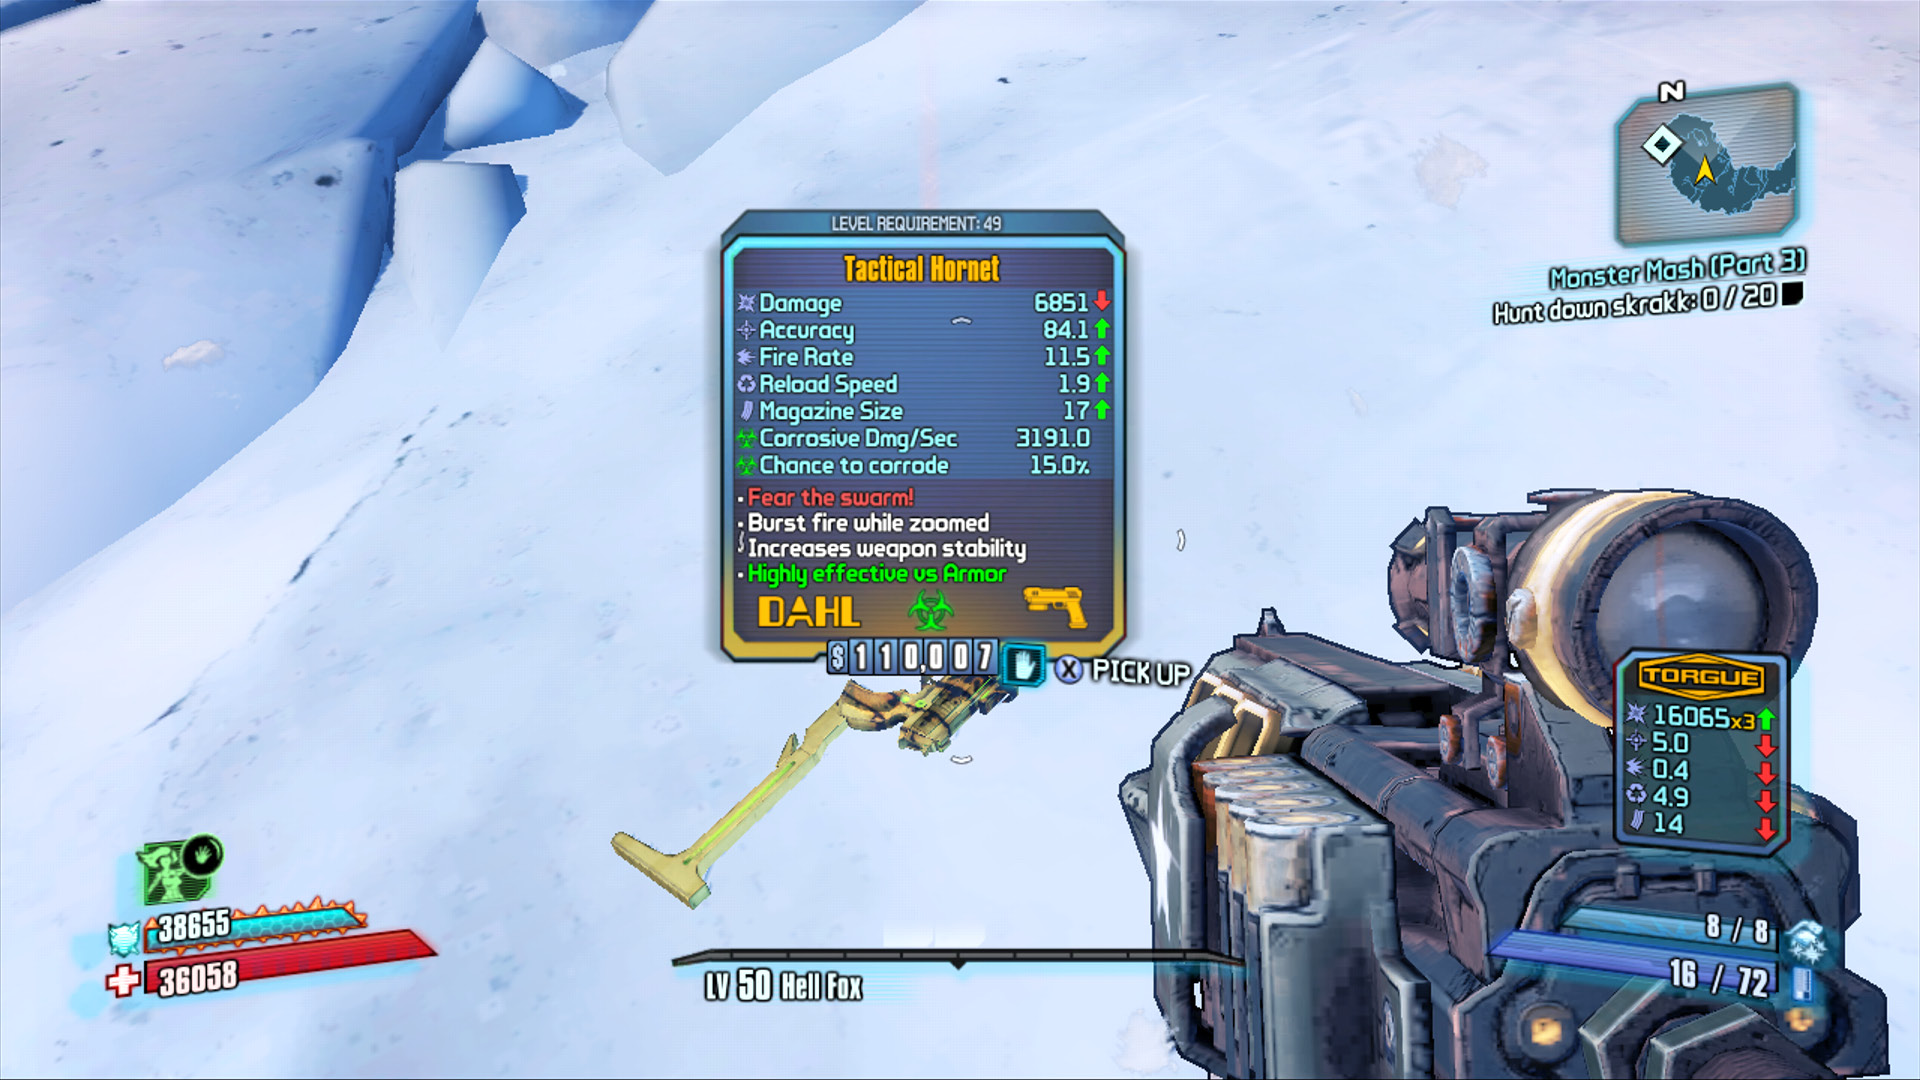
XP and Leveling
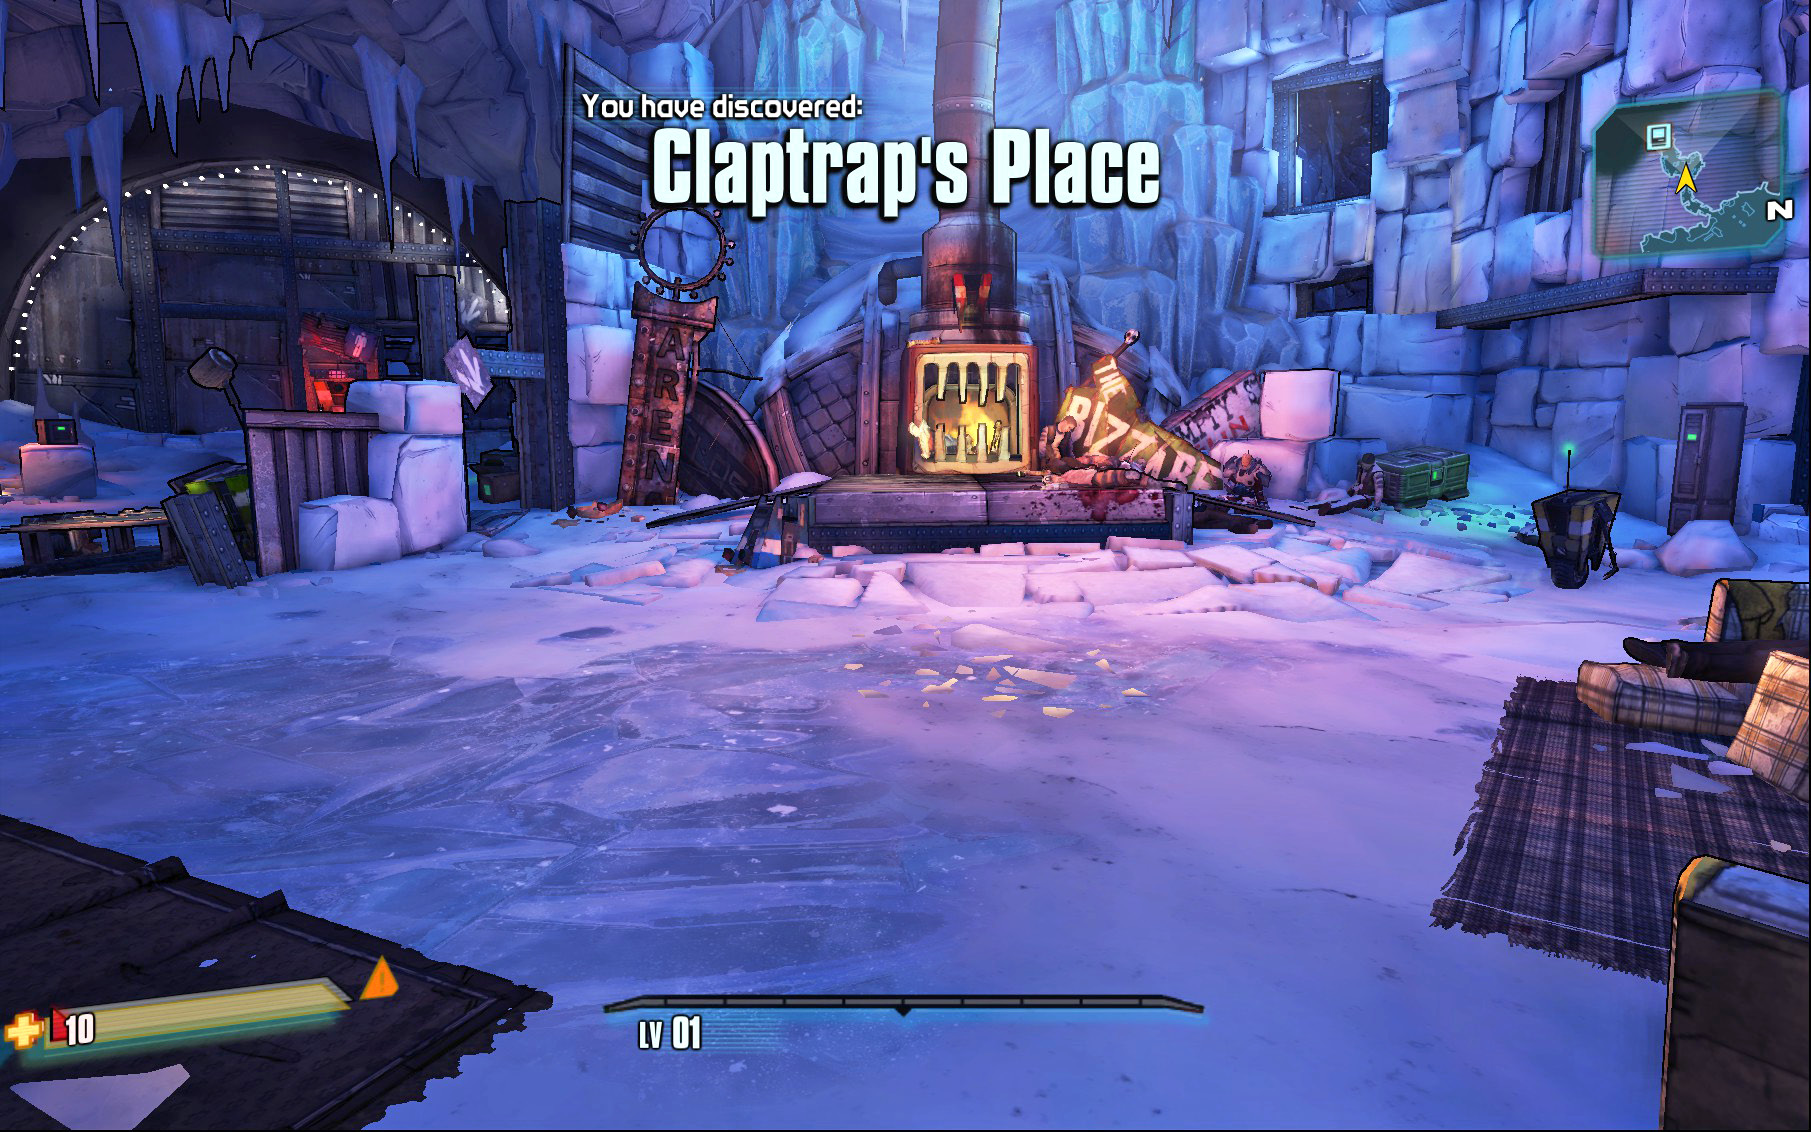
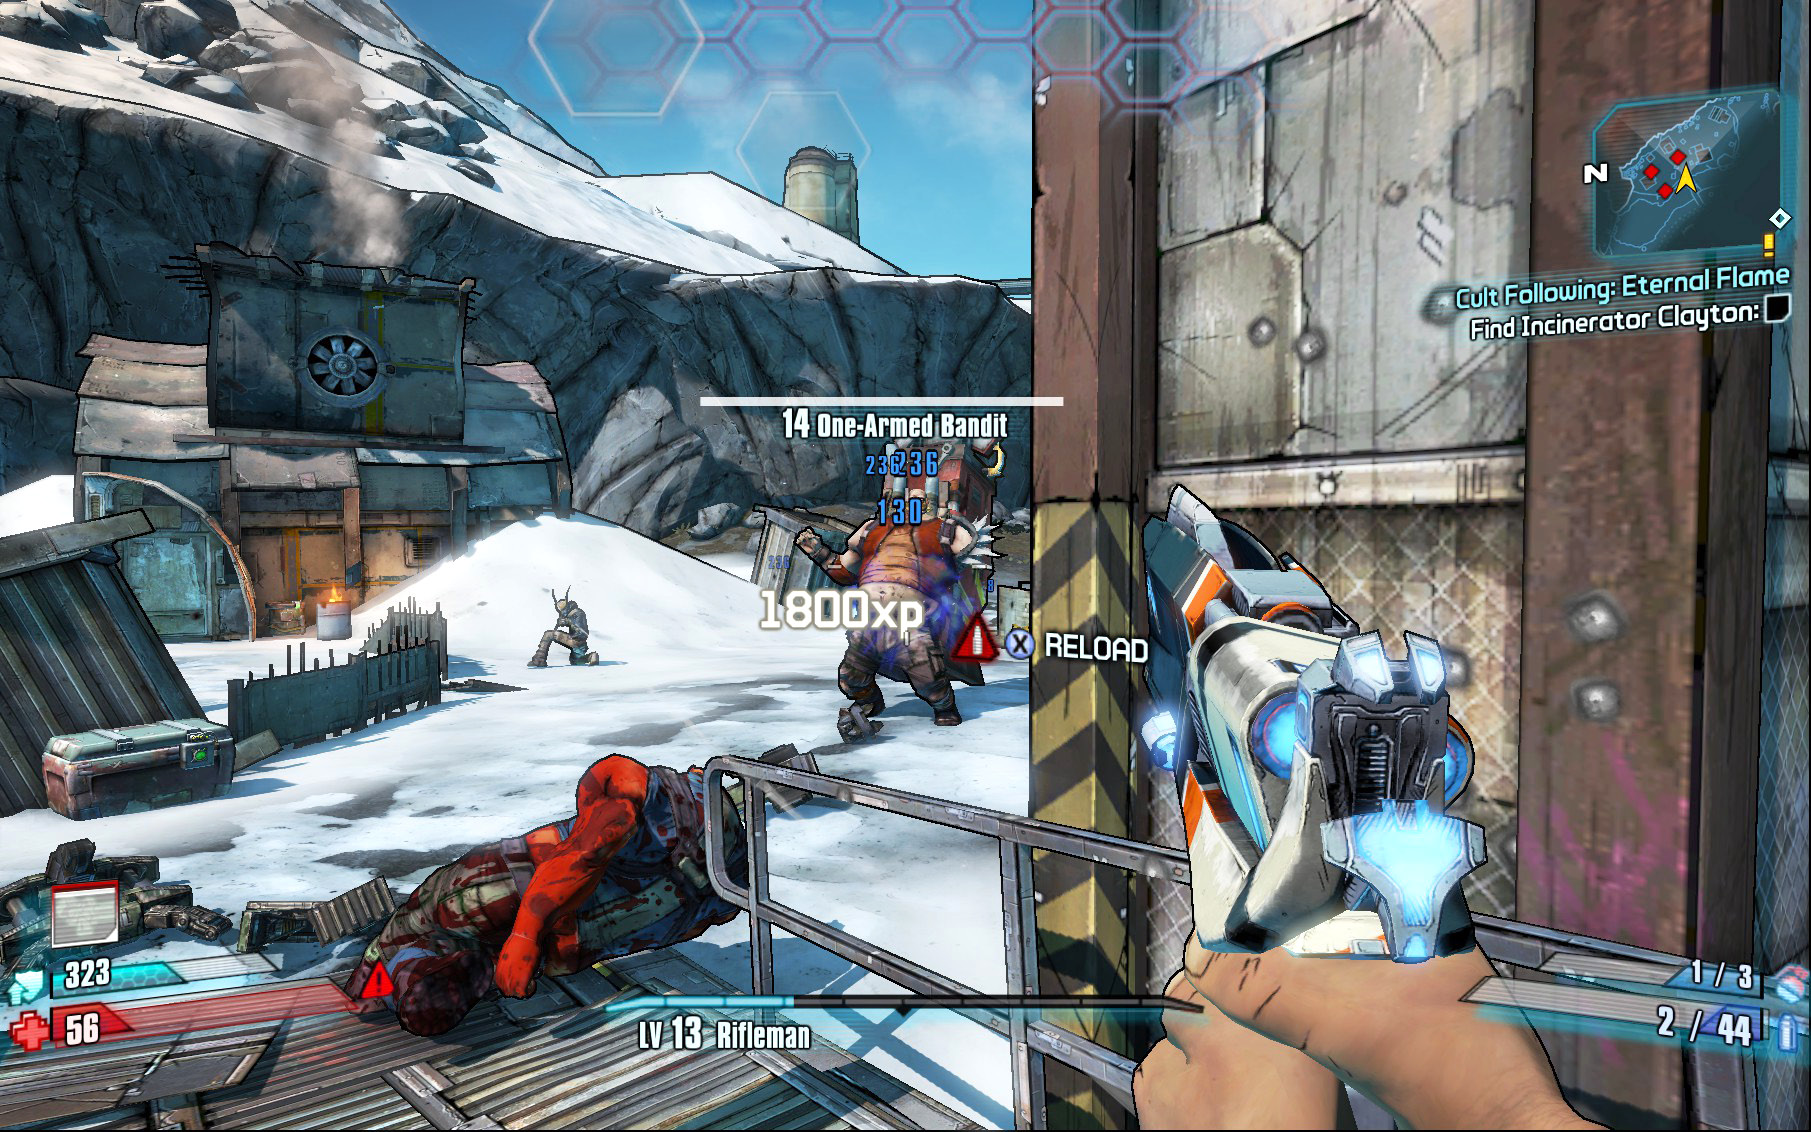
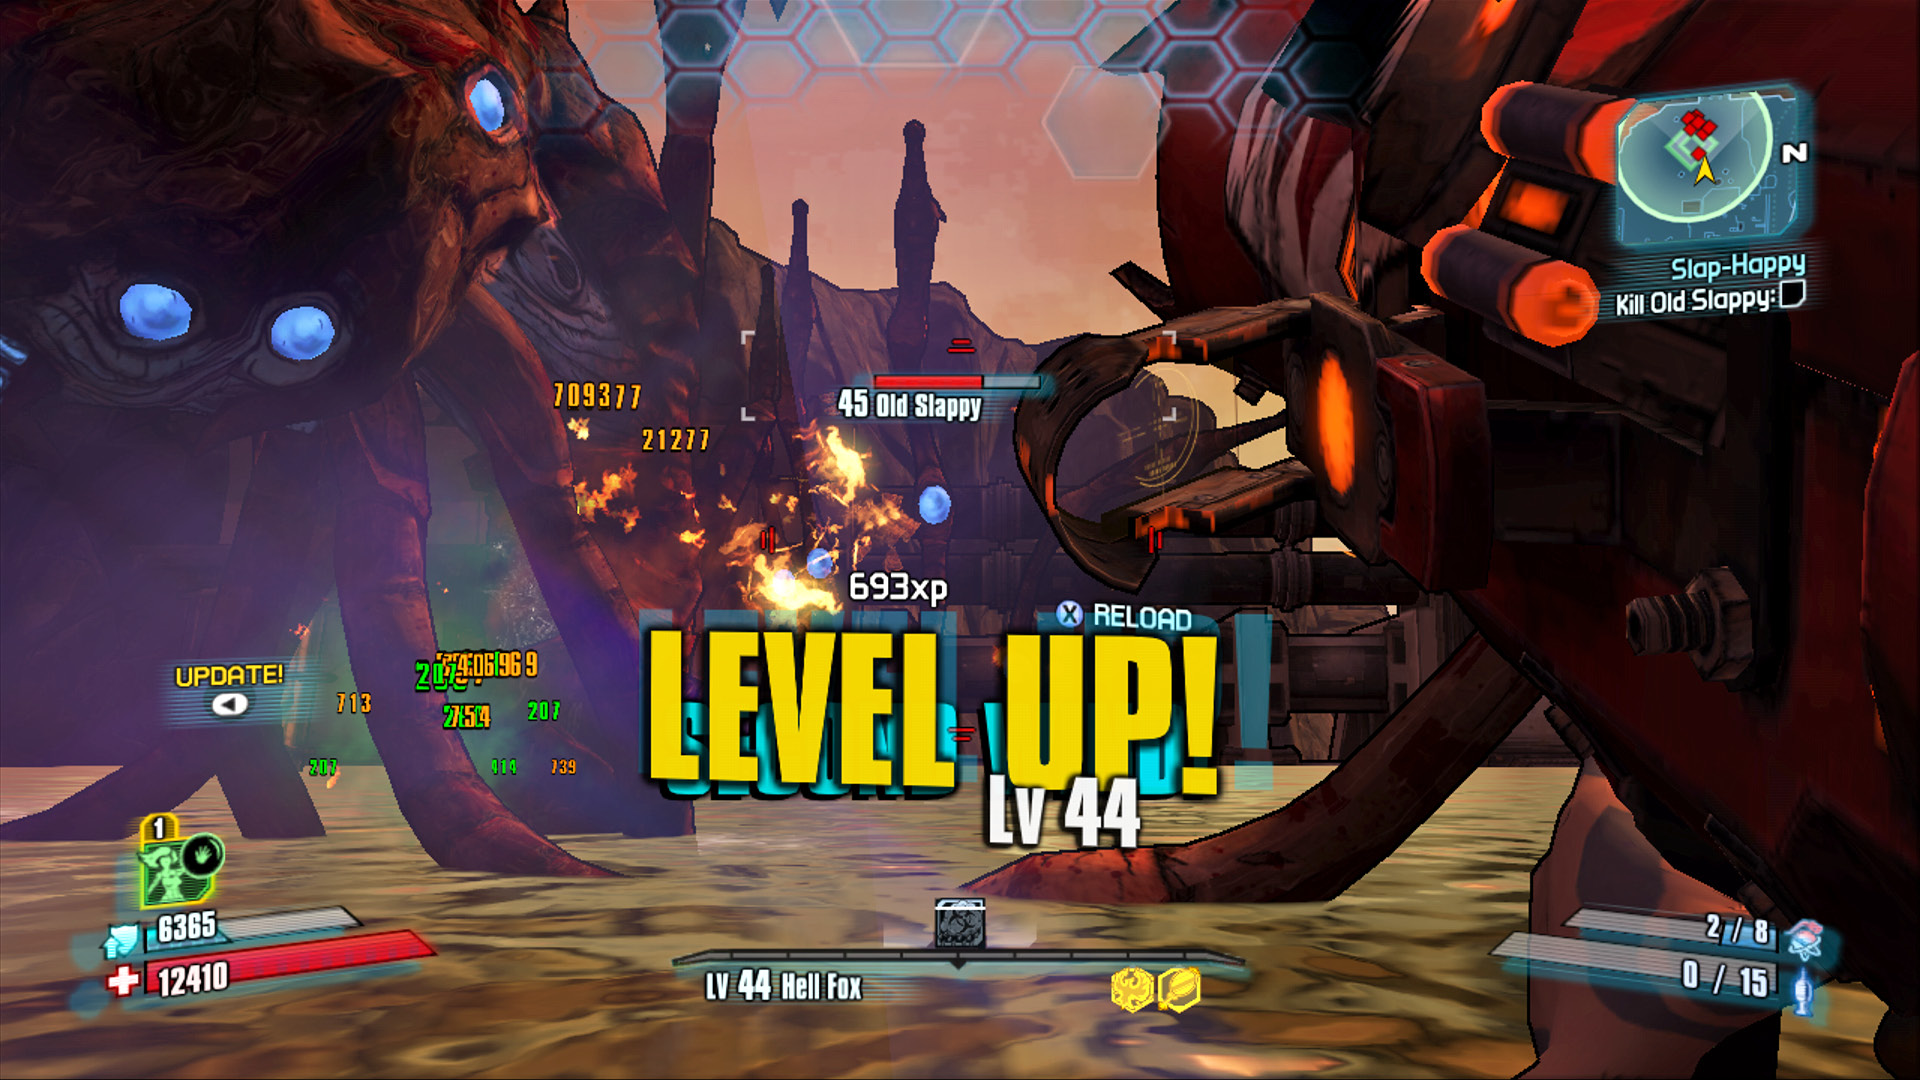
Experience points are earned from friendly enemy kills (meaning kills you earn, kills your teammates earn, or kills earned by enemies currently under allied control, as with Maya’s Thoughtlock), mission completion, and location discovery. Getting more XP naturally increases your level. Increasing your level is the most direct way to become more powerful. The game’s whole damage calculation starts by asking, “What is the player character’s level relative to the enemy target’s level?” Better weapons and equipment also have minimum level restrictions. And just as important as the raw, innate damage increases based on leveling, getting levels means getting more skill points and consequently more skills. And now, thanks to the Ultimate Vault Hunter Upgrade Pack 1, the level cap extends all the way to level 61!
The rewards you receive are based on level, too. Taking on enemies and missions of a higher level than you garners more XP and better item rewards (provided you actually succeed in the above-average challenge). Taking on weaker, underleveled monsters and missions nets a lot less, to the point of combat and missions becoming not worthwhile if you’re too far ahead.
Experience Points Required per Level
| Level | XP Required | Freely Spendable Skill Points |
|---|---|---|
|
1 |
0 |
0 |
|
2 |
358 |
0 |
|
3 |
1,241 |
0 |
|
4 |
2,850 |
0 |
|
5 |
5,376 |
0 (Action Skill unlocked) |
|
6 |
8,997 |
1 |
|
7 |
13,886 |
2 |
|
8 |
20,208 |
3 |
|
9 |
28,126 |
4 |
|
10 |
37,798 |
5 |
|
11 |
49,377 |
6 |
|
12 |
63,016 |
7 |
|
13 |
78,861 |
8 |
|
14 |
97,061 |
9 |
|
15 |
117,757 |
10 |
|
16 |
141,092 |
11 |
|
17 |
167,206 |
12 |
|
18 |
196,238 |
13 |
|
19 |
228,322 |
14 |
|
20 |
263,595 |
15 |
|
21 |
302,190 |
16 |
|
22 |
344,238 |
17 |
|
23 |
389,873 |
18 |
|
24 |
439,222 |
19 |
|
25 |
492,414 |
20 |
|
26 |
549,578 |
21 |
|
27 |
610,840 |
22 |
|
28 |
676,325 |
23 |
|
29 |
746,158 |
24 |
|
30 |
820,463 |
25 |
|
31 |
899,363 |
26 |
|
32 |
982,980 |
27 |
|
33 |
1,071,435 |
28 |
|
34 |
1,164,850 |
29 |
|
35 |
1,263,343 |
30 |
|
36 |
1,349,091 |
31 |
|
37 |
1,476,041 |
32 |
|
38 |
1,590,483 |
33 |
|
39 |
1,710,476 |
34 |
|
40 |
1,815,091 |
35 |
|
41 |
1,967,582 |
36 |
|
42 |
2,104,926 |
37 |
|
43 |
2,248,285 |
38 |
|
44 |
2,397,772 |
39 |
|
45 |
2,553,501 |
40 |
|
46 |
2,715,586 |
41 |
|
47 |
2,884,139 |
42 |
|
48 |
3,059,273 |
43 |
|
49 |
3,241,098 |
44 |
|
50 |
3,429,728 |
45 |
|
51 |
3,625,271 |
47 |
|
52 |
3,827,840 |
48 |
|
53 |
4,037,543 |
49 |
|
54 |
4,254,491 |
50 |
|
55 |
4,478,792 |
51 |
|
56 |
4,710,556 |
52 |
|
57 |
4,949,890 |
53 |
|
58 |
5,196,902 |
54 |
|
59 |
5,451,701 |
55 |
|
60 |
5,714,394 |
56 |
|
61 |
5,985,086 |
57 |
Skills to Pay the Etc.
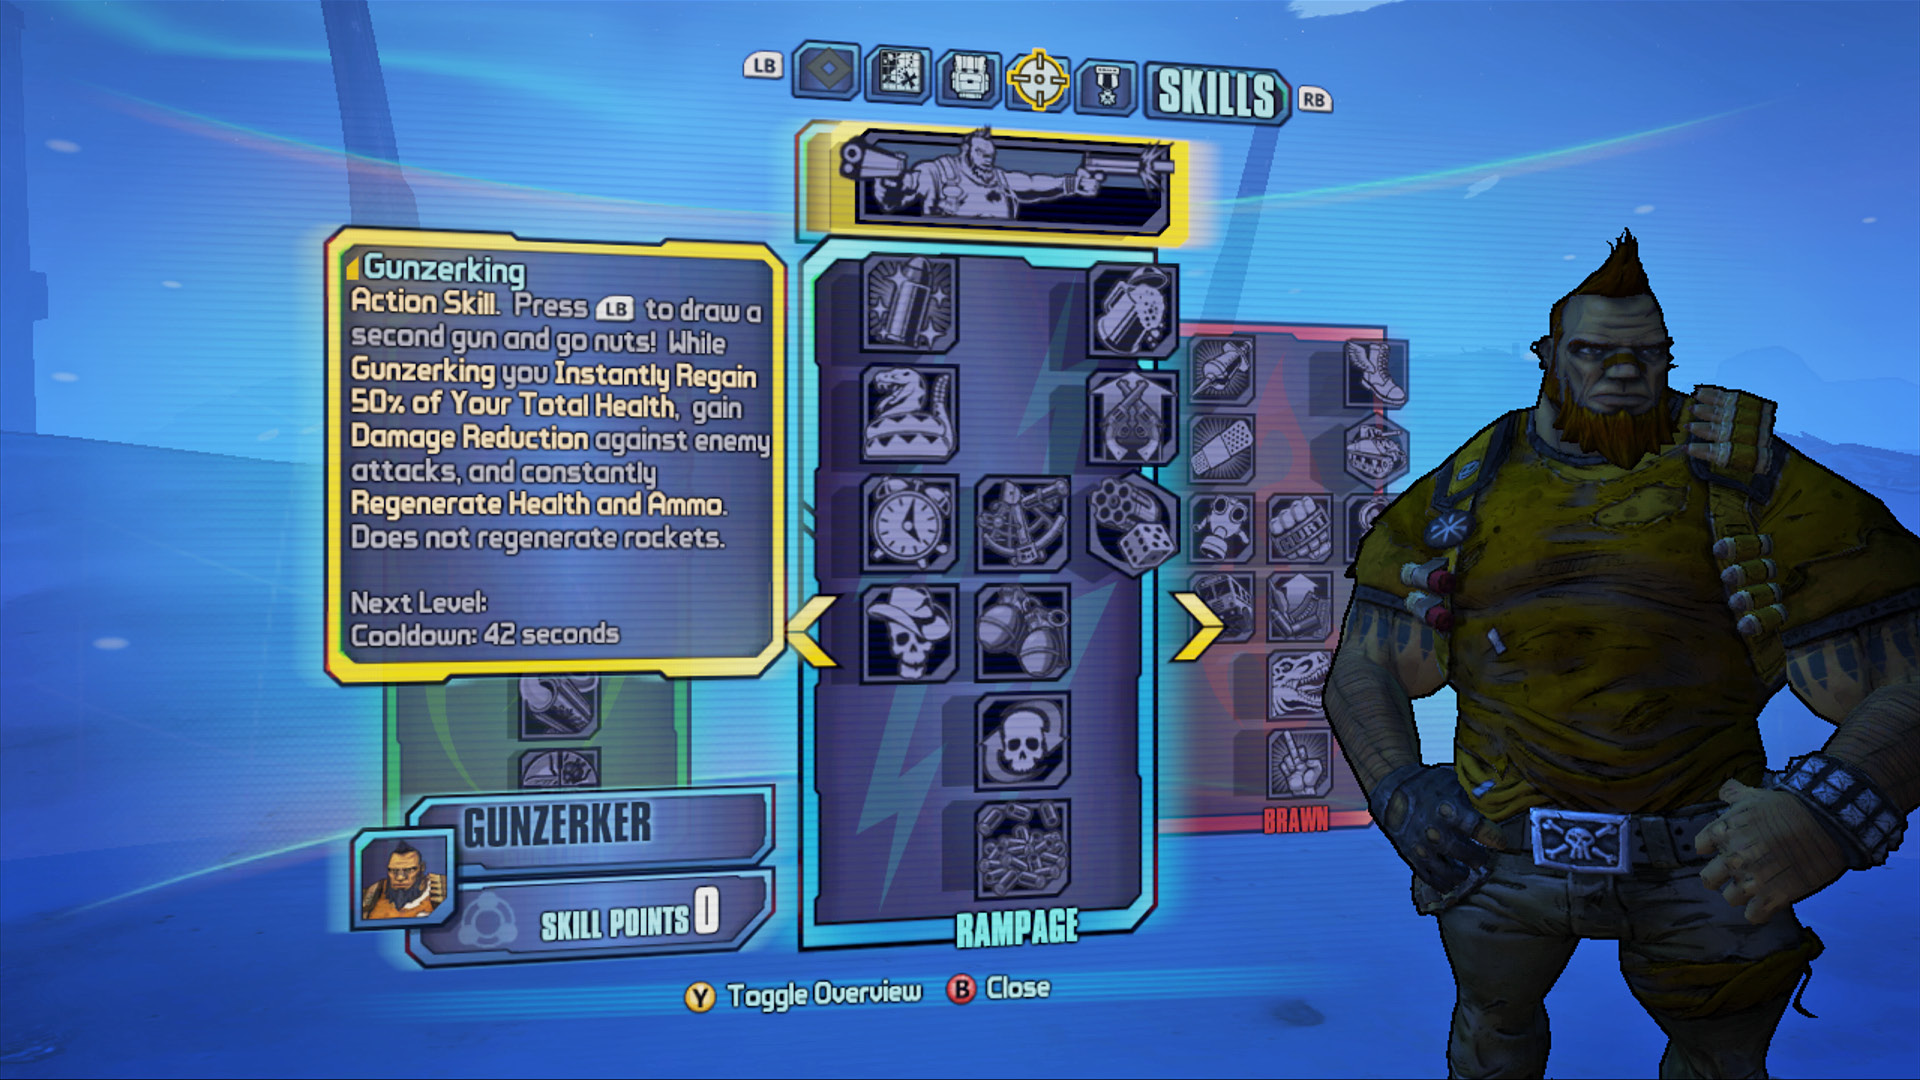
As you kill enemies and complete missions on Pandora, you’ll earn XP and thus progress toward leveling up. Starting with level 5, you’ll earn a single skill point for each new level. This first skill point at level 5 can only be spent unlocking your character’s Action Skill, so in effect, getting level 5 is more like unlocking your Action Skill to start rather than unlocking your first skill point, which you can’t actually assign as desired. However, it’s difficult to imagine what could be more important than unlocking your Action Skill as soon as possible. This astonishing, unique ability can be used frequently, and it will come to define your approach to combat. After that, though, you can choose how to spend every skill point you earn, all the way to level 50 for a total of 45 freely spendable points.
Each character has three skill trees into which points can be dumped, which gradually unlocks more skills for purchase further down the tree. At first, after acquiring the level 5 Action Skill, you’ll only be able to spend skill points in the very first tier of skills in each tree. The second tier of skills is unlocked once at least five points are spent in tier one; the third tier of skills is unlocked once at least 10 points are spent in tiers one and two; and so on.
Most skills confer statistical buffs under specific parameters, such as for a short period after damaging or killing an enemy, when shields are fully depleted, or when your Action Skill is used. Investing more skill points into a particular skill amplifies this bonus, and these skills can be increased up to five times. These bonuses are passive—that is, they don’t require your attention. They’ll happen when they happen.
| Skill Tree Tier | Prerequisite Points Invested in Same Tree | Earliest Possible Level |
|---|---|---|
|
1 |
1 (Action Skill) |
Lv.6 |
|
2 |
6 |
Lv.11 |
|
3 (tier three gamechanger) |
11 |
Lv.16 |
|
4 (Axton/Sal: tier four gamechanger) |
16 |
Lv.21 |
|
5 |
21 |
Lv.26 |
|
6 (capstone) |
26 |
Lv.31 |
|
(Capstone one tree, T3 gamechanger in another) |
37 |
Lv.42 |
|
(Axton/Sal: Capstone one tree, T4 gamechanger in another) |
42 |
Lv.47 |
Some skills grant unique, game-changing abilities known as gamechangers. Clever, indeed! They can also be called one-point-wonders, as they only require one skill point to make a significant difference in your character’s capabilities, rather than needing five skill points for a gradual, subtle increase. One gamechanger is found midway through each skill tree for each character in the third tier of skills; Axton and Salvador both have additional gamechangers in the fourth tier of two of their skill trees.
The last skill in a tree is the capstone—the culmination of that skill tree’s strengths and bonuses. The capstone is always a very powerful ability that really enhances your power, whether solo or in a group. However, you’ll only be able to afford one at a time.
Gamechangers and Capstones at a Glance
For specifics on the characters themselves and their complete skillsets, check out the Hyperion’s Most Wanted section of this book.
Axton’s Gamechangers and Capstones
| Skill Tree | Guerrilla (green) | Gunpowder (blue) | Survival (red) |
|---|---|---|---|
|
T3 gamechanger |
Scorched Earth |
Longbow Turret |
Phalanx Shield |
|
Effect |
Adds rocket pods to the Sabre Turret. |
Sabre Turret deploys like a Longbow grenade. |
Sabre Turret gains a bubble-like Phalanx Shield. |
|
T4 gamechanger |
— |
Do or Die |
Mag-Lock |
|
Effect |
— |
Grenades can be used during Fight For Your Life. |
Sabre Turret can stick to walls and ceilings. |
|
Capstone skill |
Double Up |
Nuke |
Gemini |
|
Effect |
Sabre Turret is double-barreled and outfitted with Slag rounds. |
Deploying the Sabre Turret sets off a nuclear blast. |
Allows a second Sabre Turret to be deployed after the first one. |
Maya’s Gamechangers and Capstones
| Skill Tree | Motion (green) | Harmony (blue) | Cataclysm (red) |
|---|---|---|---|
|
T3 gamechanger |
Converge |
Res |
Cloud Kill |
|
Effect |
Nearby enemies will be pulled toward Phaselock’s victim. |
Phaselock can be used to instantly revive allies who are in Fight For Your Life. |
Shooting an enemy produces a cloud of Corrosive acid gas. |
|
Capstone skill |
Thoughtlock |
Scorn |
Ruin |
|
Effect |
Phaselock becomes Thoughtlock; this allies the target with Maya so they fight for her. |
The melee button throws a slow-moving vortex that damages and Slags targets it crosses paths with. |
Phaselock now Slags, electrocutes, and corrodes the target, as well as others nearby. |
Salvador’s Gamechangers and Capstones
| Skill Tree | Gun Lust (green) | Rampage (blue) | Brawn (red) |
|---|---|---|---|
|
T3 gamechanger |
Auto-Loader |
Steady as She Goes |
Fistful of Hurt |
|
Effect |
Equipped guns that are not currently in hand are reloaded by scoring kills; swap to a gun reloaded with Auto-Loader to trigger Locked and Loaded. |
Gunzerking recoil is reduced, and shots on target can improve accuracy temporarily. |
The melee button produces a whopping uppercut with a 15-second cooldown. |
|
T4 gamechanger |
Down Not Out |
Double Your Fun |
— |
|
Effect |
It’s possible to activate Gunzerking during Fight For Your Life. |
While Gunzerking, Salvador throws two grenades for the cost of one. |
— |
|
Capstone skill |
No Kill Like Overkill |
Keep Firing… |
Come At Me Bro |
|
Effect |
Overkilling targets grants a damage bonus based on how much excess damage was left over from the kill shot. |
Firing continuously without stopping during Gunzerking increases Salvador’s fire rate and reload speed. |
Pressing the Action Skill button while Gunzerking causes Sal to flip off the opposition, drawing their ire while he gains health and damage reduction. |
Zero’s Gamechangers and Capstones
| Skill Tree | Sniping (green) | Cunning (blue) | Bloodshed (red) |
|---|---|---|---|
|
T3 gamechanger |
B0re |
Death Mark |
Execute |
|
Effect |
Bullets pierce targets, causing bonus damage if they strike another enemy; visor highlights critical enemy areas. |
Melee hit marks victim, causing them to take 20% more damage from all sources for eight seconds. |
During Deception, press melee button to perform a special dashing melee attack. |
|
Capstone skill |
Critical Ascenti0n |
Death Bl0ss0m |
Many Must Fall |
|
Effect |
Critical Hits with sniper rifles grant a stacking bonus to sniper rifle damage. |
While Deception is active, press the Action Skill button to toss up to five groups of kunai. |
Melee kills during Deception cause Deception to redeploy. |
Gaige’s Gamechangers and Capstones
| Skill Tree | best friends forever (green) | little big trouble (blue) | ordered chaos (red) |
|---|---|---|---|
|
T2 gamechanger |
Buck Up |
The Stare |
Robot Rampage |
|
Effect |
Deathtrap restores the Shields of one ally. |
Deathtrap fires a laser beam and sweeps it across the battlefield, dealing Burn Damage and possibly igniting enemies. |
Deathrap lashes out with a flurry of attacks. |
|
T4 gamechanger |
Explosive Clap |
One Two Boom |
Rational Anarchist |
|
Effect |
Deathtrap causes an explosion in front of him, dealing Explosive Damage to all nearby enemies. |
Deathtrap shoots out an orb of energy at an enemy. If you shoot the orb it will explode, dealing massive Shock Damage to nearby enemies. |
If you have 0 stacks of Anarchy then the next time you would gain an Anarchy stack you instead gain 25. |
|
Capstone skill |
Sharing is Caring |
Make it Sparkle |
With Claws |
|
Effect |
Grants a copy of your Shield to Deathtrap. |
Shooting Deathtrap with an elemental weapon charges him with that element, causing his melee attacks to deal additional damage of that element. |
While you have a stack of Anarchy press the Melee Button to Digistruct Claws and swipe twice at an enemy, dealing damage based on the number of Anarchy stacks you have and Restoring Health. The lower your health the more health you gain. This attack consumes an Anarchy stack. |
Krieg’s Gamechangers and Capstones
| Skill Tree | bloodlust (green) | mania (blue) | hellborn (red) |
|---|---|---|---|
|
T3 gamechanger |
Buzz Axe Bombardier |
Light the Fuse |
Delusional Damage |
|
Effect |
When thrown, your buzz axe now has Dynamite attached to it which explodes on impact. |
Fight For Your Life is replaced with Light the Fuse. During Light the Fuse you pull out a live bundle of dynamite and can move normally. The bundle detonates when the timer runs out. If you kill someone you are revived. Getting a revive with the bundle explosion gives you bonus Movement Speed for the remained of the time that was left in Light the Fuse. |
All Elemental Status Effects you cause have a chance to light yourself on fire. Ignite chances are determined by those accumulated from Burn, Baby Burn and Fuel the Fire. |
|
Capstone skill |
Bloodsplosion |
Release the Beast |
Raving Retribution |
|
Effect |
Killing an enemy causes them to explode with an Elemental Nova matching the element of the damage that killed it (Non-elemental damage will cause an explosion nova). Nova damage increased for each stack of Bloodlust. Any Overkill damage is also added to damage caused by an Elemental Nova. |
Activating Buzz Axe Rampage when at or below 33% of your max health remaining instantly refills your health and transforms you into a Badass Psycho Mutant. You deal increases Melee Damage and receive significant damage reduction for the duration of the rampage. When you return to normal, your Buzz Axe Rampage is instantly recharged. |
While you are on fire, taking damage from enemies will spawn homing balls of fire that seek out the attacker and explode on impact. Fireballs only trigger once per second. |