
Borderlands 2 Game of the Year Guide Optional Missions
Symbiosis
|
 Mission Briefing
| Level | Money | XP | Gear |
|---|---|---|---|
|
5 |
$39 |
362 |
Head Customization (Blue) |
Blackburn Cove
Depart from Gateway Harbor to Southern Shelf Bay and use the floating platform to cross the frigid river (or run across the chain to complete the Vault Hunter on a Wire Challenge). Pull the lever up ahead to lower the drawbridge, and continue on to where the path forks. Those who wish to gain a little more XP and locate all of the telescopes in the area should loop around to the south, across the many floating boats in the harbor. Those wanting to tackle Midgemong right away should continue straight ahead into the heart of Blackburn Cove.
Blackburn Cove is crawling with Marauders, Psychos, and Midgets of all kinds. Slowly fight your way across the main bandit camp on the shore, sticking to the lower level at first except to elevate for a shot over cover. Blackburn Cove is a proper harbor town, albeit one of ramshackle design. Its many houses, both of residence and sin, have been stacked atop one another in slipshod fashion. Though a bit confusing to navigate at first, the many ladders, stairs, walkways, and overhangs offer the lone Vault Hunter plenty of proper angles from which to attack.
Advance and retreat while crossing the lower two levels to the stairs leading up to the third. Lob a grenade onto the southernmost balcony to take out any Marauders that may be hiding behind the railing, and continue past the sign for the Bizarre and up the ramp beyond the multi-colored lights (or climb the ladder). Take your time crossing this middle level, as there are many Psychos and Marauders lurking behind the bar in the distance. One final ramp leads to the fourth floor. Approach the double doors near the large doormat to draw Midgemong out of hiding.
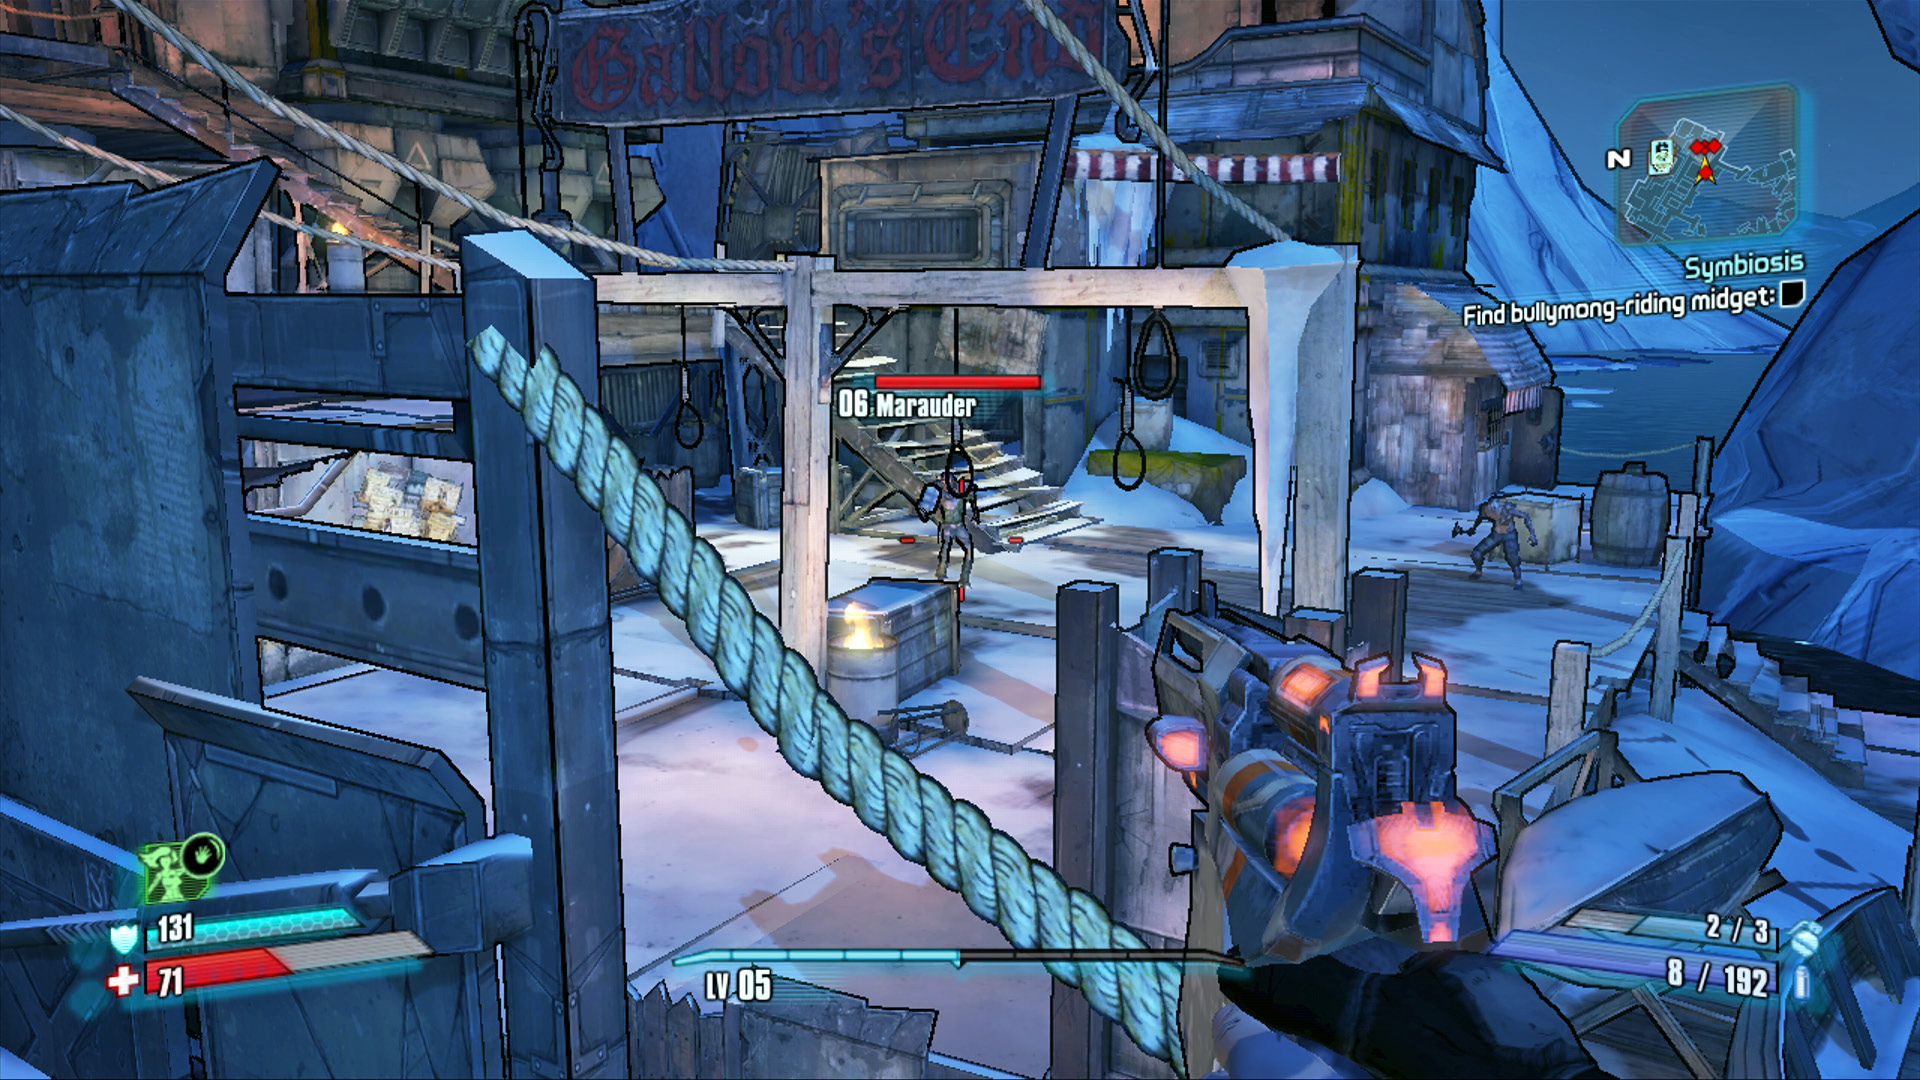
Advance slowly and cross back and forth from within the houses on the left to the overhanging walkways on the right to gain the element of surprise.
Midgemong is a burly armor-clad Bullymong with a Badass Midget riding bareback atop him. Immediately open fire and pursue Midgemong as he retreats to the lower area near the bar. Avoid staying on the upper level near his hideout, as he’s likely to leap across to a hard-to-reach balcony that can be difficult to shoot over. Though capable of attacking with melee swipes and lunge attacks, Midgemong generally keeps his distance and allows his Badass Midget friend to use his twin pistols to attack.
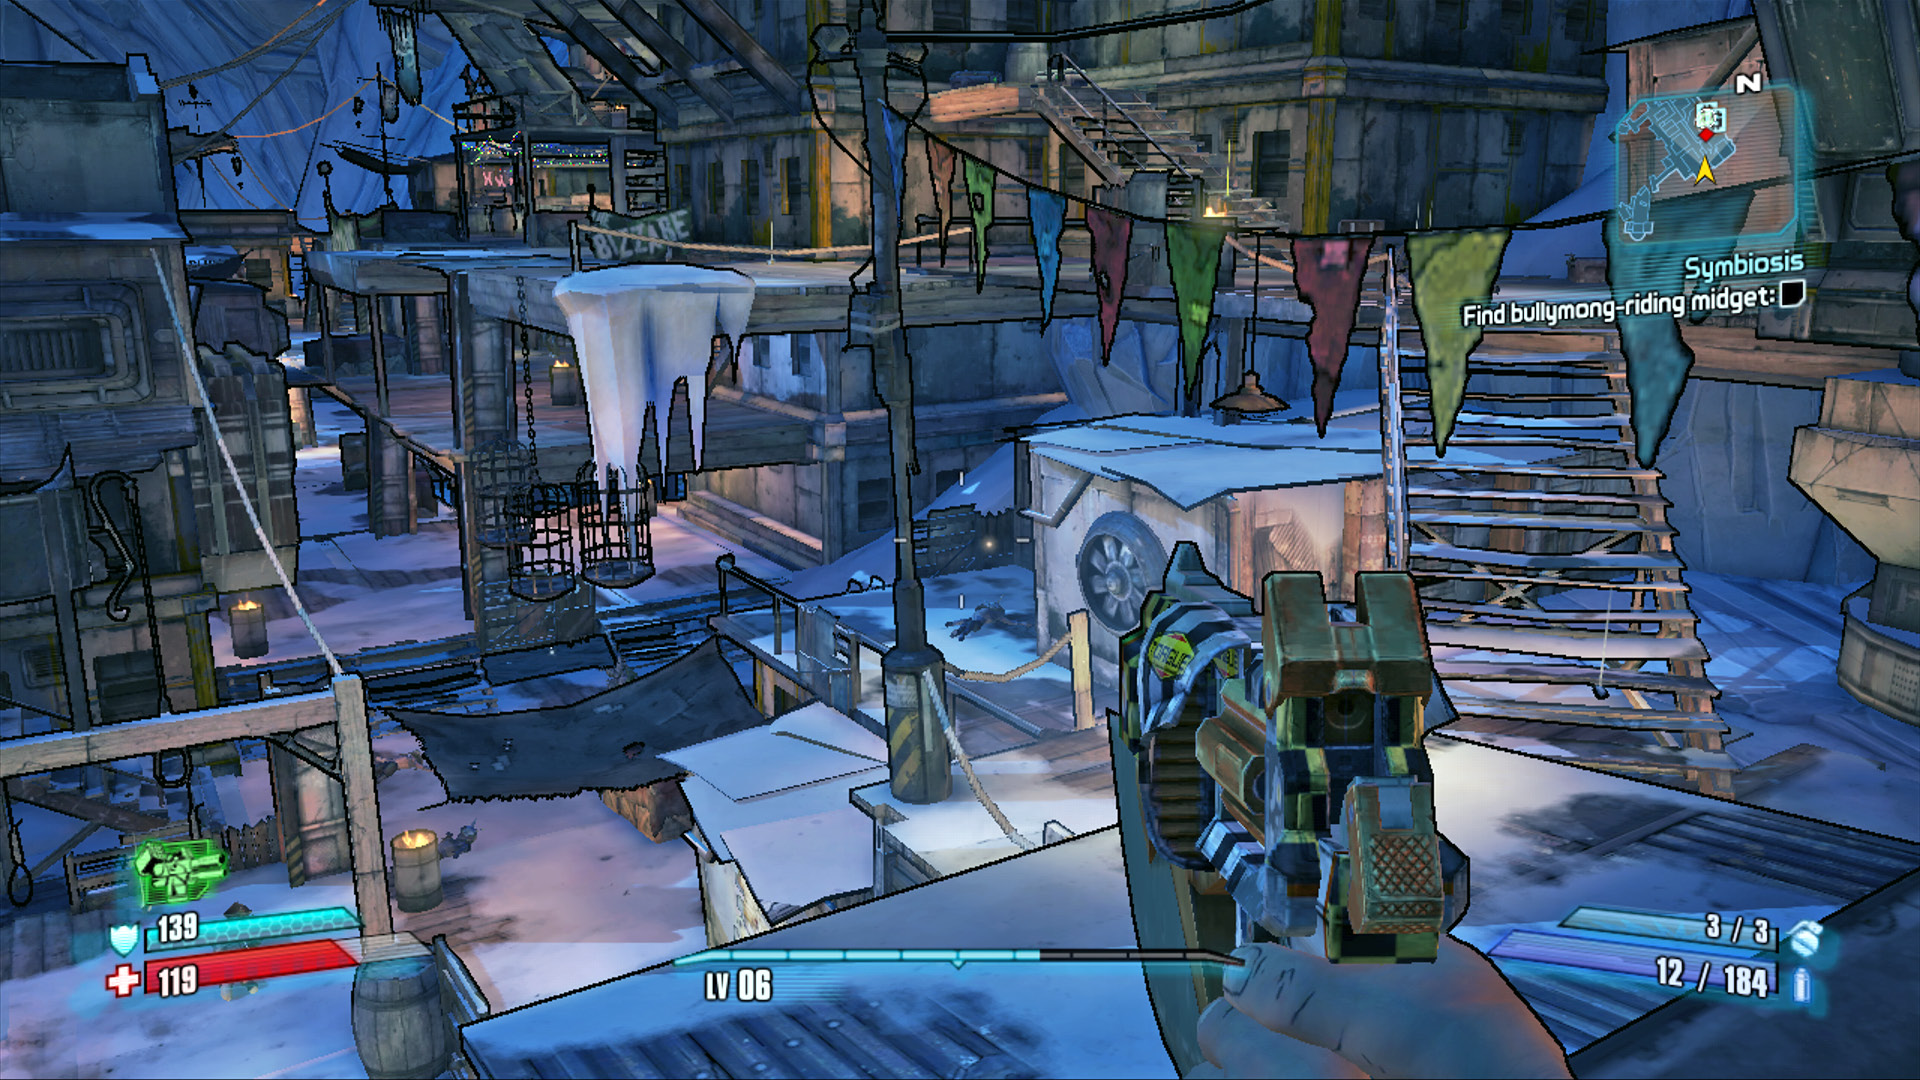
Fight your way east across the lower levels, then ascend past the Bizarre sign to the ramp leading to the uppermost level above the colored lights.
Use your Action Skill to gain the upper hand on Midgemong as soon as he drops off the upper level. It’s especially important for Axton to not deploy the Sabre Turret too soon, or else Midgemong can easily drop to the lower level and evade the turret’s fire.
Pursue at a medium distance, but aim to keep him near the bar so that there’s a wide open space to maneuver, with little risk of you accidentally falling off. Midgemong summons reinforcements after some time passes. Try to ignore them the best you can and continue to focus on Midgemong and his Badass Midget rider.
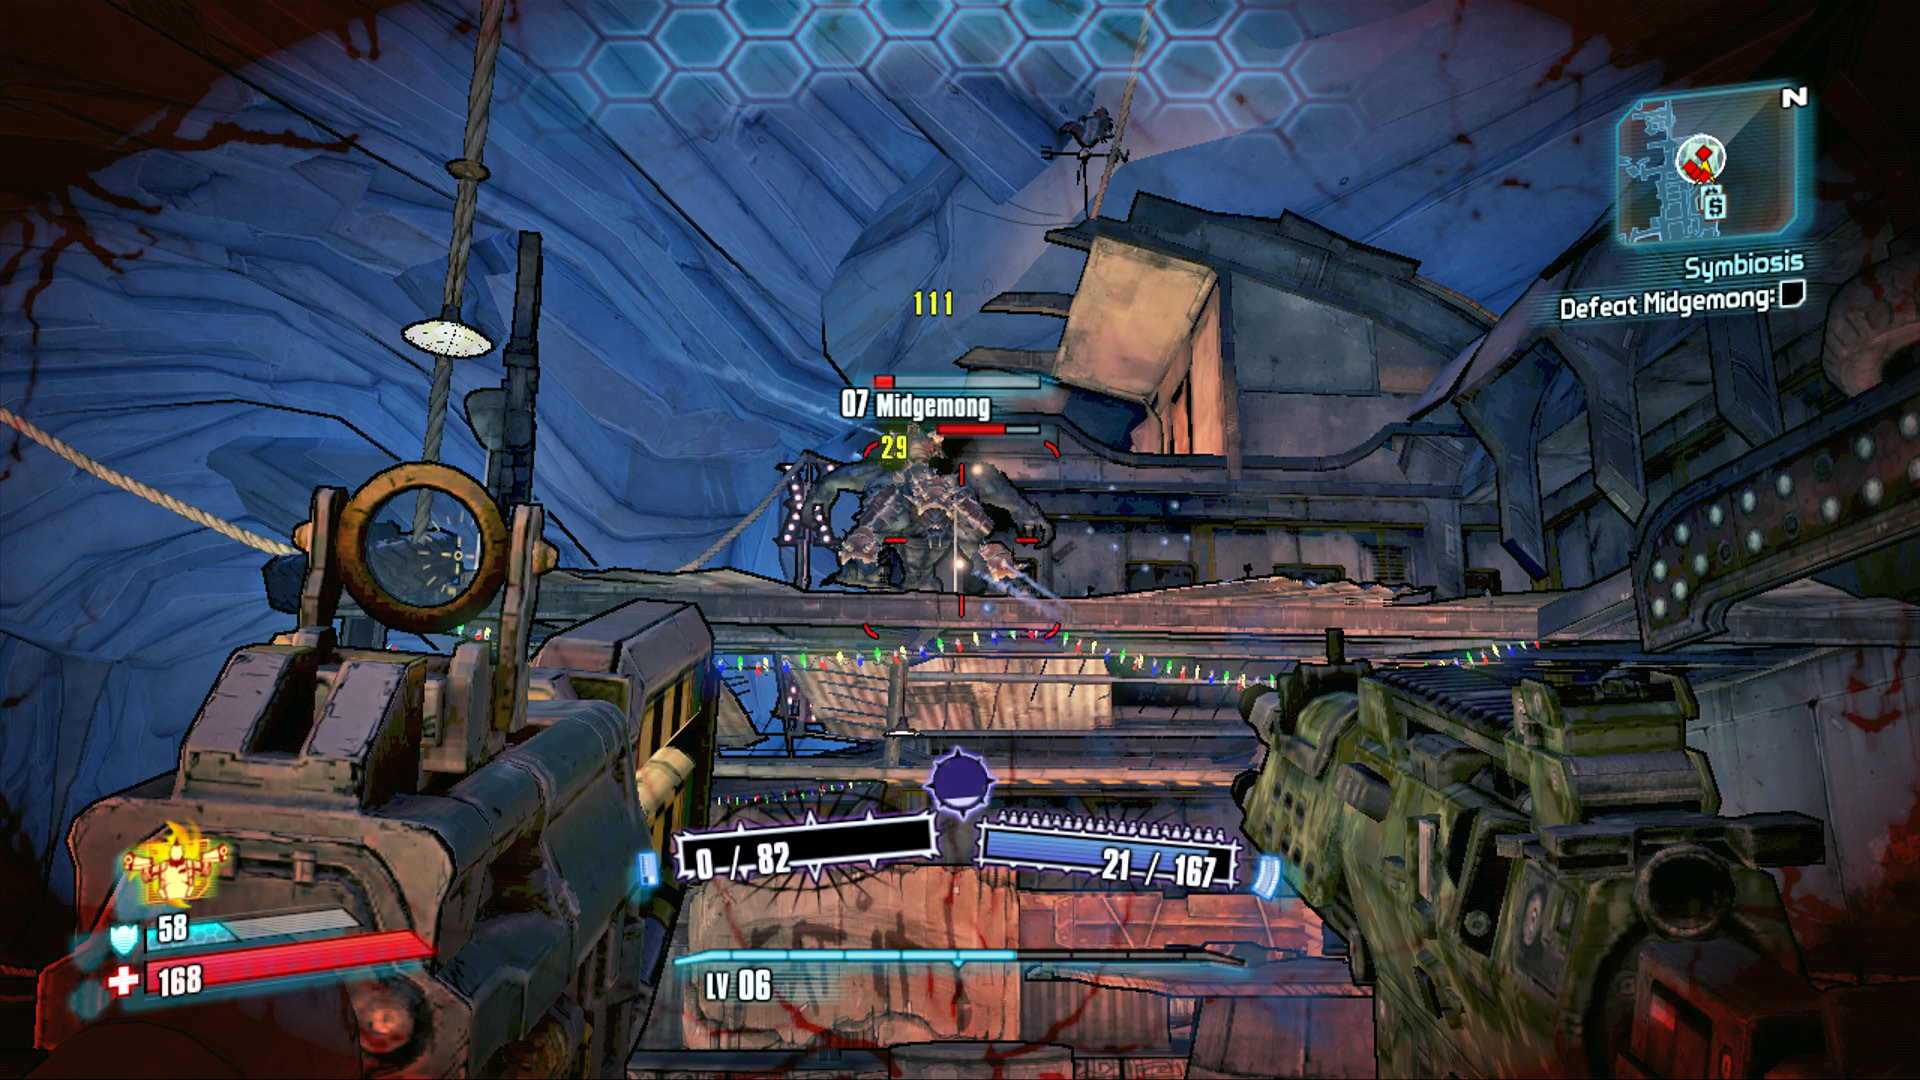
Gunzerking with an explosive shotgun and assault rifle is one way to make quick work of Midgemong!
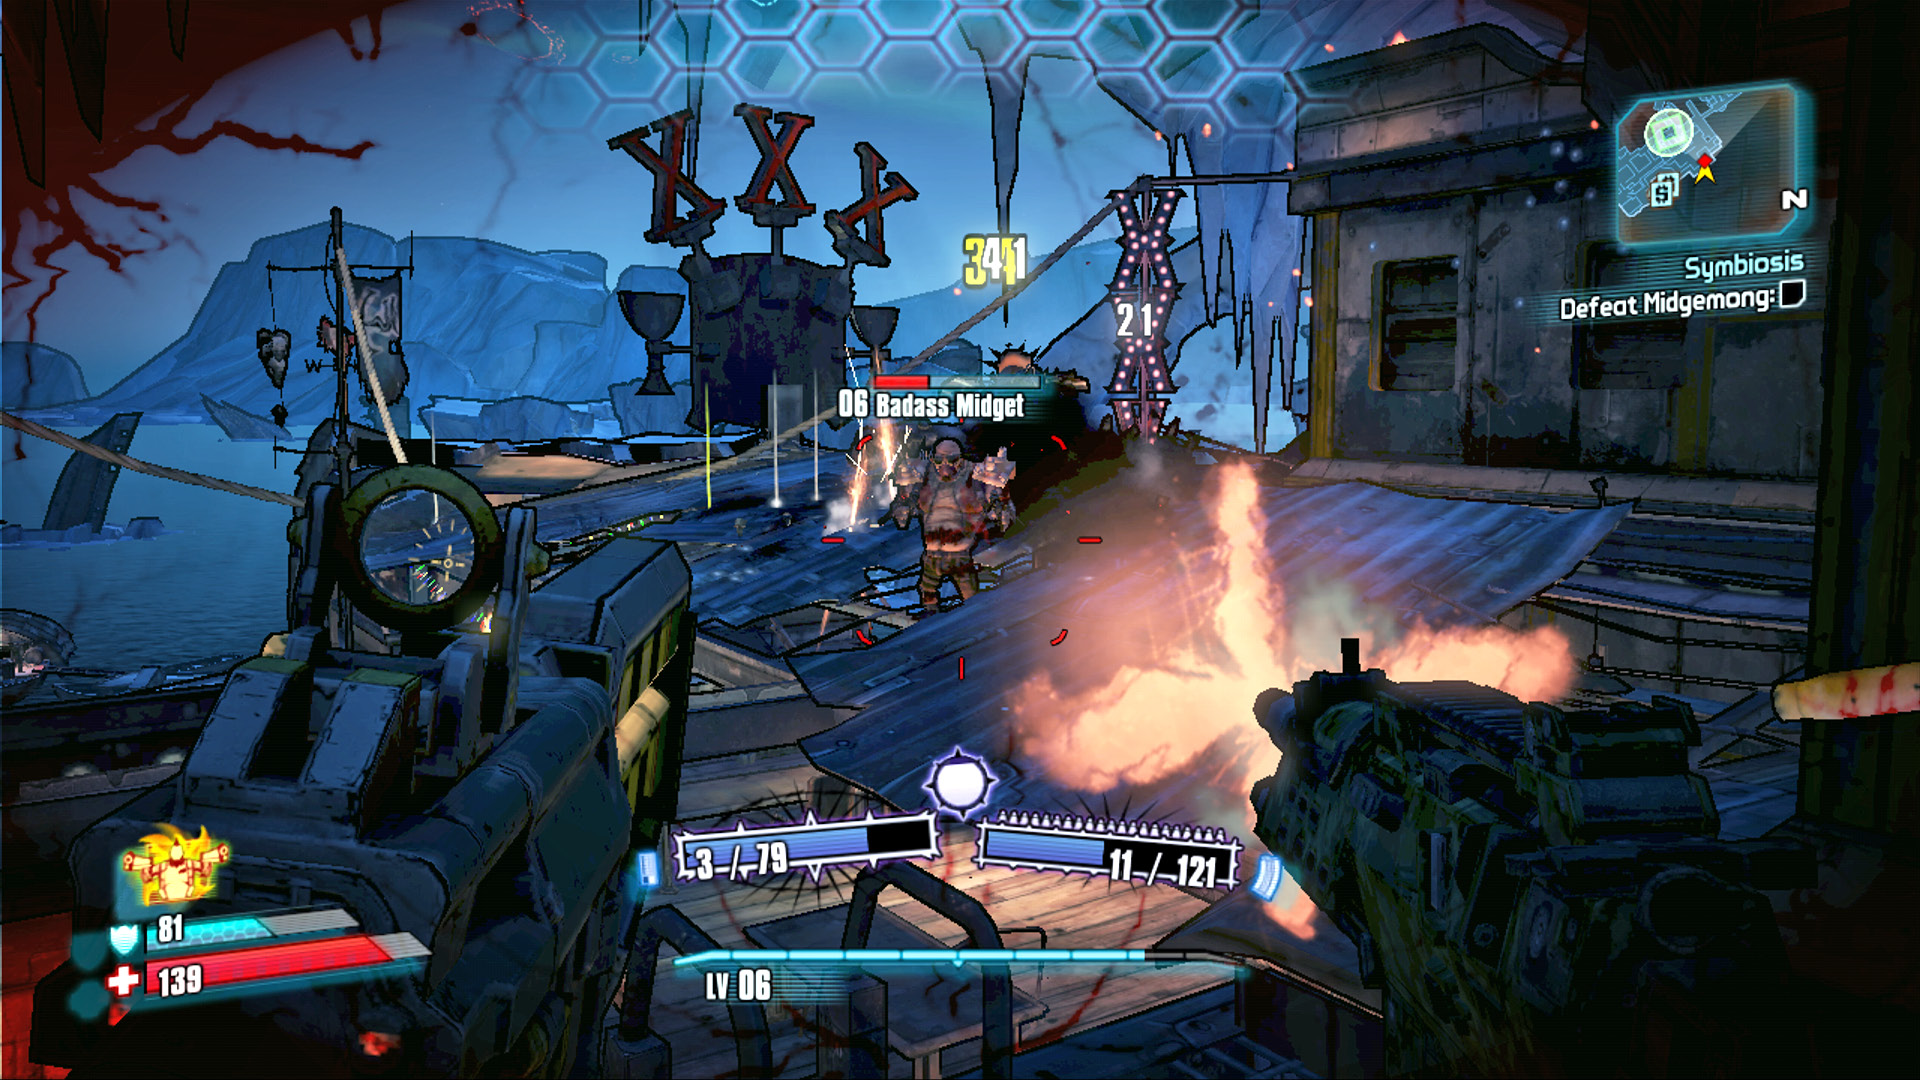
Manage to kill Midgemong before he calls for reinforcements, and you’ll get to face the Badass Midget mano a mini.
Midgemong Has No Friends
Complete this Challenge by killing Midgemong before he calls for backup. This can be tricky to do if you don’t have plenty of firepower, a second Vault Hunter to assist you, or explosive weaponry that needn’t be reloaded too frequently. Focus your fire on Midgemong—not the Badass Midget atop him—and use your Action Skill to gain an edge.
Return to the uppermost floor after defeating Midgemong and enter his house (wait for your Action Skill’s cooldown to end first). Two Badass Marauders attack from the locked door in the corner, so be on guard! Slay these two surprise assailants to gain access to a large treasure trunk and several vending machines.