Borderlands 2 Game of the Year Guide Optional Missions
Bandit Slaughter: Round 5
|
 Mission Briefing
| Level | Money | XP | Gear |
|---|---|---|---|
|
20 |
($346 with Bonus) |
1929 |
Assault Rifle (Blue) |
Fink’s Slaughterhouse
The fifth and final round of Bandit Slaughter is going to be tough, but it becomes much more manageable with proper preparation. For starters, though it’s certainly possible to unlock this mission during your first visit to The Fridge, it’s better that you come back to tackle Round 5 after you’ve completed “Bright Lights, Flying City.” The reason for this is twofold: first, you receive the SDU that grants a fourth weapon slot as a mission reward. Secondly, you likely have a lot of Eridium to spend back in Sanctuary, and the extra ammo SDUs really come in handy during Round 5.
Give your equipment a lot of thought before heading into battle. Consider a class mod that increases Fight For Your Life time, or a shield that has a high capacity and has a chance to absorb bullets. Similarly, a Transfusion grenade could prove invaluable, especially if it spawns child grenades. As for weaponry, it really does pay to have at least one Slag and one Fire weapon. A high-powered Jakobs pistol with a large magazine could also come in handy. Lastly, equip the rocket launcher with the biggest magazine you can find, and refrain from using it unless absolutely necessary—it could be the only thing that saves you from bleeding out in the final waves.
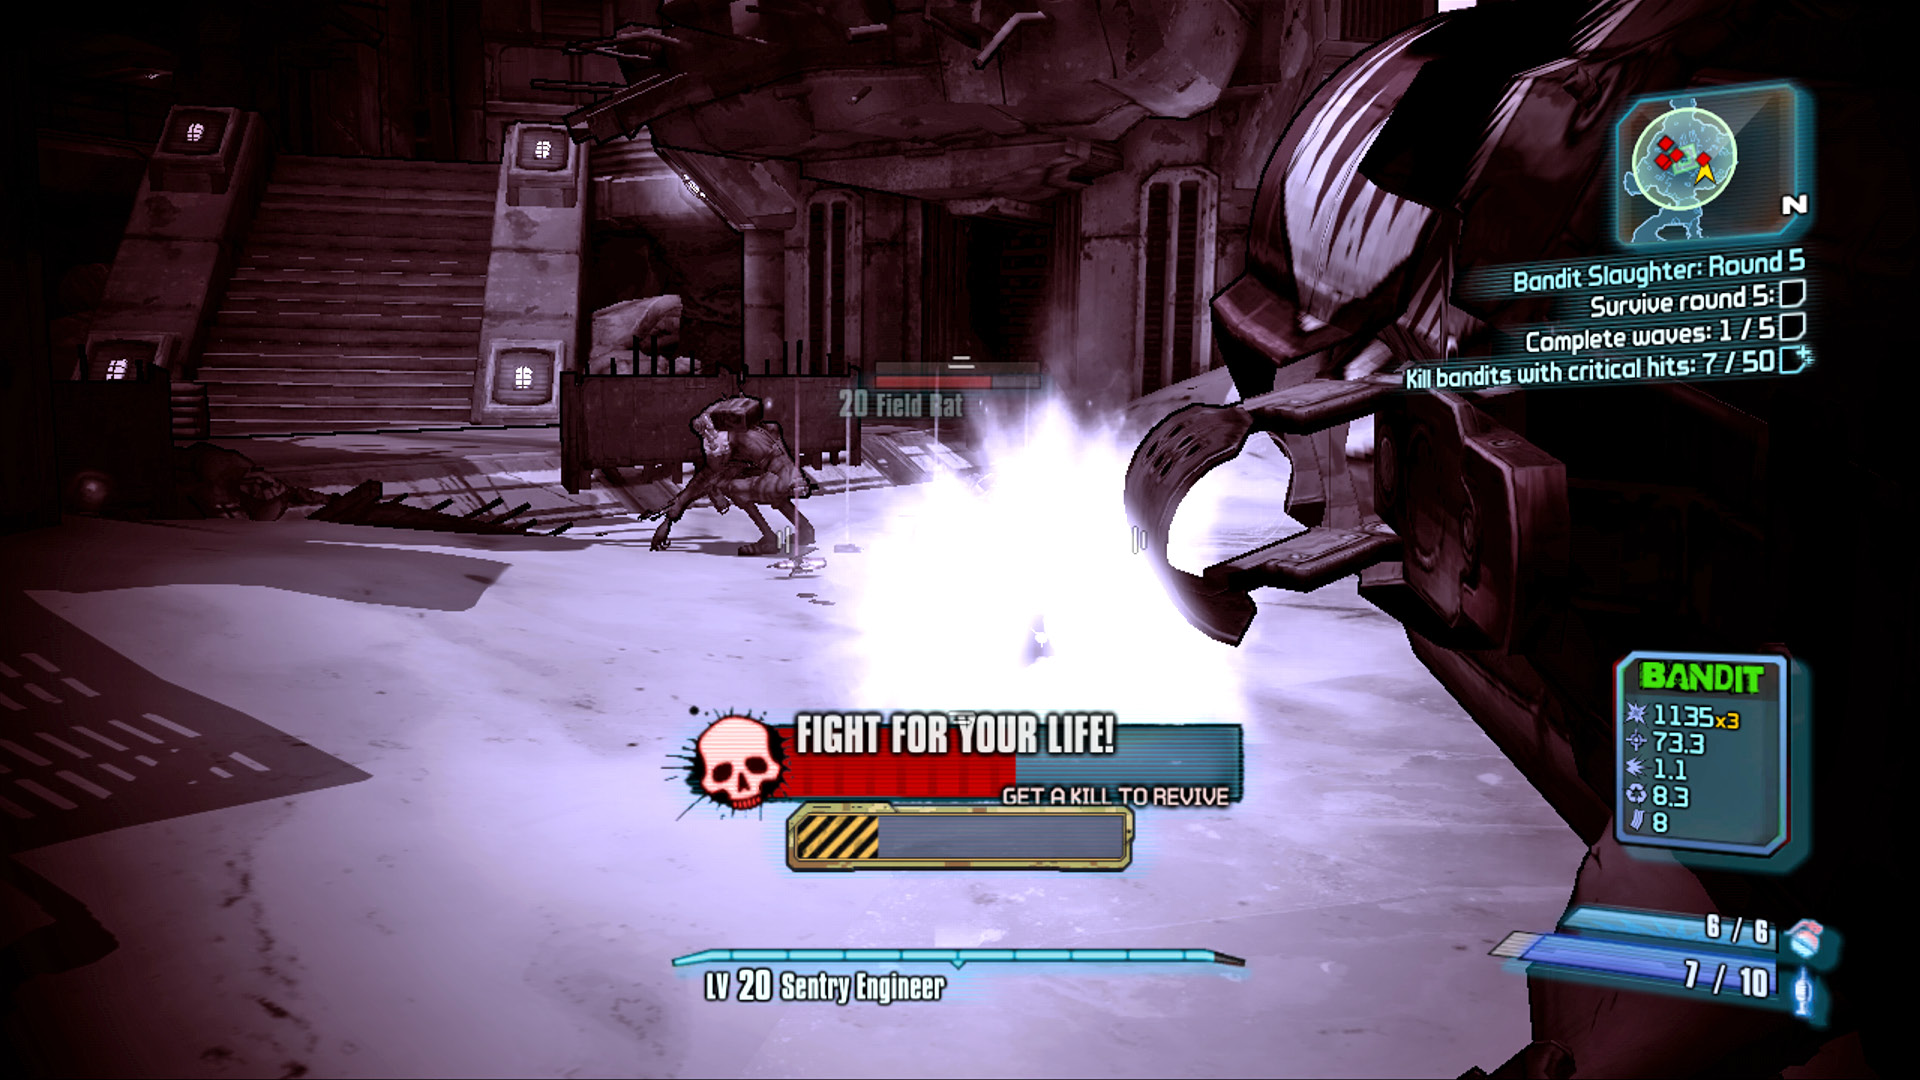
Rocket launchers go a long way toward getting you a Second Wind.
Surviving this battle also requires skilled, efficient use of your Action Skill. Zero can get away with using his fast-activating Deception as frequently as it becomes available. Maya’s Phaselock skill also has a very short cooldown and can be used over and over, as well, though some thought should be given to the skill points you have allotted in order to maximize the impact (for example, targeting an enemy in a crowd to take advantage of Helios).
Those playing as Salvador should treat Gunzerking as a last-ditch survival tactic for use whenever his health starts to get low. Lastly, Axton’s Sabre Turret should be used much the same way as Gunzerking—deploy it whenever you think you might be downed. It’s also worth using the Sabre Turret for tactical advantage in difficult fights, especially since it tends to attract enemy attention much like Deception. Just make sure to “reclaim” the turret as soon as it’s no longer necessary, as this can shorten the cooldown considerably.
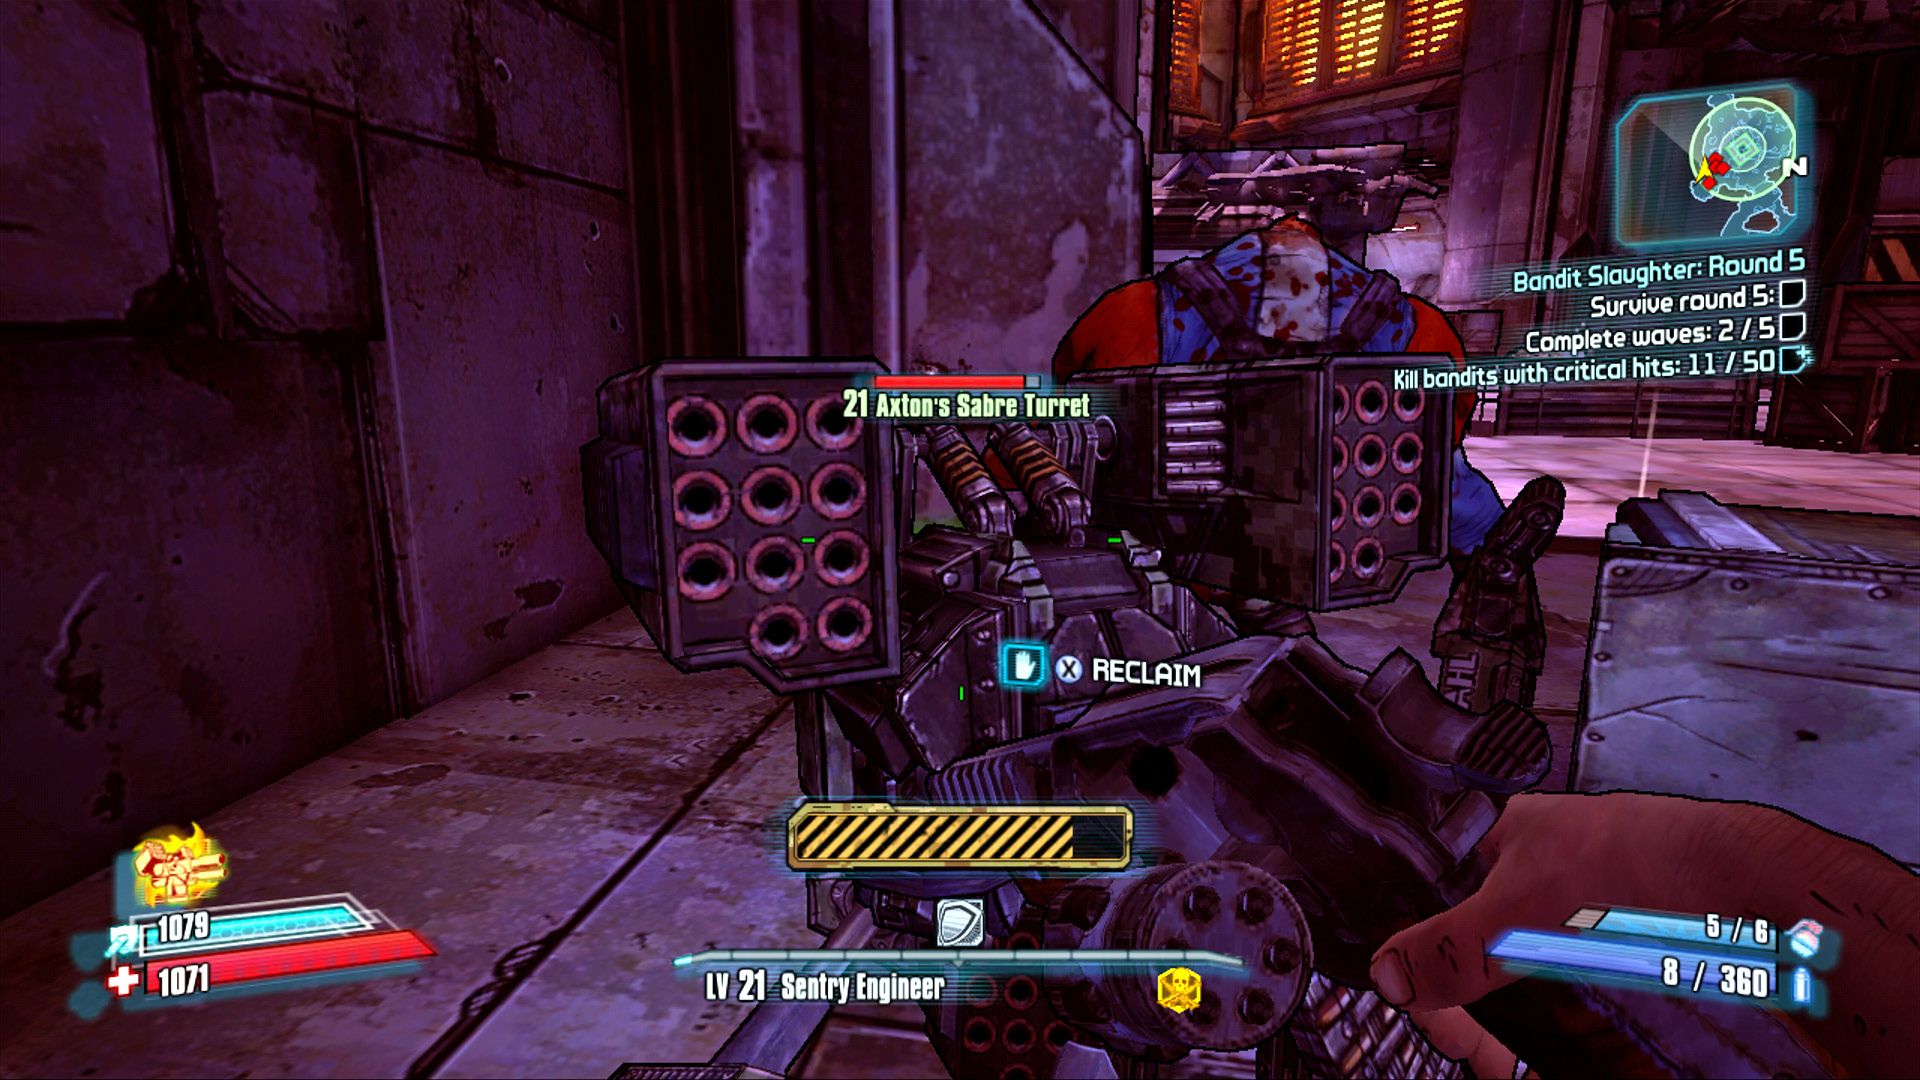
Be sure to reclaim the Sabre Turret as soon as it’s no longer necessary.
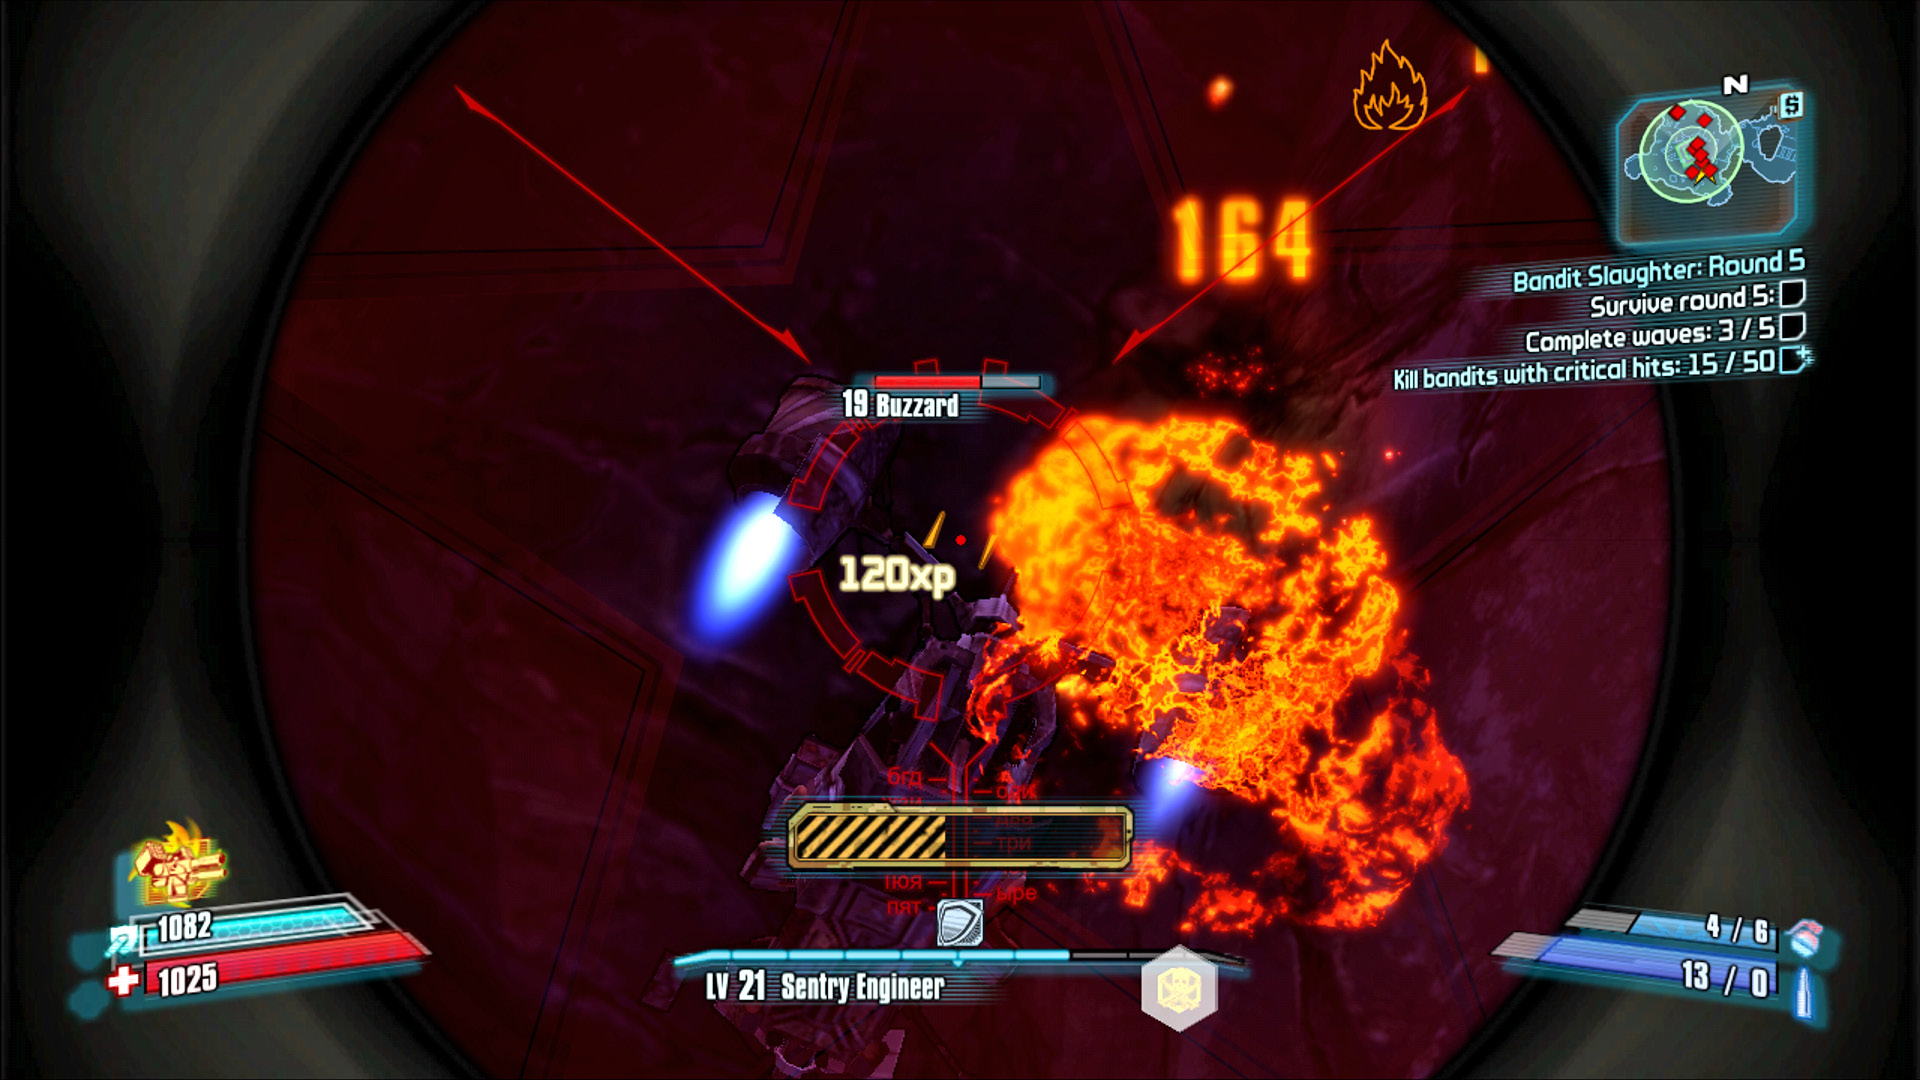
The fourth wave always contains a squadron of Buzzards. Get under cover, and snipe their engines!