Borderlands 2 Game of the Year Guide Sir Hammerlock's Big Game Hunt
Professor Nakayama, I Presume?
|
 Mission Briefing
| Level | Money | XP | Gear |
|---|---|---|---|
|
30 |
$674 |
7890 |
Assault Rifle (green) or Shield (green) |
*Money and XP may vary based on player’s level at start of mission.
Into the Grove
Sir Hammerlock returns to the Aegrus Sophisticates’ Lodge, where he will presumably wax his mustache over a warm brandy while you tend to hunting down the giant scaylion. Use the Catch-a-Boat to spawn a fan boat and pilot it due west, back toward the area where you first entered Hunter’s Grotto. Even though you may have missed it earlier, there is a cave at the base of the ravine you leapt out of. Ignore the ladder leading back to the top, and instead, continue west through the cave.
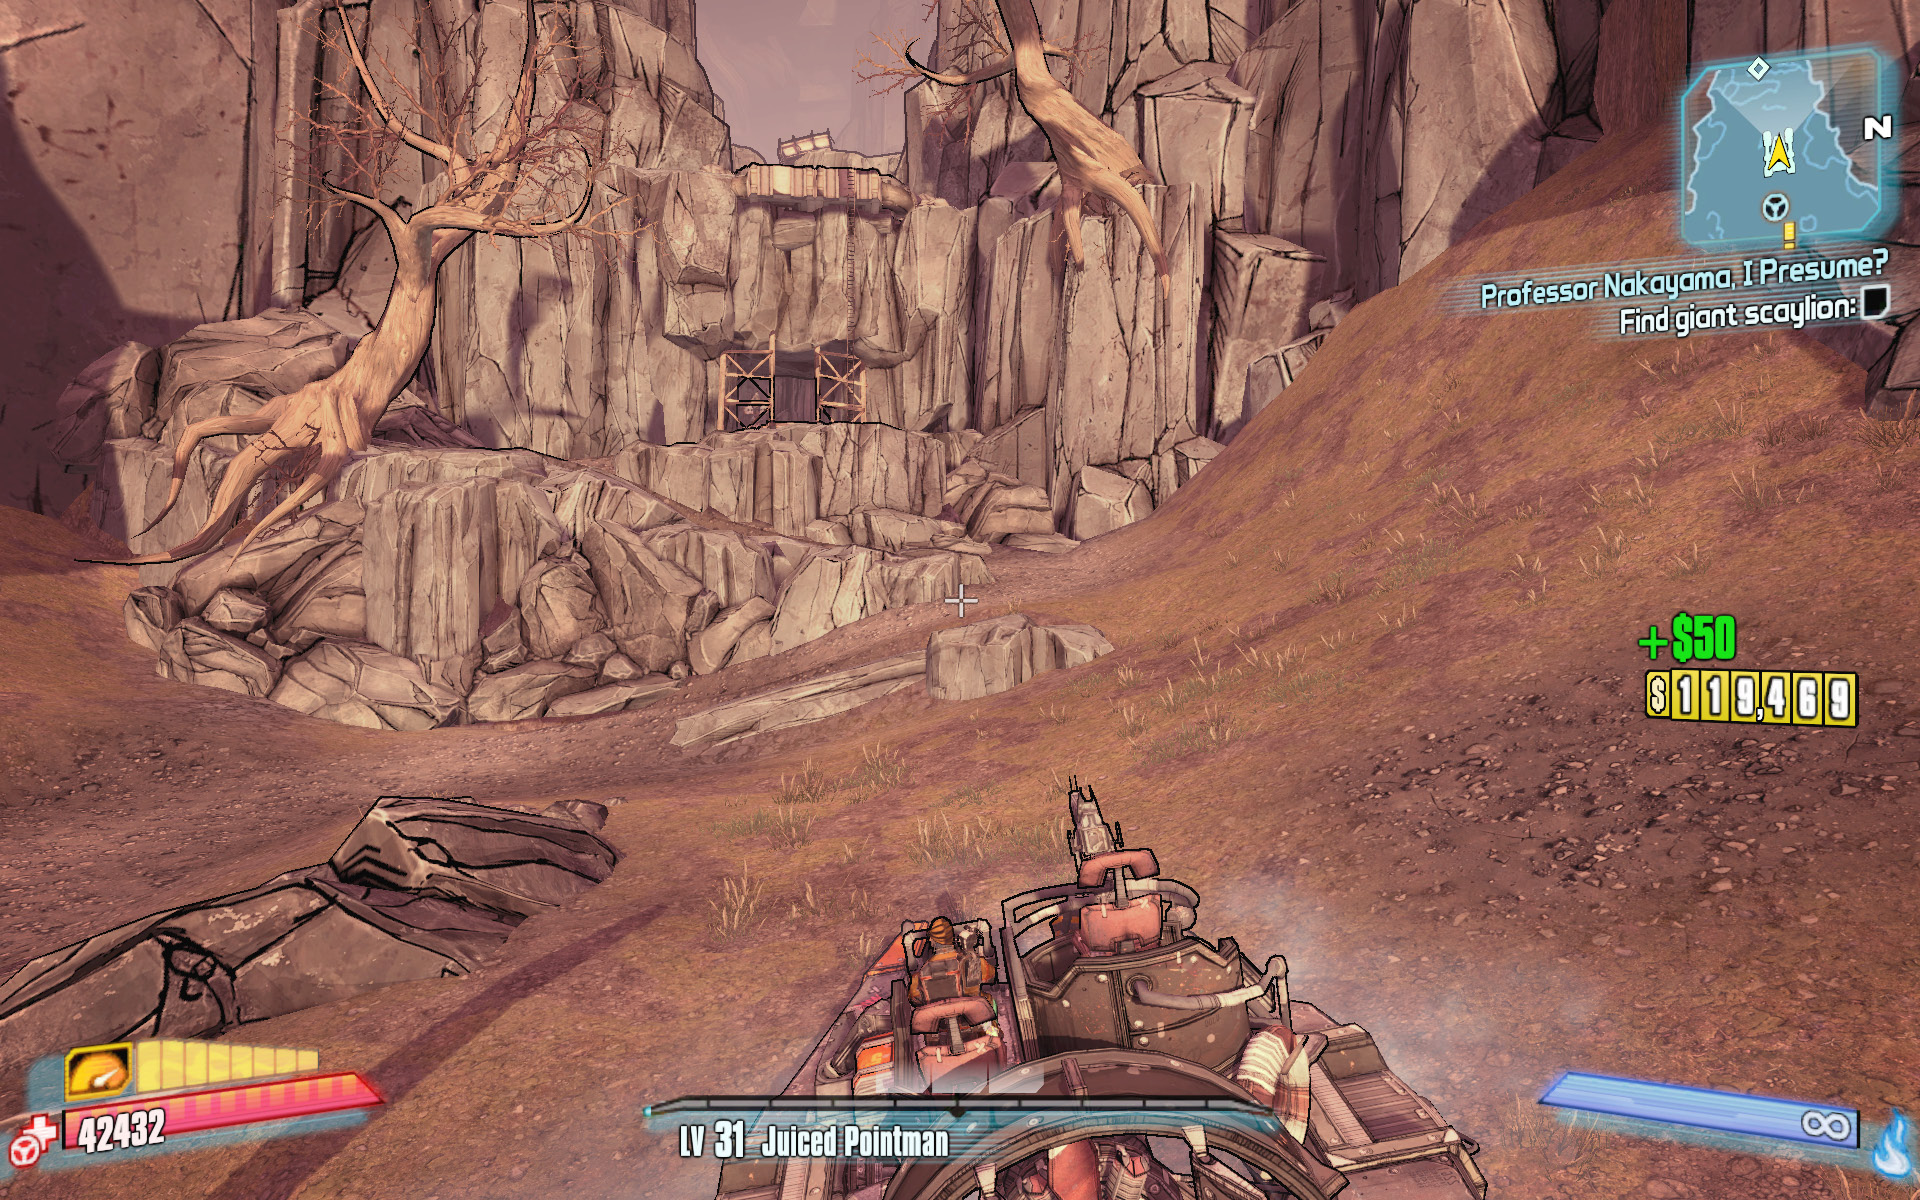
Ride the fan boat west, and head up the path and through the cave near the ladder.
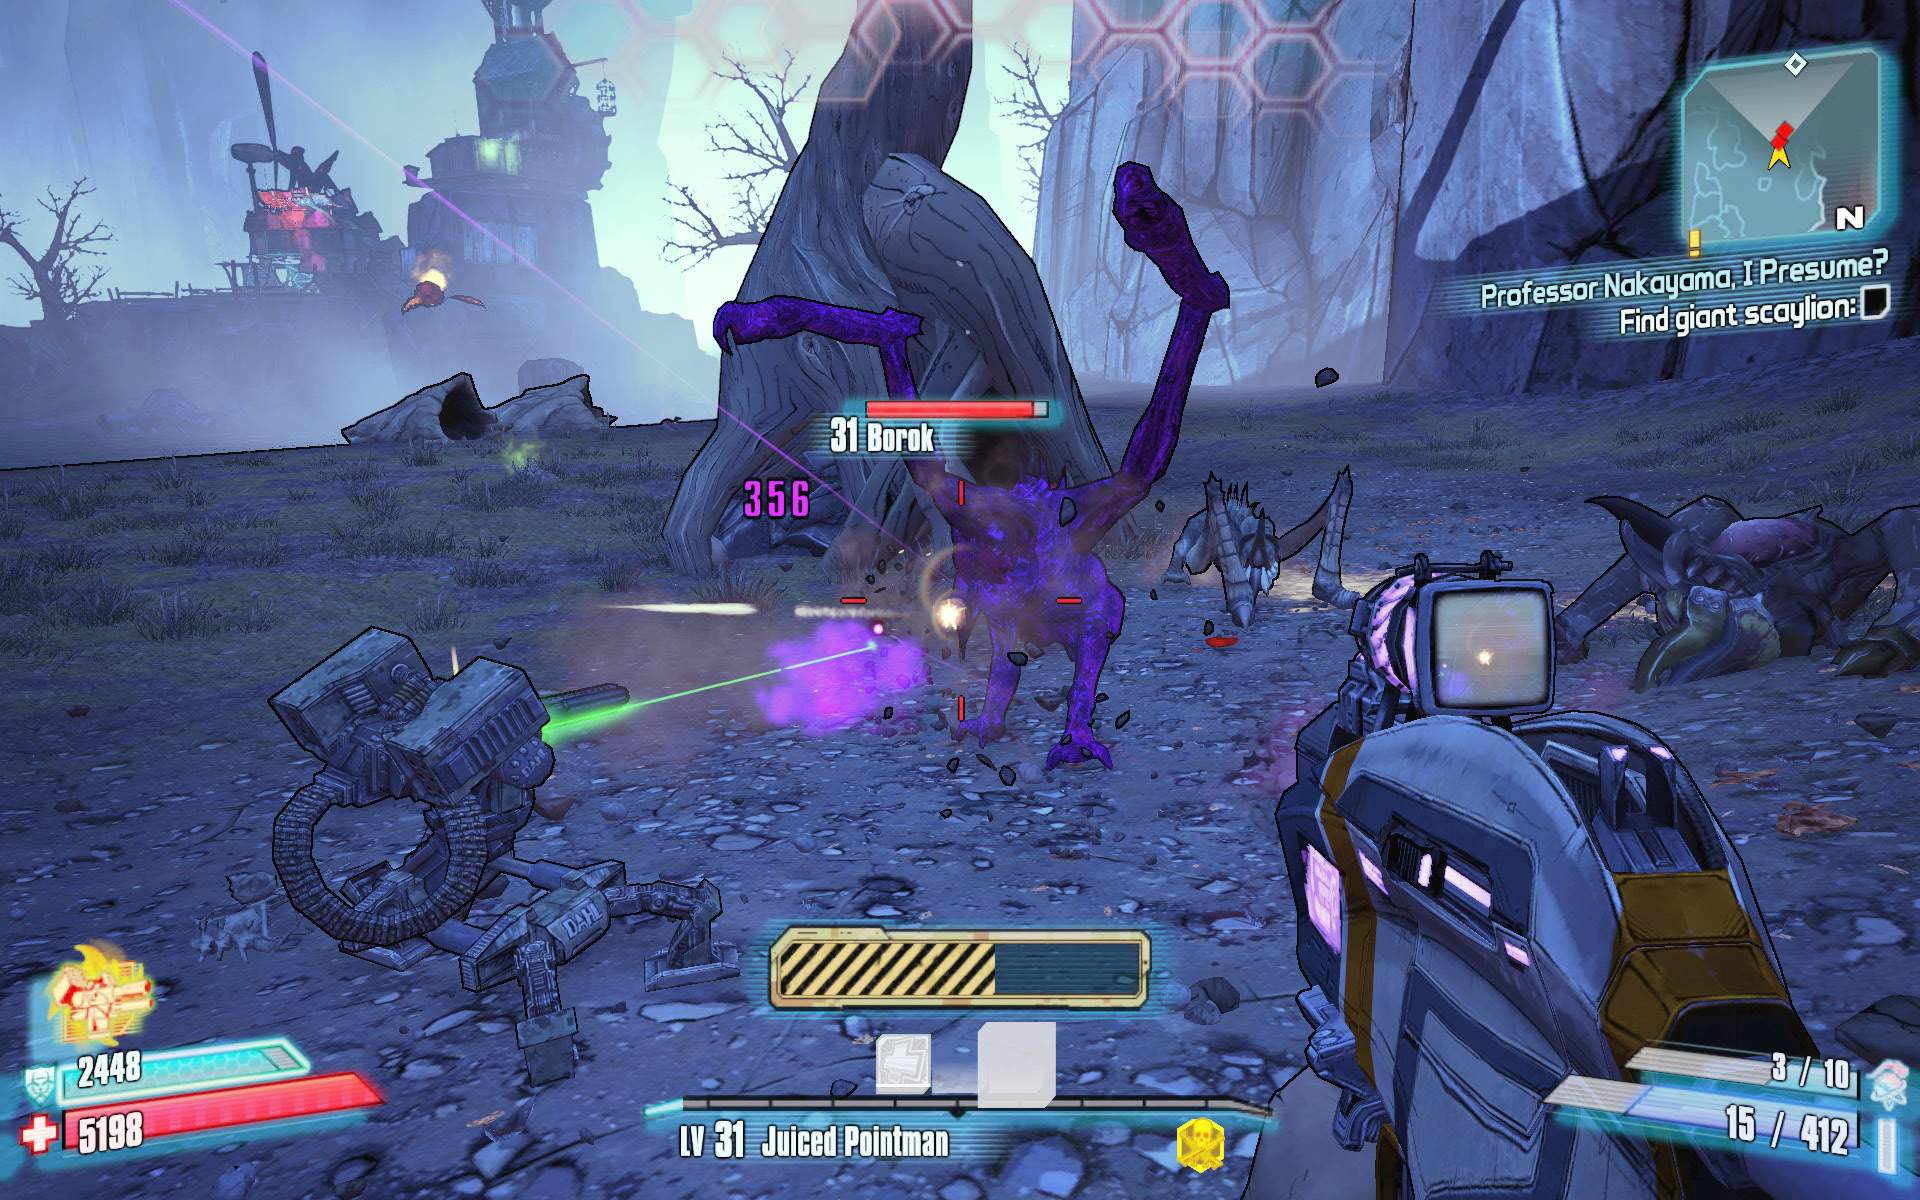
Shoot the boroks in the throat when they rise up.
Exit the west end of the cave, and peer out over the narrow cliffs to the creatures milling about. These are the borok. Borok are four-legged creatures with large front legs and heavy armor on their backs and heads. They aren’t overly dangerous, but they are aggressive and often charge your position in an attempt to claw and bite you. Some even spit at you. Keep your distance, and aim for their unprotected throats as they rear up on their hind legs. Proceed westward along the narrow ledge to the entrance to Scylla’s Grove.
Make your way south away from the cave and into the Sun Swamps, a large area in the center of Scylla’s Grove. There is plenty of time to explore the elevated savage village on the right (you’ll be lured there soon enough), so stake out across the swamps on foot toward the northeast instead. Follow the large white palm prints painted on the ground, and ascend the slanted rocks to the bridge in the distance. This is a good time to shoot a couple of the rakk nests in the area. Drop off the bridge, and continue east through the water to the cave leading into the mountain to the north.
This cave contains the giant scaylion named Thermitage, but it also hosts numerous lesser scaylions. Scaylions, as their name implies, resemble scorpions. They have a large tail stinger and sharp claws on their front feet. They primarily attack by charging their prey in an attempt to unleash a potent melee attack. They can emit a corrosive ranged attack, as well, but this doesn’t inflict as much damage as their melee attacks.
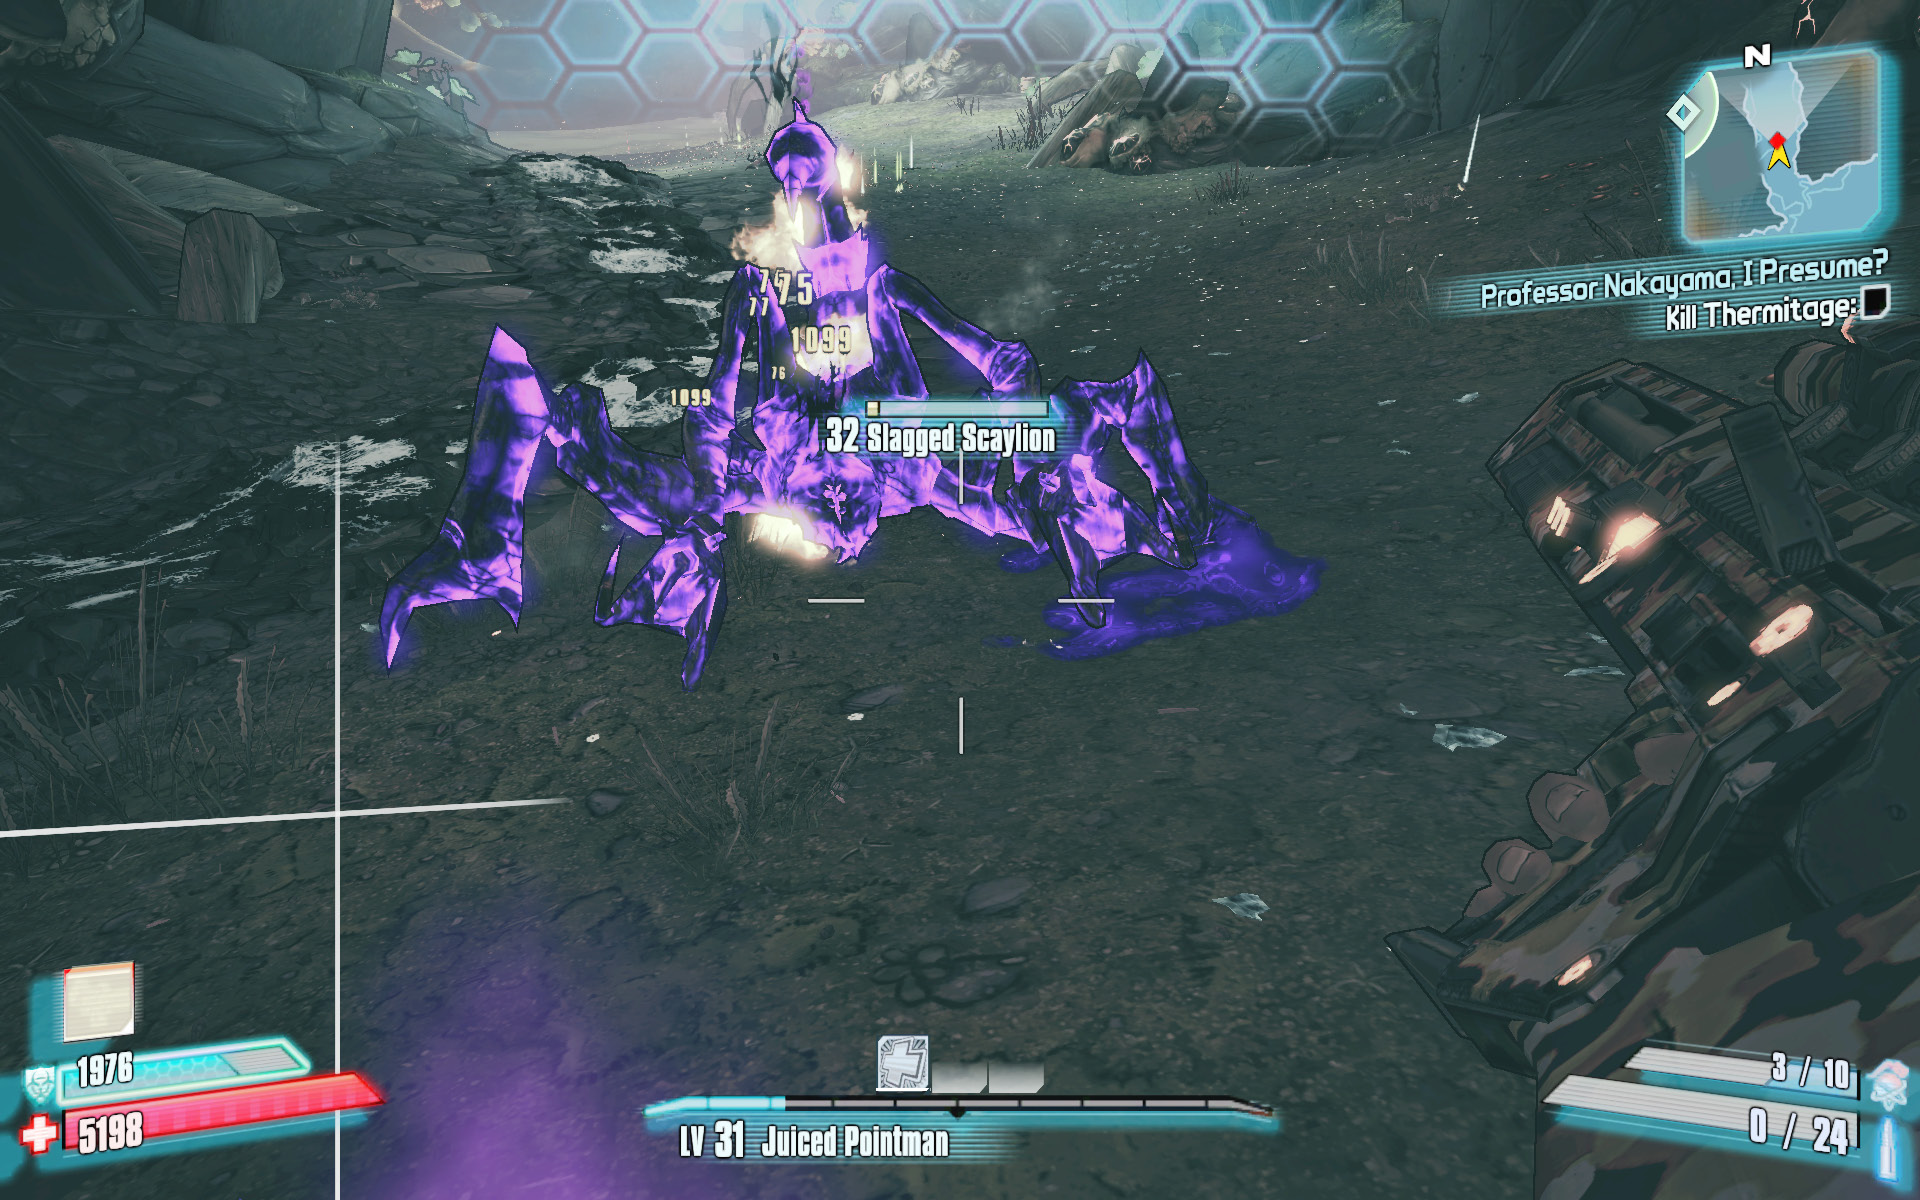
Set the scaylion on fire before it rolls over onto its back.
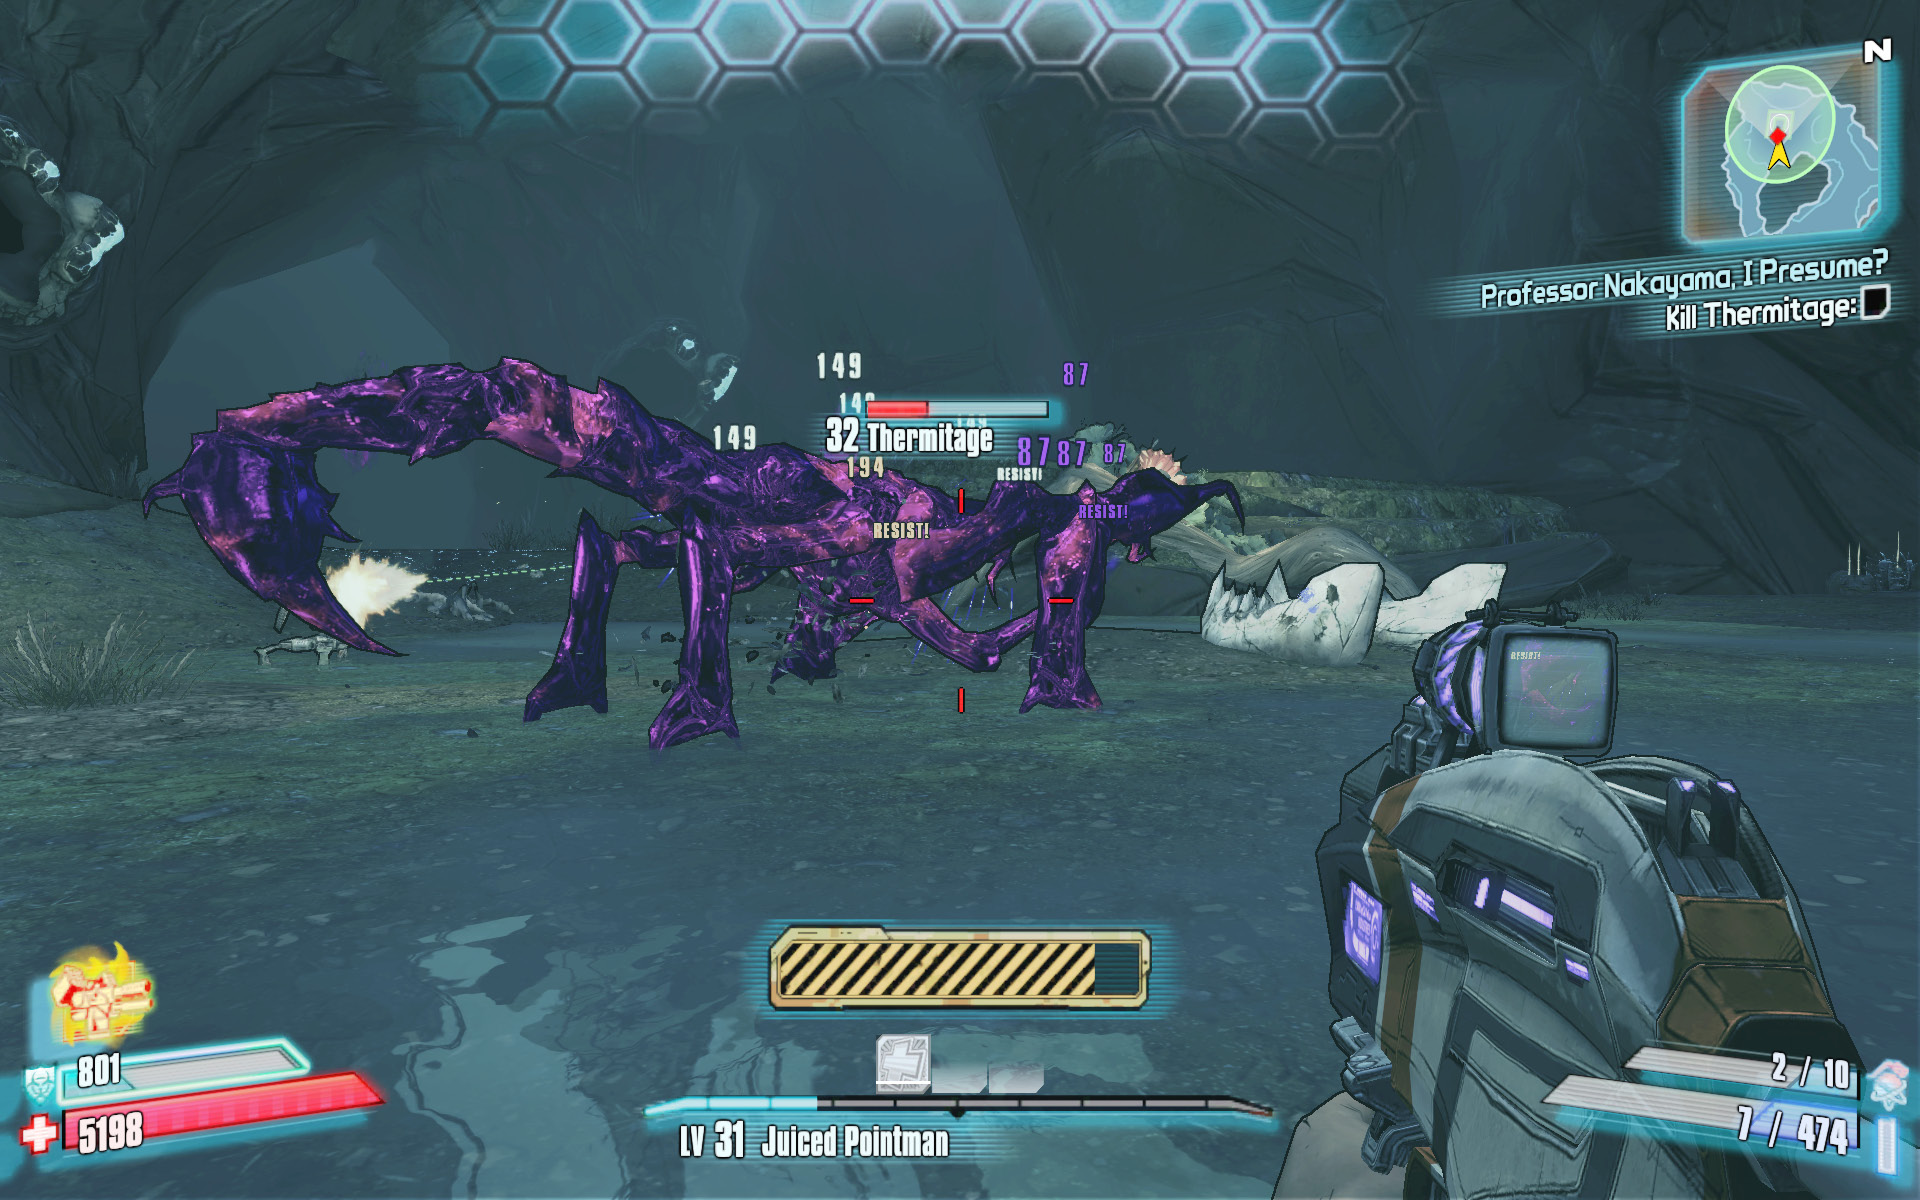
Thermitage can really soak up the damage once on its back, but just keep on firing!
Aim for their stingers, and try to hit them with elemental attacks as soon as they make themselves known. This is particularly crucial when facing a Diseased Scaylion or Scaylion Queen, as they have more health than lesser scaylions. Scaylions roll over onto their backs once threatened; they can resist elemental attacks while on their back, and they can still keep up their offense.
Fight your way through the cave to the area marker to the north. This is where Thermitage is known to be located, though the beast won’t make itself known right away. You must first slay the Scaylion Bugs, Scaylion Workers, and Scaylion Queen located amongst the skulls in the rear of this area to draw Thermitage’s attention.
Thermitage is a larger scaylion and fights primarily by charging its prey and attacking with a series of quick strikes. It is faster than its size would suggest and also has the capacity to emit a corrosive spit attack. Try to slag it and set it on fire as fast as you can, before it rolls onto its back and becomes harder to defeat. Should it turn turtle, continue to attack it with standard gunfire or explosive weaponry. Dodge its charge attacks, and keep peppering it with gunfire or rocketry to destroy it.
The Deity on Wheel
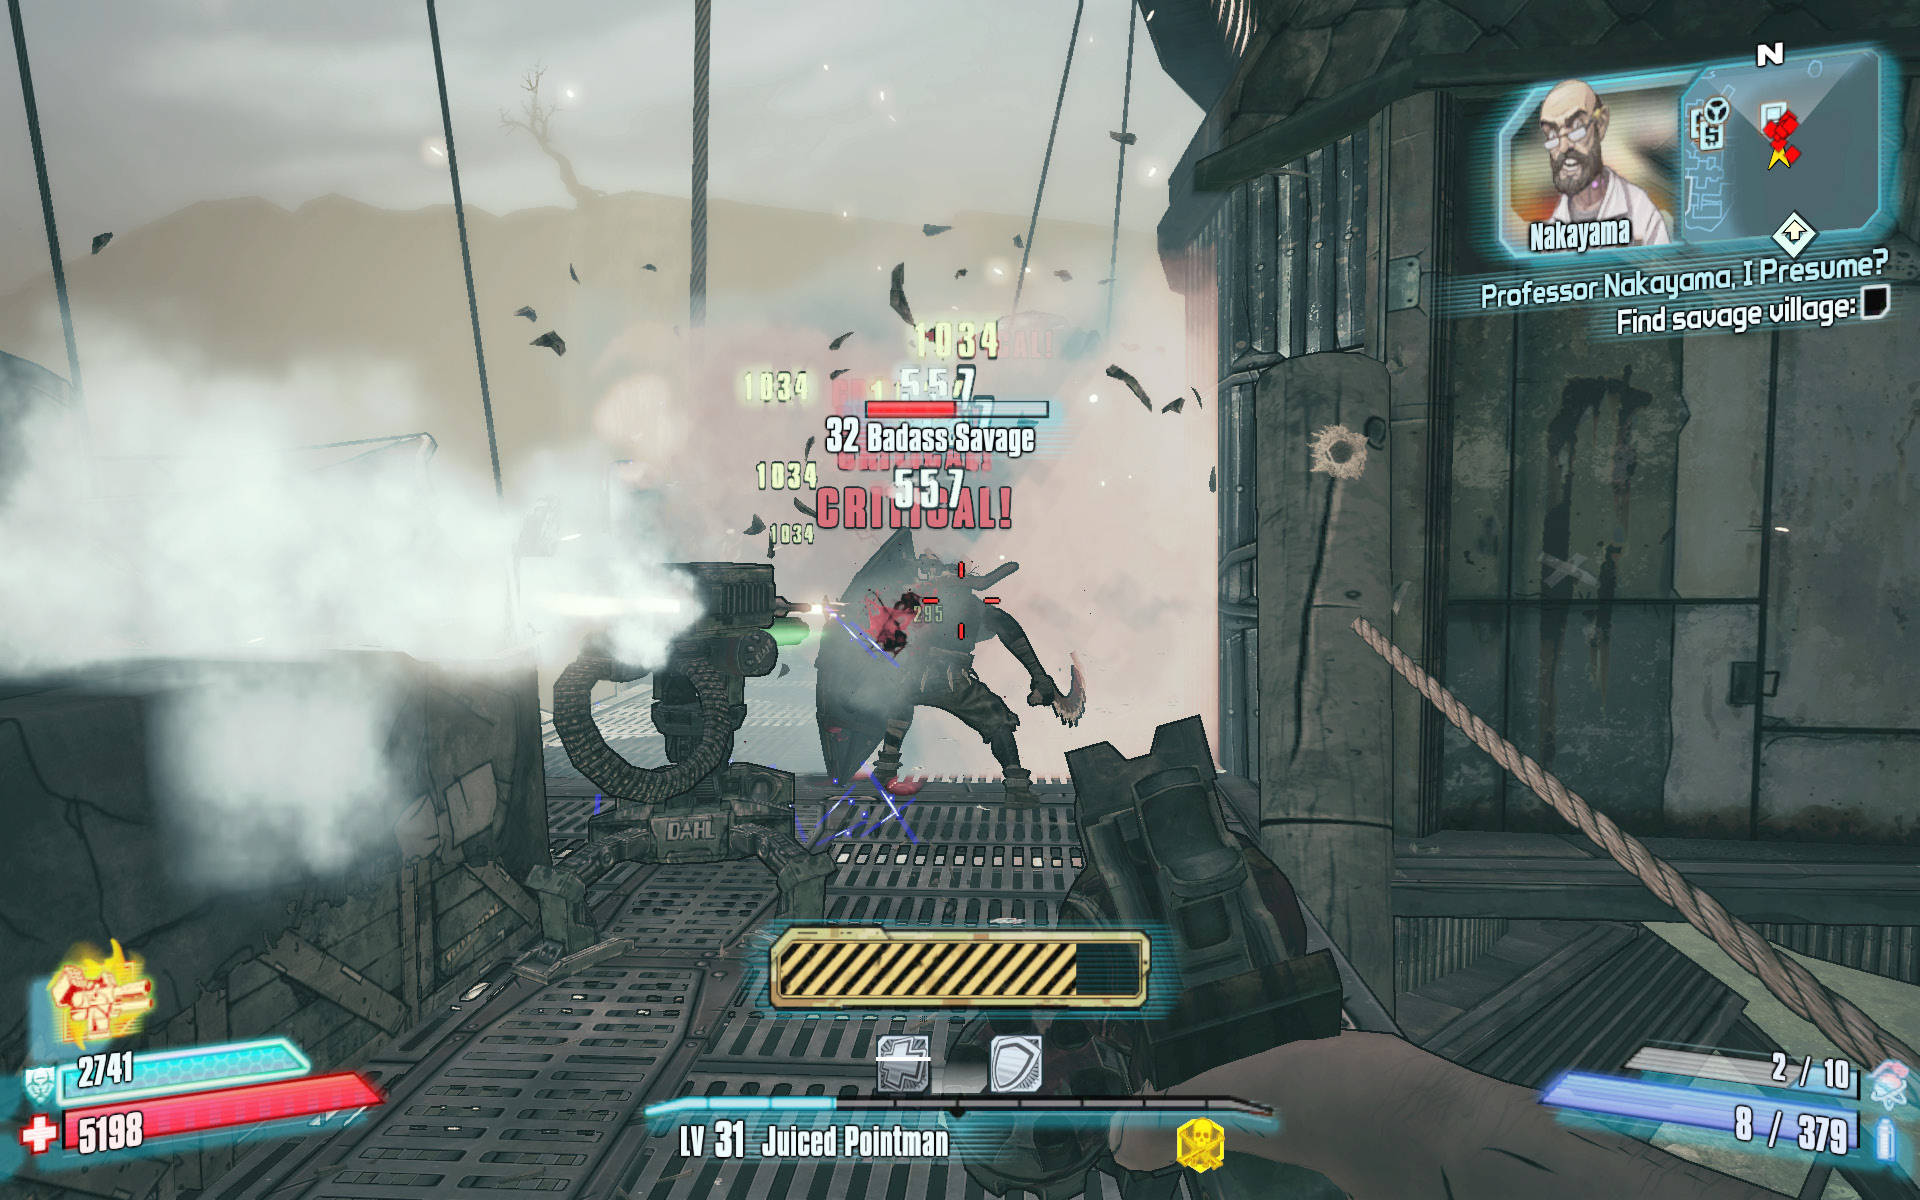
Save your Action Skill for use against Badass Savages and Badass Witch Doctors.
You succeeded in killing the first of the quarry Sir Hammerlock has arranged for you, but your weekend of sport hunting has been interrupted by one Professor Nakayama. It seems that the mad scientist would like for you to hunt him down, just as you did Handsome Jack. Well, if he says so…
Exit the scaylion cave, and return westward toward the village in the Sun Swamps, where you first entered Scylla’s Grove. You need to reach the lift at the rear of this village, but you must fight through dozens of savages and witch doctors in order to do so. Ascend the stairs near the vending machines, and cross over to the twin walkways that curve around to the left. Stick to the upper walkway for a better view of the action, and advance slowly to draw as few enemies out as you can. Lob grenades down at the foes below you while focusing on those directly ahead.
Advance and retreat while fighting to avoid being overrun by the numerous tomahawk-swinging savage warriors and their upgraded ilk. Don’t hesitate to fire a rocket at the feet of numerous shielded enemies to thin their numbers, while you make your way to the lift at the end of the suspension bridge to the west.
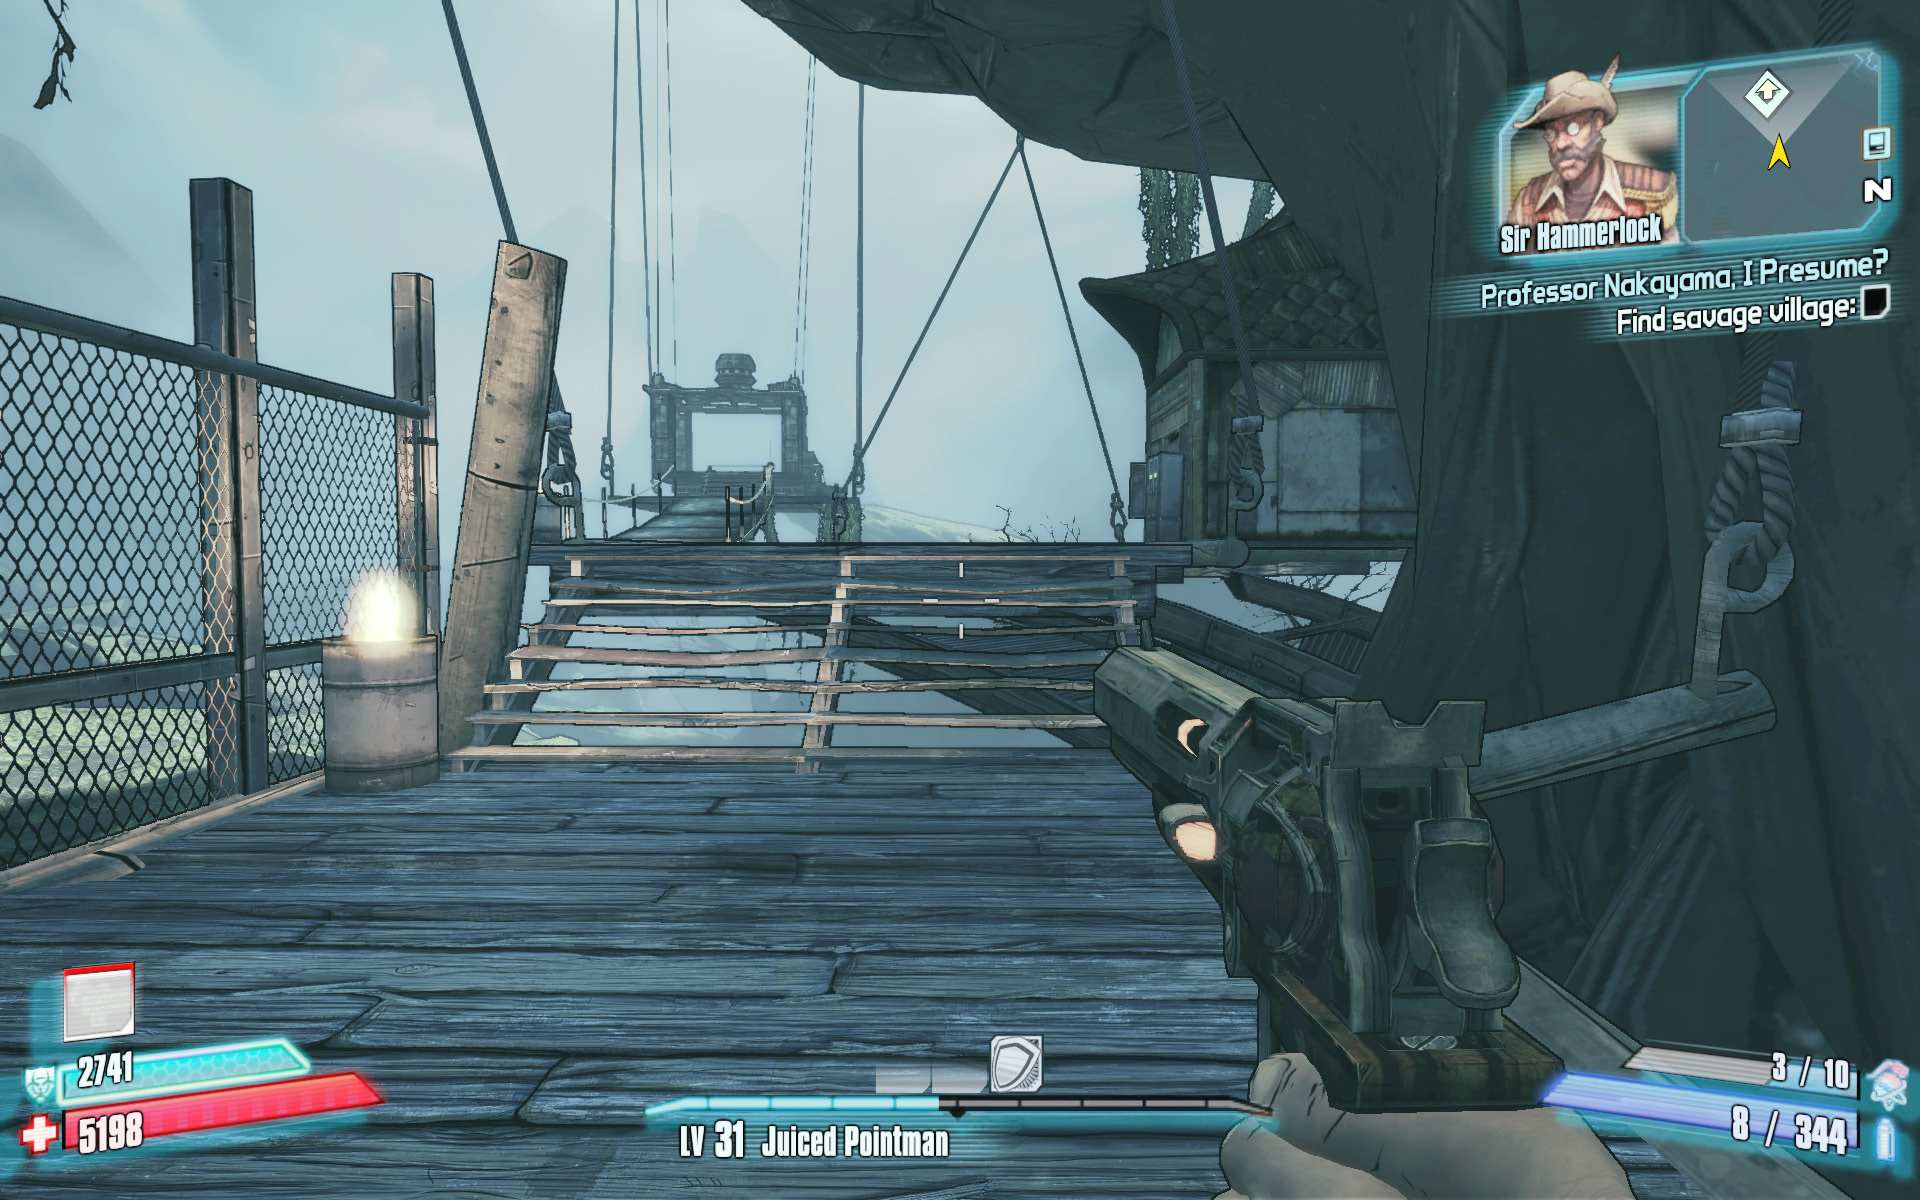
Ride the lift at the end of the bridge up to Roothill Village atop the plateau.
Sir Hammerlock wants you to kill the deity that the savages are worshipping, but the deity turns out to be Claptrap. And now it’s the worshippers who need to be slain! Kill the worshippers before they attack Claptrap. (There are only five of them.) Lob a grenade or open fire with your pistol to save Claptrap from their zealousness.
Claptrap’s safety is only temporary, as a much larger wave of attackers is rapidly approaching. Back away from Claptrap’s altar while beating back the initial adversaries with any explosive or fire-based weaponry you have. Scan the area for any witch doctors, and put your Action Skill to use against them before they make your enemies even tougher.
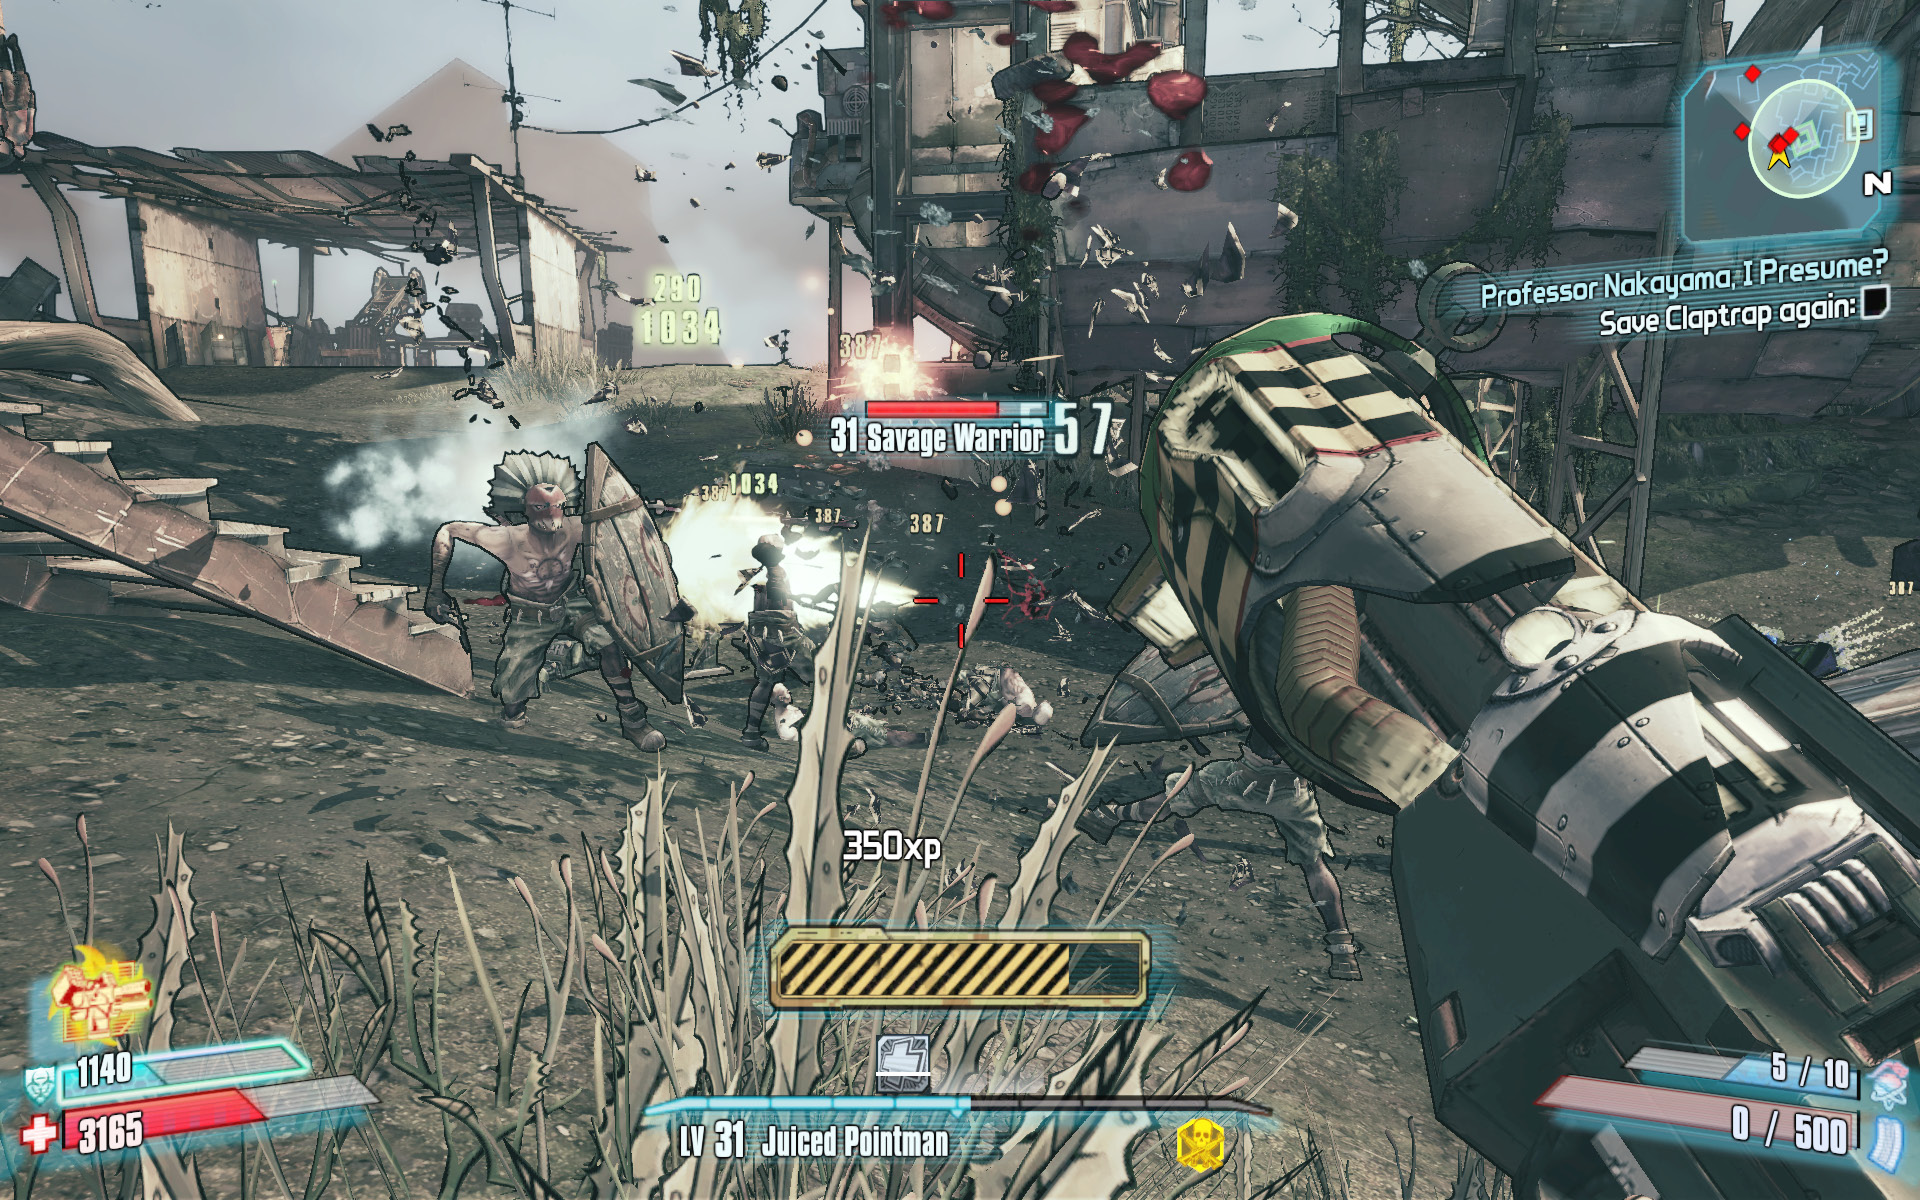
A fire-based singularity or MIRV grenade can wreak havoc amongst the savage warriors.
This battle is quite a bit lengthier than those you’ve encountered thus far, and it doesn’t end until you put down the Badass Savages that appear. Back away while firing explosive shells at them. Badass Savages are very durable but only pose a threat at very close range. Those playing as Maya should Phaselock a Badass Savage whenever possible.
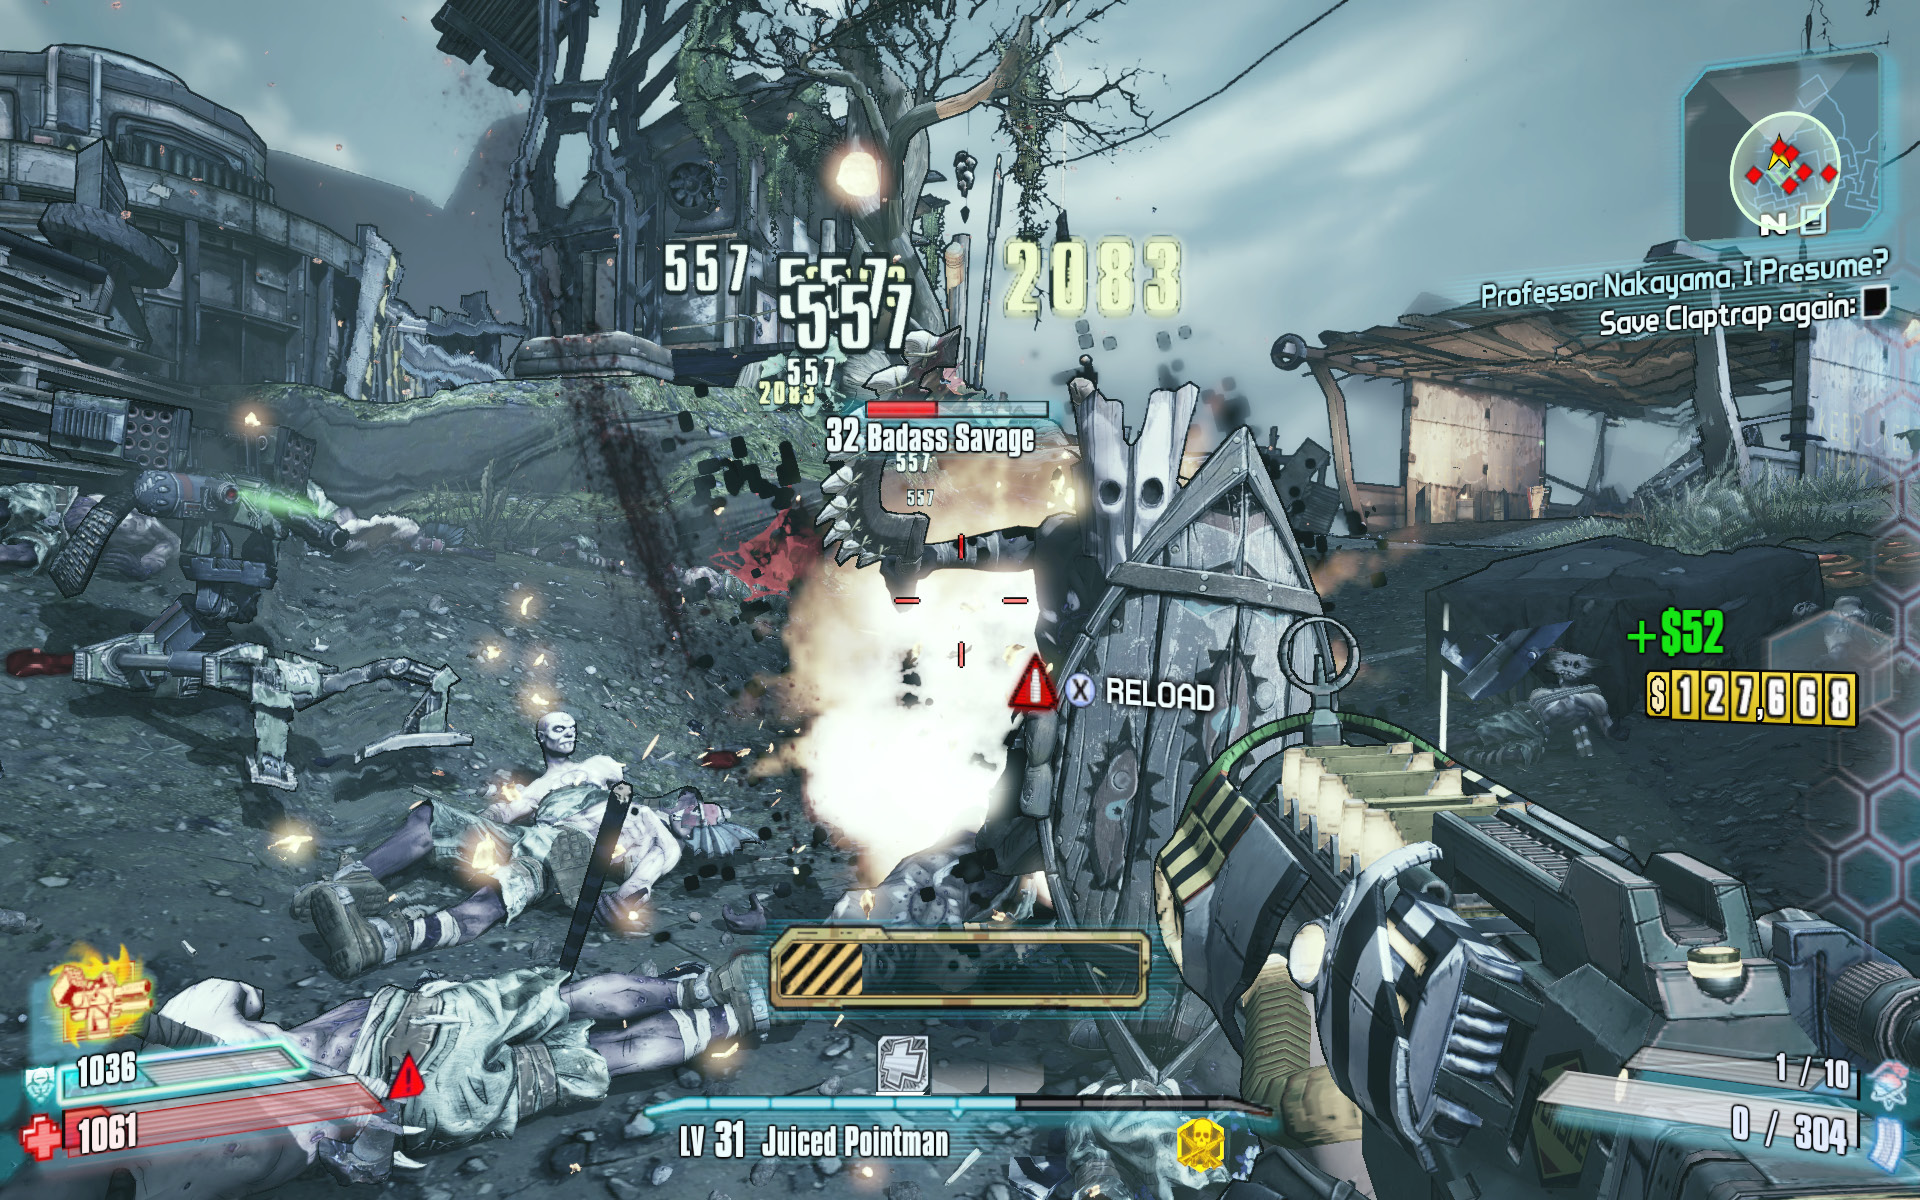
Backpedal and keep firing!
Ol’ Pukey
Find the lost Claptrap.
Optional Mission Rewards
| Level | Money | XP | Gear |
|---|---|---|---|
|
31 |
$1509 |
8361 |
— |
*Money and XP may vary based on player’s level at start of mission.
Claptrap has picked up a signal from what he believes to be an old CL4P-TP unit. He’d be thrilled to have some company and wants you to track down the signal. Ride the elevator down and leap off the southern end of the village platform. You can take a fan boat if you’d like, but it’s not too far to walk (and the journey takes you past the fifth rakk nest). Proceed through the canyon to the savage village near the waterfalls. Take a moment to kill any savages wandering around the village, then head east into the wider cave to find a skag by the name of Ol’ Pukey.
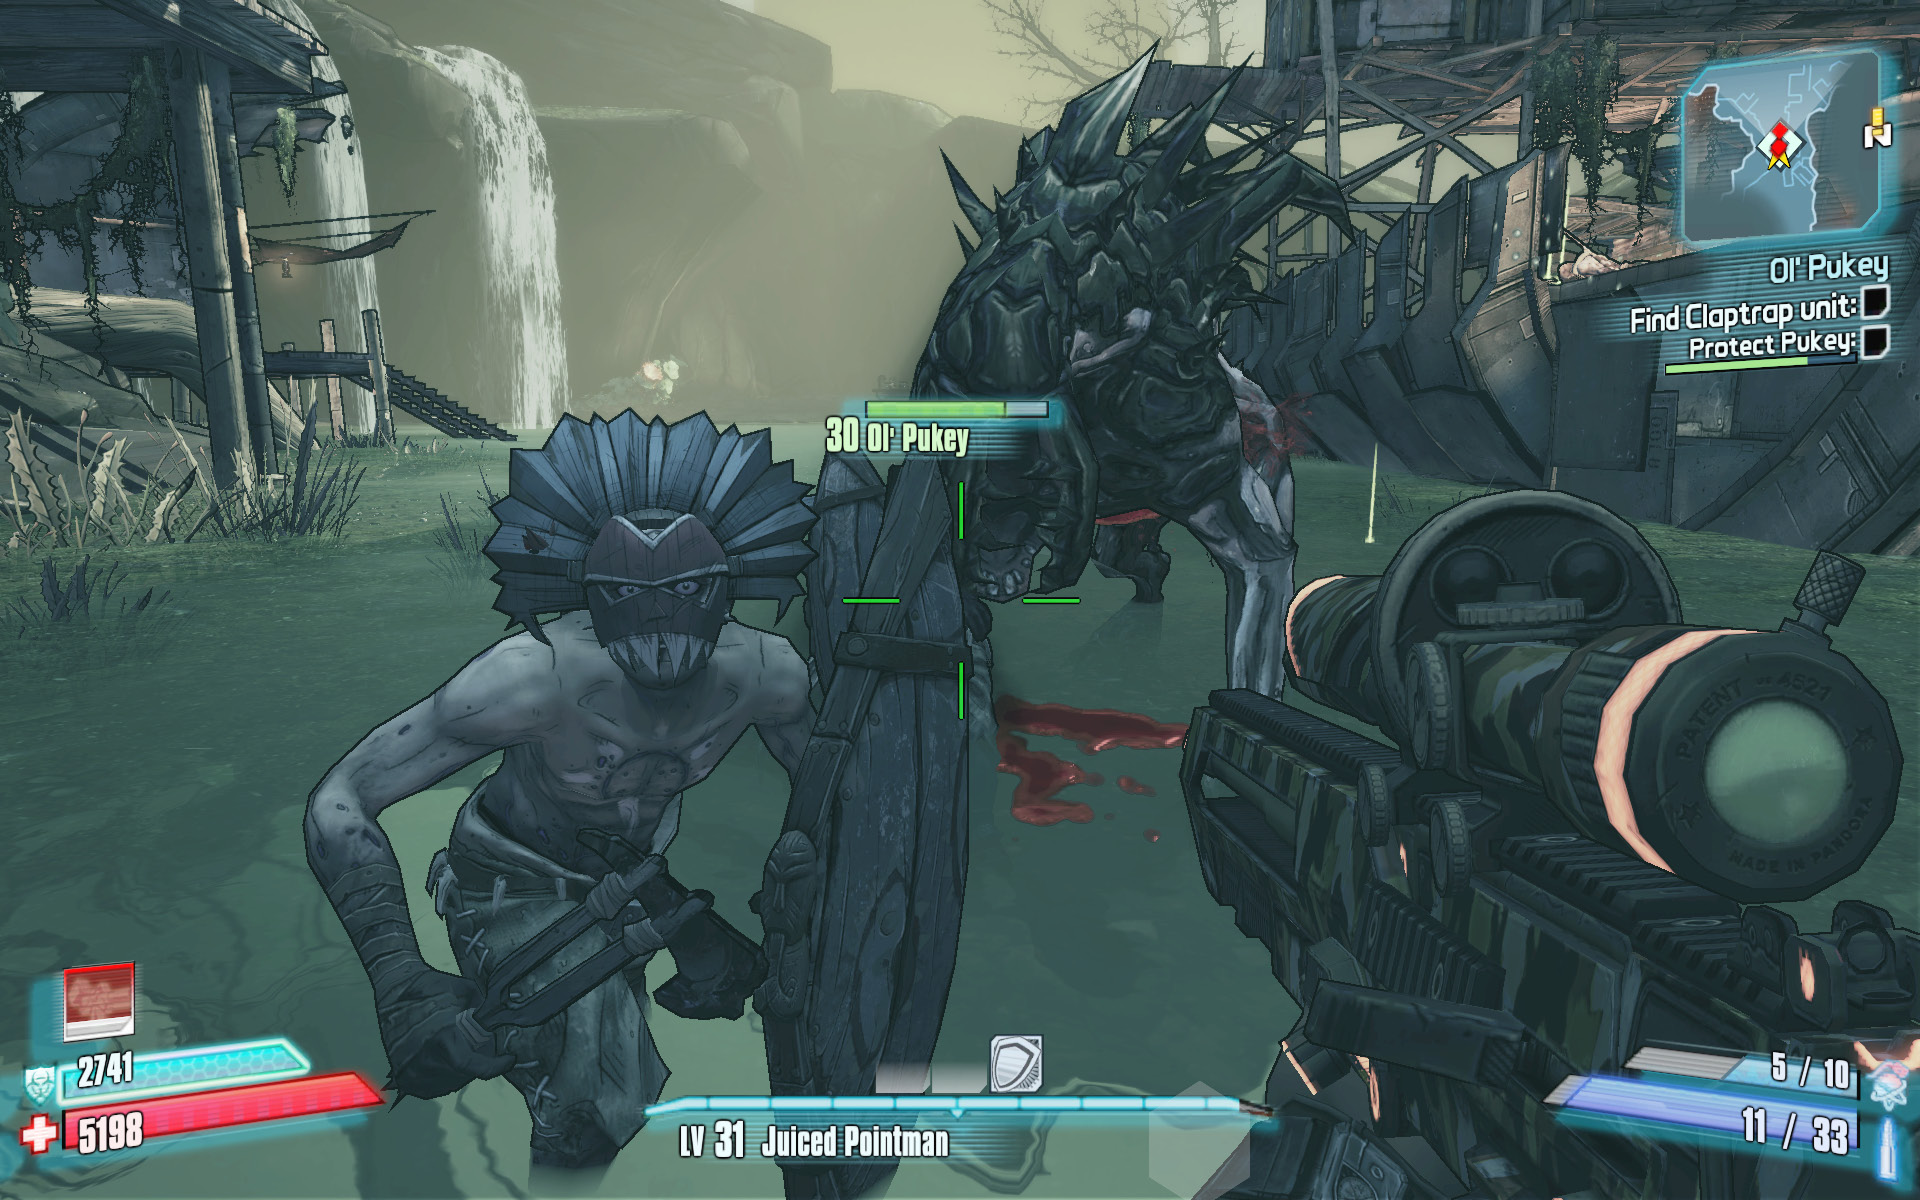
Ol’ Pukey swallowed the CL4P-TP unit and is having trouble vomiting it up. You’re going to have to protect him while he works the robot out of his system. Ol’ Pukey won’t run far, but he will exit the cave and roam about in the water beneath the village, drawing lots of attention from the villagers. You don’t have to deal with any witch doctors, but you do have to defend the skag from three successive waves of savages. Equip a shotgun or SMG, and beat back the initial wave of Savage Hunters that attack. Ol’ Pukey won’t take much damage from the spear-throwers, but the Savage Warriors and Badass Savages who attack later are more problematic. Do your best to not harm Ol’ Pukey as you try to beat the tomahawk-wielding melee assailants off him. Use grenades when necessary, but try to toss them to intercept the savages en route to Ol’ Pukey’s position. Be as precise as you can with your shots and avoid hitting Ol’ Pukey, because friendly fire can be lethal. If you must use a rocket launcher, aim it at the ground away from Ol’ Pukey so it only hits the savages with splash damage. Follow Ol’ Pukey back into his cave, and watch him spit up the old, disabled CL4P-TP unit. Return to Claptrap for your reward.
Nakayama-Rama
Find Nakayama’s lost audio diaries.
Optional Mission Rewards
| Level | Money | XP | Gear |
|---|---|---|---|
|
31 |
$754 |
12542 |
— |
*Money and XP may vary based on player’s level at start of mission.
Scylla’s Grove contains four of Professor Nakayama’s lost audio recordings. They’re each marked on the mini-map but can be tricky to spot. Here’s some help:
The first one is located on the south side of the lower village in the Sun Swamps. Ride the elevator down from Claptrap, and loop all the way around to the lowest most southern ledge to reach it.
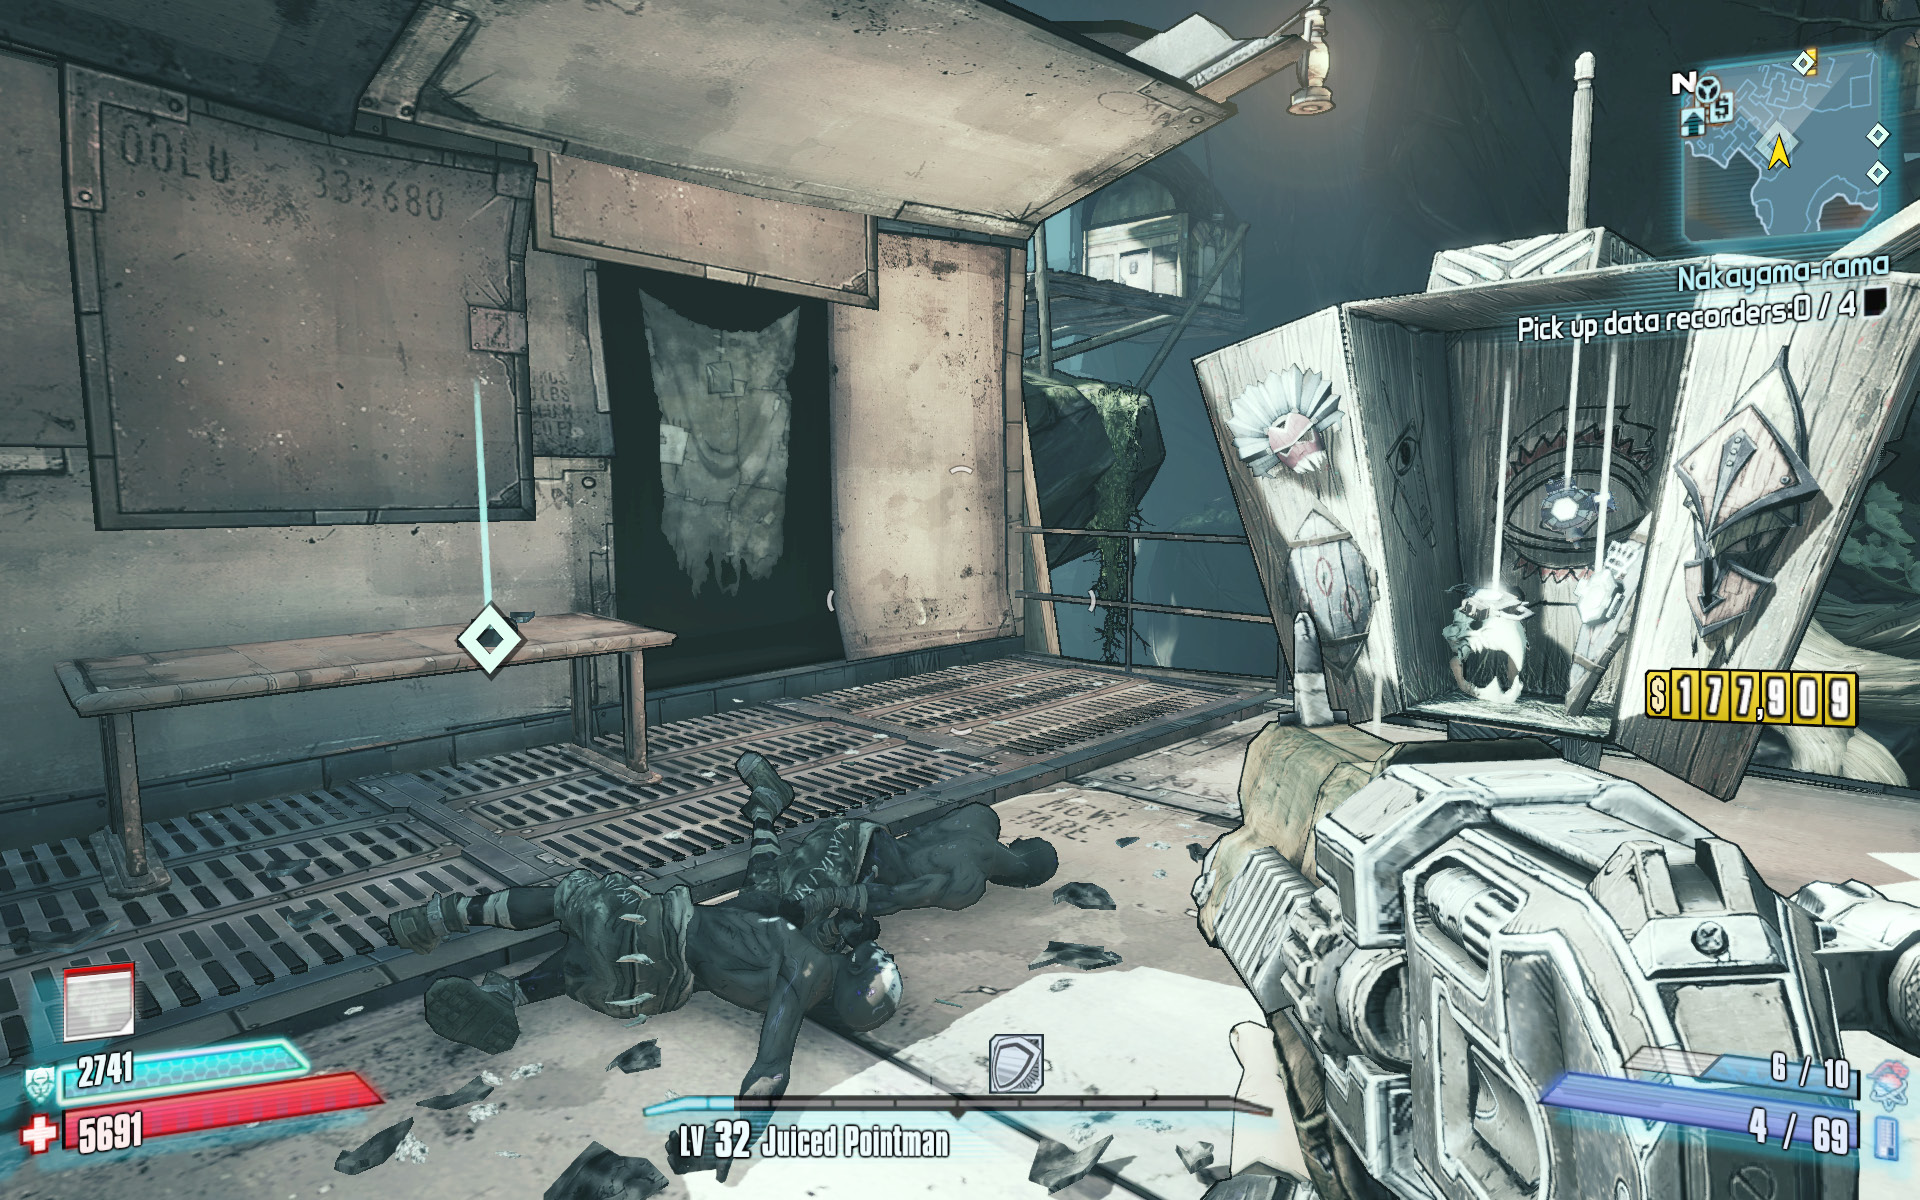
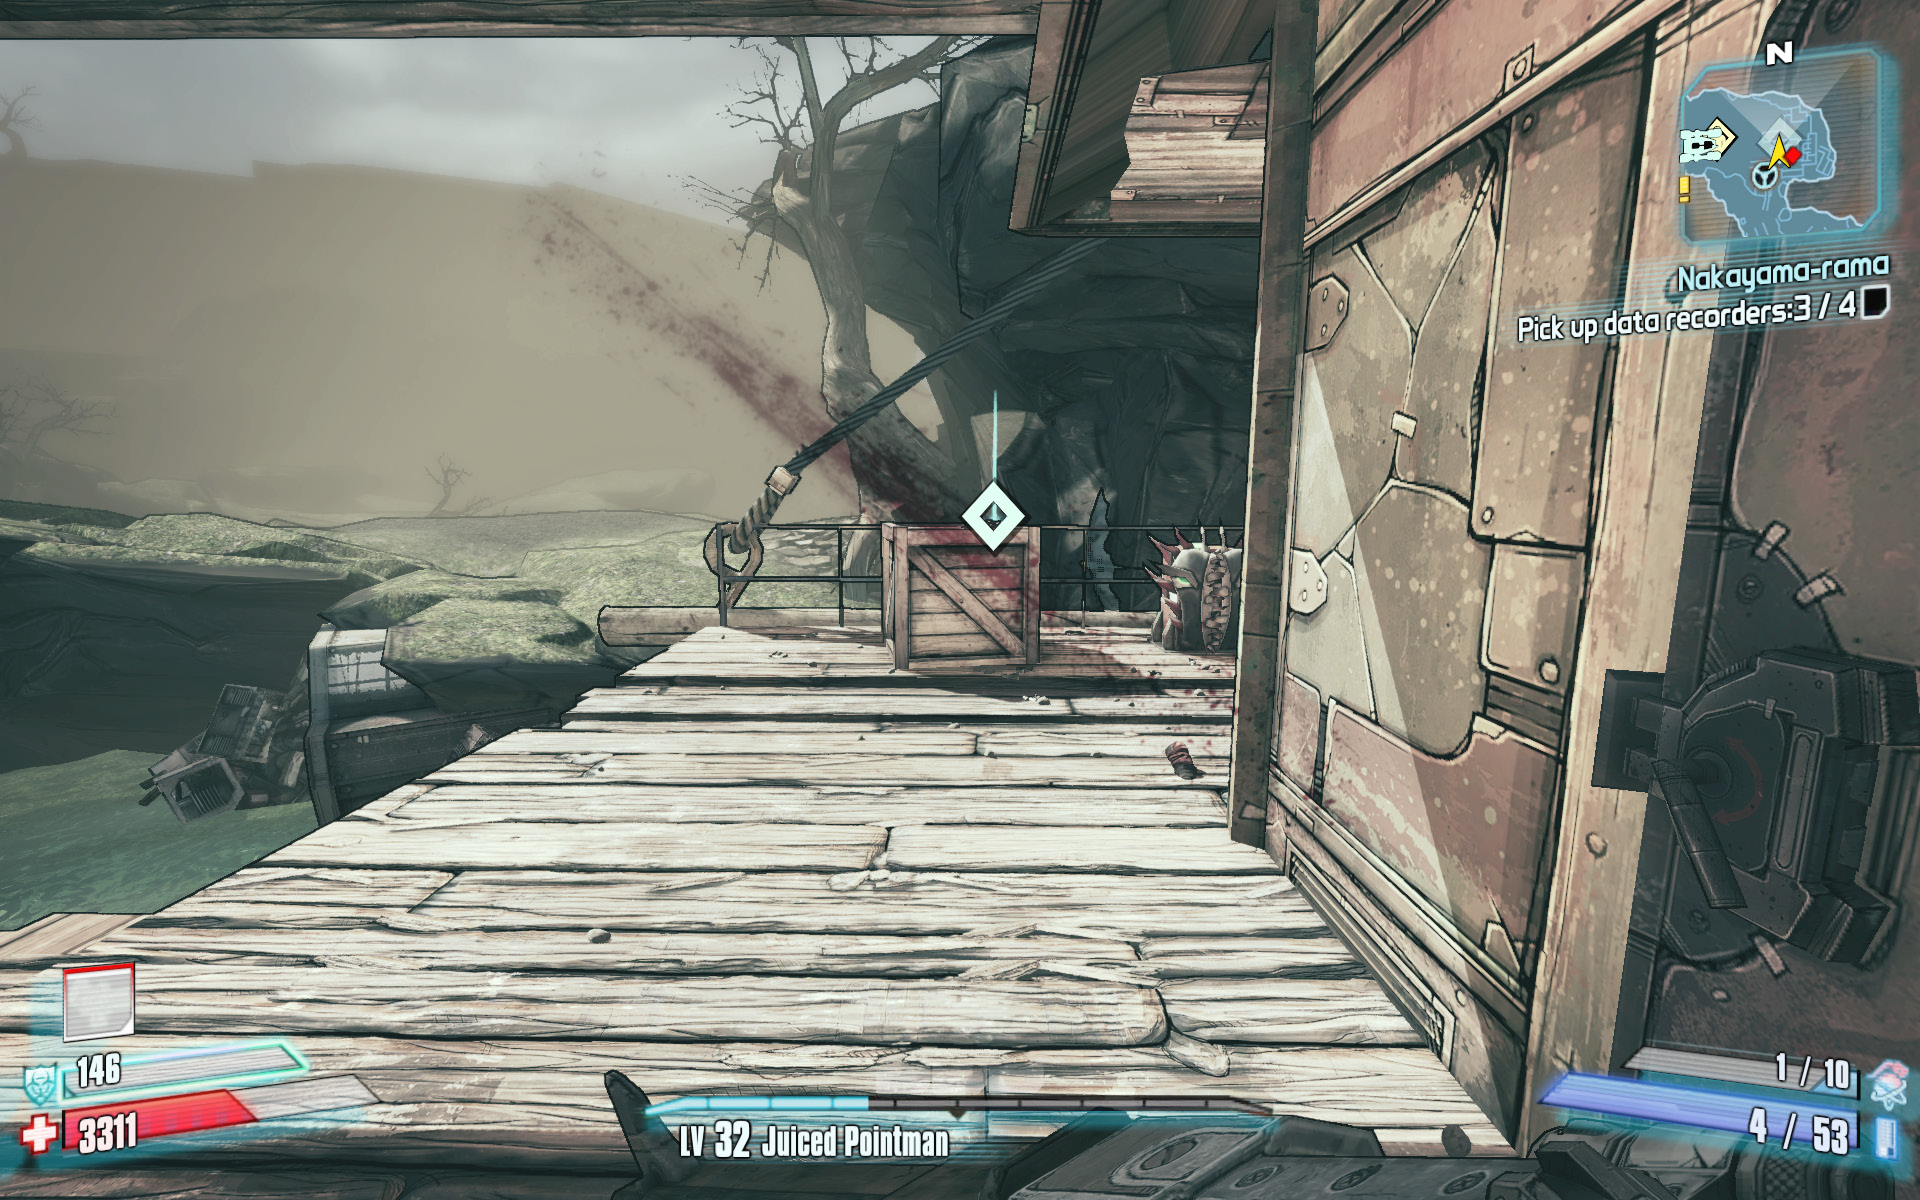
Proceed southeast from the Sun Swamps toward the Ardorton Docks area, and fight your way to the top of the village. This area is home to several powerful witch doctors, so be on guard. The ECHO Recorder is atop a crate. This is the village area directly north of where Ol’ Pukey was.
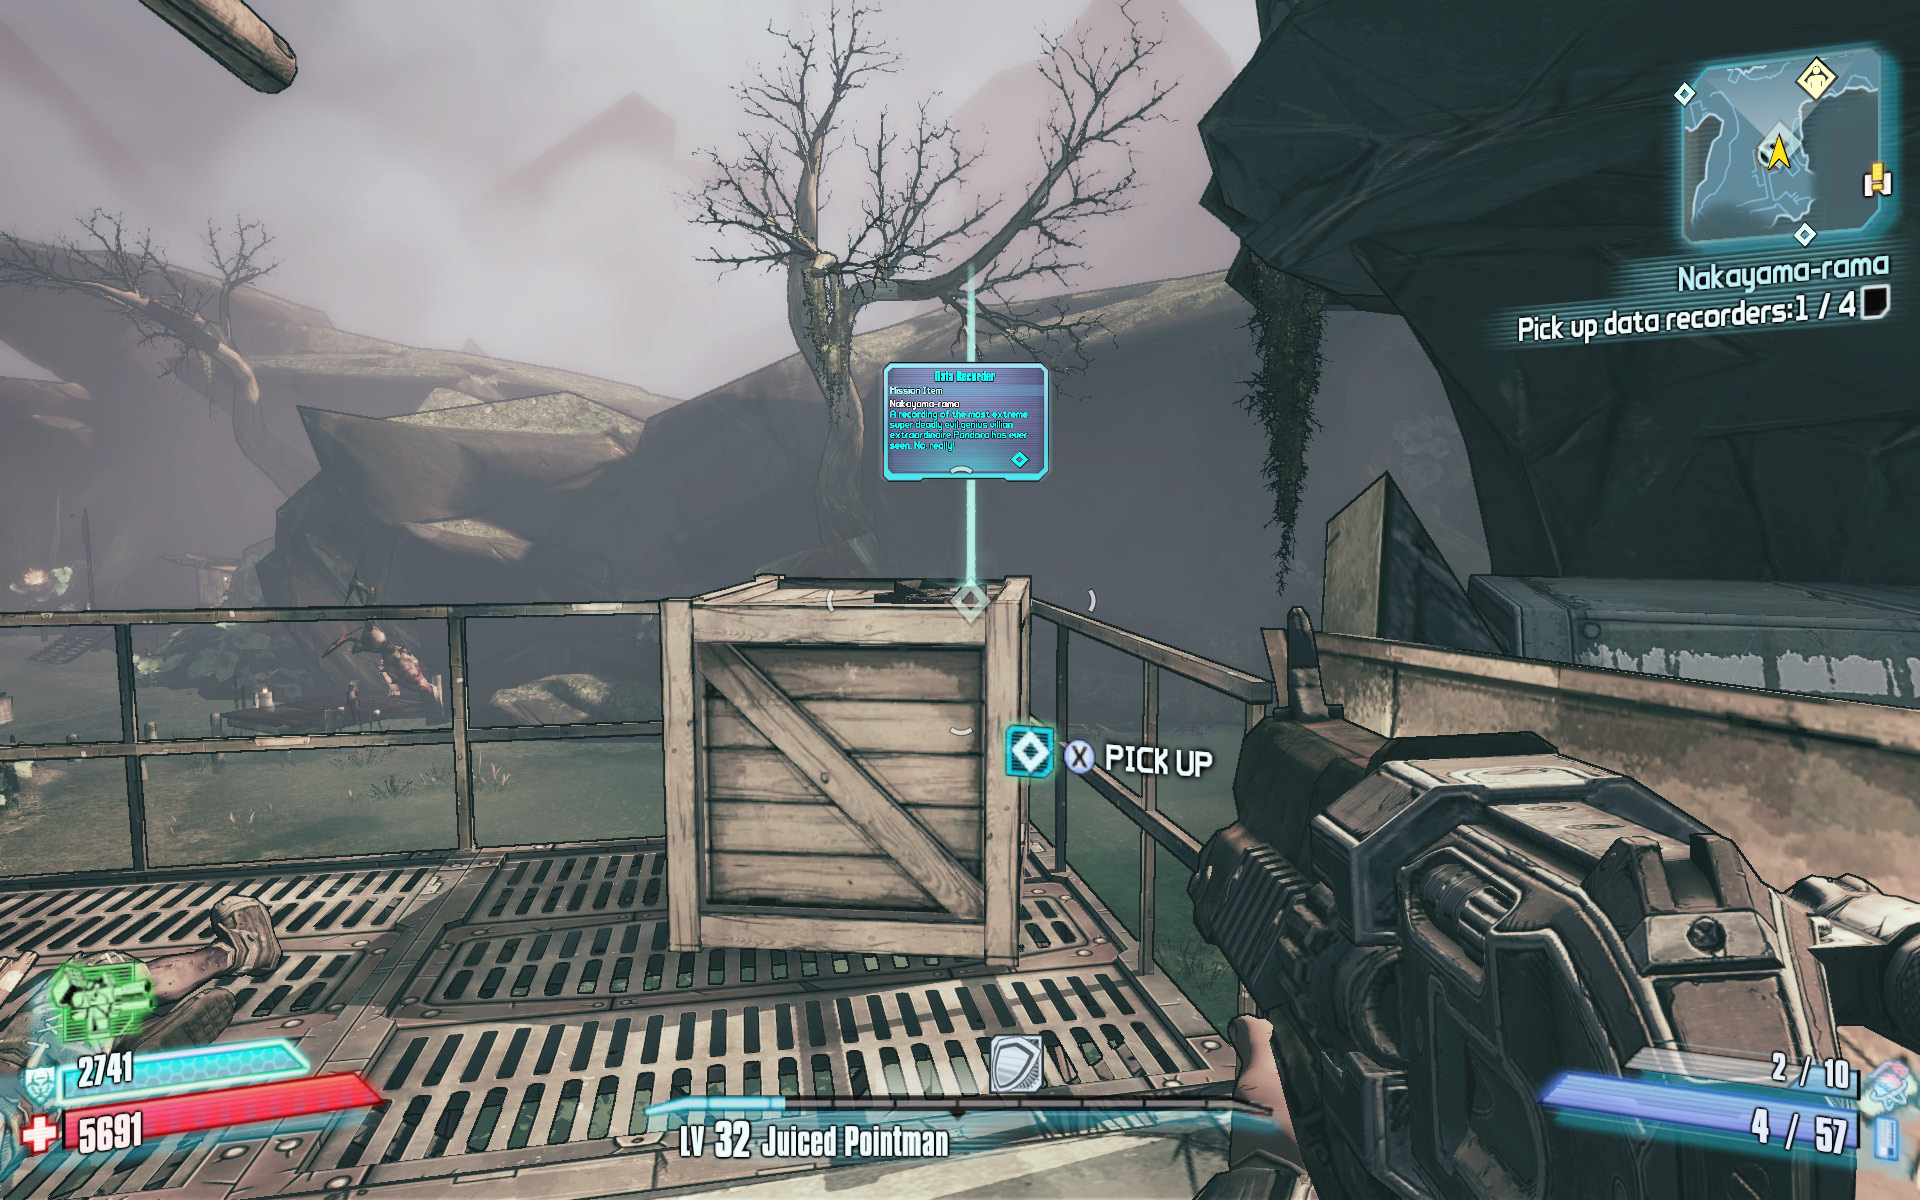
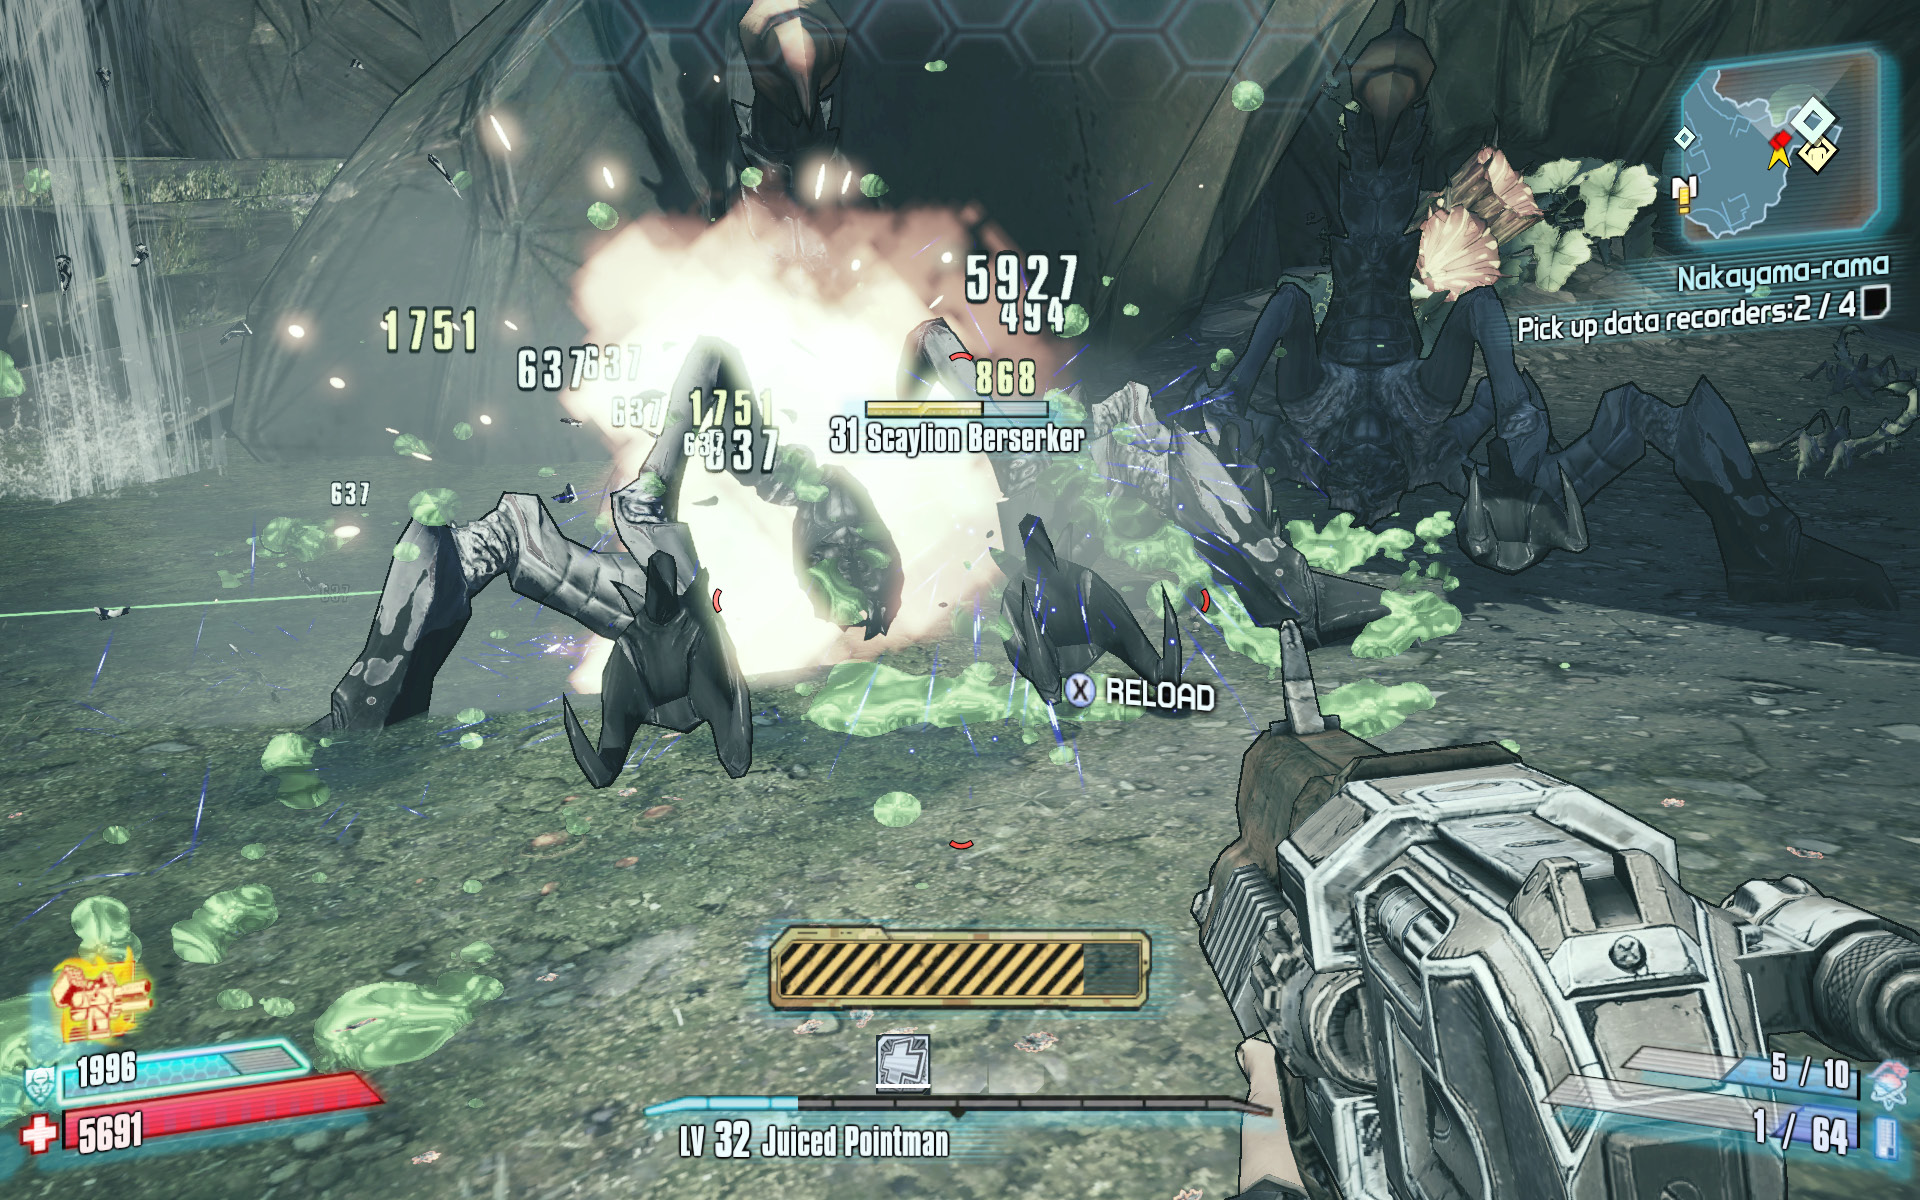
This next ECHO Recorder is in the square-shaped cave at the southern edge of Grifter’s Reach in Scylla’s Grove. Advance slowly to draw the Scaylion Berserkers out of the cave, where they’re easier to deal with.
Take a fan boat to the savage village at the eastern edge of Scylla’s Grove, beyond the cave where Thermitage was located. The ECHO Recorder is on an upper level of the tall, skinny longhouse, but is well guarded by witch doctors. Lure any Badass Warriors away from the house, then make a run for the device if you’re having trouble.
Urine, You’re Out
Wash off the skag urine.
Optional Mission Rewards
| Level | Money | XP | Gear |
|---|---|---|---|
|
31 |
$1509 |
8361 |
— |
*Money and XP may vary based on player’s level at start of mission.
The incontinent skag lives in a cave due south of Roothill Village, which is best entered from a narrow entrance in the northeast. There are five urine splotches located in the cave, but you’ll have to wait until night to see them. Enter the cave, and clear out the various Swamp Skags that attack while you wait for nightfall (this is a great place to possibly see an Albino Skag). Each of the five urine splotches is on a human item, such as televisions, stereos, musical instruments, etc.
Leap to the rock pedestal in the center of the cave to find the urine-stained televisions.
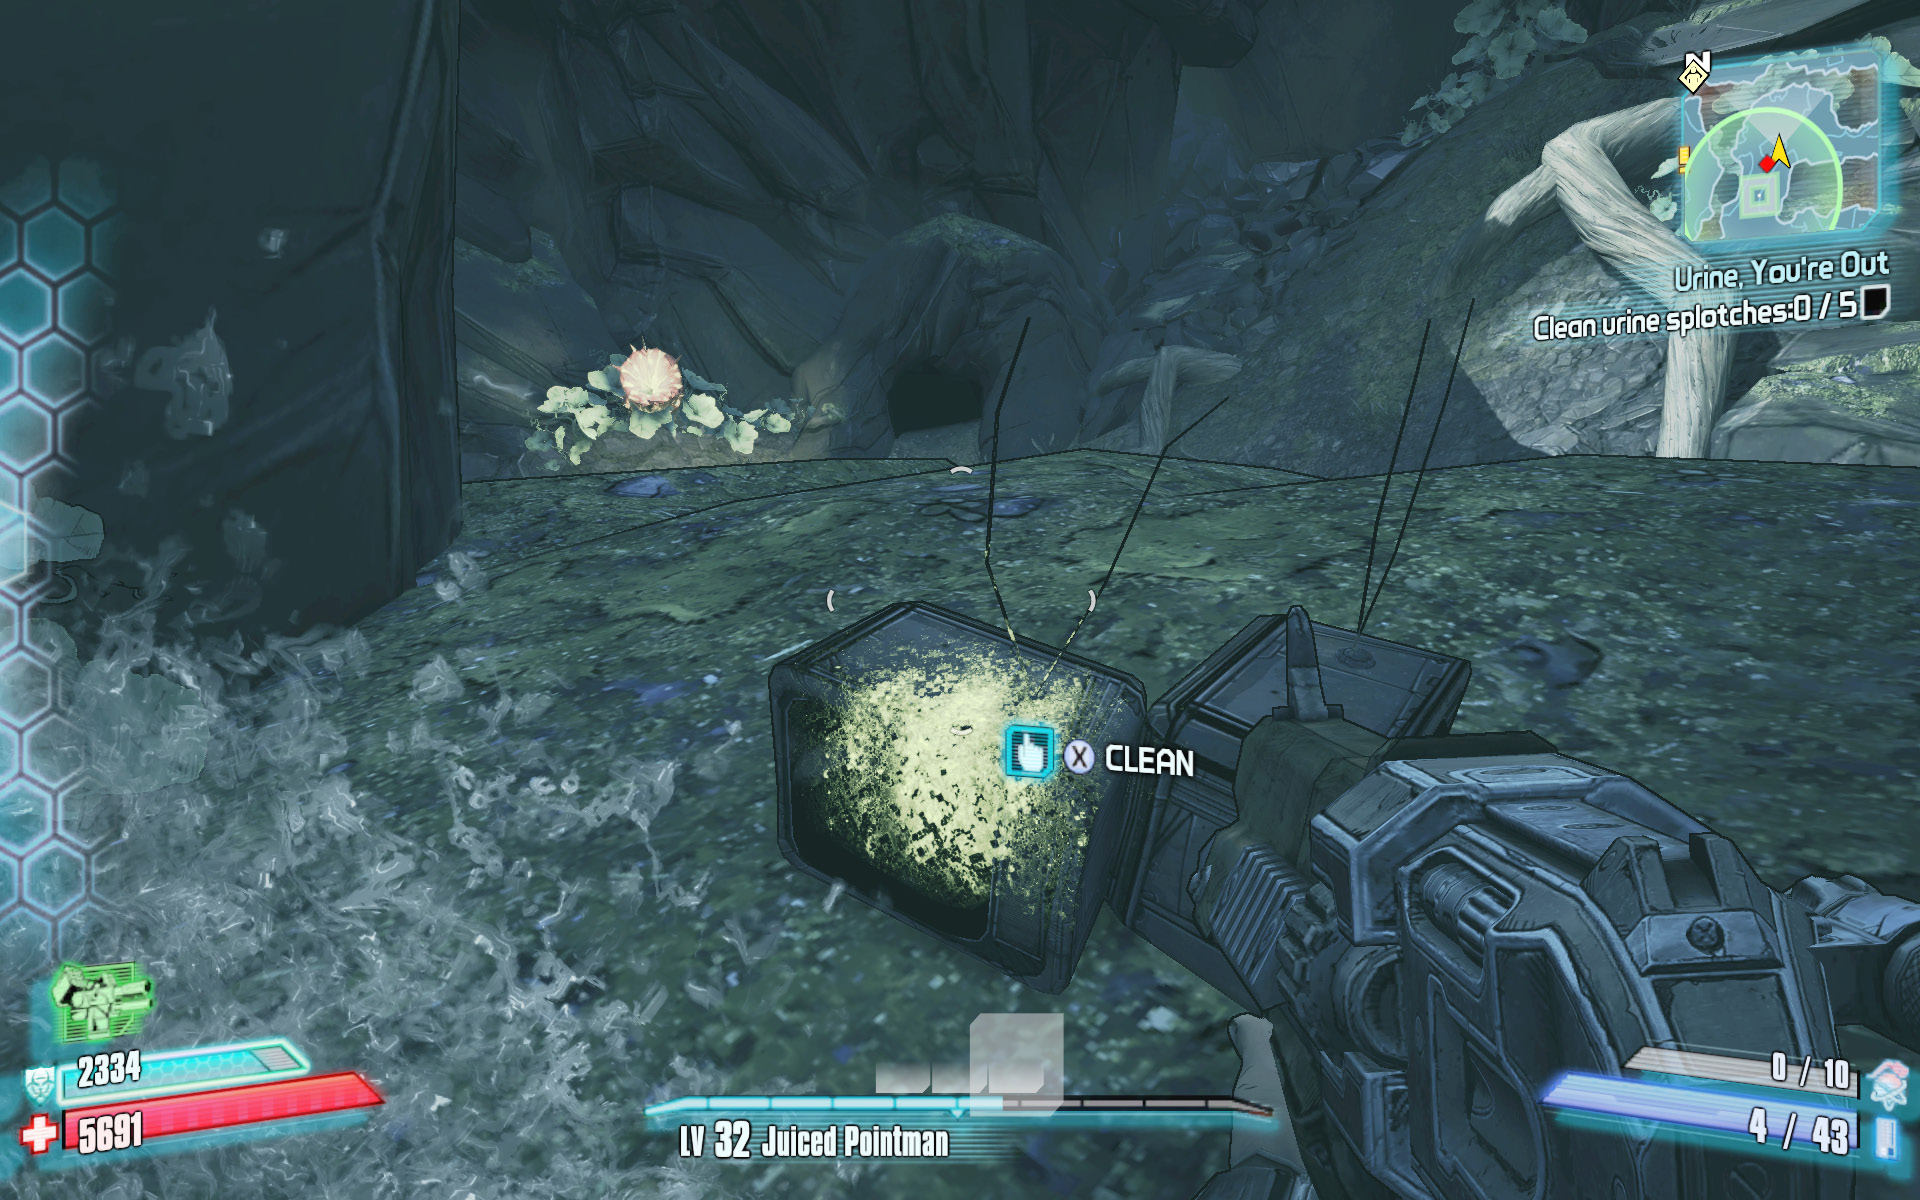
Clean the stereo on the floor of the cave, in the northeastern edge of the target area.
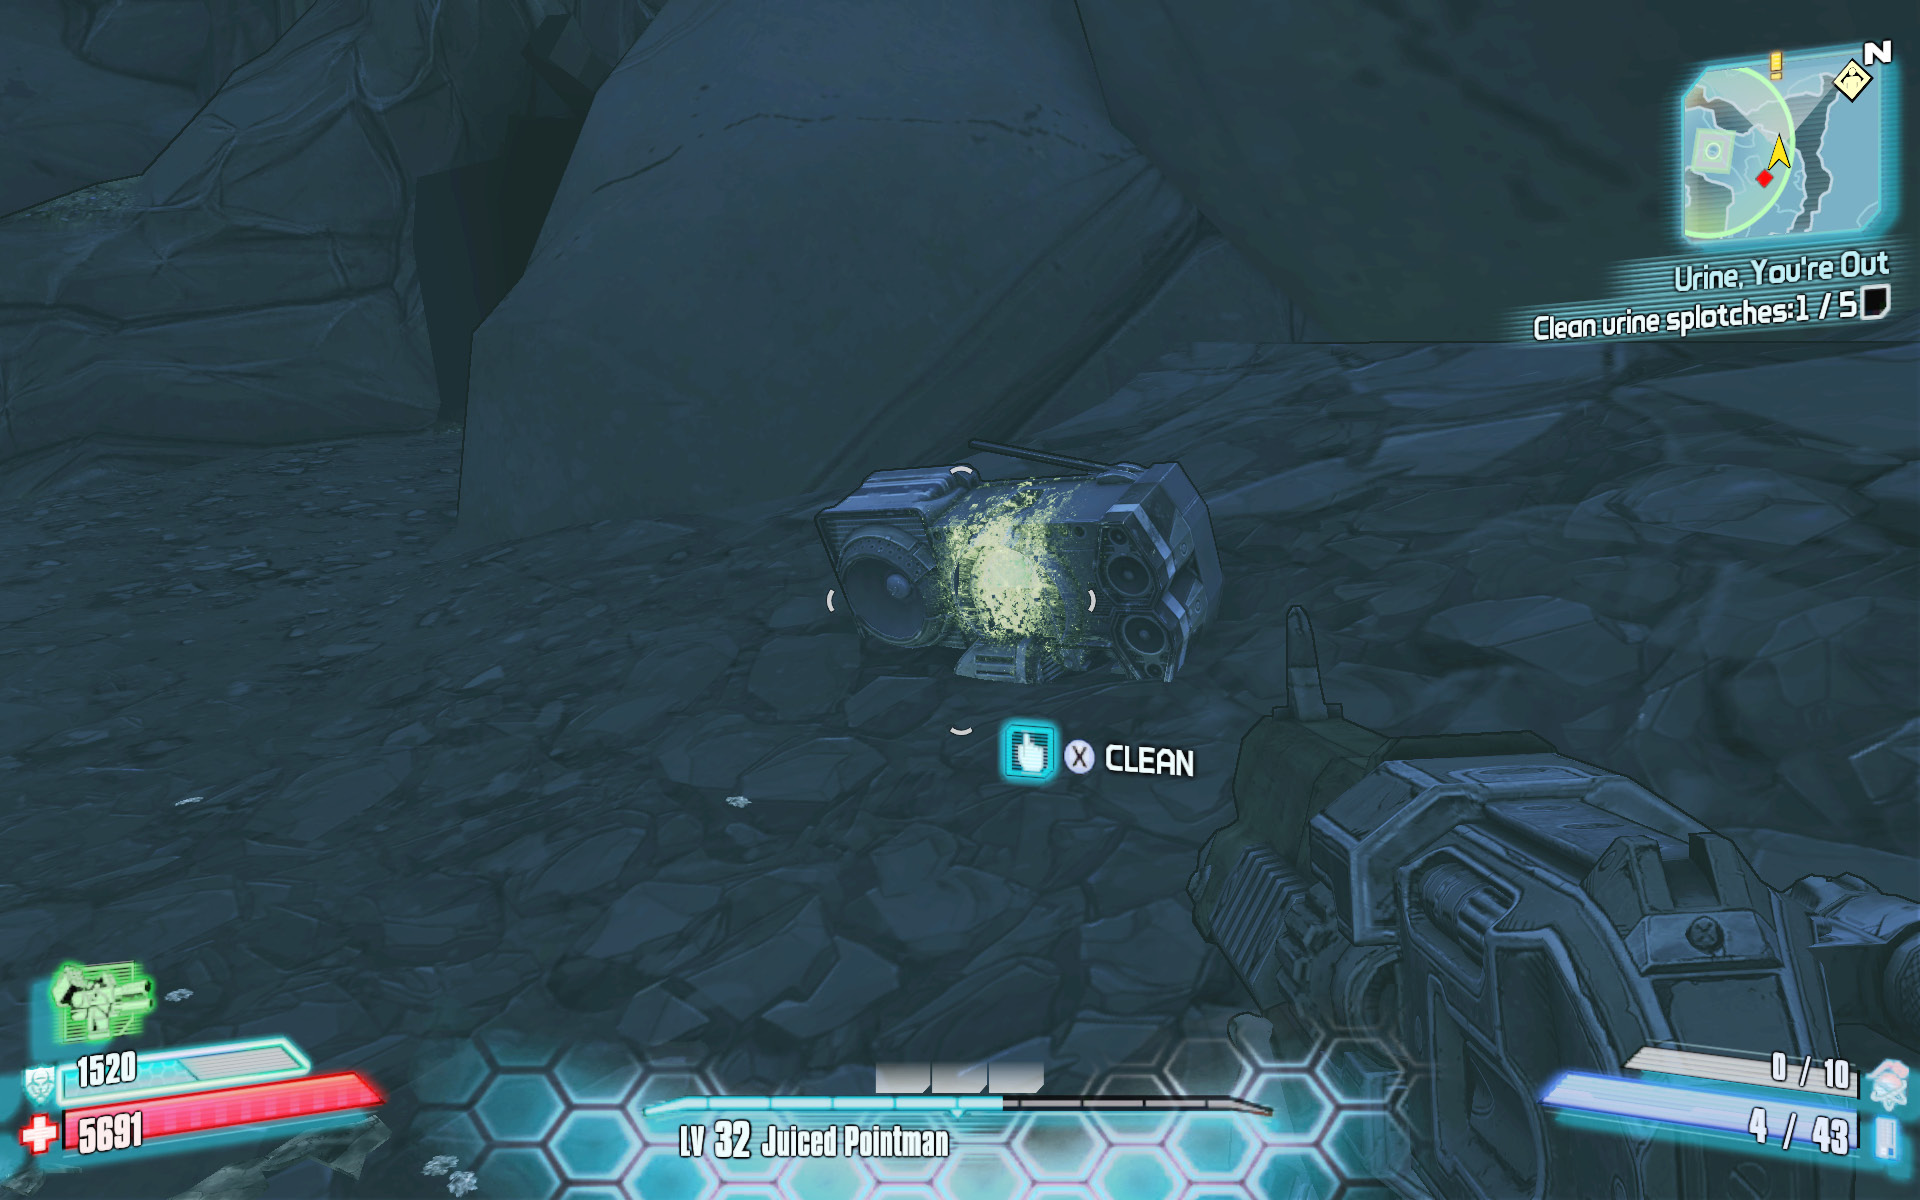
The guitar and amplifier are located on a rocky ledge near the dead-end at the west end of the cave, near the Cult of the Vault symbol.
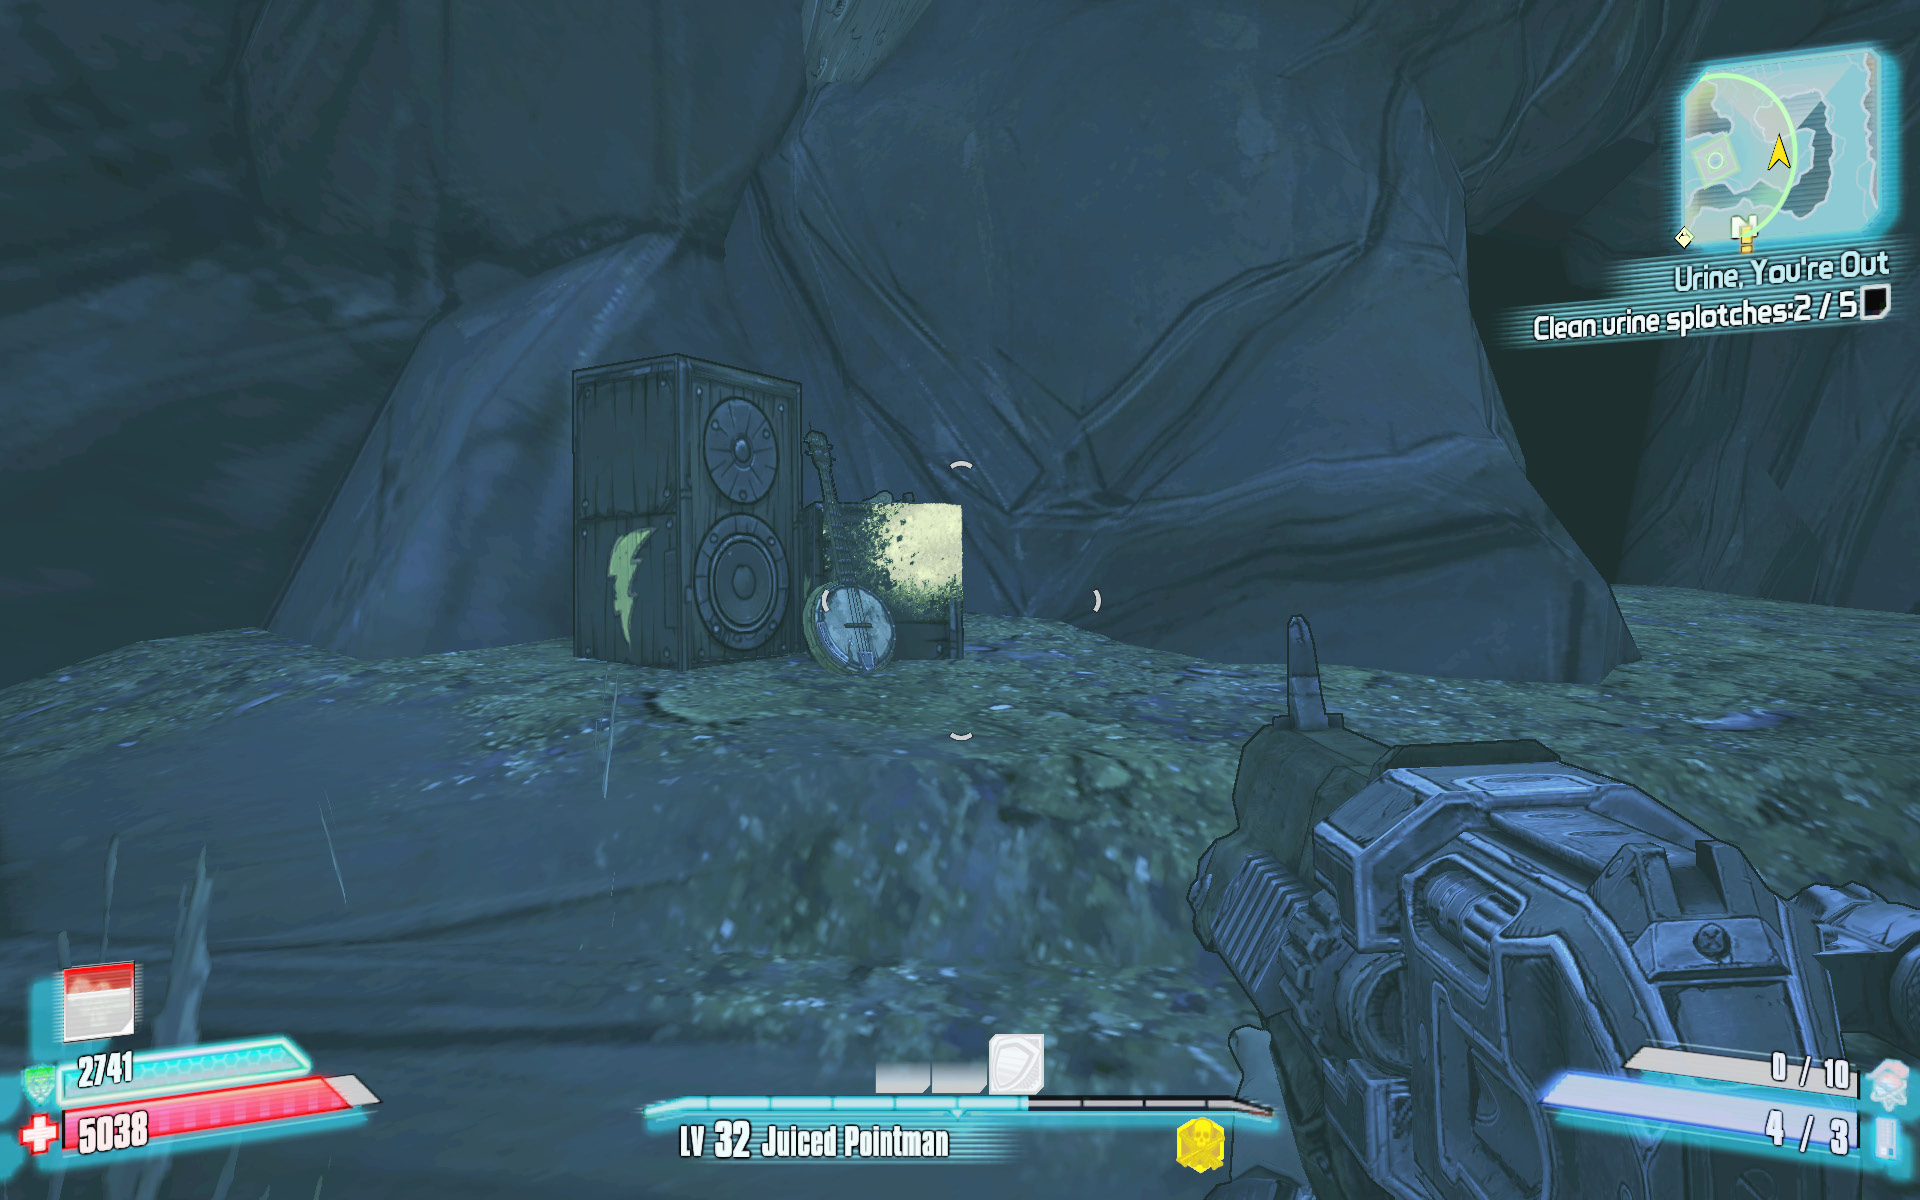
Clean the crates with the hat and goldfish directly north of the guitar and amplifier, in the western end of the cave.
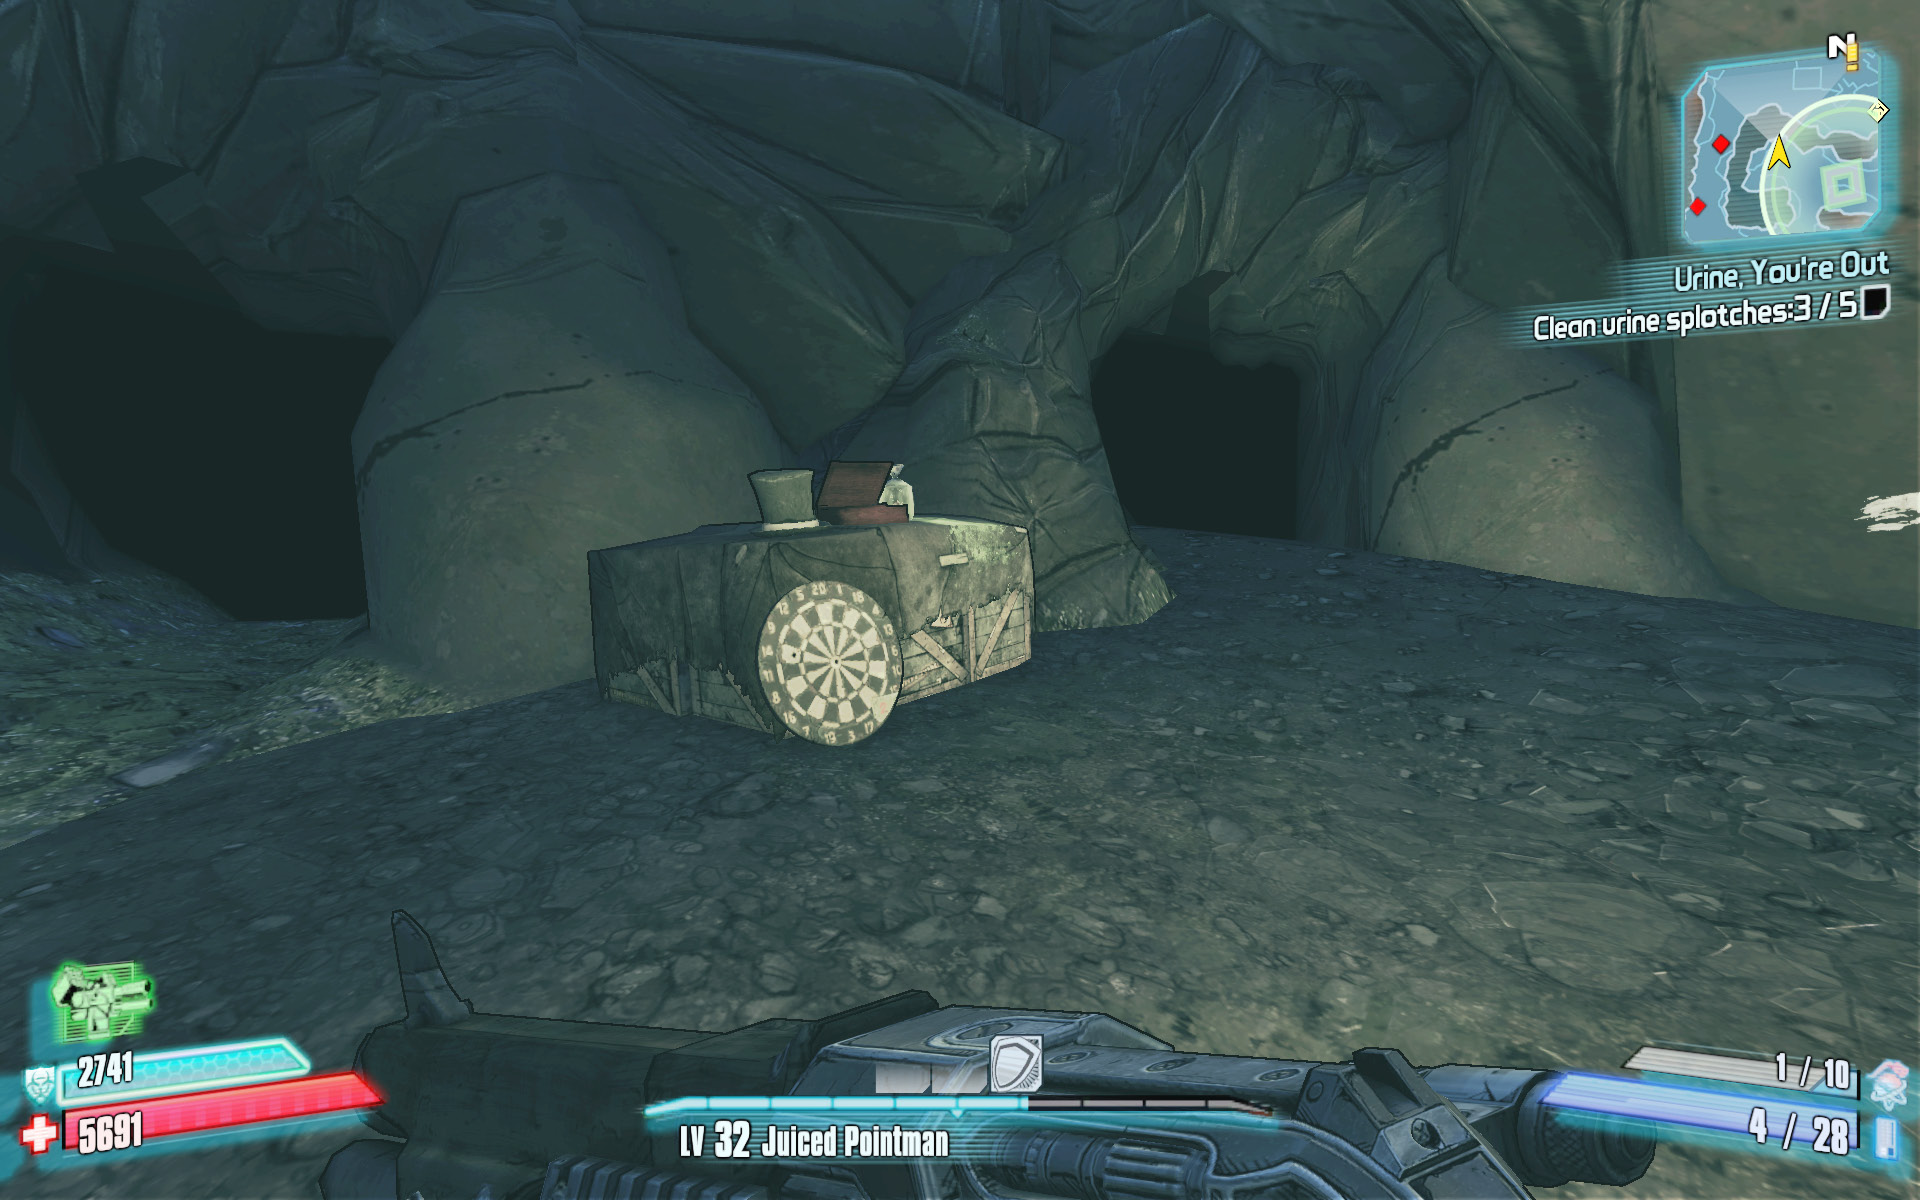
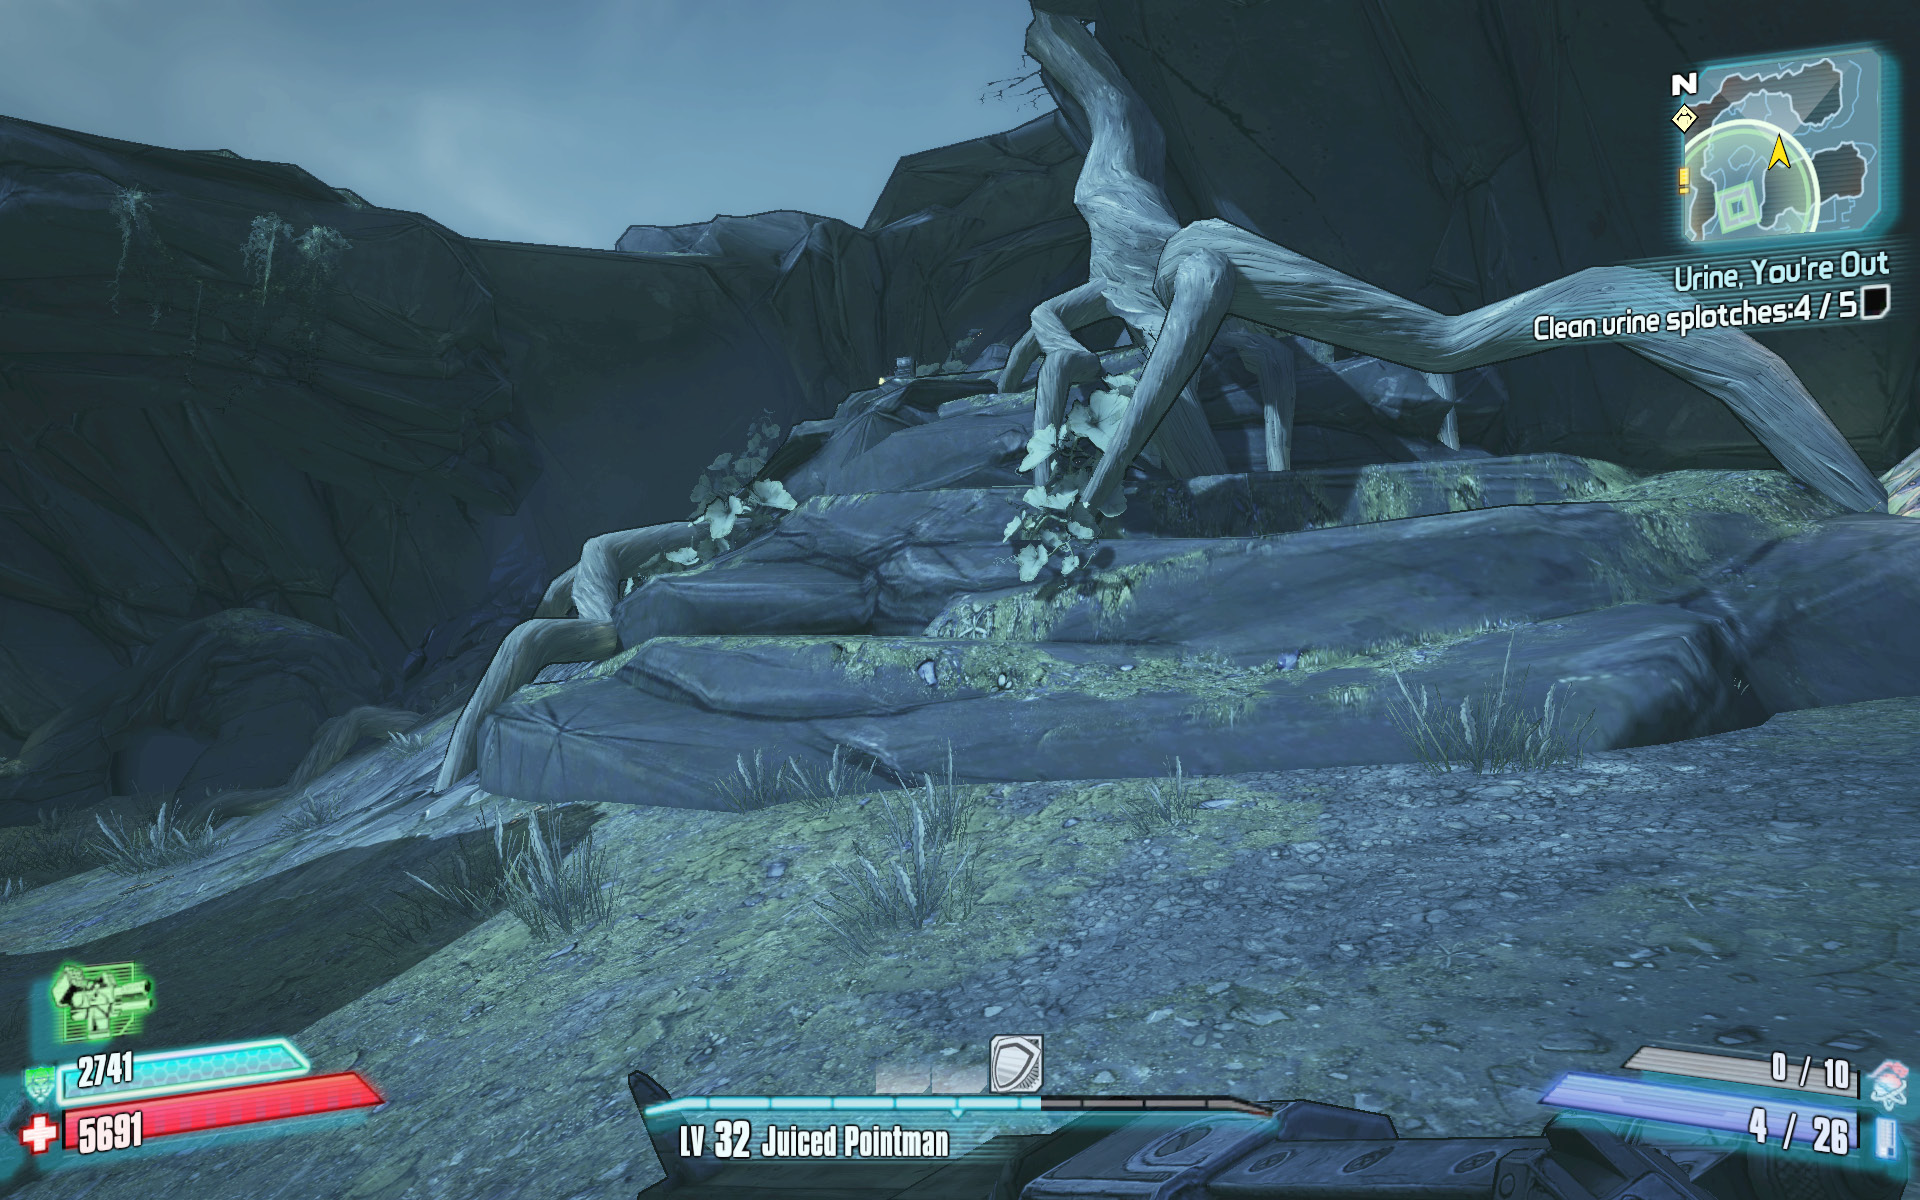
The final urine stain is near the northeast entrance to the cave, atop the terraced rocks, near the large tree. Climb the layers of rock to reach the stained toolbox.
Follow the Glow
Kill the incontinent skag.
Optional Mission Rewards
| Level | Money | XP | Gear |
|---|---|---|---|
|
31 |
$1509 |
8361 |
— |
*Money and XP may vary based on player’s level at start of mission.
One look at the map suggests that the urine-stained tracks of the incontinent skag lead to the cave where you first entered from Hunter’s Grotto. This isn’t exactly true. The skag’s tracks are found far below this position, in the area known as Dropwater Cavern. To reach Dropwater Cavern, you must head south from Roothill Village (feel free to leap off the elevator platform) and enter the narrow cave in the southwest corner of Scylla’s Grove. Descend the sloped tunnel to where it curves around to the right. You’ll know you’re getting close when you begin to encounter scaylions and see the pipes and wires. Exit Scylla’s Grove to Ardorton Station.
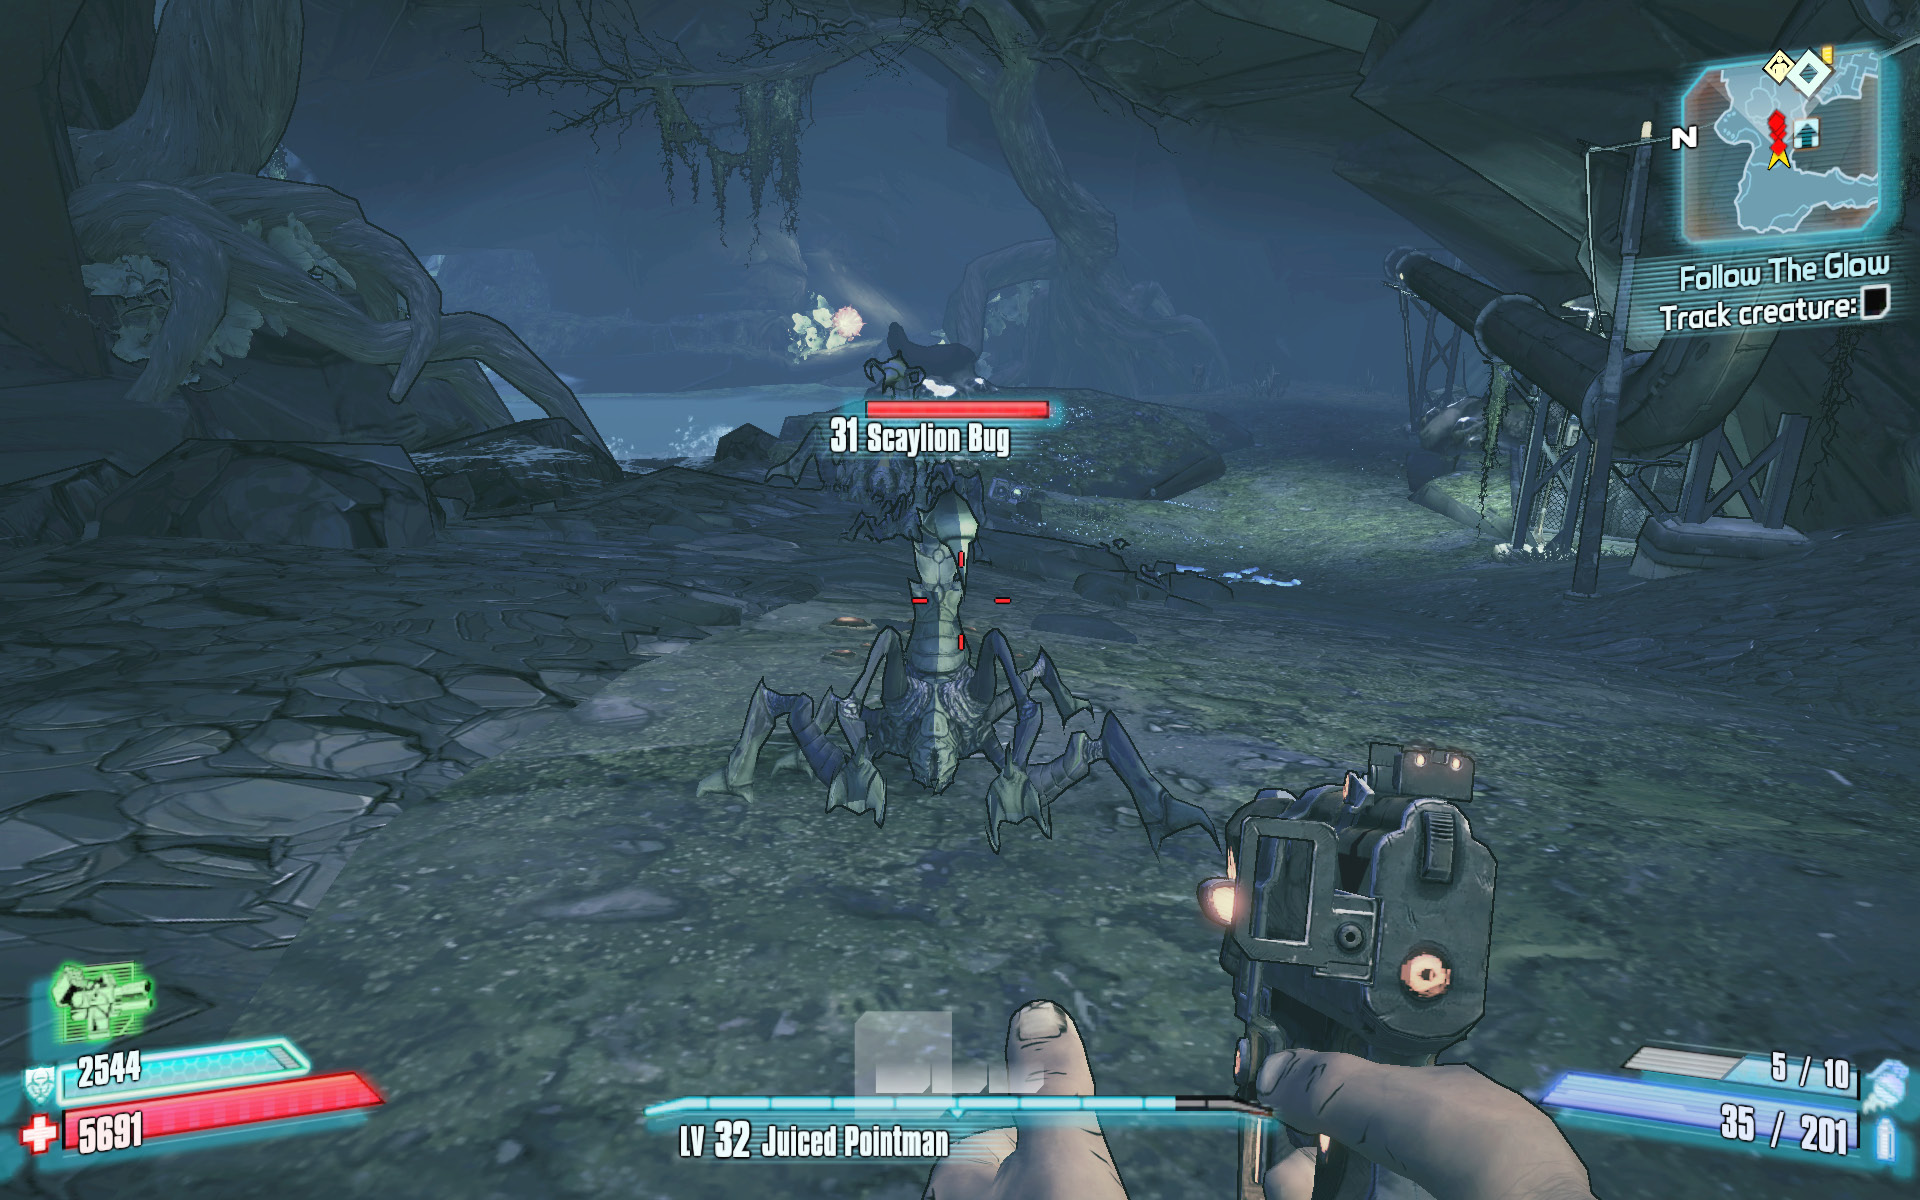
Descend the grassy slope toward Nakayama’s lab to the east, and look for signs of the skag’s urine. You’ll have to contend with numerous boroks in the area, as well as Giant Incendiary Spores. Turn east, fight past the boroks, and proceed through the slanted open metal doors to the Bone Metal Camp area. Kill any Savage Hunters in the area, and head north at the large glowing plant to the water-filled skag den outside. It pays to have an Adaptive Shield equipped, as there are many Badass Skags with various elemental attacks in this area. The skags won’t actually enter the interior of the Bone Metal Camp where the Savage Hunters are. Consider retreating to the interior area and sniping the skags from outside their territory.
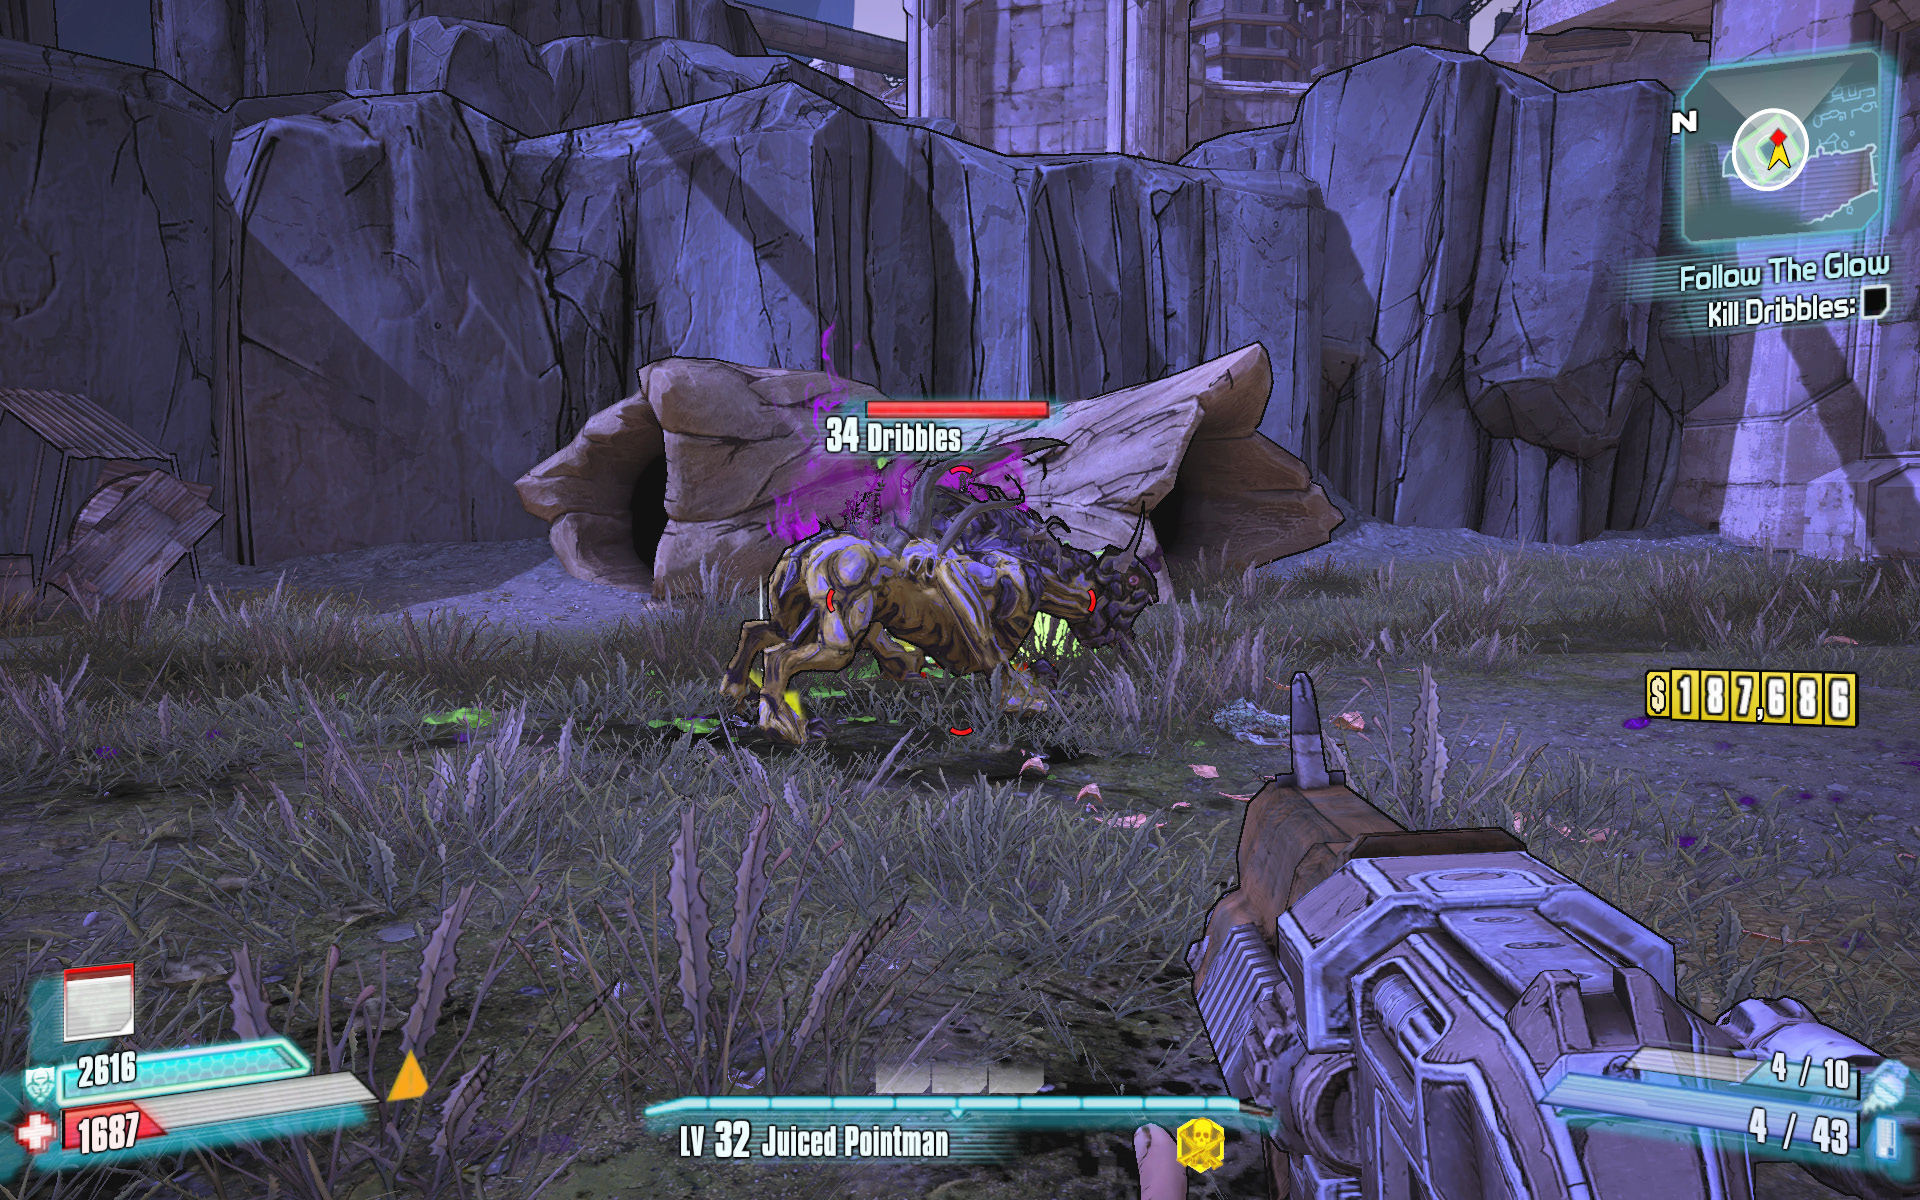
Kill the skags that are present in the clearing to draw out Dribbles, the incontinent skag. Dribbles is a very large, fast-moving skag that tends to charge his prey for a ferocious claw attack. Dribbles also spews and urinates slag during combat. Keep your distance, and deploy explosive grenades at him. A high-powered sticky grenade is also useful against Dribbles. Axton and Gaige can deploy their Action Skills to distract the skag, making for an easy kill with a high-powered rocket launcher or shotgun.
The Rakk Dahlia Murder
Launch the fireworks, and kill Rakkanoth.
Optional Mission Rewards
| Level | Money | XP | Gear |
|---|---|---|---|
|
31 |
$754 |
8361 |
Relic (white) |
*Money and XP may vary based on player’s level at start of mission.
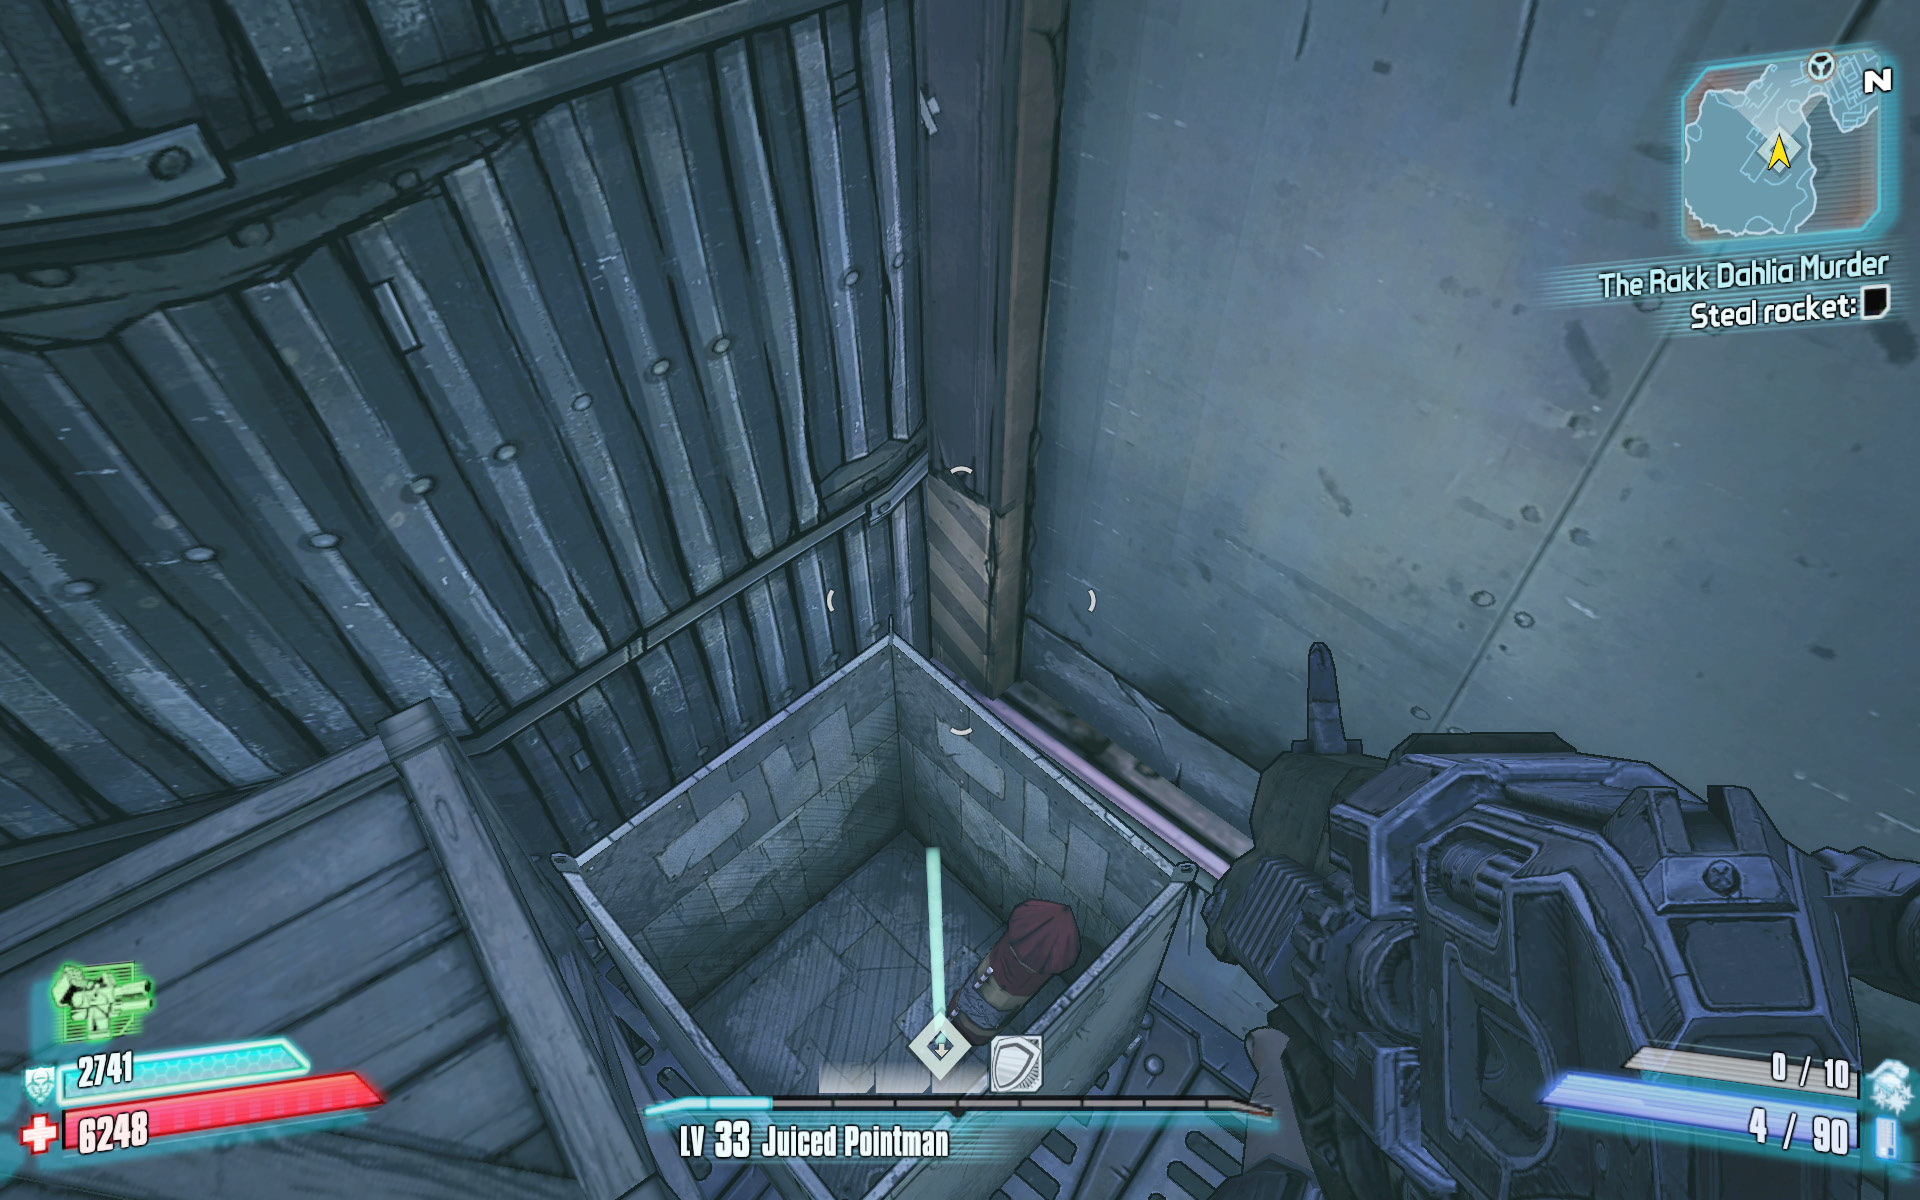
You may have seen the cauldron atop the rock island to the northeast of the Sun Swamps and wondered why there was a fireworks insignia on it. Now you get to find out! Take a fan boat to the far eastern edge of Scylla’s Grove, and head south toward the smaller camp near the waterfalls known as Low Gut Rut. This is a very dangerous area with numerous witch doctors capable of promoting multiple savages into Ultimate Badass Savages. Take out those witch doctors right away and make your way out onto the walkway around the house on stilts. The rocket you seek is inside a metal bucket, near a crate. Stand on the crate to reach it.
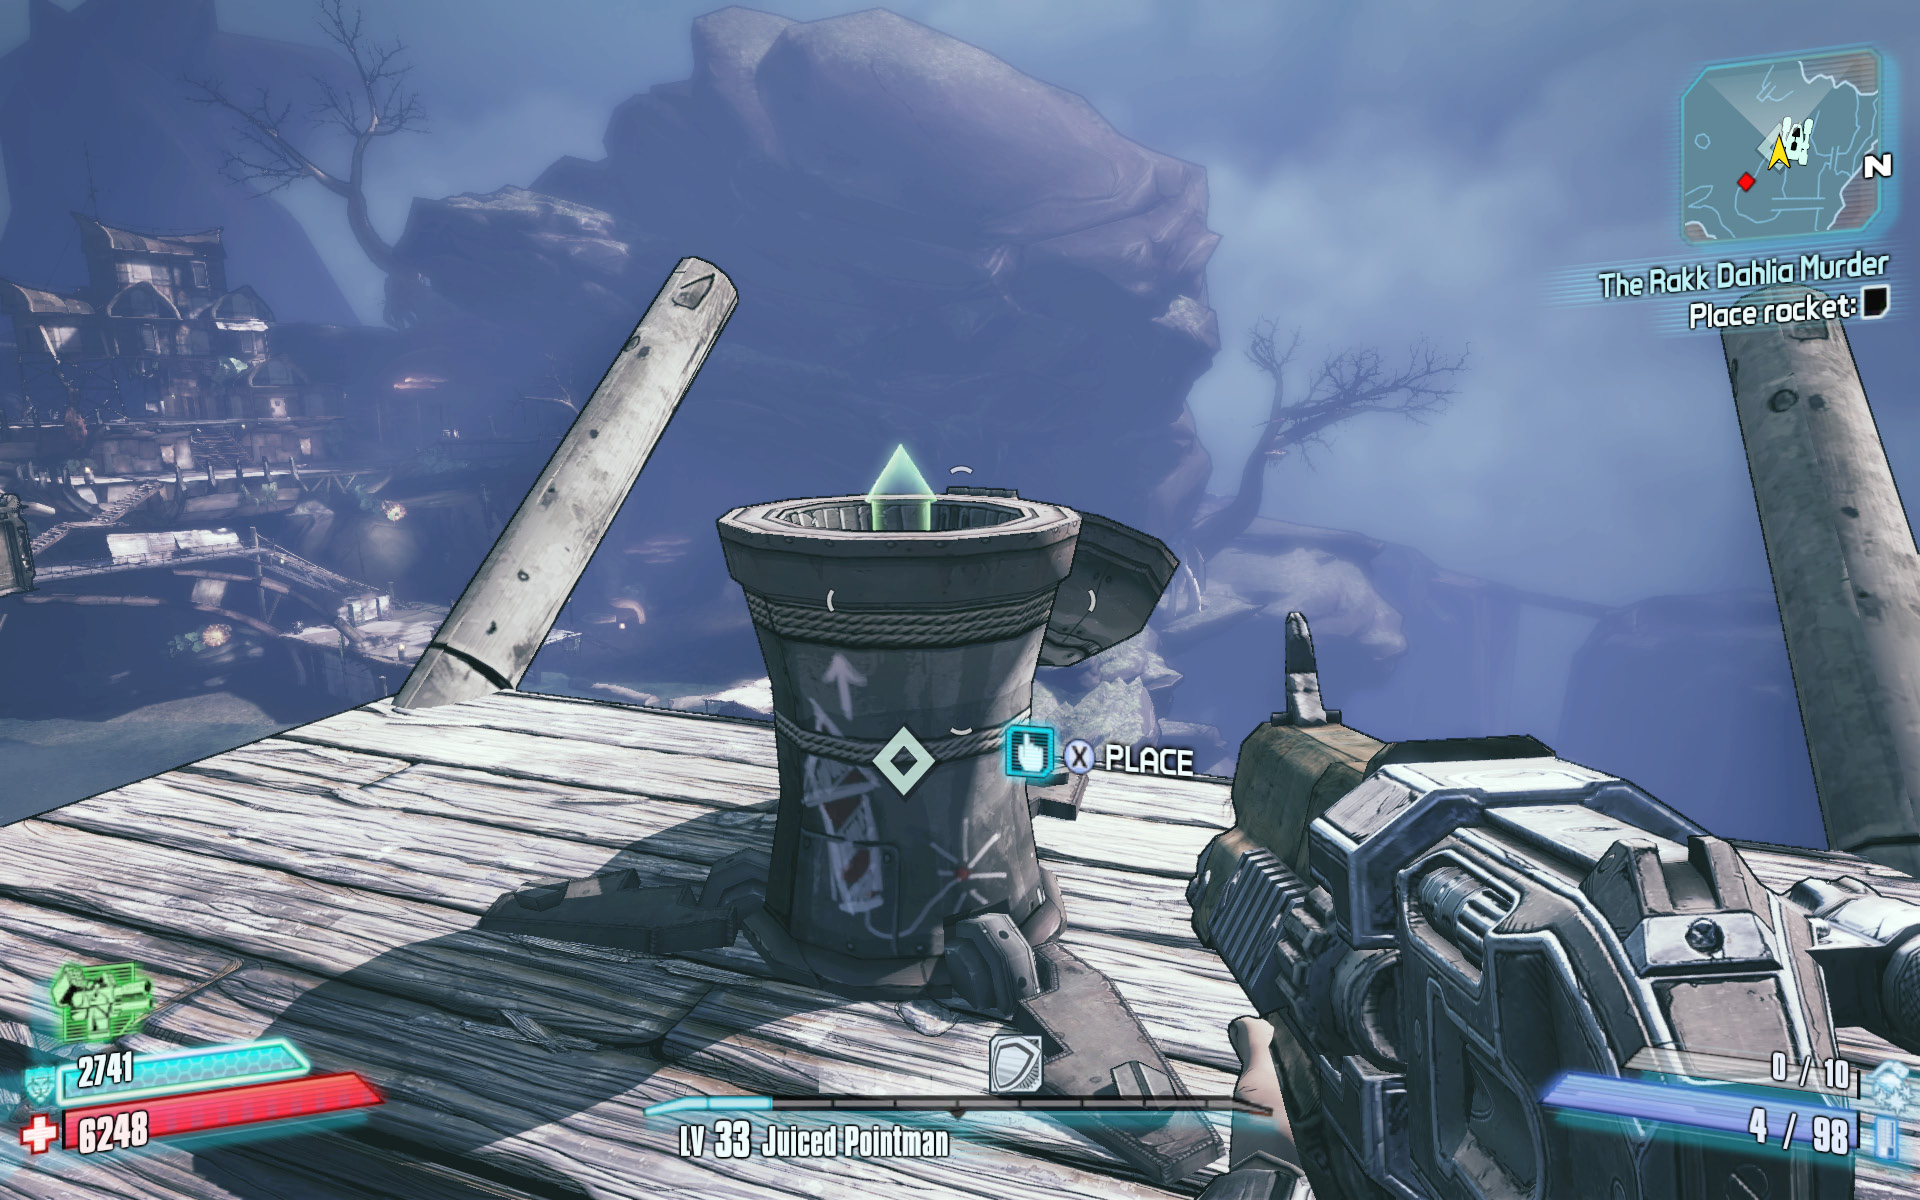
Carry the rocket back toward the Sun Swamps, and continue up the ramp to the bridge in the center of the swamp leading to the rocky perch with the fireworks cauldron. Place the rocket inside, and then (after making sure your Action Skill cooldown has ended and your guns are loaded) light the fuse. The explosion summons a mighty beast by the name of Rakkanoth.
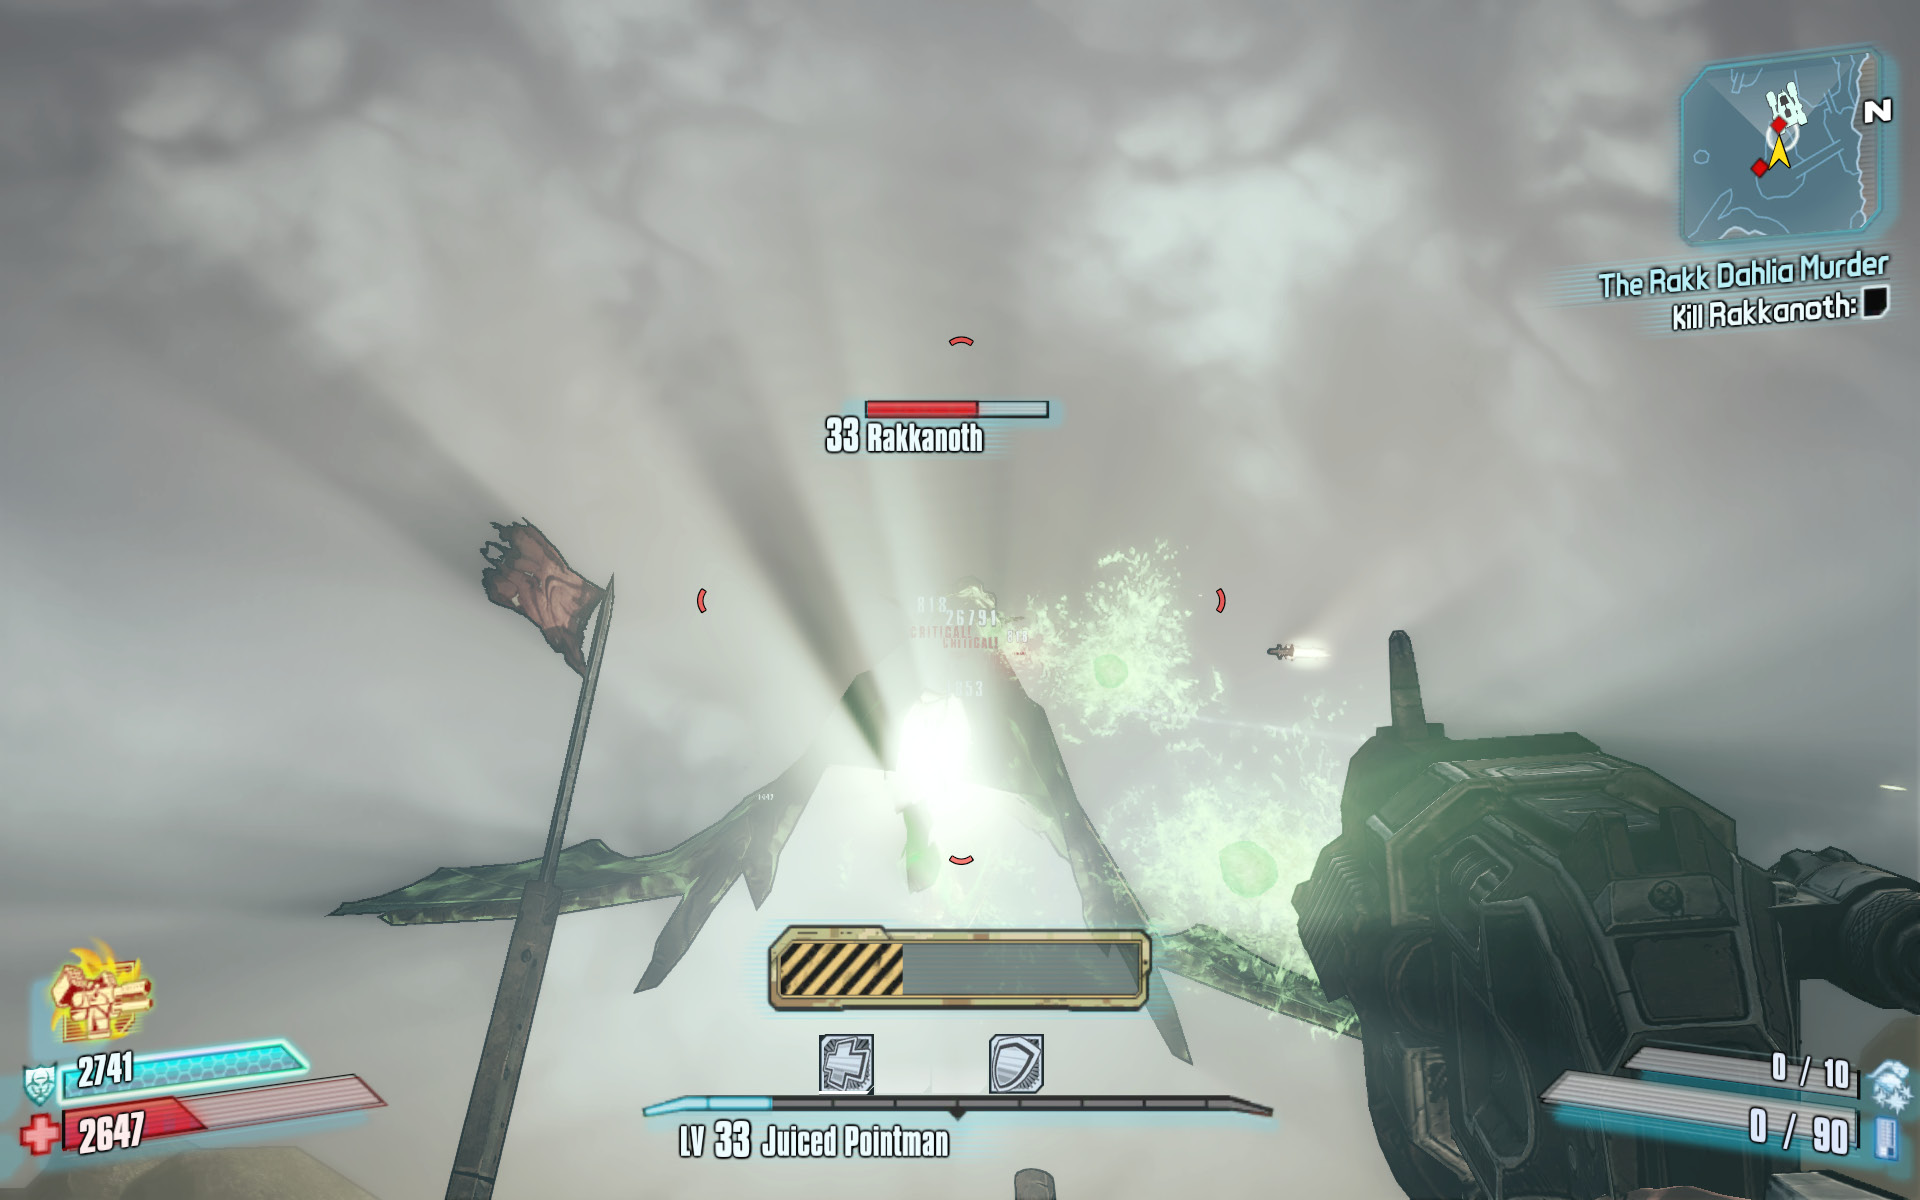
Rakkanoth is a massive corrosive rakk that fires toxic bombs at you while painting the skies with a corrosive mist. Unlike other rakk, Rakkanoth avoids swooping in for melee attacks and is content to keep its distance. Those with an Adaptive Shield or one that provides immunity to corrosive attacks can stand their ground atop the rocky promontory and battle Rakkanoth out in the open. Those without this protection should drop to the swamp below and seek cover either near the trees and rocks nearby, or in the driver’s seat of a fan boat. The fan boat will suffer heavy damage, but the driver is always safe from harm inside a vehicle (provided they exit before it explodes). Rakkanoth has considerable health and can be difficult to hit from afar, but a homing sticky grenade always hits its mark.