
Borderlands 2 Game of the Year Guide Walkthrough
Plan B
|
 Mission Briefing
| Level | Money | XP | Gear |
|---|---|---|---|
|
8 |
$22 |
1187 |
Storage Deck Upgrade (Purple) |
*Money and XP may vary based on player’s level at start of mission.
Fuel-Celling the Resistance
You made it across the bridge and helped replace the Power Core, but you’re not inside Sanctuary yet. Cross the plaza to the interior gate and speak to Pvt. Jessup; he’ll let you in, provided you don’t get between him and the control panel on the right. Roland isn’t around, but he left specific instructions on what the Crimson Raiders should do if he ever failed to return. And now it’s fallen on you to help execute that plan.
Approach the garage just inside the gate to meet Scooter, the town mechanic and proprietor of the Catch-a-Ride system. Scooter, among other things, is a little too excited about Plan B, especially since he’s got you to boss around. Take the Eridium he hands you—you’ll know why soon enough—and take a stroll around his garage to pick up the two fuel cells he’s got laying around. One is on the shelf on the lower level, near the red car; the other is on the upper level, on the shelves near the lockers.
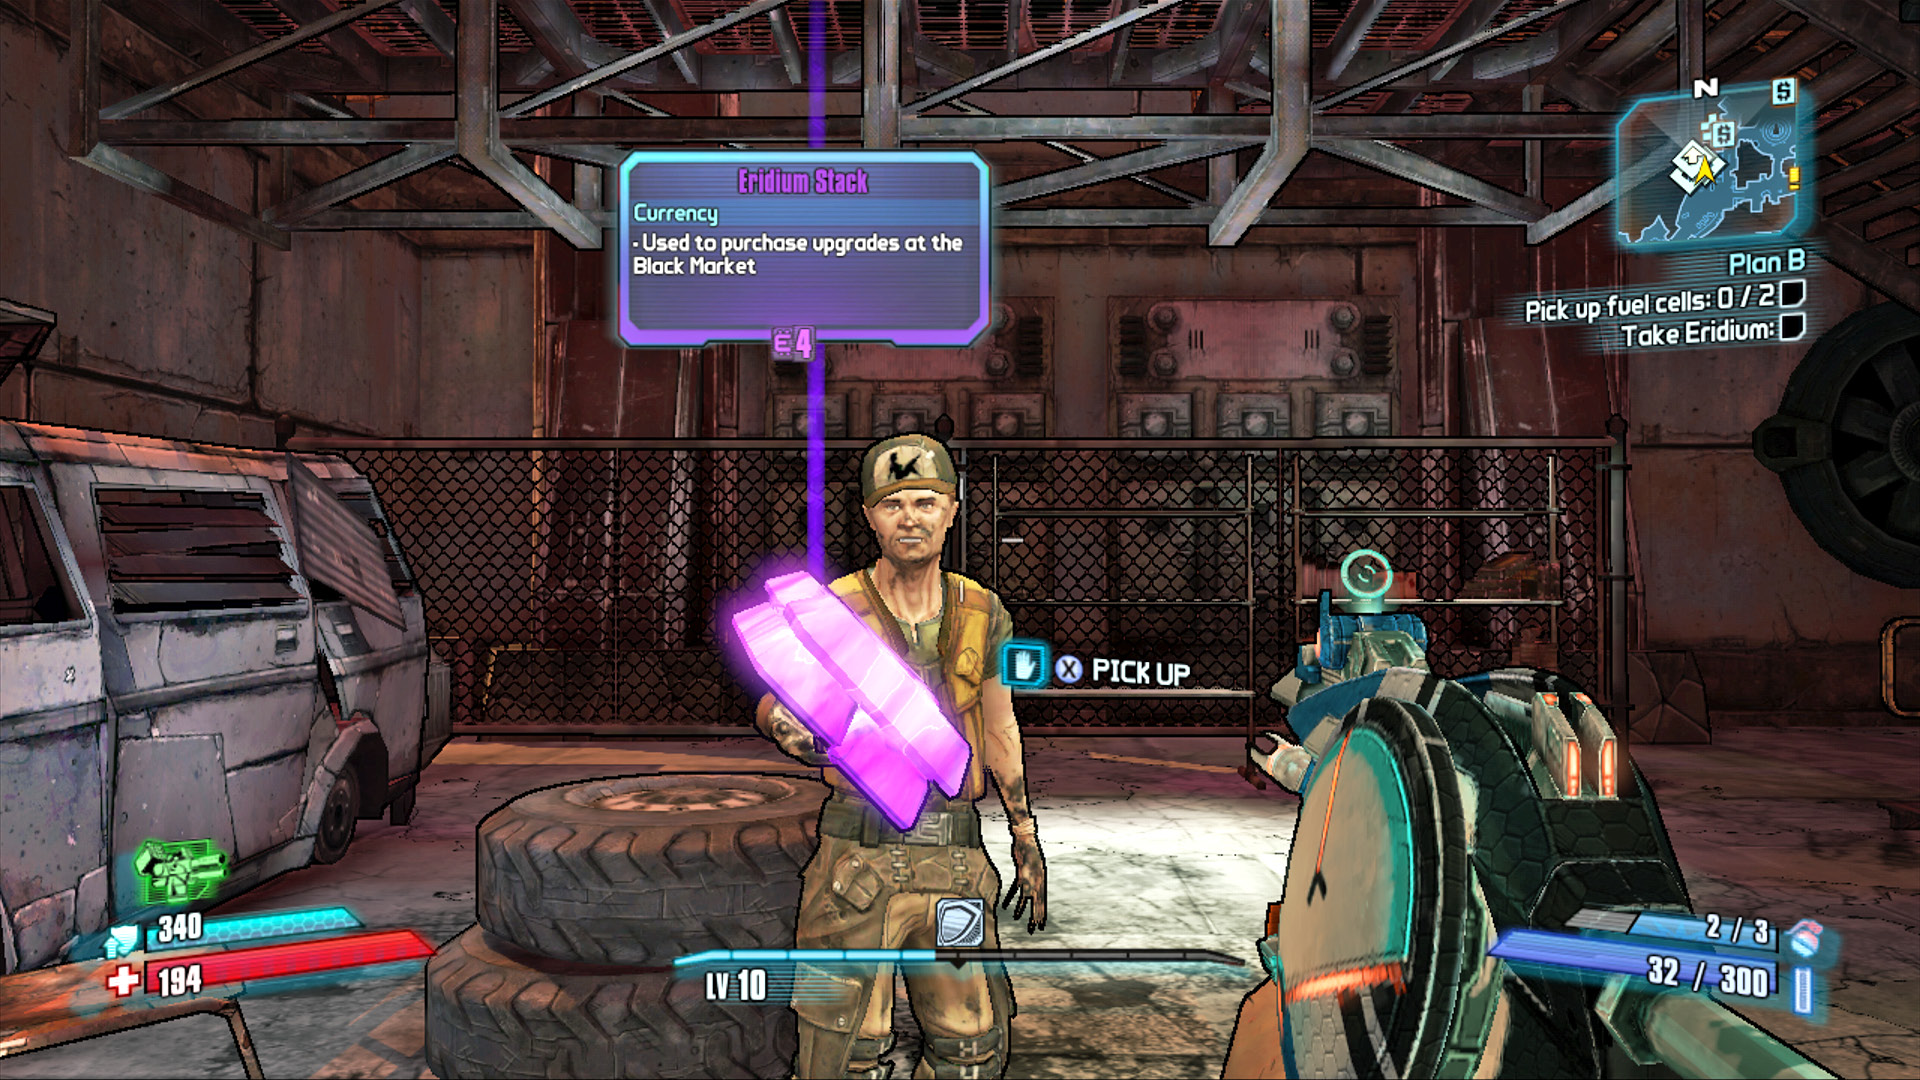
It isn’t every day that Scooter’s handing out stacks of purple bricks!
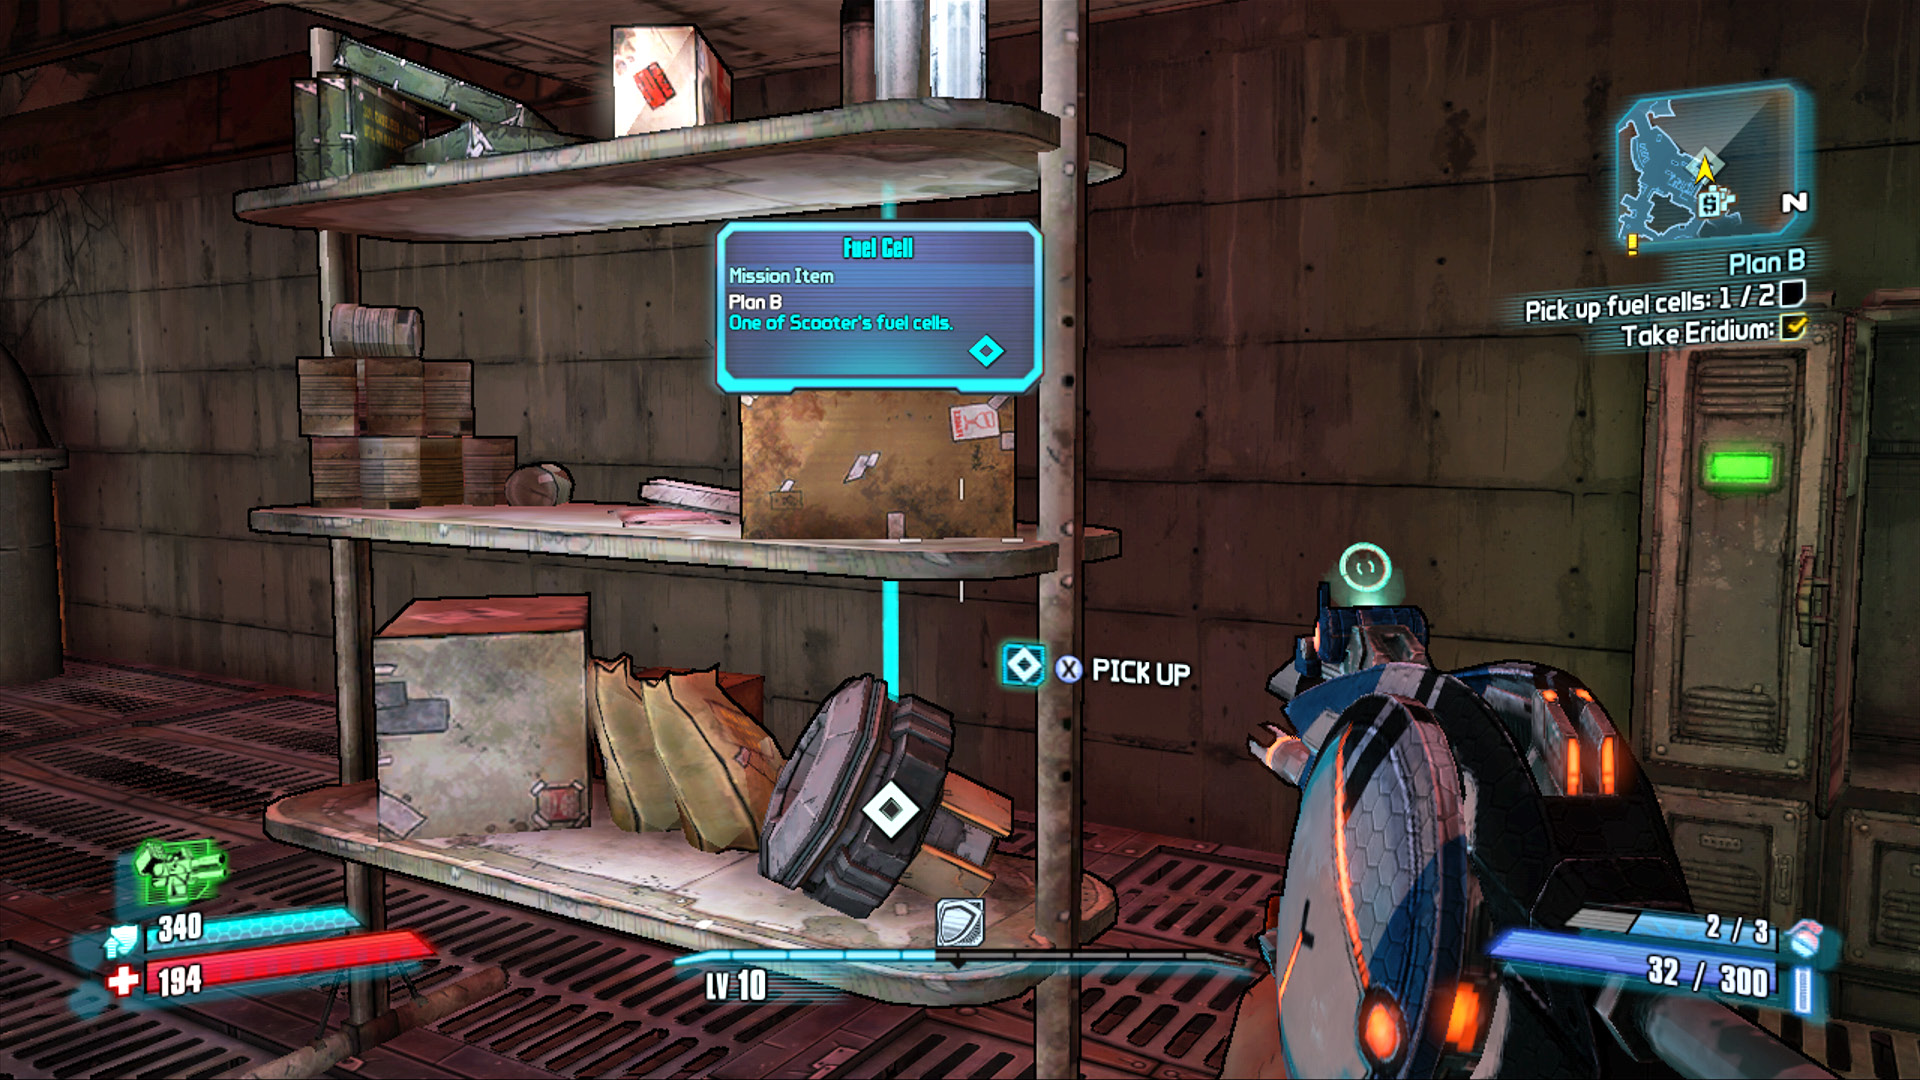
Pick up the two Fuel Cells, then make your way toward the center of town.
Now that you’ve got two of the fuel cells, head to the center of town and install them into the ignition primers. The first ignition primer is in front of Pierce Station, to the left of the monument in the center. Lift the hatch and pop it in. The second one is across the town square, near the stairs.
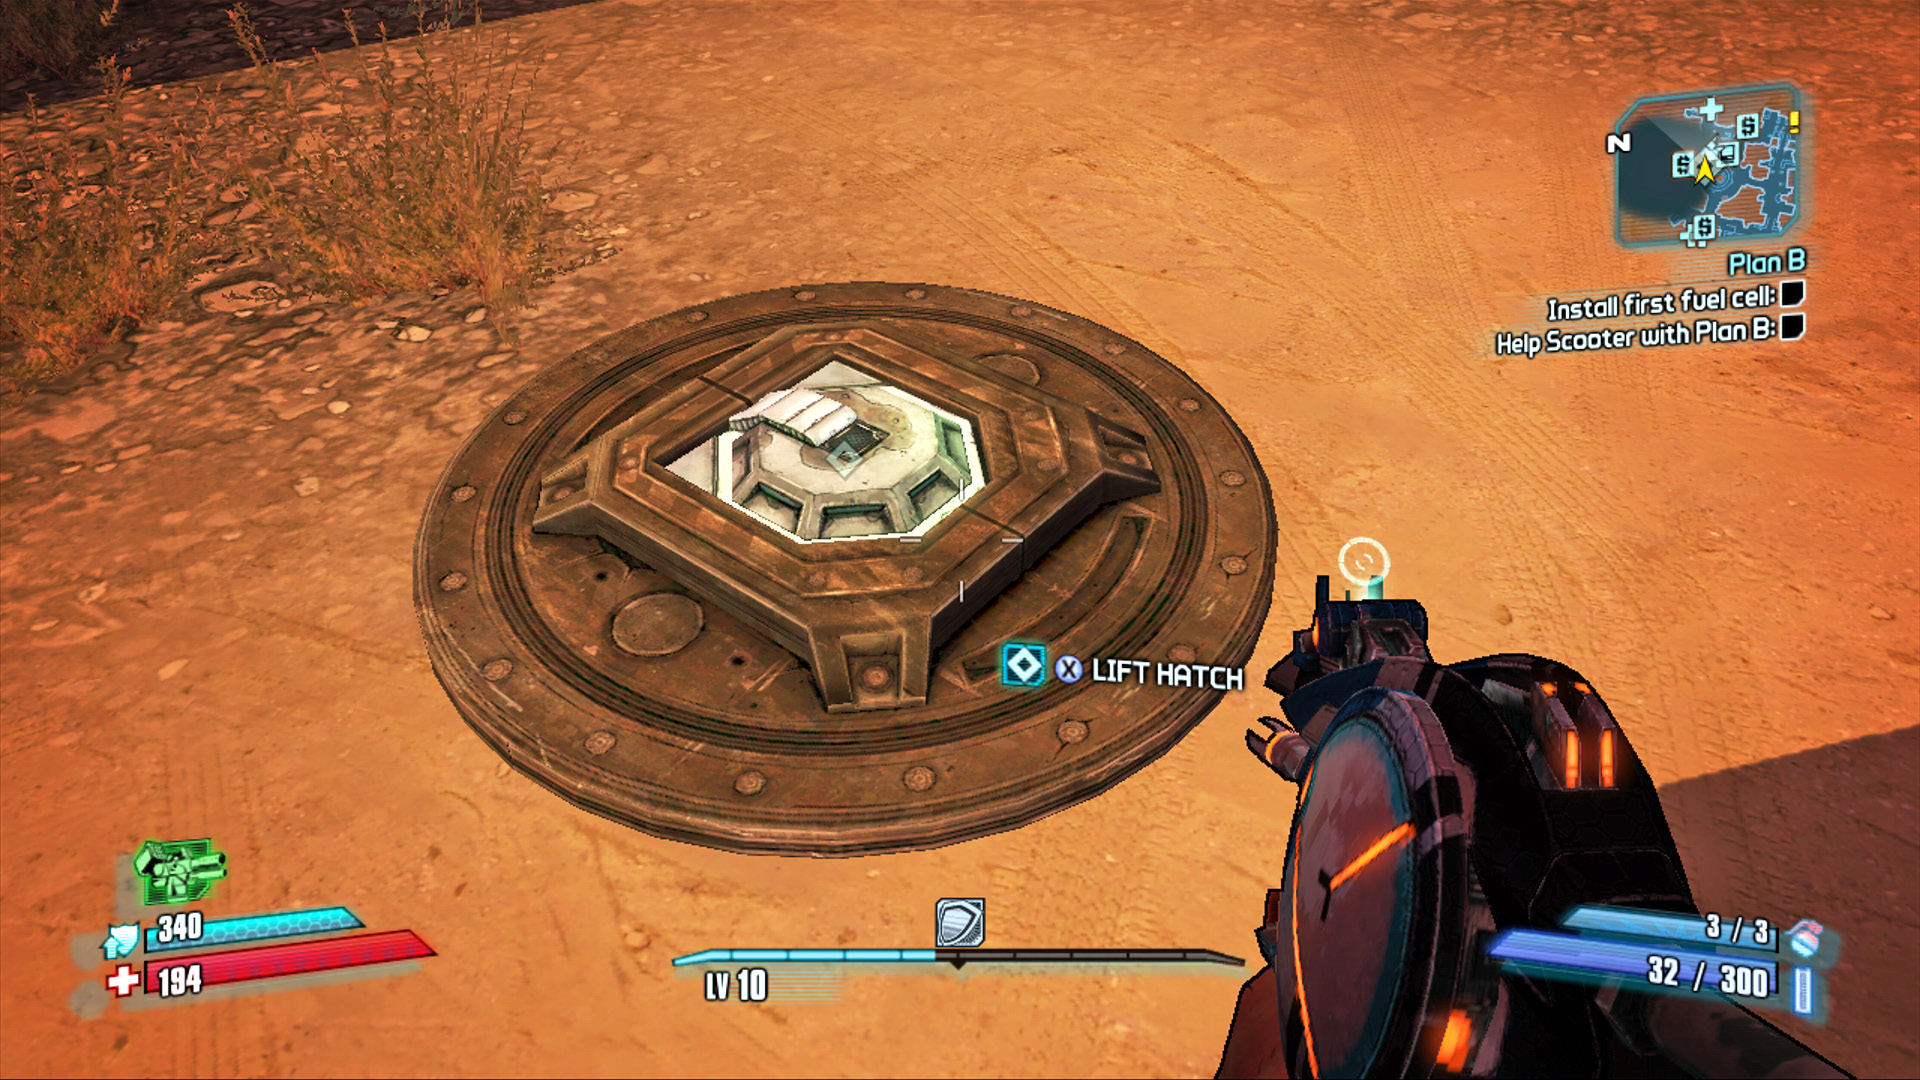
Lift the hatch and install a fuel cell into the ignition primer.
With the two fuel cells installed, it’s time to go about getting the third. Make your way past the Sanctuary Bounty Board and down the steps toward the purple neon sign advertising the Sanctuary Hostel. It’s been a long time since any tourists have braved the bandits and bullymongs to visit Sanctuary and the hostel is now nothing more than a front for Crazy Earl’s illicit black market shop. Crazy Earl only accepts Eridium—and all of his items sell in multiples of 4 Eridium.
He sells storage deck upgrades (SDUs) of various types. Go ahead and spend Scooter’s Eridium on any item you want and Crazy Earl will throw in a third fuel cell free of charge.
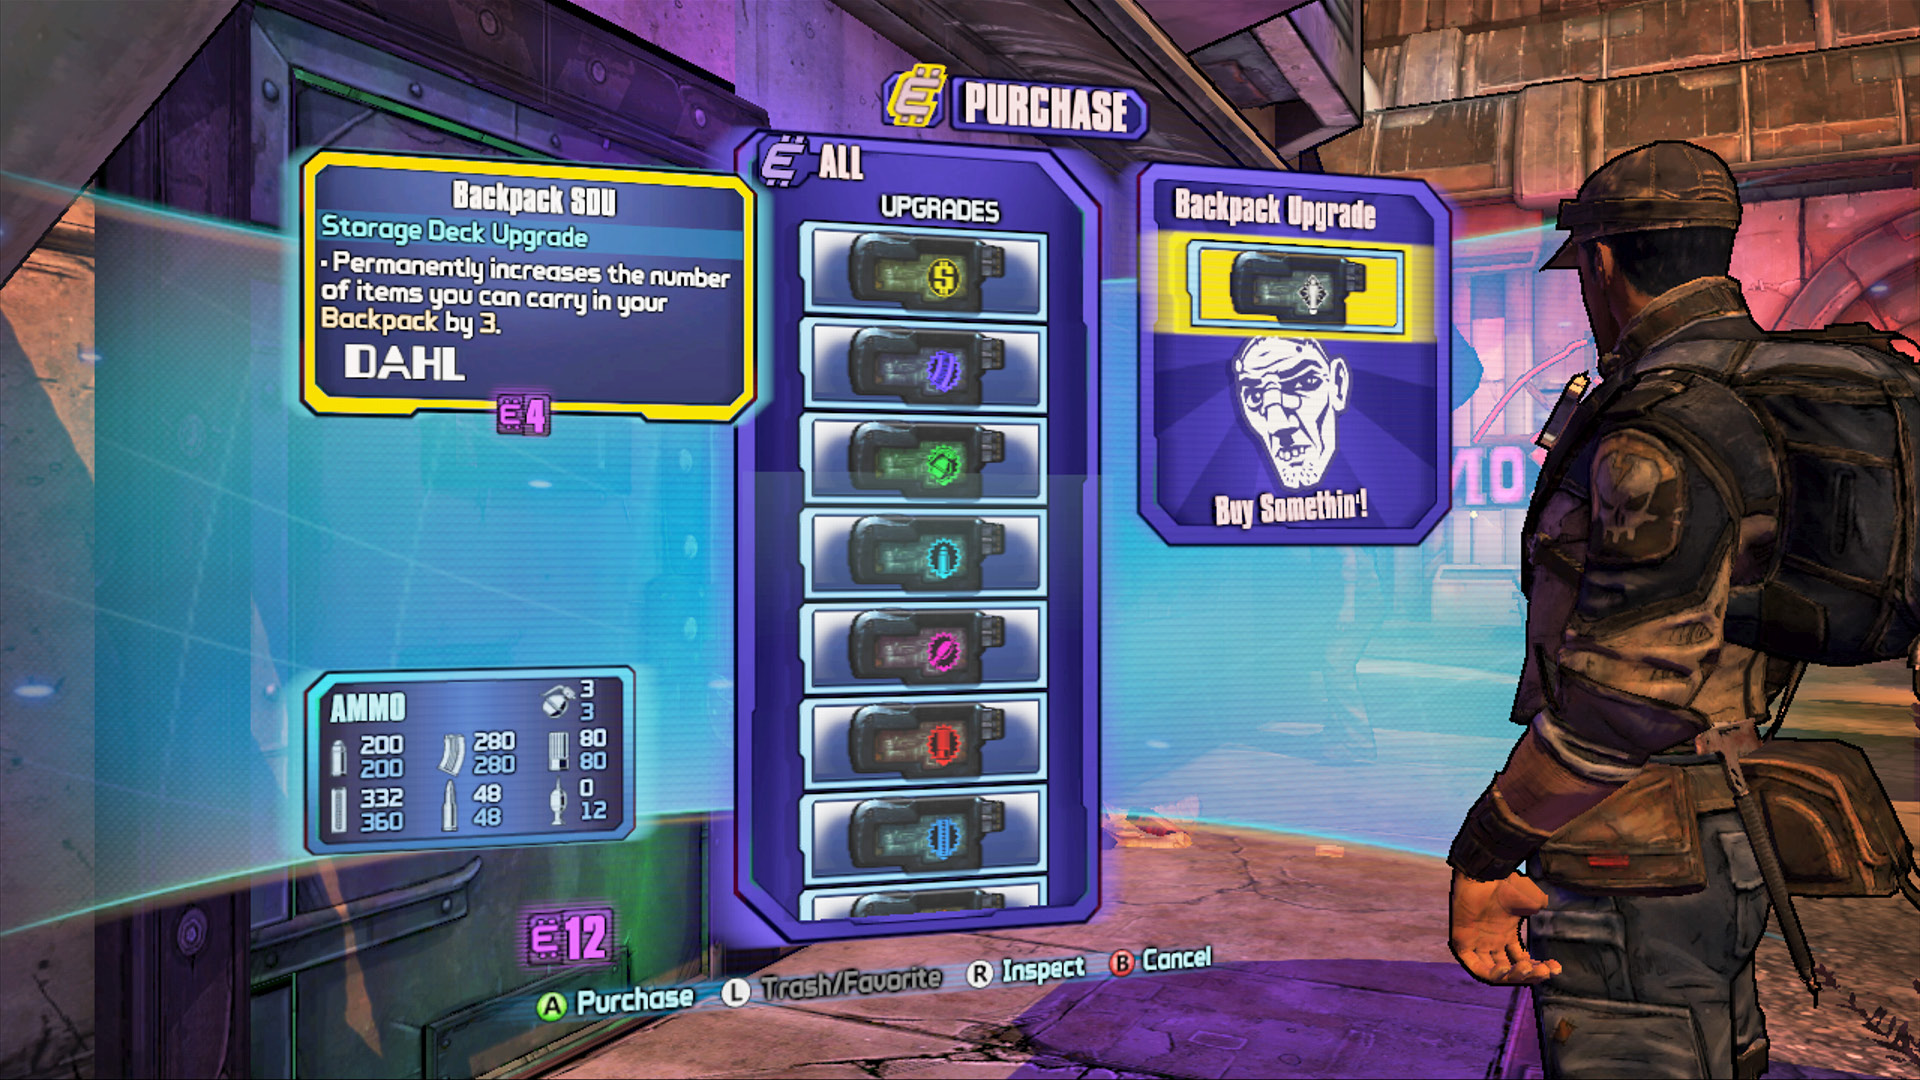
Your money’s no good here. Seriously, it isn’t. Crazy Earl only accepts Eridium.
Return to the center of town and install the final Fuel Cell into the ignition primer near Dr. Zed’s. Now stand back and watch the monument in the center of town to reveal its true purpose…or not.
So Plan B was a miserable failure. Shocker. Make your way around the corner toward the Crimson Raiders HQ and talk to the member outside. He’ll give you the Command Center Key so you can head on in. This will be your base of operations going forward. Go inside and listen to the ECHO Recorder on the counter to complete the mission.
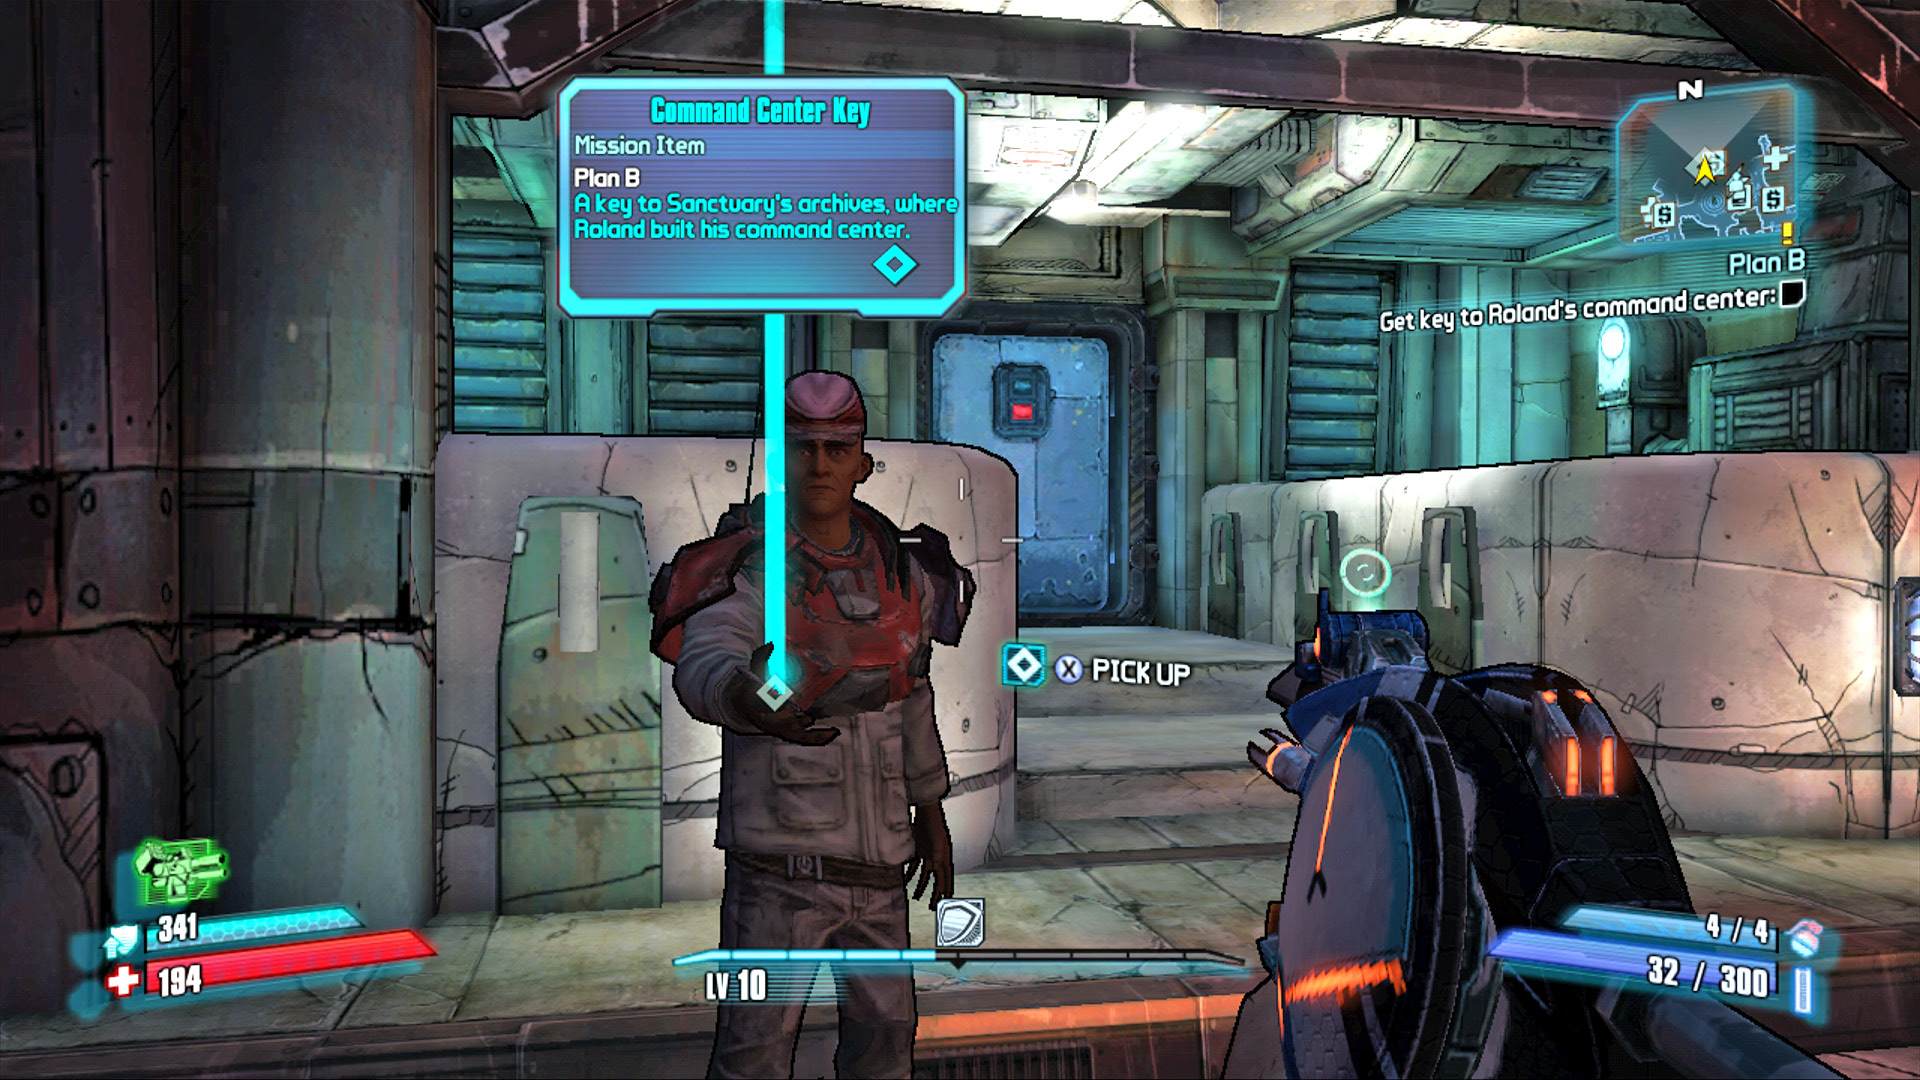
You didn’t get to see the city of Sanctuary fly off into the sunset, but hey, at least you get to see where Roland’s been living.
Three Horns Valley
Those who make it out of the mountainous terrain of Three Horns Divide soon find themselves in the more easily navigable Three Horns Valley. Sloping gently from the eastern hills to Split Skull Bay in the southeast, Three Horns Valley is home to several bandit camps, including one run by the ruthless Flanksteak and his cronies at Bloodshot Slums. Of course, even they don’t have the place all to themselves. From north to south, Three Horns Valley is positively crawling with skags, particularly in the south. Bullymongs, though in lower numbers, congregate around the colder elevations in the northeast. For those having trouble remembering which Three Horns region is which, the Valley is also home to the Happy Pig Motel, a fully functional (if not particularly hygienic) place of business until the Bloodshot bandits killed the owners and smeared blood all over the walls. Still, it functions as a useful, if grisly, landmark.
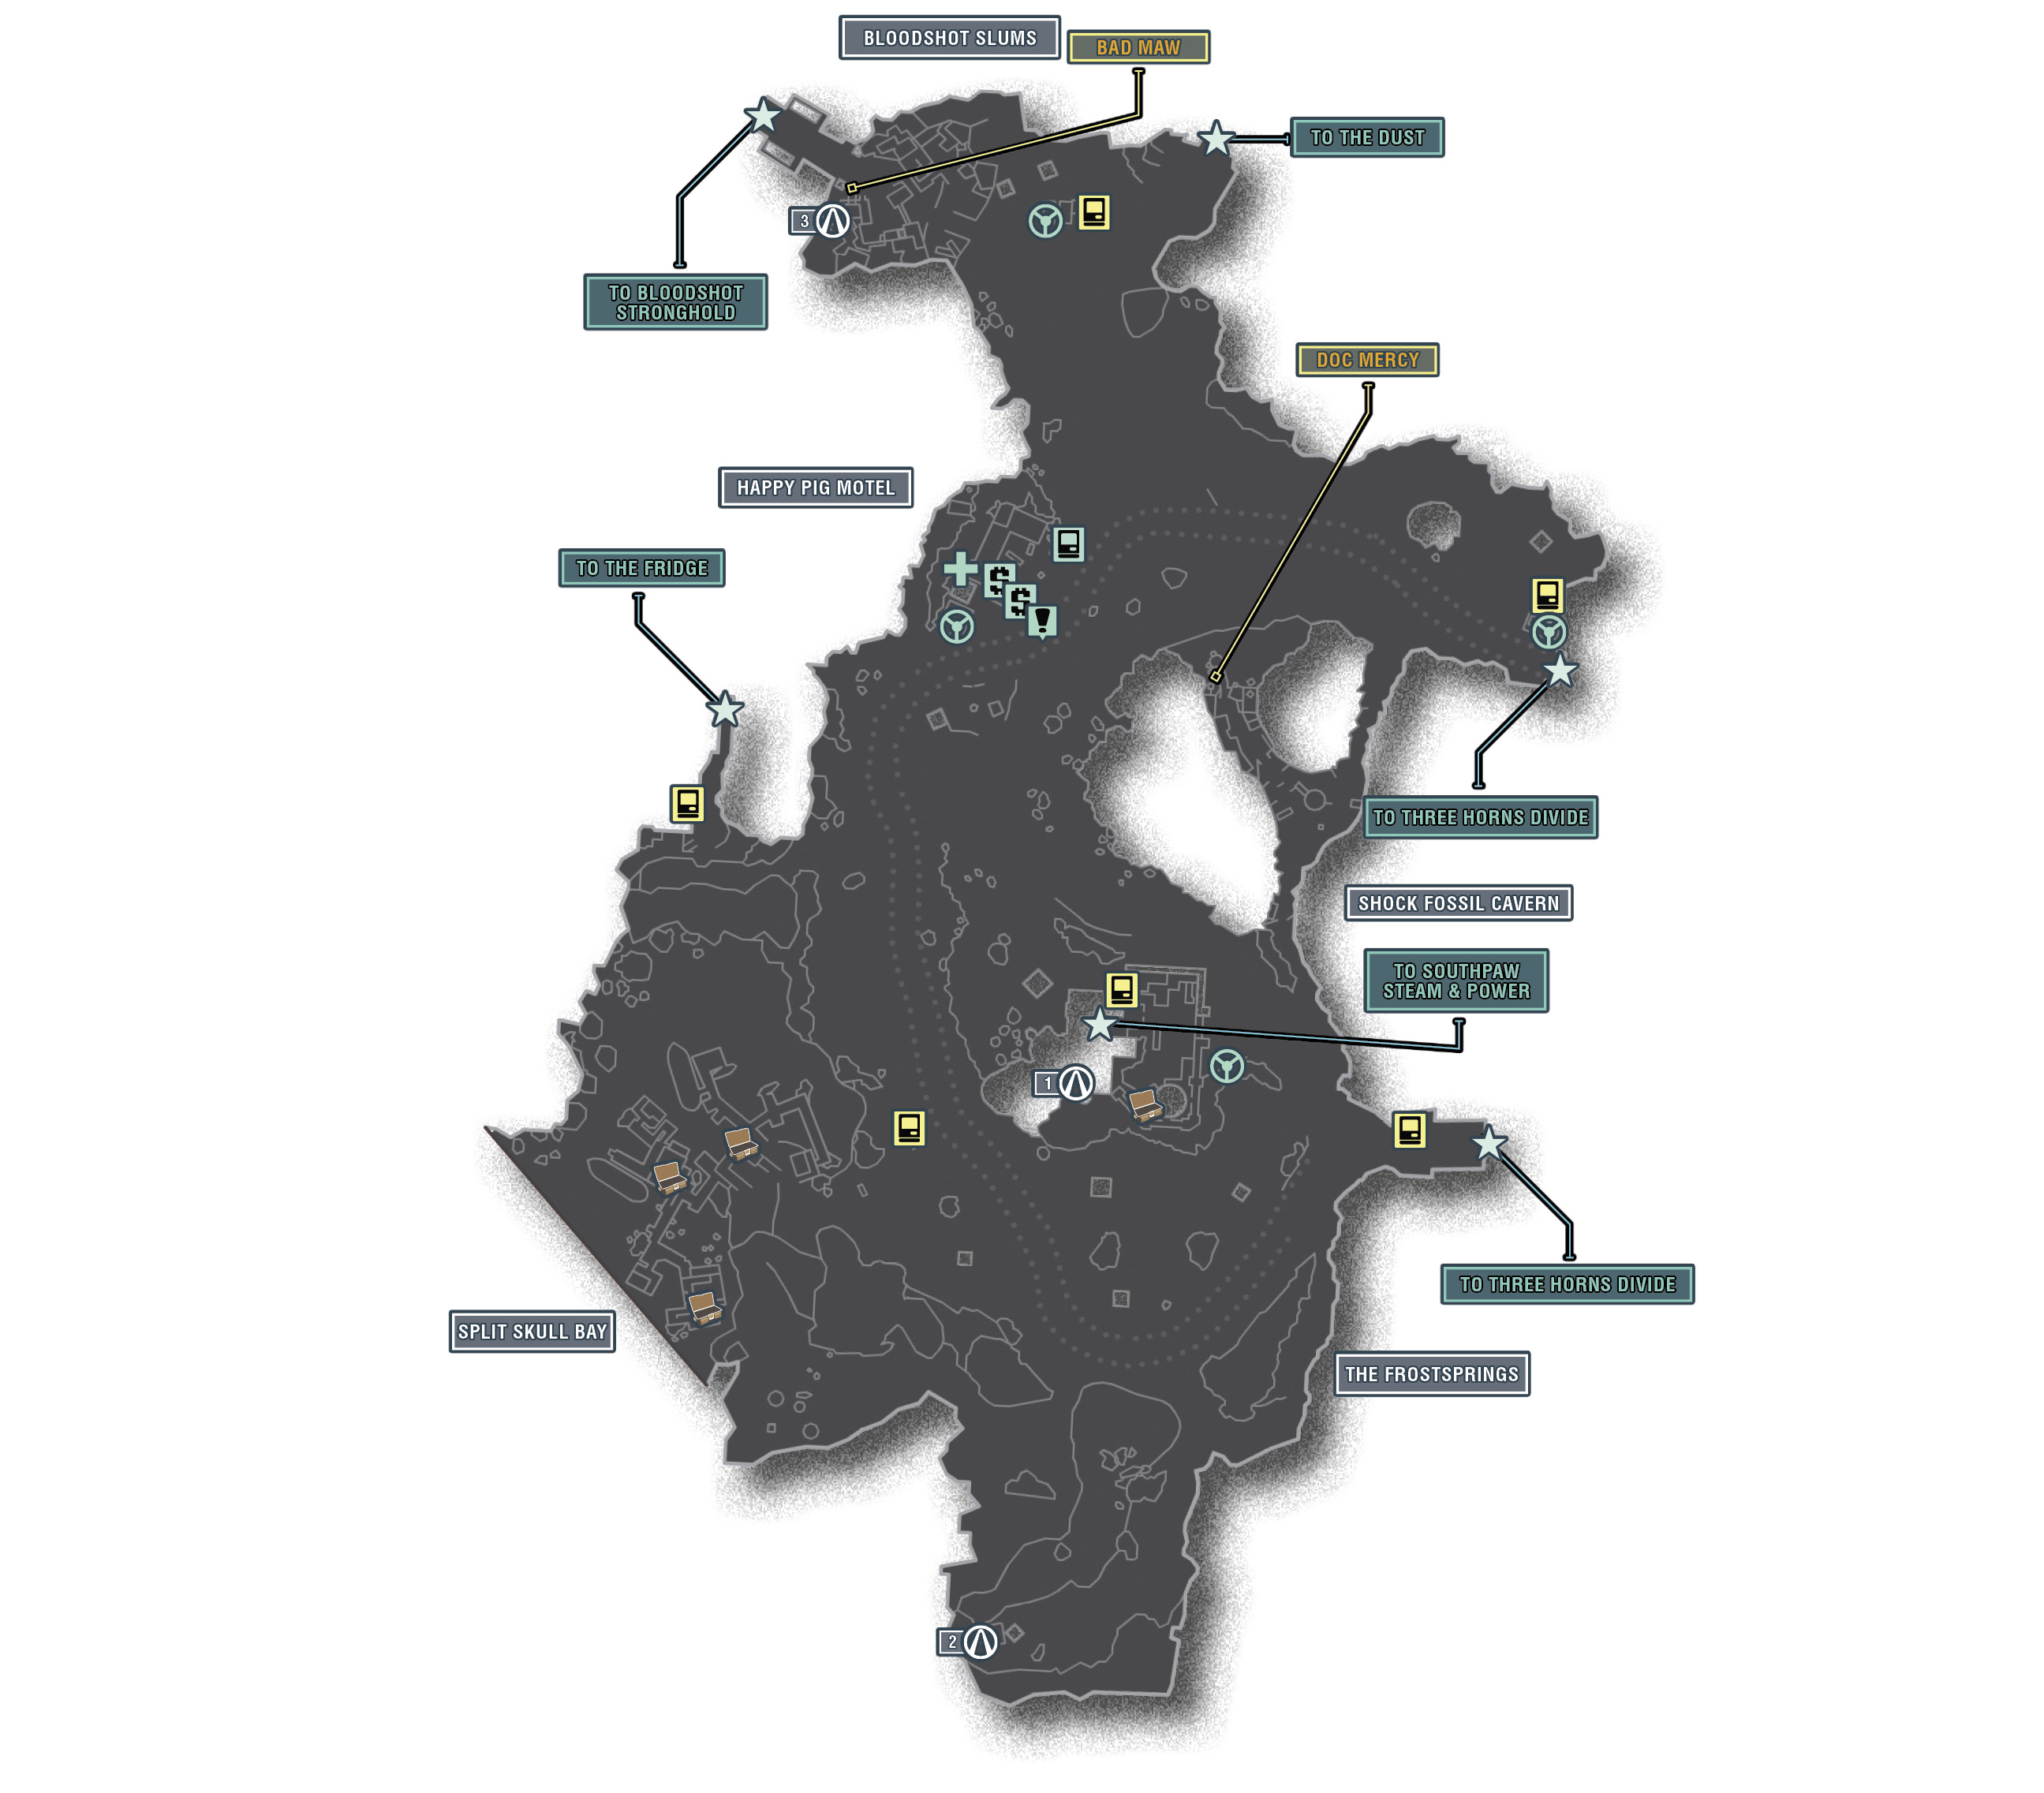
The Districts of Three Horns Valley
| Locale | Limited Access? | First Visit |
|---|---|---|
|
The Frostsprings |
No |
“Assassinate the Assassins” optional mission. |
|
Shock Fossil Cavern |
No |
“Medical Mystery” optional mission. |
|
Happy Pig Motel |
No |
“No Vacancy” optional mission. |
|
Split Skull Bay |
No |
“Neither Rain nor Sleet nor Skags” optional mission. |
|
Bloodshot Slums |
Yes |
“A Dam Fine Rescue” story mission. |
Dangerous Beasts
| Enemy Family |
|---|
|
Midgets |
High Value Targets
| Enemy | Family |
|---|---|
|
Doc Mercy |
Nomad |
|
Bad Maw |
Nomad |
 Cult of the Vault
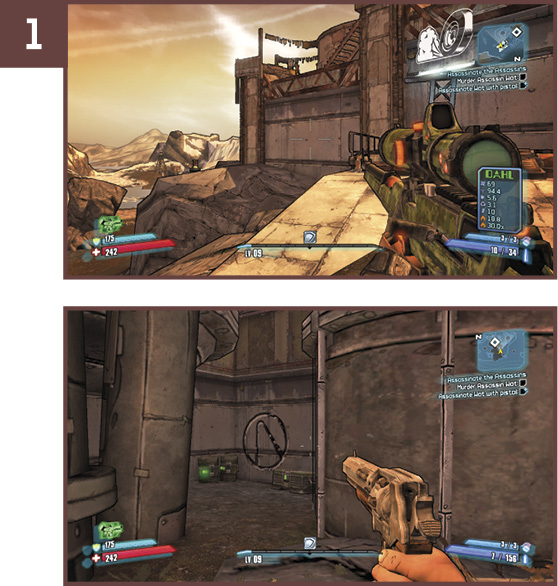
Approach the entrance to Southpaw Steam & Power and either run up the rocks on the left-hand side or make your way onto the catwalk inside the courtyard. Once on top of the rocks to the southwest of the facility, leap over the pipes (or crawl under them) to find the Cult of the Vault symbol. It’s located in the back corner, against the wall.
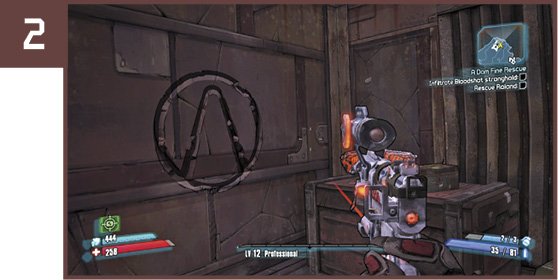
Drive to the southern end of Three Horns Valley and skirt the lake to the shack in the far southwestern corner, near the pump. The Cult of the Vault symbol is inside this building.
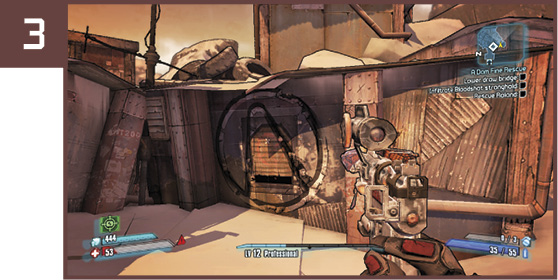
Approach the drawbridge leading to Bloodshot Stronghold (during the “A Dam Fine Rescue” mission) and turn to the left. Carefully run along the icy ledge to reach the back corner of the compound. The Cult of the Vault symbol is on the back of one of the bandit houses.
This Ain’t My First Rodeo
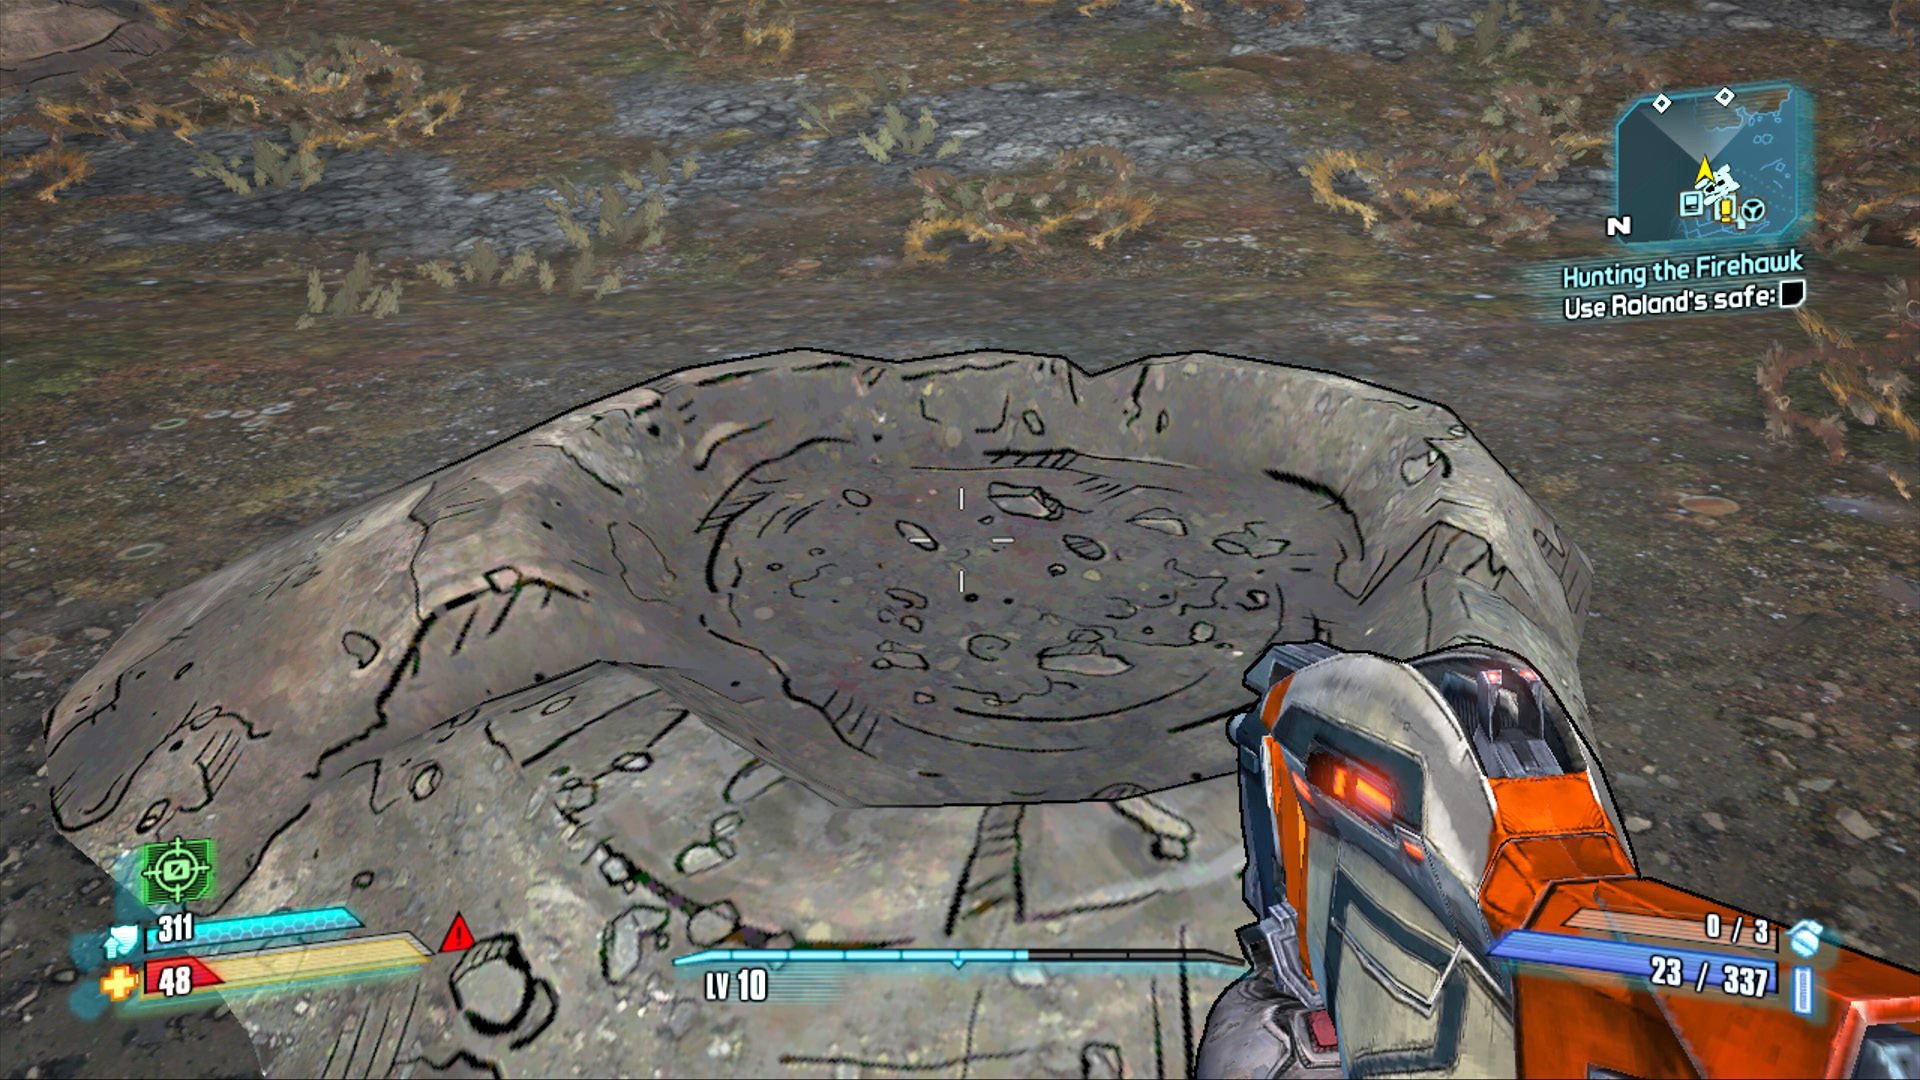
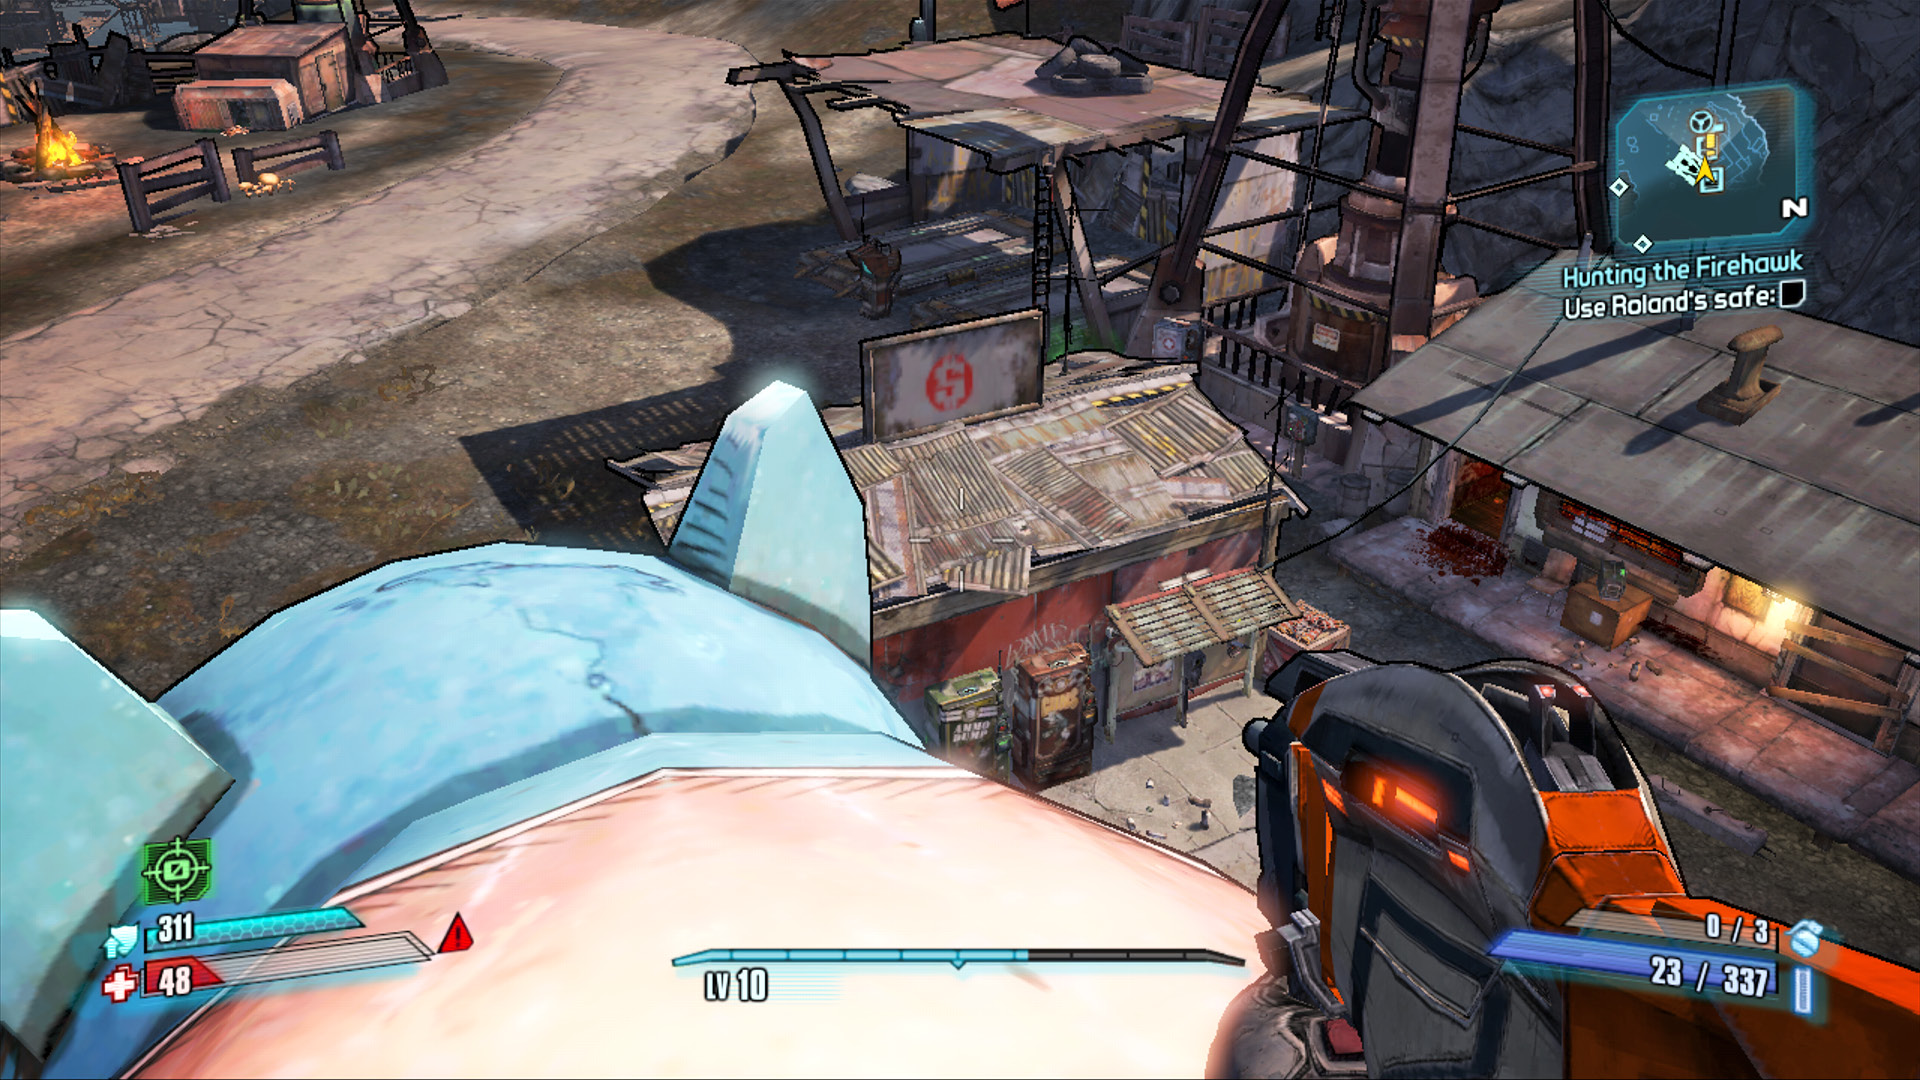
Want to get up on top of that giant pig sign in front of Happy Pig Motel? If so, here’s all you have to do. Walk east from the sign to the nearest steam geyser. Approach the crate’s edge with your back to the pig sign. Wait for the geyser—don’t worry, you won’t take damage—and pull backwards as if to leap back through the air. Look down while you’re in the air to spot your landing and continue pulling back to land on the pig. Where you stand near the geyser makes a huge difference between not reaching the pig and overshooting it. Just give it a few tries and you’ll be riding that mechanical slab o’ ham in no time!
Southpaw Steam & Power
The timeline of the Southpaw Steam and Power plant can be summarized in three bullet points.
Steam plant is built.
Bloodshot bandits raid steam plant.
Screaming.
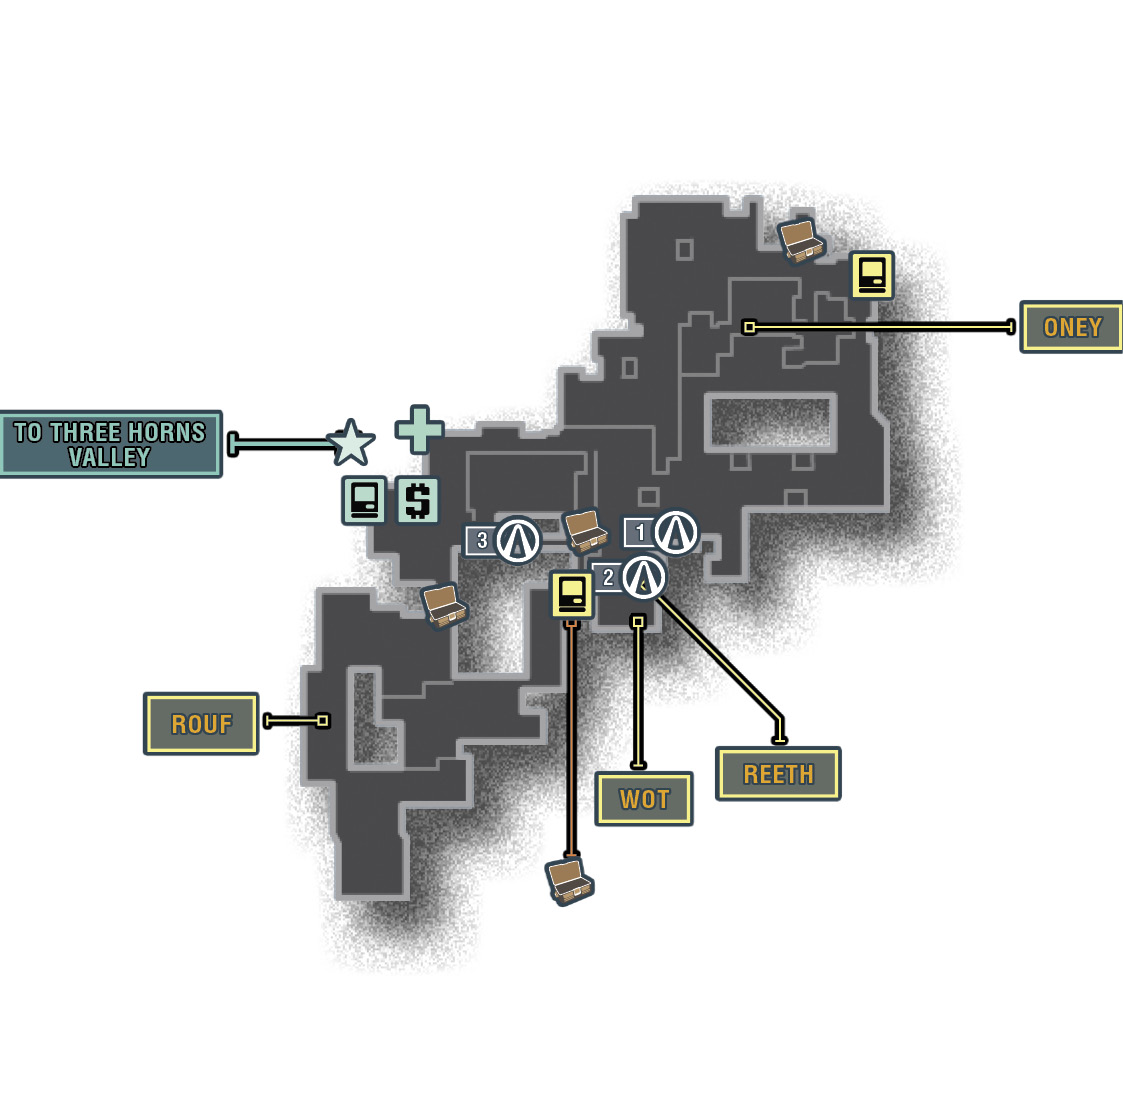
The Southpaw plant was never a place you’d necessarily want to bring your kids, but before the Bloodshots took it over it was, at least, notably devoid of human skulls and flaming effigies. Entirely off the beaten path, this two-floor facility is only visited either by mistake or because someone actually volunteered to “Assassinate the Assassins.” Be aware that many of the doors throughout the area can be unlocked from only one side—keep exploring to complete the figure-eight loop back to the starting point.
Dangerous Beasts
High Value Targets
| Enemy | Family |
|---|---|
|
Assassin Wot |
Marauder |
|
Assassin Oney |
Nomad |
|
Assassin Reeth |
Psycho |
|
Assassin Rouf |
Rat |
 Cult of the Vault
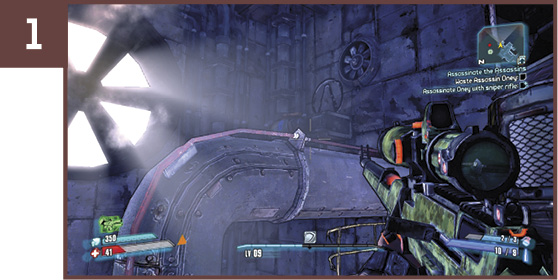
The first Cult of the Vault symbol is on the upper floor, in the far eastern side of the map. Run and leap from the railing to the steam pipe near the spinning wheel and, from there, up onto the generator in the corner. The Cult of the Vault symbol is high on the wall, near the corner.
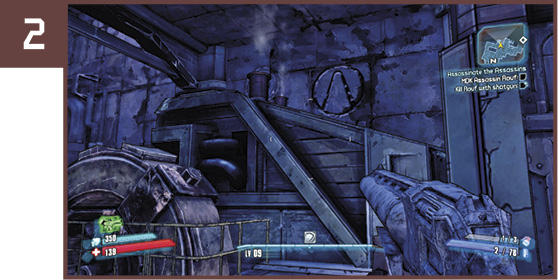
This Cult of the Vault symbol is on the lower level of the facility, almost directly beneath the first one. Leap from the railing onto the spinning generator wheel and then onto the slanted surface to reach it.
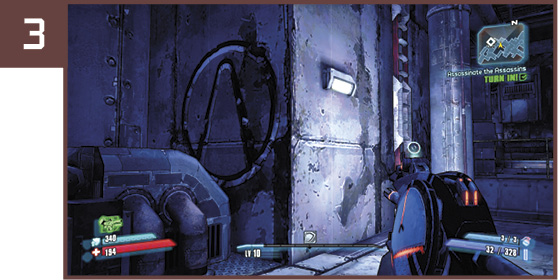
The third Cult of the Vault symbol is actually very close to the entrance, just below the ladder leading down to the lower level in the first room. It’s around the corner to the left of the ladder.
Additional Challenges
Boss Run: Kill all four assassins within 10 minutes (see “Assassinate the Assassins” in the Optional Missions section of this guide for details).
Frostburn Canyon
Home of the Firehawk and the Incinerator Bandit clan, Frostburn Canyon is a study in confusion. The Incinerator bandits use flame-based weaponry, despite being surrounded by ice; and the Firehawk has made his home in the canyon’s abandoned caves, only a few hundred feet away from the bandits he declared war on long ago. Adventurers wishing to brave this nonsense maze to reach the Firehawk will face an immediate choice regarding which direction to go. The winding trails through the canyons and caves do indeed cross at numerous points, but many of these crossings are one-way, and can leave a person wondering how the heck they’ll find their way back out. Those who keep it simple and stick to whichever main path they choose—there are essentially two loops spiraling out from the entry point—can choose the lengthy clockwise loop through multiple bandit camps to the Firehawk’s Lair, or head counter-clockwise around the back way through Frozen Ant Lake. Either way, it would probably save a lot of trouble if no right-minded person ever visited Frostburn Canyon.
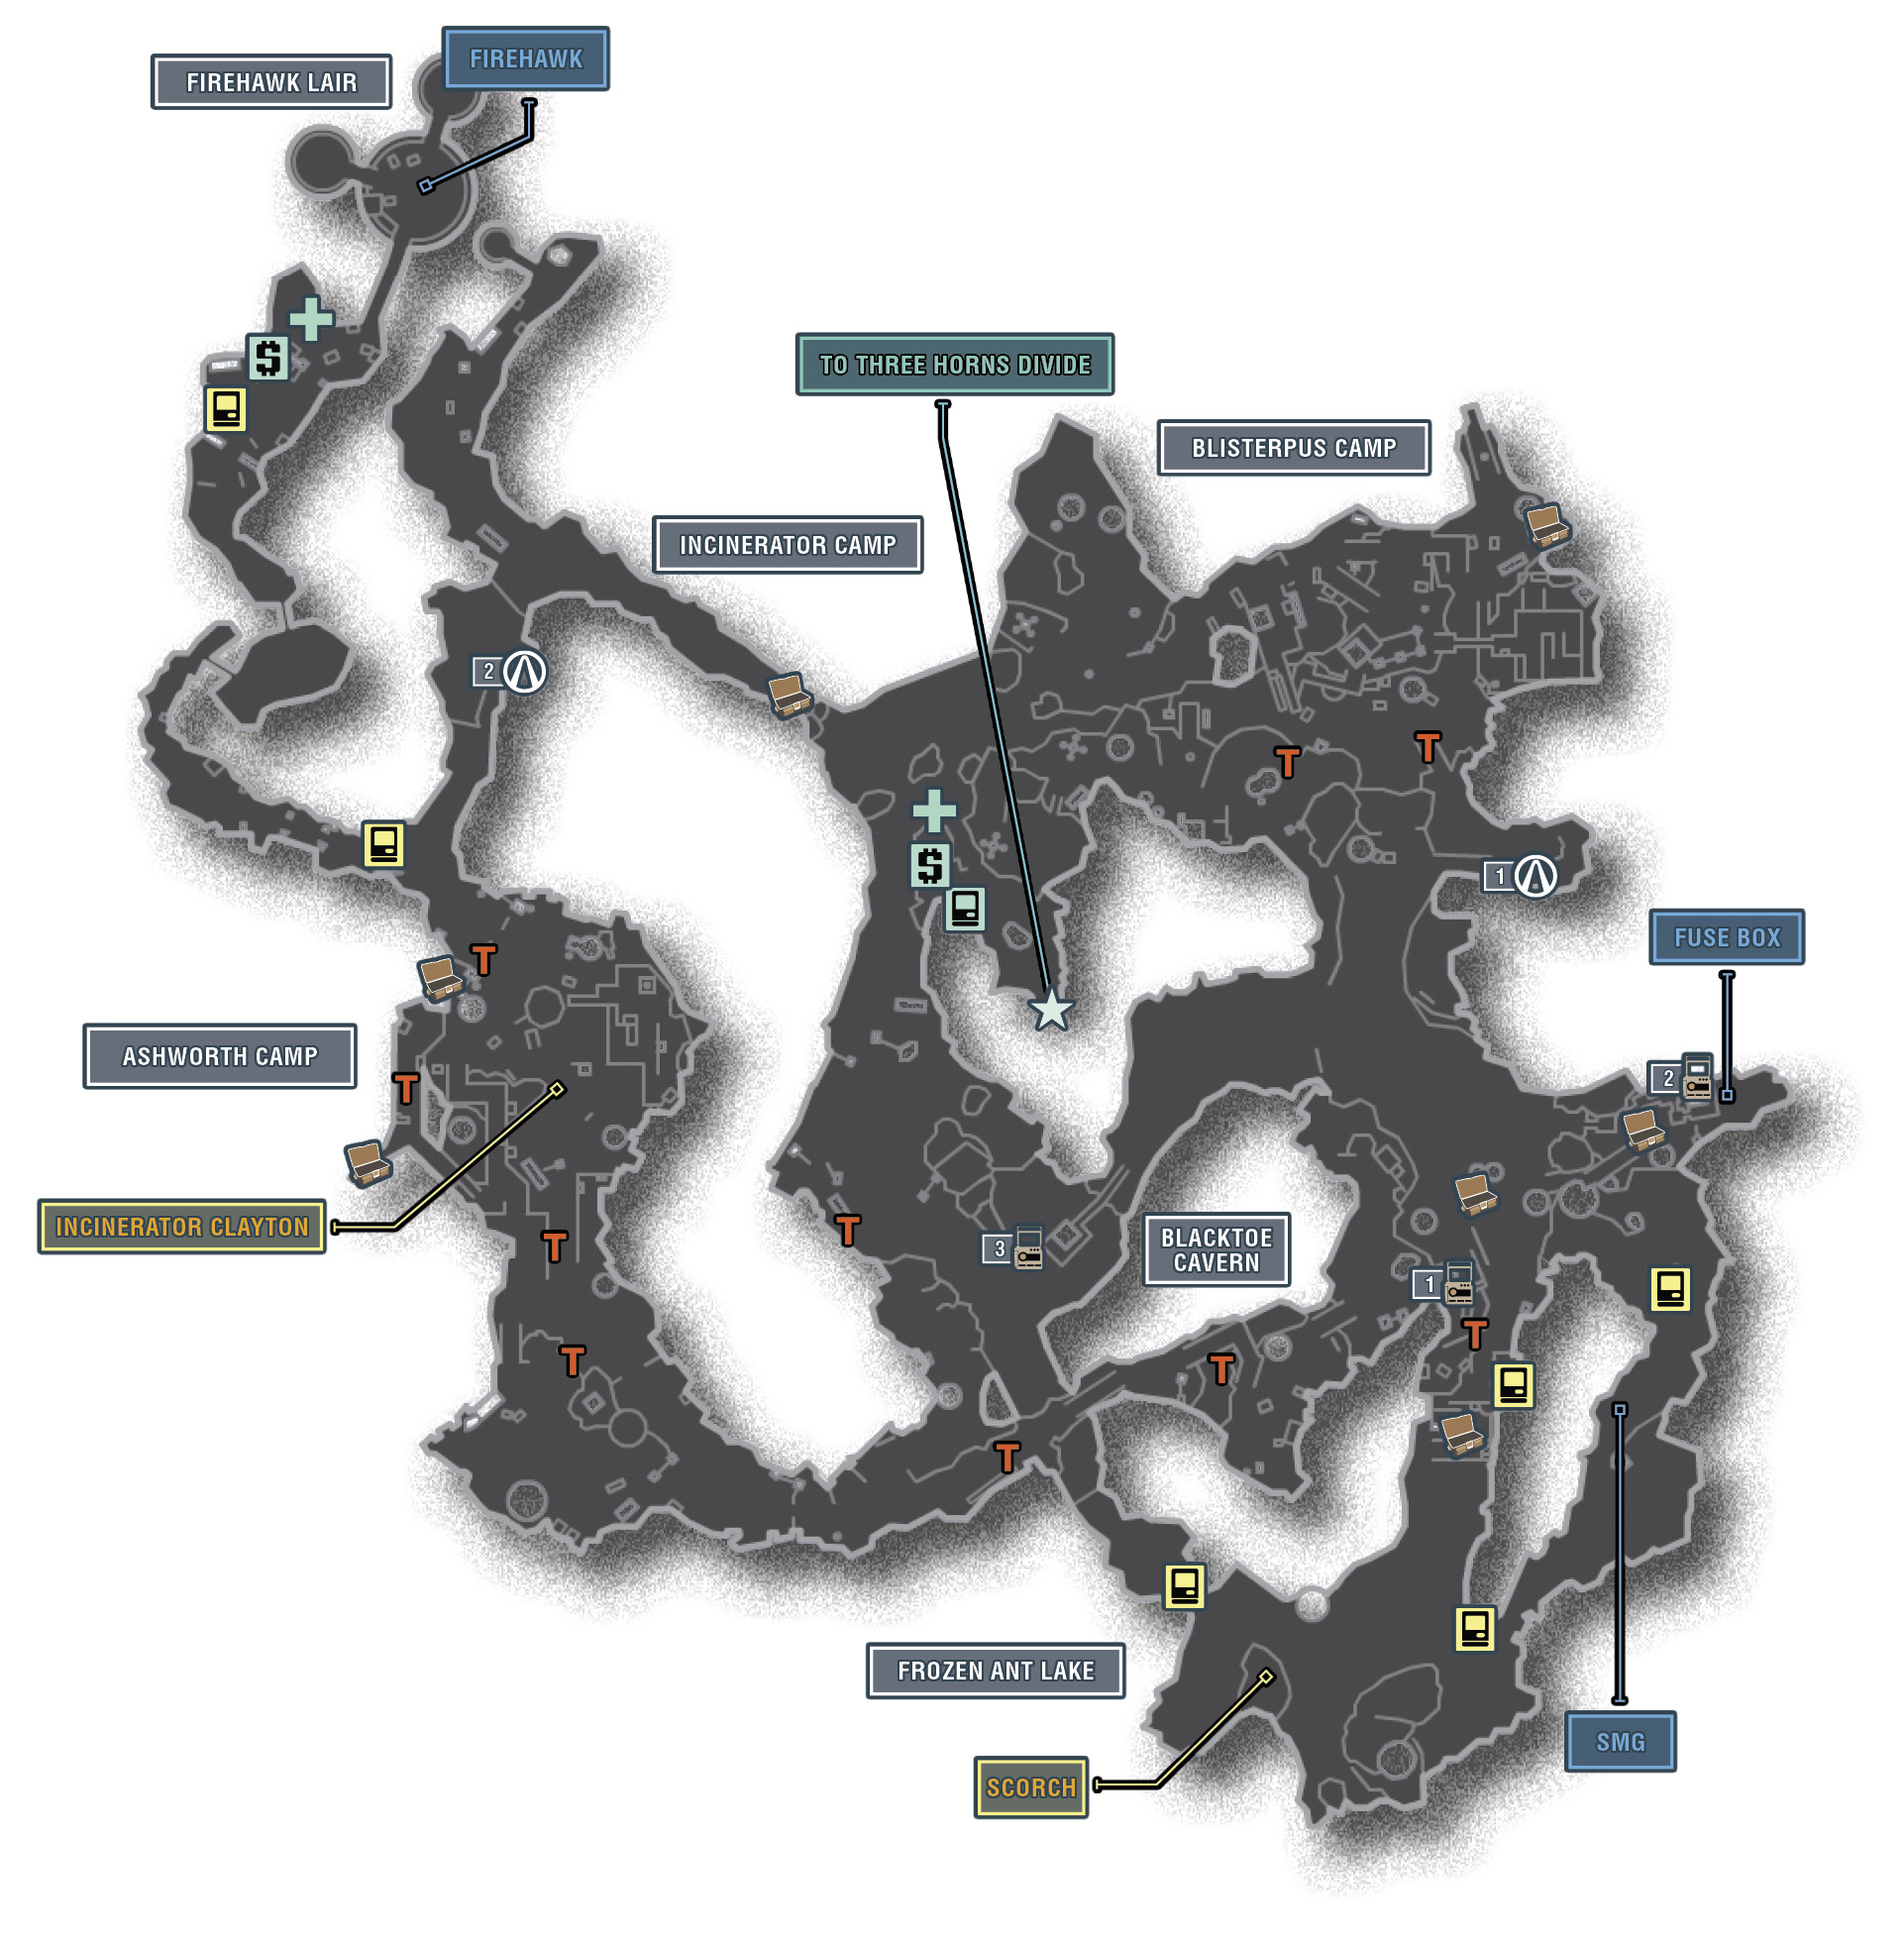
The Districts of Frostburn Canyon
| Locale | Limited Access? | First Visit |
|---|---|---|
|
Incinerator Camp |
No |
“Hunting the Firehawk” story mission. |
|
Blisterpus Camp |
No |
“Hunting the Firehawk” story mission. |
|
Blacktoe Cavern |
No |
“Hunting the Firehawk” story mission. |
|
Ashmouth Camp |
No |
“Hunting the Firehawk” story mission. |
|
Firehawk Lair |
No |
“Hunting the Firehawk” story mission. |
|
Frozen Ant Lake |
No |
“Cult Following: False Idols” optional mission. |
Dangerous Beasts
| Enemy Family |
|---|
High Value Targets
| Enemy | Family |
|---|---|
|
Scorch |
Spiderant |
|
Incinerator Clayton |
Psycho |
 Cult of the Vault
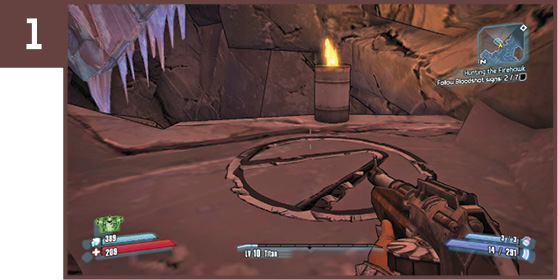
Approach the second Bloodshot Sign and enter the narrow cave on the left, near the New-U station. Follow the spiraling ledge upwards to find this Cult of the Vault symbol and a nearby treasure chest.
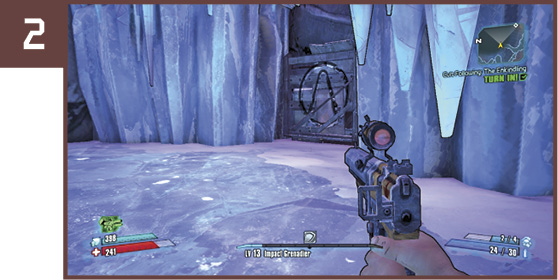
The second Cult of the Vault symbol lies to the north of Ashworth Camp, down the right-hand cave. Drop off the ledge into the icy pit to locate the Cult of the Vault symbol on the right. You can enter this cavern from the north, but the only way out is via the ladder on the south side, heading back toward Ashworth Camp.
 Burning Sensation
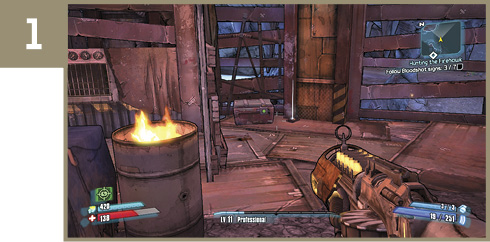
The first of the three ECHO Recorders can be found on your way to Firehawk Lair. Proceed through Blacktoe Cavern to the next bandit camp located just where the path turns to the west. It’s on the deck around the corner and uphill from the initial spiderant den.
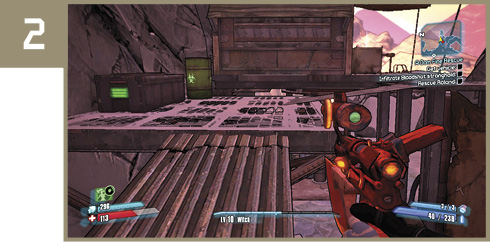
Loop through Frozen Ant Lake and take the left-hand path northward in a counter-clockwise direction to the clearing near Blacktoe Cavern. Climb onto the elevated walkways leading toward the cliffs to the east to find this Echo Recorder near an electrical fusebox on the end of the walkway.
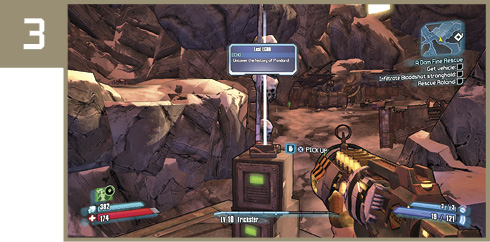
This ECHO Recorder is atop a tower just south of the Fast-Travel station, but requires a lengthy journey through Frozen Ant Lake to reach it. Take the left-hand path northward as you loop through Frozen Ant Lake and keep left to cross to the west and reach the tower overlooking the camp below.

Totems of Fire
The Firehawk’s obsessive followers have hung 10 Totems of Fire in tribute. These totems— constructed of skulls, wooden planks, and metal spikes—hang from walkways and support beams throughout Frostburn Canyon. It’s up to you to locate all 10 and use a Fire weapon to ignite them. The 10 locations are marked on the adjacent map. Those who stick to the mission path will find 7 of the 10 during the “Hunting the Firehawk.” Further exploration of Frostburn Canyon will be needed to find the remaining three.
Additional Challenges
Praise Be to Scorch: Kill Scorch without damaging his minions (see “Cult Following: False Idols” in the Optional Missions section of this guide for details).