Borderlands 2 Game of the Year Guide Captain Scarlett and Her Pirate's Booty
Two Easy Pieces
|
 Mission Briefing
| Level | Money | XP | Gear |
|---|---|---|---|
|
16 |
$275 |
3917 |
— |
*Money and XP may vary based on player’s level at start of mission.
Sandman’s Compass Piece
The first step in killing Sandman is finding Sandman. He’s in the area known as Hayter’s Folly, located beyond the Coastal Caverns area in the northwest corner of Oasis. Use the Fast Travel station aboard Scarlett’s ship to return to Oasis, board a sandskiff, and make your way north of town. Maintain the high ground, and blast your way past the handful of pirates in the area as you make your way to the Hayter’s Folly entrance.
Hayter’s Folly is a water-filled cave, a literal oasis buried beneath the sands and rock of the Town of Oasis, much to Shade’s dismay. The cave is shaped like a spiral, with only one main way to proceed on your initial visit. You’ll have plenty of time to return to seek out the Cult of the Vault symbols and other secrets; it’s best to focus on the task at hand for now. Wade across the water, and enter either of the narrow rocky caves to the west. The two paths join up just ahead, beyond the Badass Pirates guarding the depths of the cave. Search the upper walkways of this room, then continue along a northwest path into the crystalisk area.
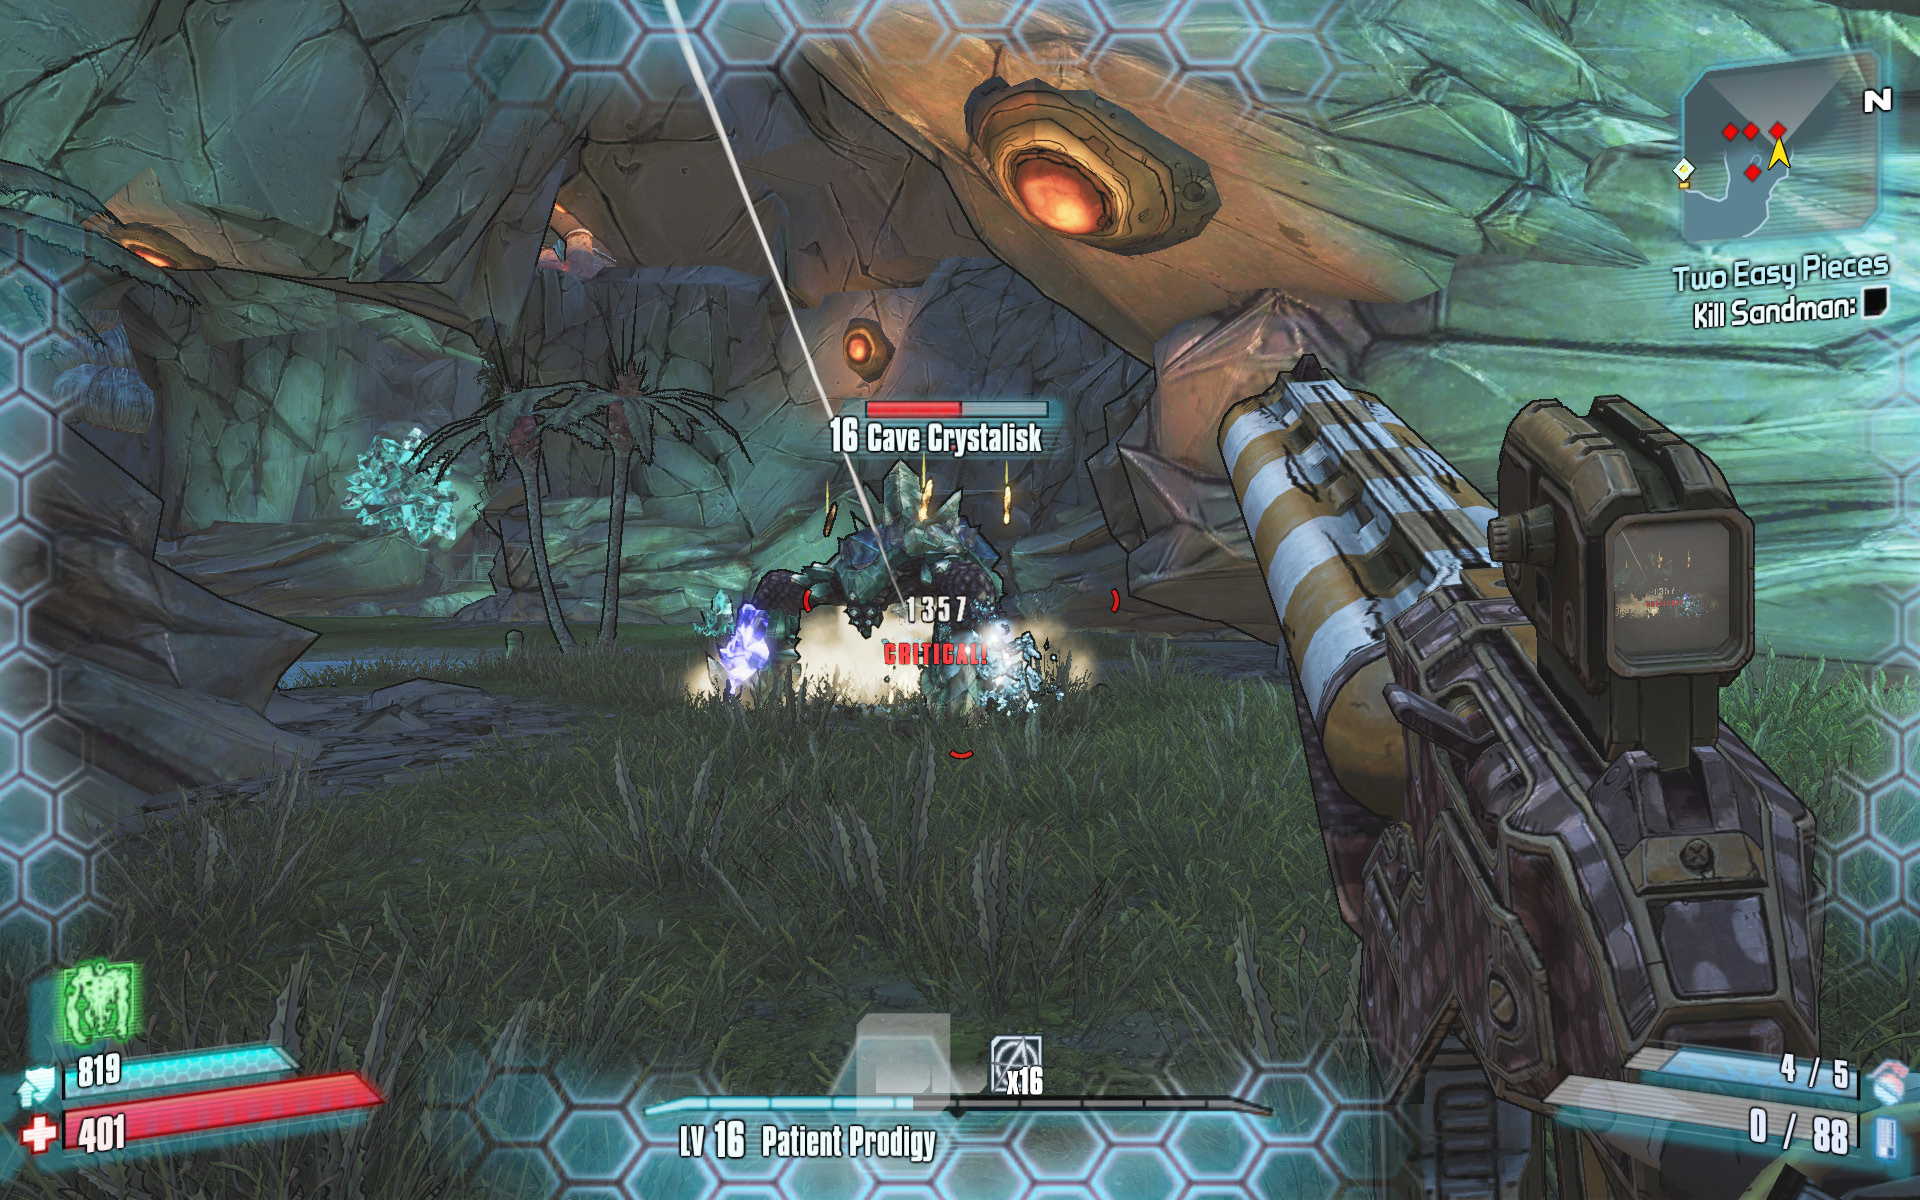
The Rustler’s Orphan Maker shotgun makes quick work of the Cave Crystalisk’s fragile legs.
Push on through the Aquanexus area as it winds its way to the southwest. The area ahead is filled with Cave Crystalisks and all manner of skags, including corrosive Spitter Skags. Circle the Cave Crystalisks as you blast away at their legs one by one with the Rustler’s Orphan Maker.
Advance slowly and clean the area of Cave Crystalisks and skags, then switch to your sniper rifle as you encounter a lightly guarded camp. Many of the pirates in this area are toting laser-sighted rifles—their accuracy is improved, but the lasers give away their location, making them that much easier to shoot.
Climb the walkways near the vending machines and proceed to the Hot Spring Hideout, so named for the greenish pools of bubbling water in the center of the cave. Stay high atop the walkway, and take out the gun turret on the platform to your right as you enter. Beware the heavier melee-based Buccaneers who attack as you make your way around the upper perimeter in a counterclockwise direction. Leave the lower water-filled area for later and stay high.
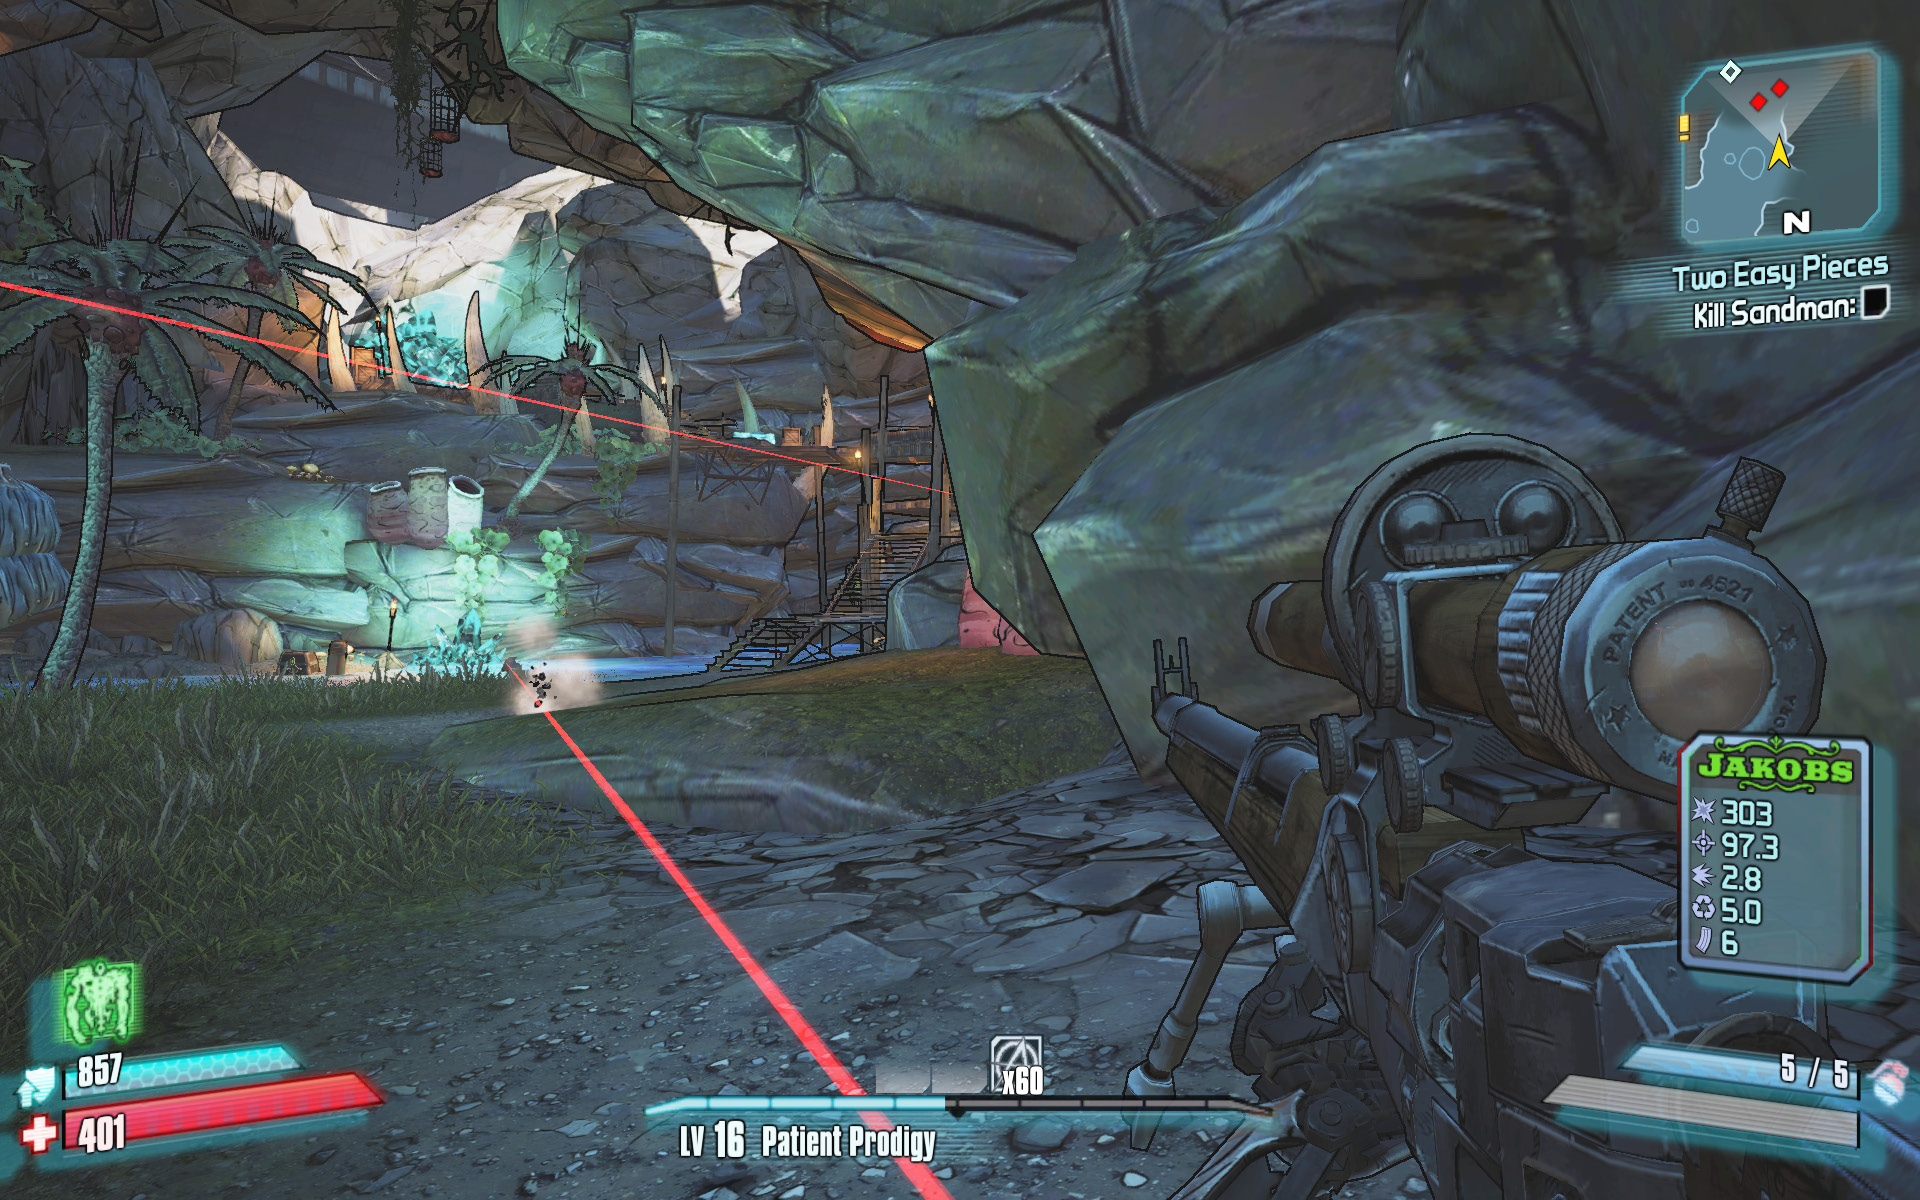
Eliminate all creatures, then switch to your sniper rifle and take out the pirates.
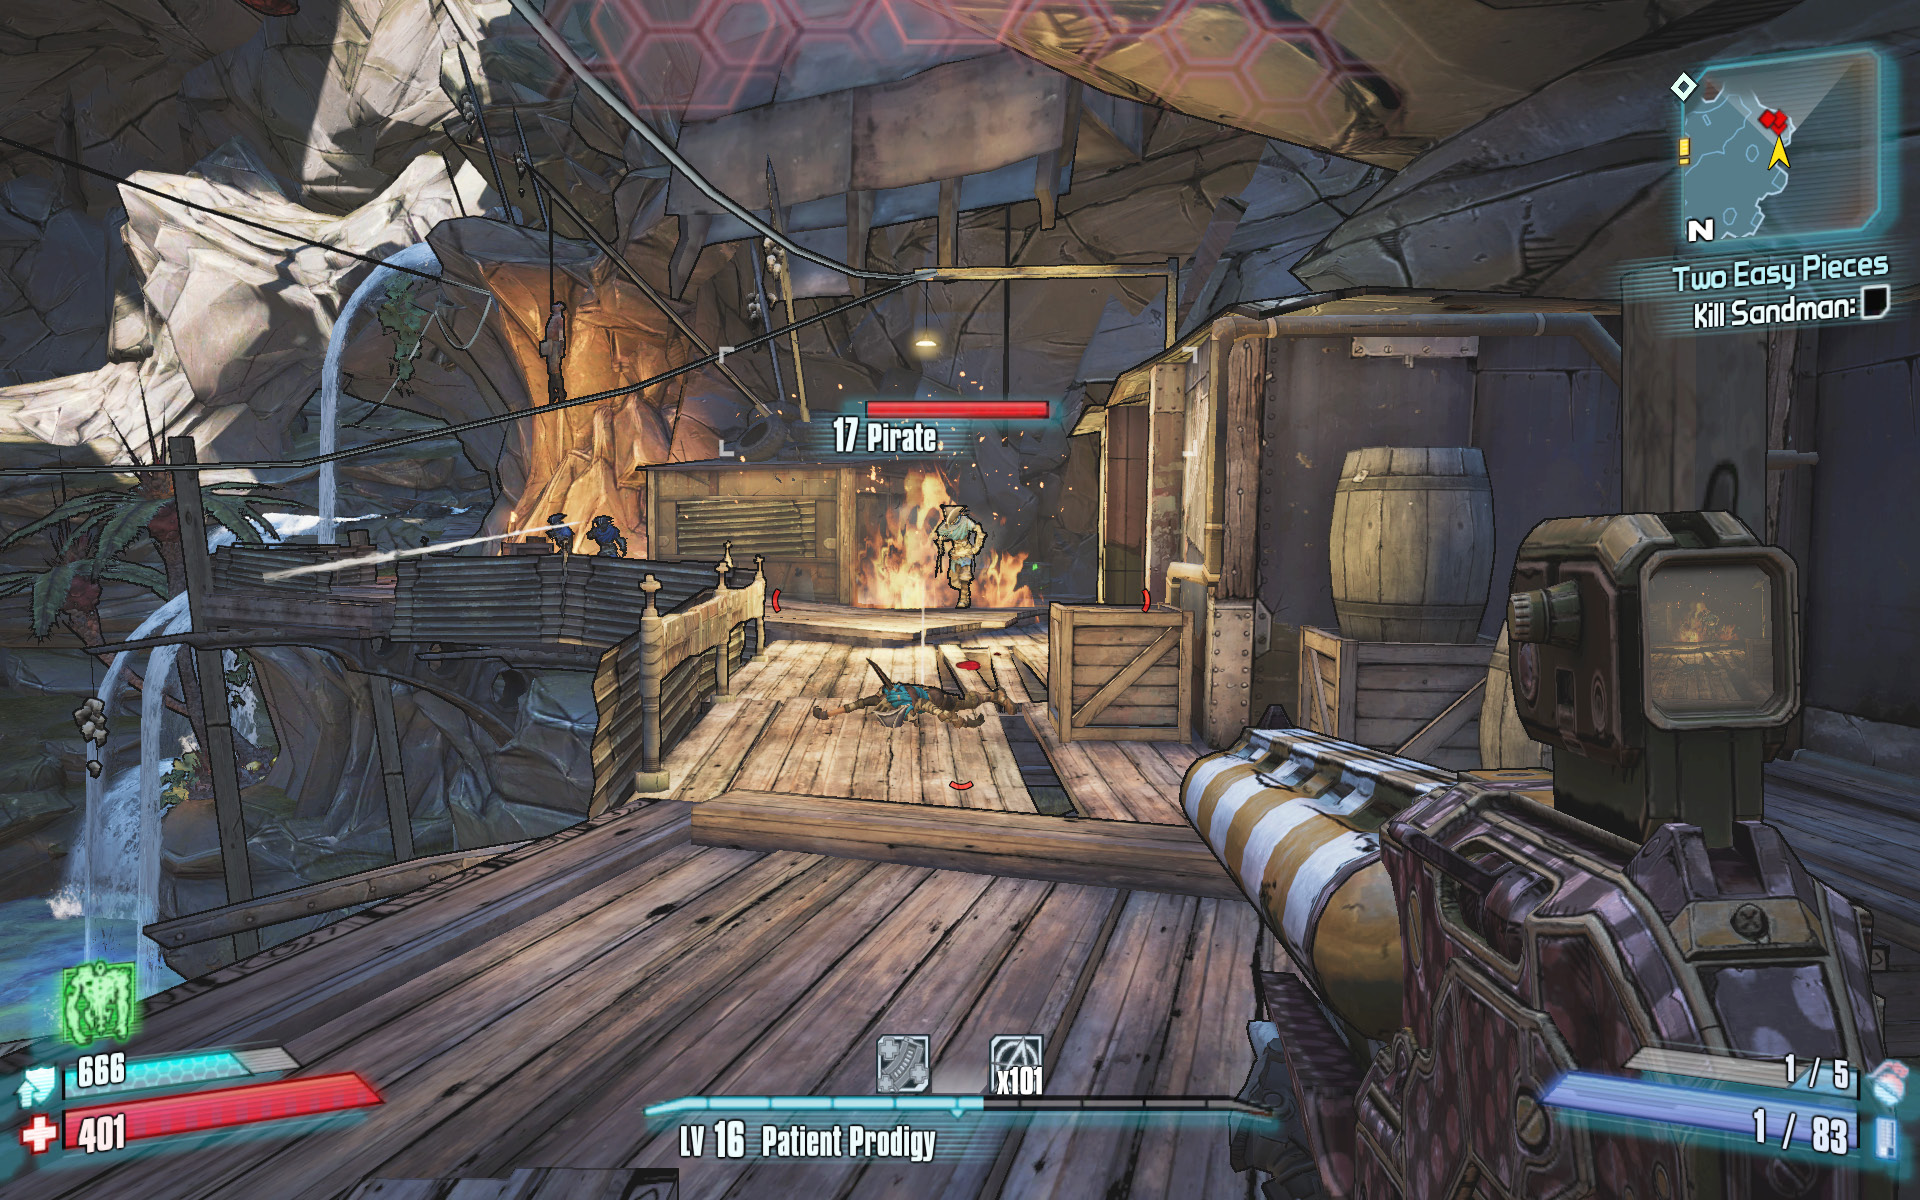
Use fire element grenades and your Action Skill to beat back the crew of pirates in Hot Spring Hideout.
Follow the upper wooden walkway to the cave leading eastward to the next area. Descend the rocky path to the next clearing, and focus on eliminating the many pirates in the area. The path to Sandman’s hideout is gated shut. Climb the ladder on the east side of the cave to another elevated walkway. Gather up some ammo from the crates, then pull the lever to open the gate.
Sandman doesn’t attack alone, nor does he attack first. His sidekick The Big Sleep, a hulking armored pirate, descends the stairs and attacks first. The Big Sleep carries a pair of chained anchors that he throws at you to inflict moderate damage. He then retracts the chains and throws them again. He’s not only accurate with the anchors, but he can throw them a surprising distance, too. Waste no time in taking him out. Lob a Shock grenade to drain his shield, then open fire with a rocket launcher or the Rustler’s Orphan Maker to dispatch him.
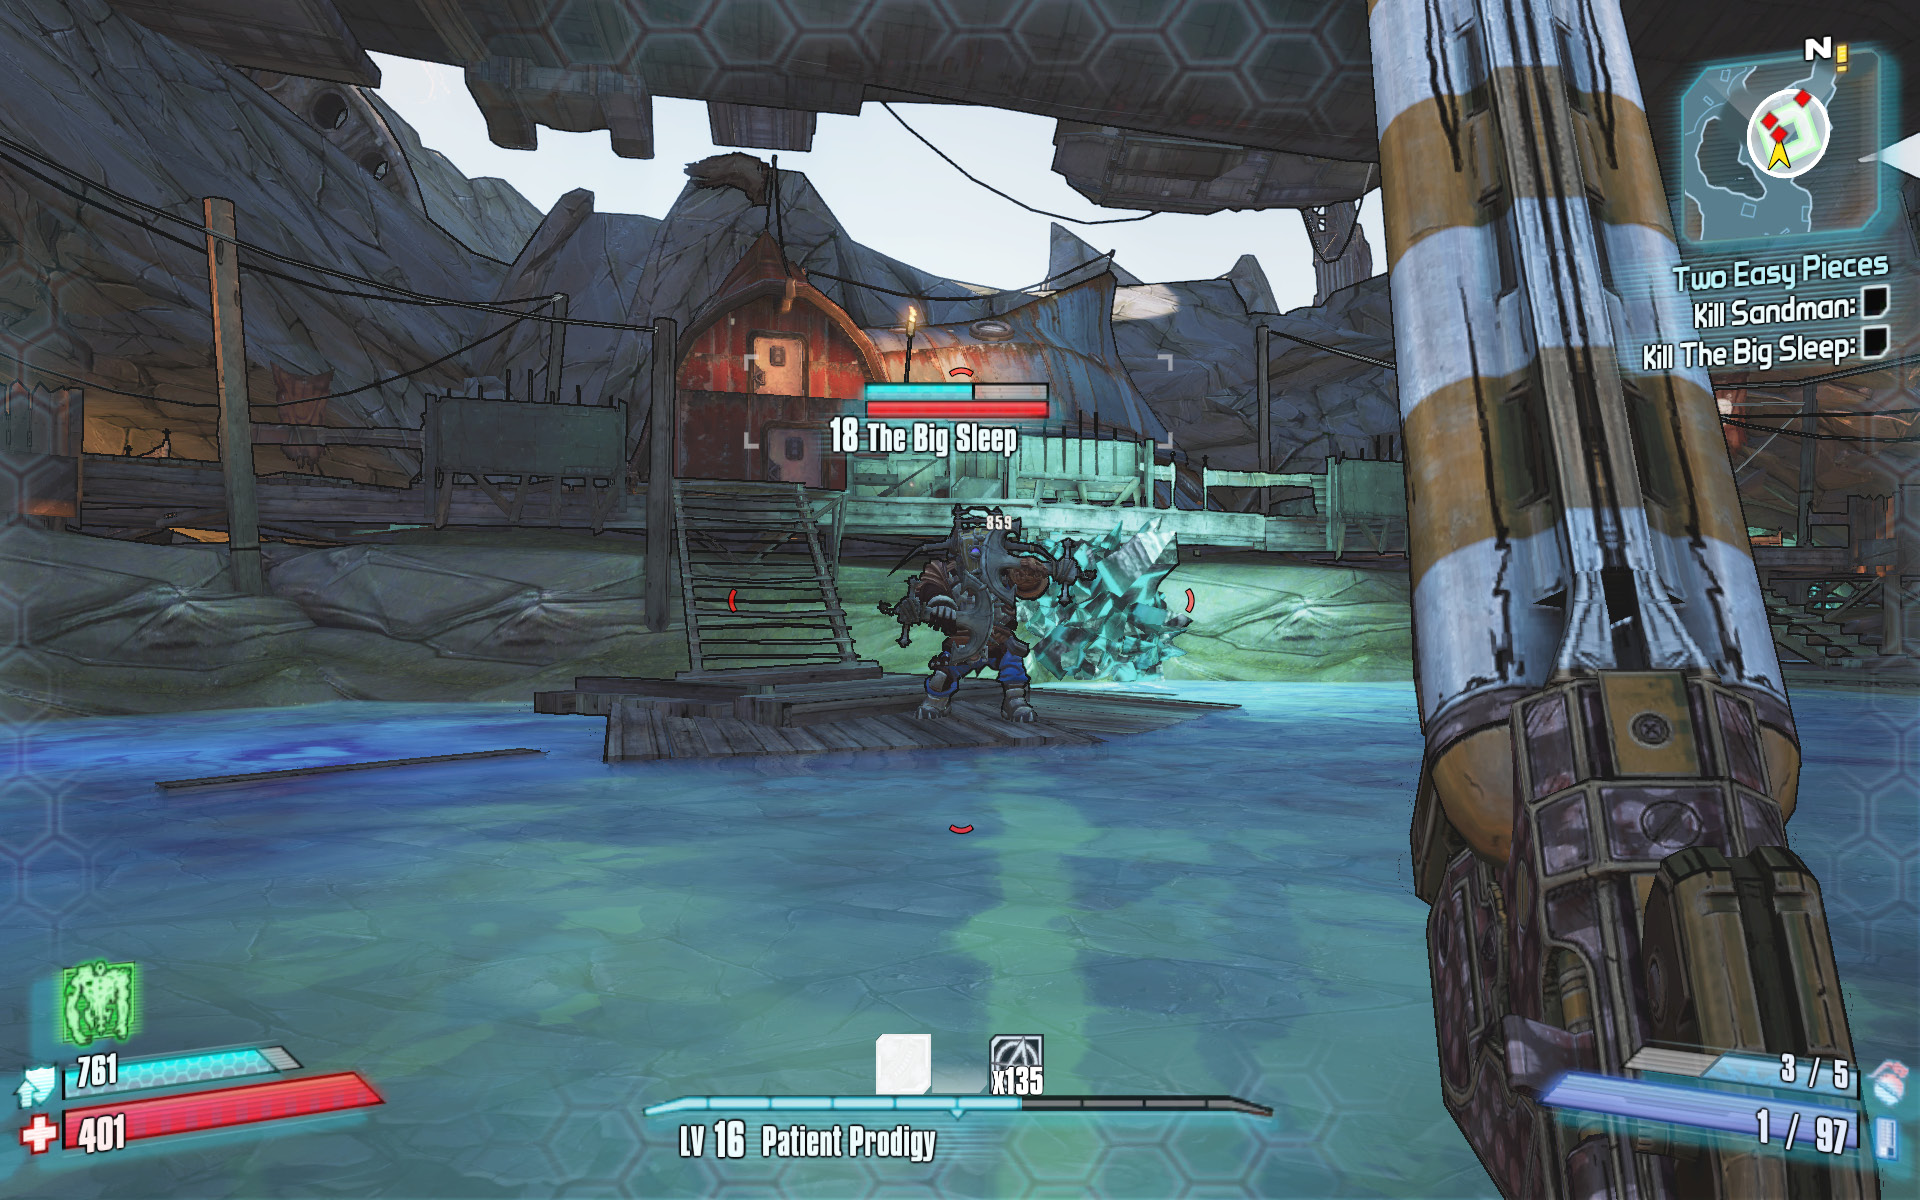
Sidestep The Big Sleep’s anchor attacks, then blast away at his slow-moving frame.
Once you defeat The Big Sleep, Sandman sends some reinforcements in to attack. Lure them down into the water, then circle around to the stairs on the right and attack Sandman.
This should give you a clean run at him. Charge his position, blow him to pieces, then clear the area of any Buccaneers or pirates.
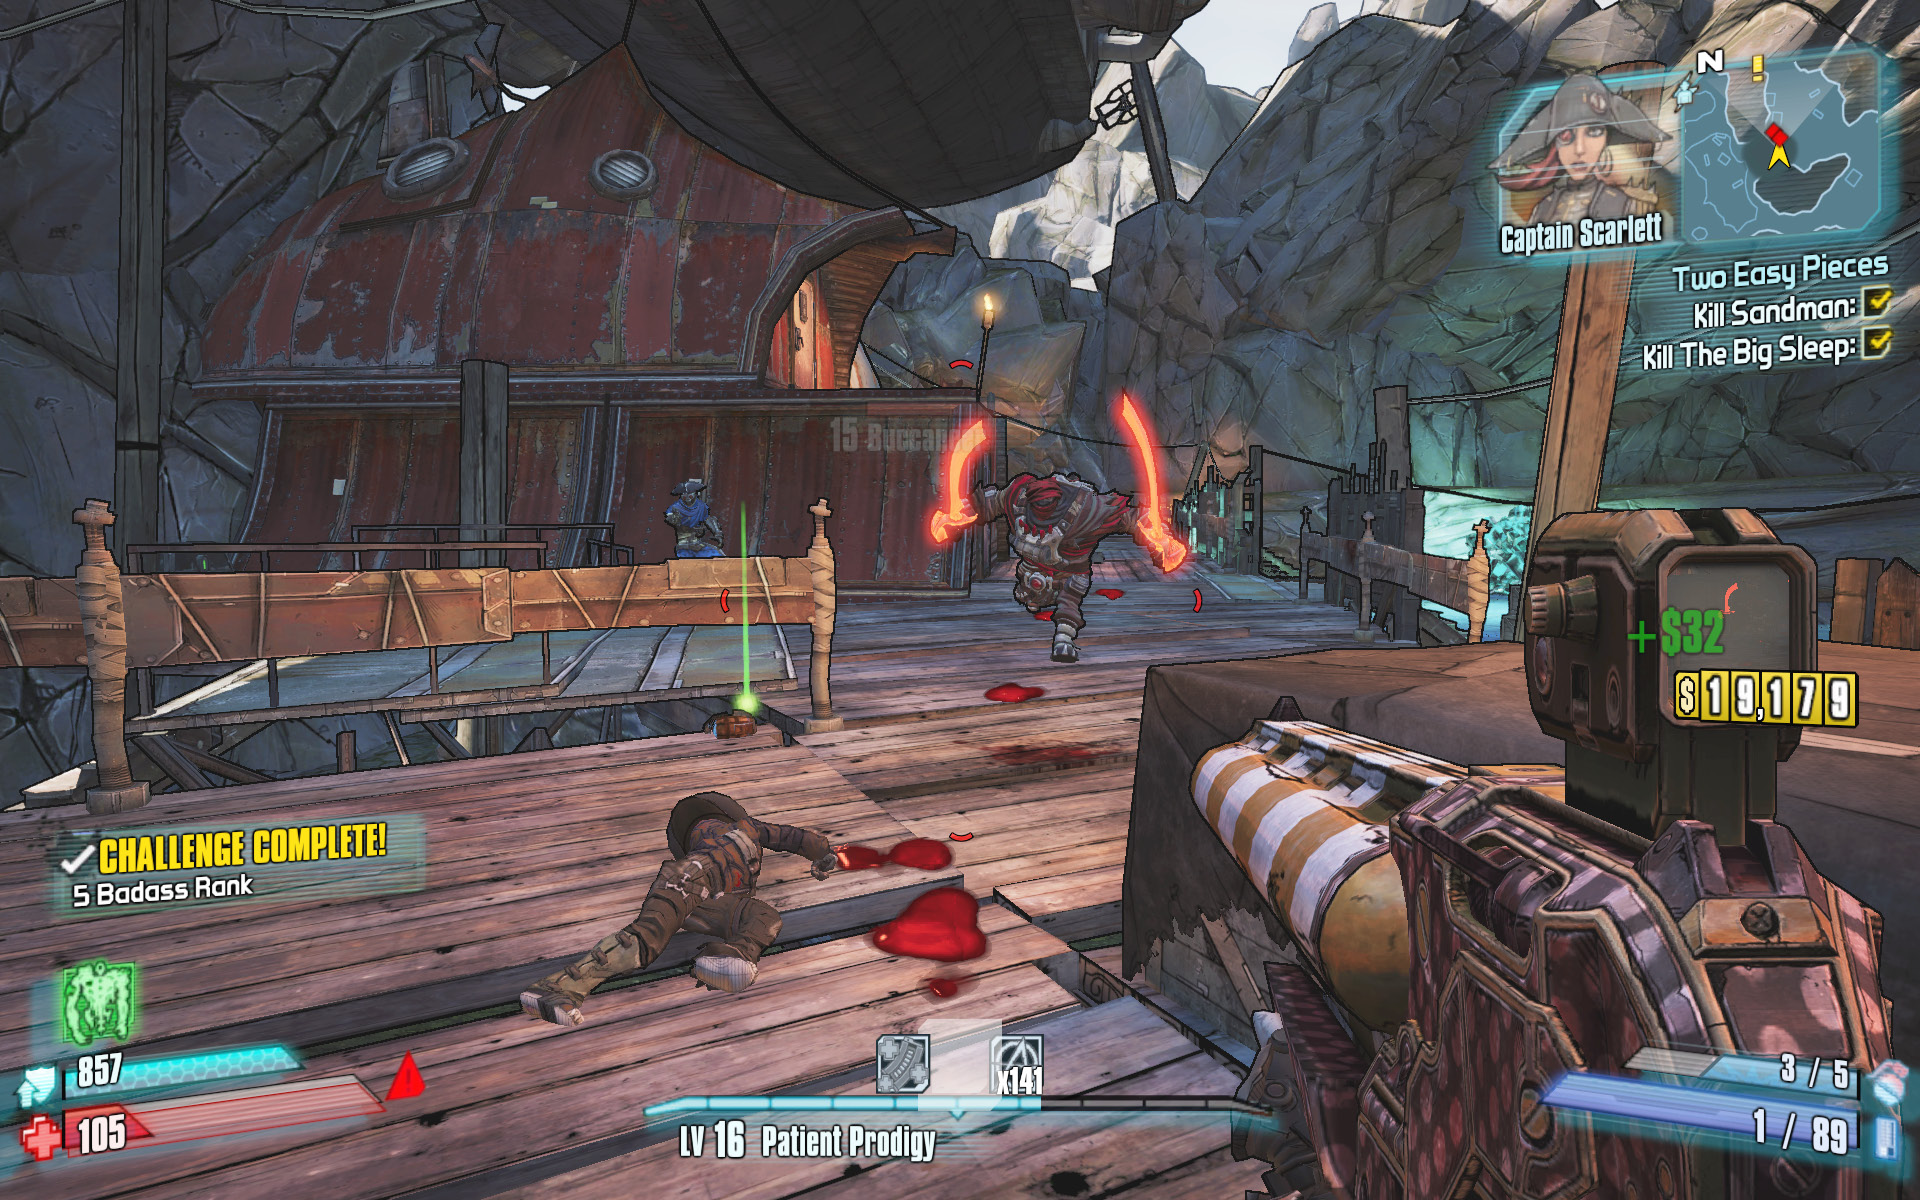
It only takes one shot with a high Anarchy stack to drop the Sandman.
Collect the compass piece from the chest on the walkway off to the right of the stairs. Now that you have the second piece (remember that Scarlett already has one of them), it’s time to raid a Hyperion caravan to find the third. Loot the treasure chest at the northeast end of the walkway, then make your way back out of Hayter’s Folly. Proceed north through the narrow passage to the lift near the waterfall. Defeating Sandman grants you usage of the lift—remember this for a return trip. Use the Fast Travel station to return to Wurmwater.
Looting the Loader Caravan
Use the Catch-a-Ride aboard the Pirate Queen’s ship to grab yourself a sandskiff, preferably with rockets, and take off northward out of the Buccaneer’s Bacchanal toward Old Murphy’s Canyon. Make your way east up and over the steep hill to the adjacent canyon, heading to the area marked on your map. Ignore any lasers you see from the pirates in the nearby camp, and proceed south toward the three Badass Loaders protecting the small caravan of skiffs.
Circle the caravan with your sandskiff, and open fire on the Badass Loaders. Try to focus your attacks on a single target until it is destroyed. This helps reduce the amount of return fire you’re taking. The caravan comes to a halt as you attack it, making it that much easier to circle the skiffs and continue your attack. Destroy the three Badass Loaders, then collect the compass piece from the chest on the middle skiff. Loot the treasure chests on the other skiffs for valuable weapons and gear. Several EXP and Gun Loaders are likely to attack after you grab the compass piece. Climb back aboard your sandskiff and return to Captain Scarlett.
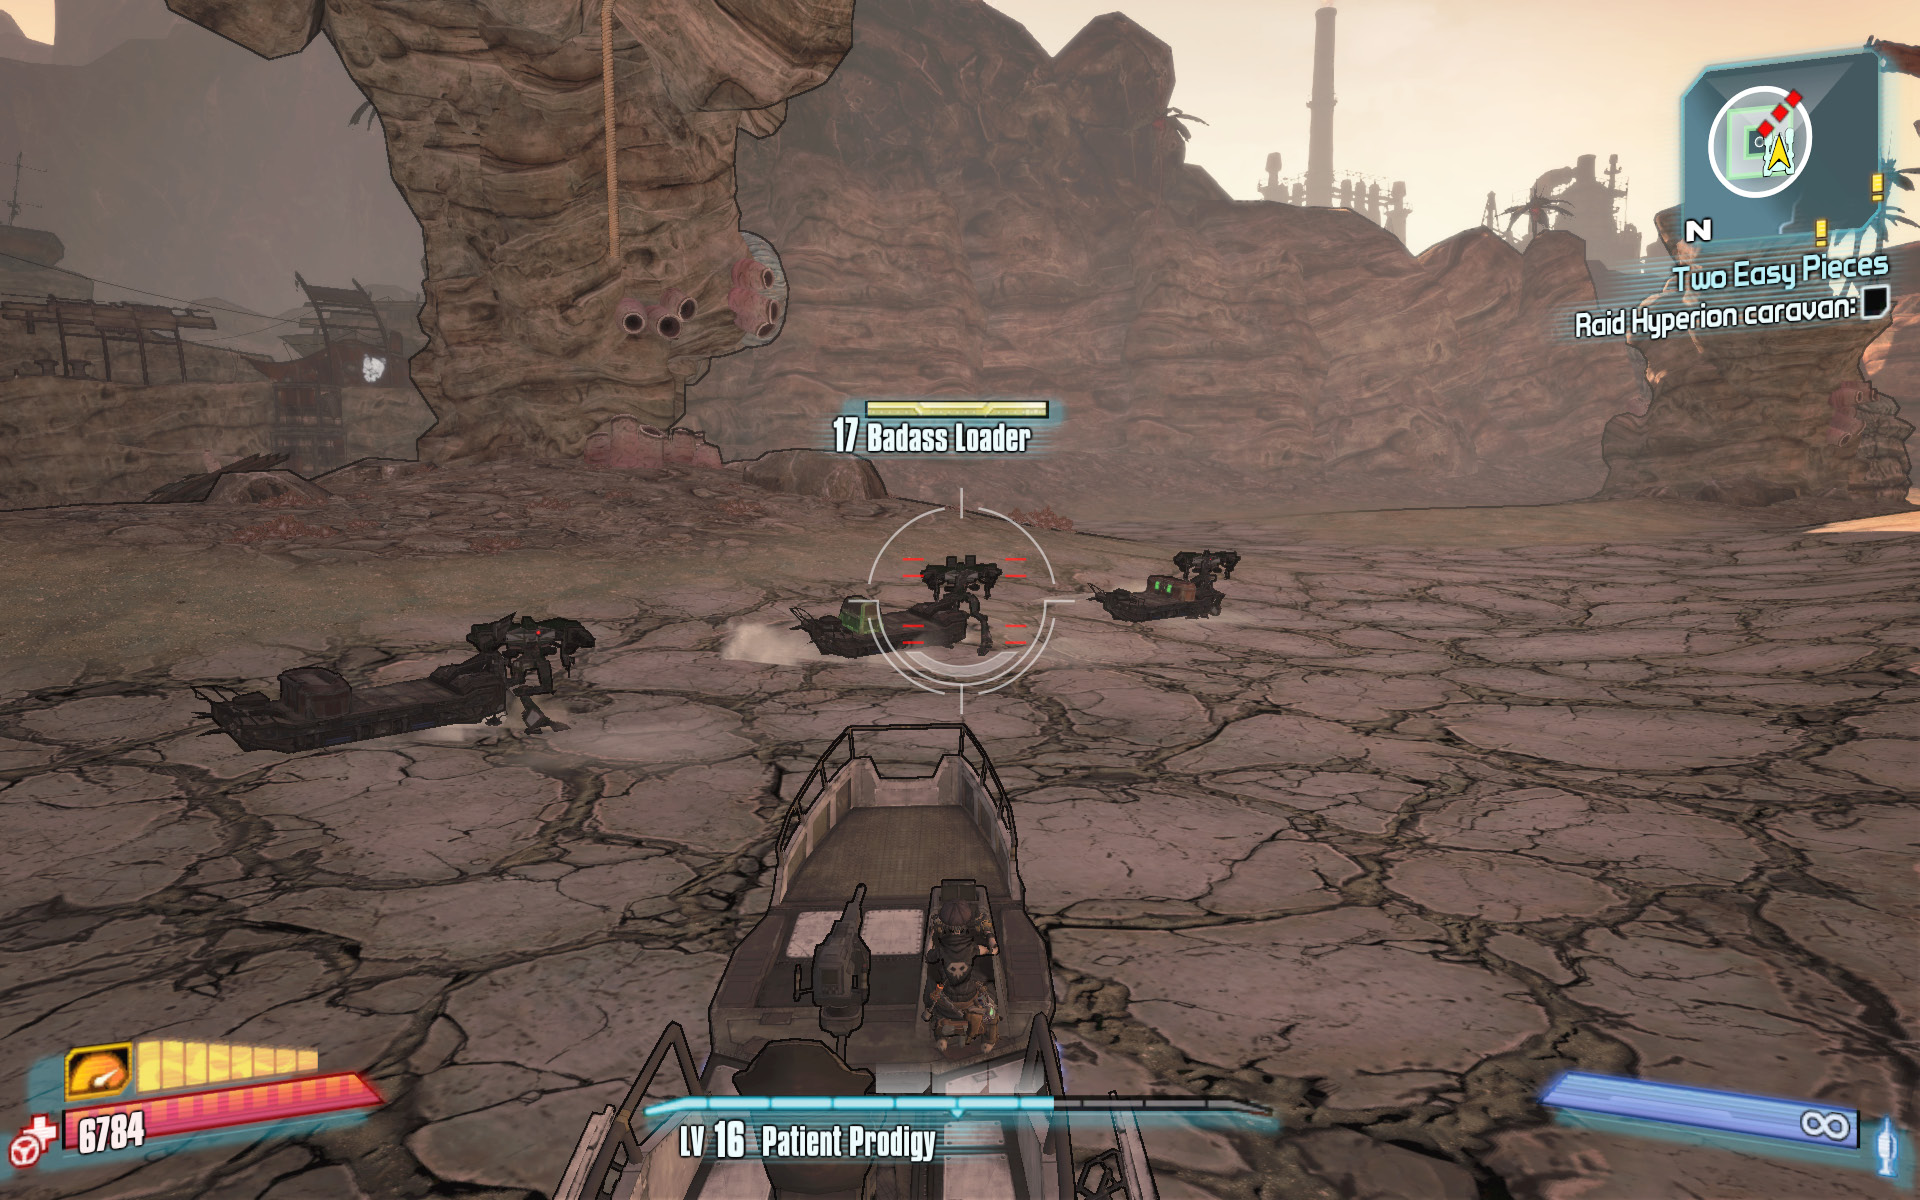
Fire your rockets or harpoons at the Badass Loaders as you slide circles around the caravan.
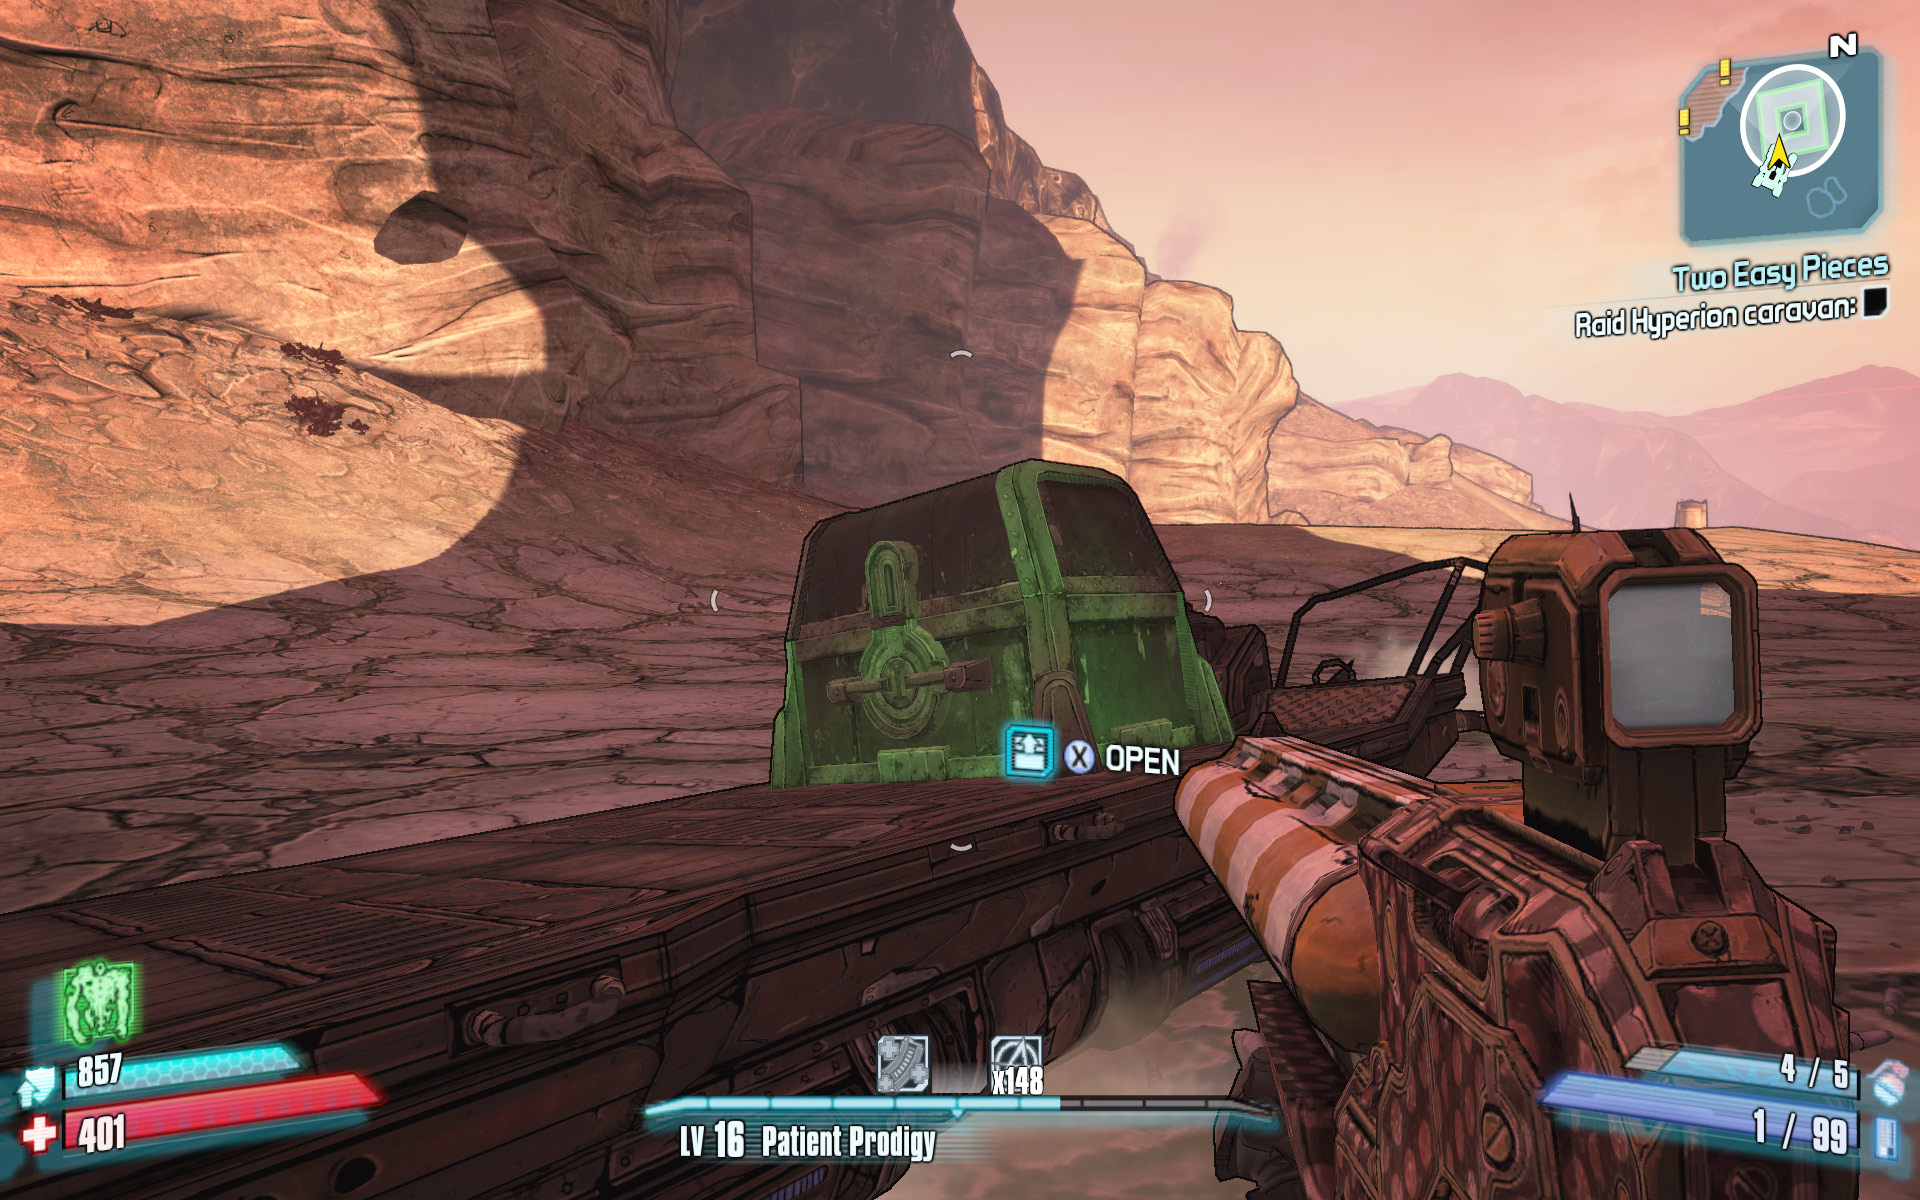
Find the compass piece in the chest on the middle skiff.
Grendel
Sir Hammerlock has a job for you!
Optional Mission Rewards
| Level | Money | XP | Gear |
|---|---|---|---|
|
16 |
$55 |
1305 |
Class Mod (blue) or Class Mod (blue) |
*Money and XP may vary based on player’s level at start of mission.
Sir Hammerlock would like you to return to Hayter’s Folly and locate a bullymong by the name of Grendel. Use the Fast Travel station to access Hayter’s Folly post haste. Once inside the cavern, follow the split path in the cave to the Aquanexus area, and ascend the steps on the right-hand side. Feel free to ignore any Cave Crystalisks milling about the bottom of the cave. Ascend the sloping path in the northeast corner of the area to a large dumping pit. Grendel soon makes herself known.
Open fire on Grendel with a slag or fire weapon to soften her up, then switch to something a bit more potent like a rocket launcher or shotgun. Try to keep your distance because Grendel can inflict significant pain with her claw attacks. Cut her down, then return to the Bounty Board to collect your reward.
Message in a Bottle (2 of 5)
Hey, another message in a bottle!
Optional Mission Rewards
| Level | Money | XP | Gear |
|---|---|---|---|
|
17 |
$617 |
290 |
Assault Rifle (blue) |
*Money and XP may vary based on player’s level at start of mission.
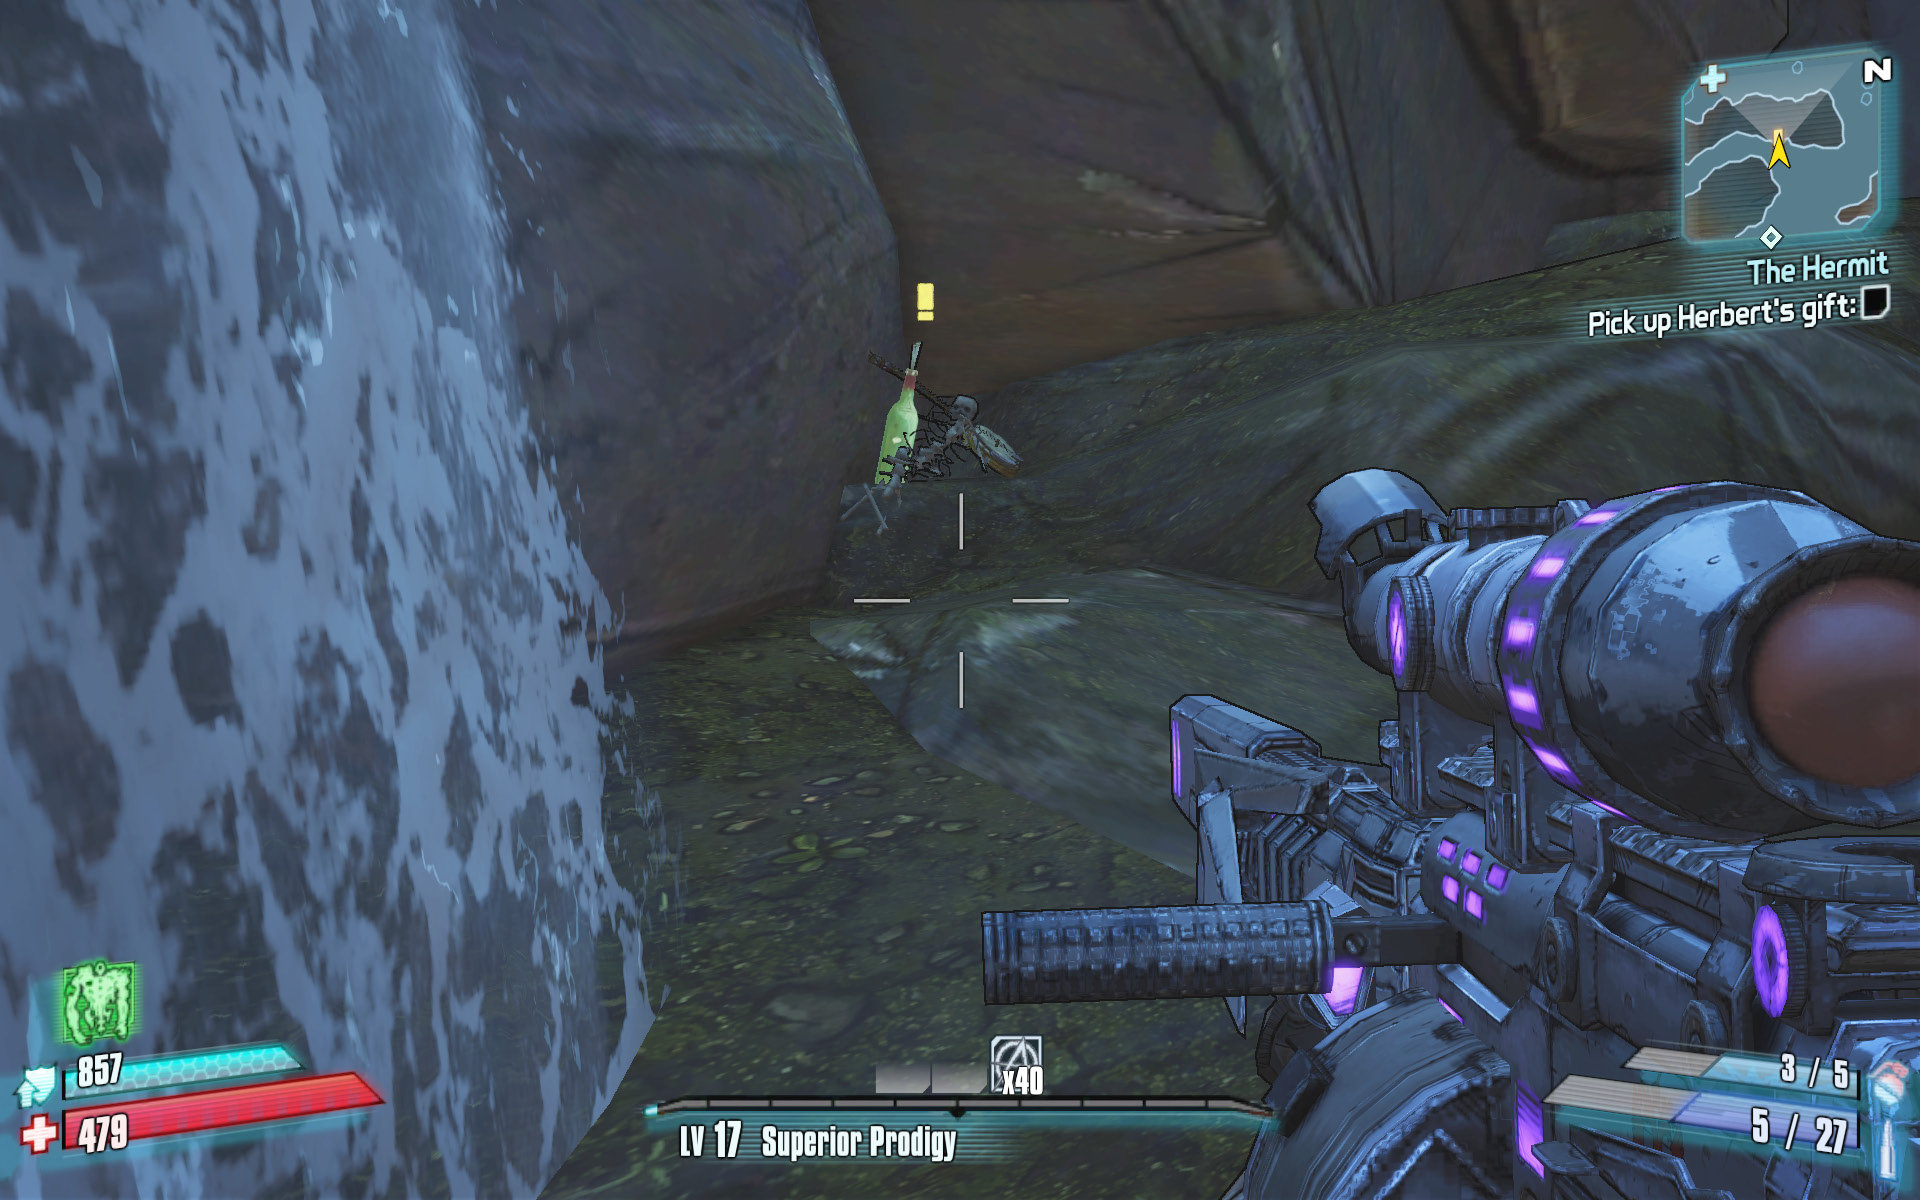
Return to Hayter’s Folly, and ride the lift partially up the waterfall before jumping onto the ledge halfway up. To accept this mission, pick up the bottle held by the corpse in the corner to the right of the waterfall.
The hidden treasure is in the Hot Spring Hideout area of Hayter’s Folly. Ride the lift to the upper path, and make your way to the southwest corner of the area (you may get a chance to fight Sandman and The Big Sleep again if you proceed in a counterclockwise direction).
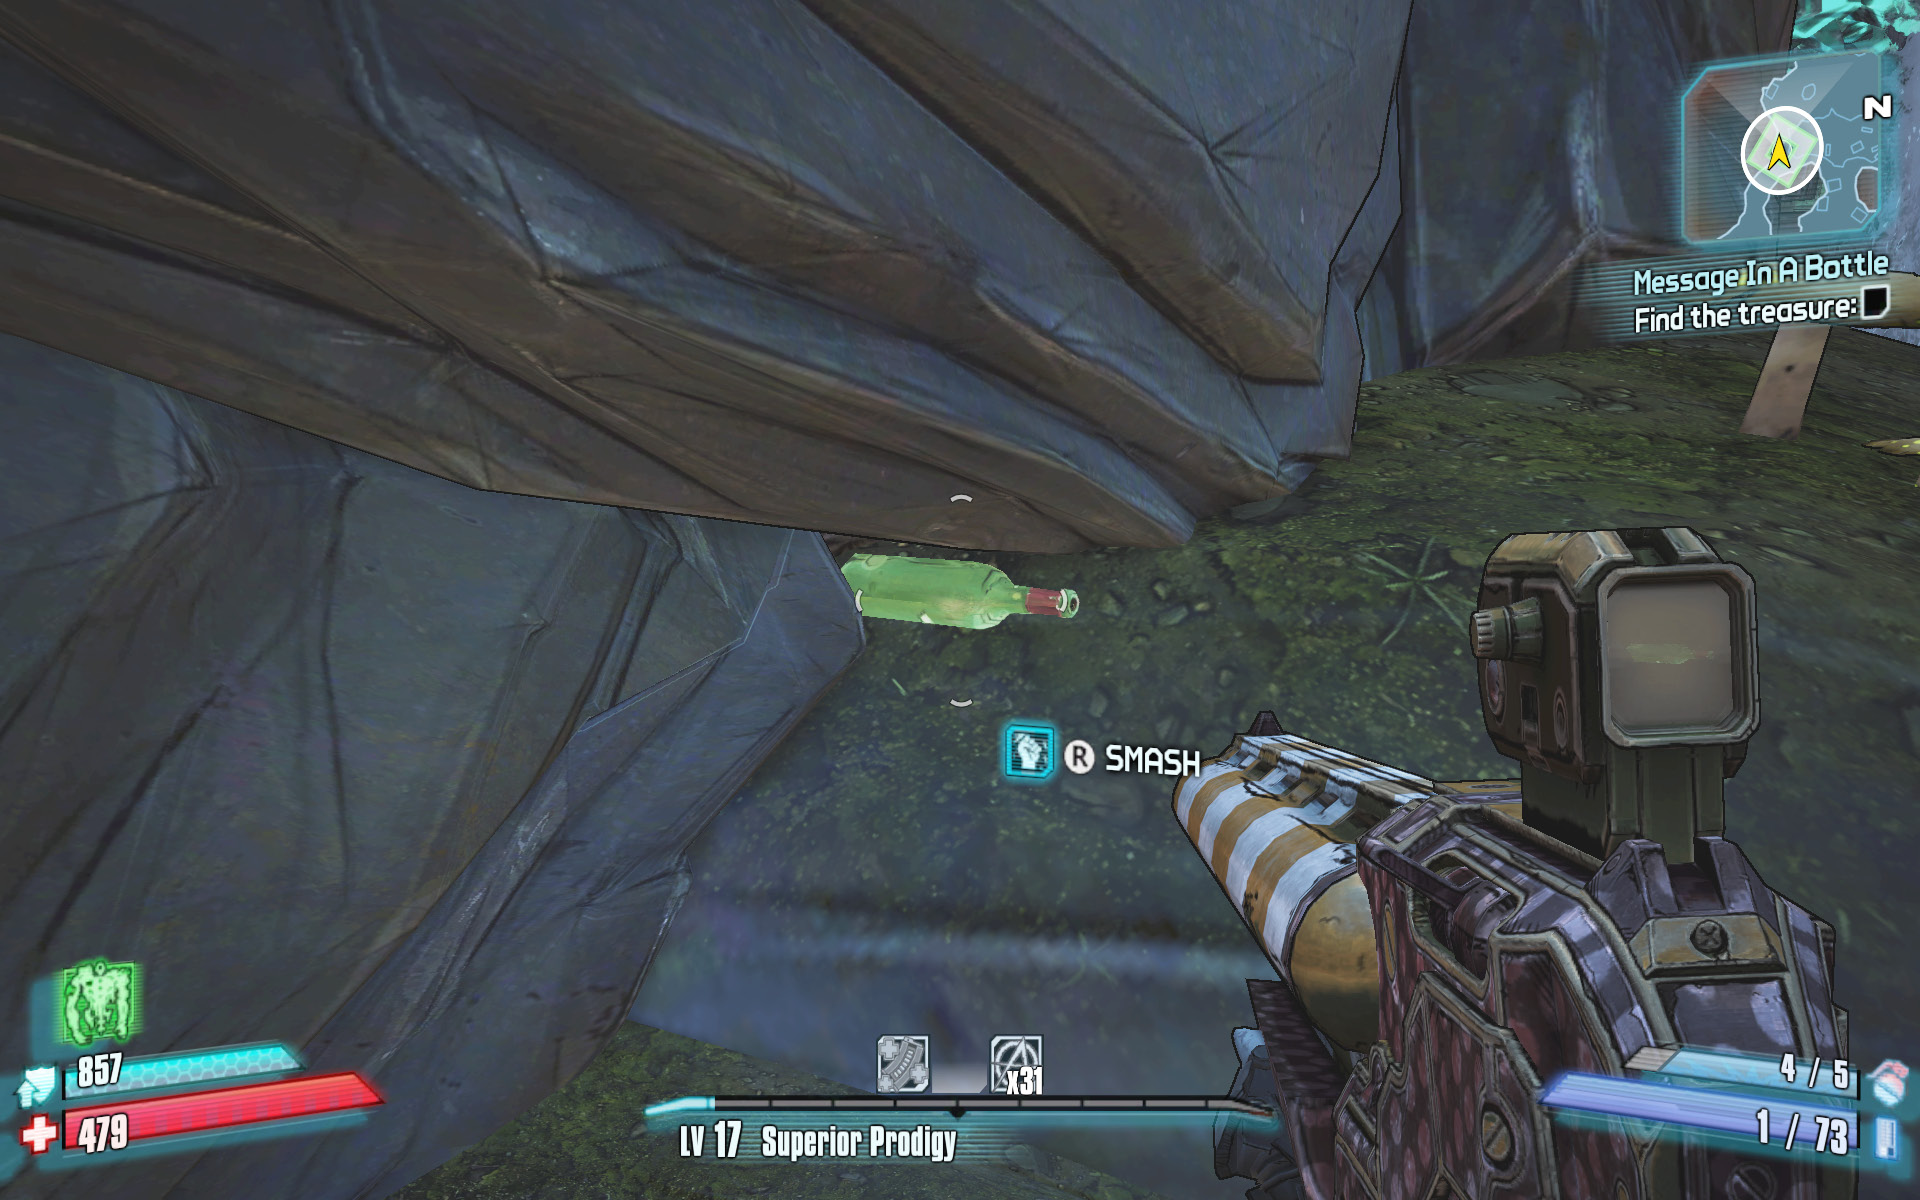
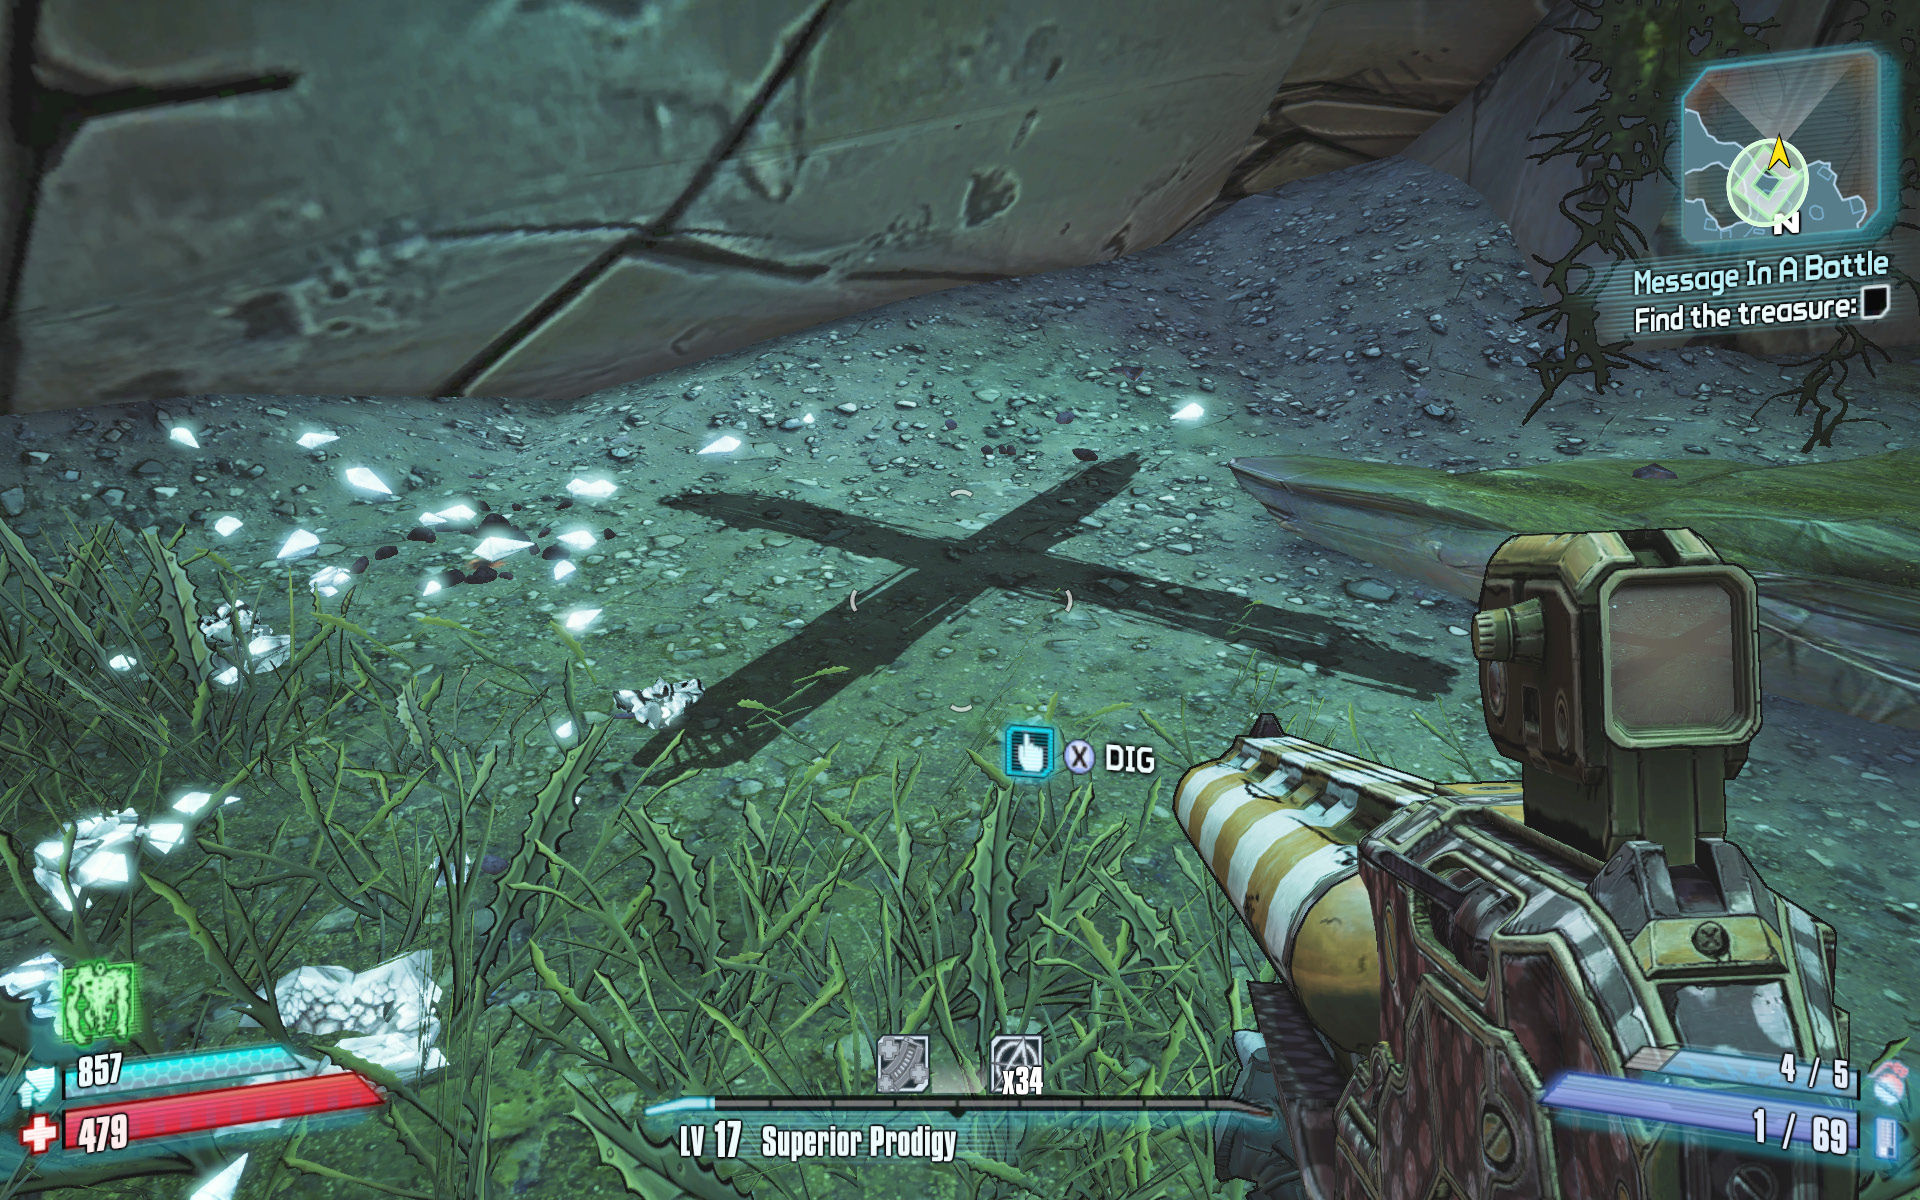
Leap off the platform in Sandman’s Overlook (use the telescope first to complete the Master of My Domain challenge), and start clearing the area of pirates. Search along the rocks on the south side of the Hot Spring Hideout area for a green bottle wedged into a crack on the west side. Smash the bottle to knock down a false wall, revealing a hidden area containing the treasure. Kill any Cave Crystalisks that attack, then dig up the treasure where “X” marks the spot. Finding this chest earns you Captain Blade’s Rapier, an assault rifle capable of inflicting +200% melee damage!
Smells like Victory
Mercer has a tiny problem. His name? Shiv-Spike.
Optional Mission Rewards
| Level | Money | XP | Gear |
|---|---|---|---|
|
16 |
$137 |
2611 |
Shield (green) or SMG (green) |
*Money and XP may vary based on player’s level at start of mission.
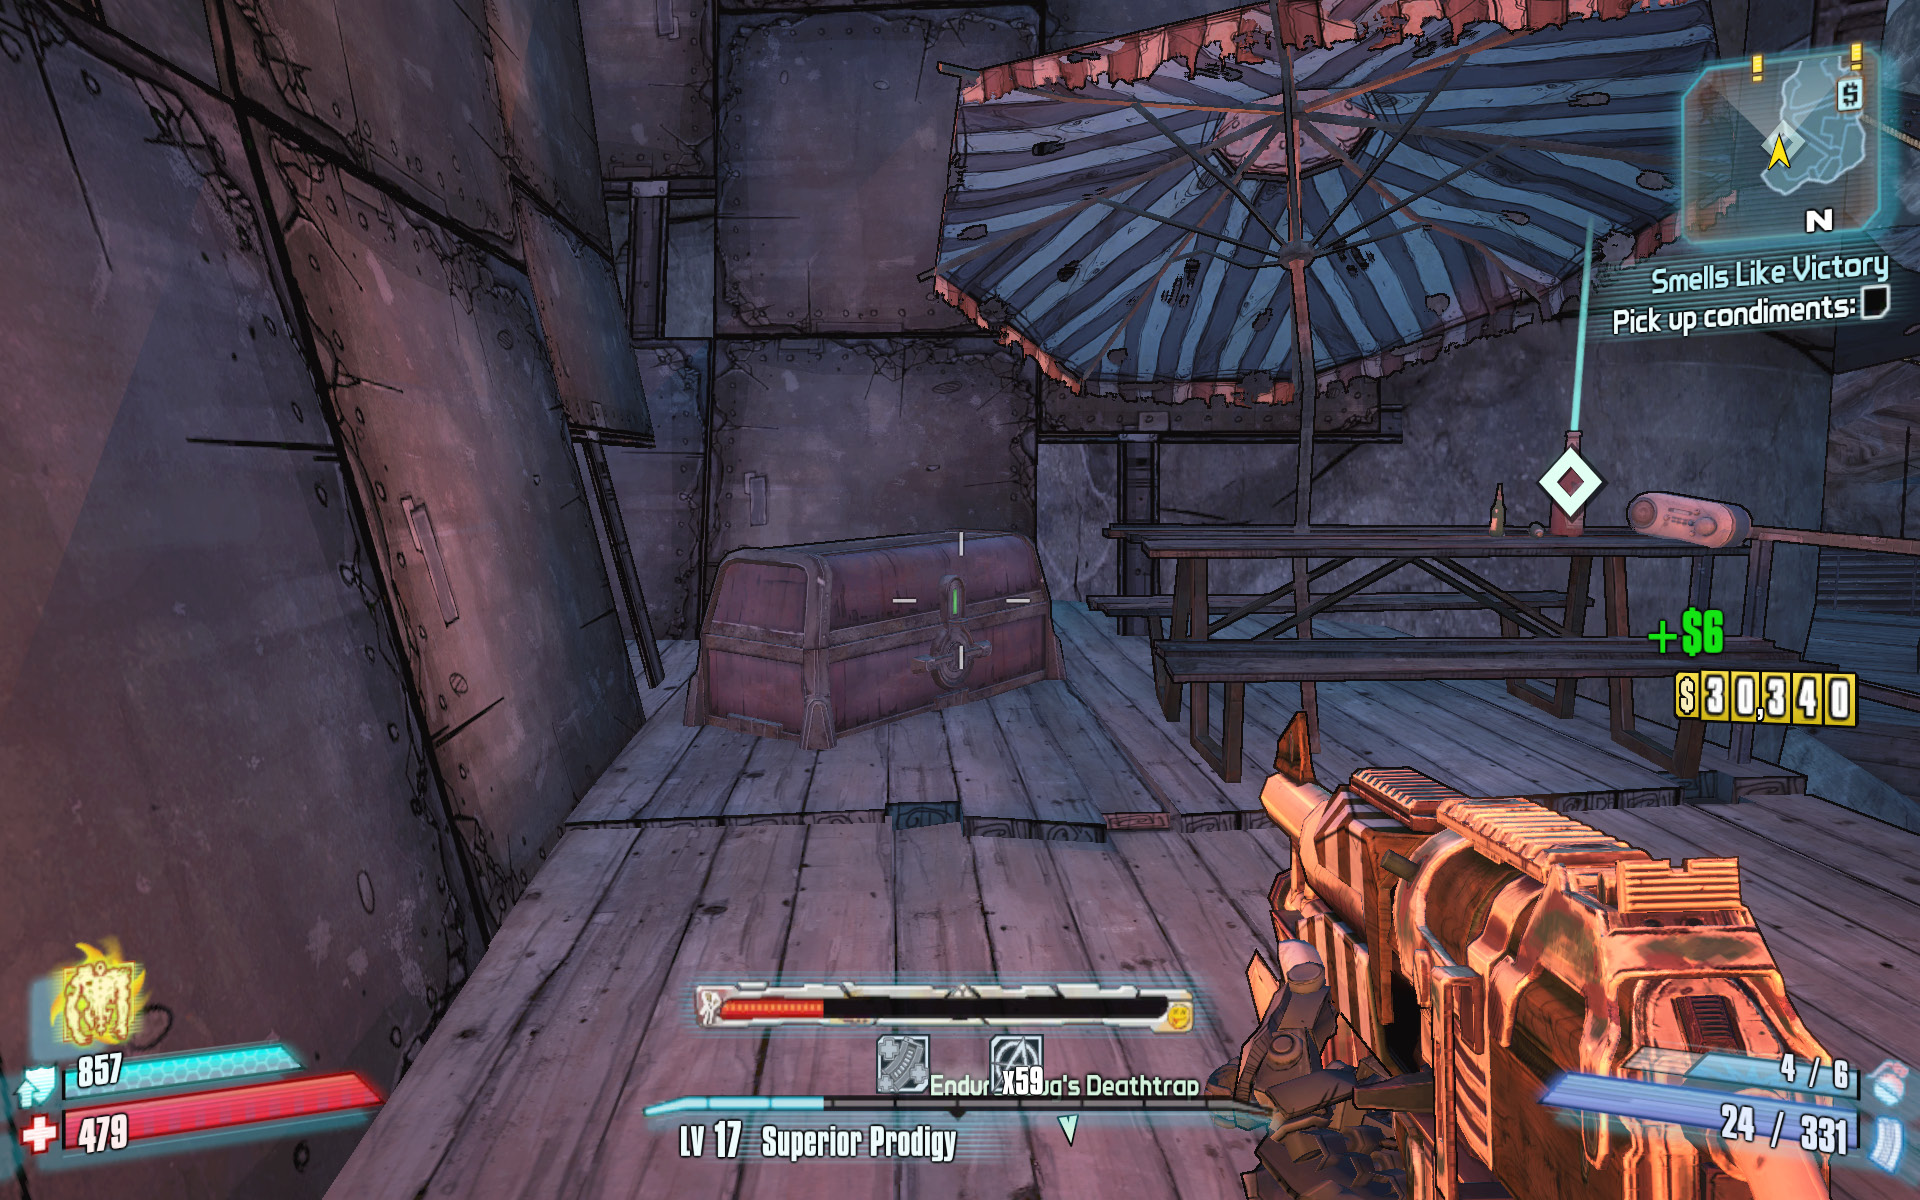
Mercer needs your help in feeding Shiv-Spike to the sand worms. Descend the steps near the Bounty Board, and talk to the man tied to the pole on the edge of the ship. That’s Shiv-Spike, and he smells so bad that the sand worms won’t even eat him. Mercer thinks the sand worms will be more interested in Shiv-Spike once you douse him in condiments. Leave the ship, and head due north to Old Murphy’s Canyon. It’s not too far to walk.
Head up onto the elevated walkway that crisscrosses the narrow canyon, and fight your way to the northeast corner of area. In this area, you’ll start encountering Corsairs, swift-moving swordsmen who inflict deep cuts. Follow the zigzagging walkway, and snipe the enemies on the opposite side of the canyon before rounding the corner to take them on at close range. Clear Old Murphy’s Canyon of pirates en route to the bottle of condiments and treasure chest in the far corner.
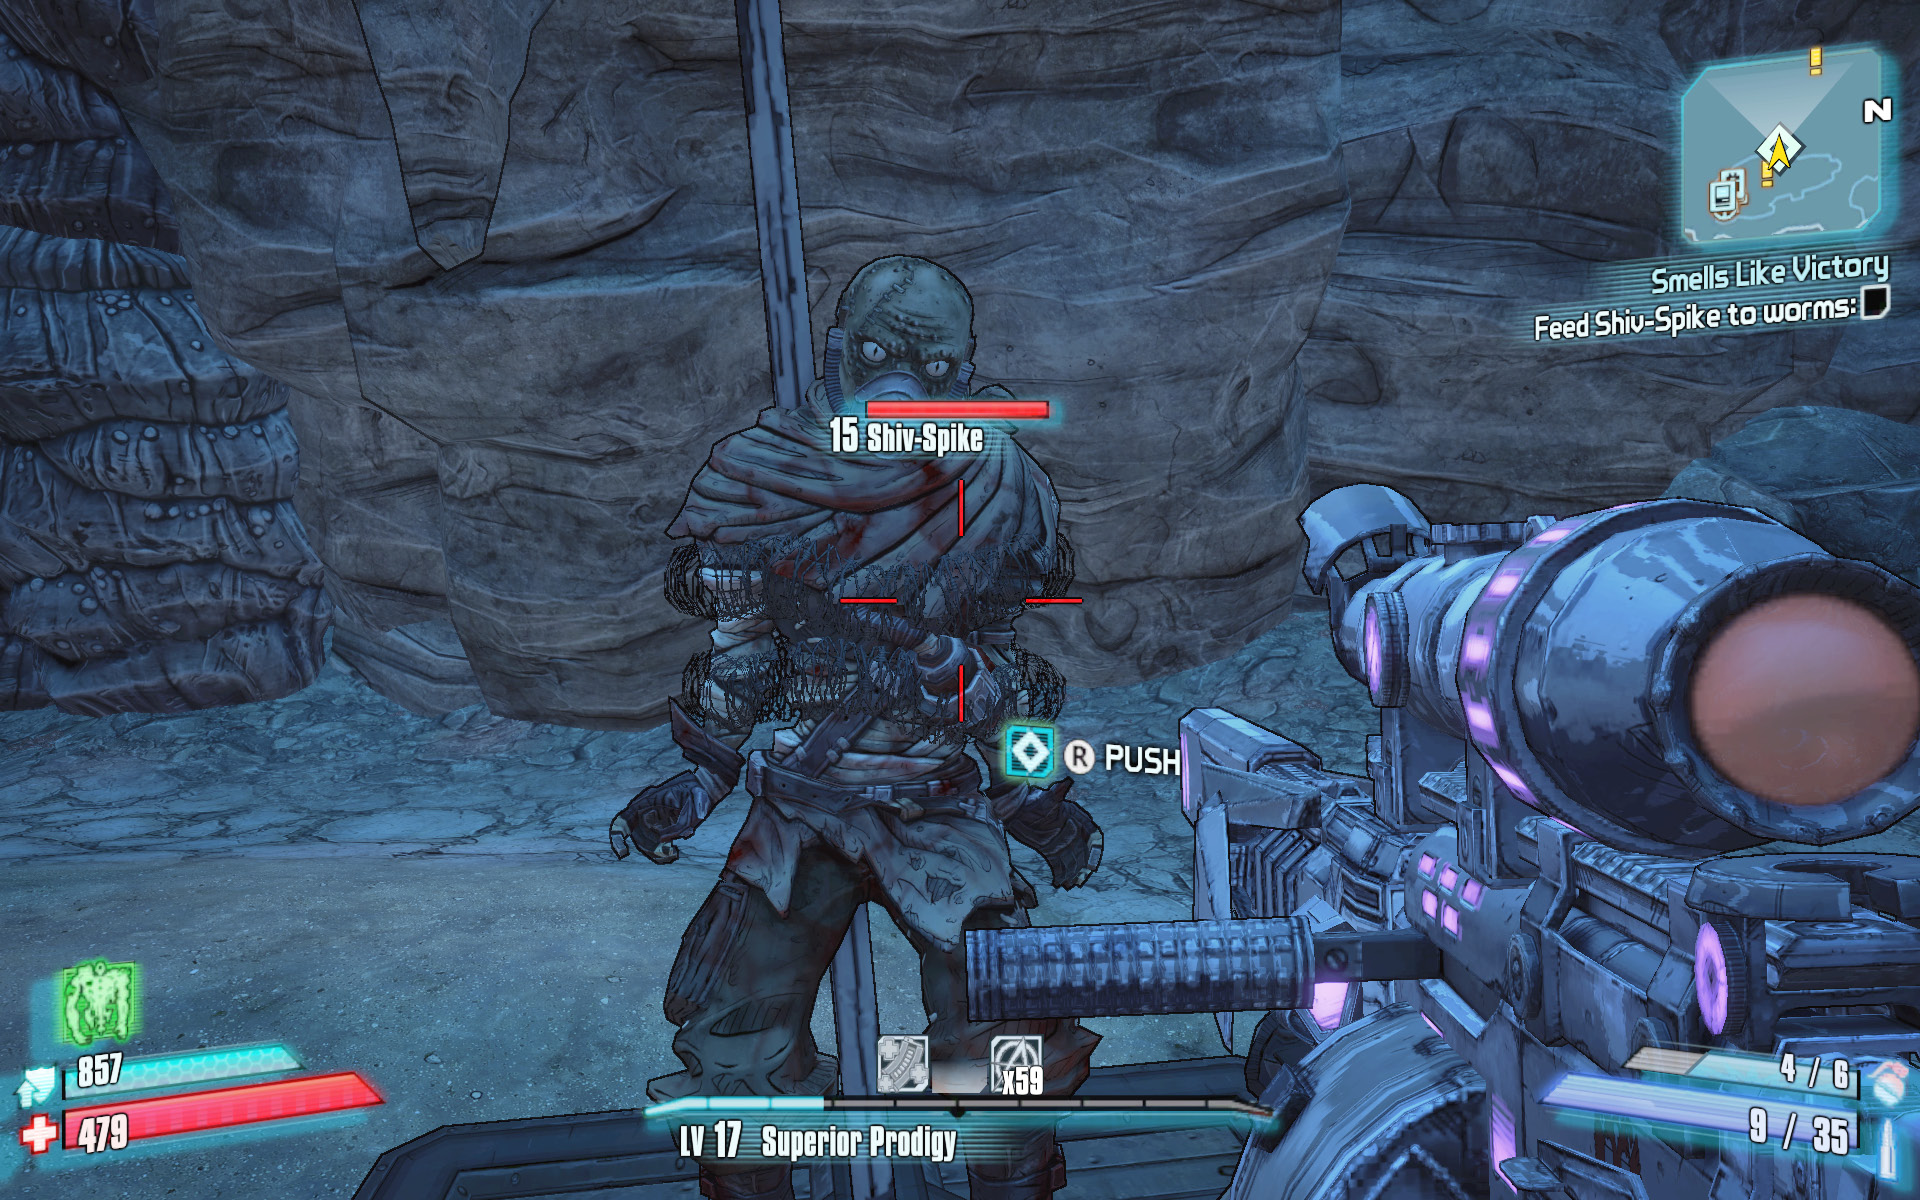
Return to the Pirate Queen’s ship, and slather Shiv-Spike in the condiments. Give him a stiff push (melee attack) to knock him down to the sand worms below.
Declaration Against Independents
Stand together!
Optional Mission Rewards
| Level | Money | XP | Gear |
|---|---|---|---|
|
16 |
$275 |
261 |
— |
*Money and XP may vary based on player’s level at start of mission.
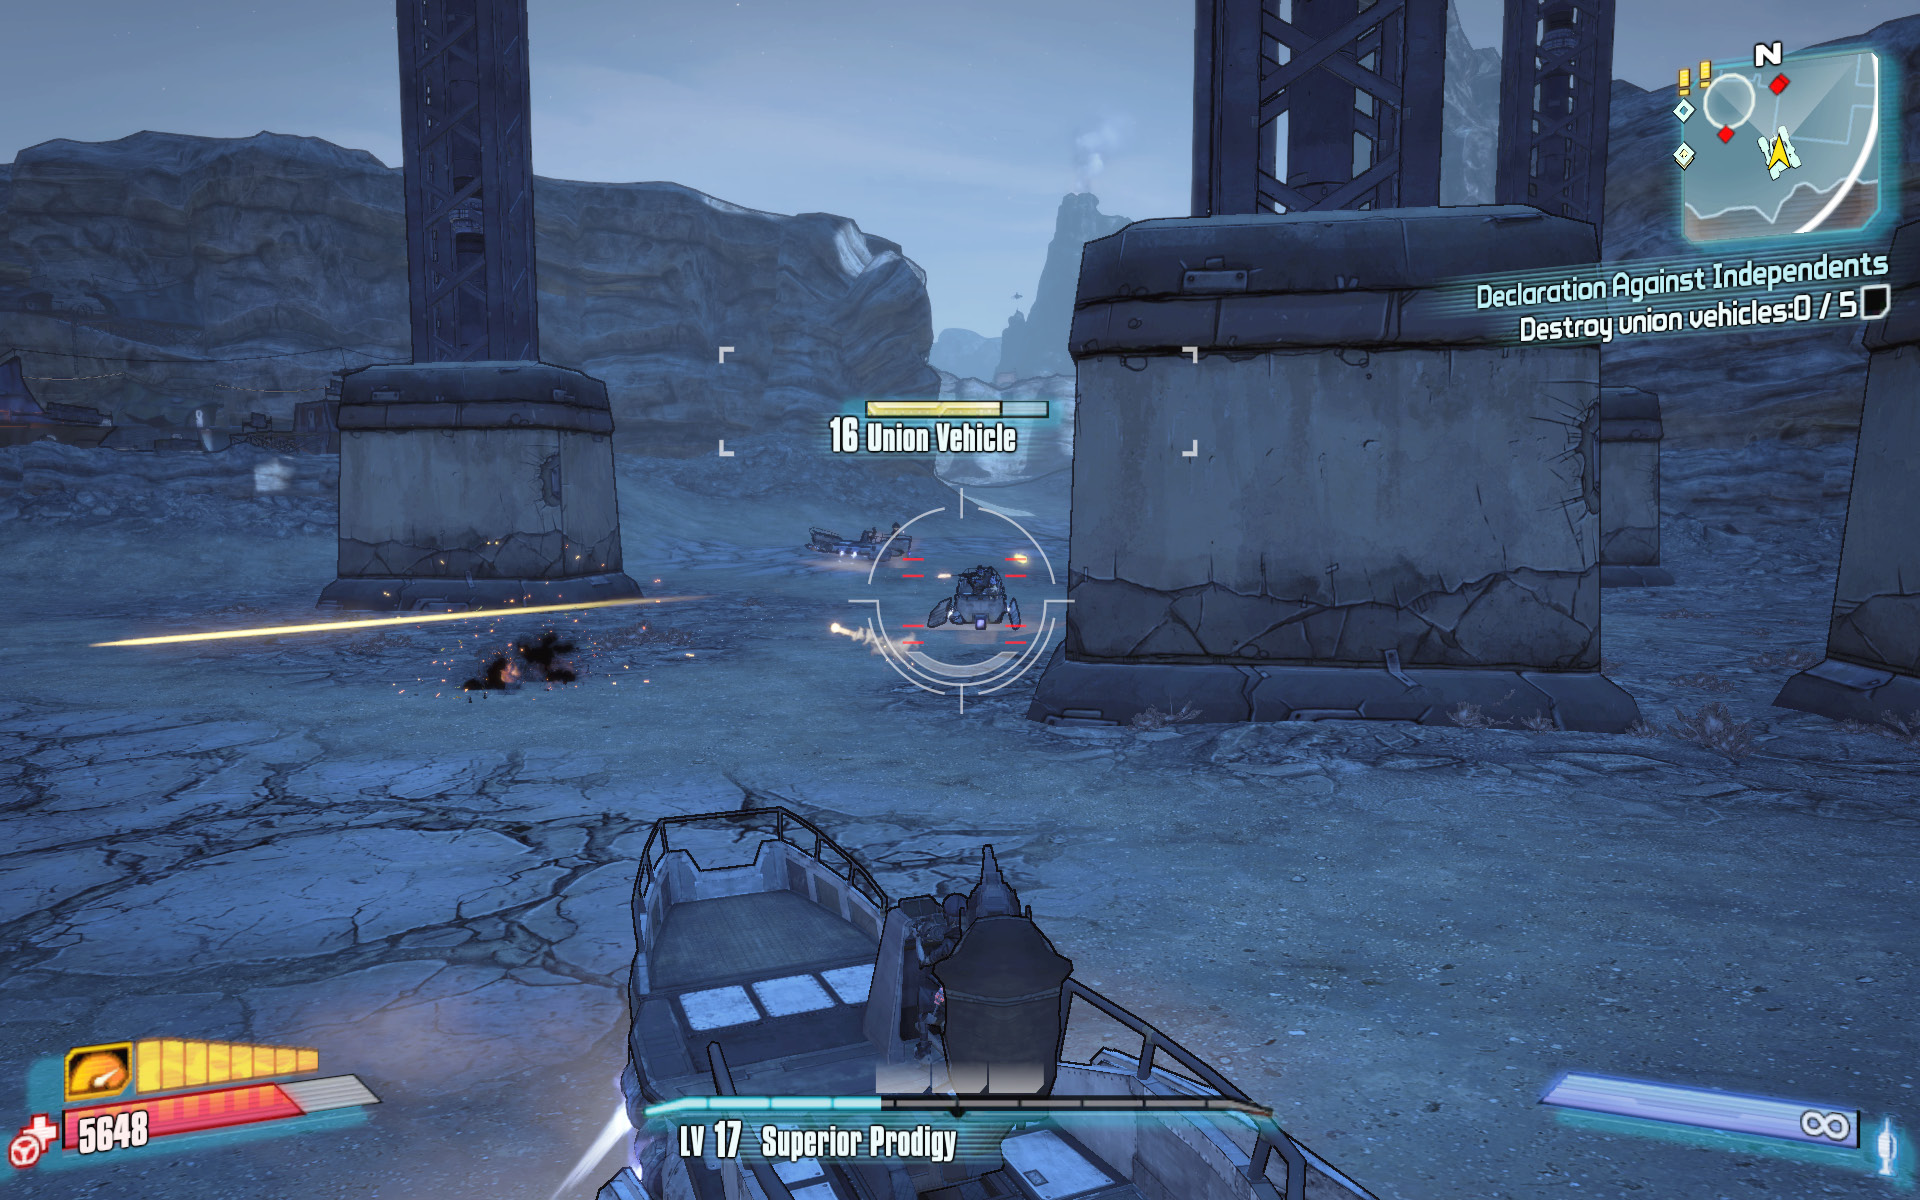
The local union of treasure hunters has decided to keep you from hunting treasure in this region. They’re patrolling three areas of Wurmwater in their sandskiffs and aren’t about to cede this territory without a fight. The mission is simple: destroy five Union Vehicles to send a message that you’re nobody to trifle with.
Climb aboard a sandskiff and make your way over to the Washburne Fen, in the southeast corner of Wurmwater. You’ll find several Union Vehicles amongst the Raider Skiffs and sand worms in the area. The enemy hovercrafts are pretty fast, so be sure to lead them a bit when aiming your rockets or harpoons. Watch your sandskiff’s health meter, and drive away to buy time for it to replenish if it starts to get really low. If your skiff gets destroyed, the nearby Catch-a-Ride can get you up and running again. Or, if you’d rather, simply reach for your rocket launcher or assault rifle and take out the Union Vehicle on-foot. Destroy the three Union Vehicles near the Washburne Fen, then pilot the skiff over to Riptide Reef and take out two additional Union Vehicles to complete the mission. Return to the Bounty Board for your reward.
Ye Scurvy Dogs
Scurvy is caused by Vitamin C deficiency. You can counteract it by drinking orange juice every so often. Don’t say video games never taught you anything.
Optional Mission Rewards
| Level | Money | XP | Gear |
|---|---|---|---|
|
17 |
$617 |
1451 |
— |
*Money and XP may vary based on player’s level at start of mission.
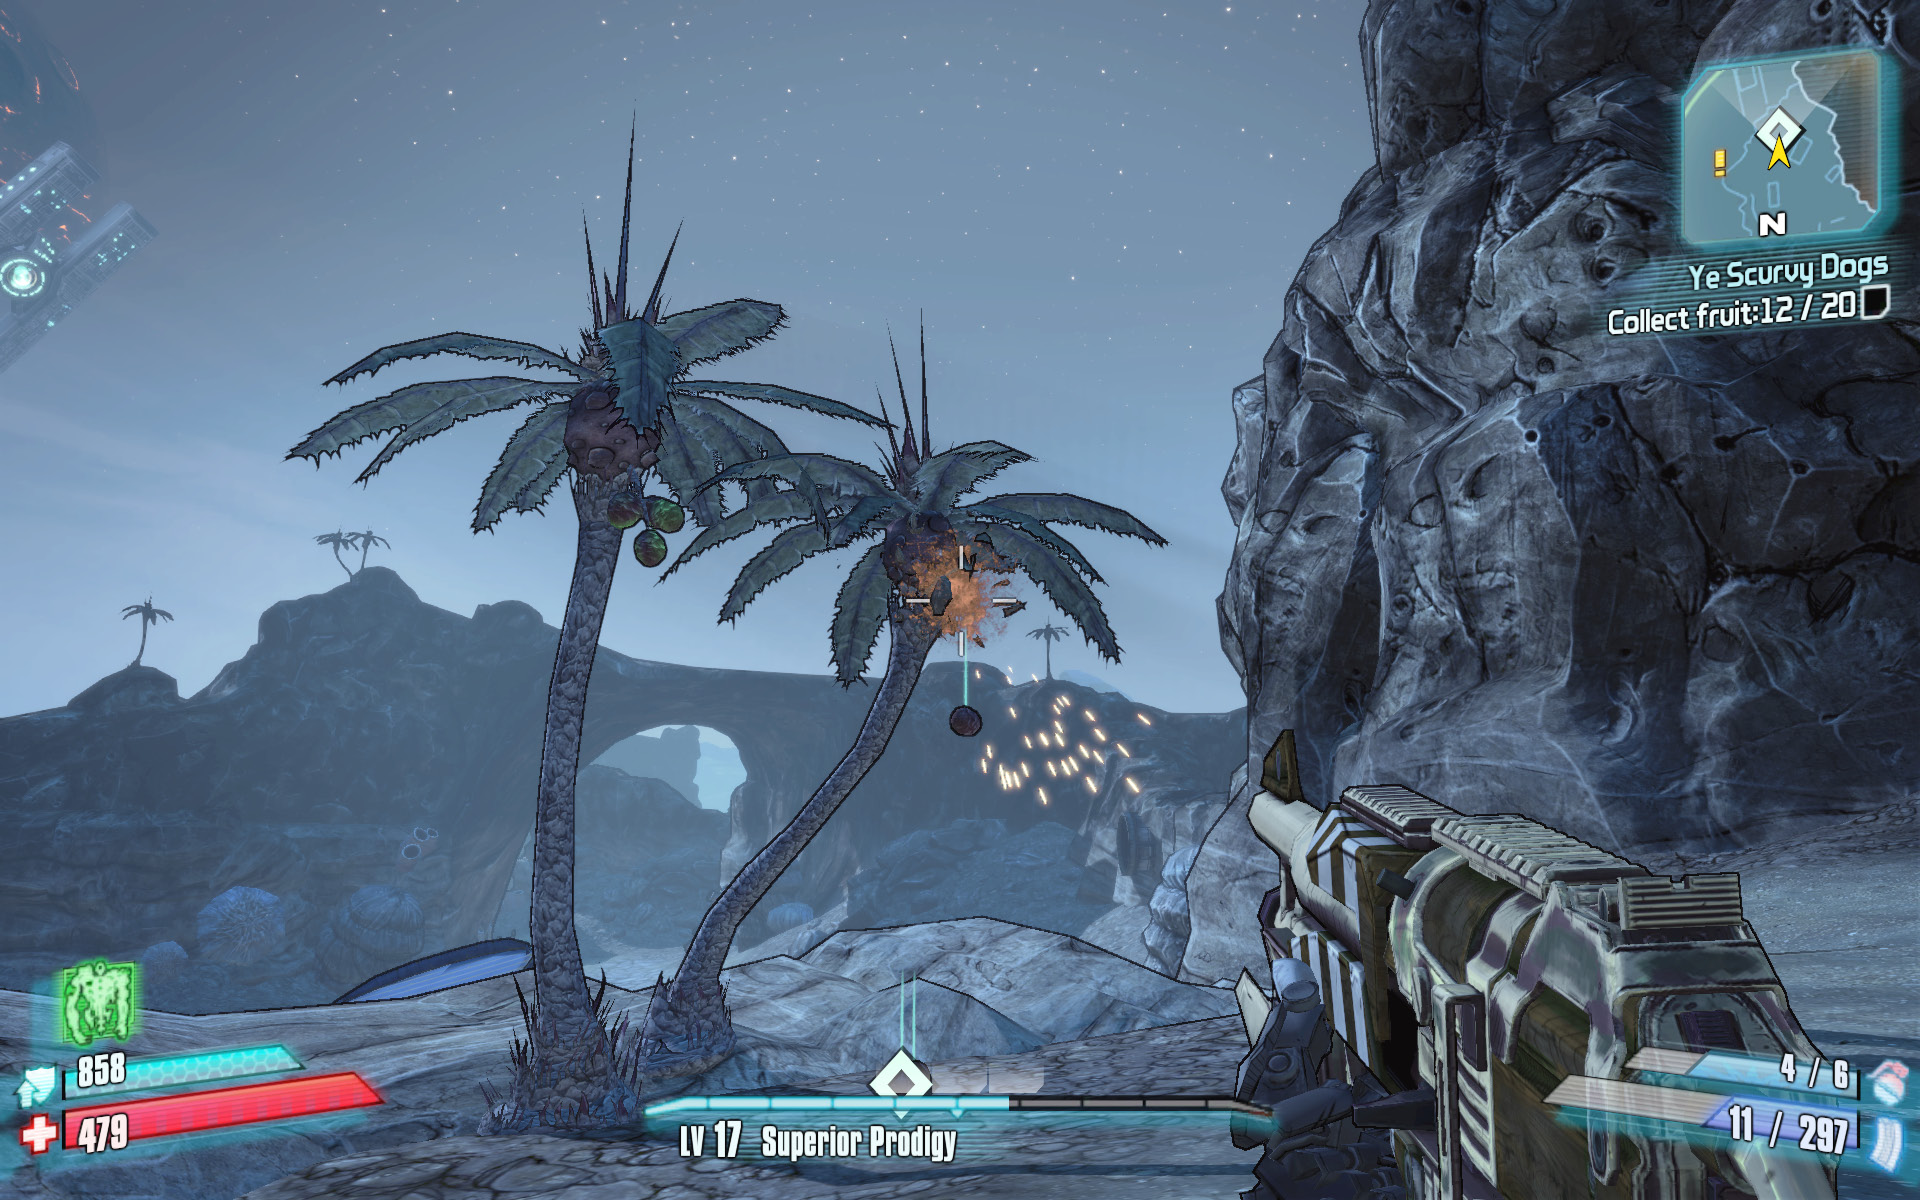
Mercy needs you to collect 20 pieces of fruit so he can try to save the crew from getting scurvy. He’s marked an area on your map that is known to have a number of fruit trees, and it’s located right near the entrance from Oasis. Pilot a sandskiff back across Wurmwater Flats to exit to Oasis and head up the steps near the Catch-a-Ride to explore this camp in the rocks. Gun down any pirates in the area and head southward past the buildings to the large clearing where the fruit trees are. There’s plenty of fruit in the area, but you don’t want to risk them getting shot up in a firefight, so eliminate all the pirates before you start collecting the fruit.
The numerous palm trees along the edge of this plateau each have three or four pieces of fruit growing on them, not unlike coconuts. Shoot the fruit as gently as you can to knock them down without breaking them. The fruits bounce and roll around a bit, but the rocks should keep them all relatively close to the trunks of the tree. Gather up 20 pieces of fruit, then return to the Bounty Board to complete the mission.
Message in a Bottle (3 of 5)
A message in a bottle! Maybe it’ll lead to some treasure. (Spoiler: it will.)
Optional Mission Rewards
| Level | Money | XP | Gear |
|---|---|---|---|
|
17 |
$308 |
290 |
Shield (blue) |
*Money and XP may vary based on player’s level at start of mission.
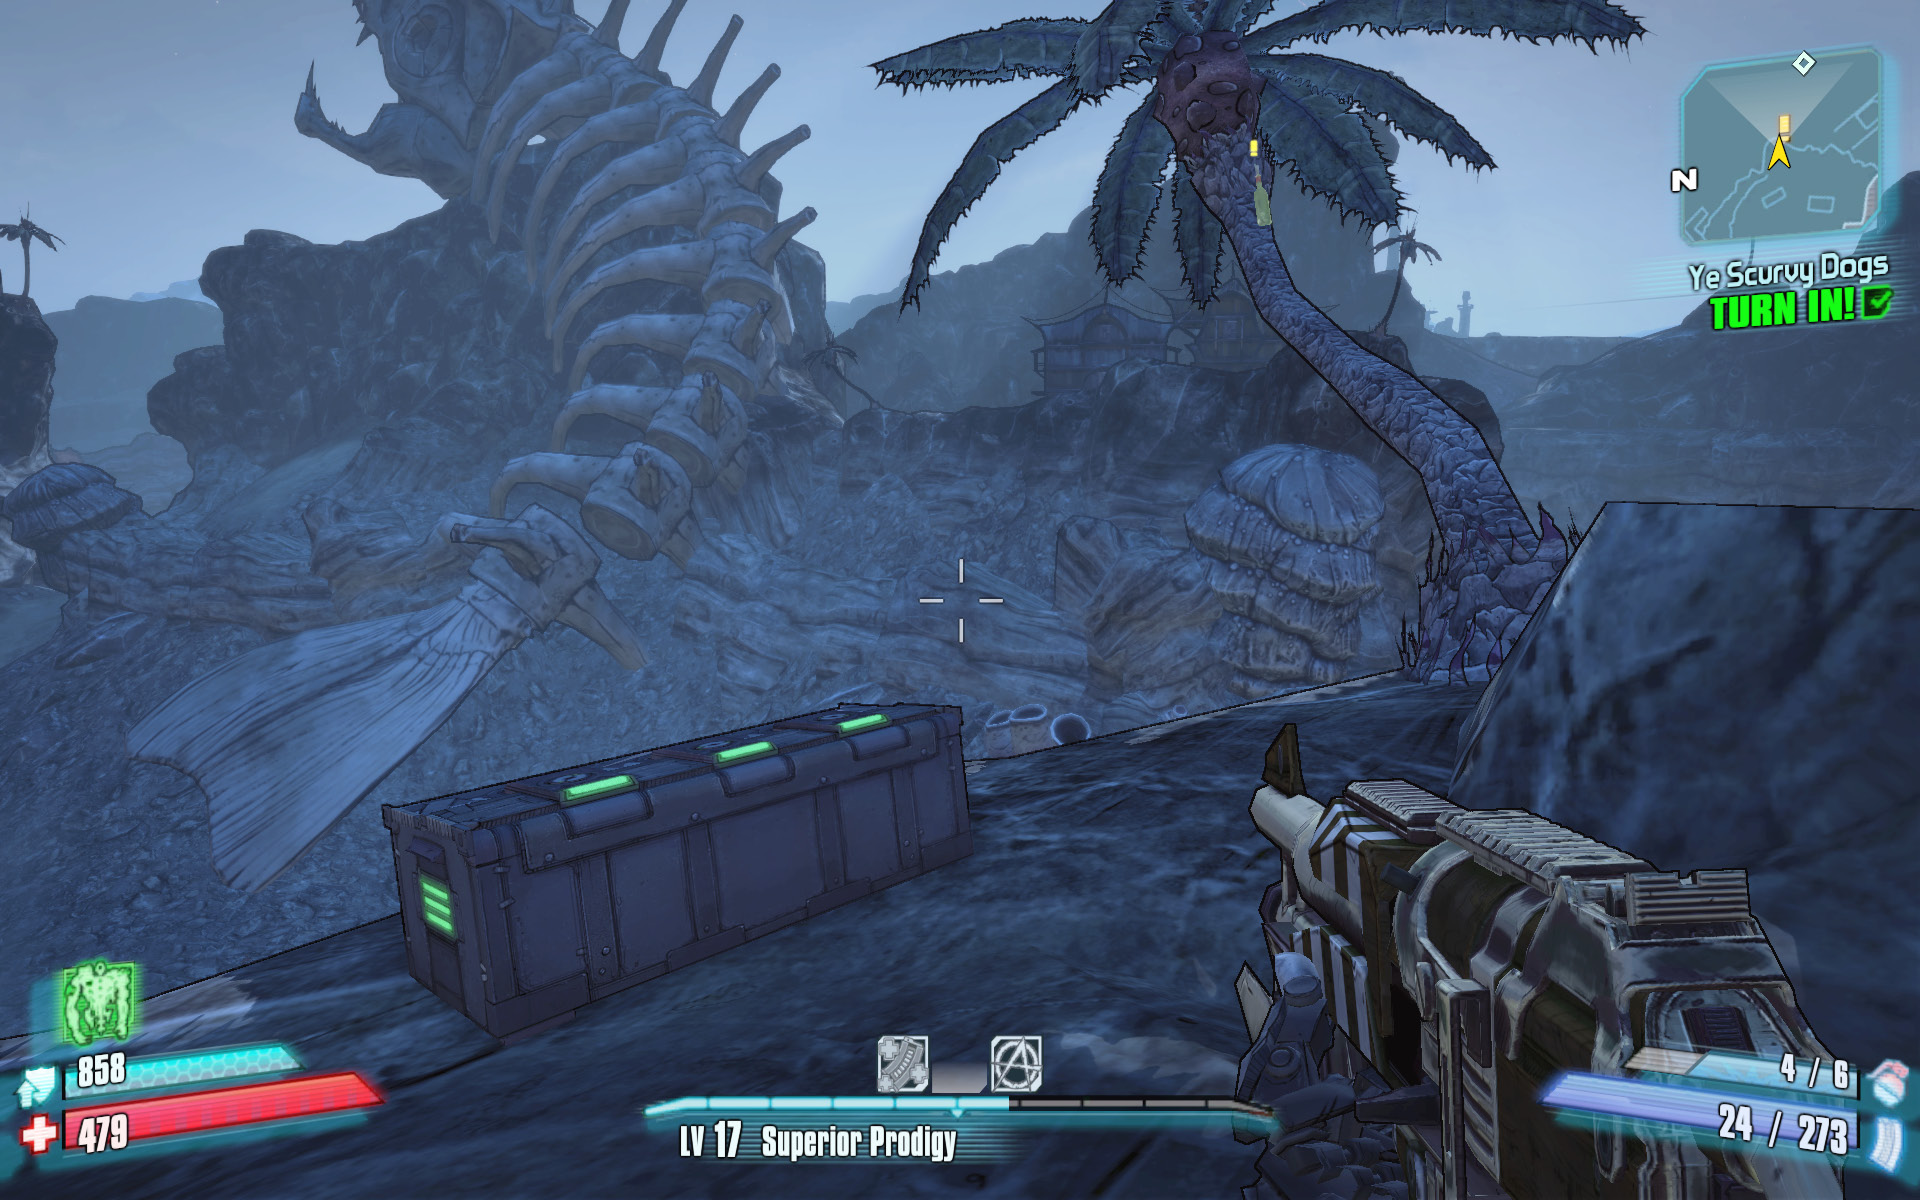
Climb up onto the rocks near the fruit trees to find a hidden treasure chest and a wind-bent fruit tree with a bottle in its boughs. Carefully climb the tree, retrieving the bottle to learn where in Wurmwater the next piece of Captain Blade’s buried treasure is located.
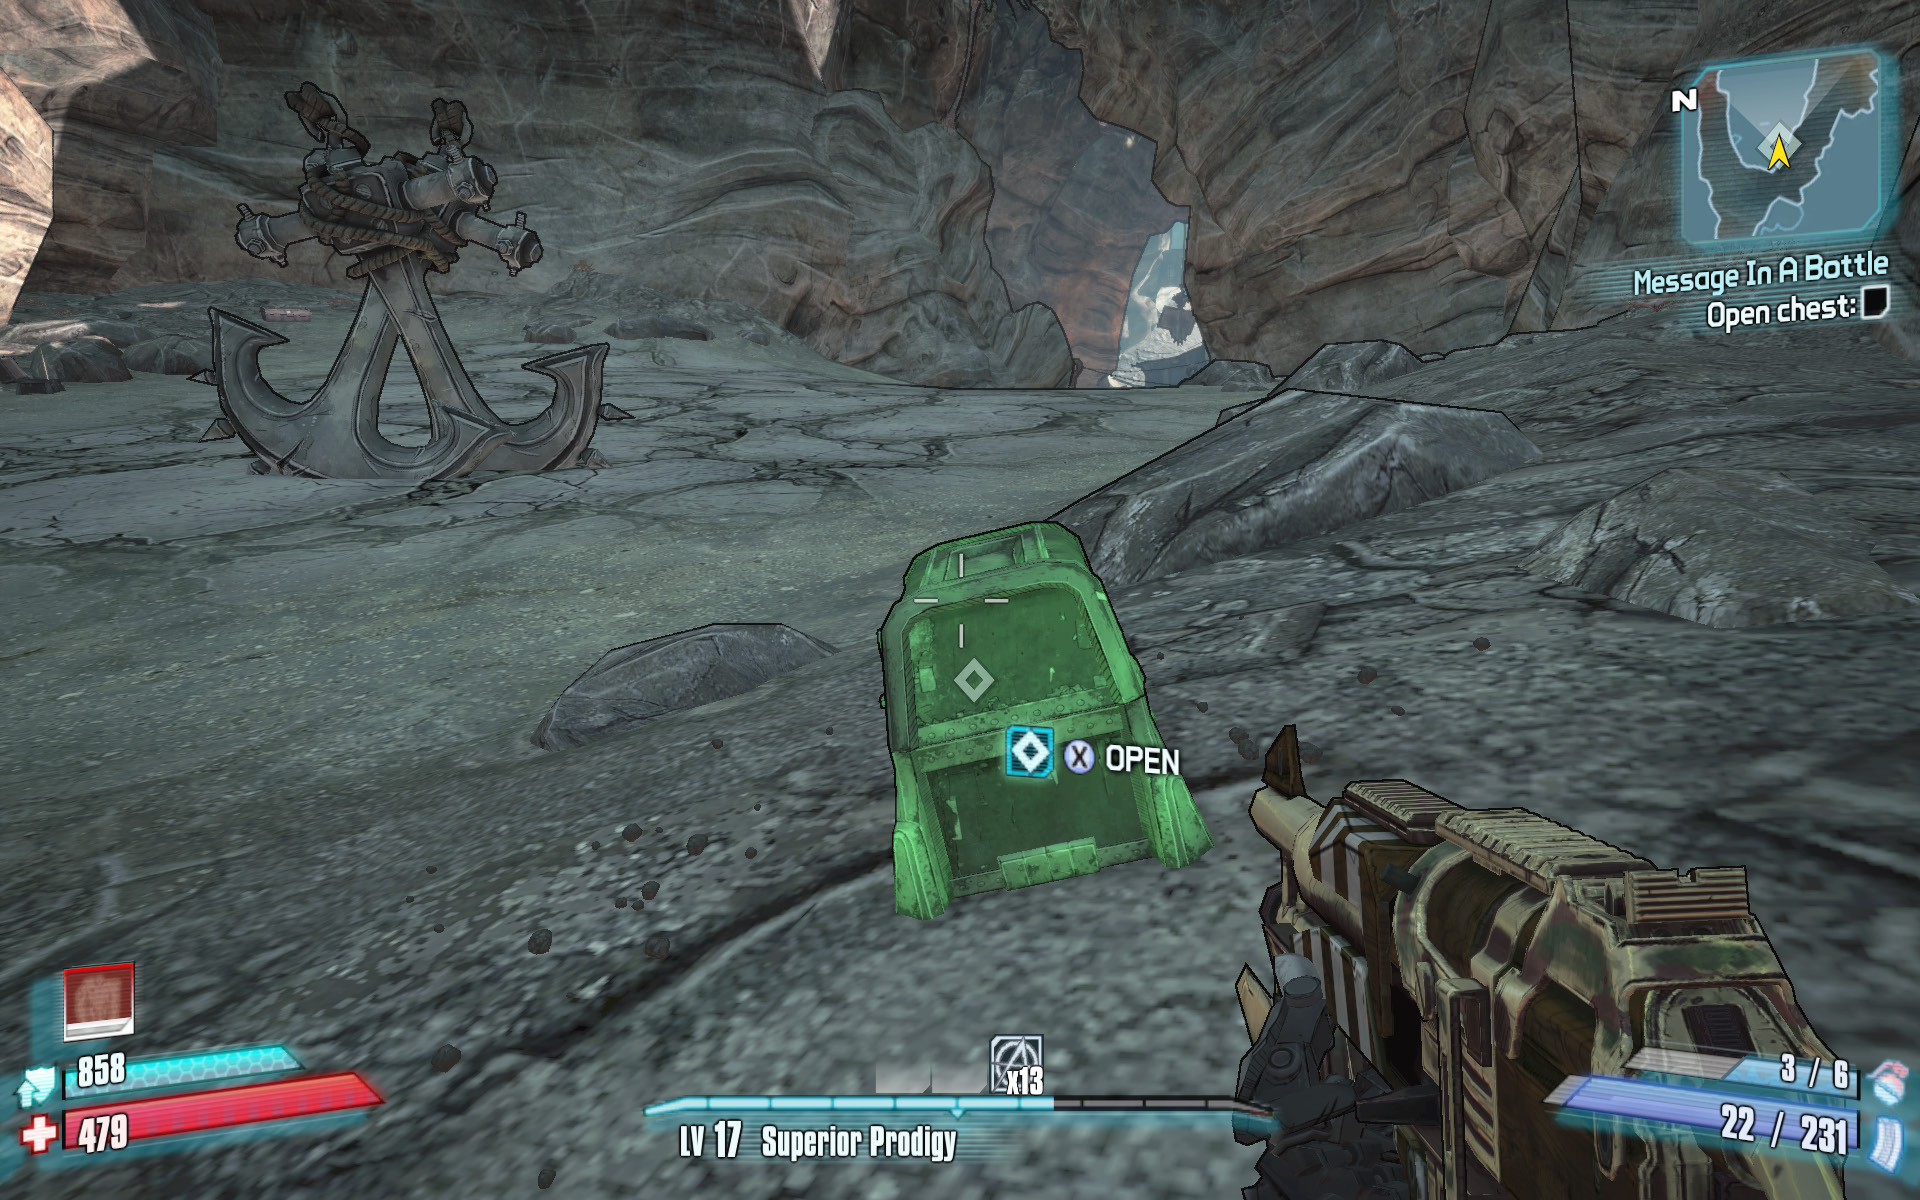
Take a sandskiff north past the Buccaneer’s Bacchanal and up onto the narrow ledge immediately to the left. This is the entrance to Hegeland Camp, a small sand pirate encampment where Captain Blade buried his third treasure. Continue westward through the camp, past any pirates in the area, to the clearing near the large anchors. Kill any sand worms in the area, and loot the chest off to the right. The “X” marking the spot of the buried chest can be hard to find, but it’s directly opposite the weapon chest you spot when you enter this area. It’s on the rocks south of the anchors. Open the chest to complete the mission and gain Captain Blade’s Manly Man Shield, which adds explosive damage to all melee attacks.