Borderlands 2 Game of the Year Guide Captain Scarlett and Her Pirate's Booty
Whoops
|
 Mission Briefing
| Level | Money | XP | Gear |
|---|---|---|---|
|
18 |
$346 |
3208 |
SMG (blue) |
*Money and XP may vary based on player’s level at start of mission.
Resource Gathering
Herbert is going to be able to fix the compass piece you shot up, but you’ve got to bring him four pieces of an element called poly-kryten. You can find samples of this wonder-rock scattered across Washburne Refinery. You’ll need to complete a full loop of the facility in order to find all four pieces—and that means dealing with an inordinate amount of loaders. Equip a corrosive weapon, and make your way north through the first couple of rooms. Target any barrels you see for help in fending off the loaders. The ARR Loader, a pirate-themed version of the GUN Loader, is unique to the Captain Scarlett quest line.
Proceed up the stairs in the far right-hand corner of C3n50r807’s cubicle to find the first piece of poly-kryten on a table. Ignore the quest-giving loader for now, and descend to the long tunnel known as The Arm. This passage leads north to the Workforce Fabrication Center.
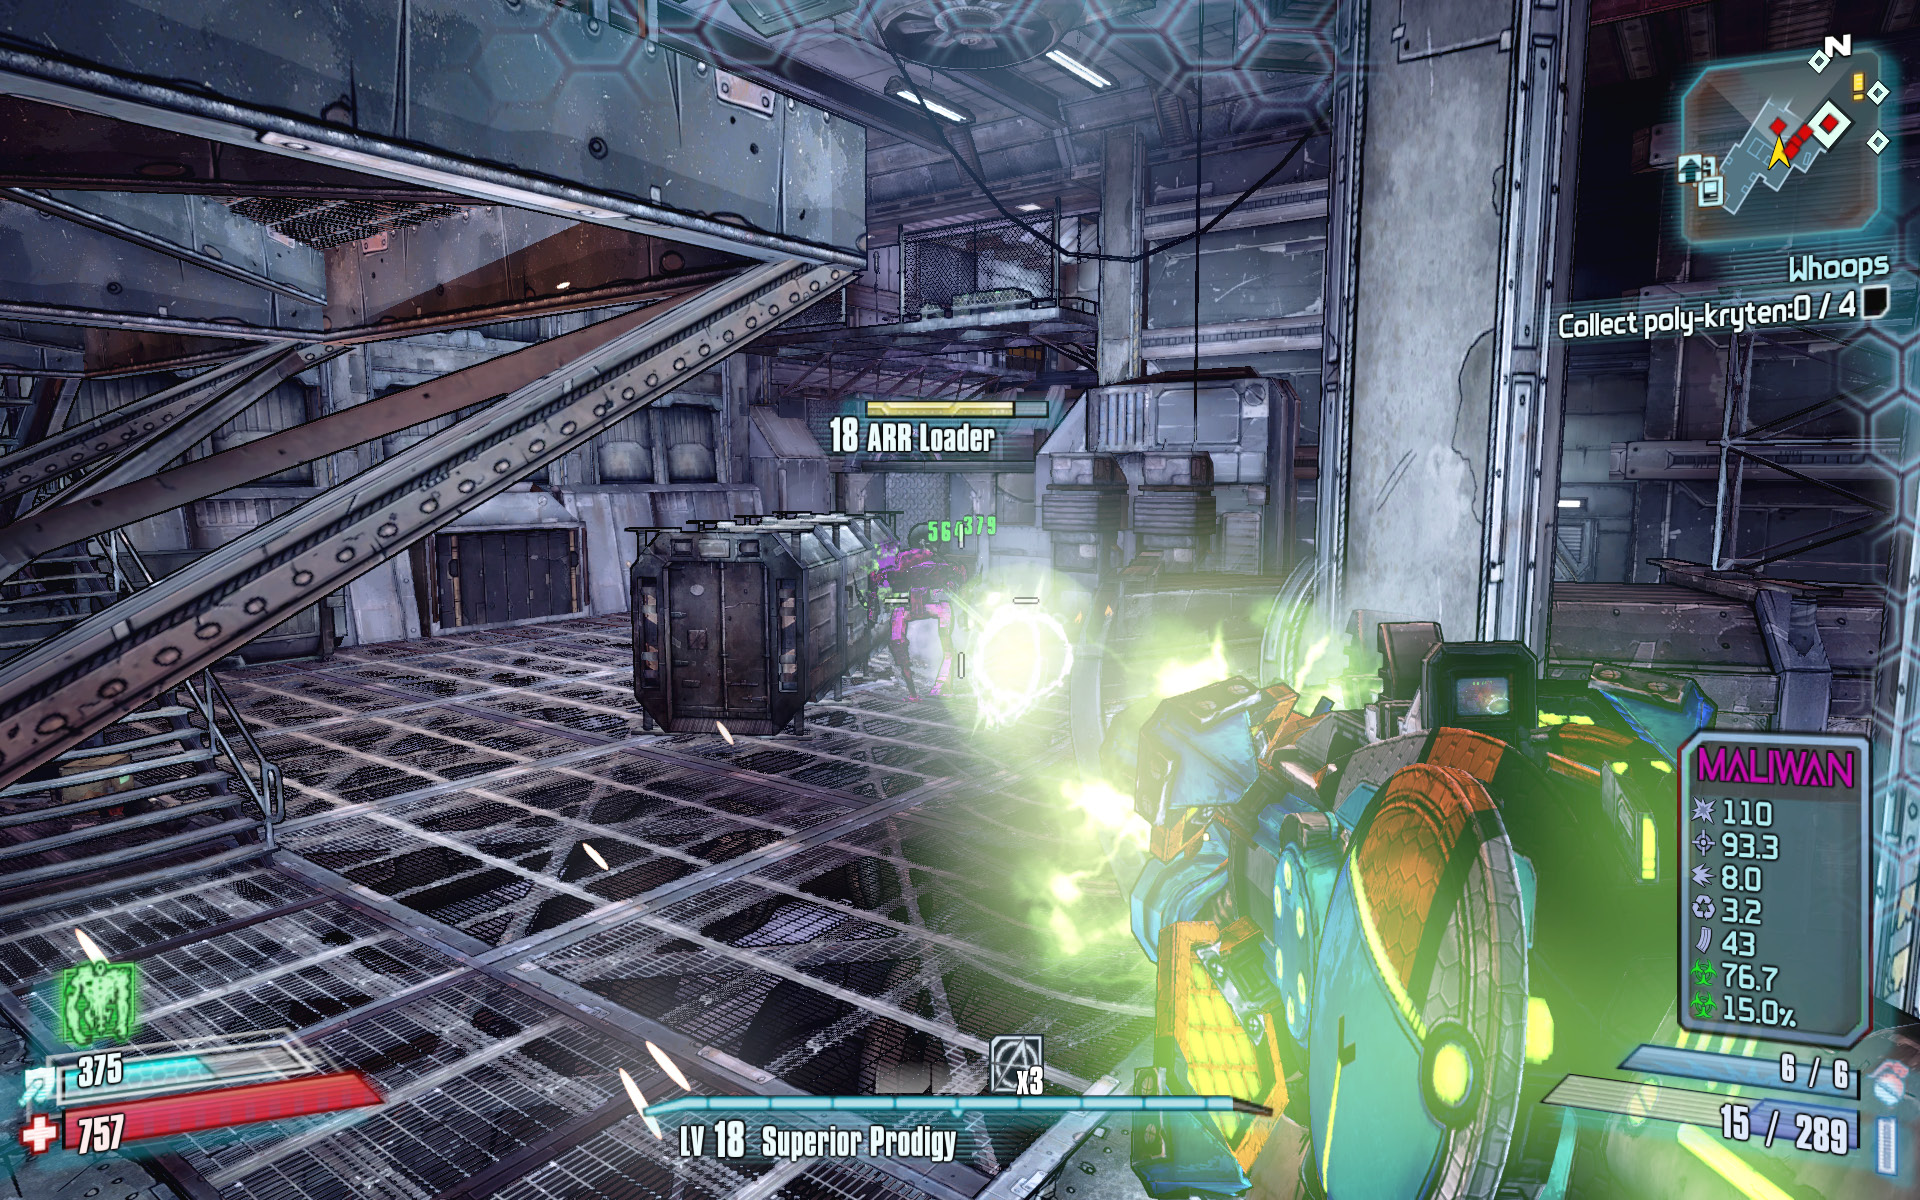
Hit the loaders with slag, then switch to corrosive weaponry for an easy kill.
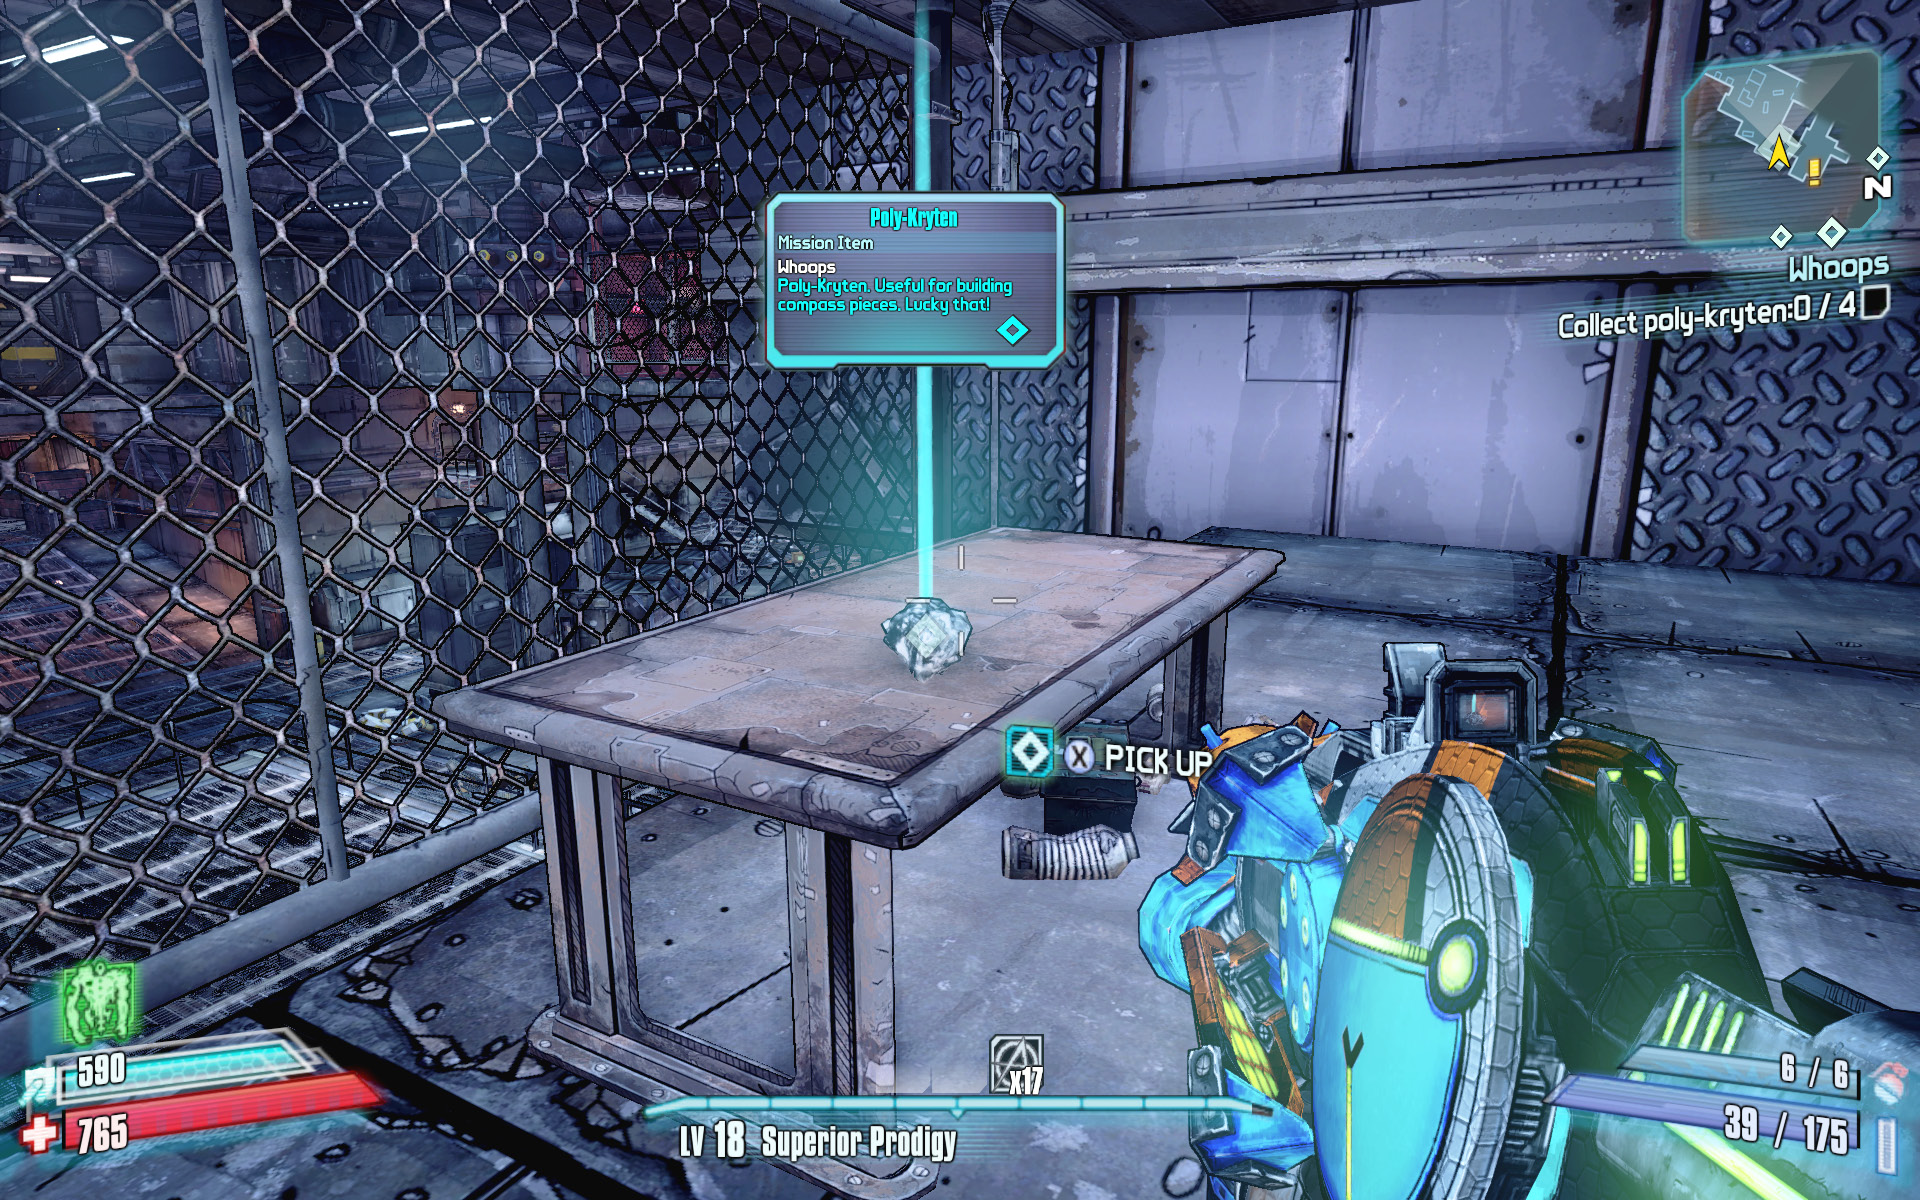
The rock you seek!
Stick close to The Arm passageway, and watch for self-detonating EXP Loaders to charge your position. Numerous EXP Loaders drop down from the six small rooms flanking the large pit in the center of this area. Keep your distance, and immediately open fire on their legs when they begin to run toward you. This cuts them down and forces them to crawl, effectively neutralizing their suicide blast.
Ascend the stairs in the southeast corner to enter the Forge Array. Loot the treasure chest on the upper floor, near the second piece of poly-kryten, then drop down to the semi-circular room below. The Workforce Fabrication Center is crawling with Badass Loaders and PWR Loaders, among others. Advance slowly and stick to the right-hand walkway when possible to avoid being surrounded. Fight your way up the stairs in the eastern end of this room to find the third piece of poly-kryten, right near a Quick Change station.
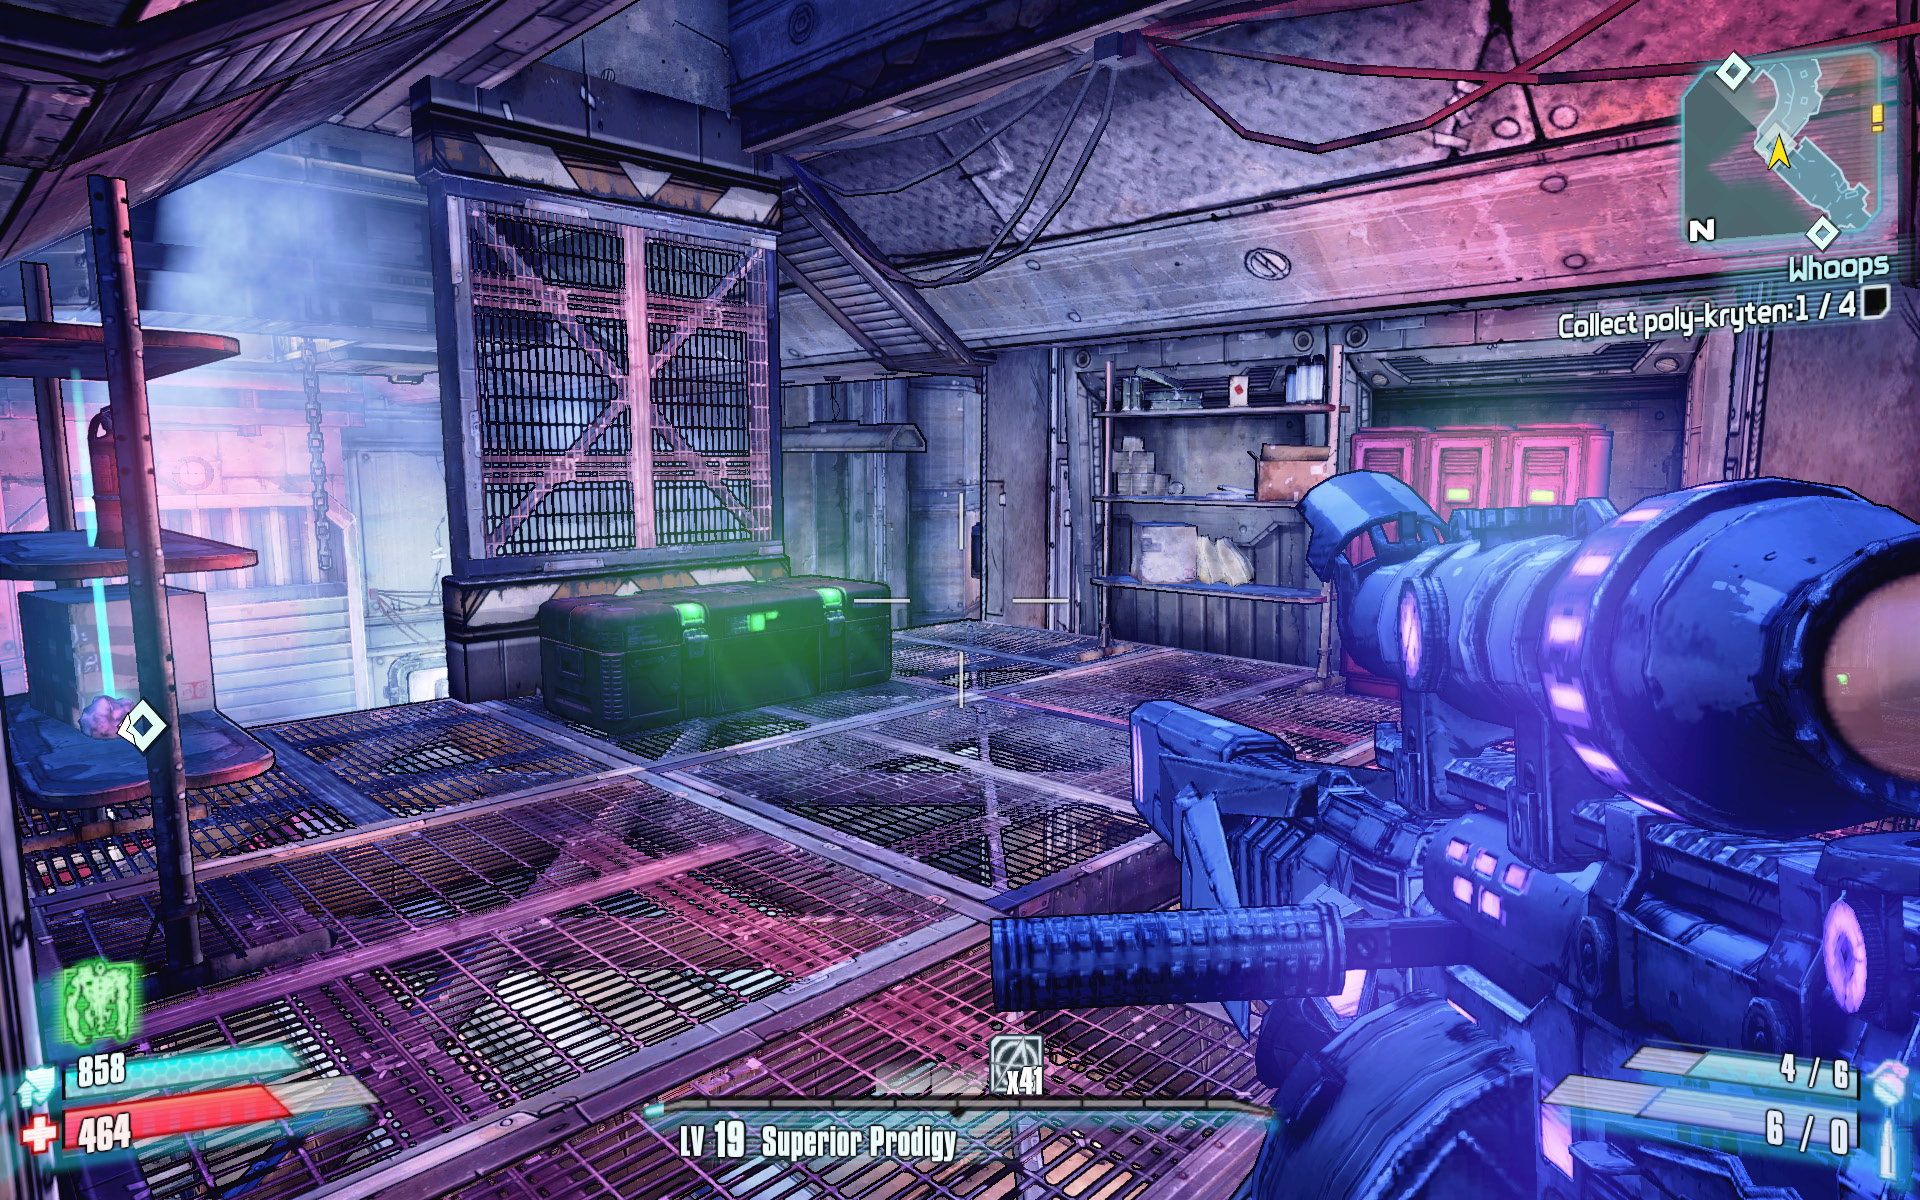
The treasure chest and second piece of poly-kryten are above the locked gate.
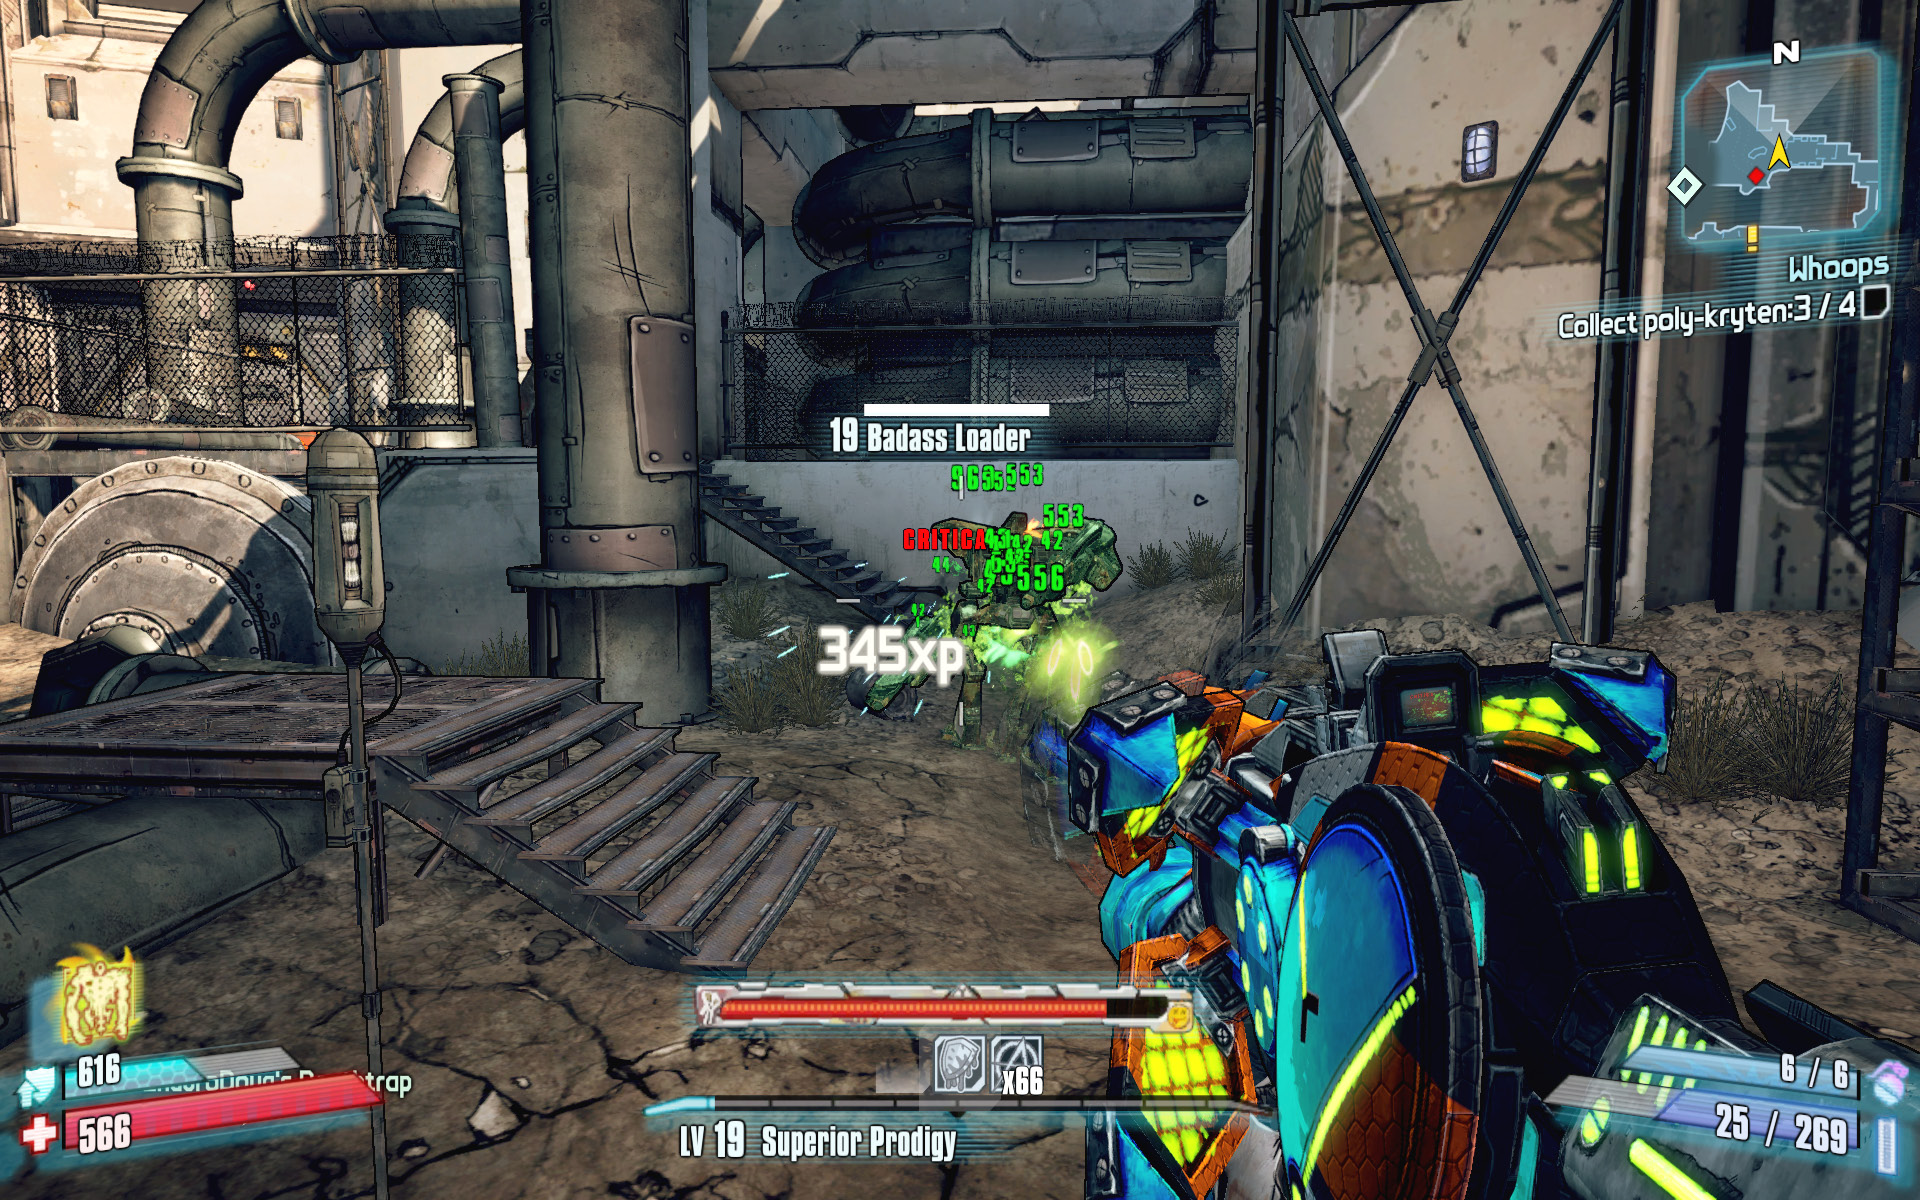
Gaige’s Anarchy stacks combined with a Maliwan SMG make quick work of Badass Loaders.
Continue putting your corrosive weaponry to use as you cross the scrap-filled Lair of the Lecher-Bot and round the corner to the north. Gather up as much ammo as you can from the containers in the room beyond the Lair of the Lecher-Bot, because you’ll have a much tougher fight coming up in Carbonslag Crater.
Approach the crater to draw out the pair of Badass Loaders, then quickly fall back. Target the various barrels scattered throughout the area—even the fire barrels—to ensure they don’t get detonated while you’re near them. A third Loader by the name of H3RL-E soon makes a grand entrance from the north side of Carbonslag Crater.
H3RL-E
H3RL-E’s Vitals
| Health Multiplier | Shield Level | Damage Multiplier | XP Value | Critical Areas | Weakness/Resistance |
|---|---|---|---|---|---|
|
15 |
10 |
3 |
Super Badass |
Arm Joint, Leg Joint, Eye |
|
 /
/
H3RL-E is a very large Loader variant that attacks primarily by flinging explosive barrels at your position, much like the Bandit Technicals of The Dust. Unlike most other Loaders, H3RL-E is well-shielded, but corrosive weaponry can chew through these shields quickly if you don’t have a shock grenade to throw at it. In fact, despite its attention-grabbing entrance, you can defeat H3RL-E rather quickly.
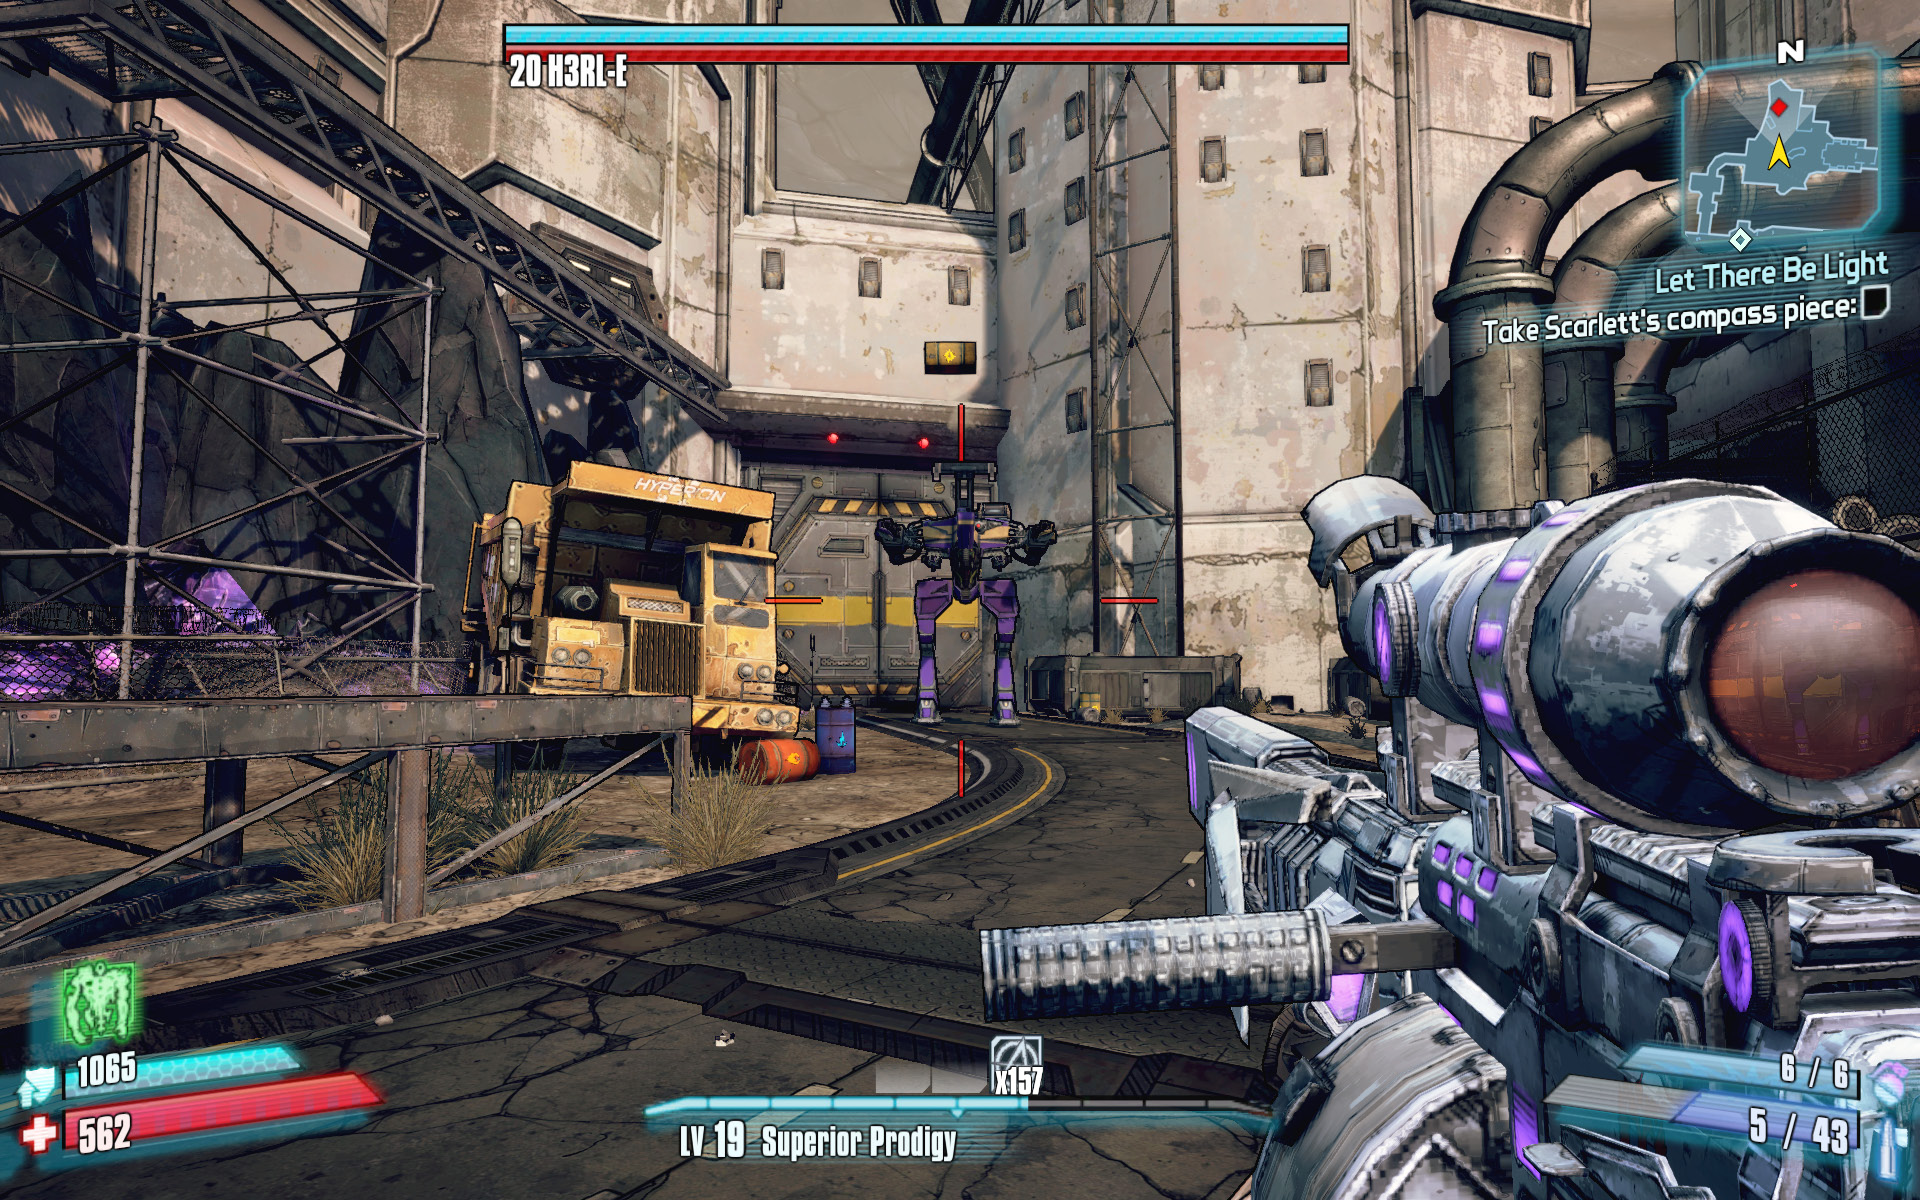
Use the large rocks protruding from the center of the crater for protection as you round the south side of the area to get a clean shot at it. H3RL-E can fling explosive barrels at a surprising rate, but their blast radius is relatively small. Side-step the incoming barrels while painting H3RL-E with slag and corrosive attacks. Put your Action Skill to use against the giant robot to expedite the battle further. This is especially true for those playing as the Mechromancer, as the Deathtrap robot’s shock attacks can neutralize H3RL-E’s shields in no time at all.
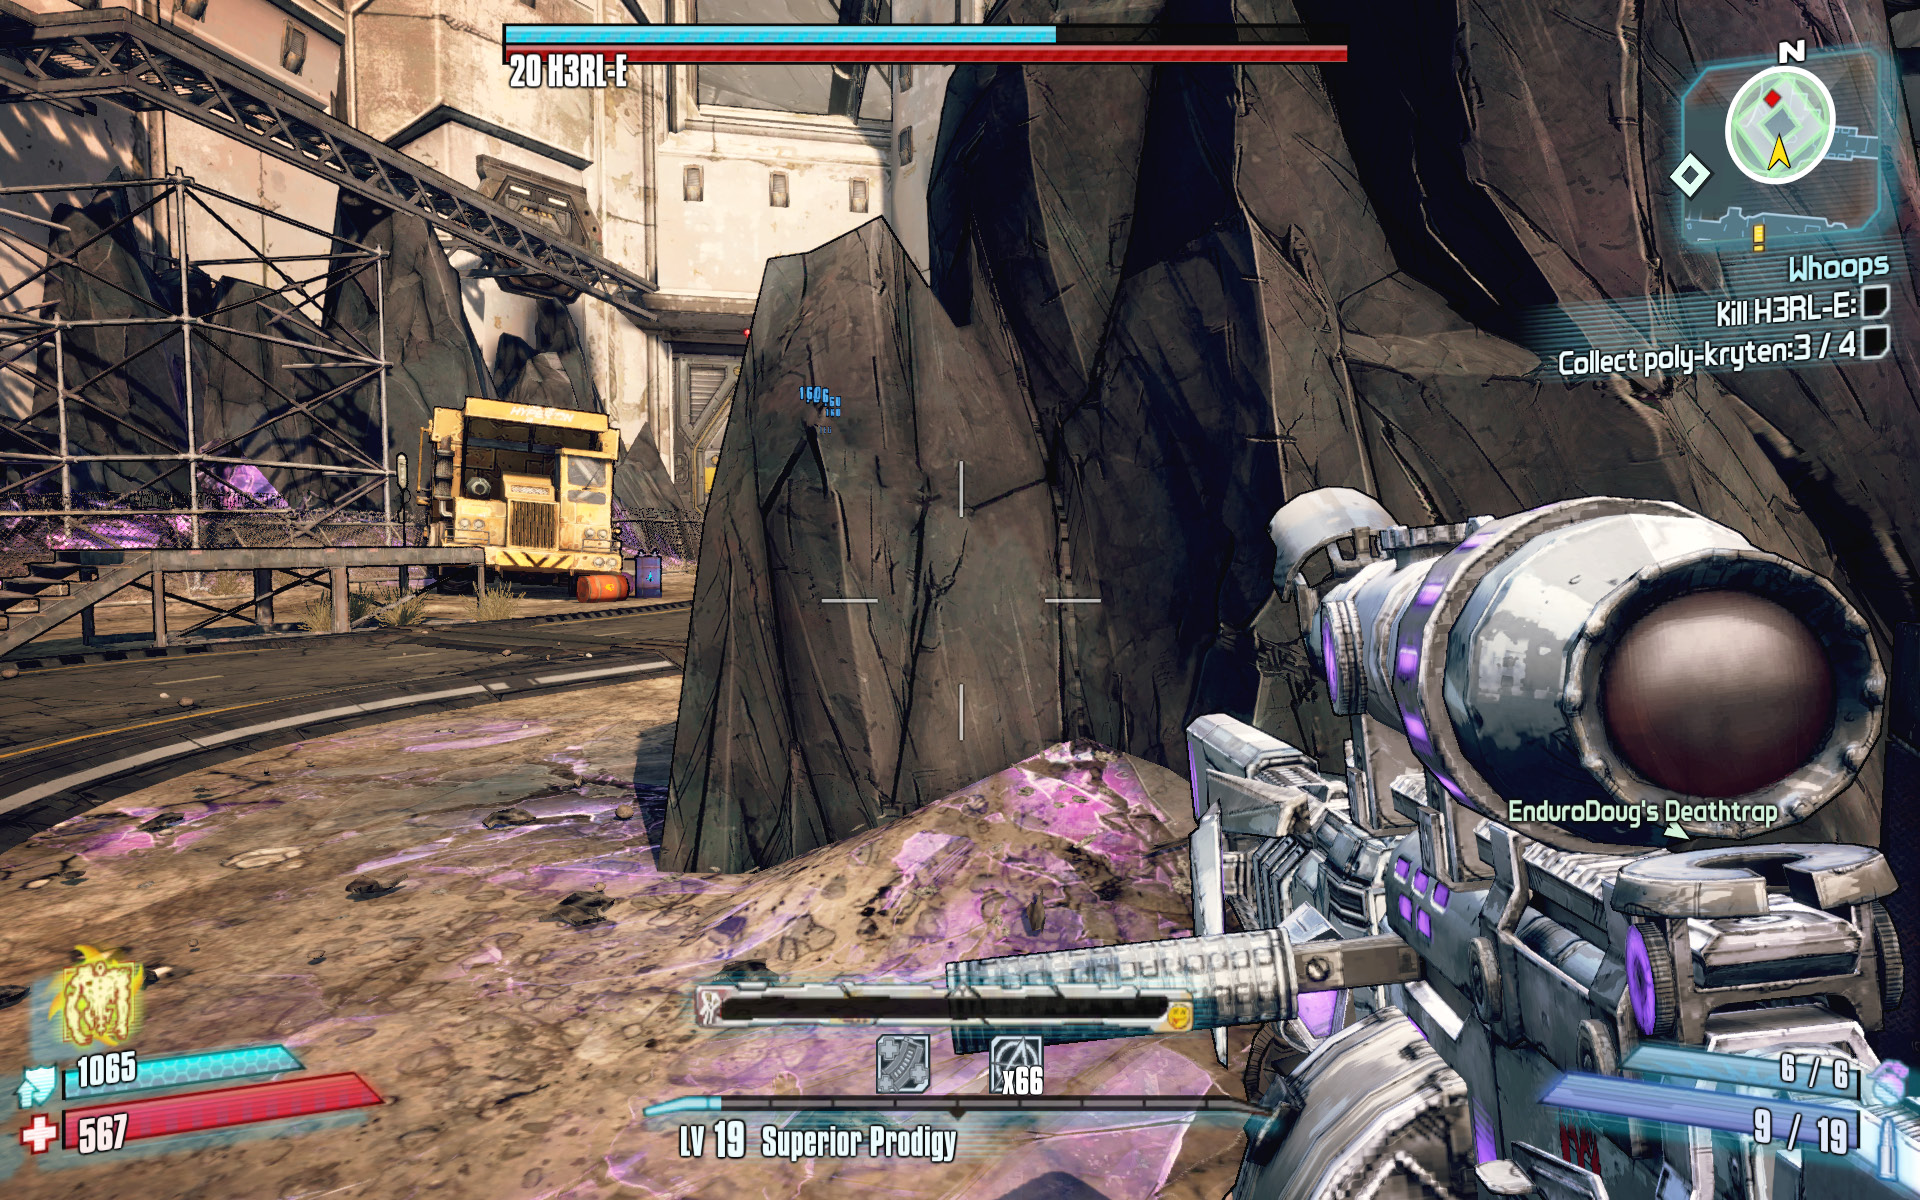
Exit the Carbonslag Crater to the west, and make your way through the maintenance corridors to where the path turns to the south near the fourth piece of poly-kryten. Don’t drop through the hole in the floor just yet! First, leap across the opening toward the shuttered door to uncover a hidden closet and treasure chest. Use the Fast Travel station to return to the Rustyards, then ride the cable car across the canyon to Herbert. Give the poly-kryten to Herbert in exchange for the fourth piece of the compass.
Now that you have the compass piece, it’s time to return to Captain Scarlett and team up with her to assemble the full compass. Before you do, however, you have the chance to give Herbert the gift that Scarlett had given you several missions ago. This is entirely optional, and you won’t gain any extra XP or cash for handing over the gift, but you’ll likely get a laugh out of it if you do.
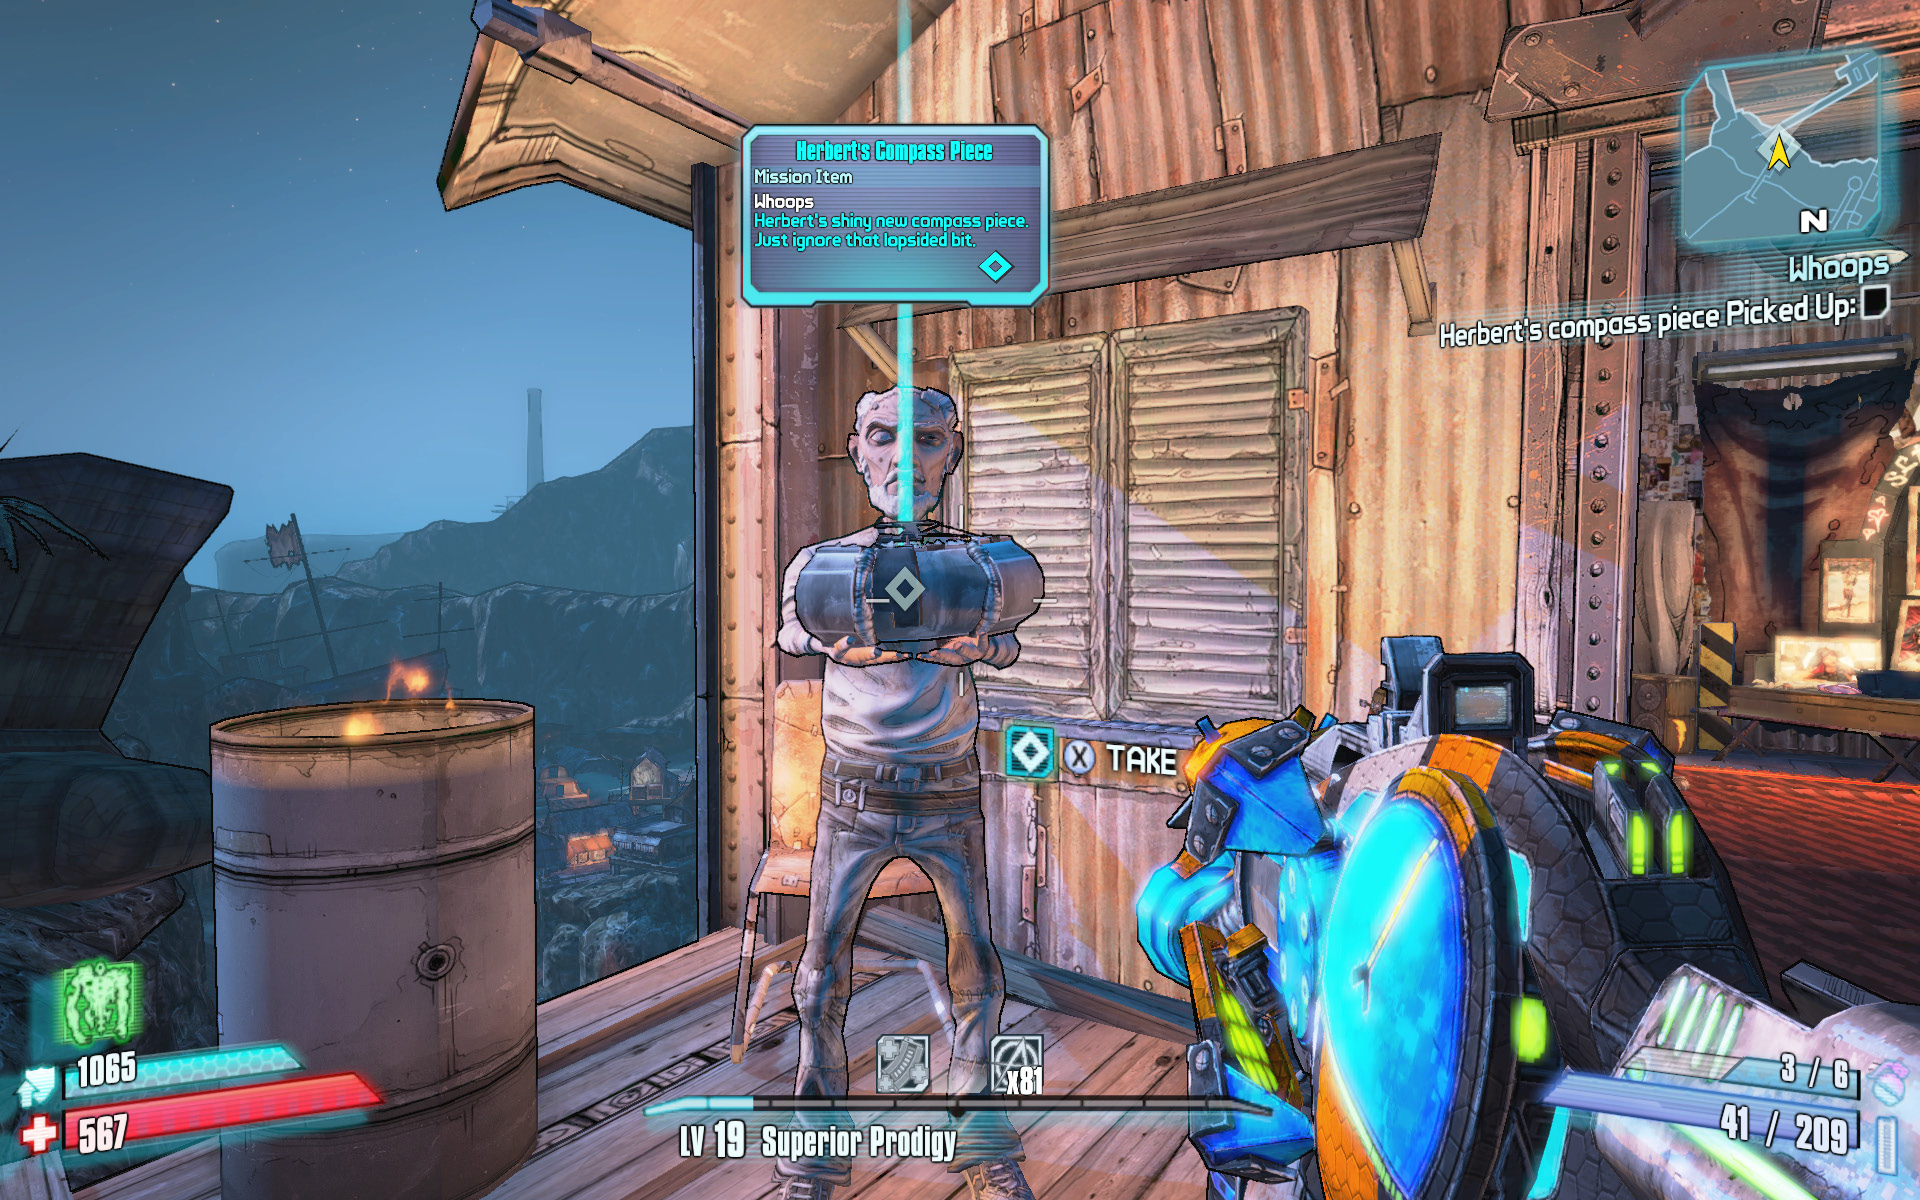
You’ve got the final compass piece! Go ahead and give Herbert the gift if you wish.
Faster than the Speed of Love
Start your engines!
Optional Mission Rewards
| Level | Money | XP | Gear |
|---|---|---|---|
|
19 |
$387 |
1763 |
— |
*Money and XP may vary based on player’s level at start of mission.
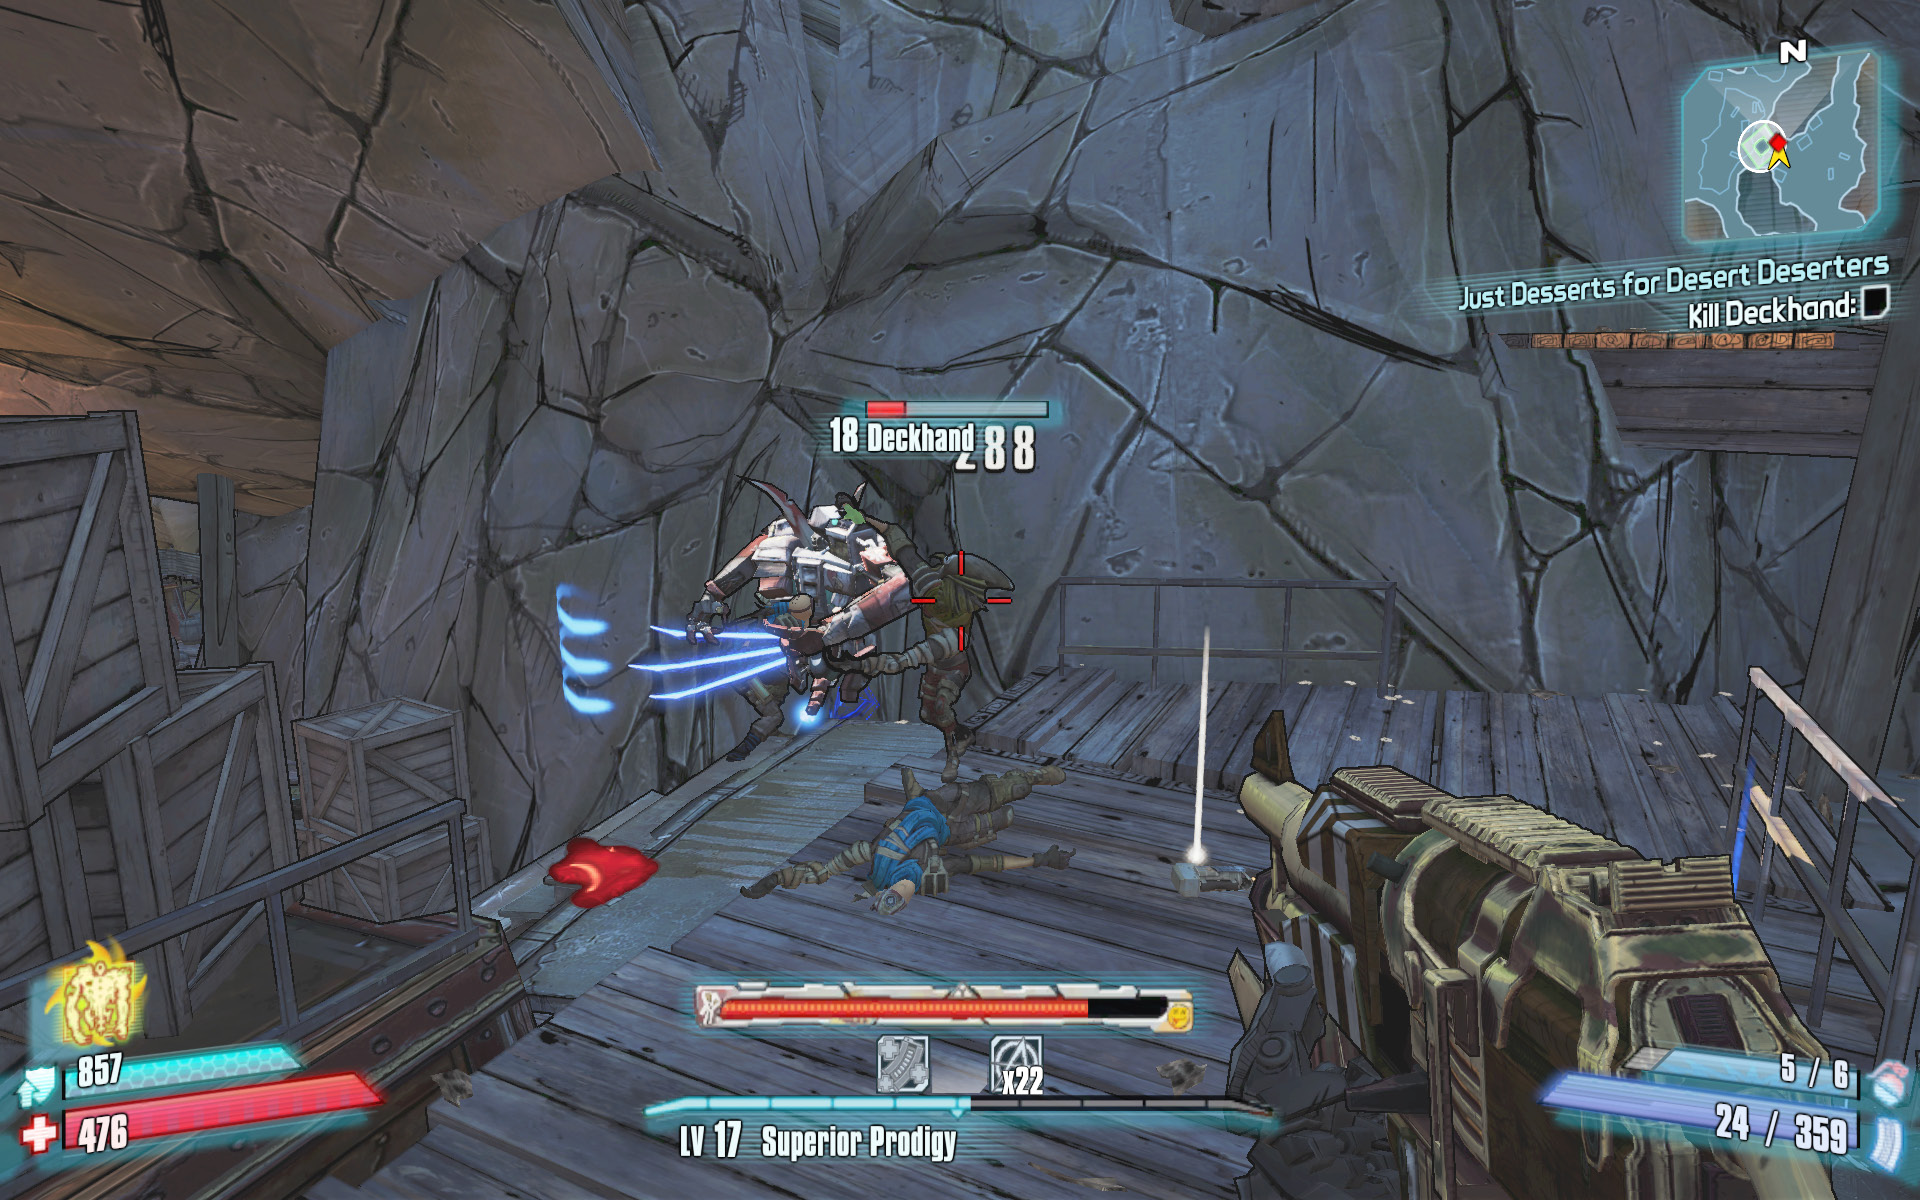
It’s time for a race around Wurmwater in your sandskiff. You won’t need to equip The Afterburner Relic in order to finish this race with plenty of time remaining, so don’t worry if you sold it. With 2:15 on the clock and these foolproof directions, it’s entirely possible to finish with 20 or more seconds to spare!
Steer a sandskiff up the path directly above the southeastern end of the Buccaneer’s Bacchanal. Turn the skiff around to point toward the rock with the start marker, and use your turbo to launch off it to start the race. The first waypoint is in Wurmwater Flats, beginning the clockwise loop around the perimeter of Wurmwater. Pilot the skiff northward, then turn east toward the narrow hill. Use your turbo to launch from off the hill, and fly past the entrance to the Buccaneer’s Bacchanal and onward to the Rustyard Corridor area.
The third waypoint hangs from a fishing line high above the ground, making it necessary for you to use the ramp just north of the waypoint. Swing wide to the left as you approach Rustyard Corridor to line up for the ramp, then use your turbo to hit the waypoint. Follow the outer wall of the canyon up toward Washburne Fen to reach the fourth and fifth waypoints. Round the corner to return to the Pirate Queen’s ship to the north, where the final waypoint is located.
I Know It When I See It
This malfunctioning Hyperion bot seems to be obsessed with censorship…
Optional Mission Rewards
| Level | Money | XP | Gear |
|---|---|---|---|
|
19 |
$387 |
1763 |
— |
*Money and XP may vary based on player’s level at start of mission.
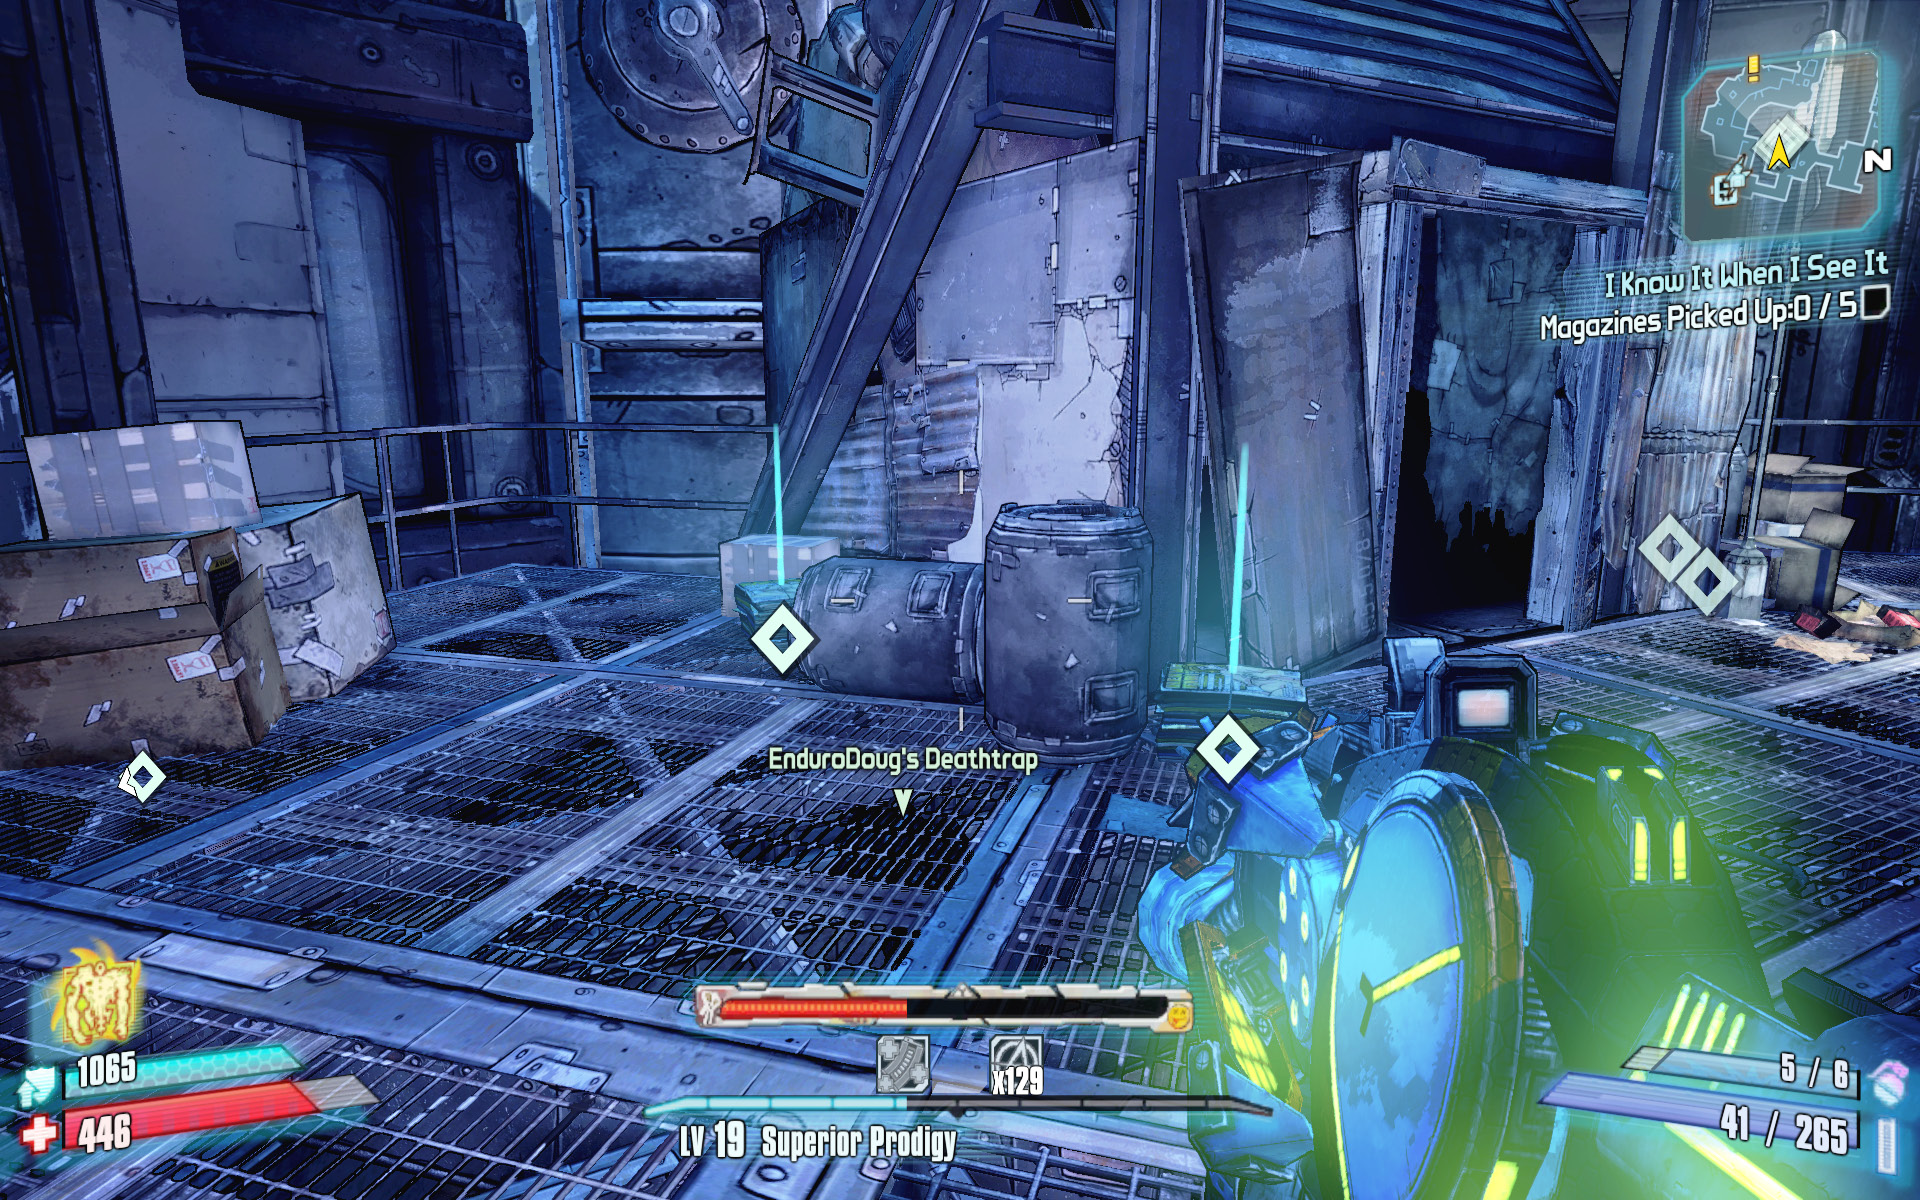
The C3n50r807 in Washburne Refinery wants you to seek out a robot believed to be in possession of pornographic reading material. The offender goes by the name of P3RV-E, and his crime, according to the C3n50r807, is punishable by death. Because morality.
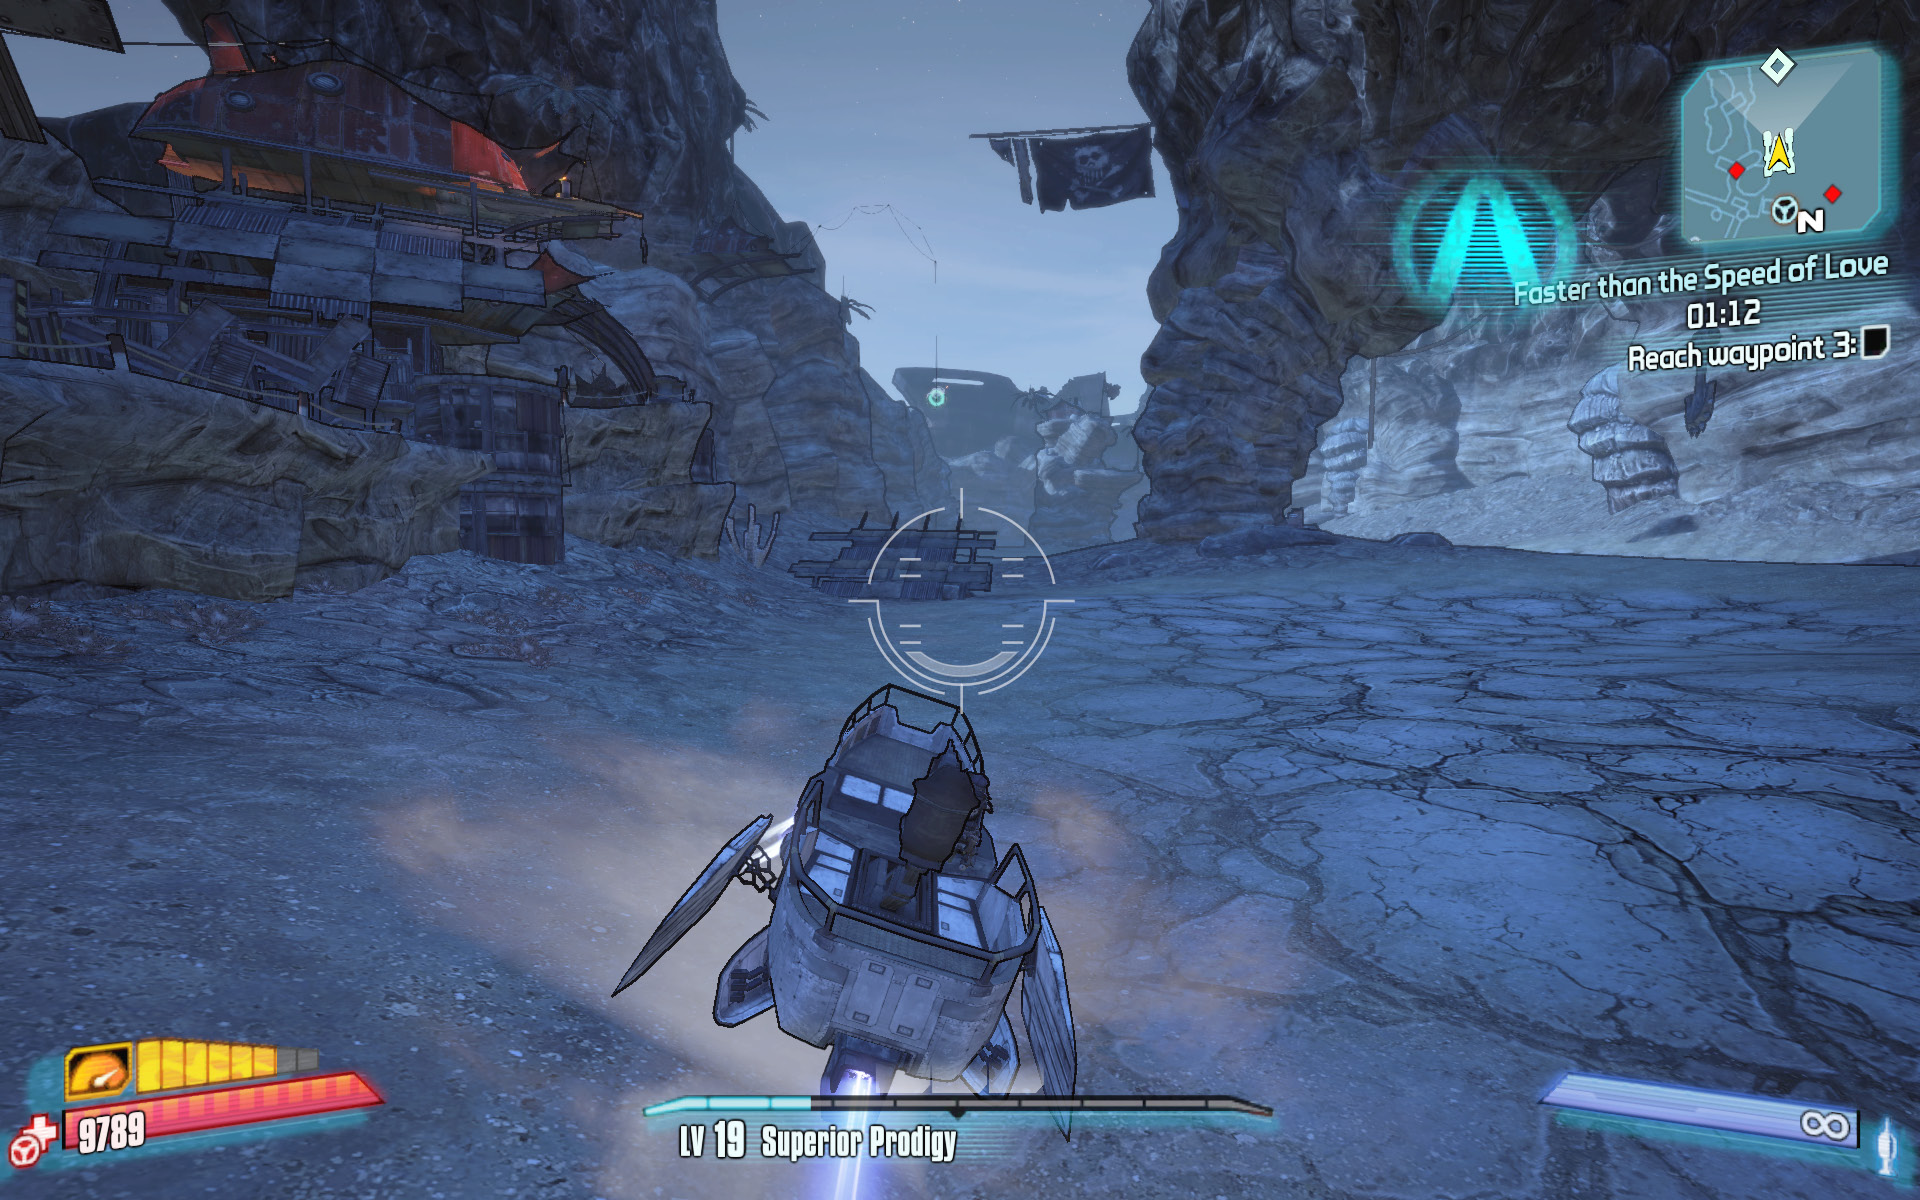
Load up on corrosive weaponry and equip a slag grenade mod, and fight your way back through the Washburne Refinery to the Lair of the Lecher-Bot. Use the vending machines near the Forge Array area to load up on ammo, as you may be running low by the time you battle past all of those Loaders again. P3RV-E attacks alongside several JNK Loaders but presents little threat. Lob a grenade or two up the stairs on the left to soften up P3RV-E while you focus on taking out the JNK Loaders amongst the trash in the center of the room. The diminutive P3RV-E primarily sticks to the upper platform and only attacks with a periodic bolt of electricity that you can side-step with ease.
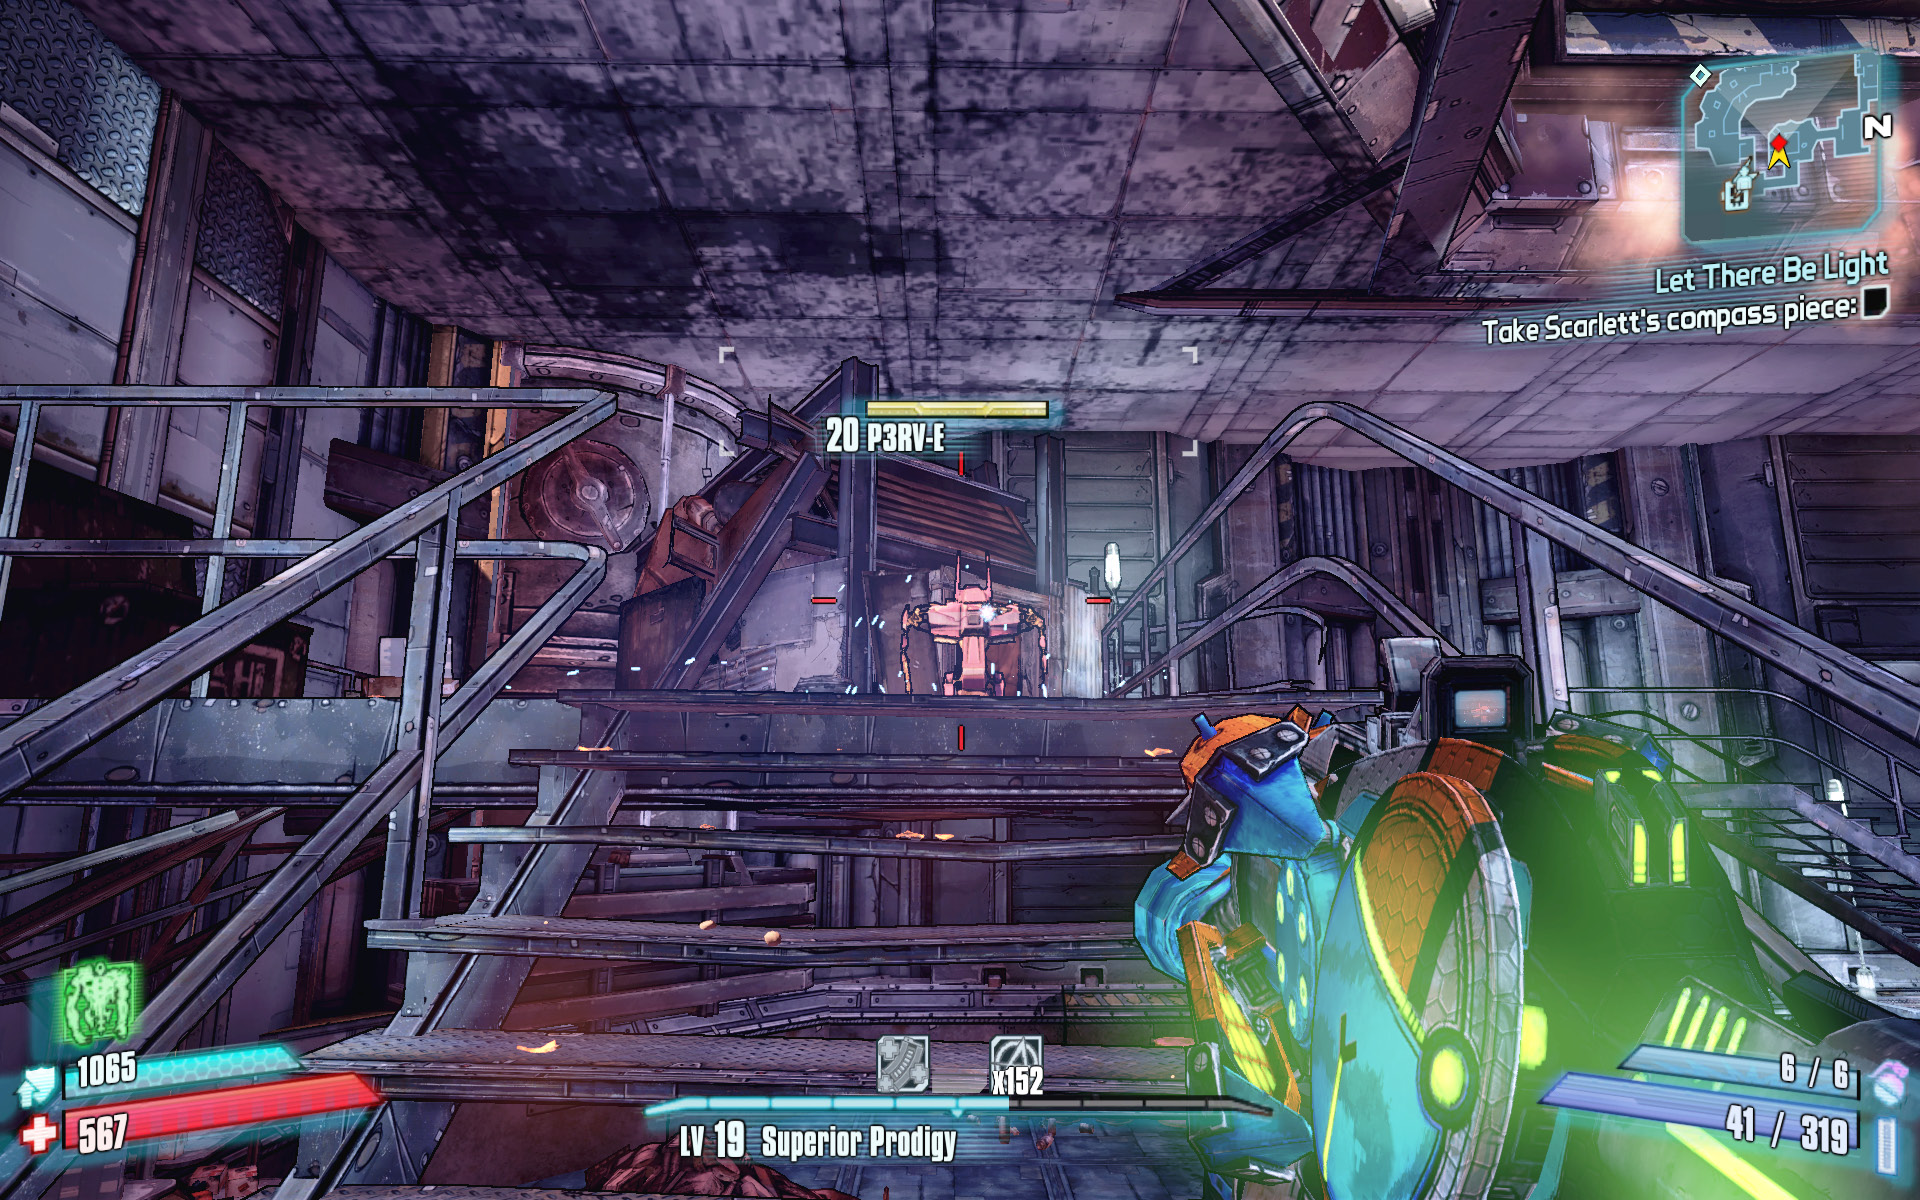
Now that you’ve destroyed P3RV-E, it’s up to you to collect the offensive magazines. Climb the stairs to P3RV-E’s shack in the corner of the room, and collect the five bundles of magazines scattered about. Note that these collectibles are entirely separate from the ones needed for the “I Read It for the Articles” challenge.
Don’t Copy That Floppy
Yar har har! Who’s ready for a quest about (software) piracy?!
Optional Mission Rewards
| Level | Money | XP | Gear |
|---|---|---|---|
|
19 |
$173 |
3527 |
Sniper Rifle (blue) |
*Money and XP may vary based on player’s level at start of mission.
Some Sand Pirates over at the Dish are reported to be making illegal backups of their software, and C3n50r807 wants you to hunt them down and take back their illicit copies. If only those poor Grogmasters had read the EULA, they would have known copying software was a capital offense.
Exit the Washburne Refinery, and ride the lift down to the waystation directly west of the refinery entrance. The only way into the crescent-shaped canyon containing the Dish is via the narrow path in the northwest corner of this small encampment. Shoot your way past the sand worms in the center of the canyon to the ladder far in the northwest corner. The only way to the actual Dish area is across the bridge, reachable by this ladder.
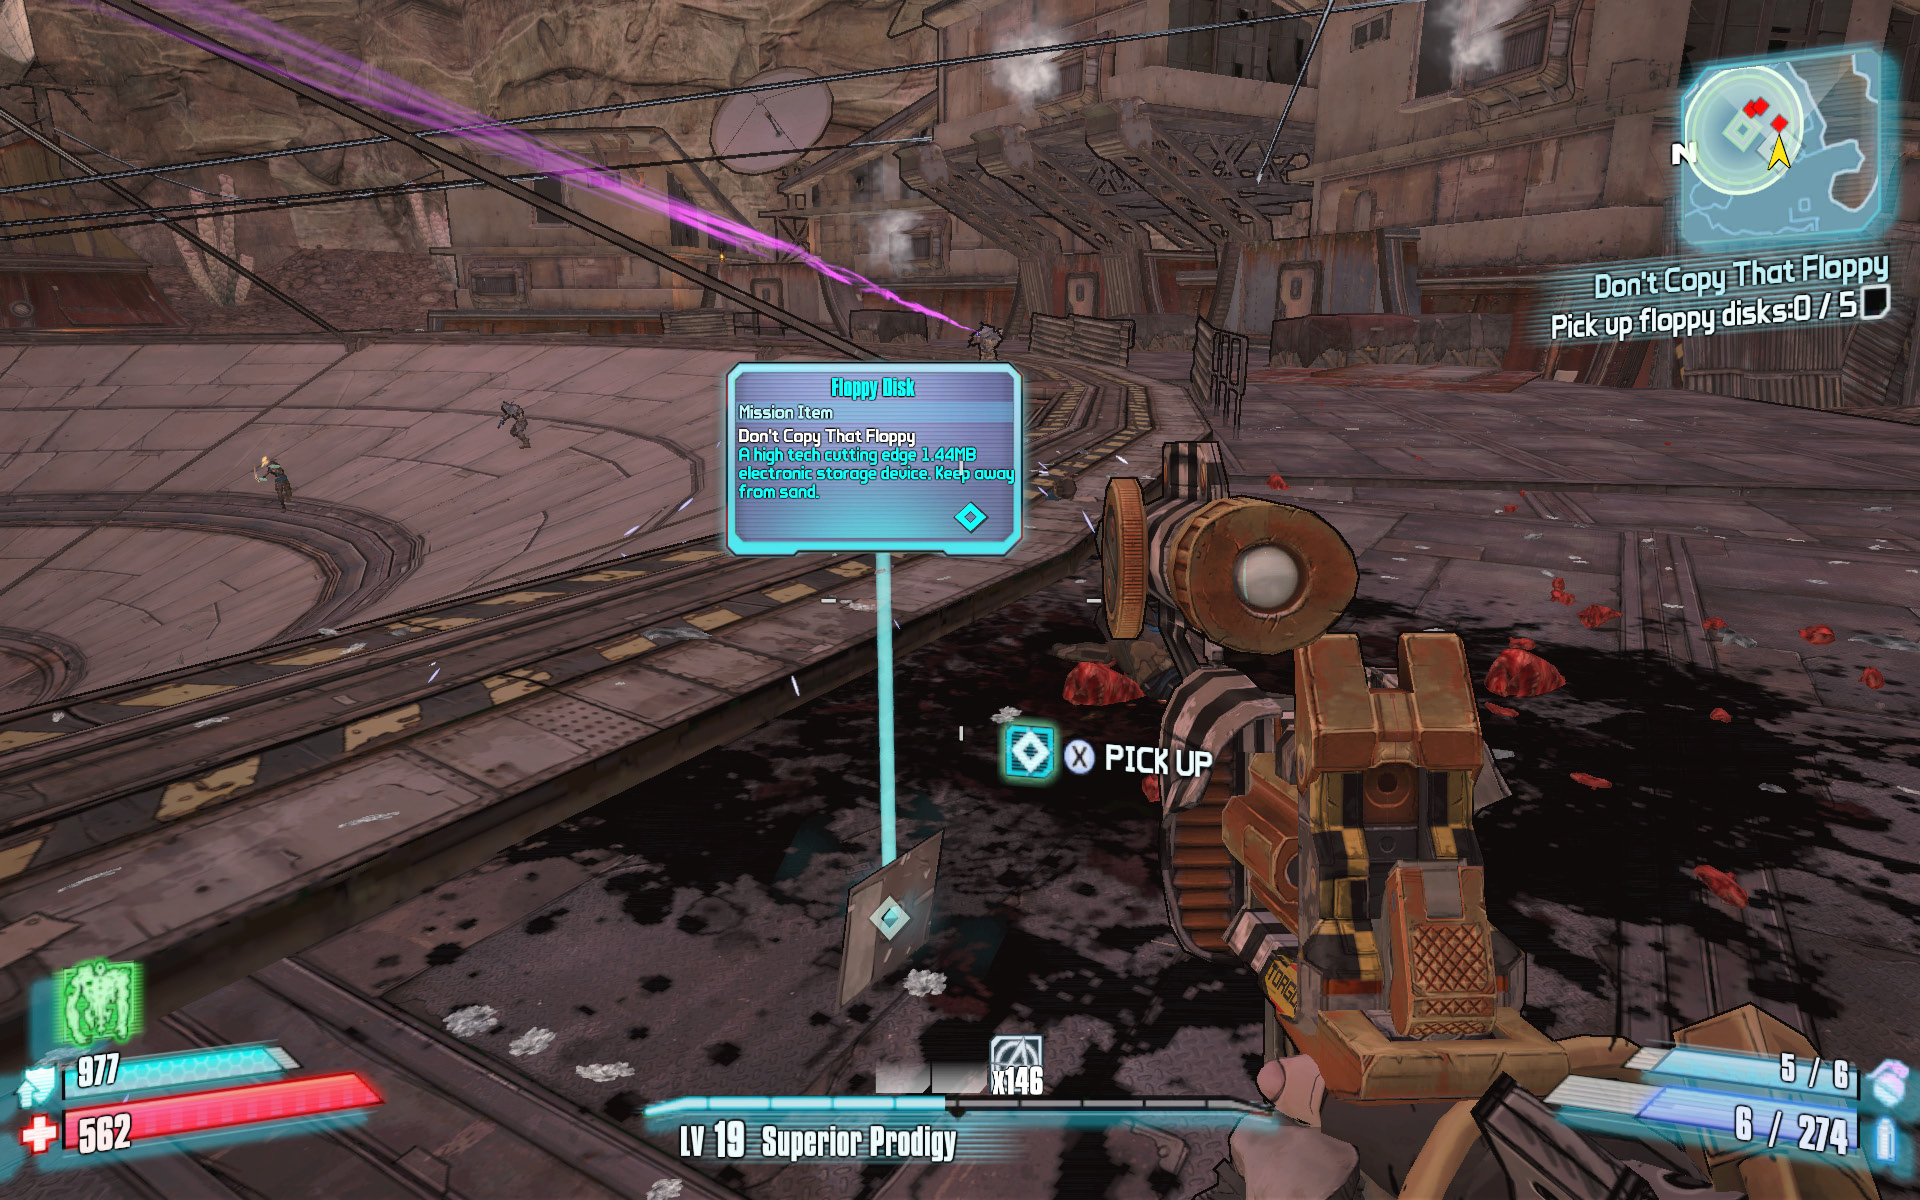
Skirt the massive satellite dish and focus on shooting the handful of Corsairs that leaps from behind closed doors to attack. The Corsairs don’t have the floppy disks, but they can cause quite a problem if you leave them standing. The Grogmasters attack next, and you’ll see them running from the north side of the satellite dish. Gun them down before they get too close, then pick up the floppy disks they drop. Some of the remaining enemies may attack from atop an upper balcony. Snipe them from below, then pick up the floppy disks that drop to the ground. It’s not uncommon for a floppy disk to slip through a crack in the satellite dish. You can’t get under the dish, but you can often pick up the item by crouching down on the satellite dish where it fell and looking for a pick up prompt.
Magnys Lighthouse
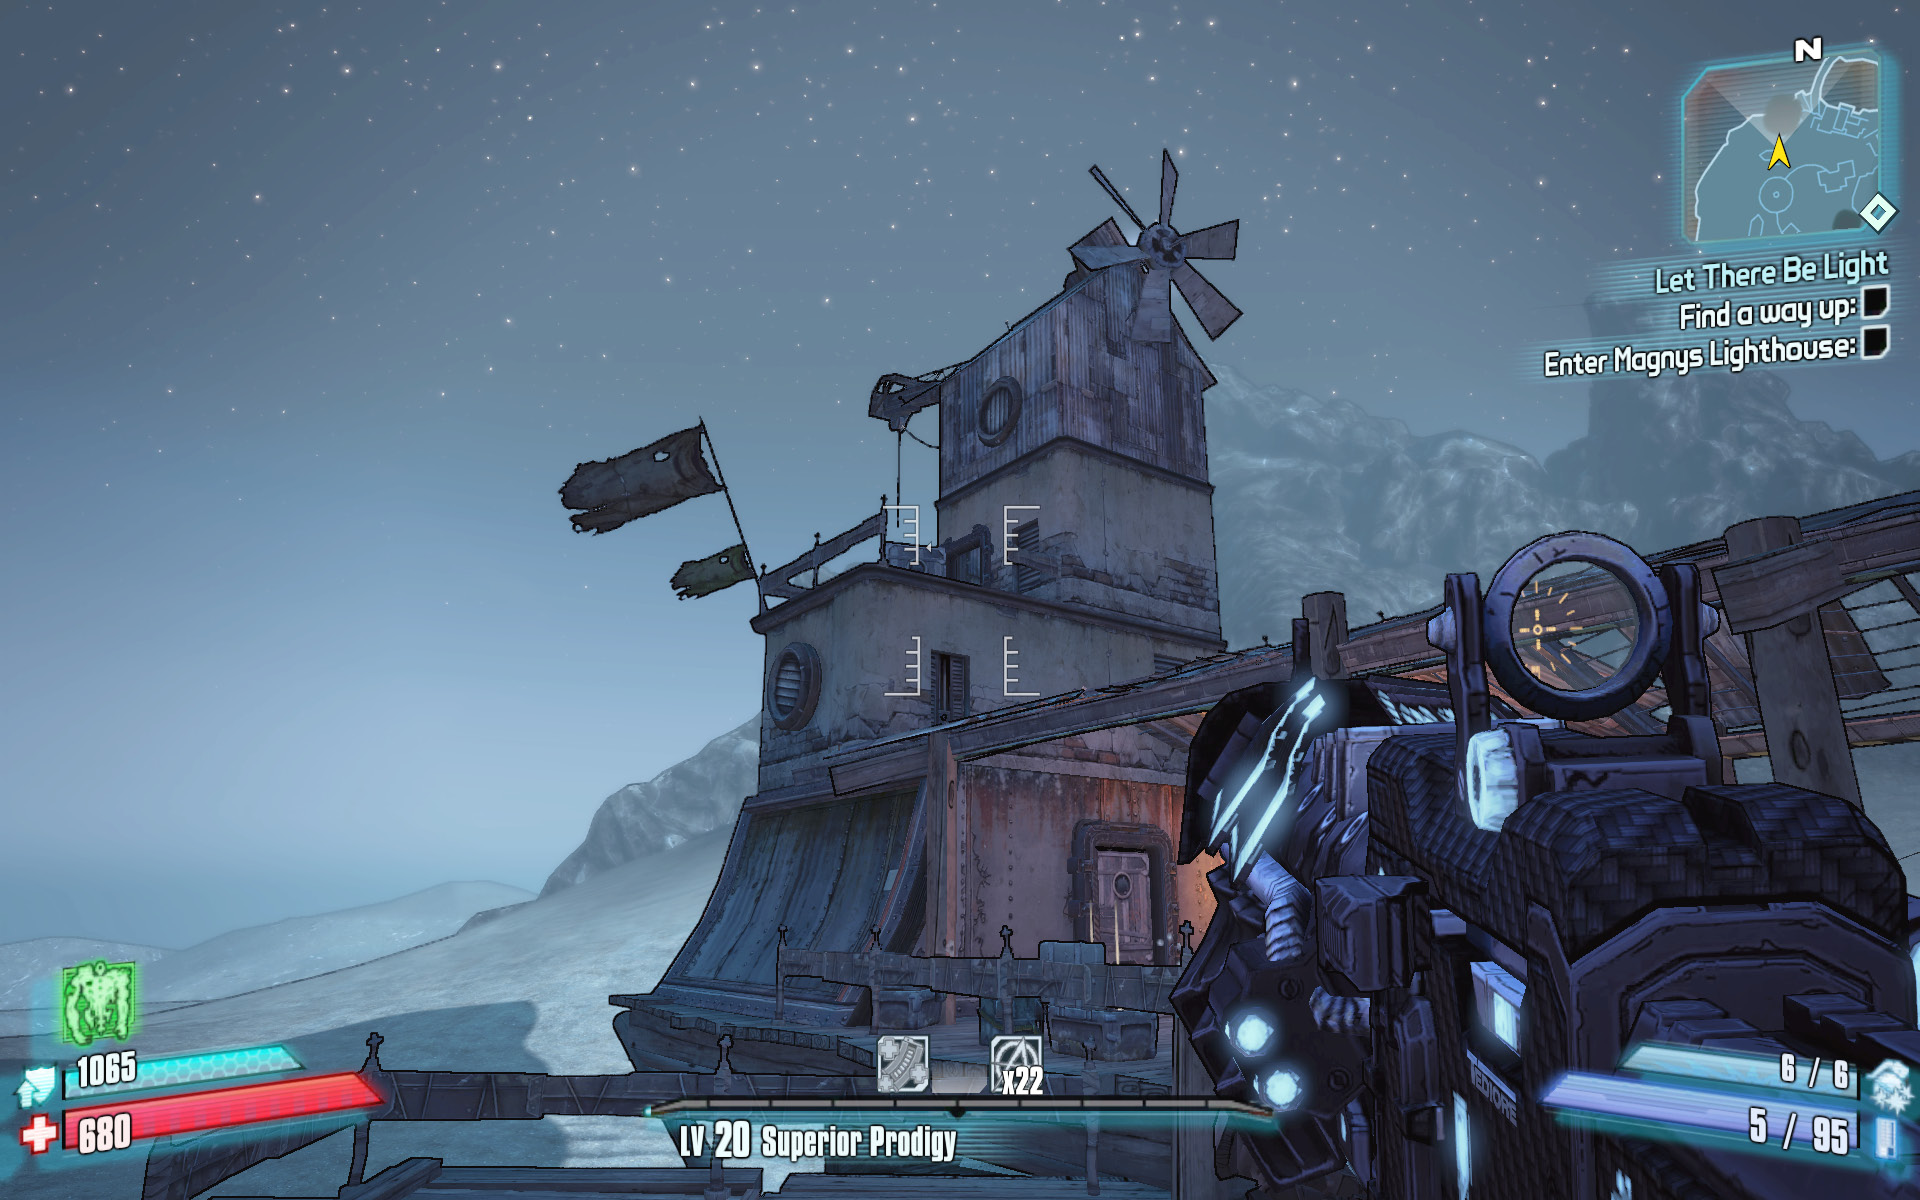
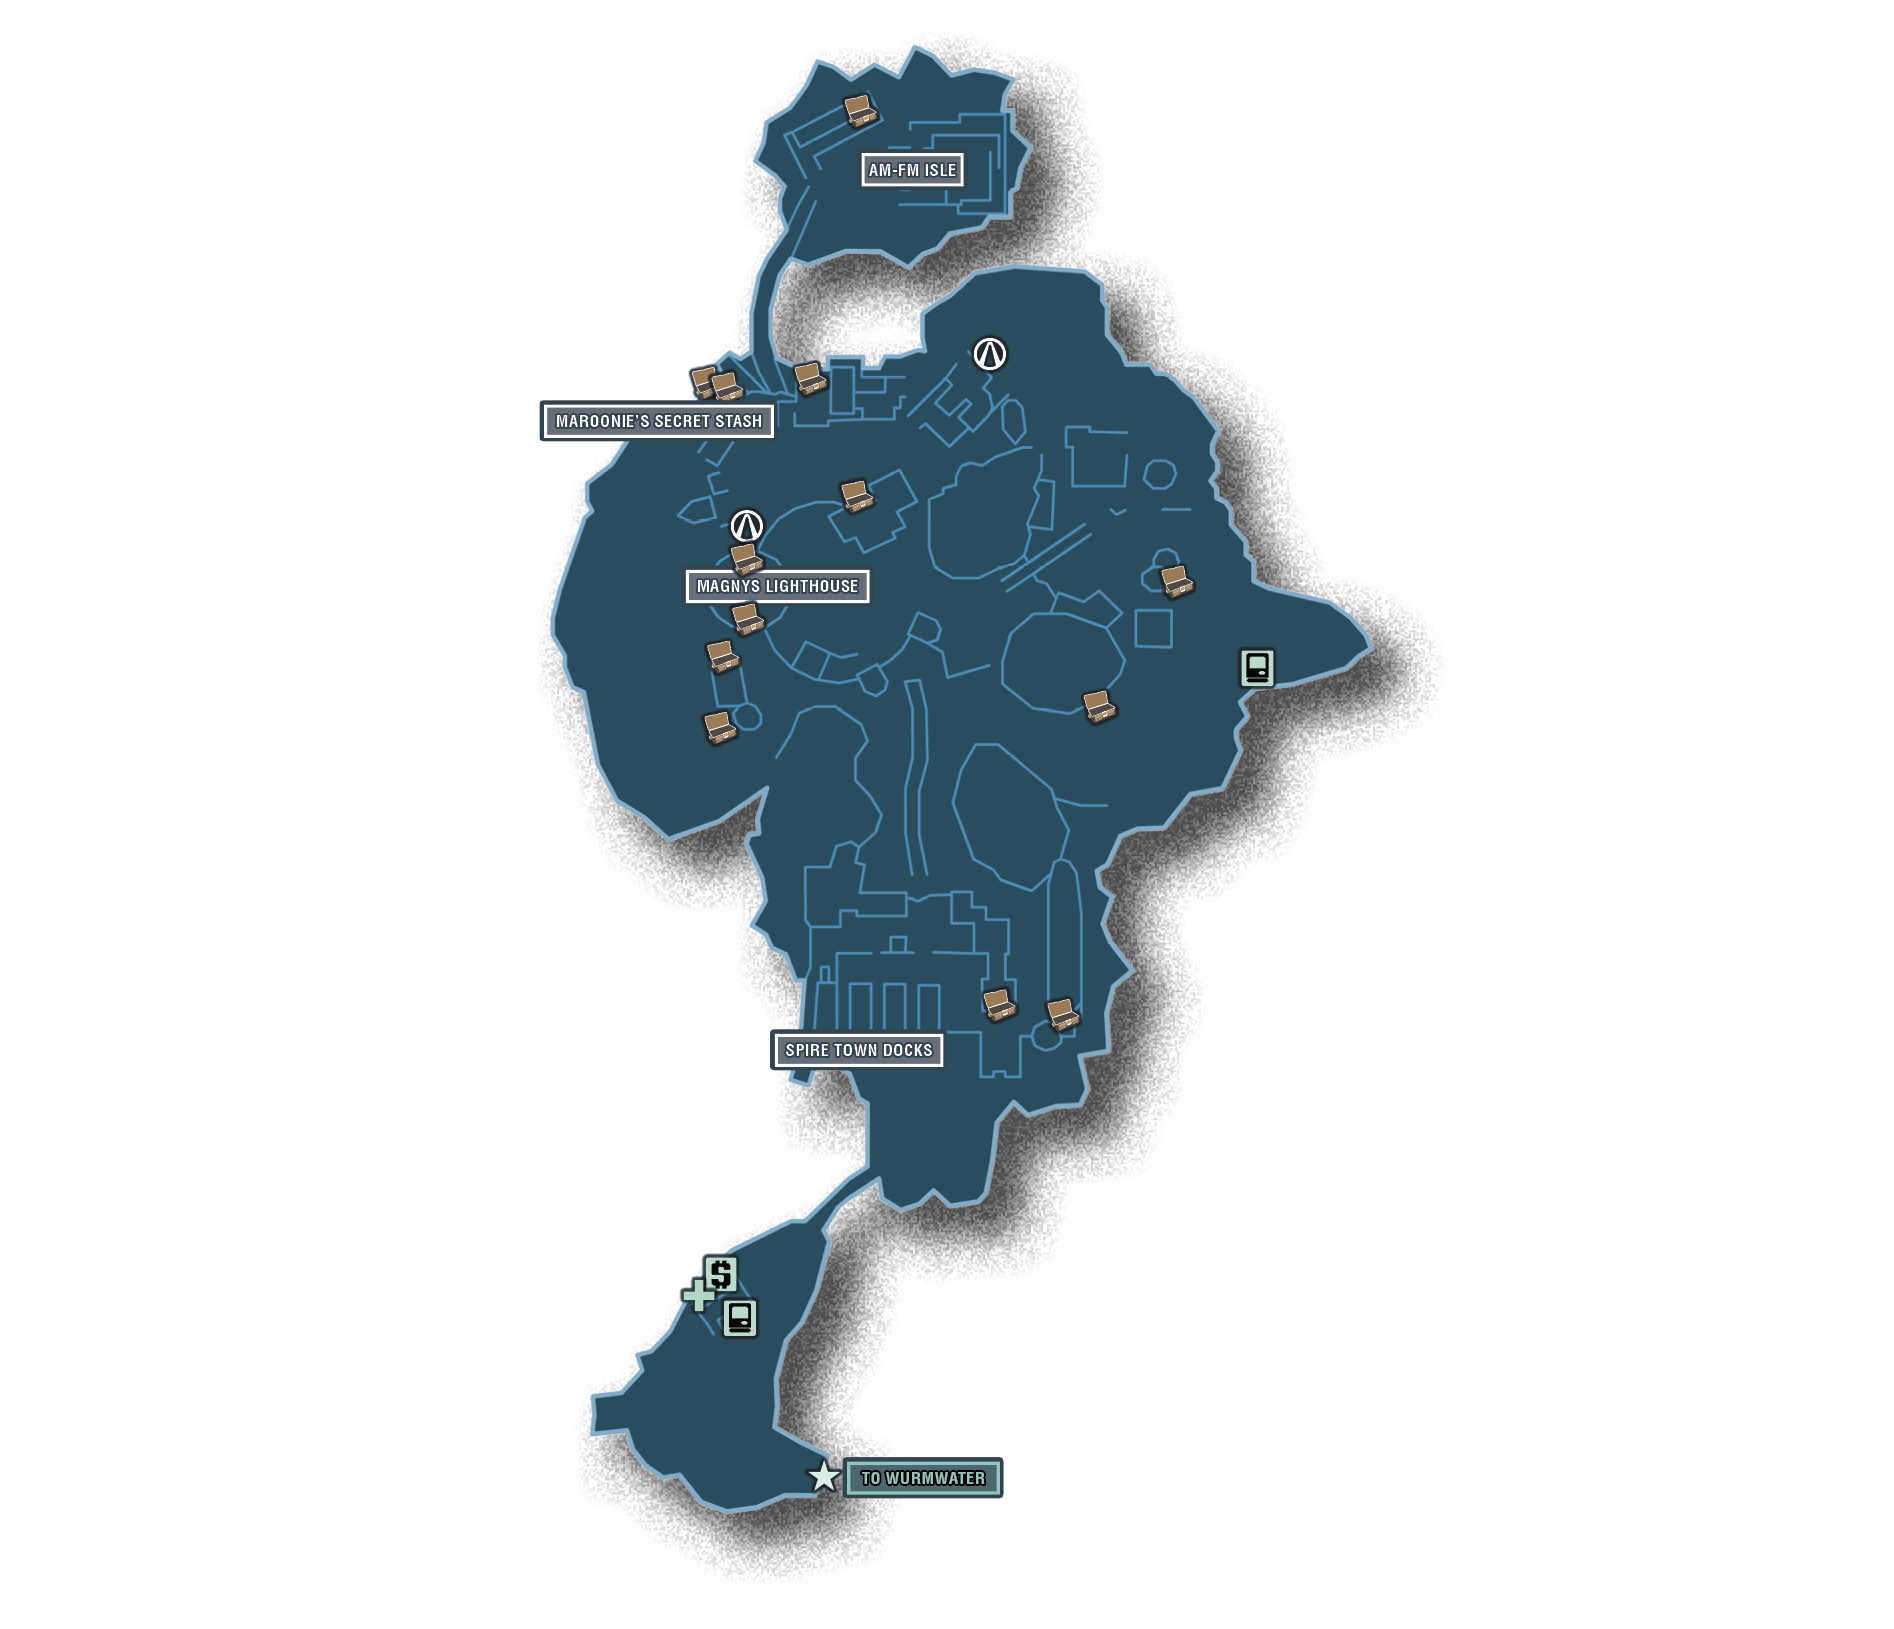
Magnys Lighthouse sits high atop a plateau where it once served as a beacon of warning for those sailing past the former island. Thanks to the drying of the seas, that island is now a towering plateau that you can only reach via a well-guarded lift. The sprawling Spire Town Docks wrap around the base of the plateau and provide housing for the largest pirate gang in the Oasis region. Those attempting to reach the area’s namesake lighthouse must navigate a maze of ladders, bridges, and docks in order to finally reach the lift to the top. Of course, no visit to Magnys Lighthouse is complete without a trip to nearby AM-FM Isle.
Dangerous Beasts
| Enemy Family |
|---|
|
Pirates |
 Cult of the Vault
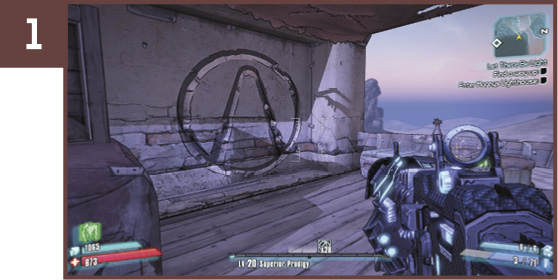
Make your way through the cave to the north side of the island, and continue around the corner to the right and up through the settlement. This symbol is on the northeastern wall of the house directly across from the radio station to the north. A smaller hovel dangles from a crane directly overhead.
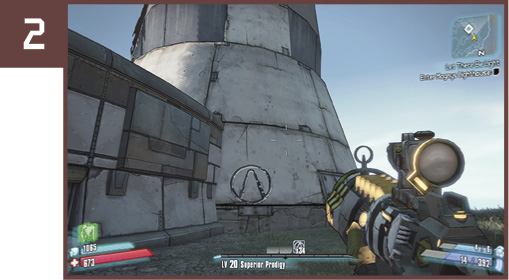
Ride the lift up to the top of the island where the lighthouse is, and loop around the right-hand side of the wall to the base of the lighthouse.
N00b Cannon
Make your way to the wooden platform where the lift leading up to the lighthouse plateau is located. Locate the green-and-red button on the side of the circular metal tower between the two sets of stairs, and press it. This activates the crown and causes a platform with a gun turret to be rotated into position. You needn’t use the turret to complete the challenge, but it comes in handy against the Minelayers and Corsairs who attack while you wait for the lift.
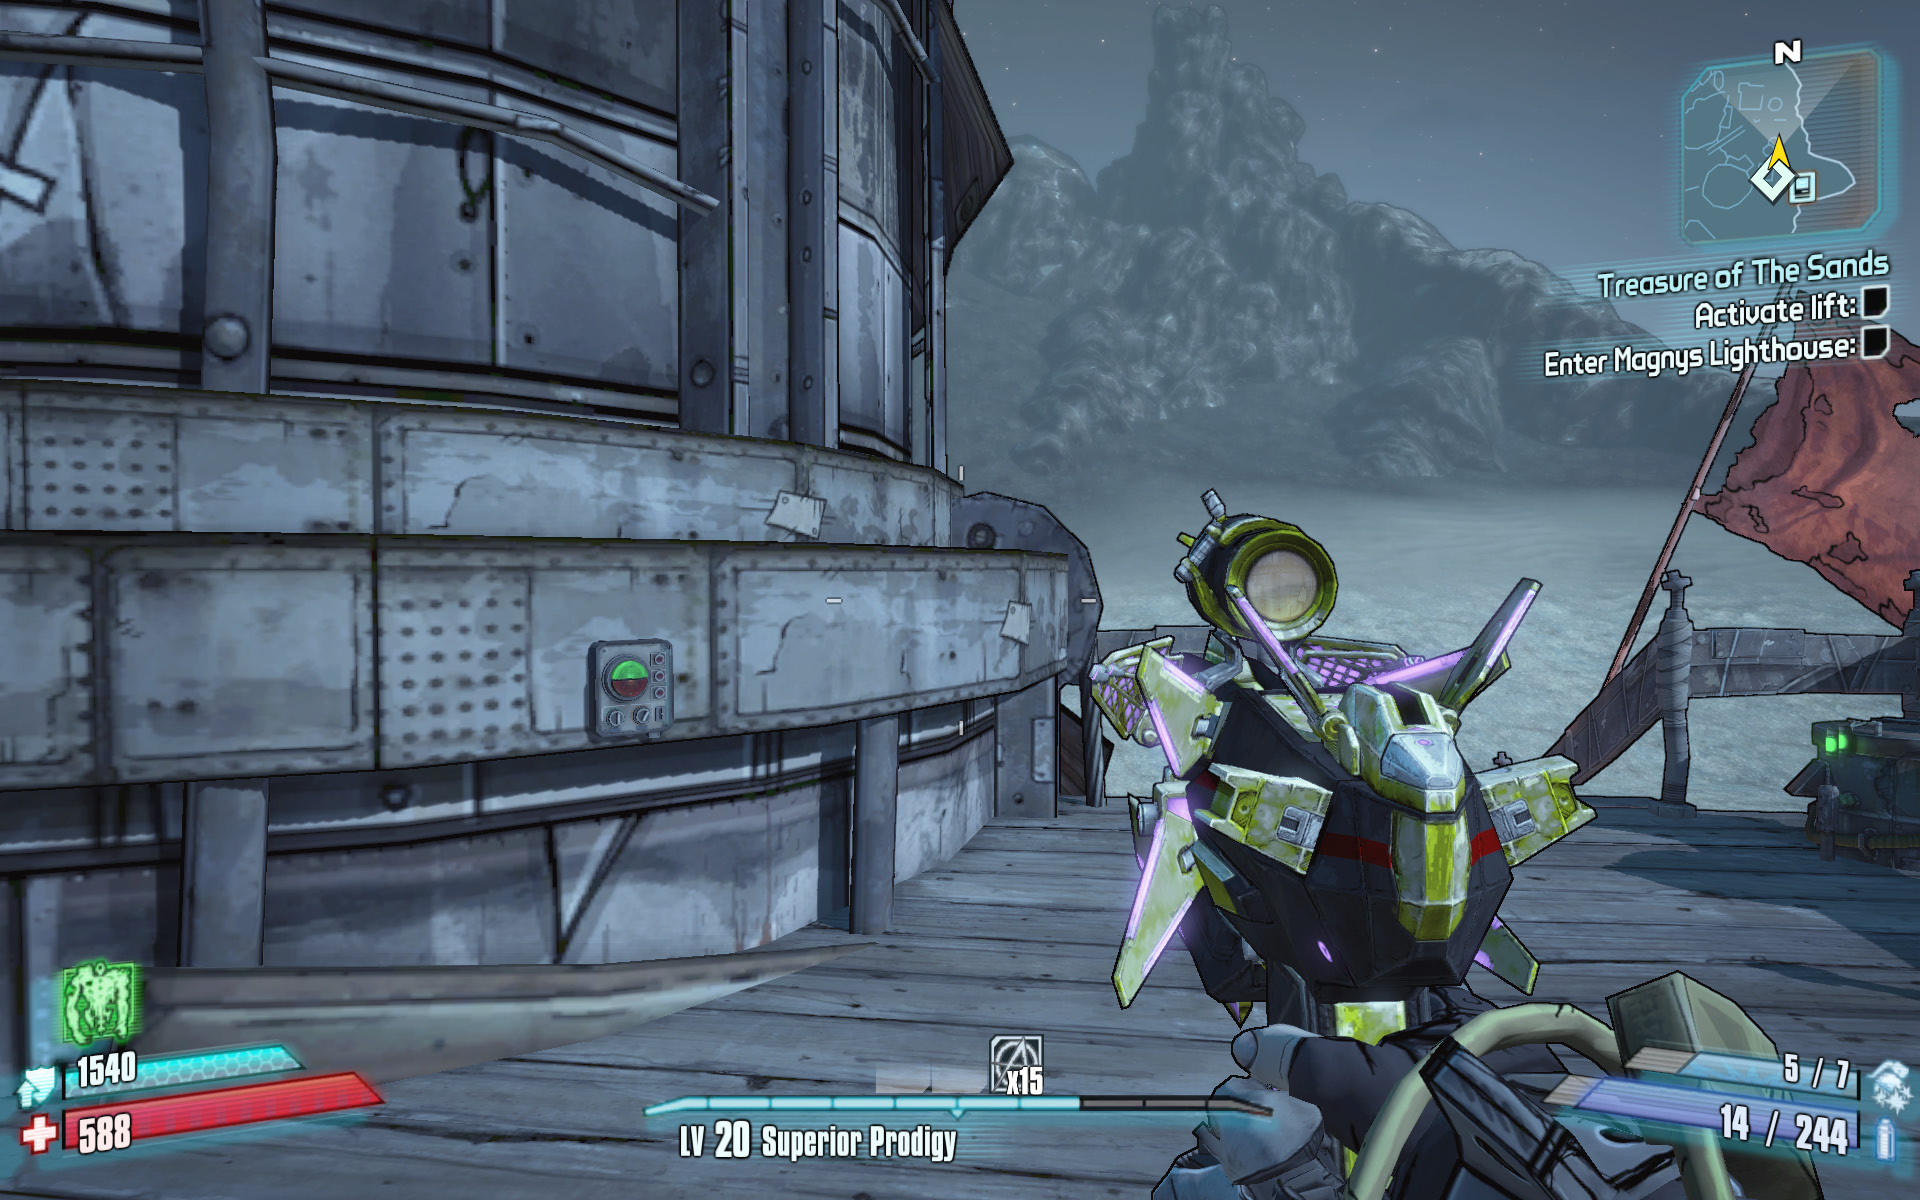
Maroonie’s Inheritance
Maroonie’s secret stash is inside the tall structure on the north side of the island, looking out toward AM-FM Isle. The open door on the middle roof is your cue that it’s an accessible area. To reach it, leap from the wooden railing on the north side of the structure onto the circular window, and from there, to the large angled awning over the walkway. Take a running leap to the roof with the open door, and head inside to find several safes and a slew of lockboxes.