
Borderlands 2 Game of the Year Guide Mr. Torgue's Campaign of Carnage
Get Your Motor Running
|
 Mission Briefing
| Level | Money | XP | Gear |
|---|---|---|---|
|
17 |
25 Tokens |
1451 |
— |
*Money and XP may vary based on player’s level at start of mission.
Welcome to Momma’s House
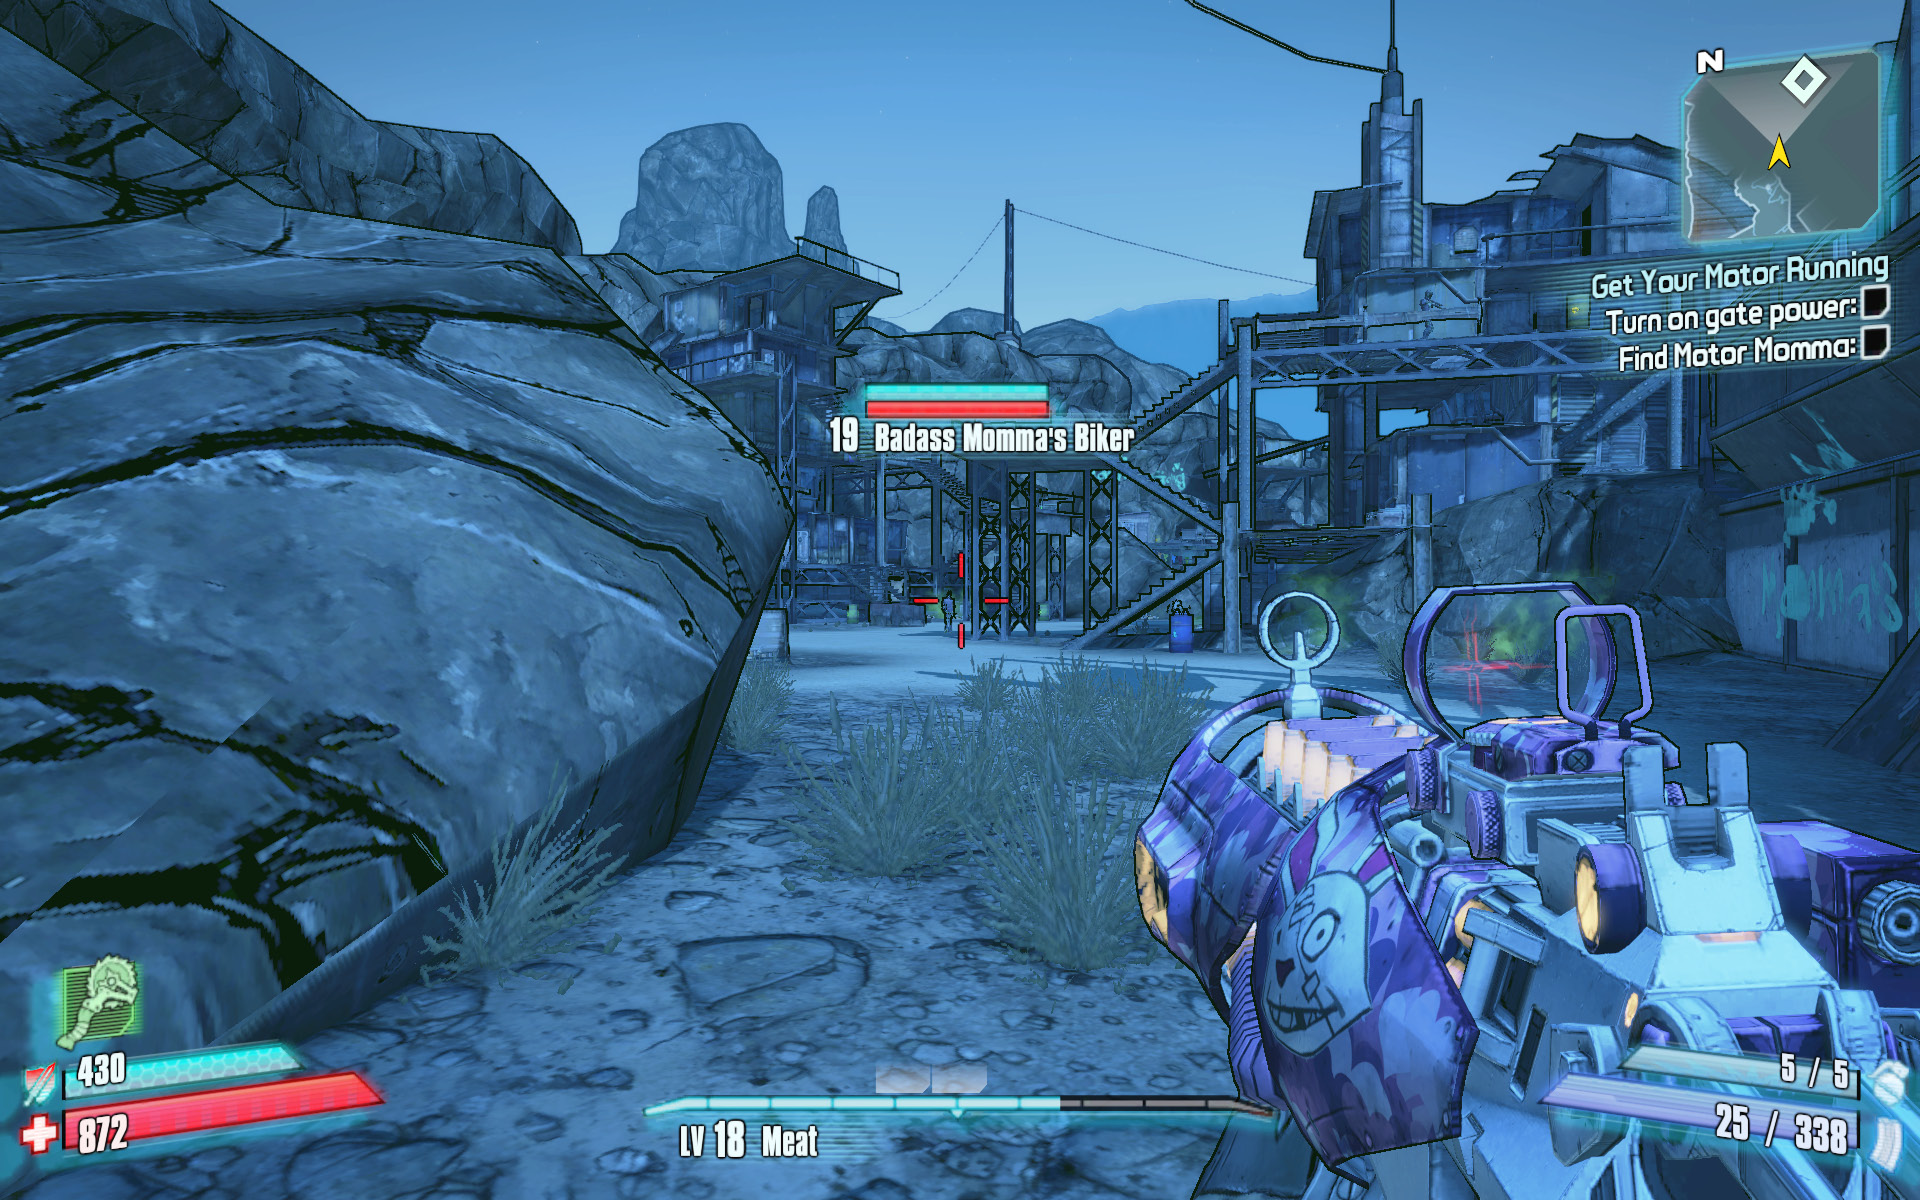
Slip through the gap in the fence near the Catch-a-Ride, and scout the area before launching your attack.
Use the southwest exit from Badass Crater to reach the Southern Raceway region. Cruise along the paved road as it loops past several canyons so you can spot the locked gate leading to Motor Momma’s haven. In order to proceed, you’ll need to locate the switch controlling the power for the gate. Return the way you came, and drop into the canyon with the ramps on the left. This is the largest of several narrow gullies in the Southern Raceway area, but they are each similar in that they are home to numerous members of Momma’s gang. Kill any Rioters or other motorcycle-riding thugs who attack, then proceed northward to the gates near the Catch-a-Ride around the bend.
Take a moment to scan the area from behind the rocks. You’ll need to climb the three flights of stairs on the right-hand side to activate the power for the gate. It’s best to get there quickly, as the elevated position helps you fend off the numerous Momma’s Enforcers and Bikers patrolling the area. Note the locations of the barrels that you can use advantageously for sniping any near enemies in your path.
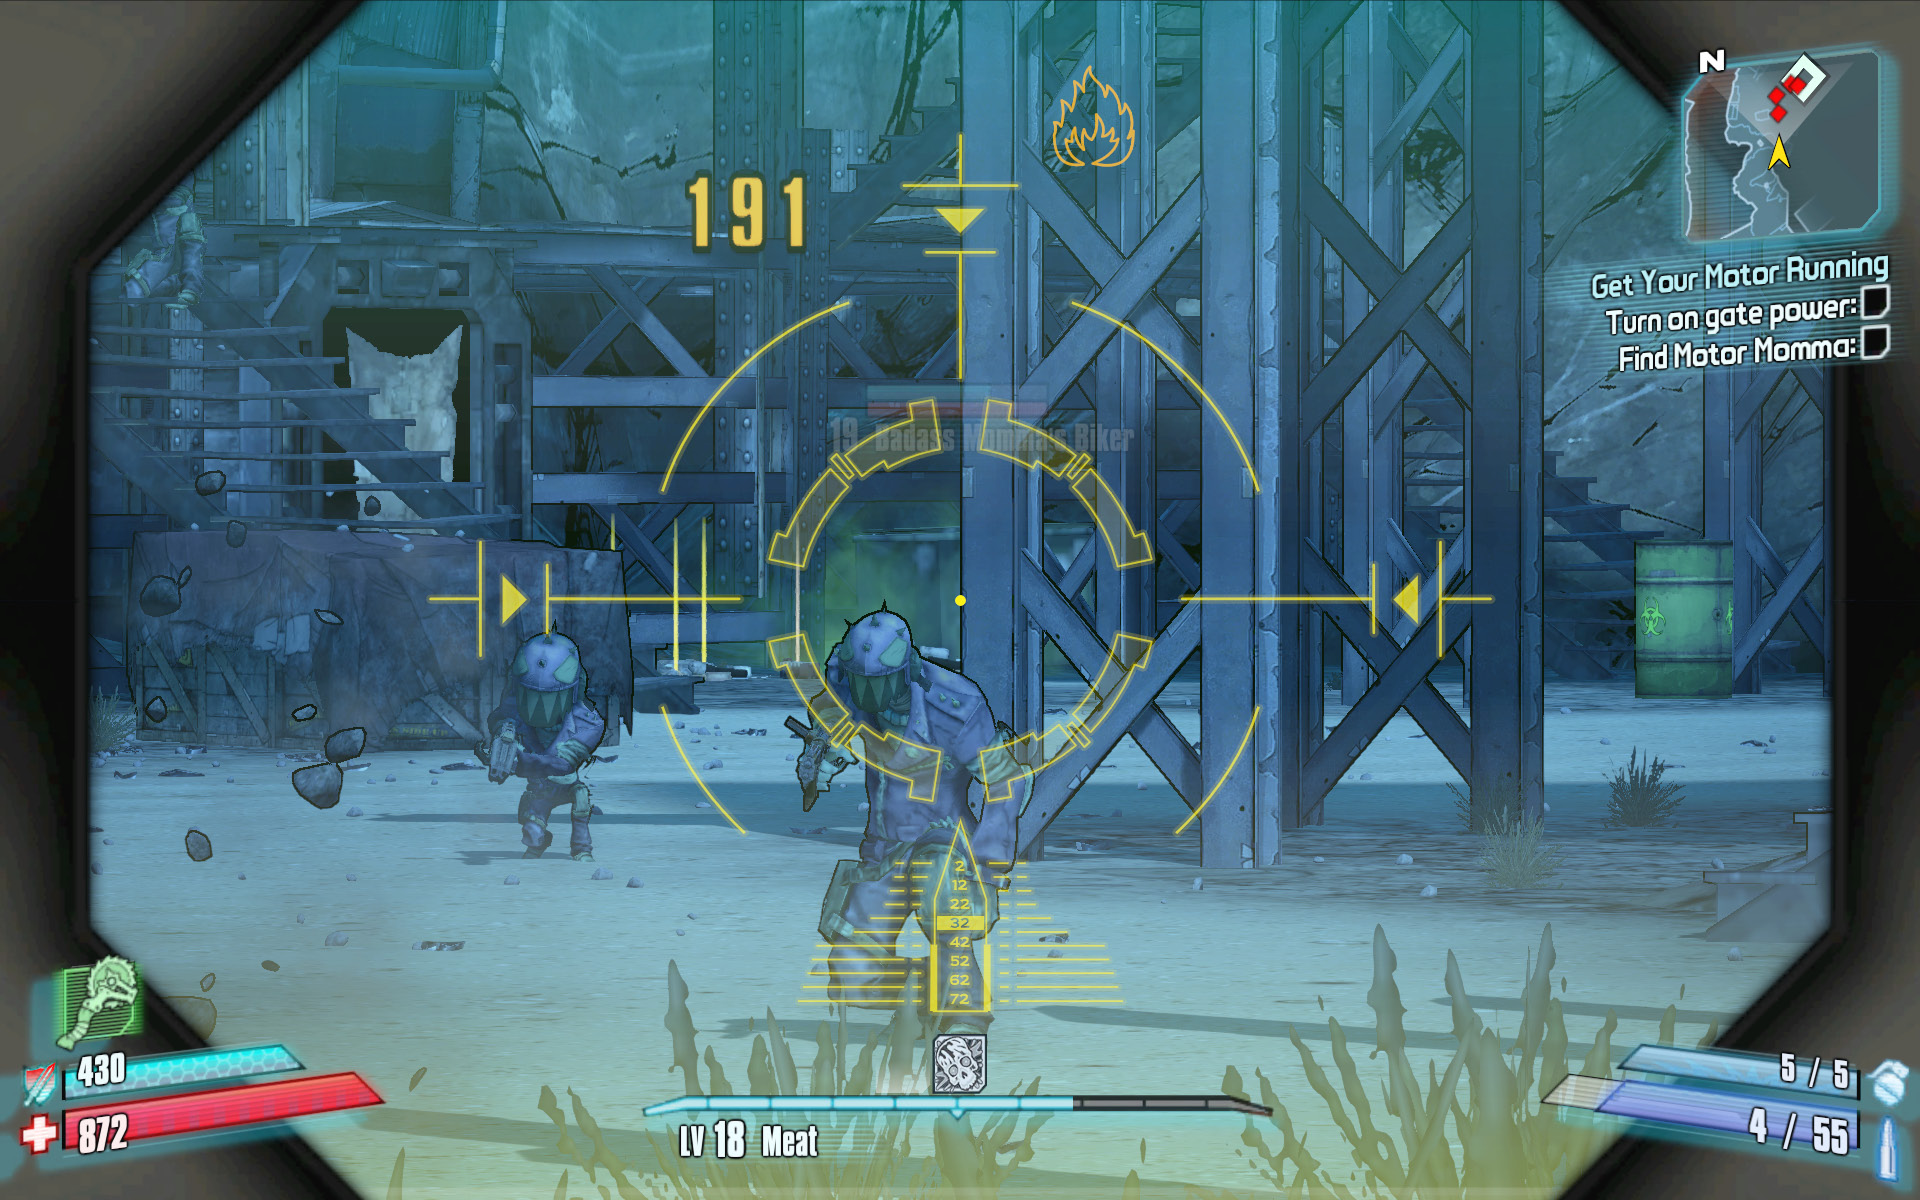
Snipe the enemies between you and the stairs, then sprint up to the third level of the building on the right.
Get to the stairs quickly and use them for cover as you pick off the enemies farther up the canyon, near the settlement to the north. Round the corner on the uppermost level to find the switch and activate the power to the gate. There’s no need to push farther into this canyon right now; head back to your vehicle and drive back down the road to the previously locked gate.
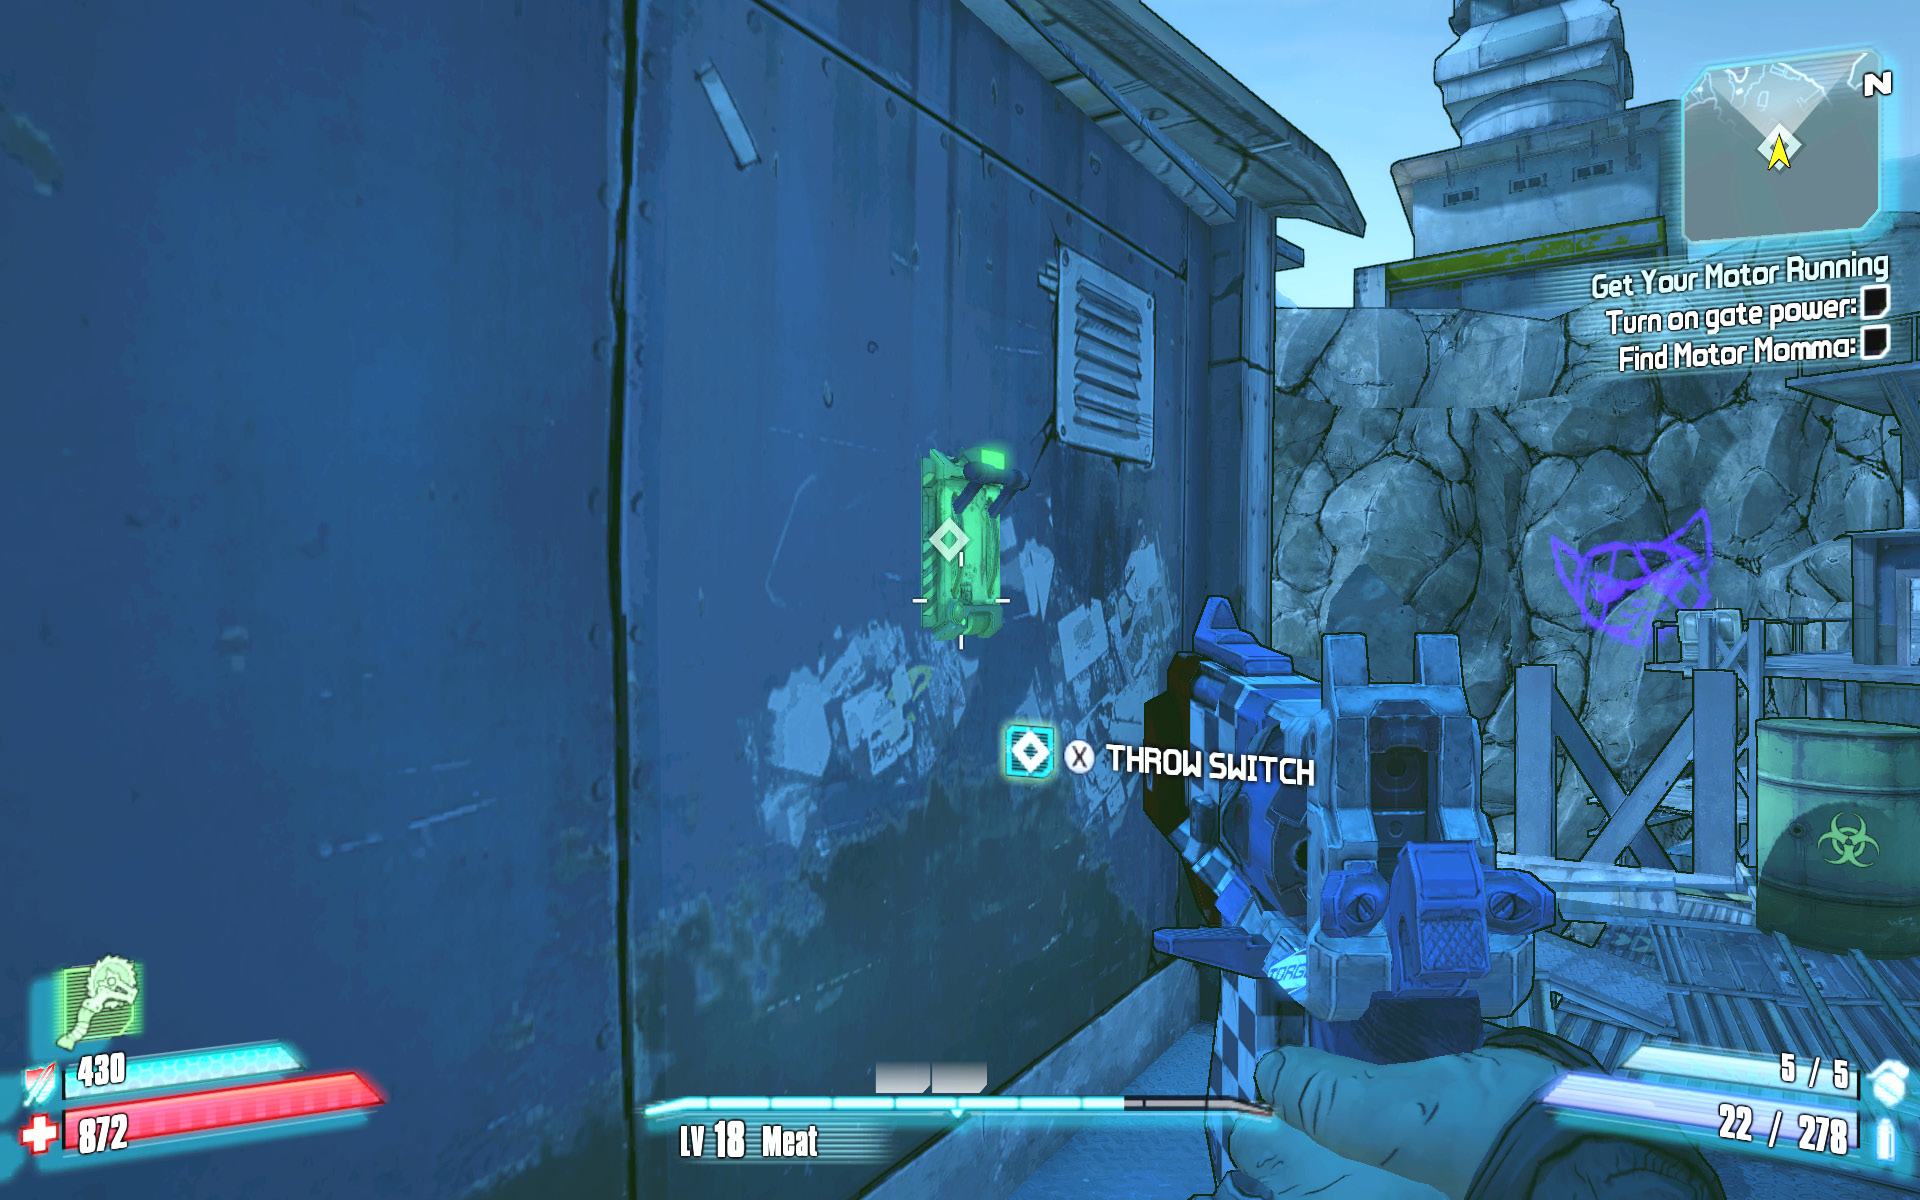
The switch is on the north side of the shack atop the structure on the right.
Wait for the inner fence to open, then exit your vehicle and continue through the gate on foot. The arena is down the hill and around the bend to the right, but you’ll have to get past another half-dozen of Momma’s gang members. Stick to the outside edge of the path leading to the arena, and try to maintain a height advantage so you can view the enemies over cover and not have to worry about barrels being detonated near you. Fight your way to the vending machines, and equip weapons that inflict heavy explosive damage. Also, it pays to have a shock grenade handy for the second phase of the fight.
Motor Momma
Motor Momma’s Bike Vitals
| Health Multiplier | Shield Level | Damage Multiplier | XP Value | Critical Areas | Weakness/Resistance |
|---|---|---|---|---|---|
|
55 |
1 |
2 |
Tough High |
Head |
|
 /—
/—Motor Momma’s Vitals
| Health Multiplier | Shield Level | Damage Multiplier | XP Value | Critical Areas | Weakness/Resistance |
|---|---|---|---|---|---|
|
24 |
12 |
1 |
Badass |
Head |
|
 /—
/—The battle against Motor Momma consists of two phases, the first of which pits you on foot against her and her bike. She’ll cruise around the arena while shooting her electric chainguns at you, and she’ll periodically attempt to run you over. She’ll also summon a number of other bikers into the arena to distract you so she can finish you off.
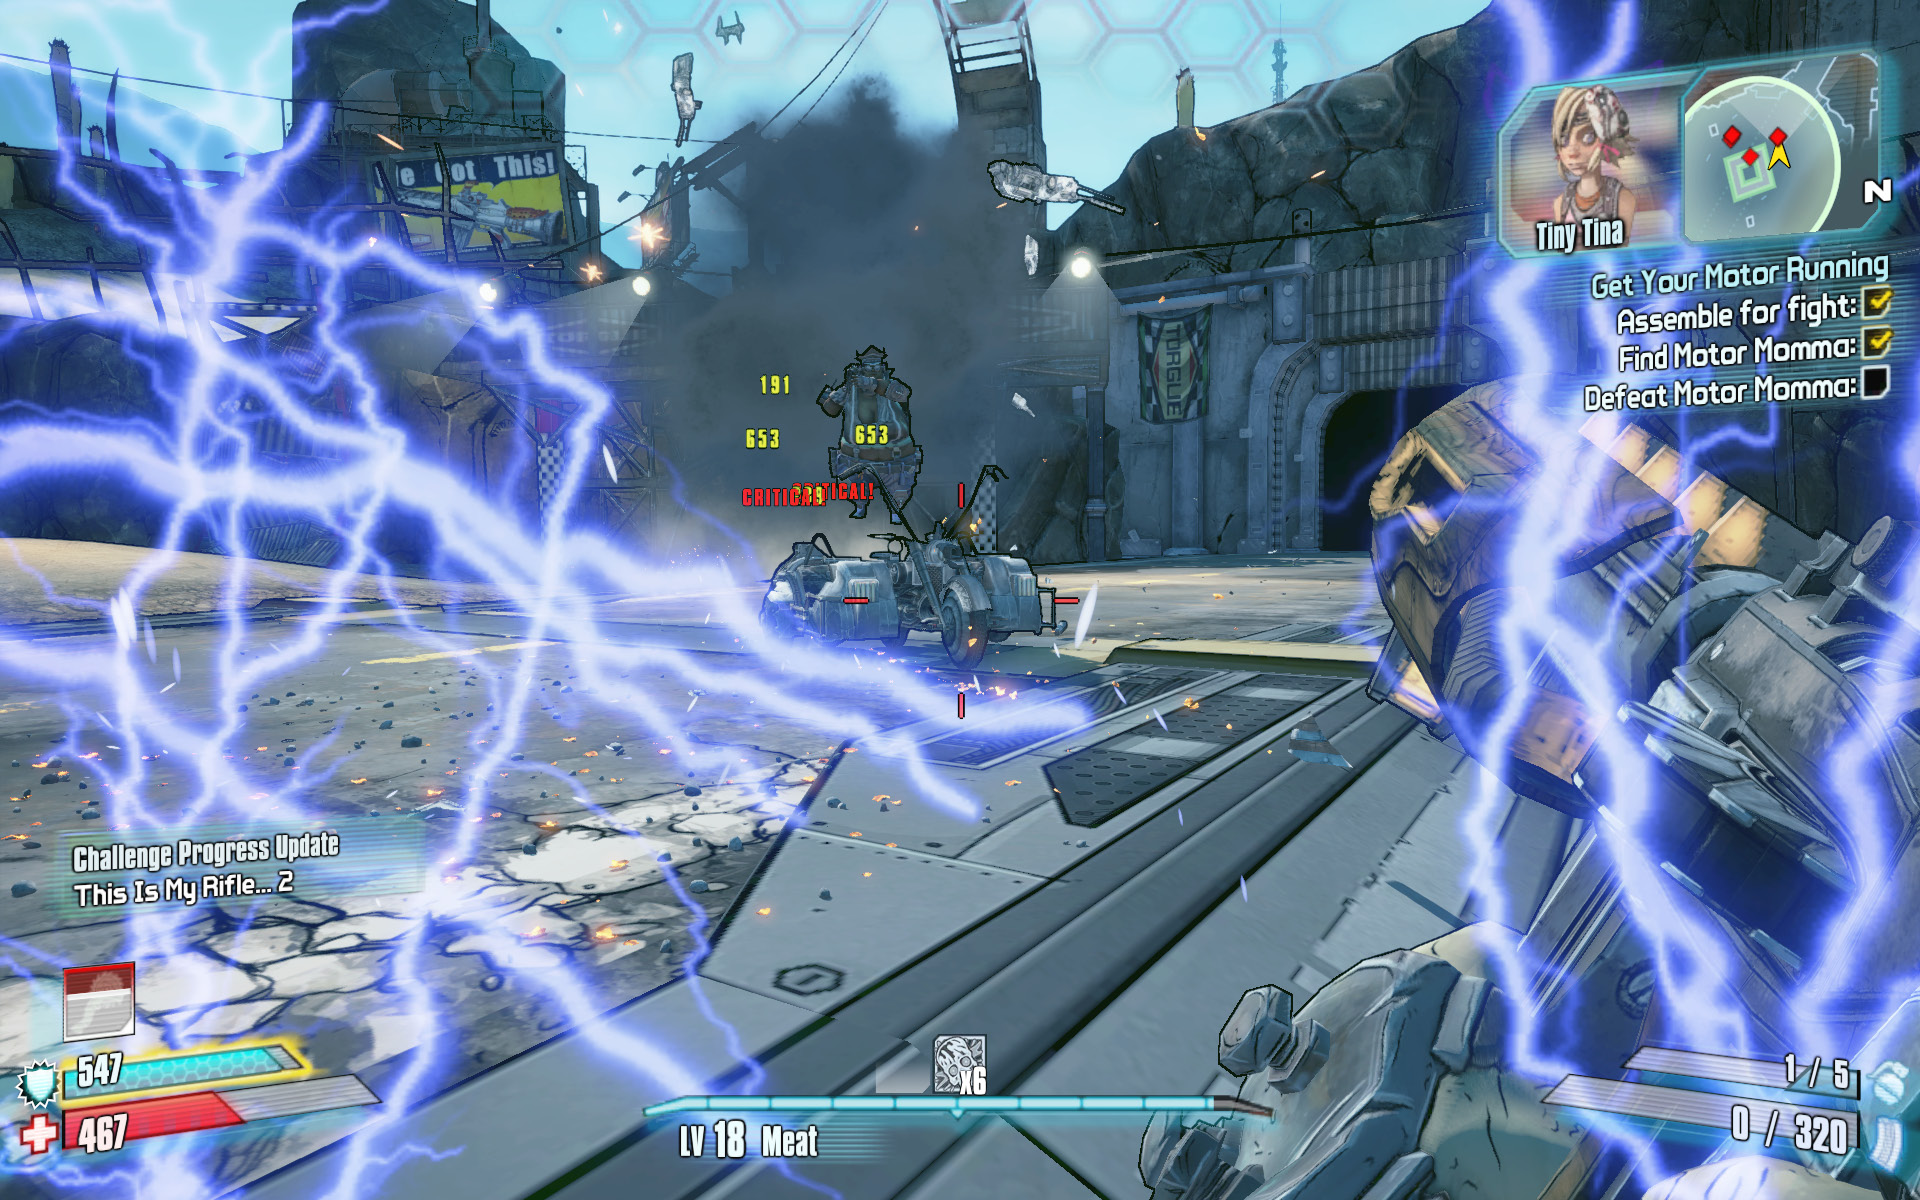
As if dodging a number of speeding motorcycles weren’t tricky enough, Motor Momma’s Bike’s guns are electrified and rapidly drain your shield, leaving you extremely vulnerable to attacks from the other bikers. Stick to the perimeter of the arena, and use the various pieces of cover and scaffolding for protection from her attacks. Eliminate the summoned Road Gunners when they pose a direct threat, but try to focus your attacks directly on Motor Momma’s Bike and leave the others for when you need a Second Wind.
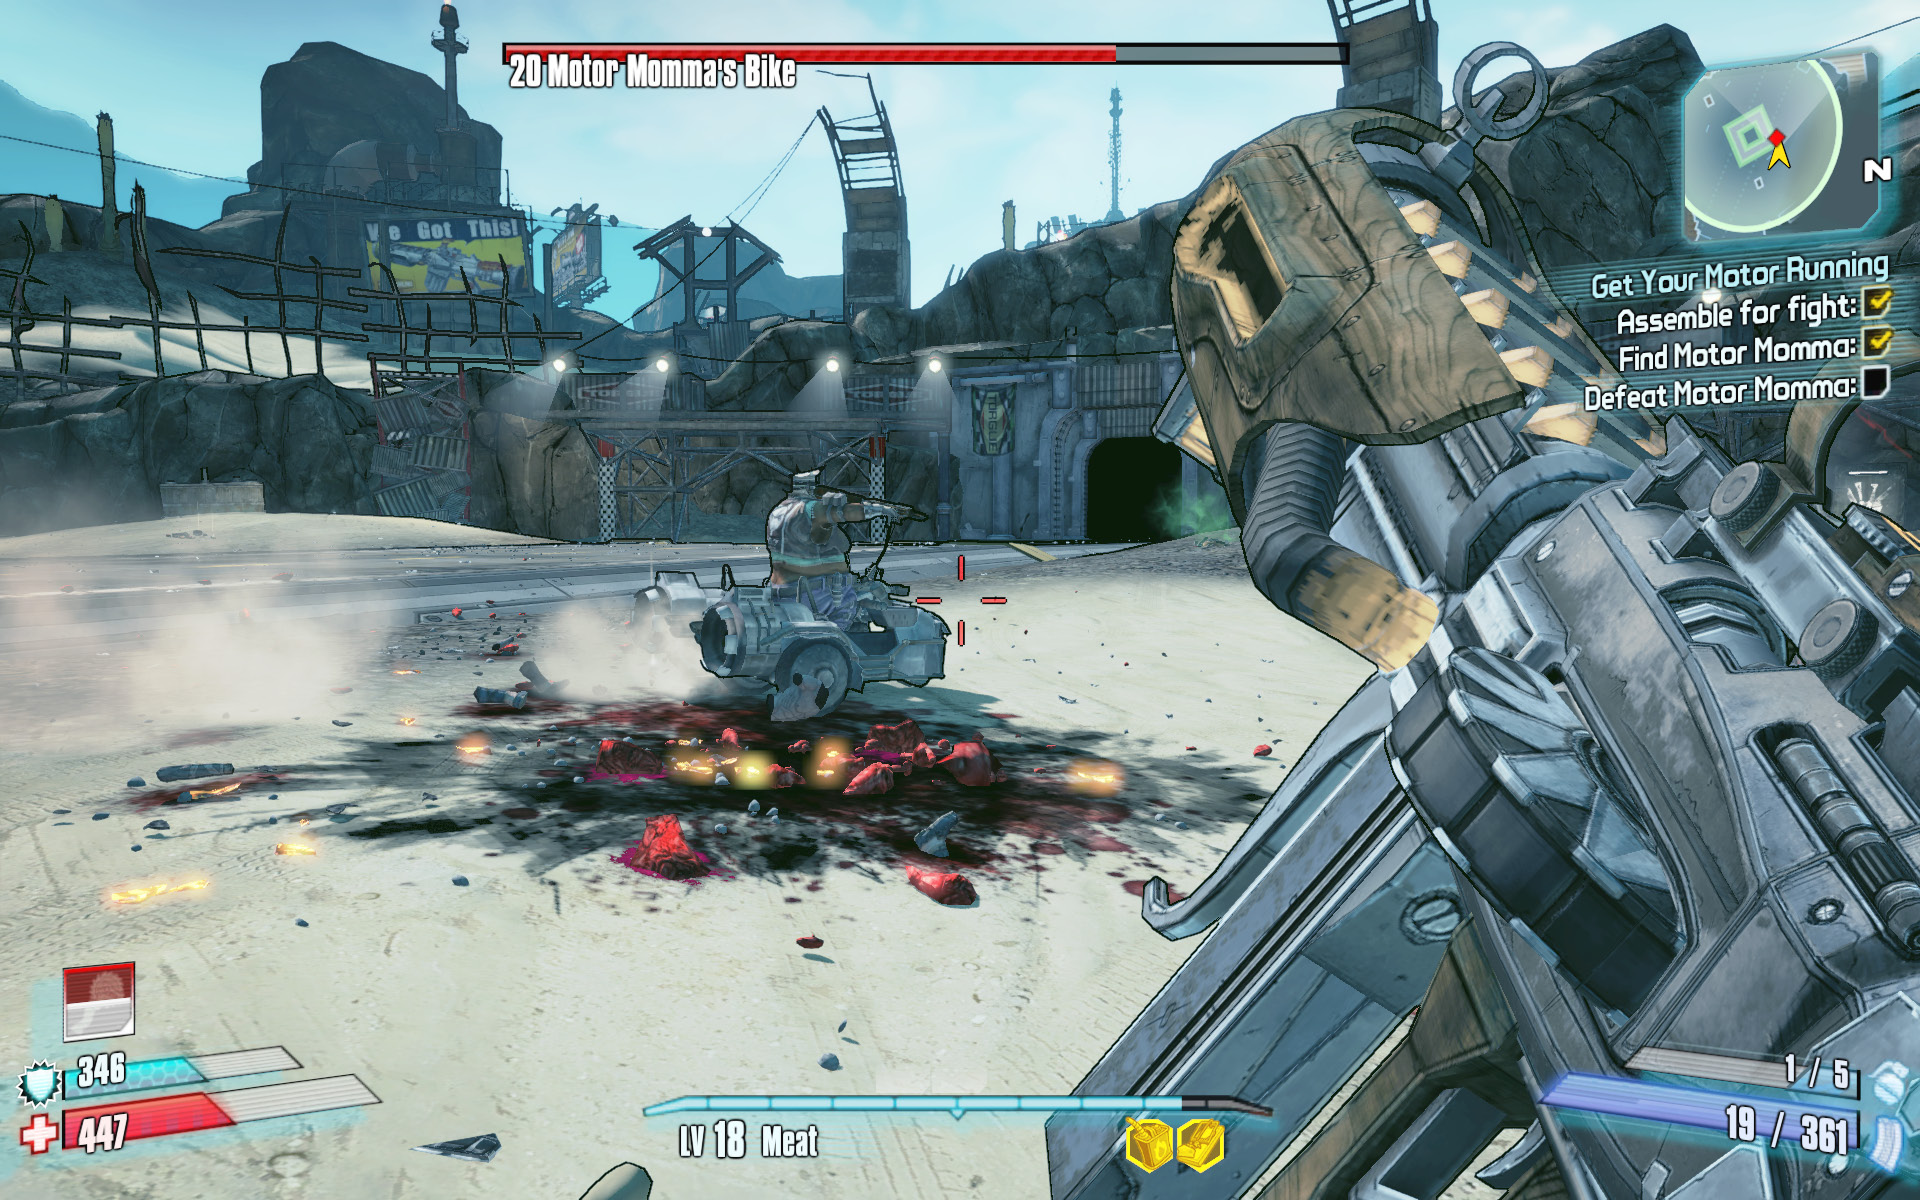
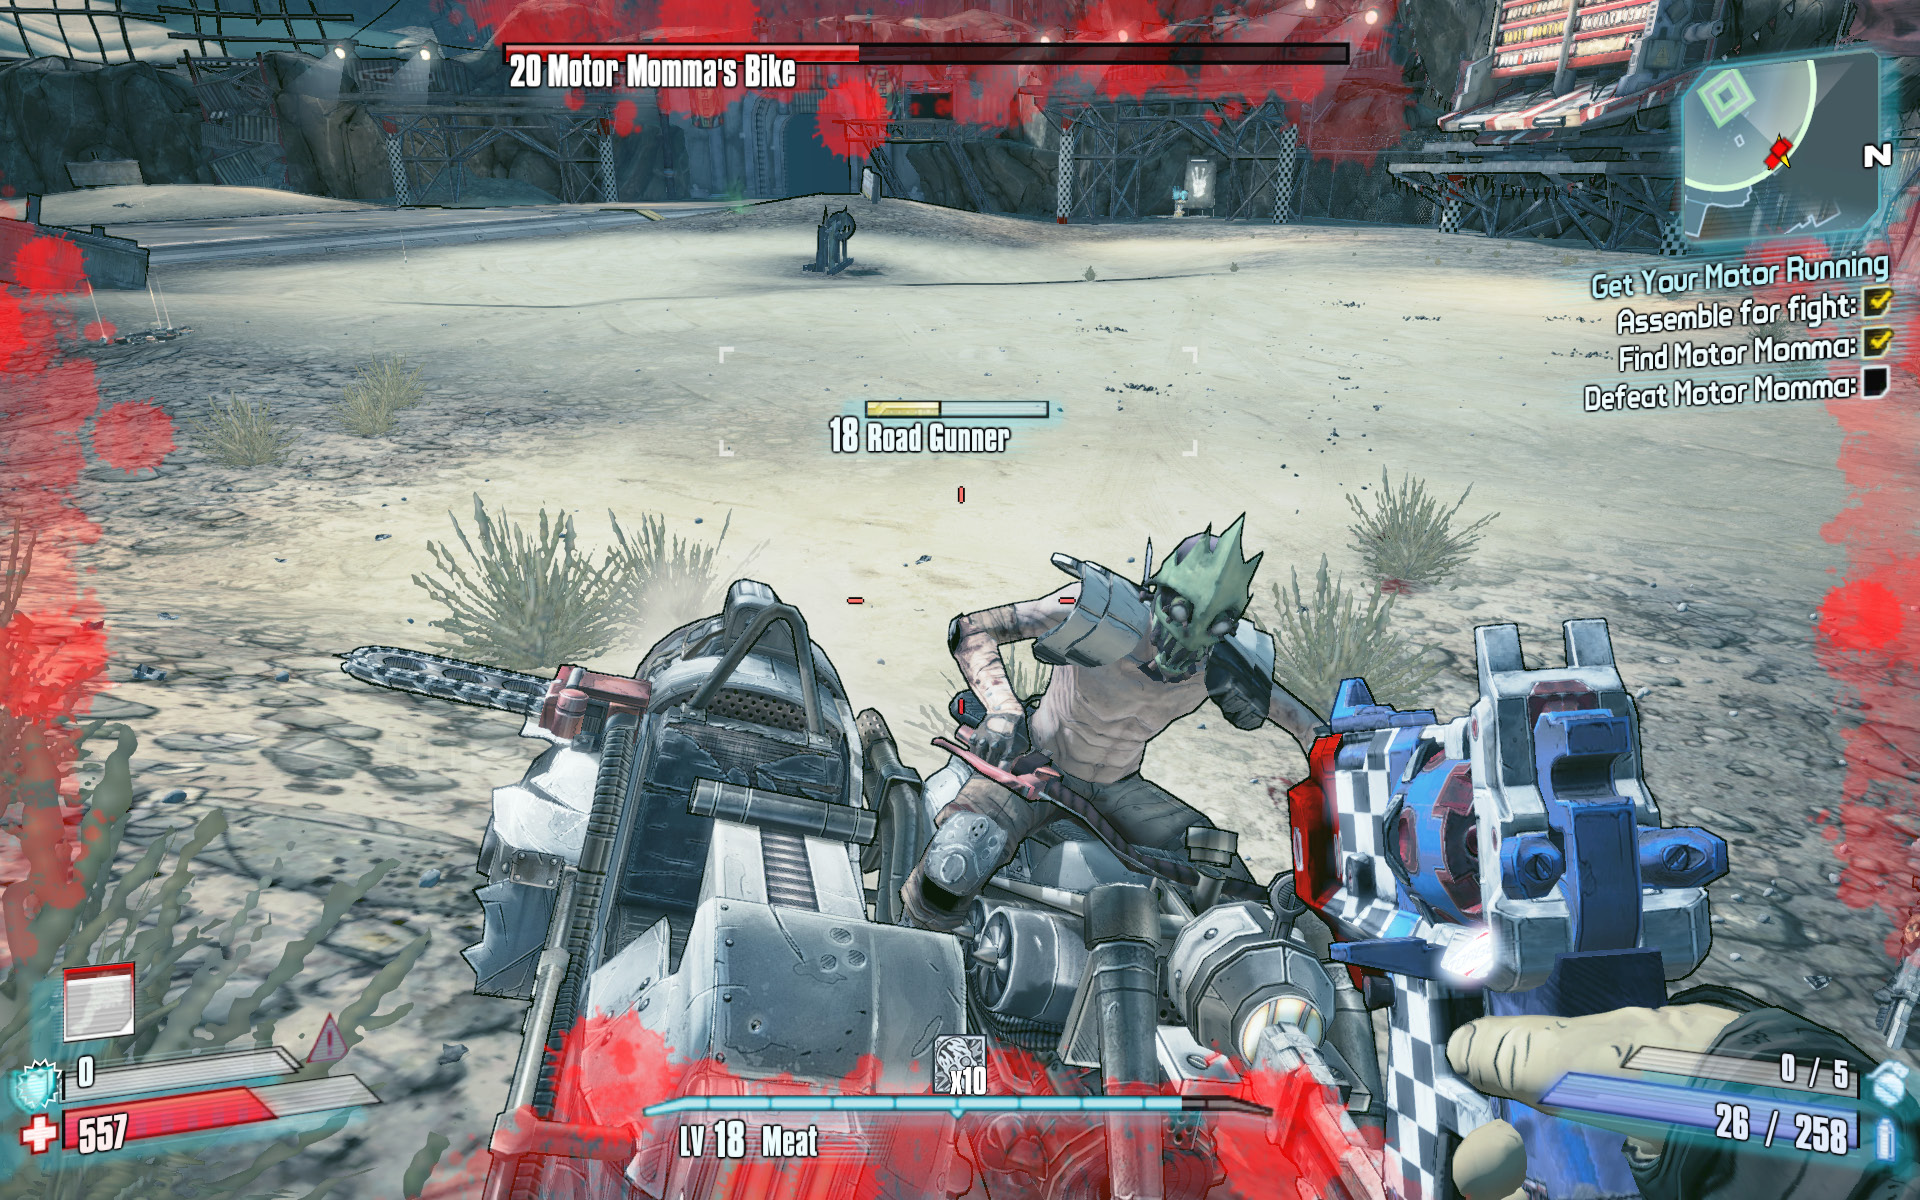
Move from cover to cover as you continue to circle-strafe around the perimeter of the arena while firing at Motor Momma’s Bike. It pays to lob grenades at her and to use Torgue weaponry, as the explosive rounds work well against her motorcycle and require less accuracy. However, as always with Torgue weaponry, you need to lead your target thanks to the slower projectiles.
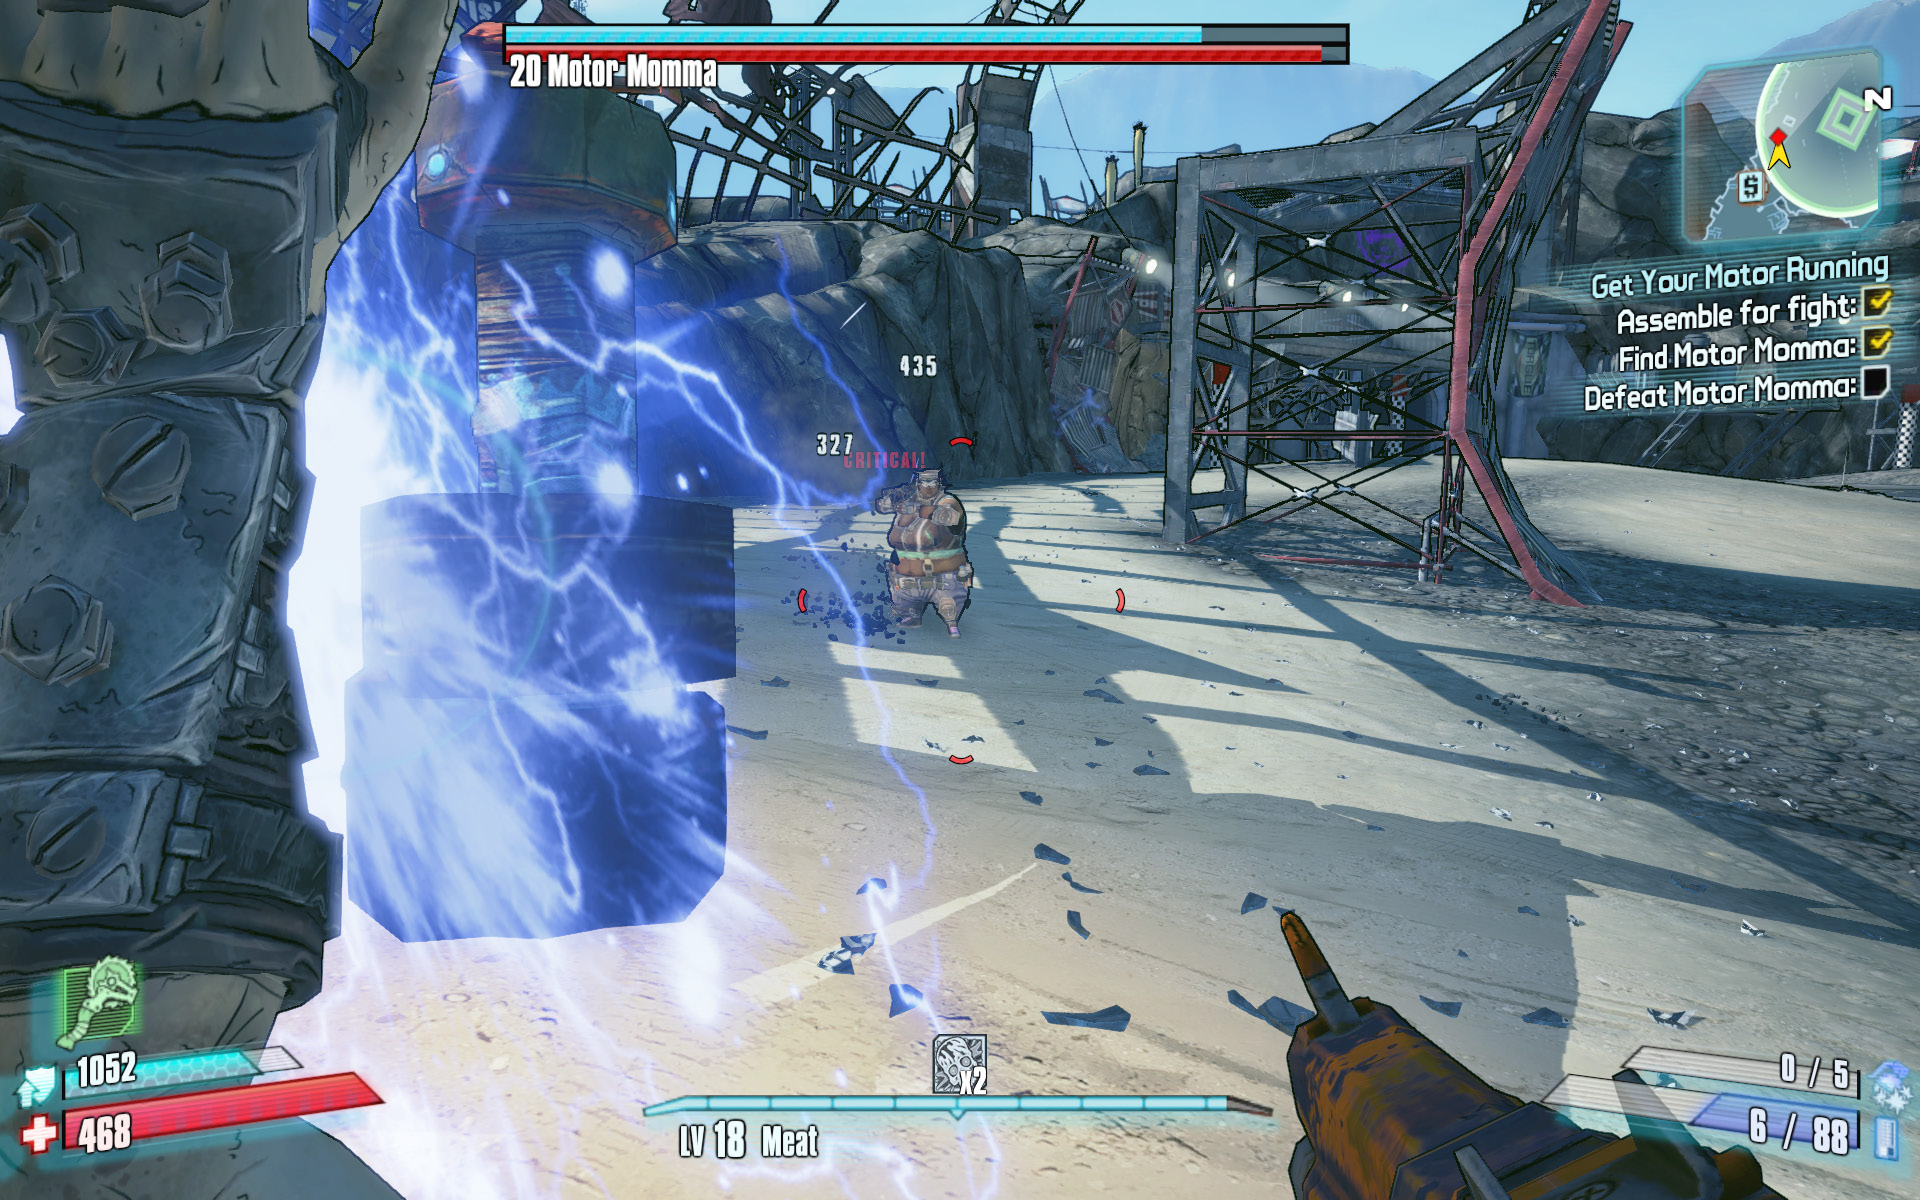
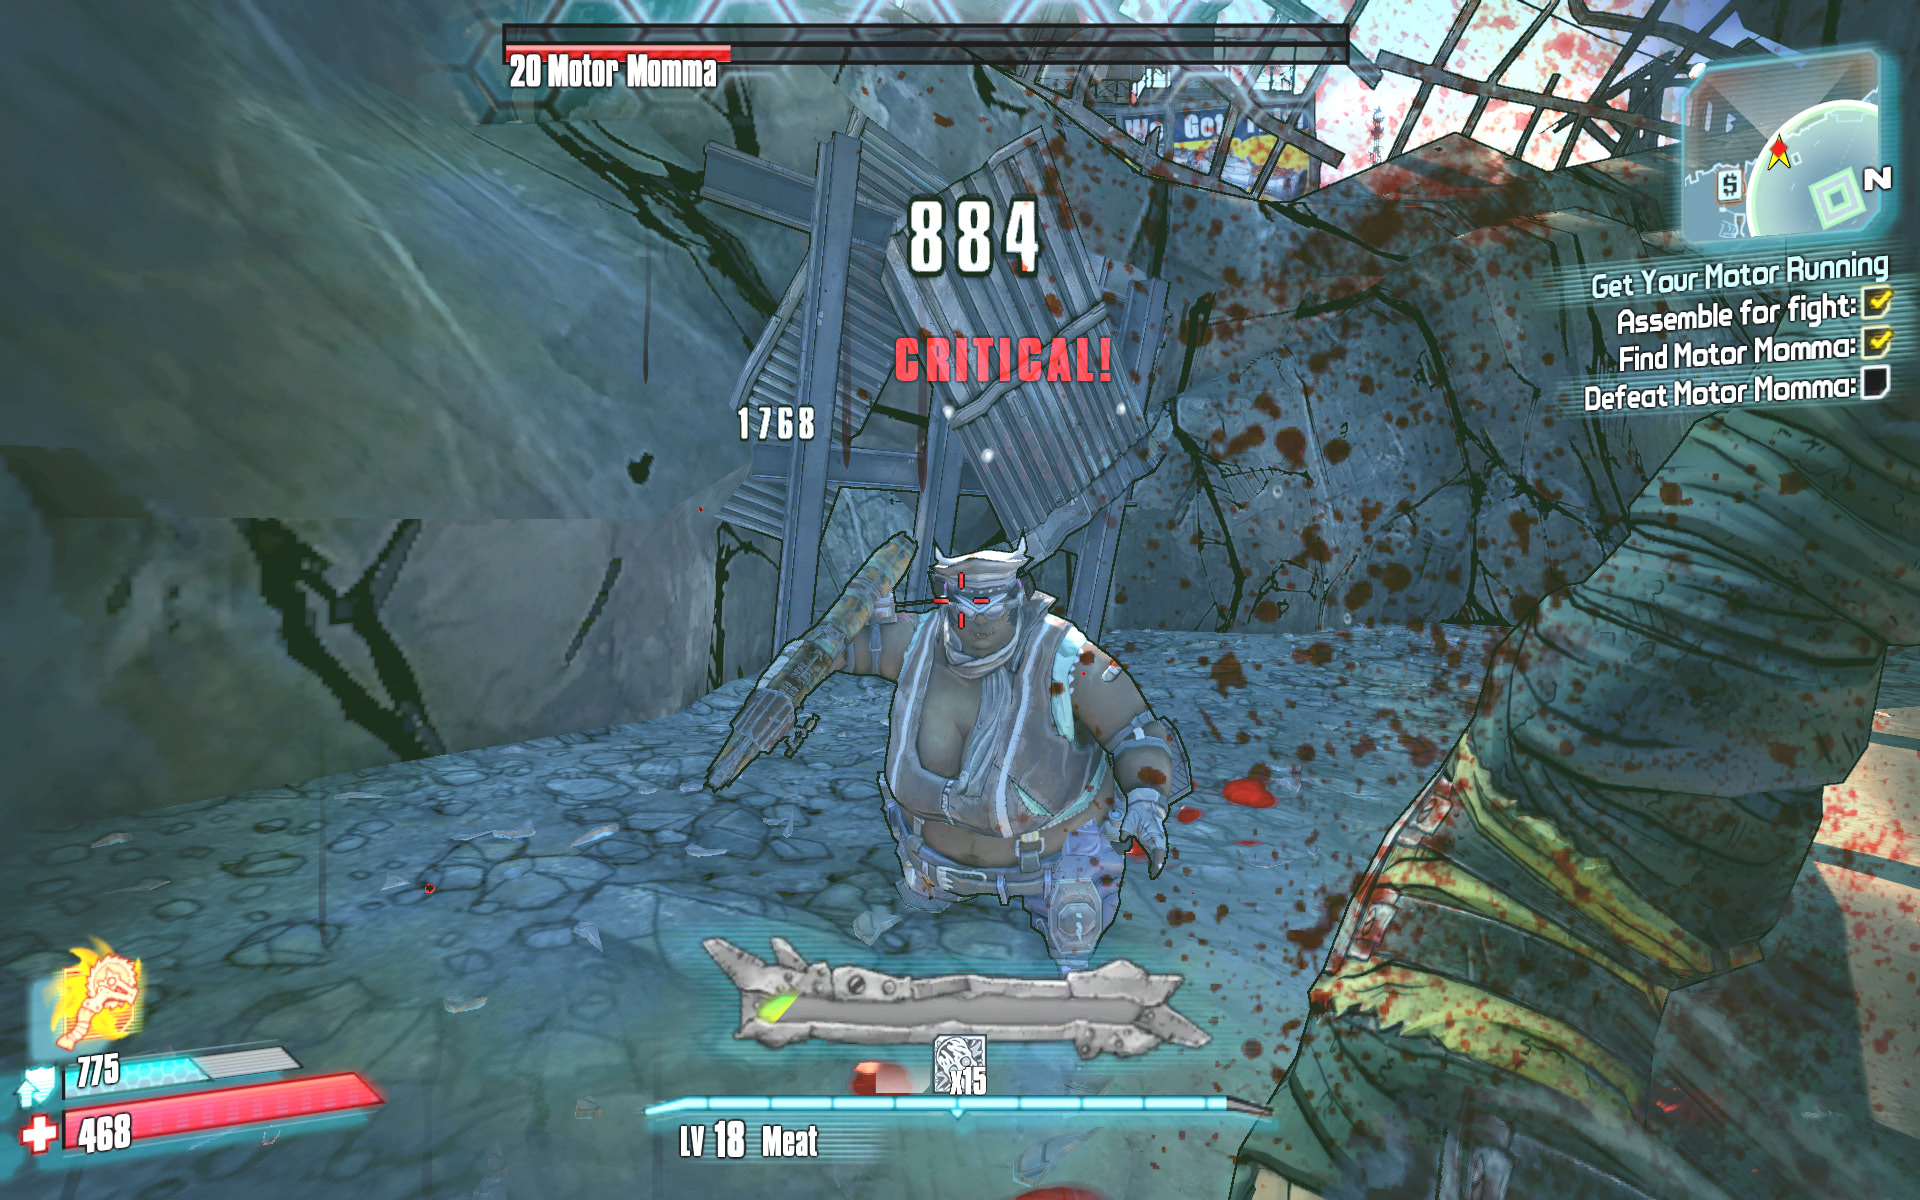
Once her ride has been debilitated, Motor Momma leaps from her bike and attacks on foot. Motor Momma has a full shield and attacks with a high-capacity rocket launcher. Immediately switch to shock grenades, and begin tossing them at her while you fire away with your own rocket launcher or shotgun. Stay on the move at all times, and circle-strafe around her to keep ahead of her slow-moving rockets. The ramp-like structures in the center of the arena provide adequate cover from her rockets. Best of all, you can shoot your guns through the metal frame, but her rockets can’t penetrate the bars.
Lastly, don’t be afraid to go head-to-head with a melee attack once she’s been significantly weakened, particularly if you’re playing as Krieg or Zero (melee build). Motor Momma’s unlikely to hit you with her rockets at point-blank range, but if she does manage to down you, simply switch to your own rocket launcher and finish her off. Return to Moxxi at the Badass Crater Bar to collect your reward.
Monster Hunter
A monster prowls Southern Raceway. Can you slay it?
Optional Mission Rewards
| Level | Money | XP | Gear |
|---|---|---|---|
|
16 |
$137 |
1305 |
Relic (blue) |
*Money and XP may vary based on player’s level at start of mission.
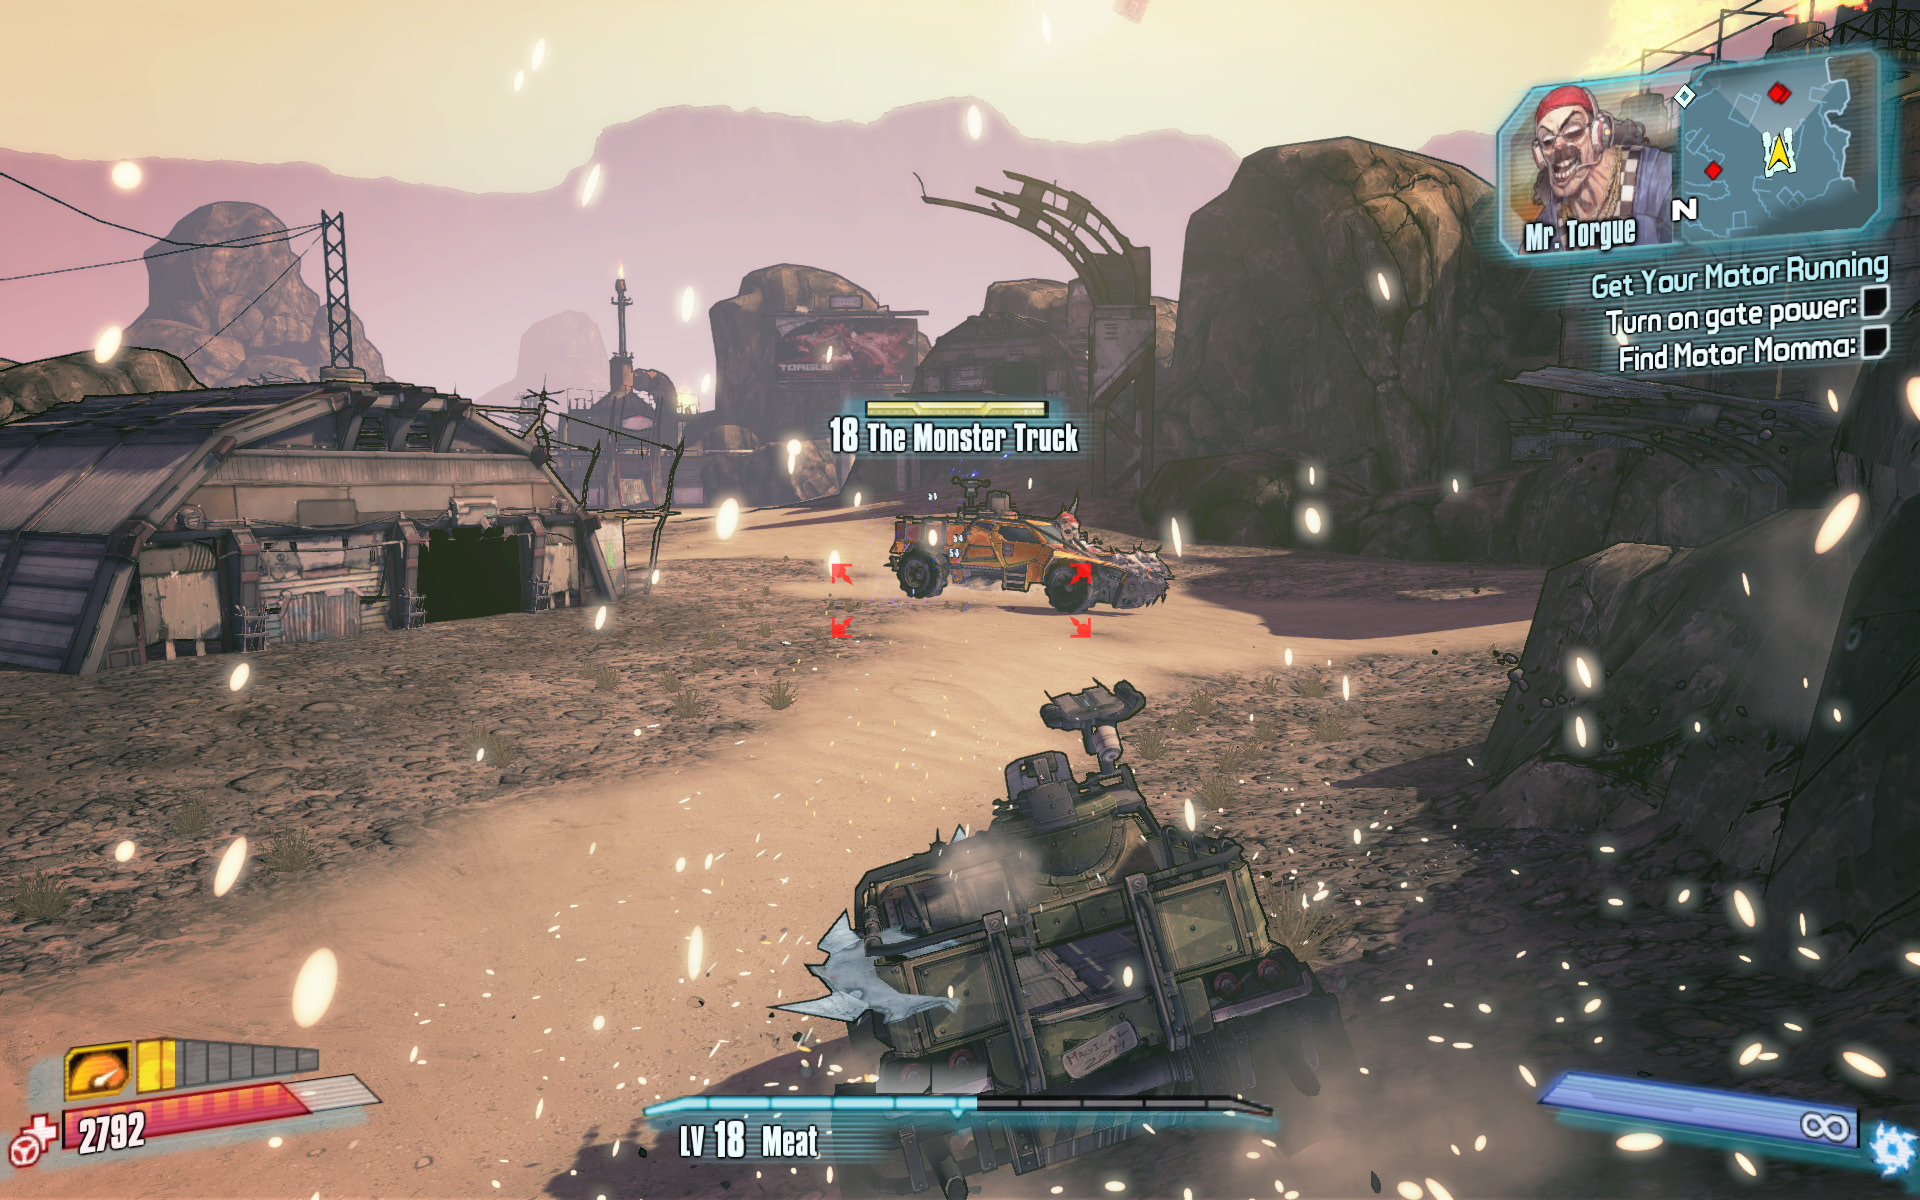
The monster that Mr. Torgue was referring to is a monster truck! Drive to Southern Raceway, and descend into the large canyon where the ramps are to draw the monster truck out of hiding. Open fire with your vehicle’s weaponry to soften it up before its shock turret gun rips your vehicle to shreds. Once on foot, hit it with your rocket launchers and grenades while trying to avoid killing any other enemies in the area in case you need a Second Wind. Leap onto a nearby building or the rocks to avoid being run over while you finish it off.
Gas Guzzlers
Beware the flaming rakk!
Optional Mission Rewards
| Level | Money | XP | Gear |
|---|---|---|---|
|
16 |
$137 |
1305 |
Assault Rifle (blue) or Shotgun (blue) |
*Money and XP may vary based on player’s level at start of mission.
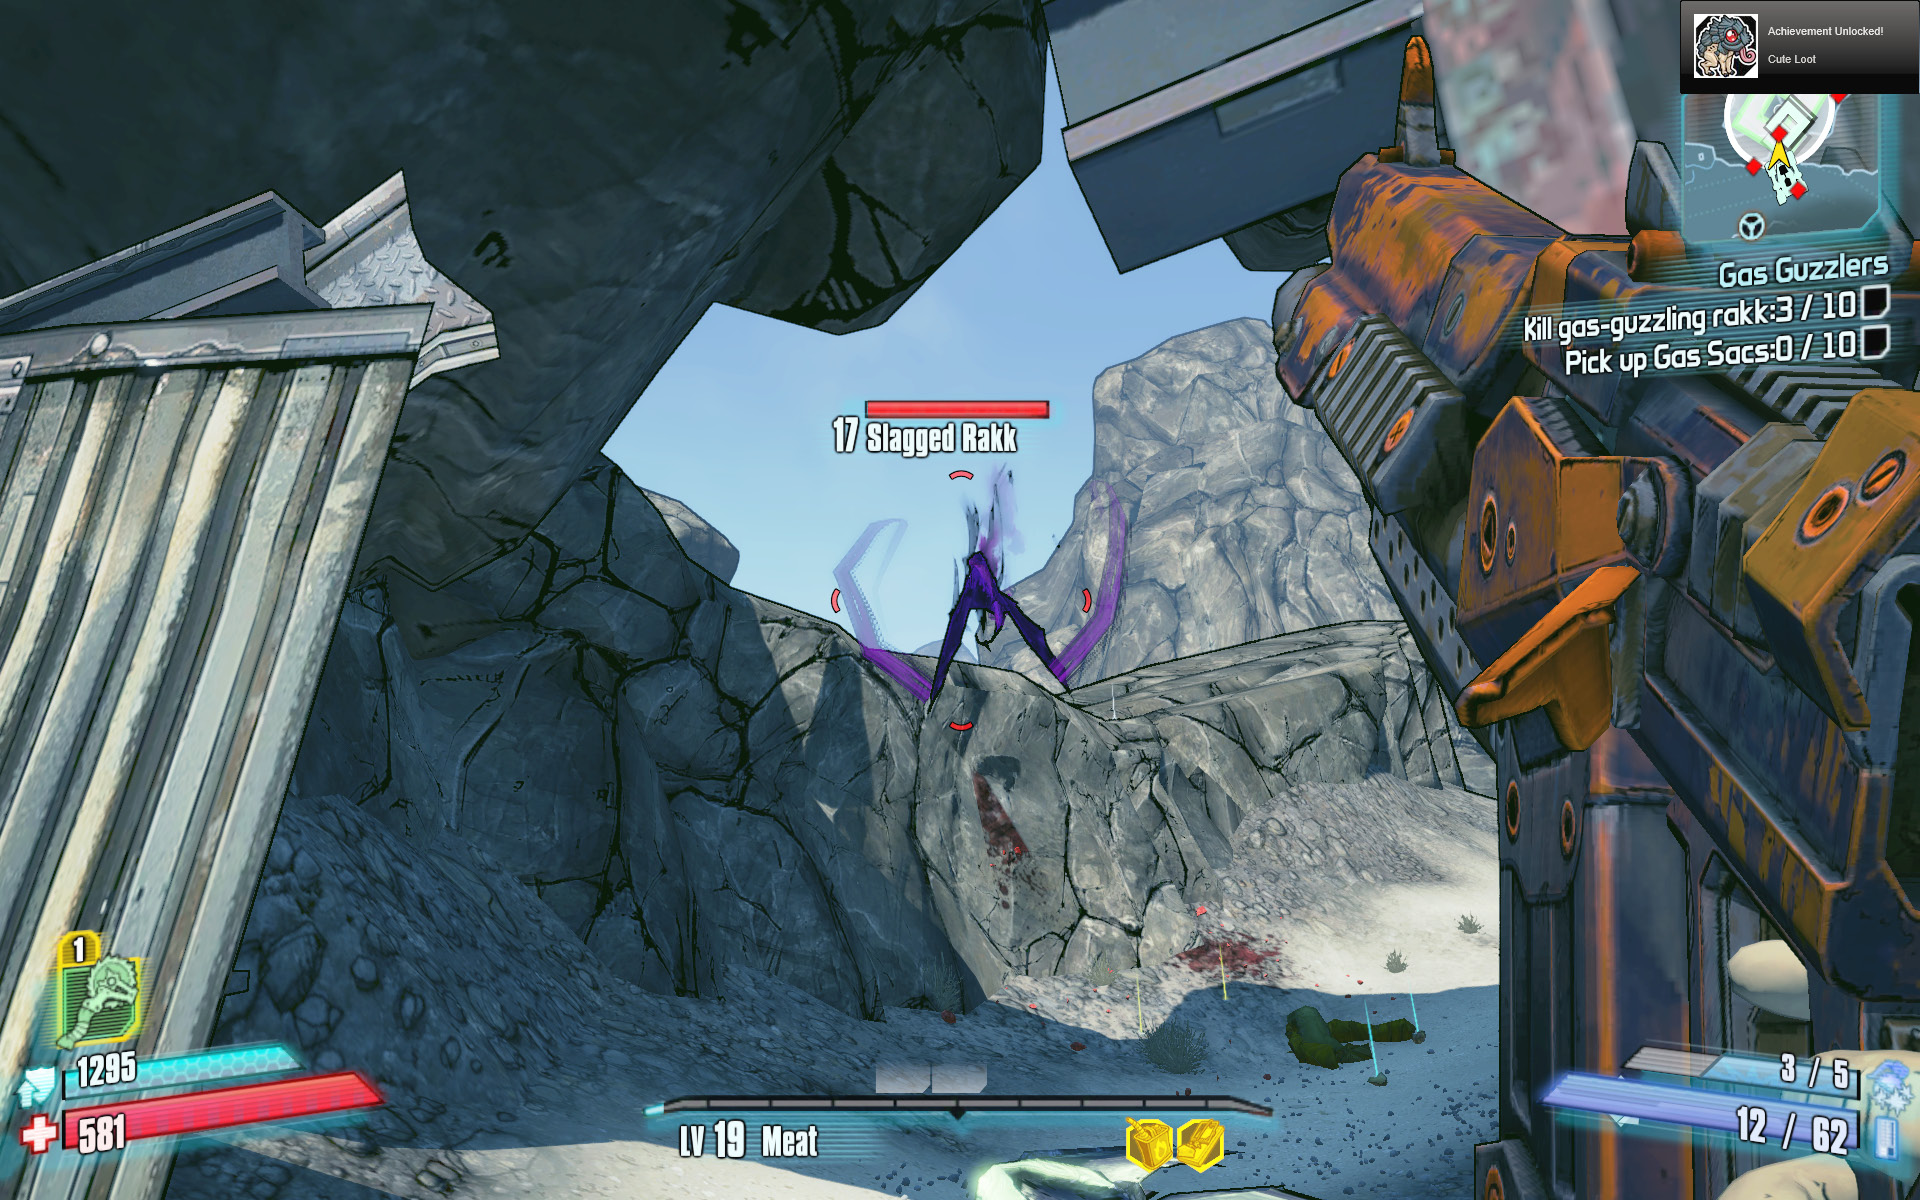
Genetically modified rakk have been spotted in a narrow gulch on the northeast side of Southern Raceway. Drive along the main road as if heading back toward the Arena, and park near the metal boards on the left. As soon as you enter this area, various rakk attack, including Badass Rakk and Chubby Rakk (this is one of the few areas on Pandora where you can find a “Chubby” enemy). Stick to the narrow opening—don’t venture farther up into the canyon where it opens up—and open fire with a shotgun. Continue firing away at the rakk to kill the 10 of them that Scooter wants dead. A Torgue shotgun works extremely well against the rakk.
Sir Hammerlock then ECHOs you and asks you to collect the Gas Sacs that the modified rakk drop. Collect the 10 Gas Sacs as you kill the rakk, then hurry back to the Badass Crater Bar once you’ve met both objectives. Give the Gas Sacs to Scooter if you want a rare assault rifle, or give them to Sir Hammerlock if you’d prefer a new shotgun.
Matter of Taste
Prepare to fight in the console wars.
Optional Mission Rewards
| Level | Money | XP | Gear |
|---|---|---|---|
|
16 |
$137 |
1305 |
— |
*Money and XP may vary based on player’s level at start of mission.
A guy who goes by the name of Buff Gamer gave a really negative review of one of Mr. Torgue’s favorite games. Now Mr. Torgue wants you to kill him. That’ll teach him to hate the things Mr. Torgue likes! Return to Southern Raceway with a vehicle, and drive into the narrow canyon in the northwest corner, near the entrance from Badass Crater. Fight your way past any of the bandits with allegiance to Motor Momma en route to the ECHOnet reviewers and Buff Gamer at the end of the canyon. Buff Gamer and his ECHOnet cronies behave much like the other gangsters you’ve been battling, and they can all be put down quickly with a pair of high-powered shotgun blasts at close range. Charge up the staircases to the upper platforms where they’re hiding out, and back them into a corner for an easy kill.
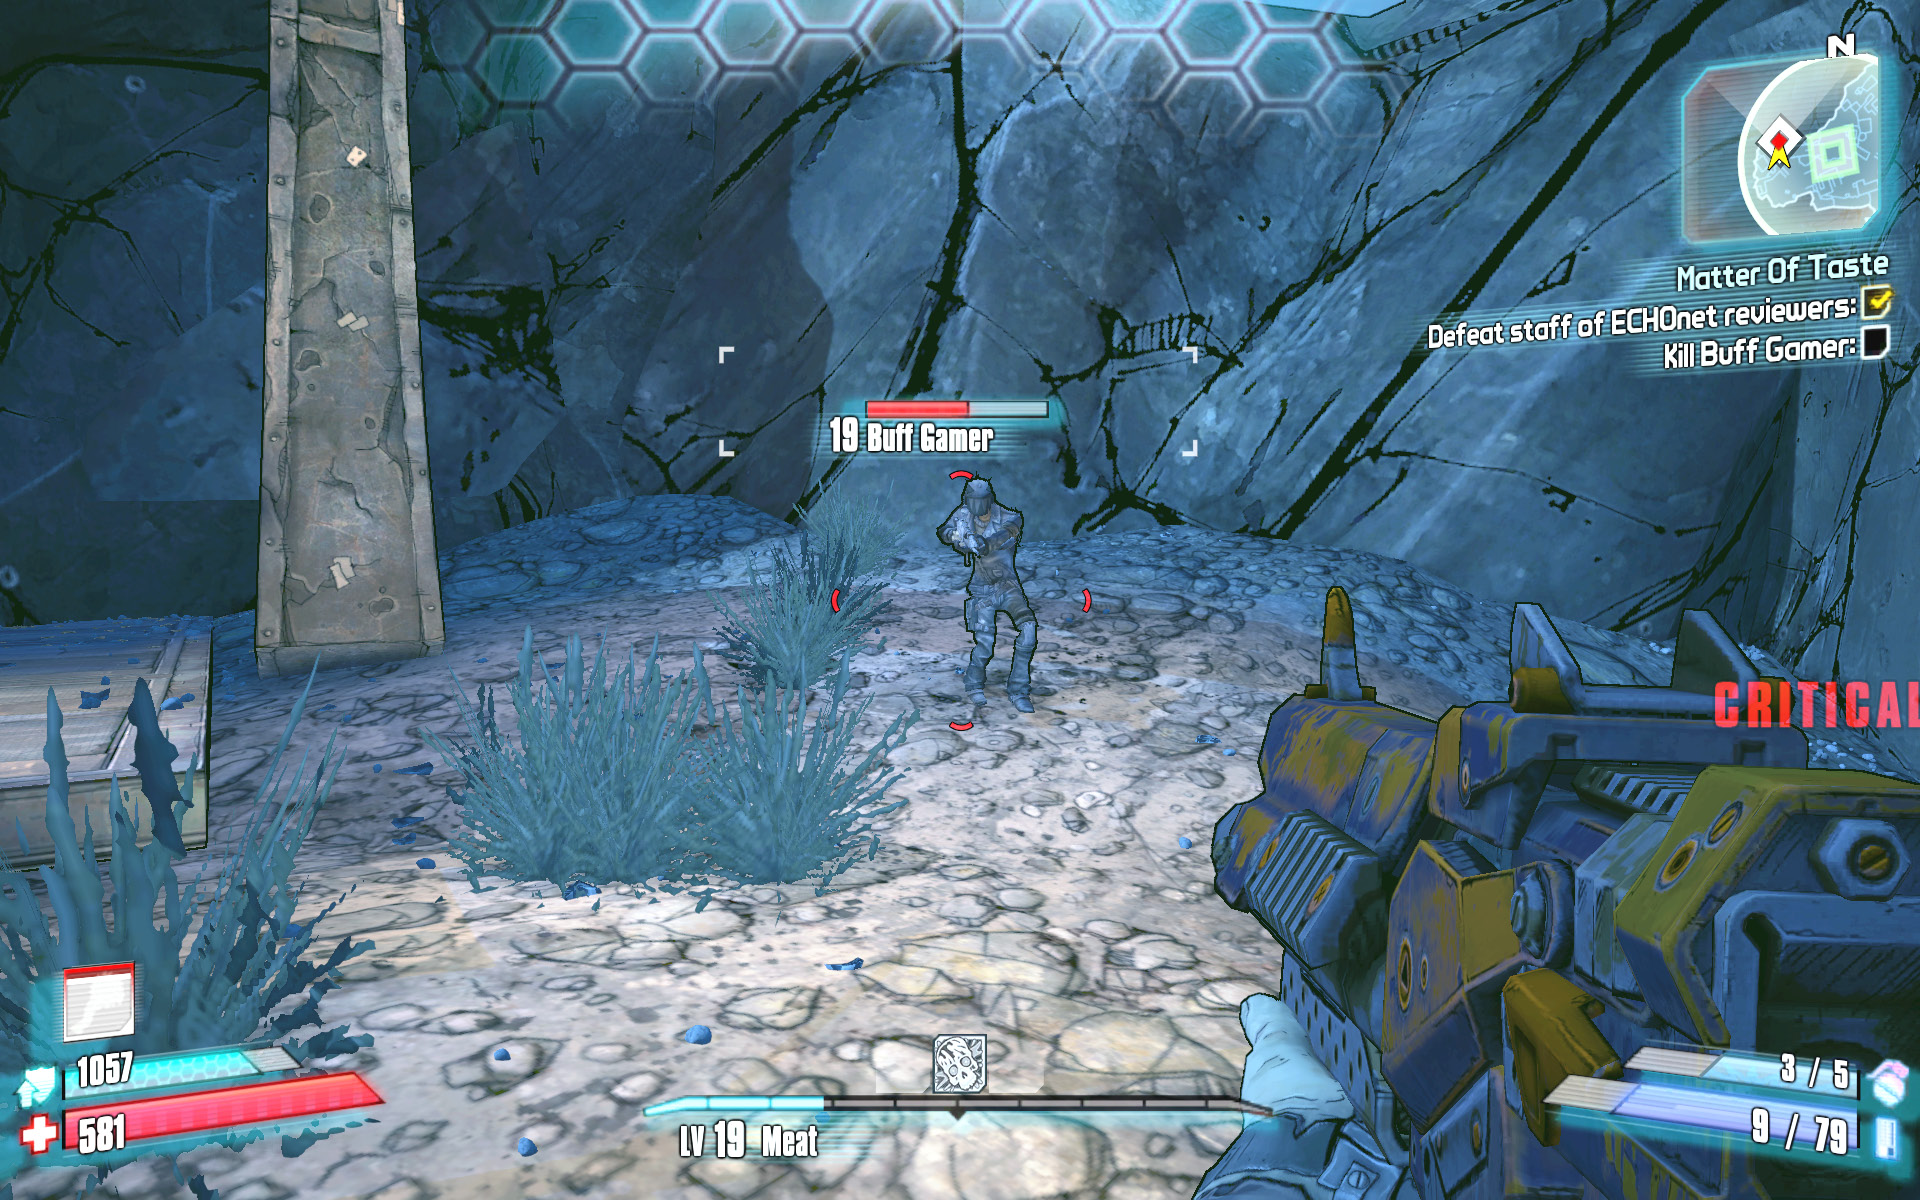
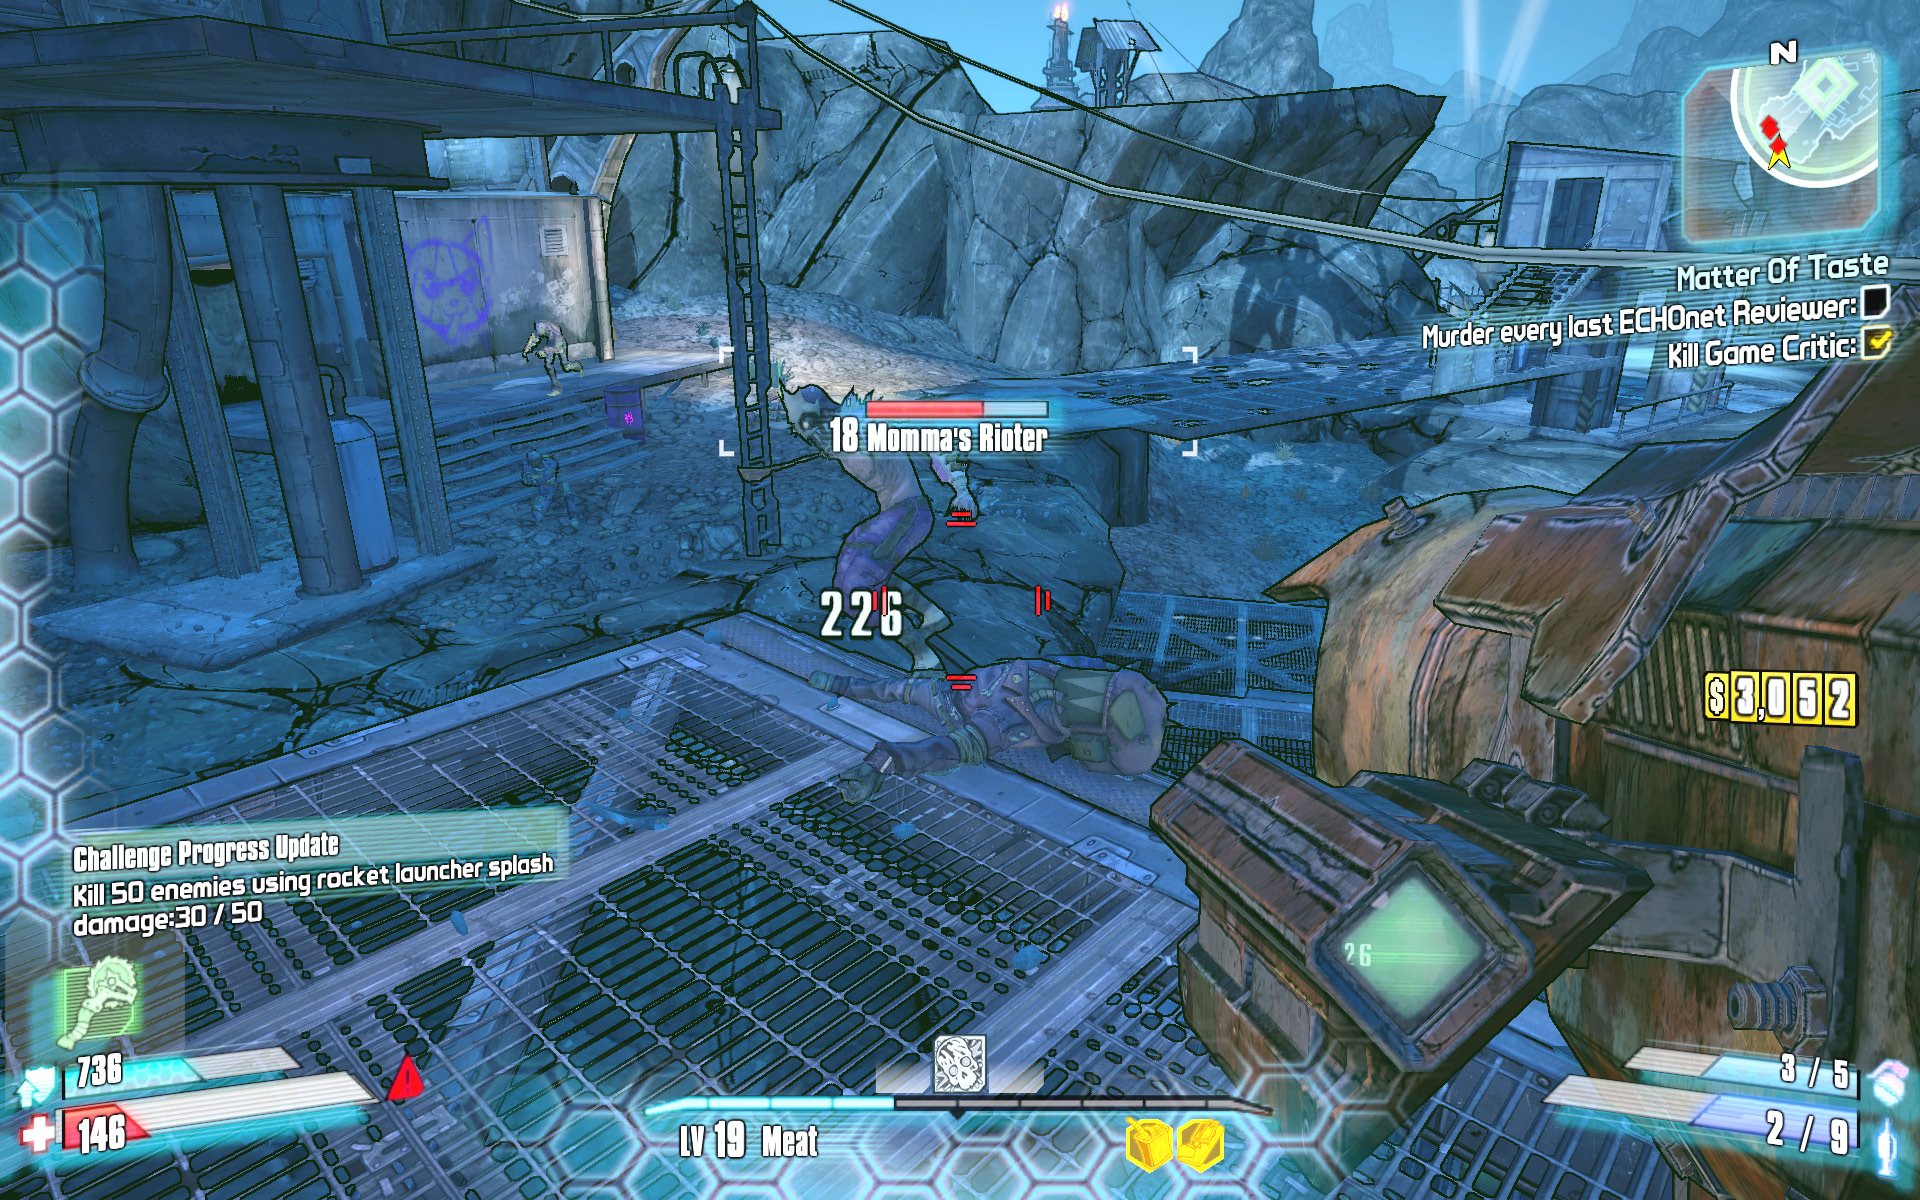
The other ECHOnet Reviewers apologize when they see you kill Buff Gamer, allowing you to leave without committing any additional murders. That is, until Game Critic opens his mouth about a stealth sequence in one of Mr. Torgue’s other favorite games. Mr. Torgue can’t stand the contrarian take on his beloved games, and he now wants you to kill Game Critic and every last ECHOnet Reviewer in the area.
There’s no need to try to identify which of the people in the area are Game Critic or ECHOnet Reviewers, since they’re all interspersed with various members of Motor Momma’s gang. Simply prowl the area marked on your map, killing everything you see. Each of the targets is identified on the mini-map with a red dot and poses the same level of threat as the dozens of enemies you’ve slain thus far. Wipe them out, and return to the Bounty Board to collect your reward.
Everybody Wants to be Wanted
Dead or alive.
Optional Mission Rewards
| Level | Money | XP | Gear |
|---|---|---|---|
|
16 |
$275 |
1305 |
Assault Rifle (blue) |
*Money and XP may vary based on player’s level at start of mission.
Moxxi wants you to place posters for the four main Vault Hunters throughout the Southern Raceway area in attempt to drum up a little support for you. She thinks it will help put a little pressure on Piston if the rest of the combatants realize what a true badass a Vault Hunter is. The posters must be placed in specific locations, as shown on the in-game map:
The Axton poster is placed atop the building just inside the northwest canyon, en route to Buff Gamer and the ECHOnet Reviewers in the “Matter of Taste” mission. Cross the bridge from right to left to reach it.
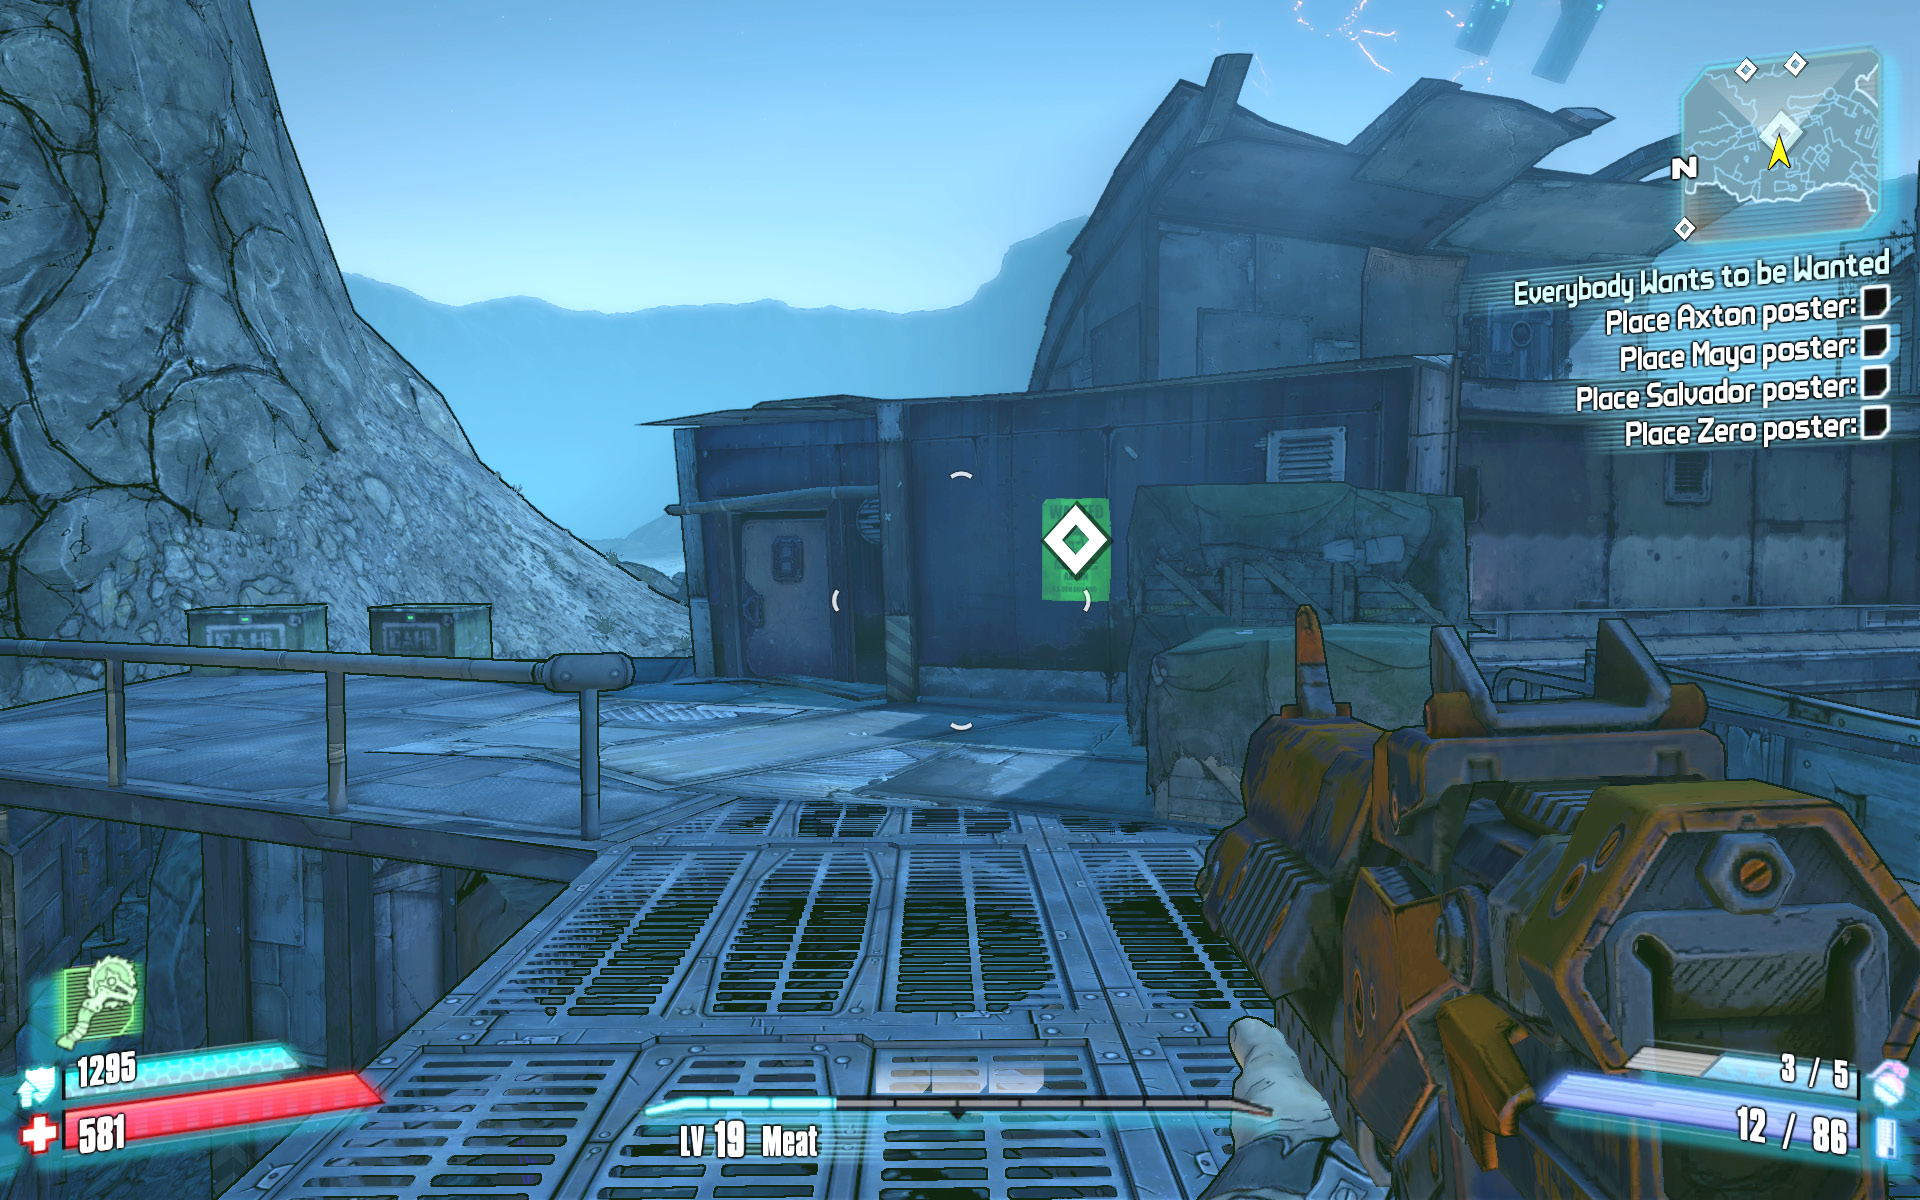
The Maya poster goes atop the central structure in the refinery area at the end of the northernmost canyon. Kill the Burner Enforcers, and sprint up the three flights of stairs of the center building to reach it.
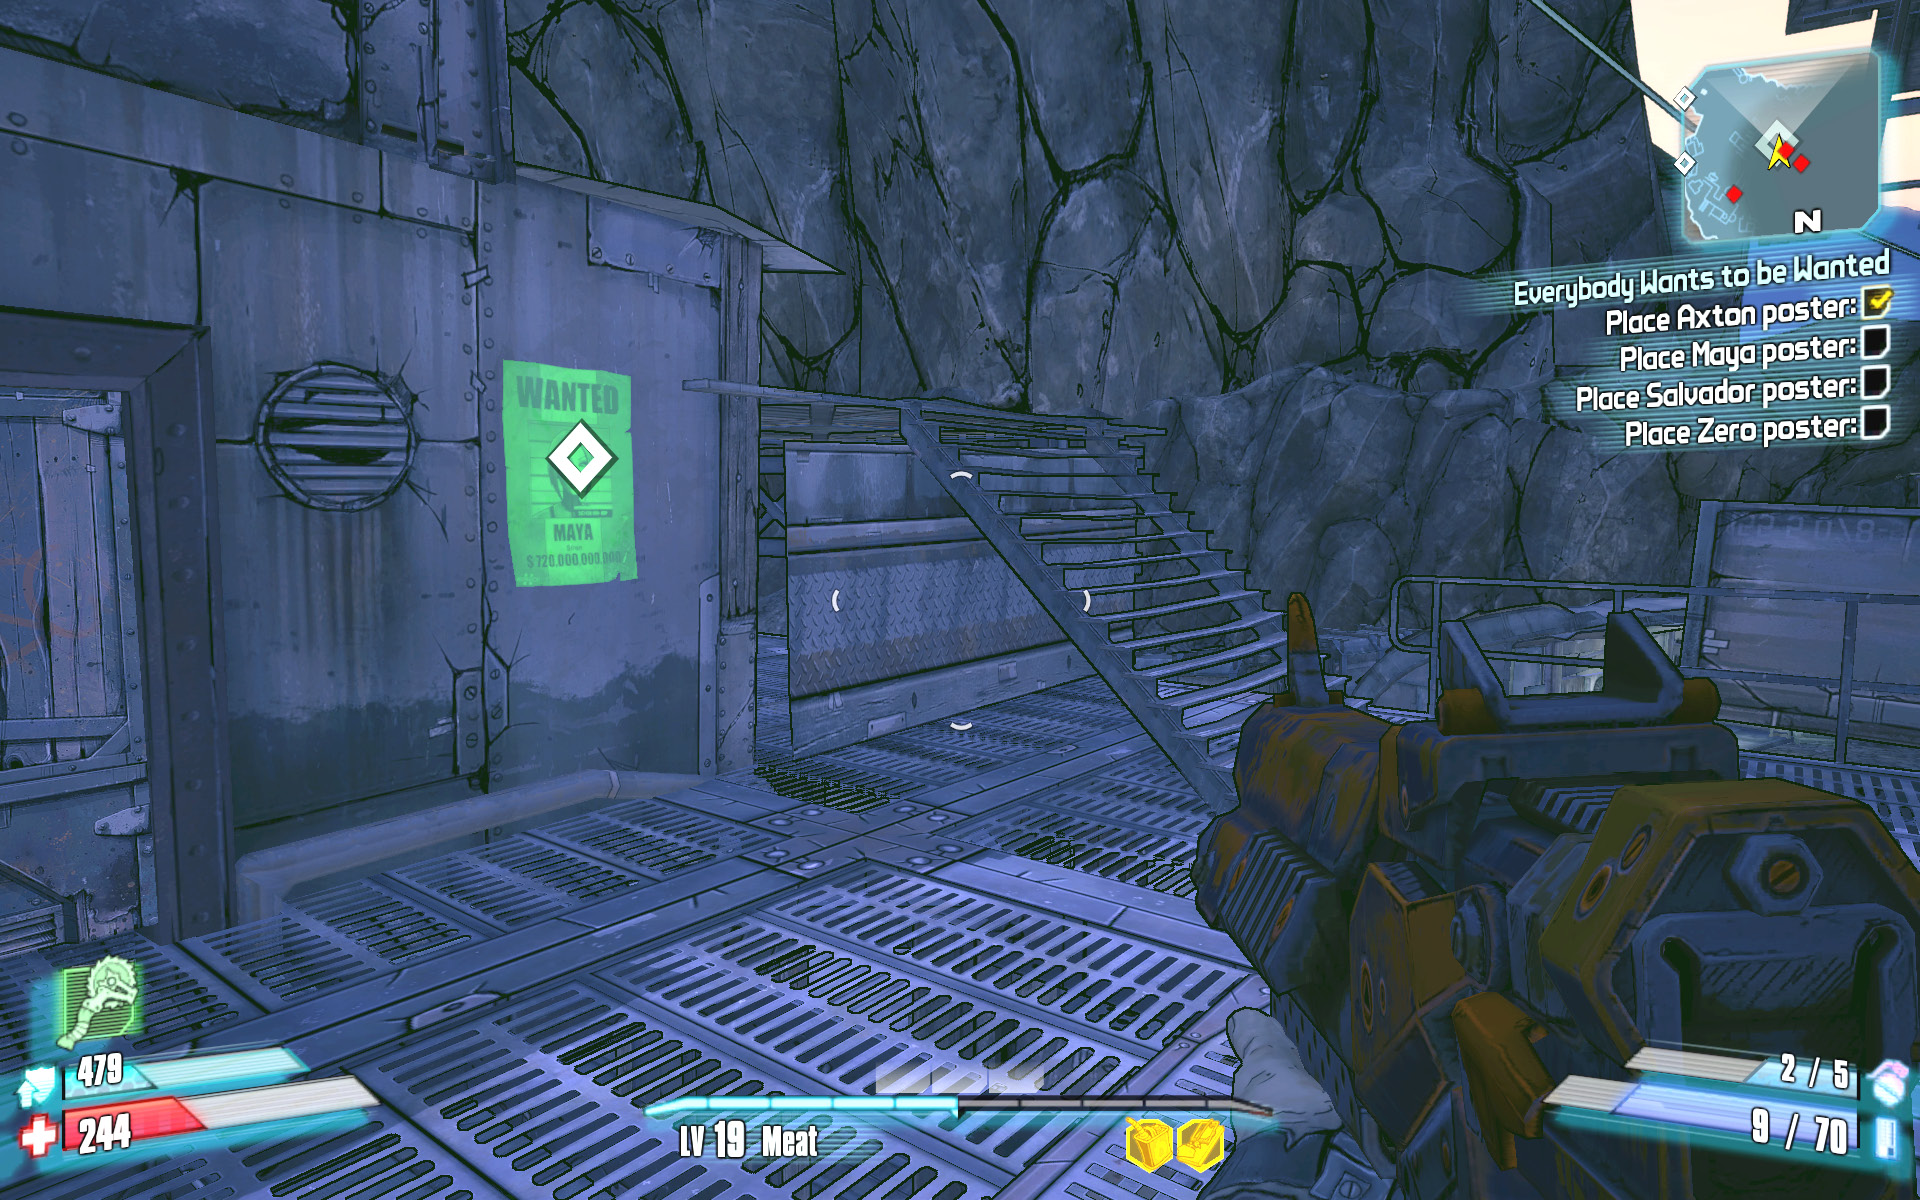
The Salvador poster must be hung up on the side of the arched building in the center of the large canyon with the ramps, right where the monster truck of the “Monster Hunter” mission was located.
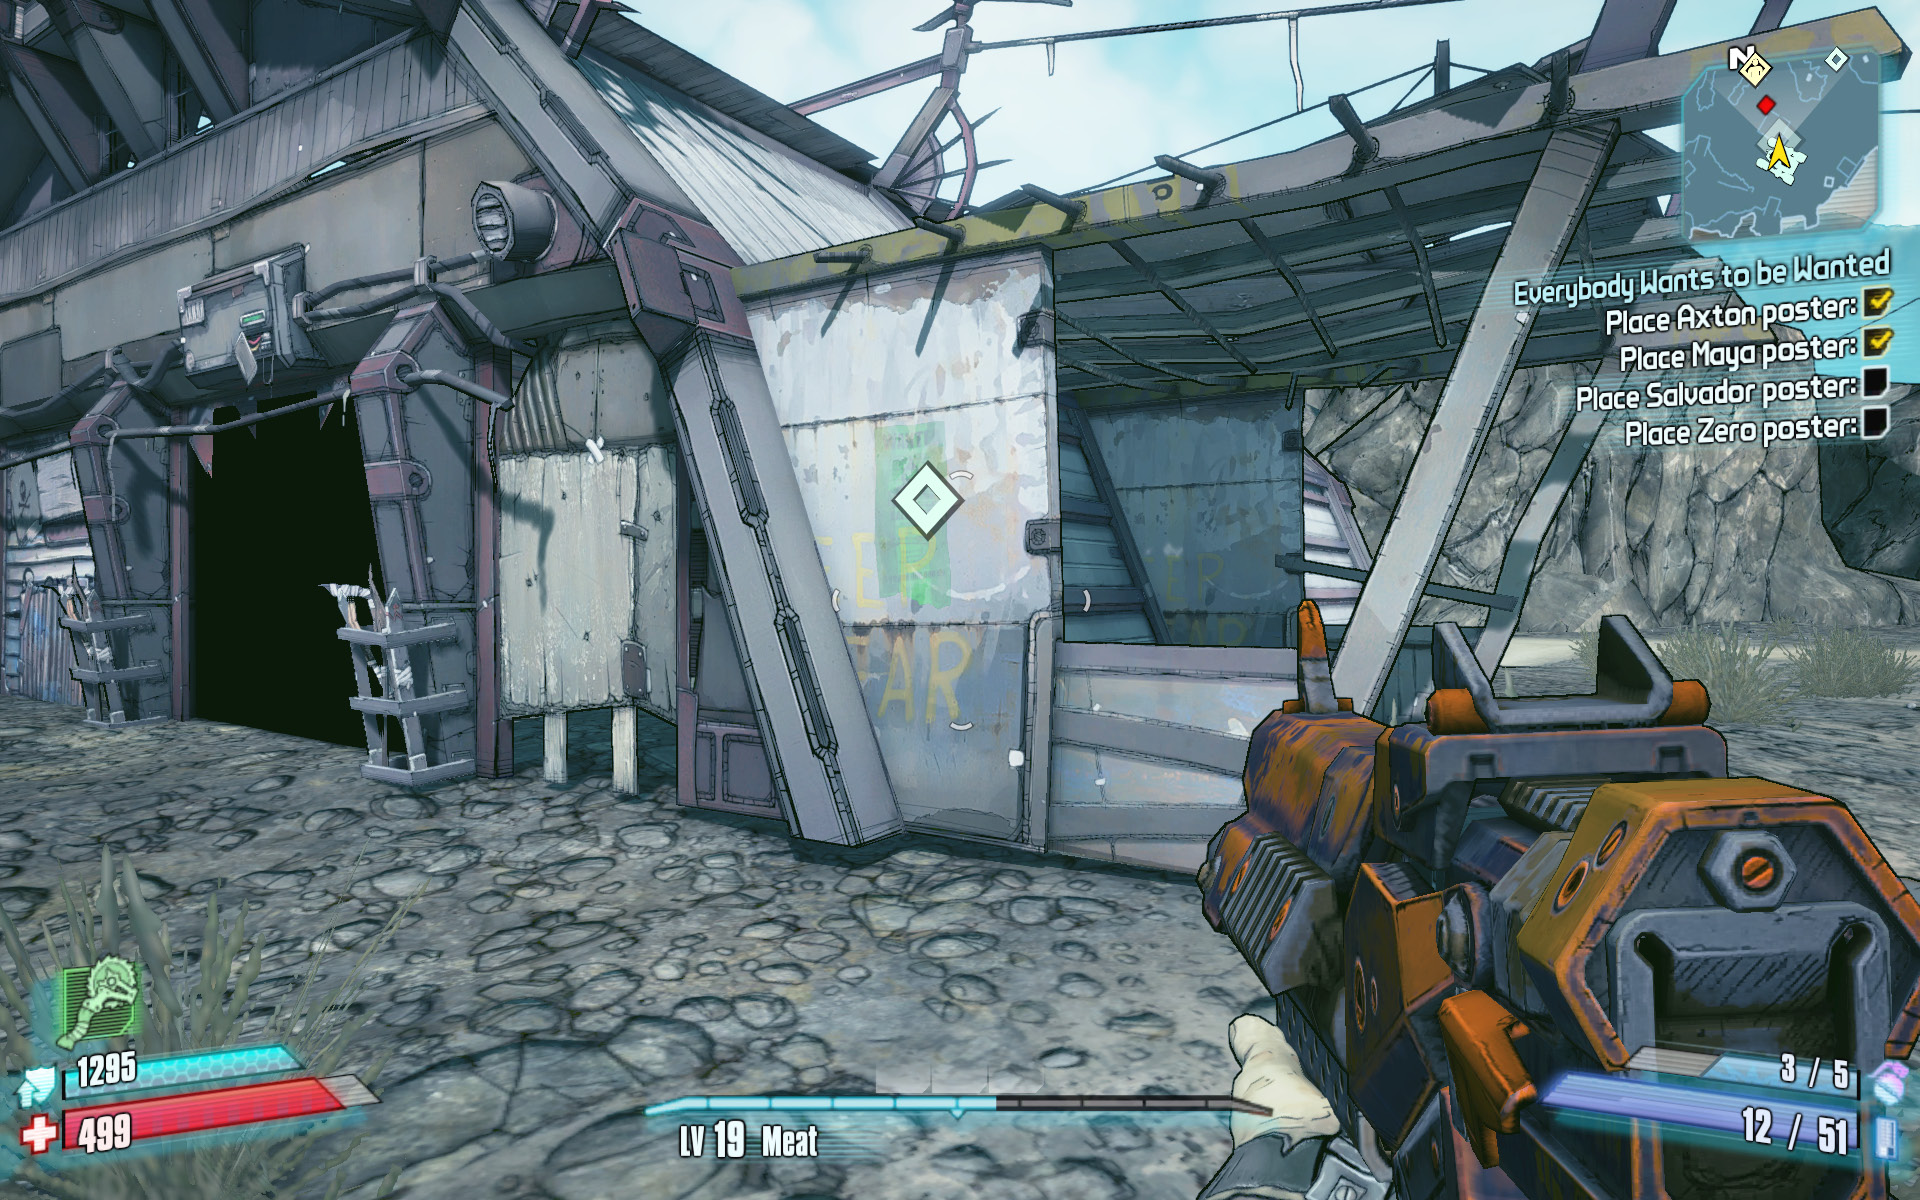
The Zero poster goes at the end of the canyon, where the power switch to Motor Momma’s gate was located. Fight your way past the Enforcers and Gremlins to the shack in the center of the east end of the canyon.
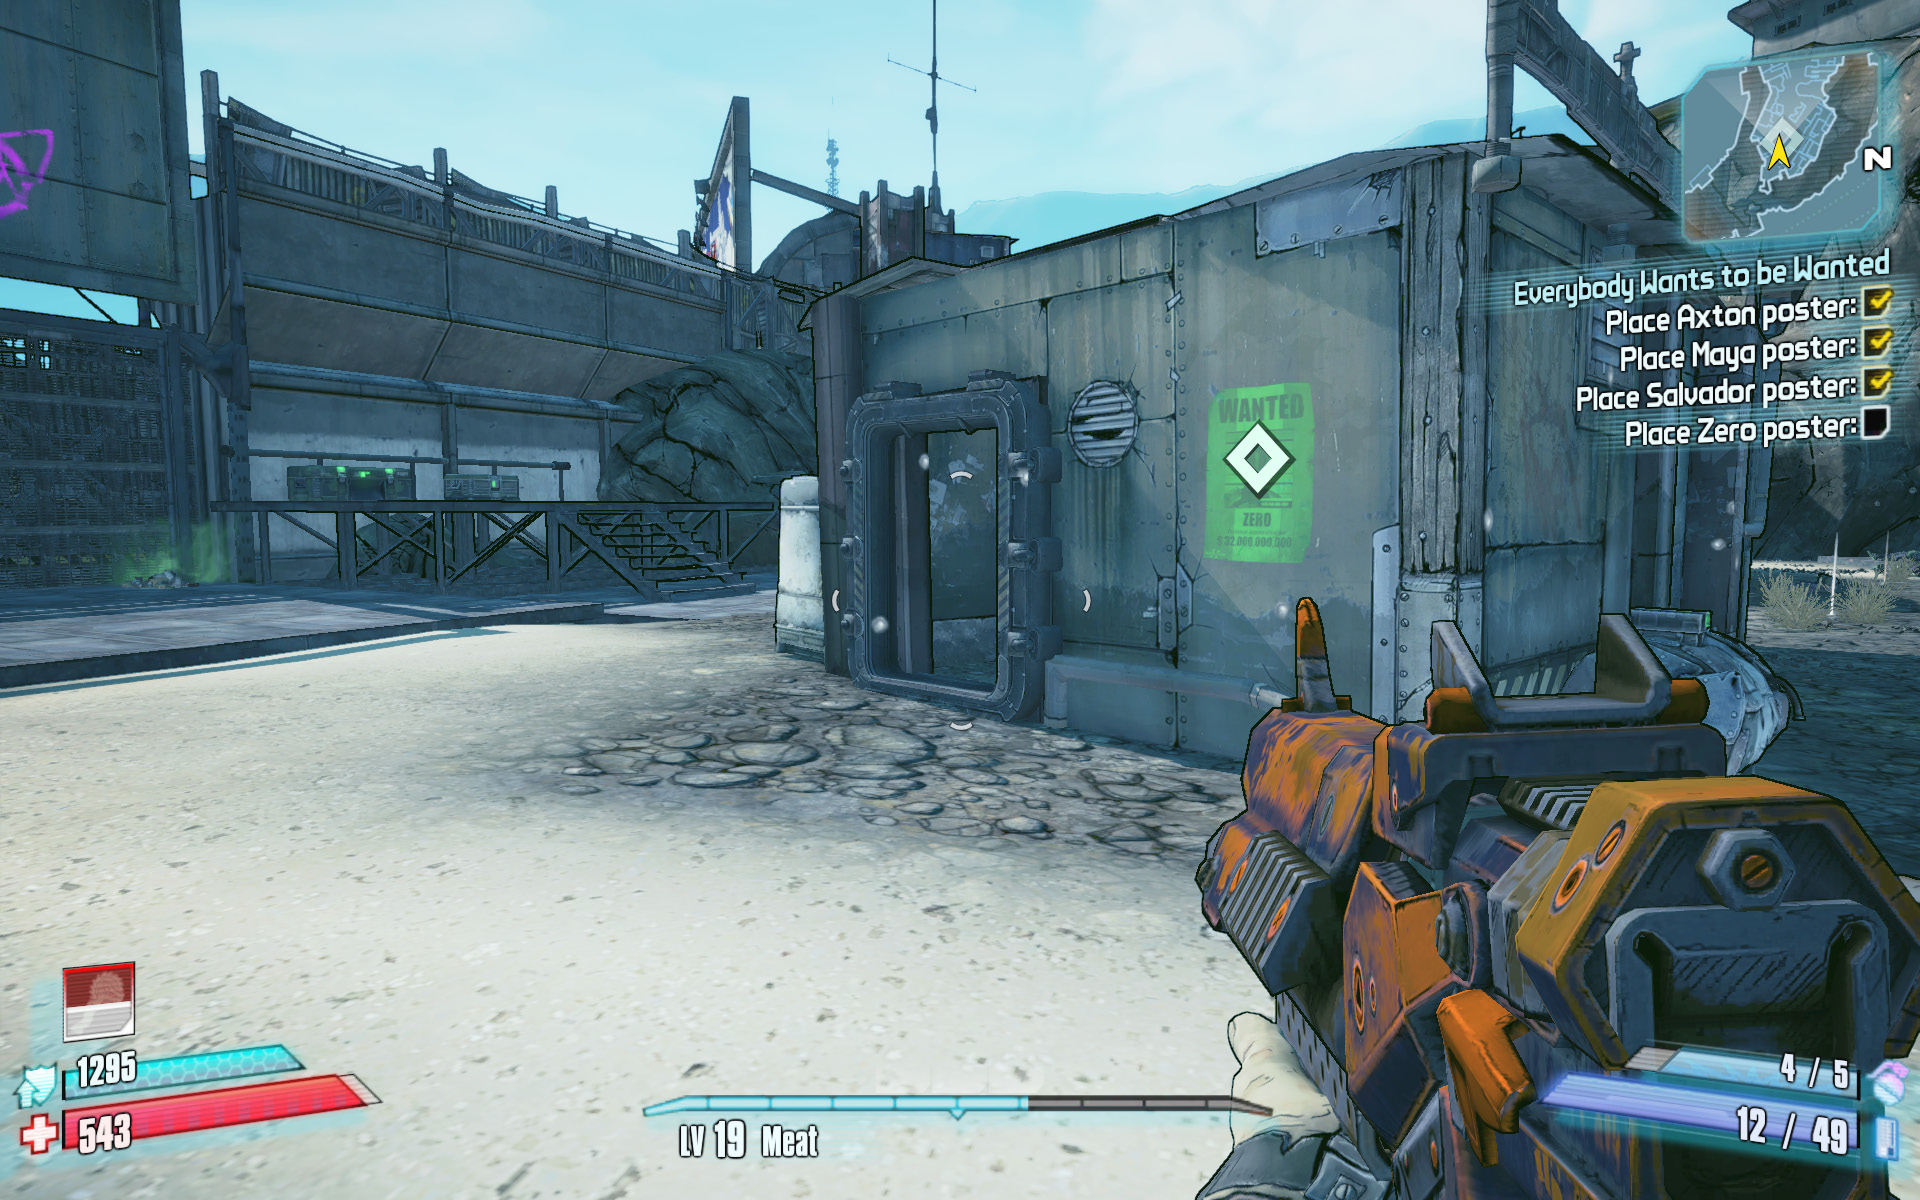
Interview with a Vault Hunter
Never underestimate the power of PR.
Optional Mission Rewards
| Level | Money | XP | Gear |
|---|---|---|---|
|
19 |
$193 |
1763 |
Rocket Launcher (green) or Pistol (green) |
*Money and XP may vary based on player’s level at start of mission.
Moxxi recorded a series of interviews to promote your fighting ability, but she’s lost them (naturally). The five ECHO recorders are scattered throughout Badass Crater. They’re each marked on your map. Here’s how to find them.
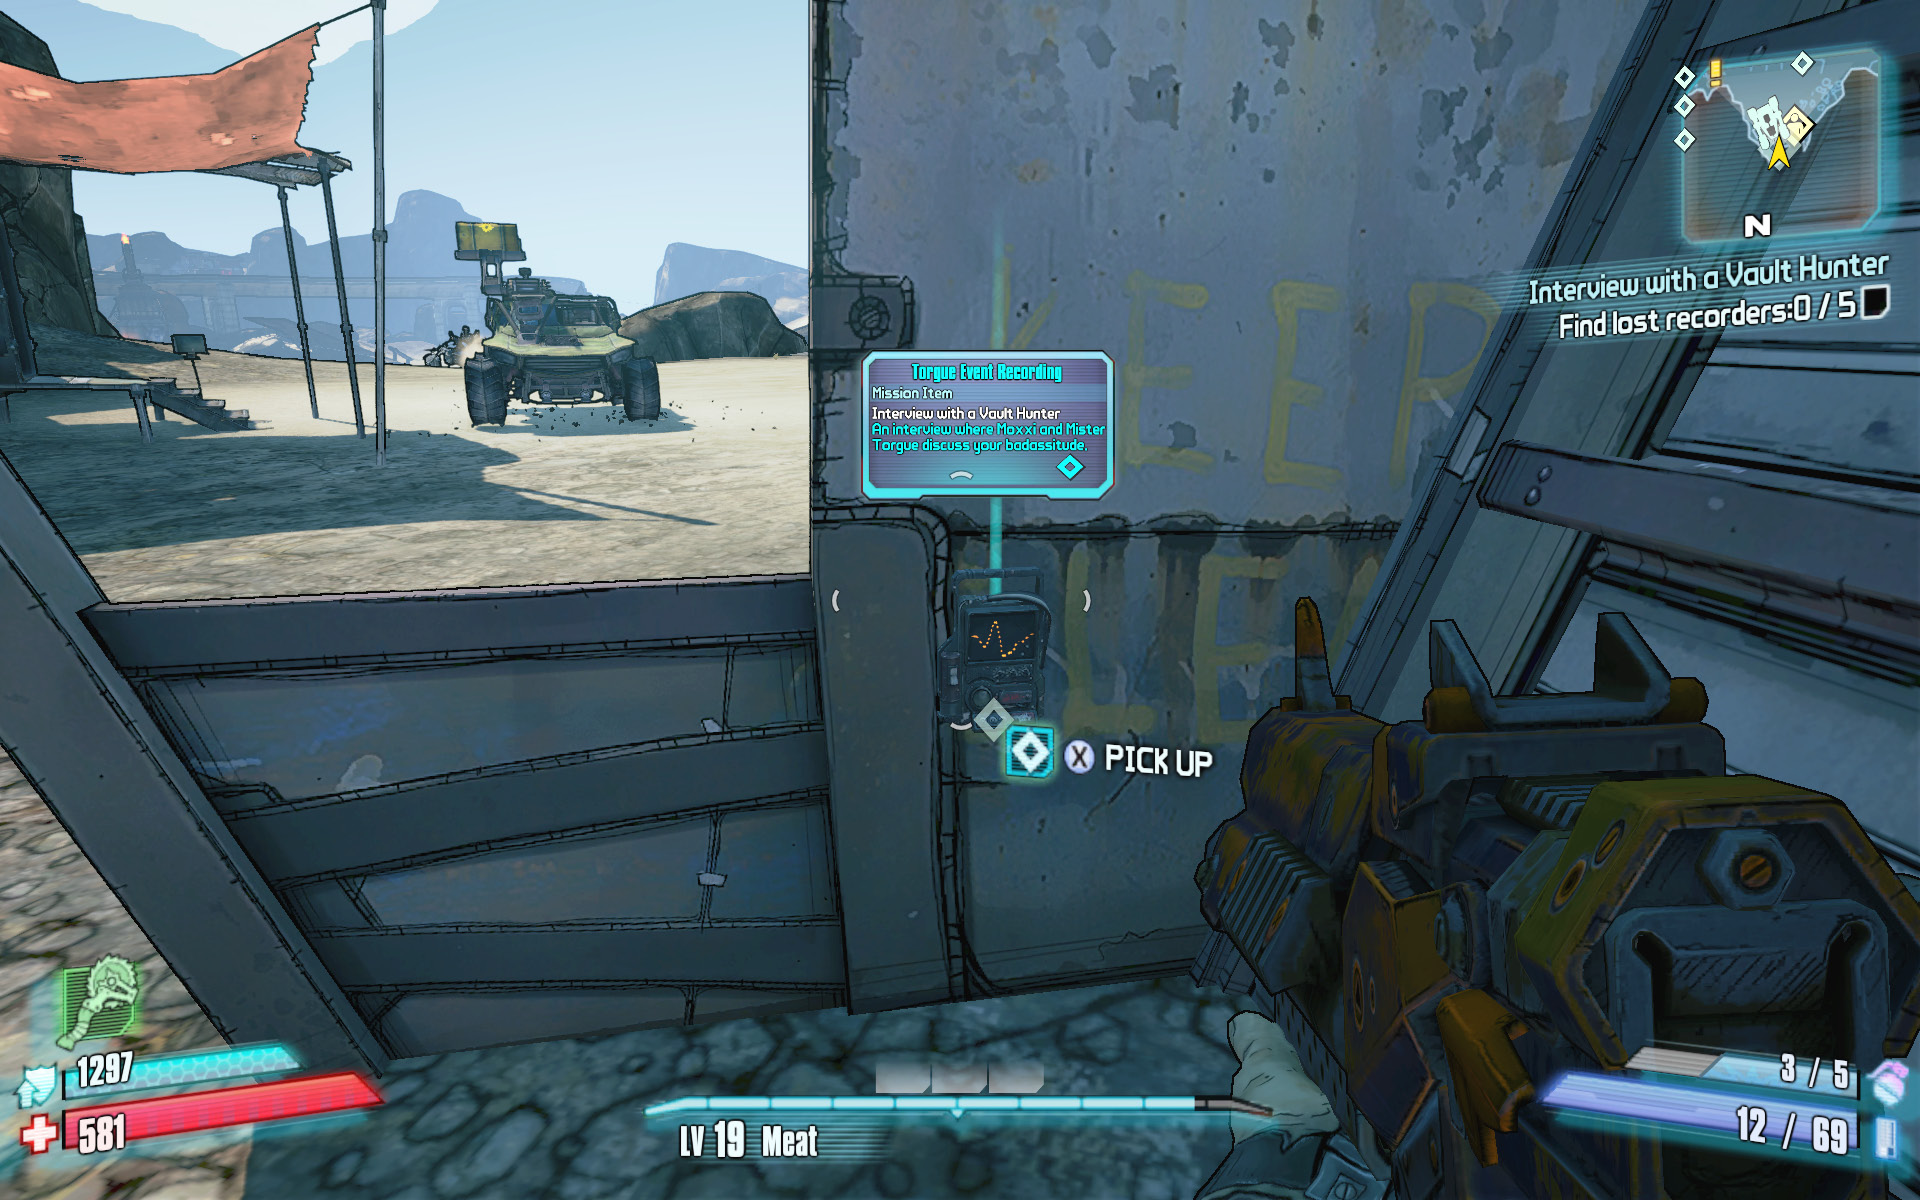
The first ECHO is at the small camp directly west of Moxxi’s Badass Crater Bar. Drive up the hill, and look behind the wall to find it.
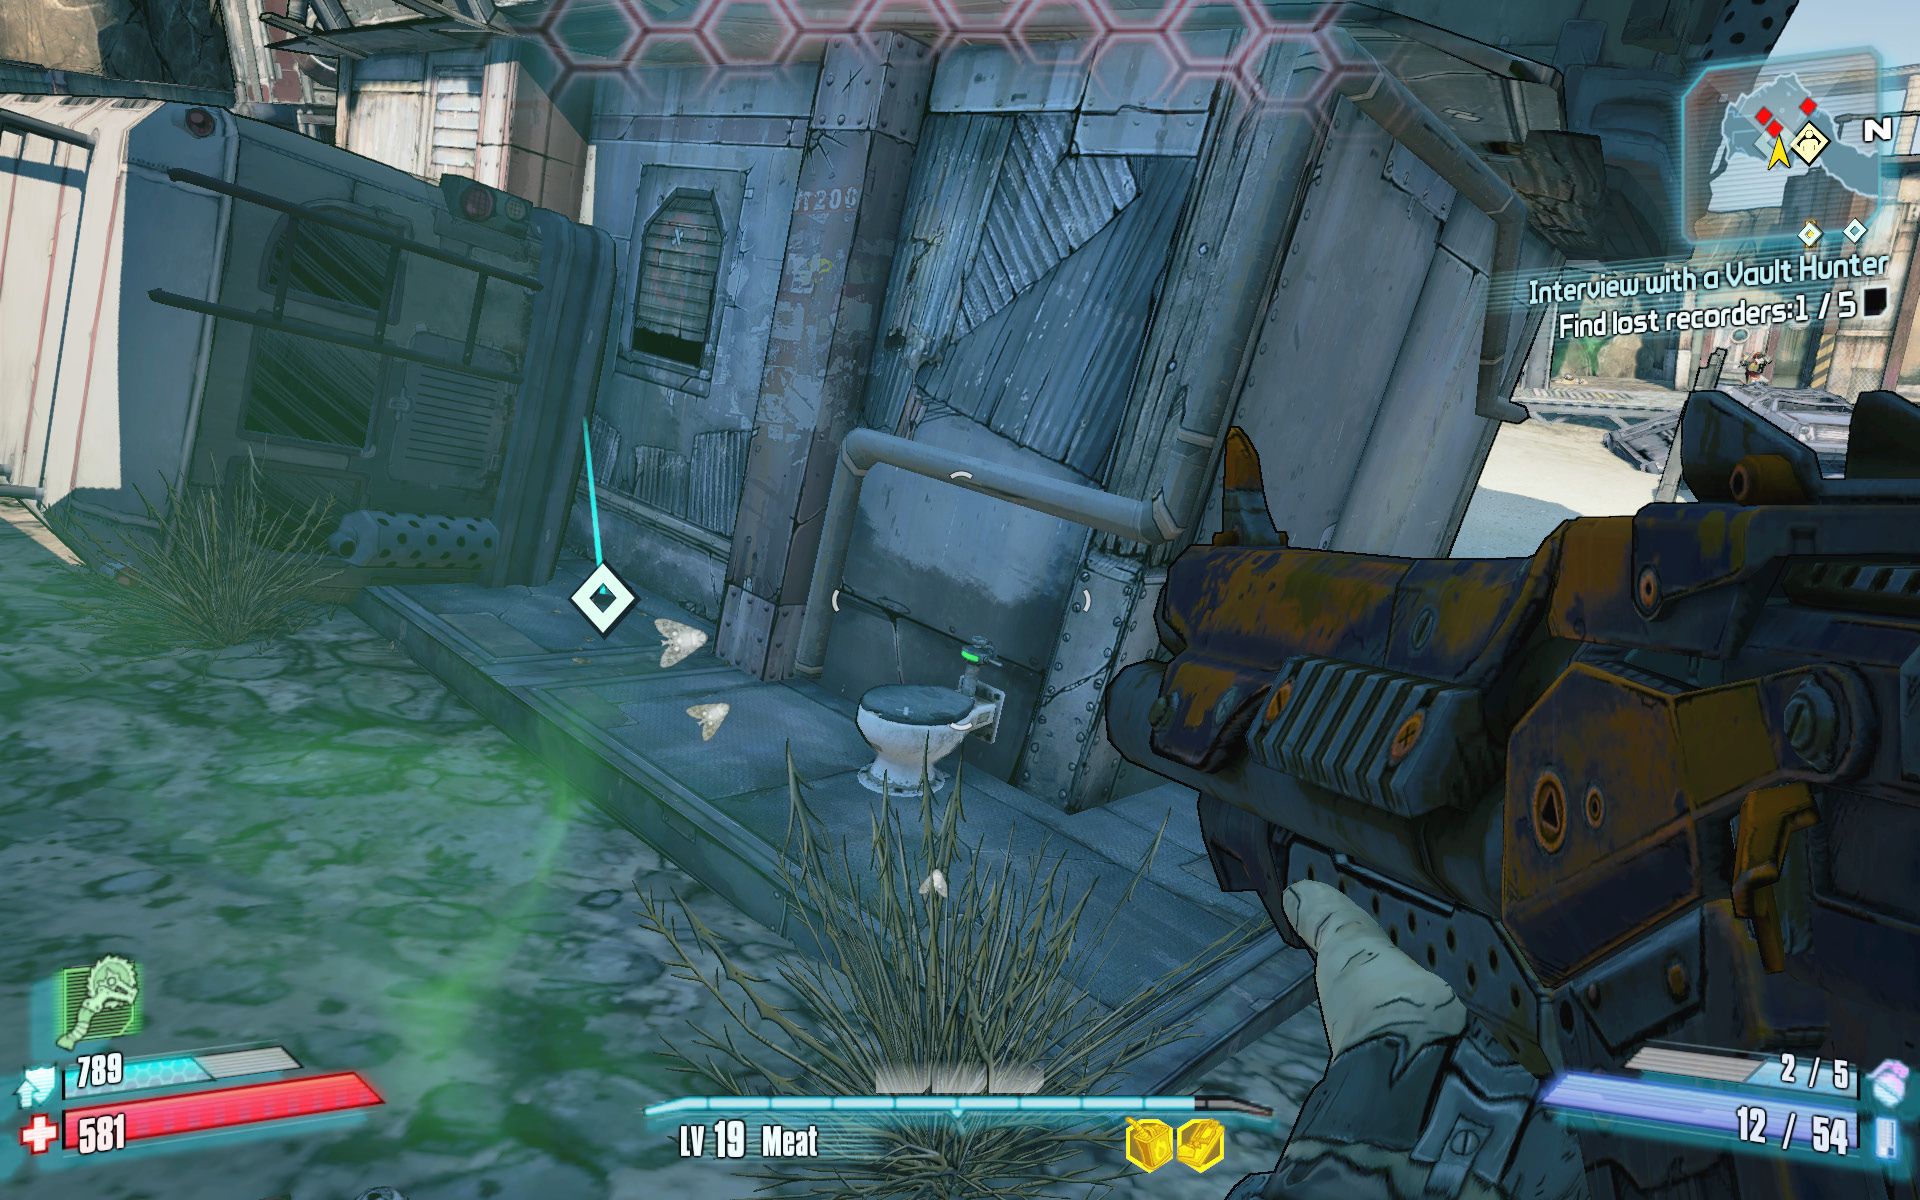
Drive to the narrow canyon in the southwest corner of Badass Crater and look on the floor, near the toilet, behind the central building.
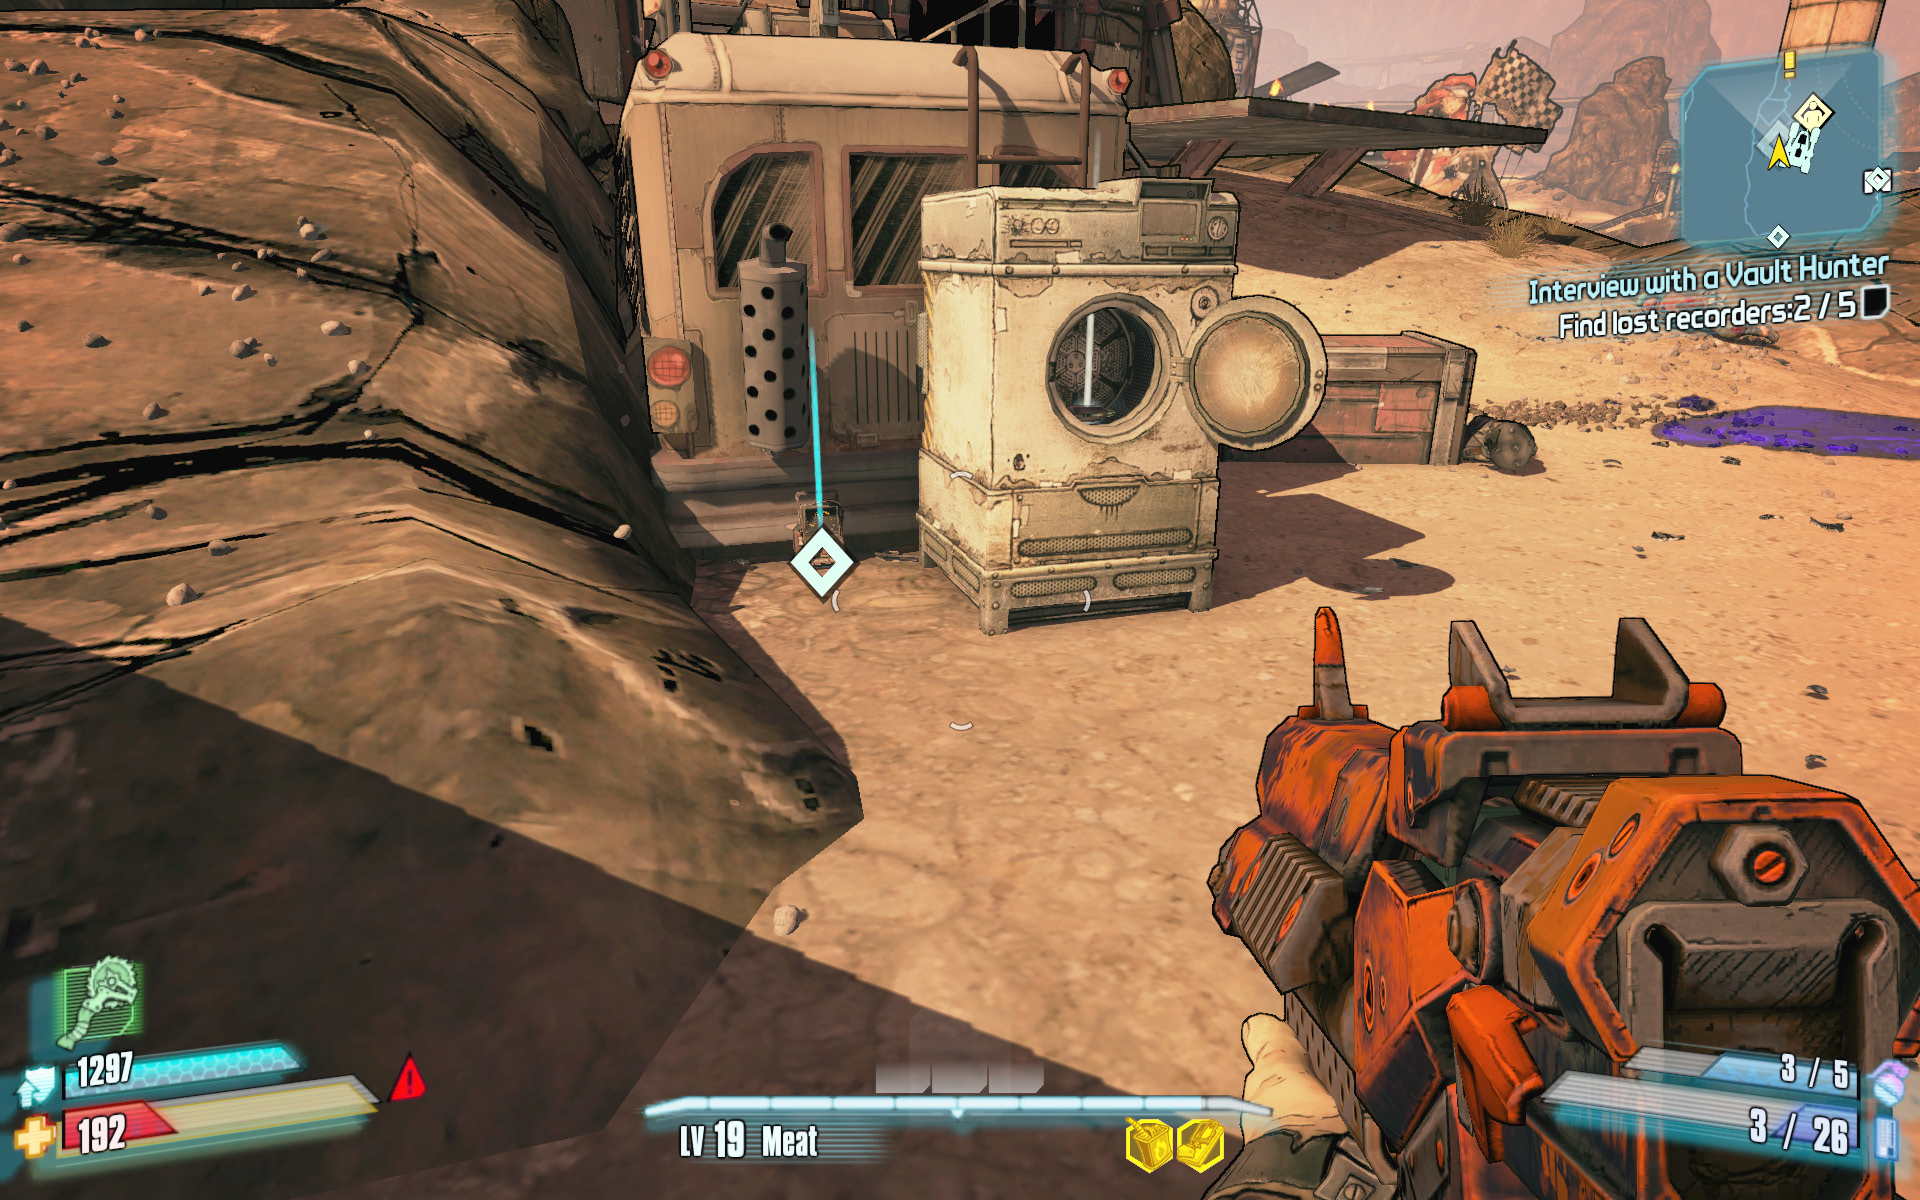
The next ECHO recorder is on the ground near the motorhome parked due east of the racetrack starting line. It’s next to the washing machine.
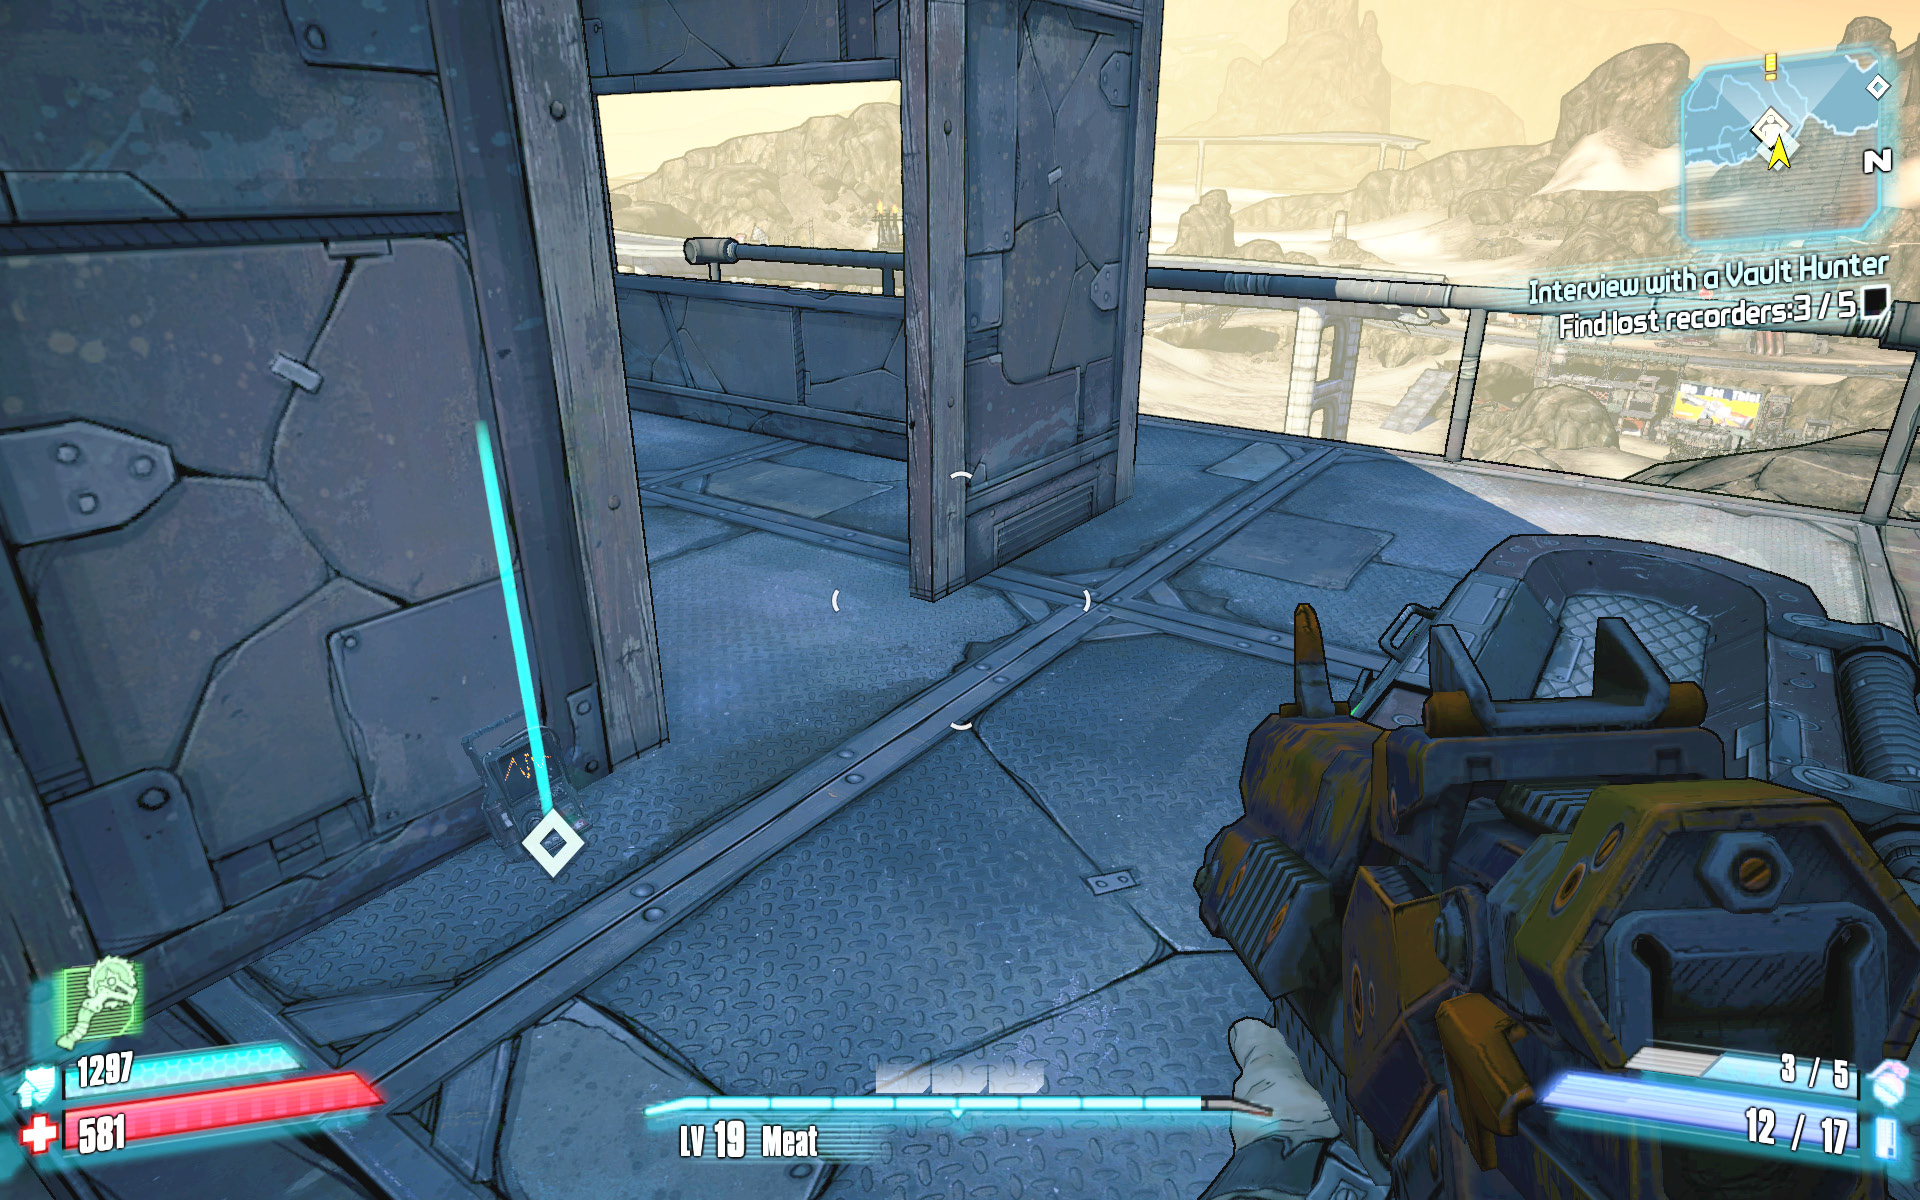
Head up the narrow path east of the Catch-a-Ride nearest the Badass Crater Fast-Travel Station, and scramble across the metal girders and platforms to reach the hut up on the cliffs. The ECHO is near the treasure chest behind the shack.
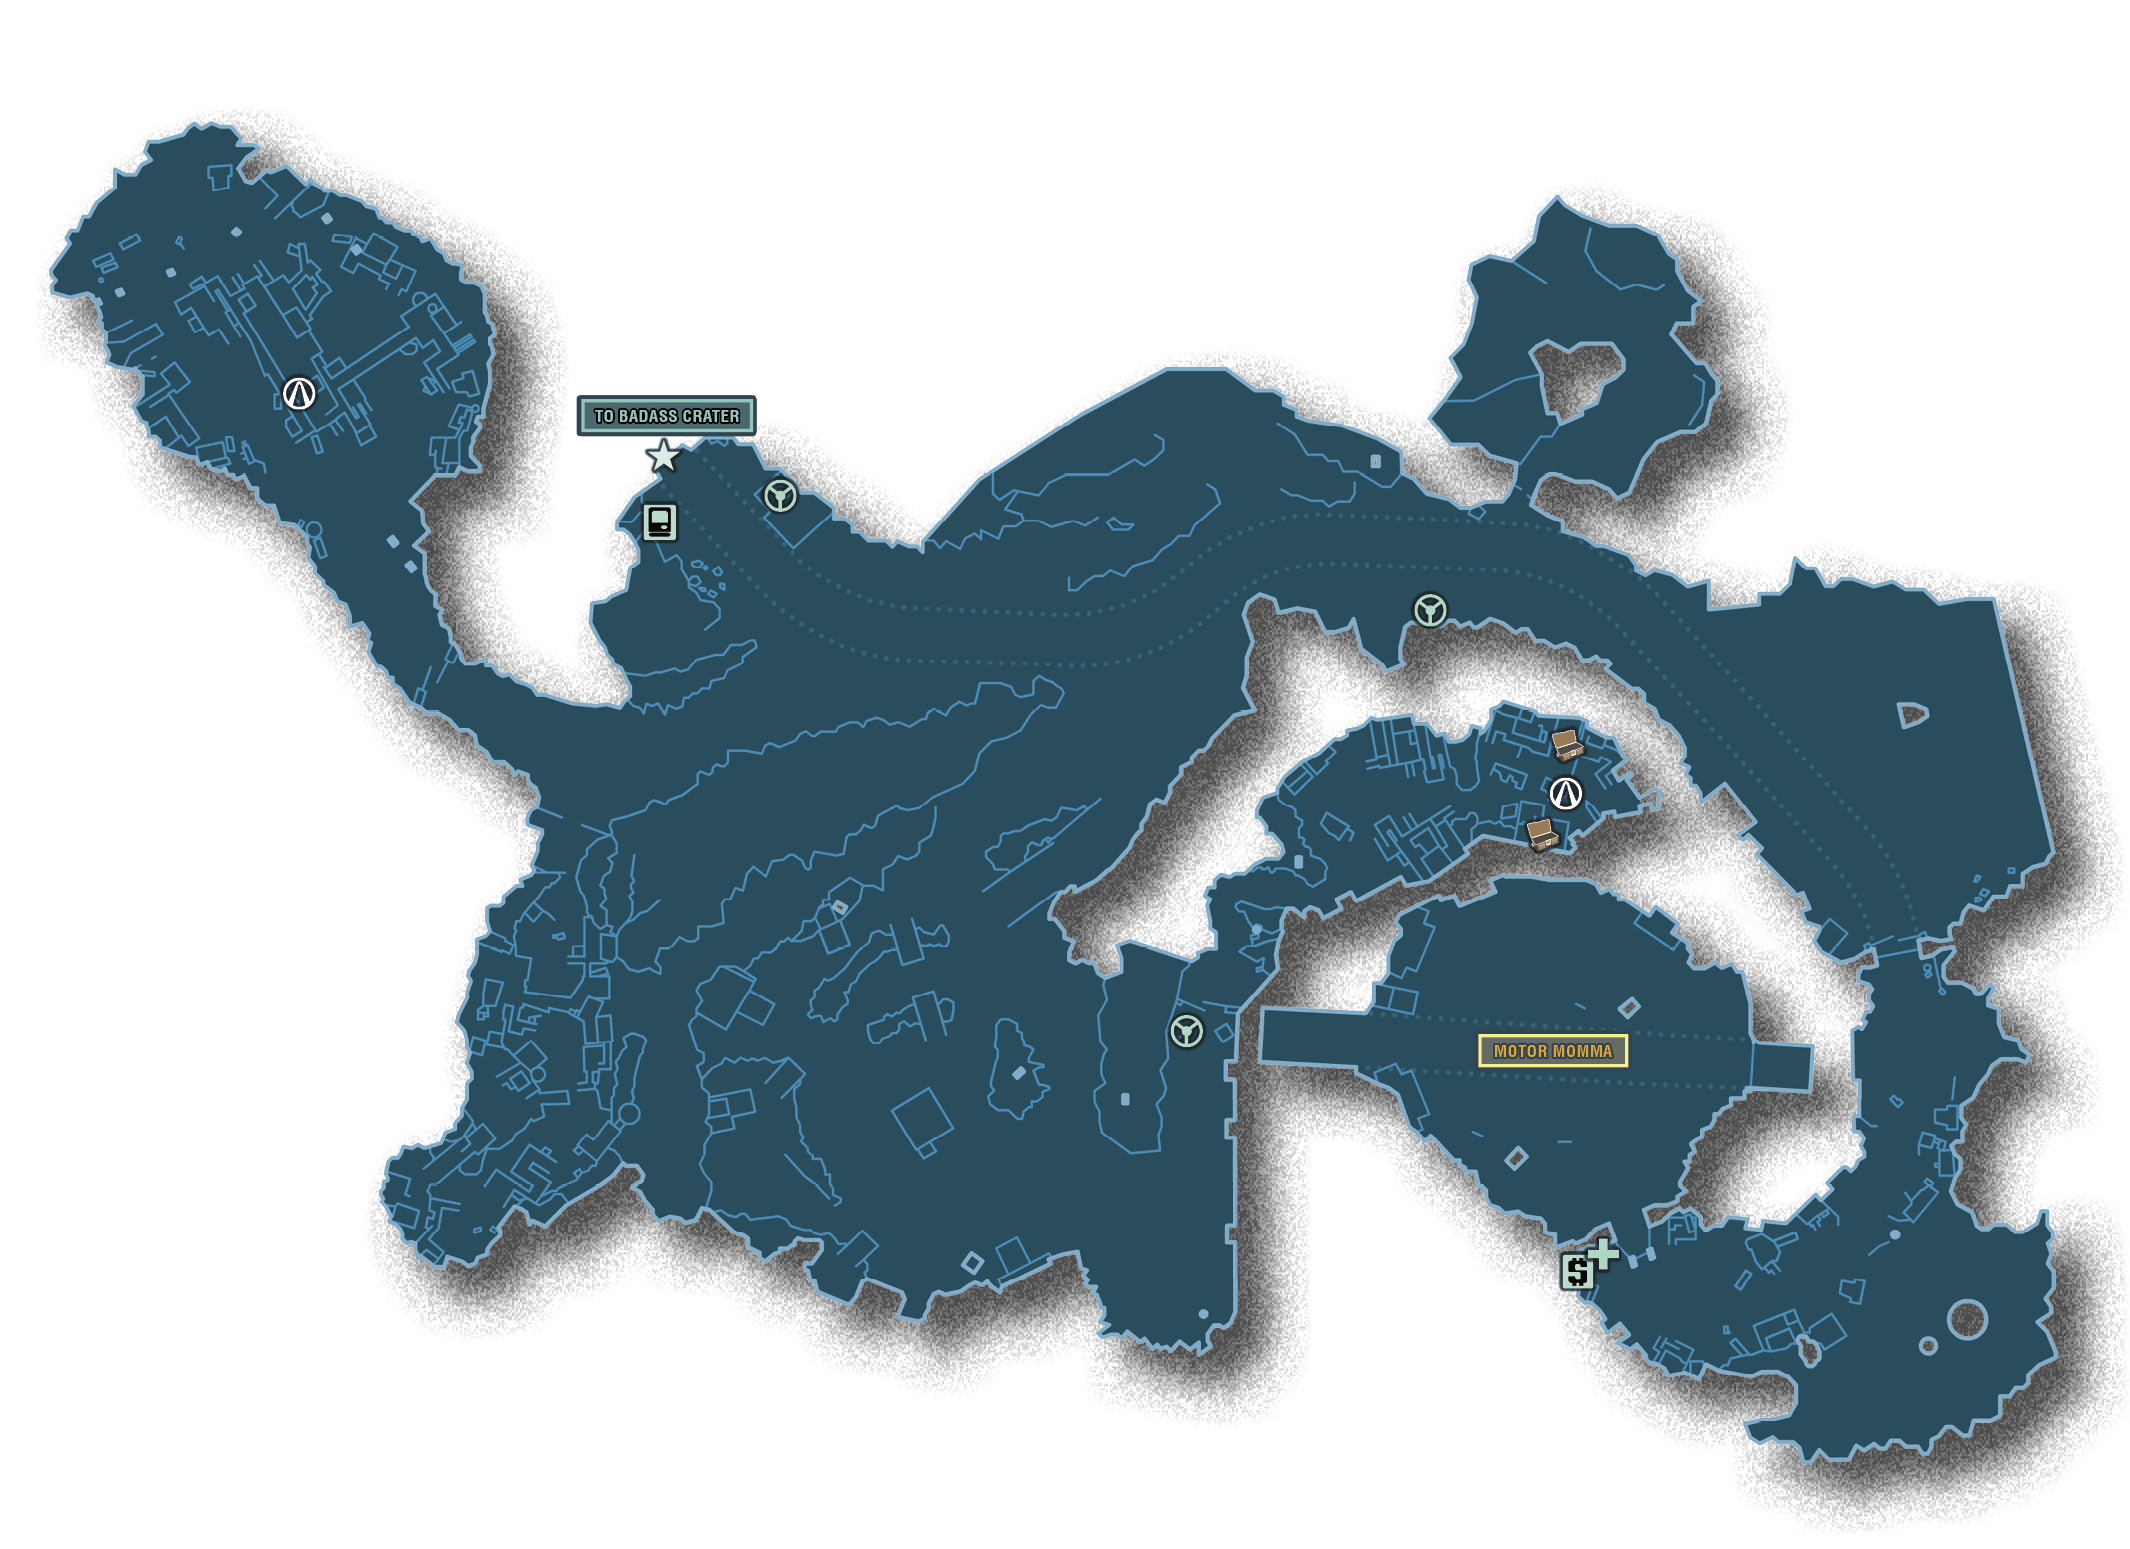
The final ECHO recorder is atop a crate on the south side of the Torgue Arena building. You may have even seen it earlier in your travels.
Southern Raceway
The Southern Raceway is the stomping grounds of Motor Momma and her gang of Momma’s boys. These motorcycle-loving ruffians reside throughout the corners of the sprawling canyon landscape. Southern Raceway is similar to the sandy region of Wurmwater outside Oasis, though far more populous. Those wishing a meeting with Motor Momma need to fight through one of her gang’s encampments to open a gate to yet another camp. Unlike Torgue Arena, the arena that Motor Momma has built in the Southern Raceway is her own private combat zone, and only those she deems worthy are allowed in.
Dangerous Beasts
| Enemy Family |
|---|
|
Burners |
|
Bikers |
|
Enforcers |
 Cult of the Vault
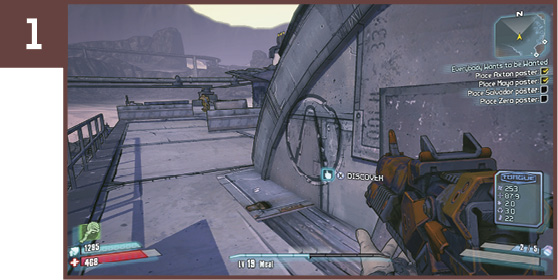
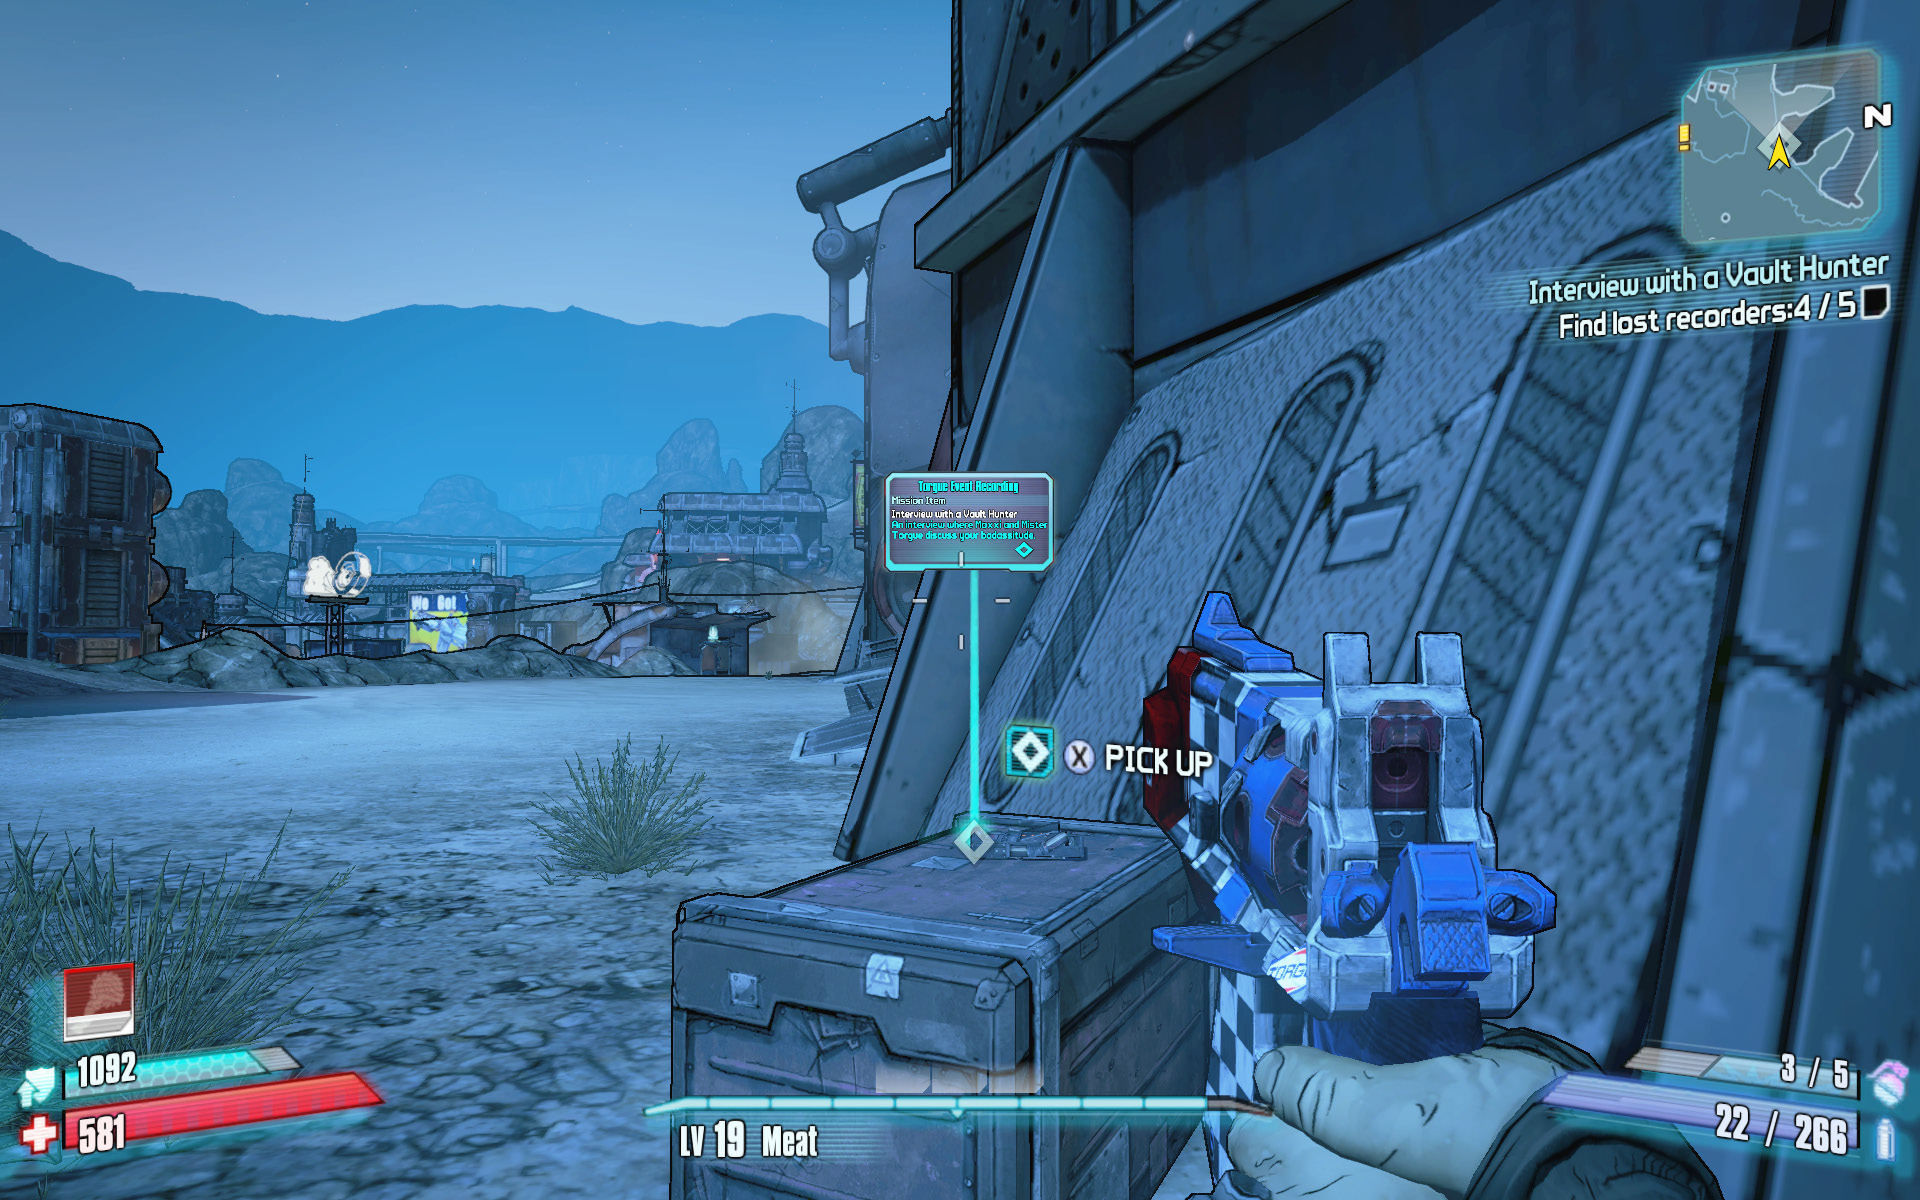
This symbol is located atop the large central structure in the northwestern canyon. Climb the stairs to reach the area where the Maya poster goes during the “It’s Good to be Wanted” mission, then continue one flight higher to locate the Cult of the Vault symbol directly above the poster.
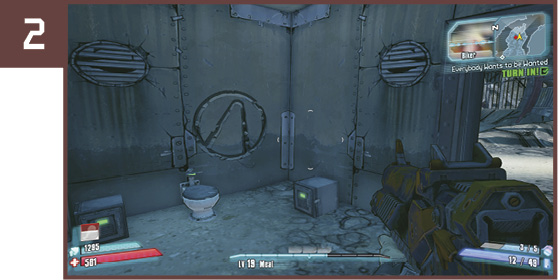
The second Cult of the Vault symbol is located inside the shack where the poster of Zero is placed during the “It’s Good to be Wanted” mission. This is at the far eastern end of the canyon, with the power switch controlling the gate to Motor Momma’s area.
The Forge
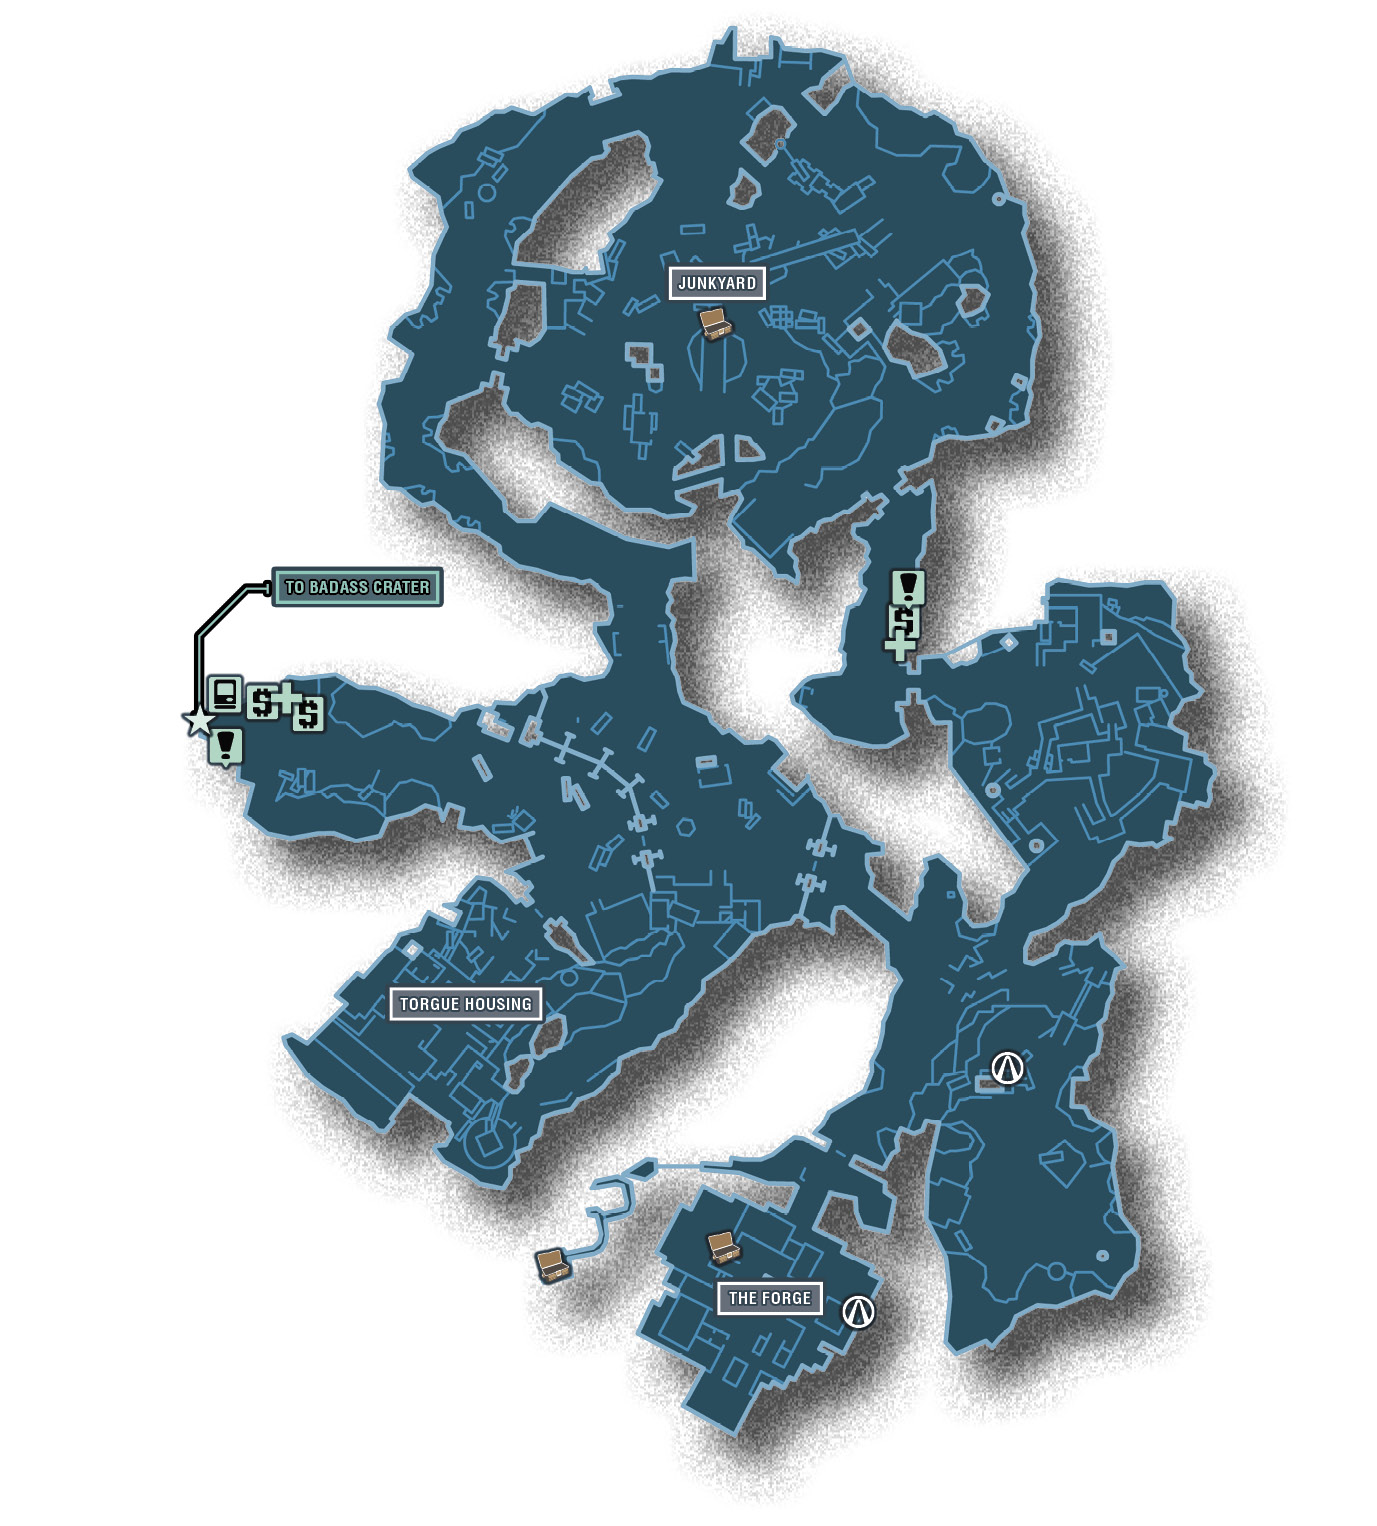
The various companies, bandits, loaders, and Vault Hunters create a lot of waste on Pandora. And much of that garbage, particularly the metal, winds up in the Forge. Torgue Loaders and Engineers work tirelessly to transform the mountains of scrap metal and abandoned vehicles into useful Torgue weaponry. The Forge contains a multi-level housing complex to the southeast and a winding river of molten metal that flows through multiple areas of a large junkyard. The centerpiece of the area is the Forge tower to the north. This sky-scraping construction is home to Flyboy, an adolescent combatant who makes his home amongst his squad of buzzards in the Forge.
Dangerous Beasts
| Enemy Family |
|---|
|
Torgue Loaders |
|
Engineers |
|
Buzzards |
|
Burners |
|
Bruisers |
 Cult of the Vault
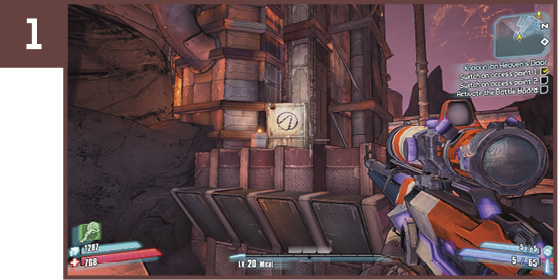
The first Cult of the Vault symbol is on a wall above access point 1 in the housing complex. Run and leap over to the ledge to reach it.
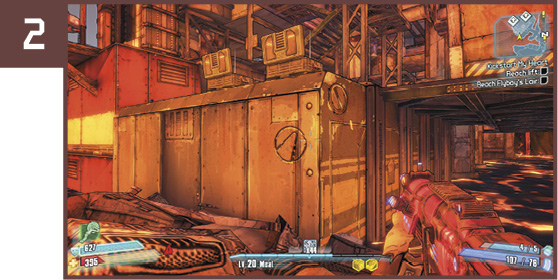
Pass through the gate toward Flyboy’s Tower, and descend the stairs to the metal scrap on the left. The Cult of the Vault symbol is on the side of the tower, just above the molten metal.
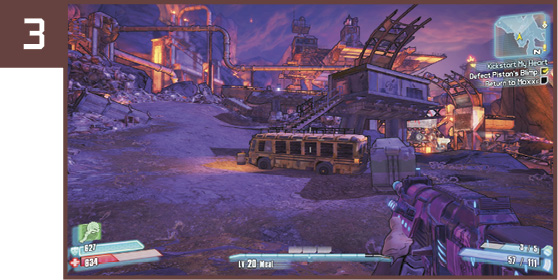
Face the gate leading to Forge Tower and Flyboy’s Lair, and climb the ladder on the far left. Cross the metal bridge to the top of the hill, and locate the elevated structure near the yellow school bus. The symbol is on the side of the shack above the bus.
Air Mail
Tier 3 of the Buzzard Battle not only requires you to collect more of Flyboy’s bling while killing even more of his Escort Buzzards, but you’re also going to have to do it against level 50 enemies. Return after you’ve reached level 50, and put your enhanced skills and better weaponry to work.
Parachutes are for Pansies
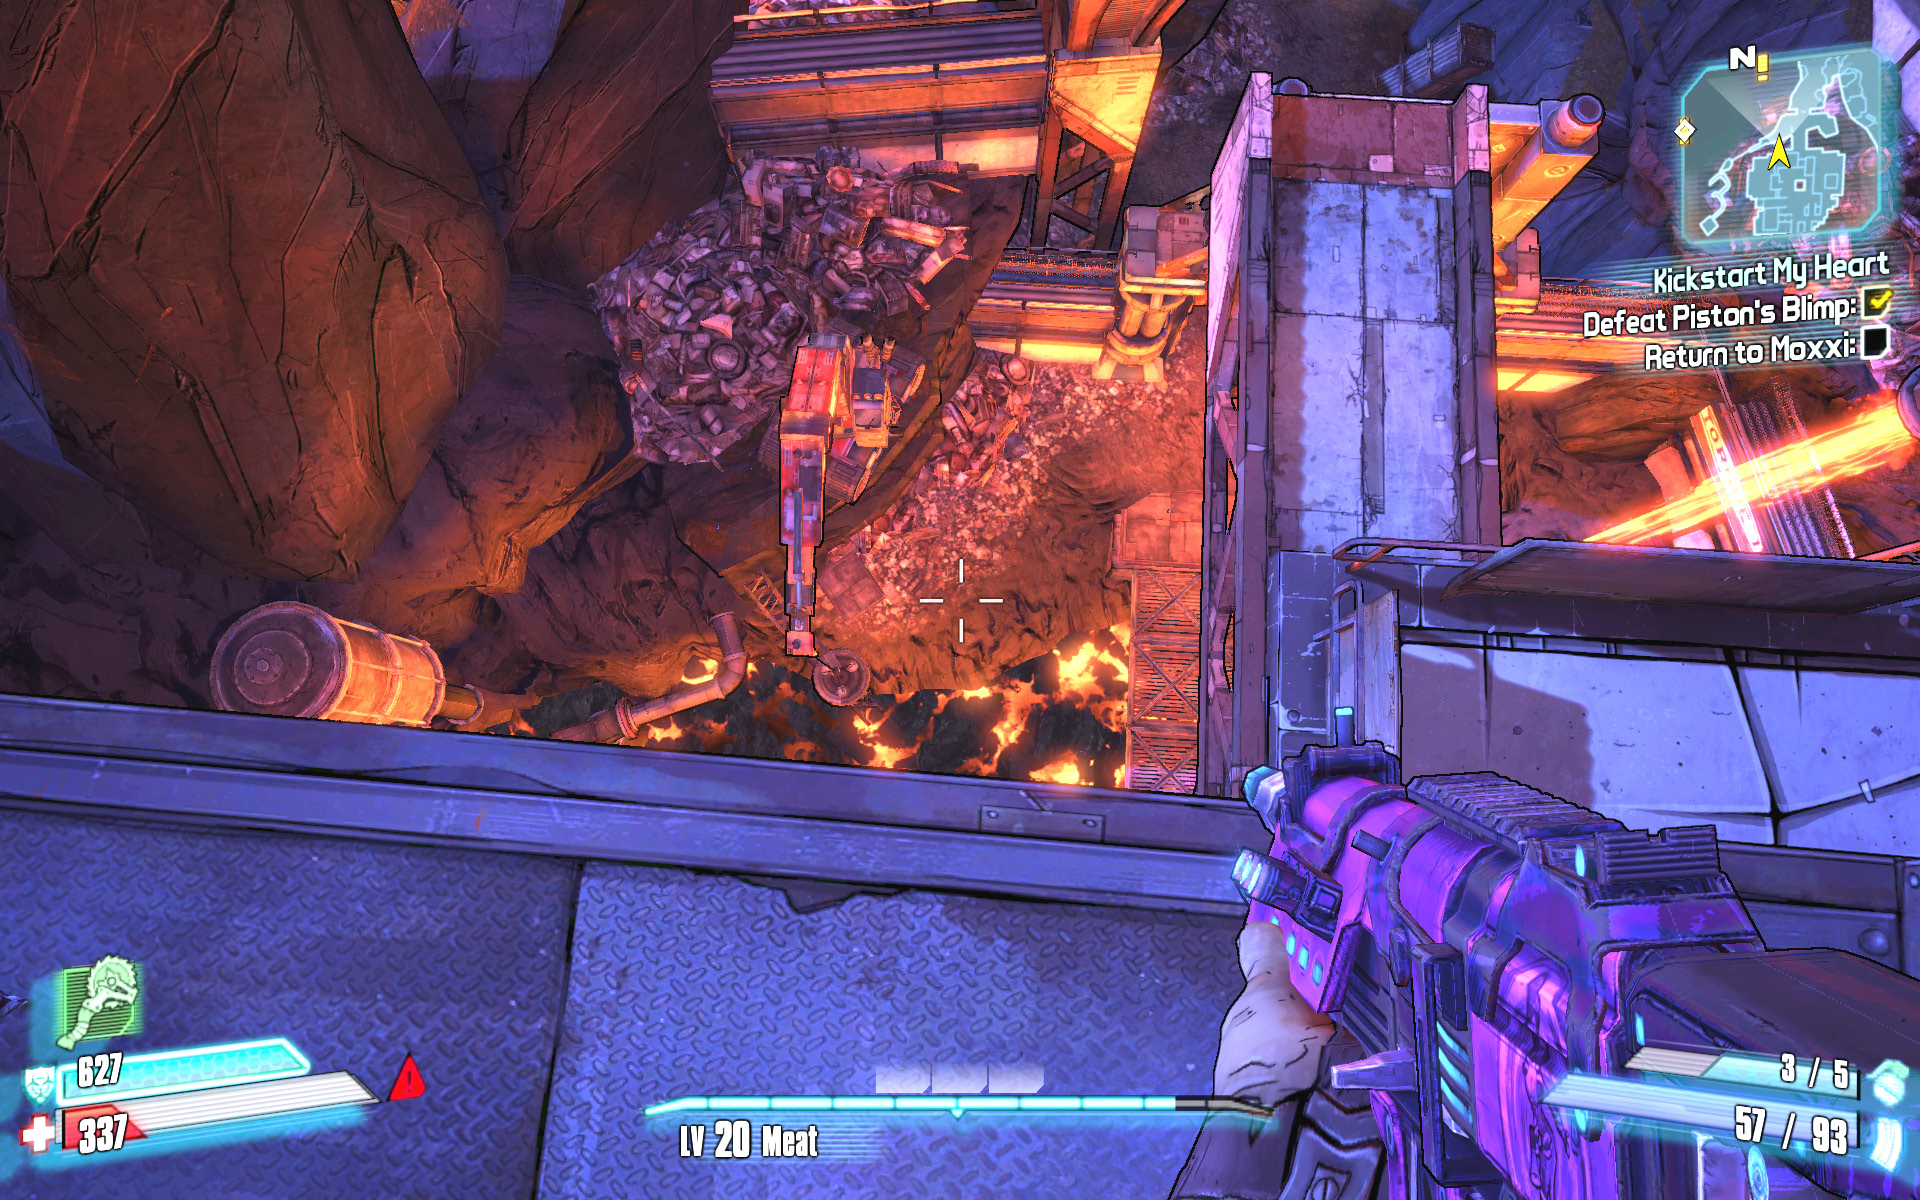
Survive the battle atop Flyboy’s Lair, then make your way to the northern edge of the uppermost platform. When you look down, you should have a clear line to the rocks and metal just left of the bridge leading from the gate to the base of the tower. Sprint and leap off the tower from this spot. You need enough speed to clear the molten metal below and should aim to land between the crane and the bridge.
I DID Start the Fire
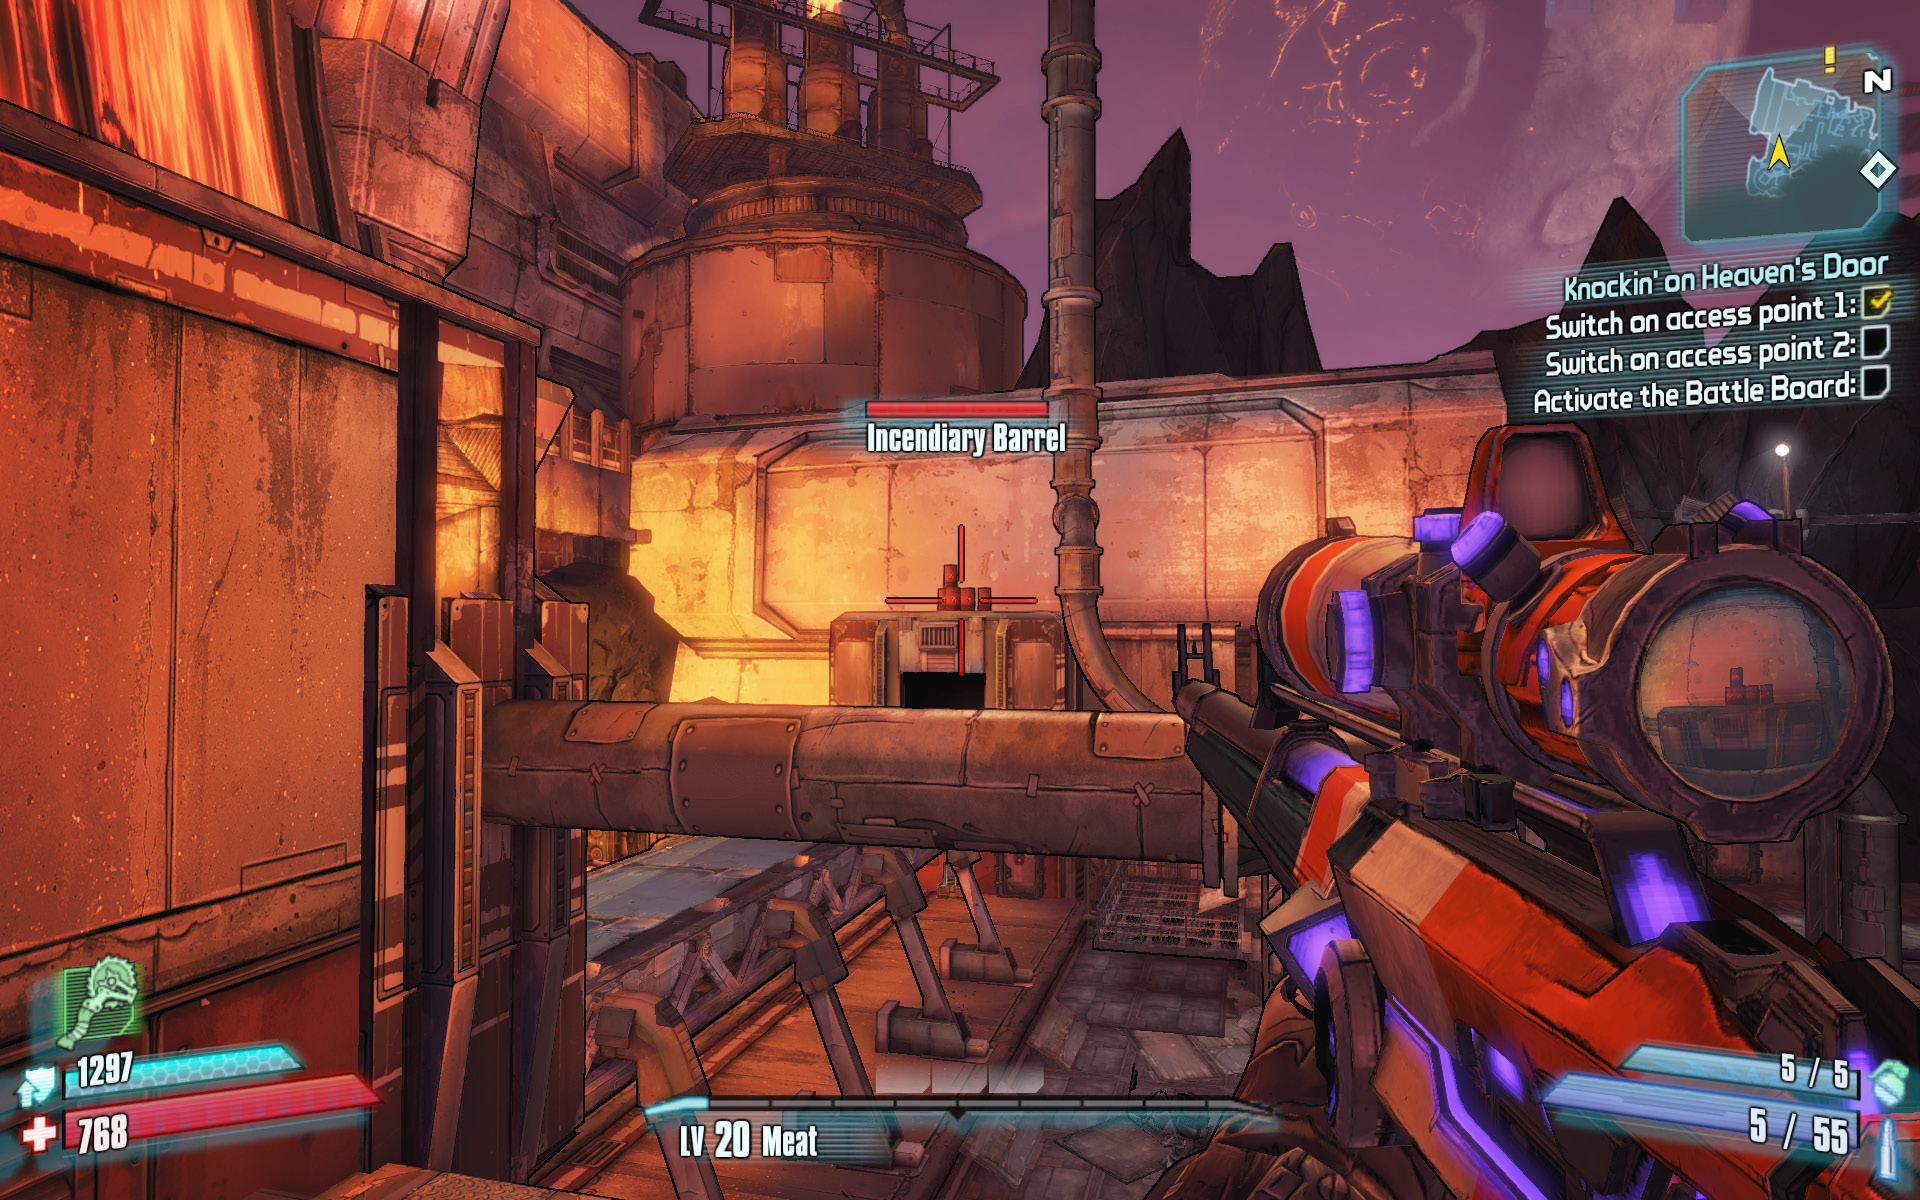
Ascend to the top of the housing complex where the first Cult of the Vault symbol is, and look out to the western side of the facility. Take aim with a sniper rifle at the stack of incendiary barrels to trigger a massive fire at the top of the facility. One shot is all it takes.