
Borderlands 2 Game of the Year Guide Walkthrough
A Dam Fine Rescue
|
 Mission Briefing
| Level | Money | XP | Gear |
|---|---|---|---|
|
12 |
4 Eridium |
3169 |
— |
*Money and XP may vary based on player’s level at start of mission.
Three Horns Valley
Lilith’s attempt to teleport you directly to Bloodshot Stronghold so you can rescue her (ex)boyfriend fails on a spectacular level—she barely moved you 10 feet. Oh well, you’ll just have to make it into the bandit base on your own. Proceed down the path leading out of Firehawk Lair and leap down onto the ice near the Fast Travel Station. Return to Sanctuary to stock up on equipment, do some optional missions, take a break, etc., then drive out to Three Horns Valley via the northern exit from Three Horns Divide.
Continue northwest along the main road toward the heavily guarded Bloodshot Stronghold. Honk your vehicle’s horn to see if the bandits will open up the gate. Almost! Flanksteak, the leader of the Bloodshot gang, realizes that you’re not a member and orders his gang to attack. Reverse direction immediately! You may think you can mount a counterattack with the Light Runner, but you’d be dead wrong!
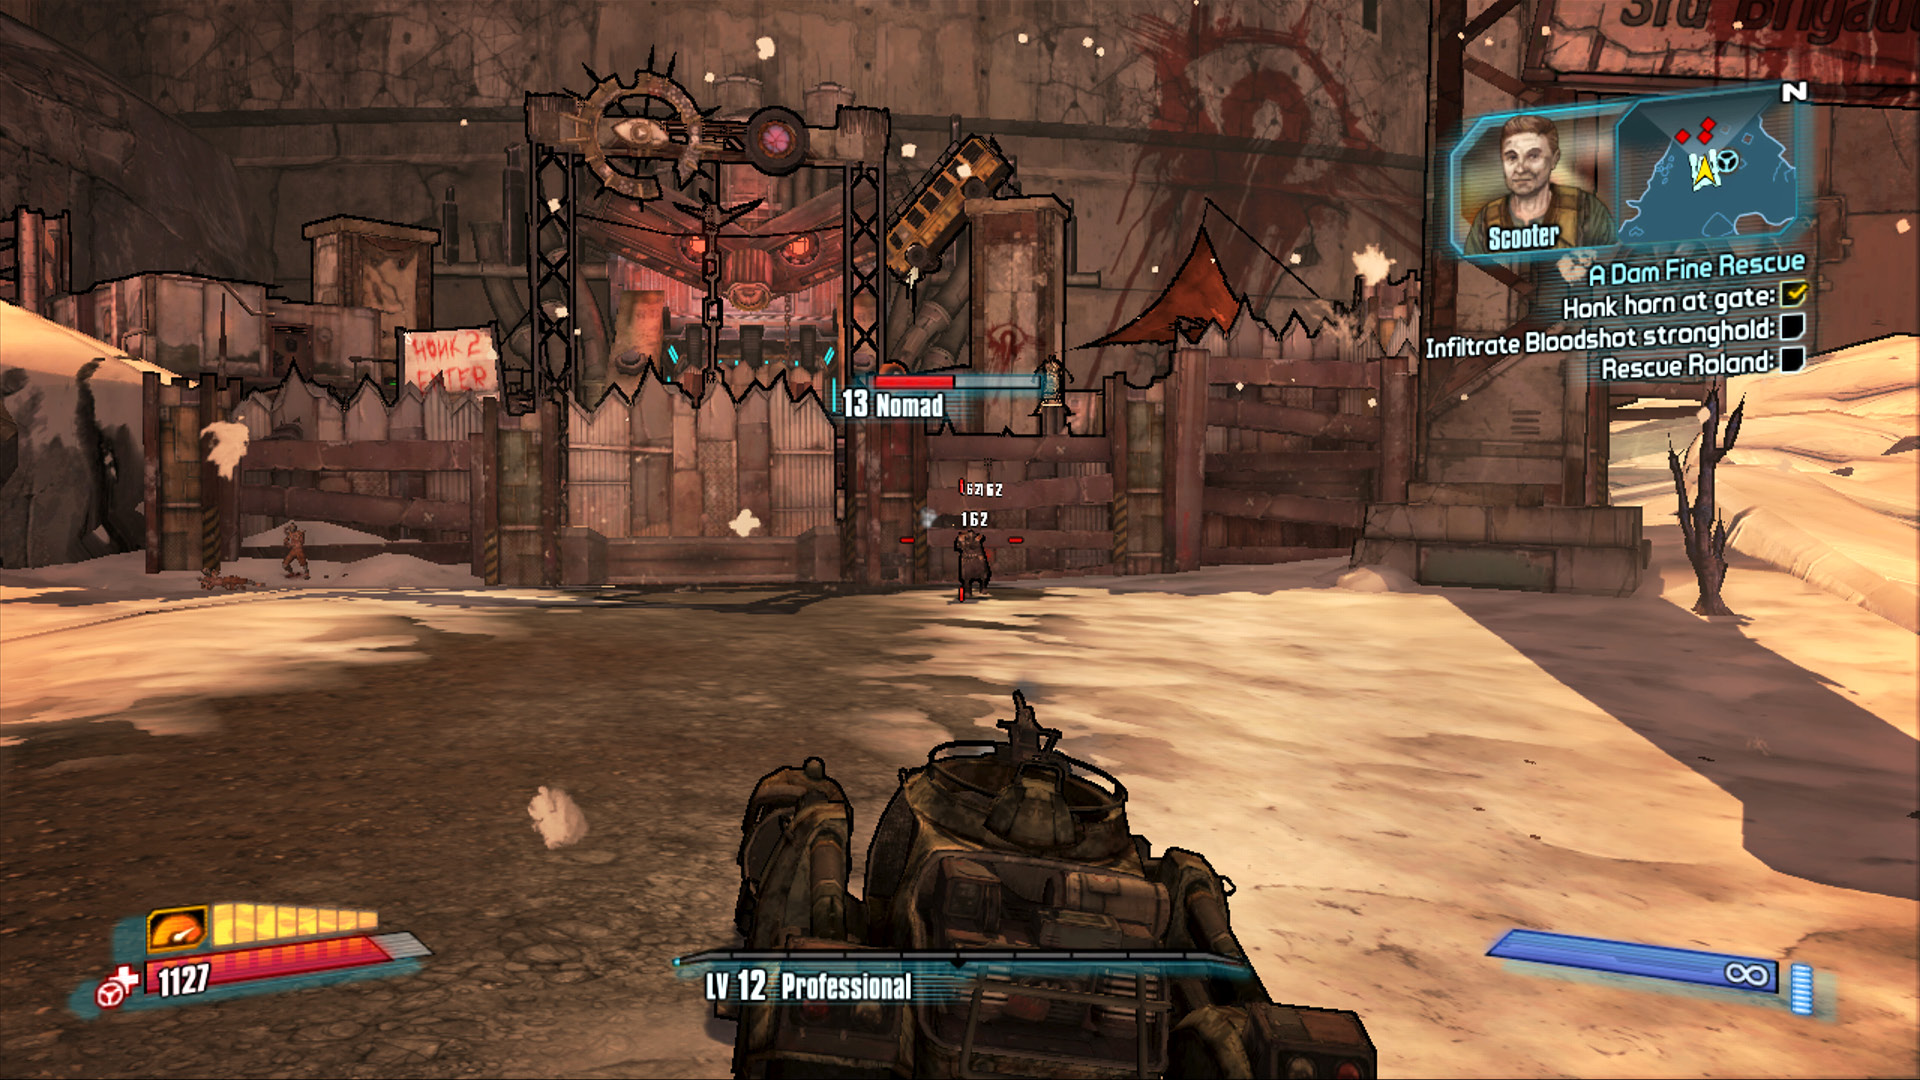
Gun down any bandits exiting the compound, but back away once the turret starts firing!
The Dust
Scooter comes on the ECHO to inform you that his sister, Ellie, might be able to help you out over in The Dust. You can access The Dust just to the right of the Catch-a-Ride near the Bloodshot Stronghold entrance. Once there, hug the canyon’s edge on the right and steer straight for the junkyard in the distance. Ellie’s Garage is just beyond the piles of scrap metal. She can’t help you right away, but if you harvest the necessary parts from five Bandit Technicals, she’ll fix you up a ride guaranteed to fool any of the Bloodshot members!
It pays to play it safe when attacking the enemy vehicles, especially if Buzzards are around. Don’t hesitate to turn on the afterburners and flee to safety if your vehicle starts taking critical damage. Otherwise, you could be in for a long walk back to the nearest Catch-a-Ride station.
Bring the five bandit vehicle parts back to Ellie, then interact with the vehicle on the lift to make the necessary modifications. Ellie will enter the vehicle into the Catch-a-Ride system so that you’ll be able to deploy a new Bandit Technical from any Catch-a-Ride system you encounter. Bandit Technicals come in two versions: sawblade and catapult. Select the Catapult Technical option for now—you’ll see why in a minute—and drive back to Three Horns Valley.
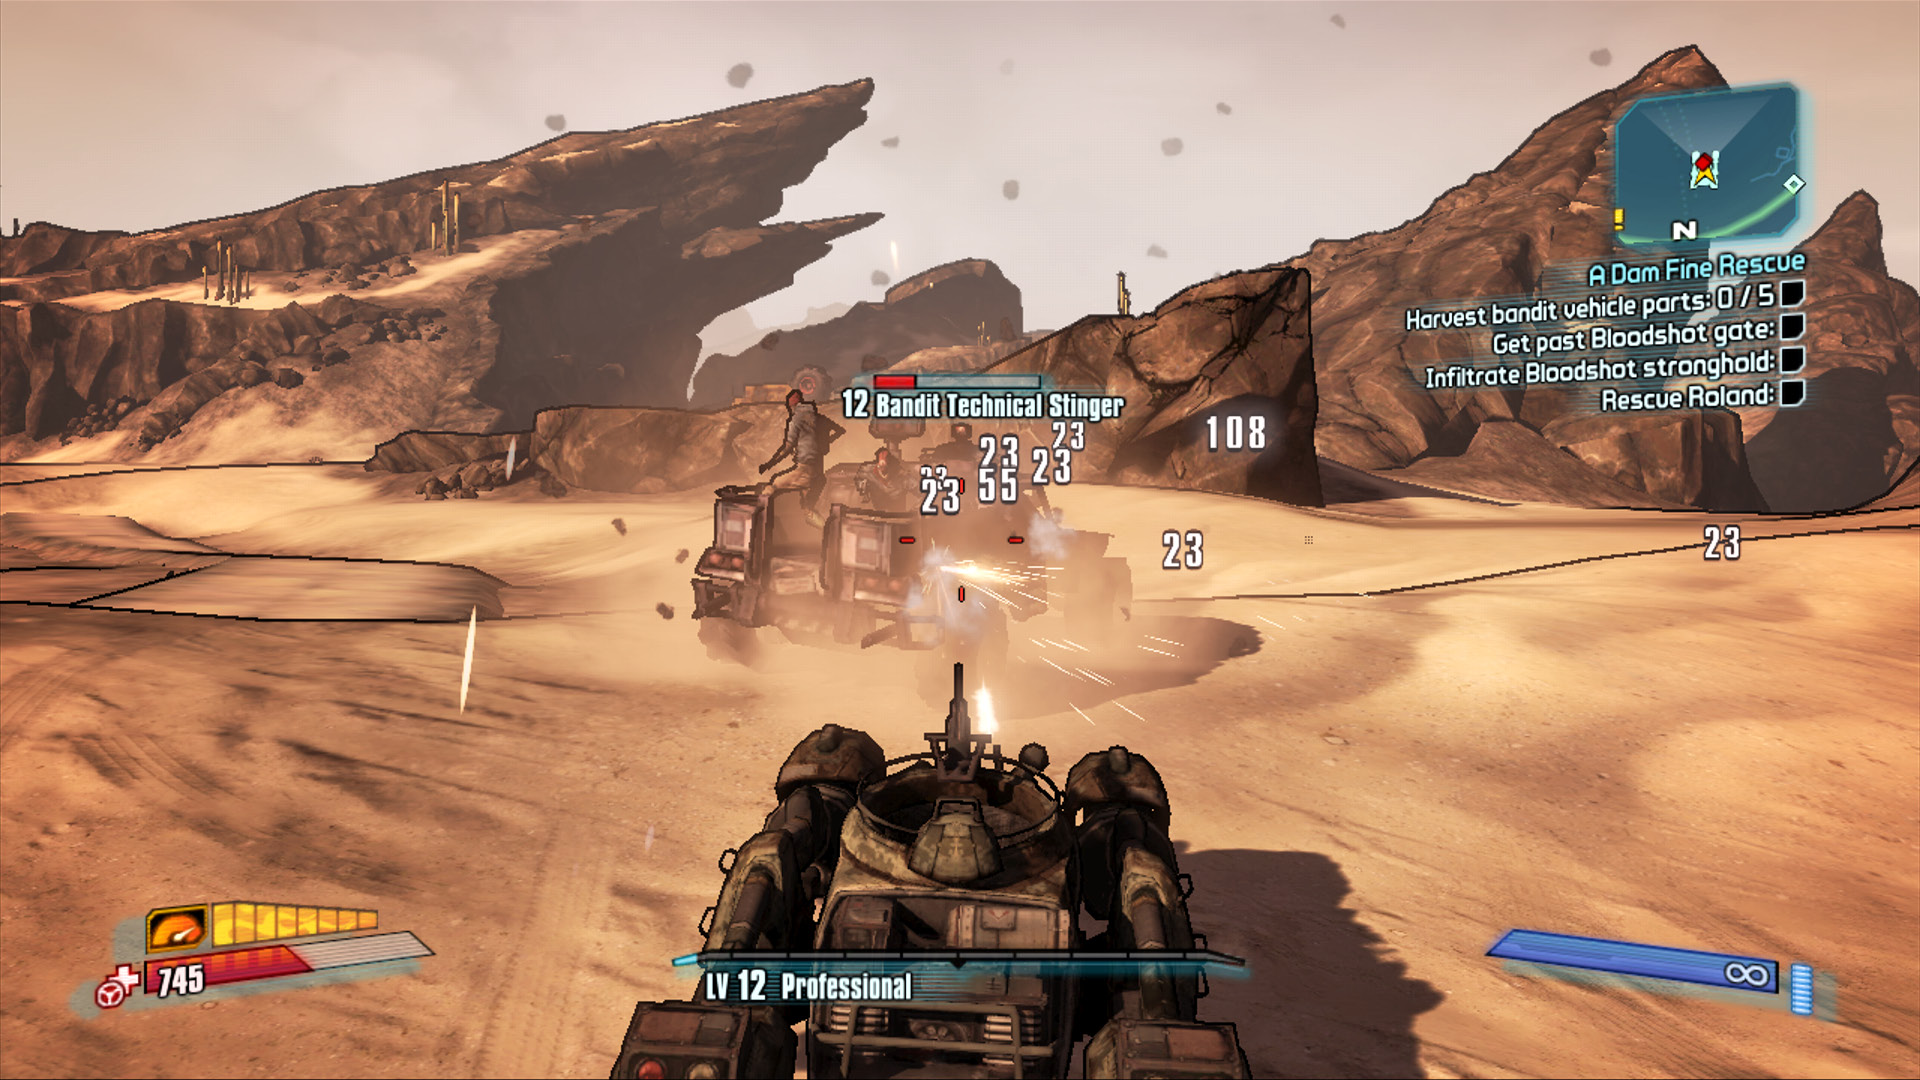
Drive around the central area of The Dust, and take out any Bandit Technicals you see. Collect the parts they drop.
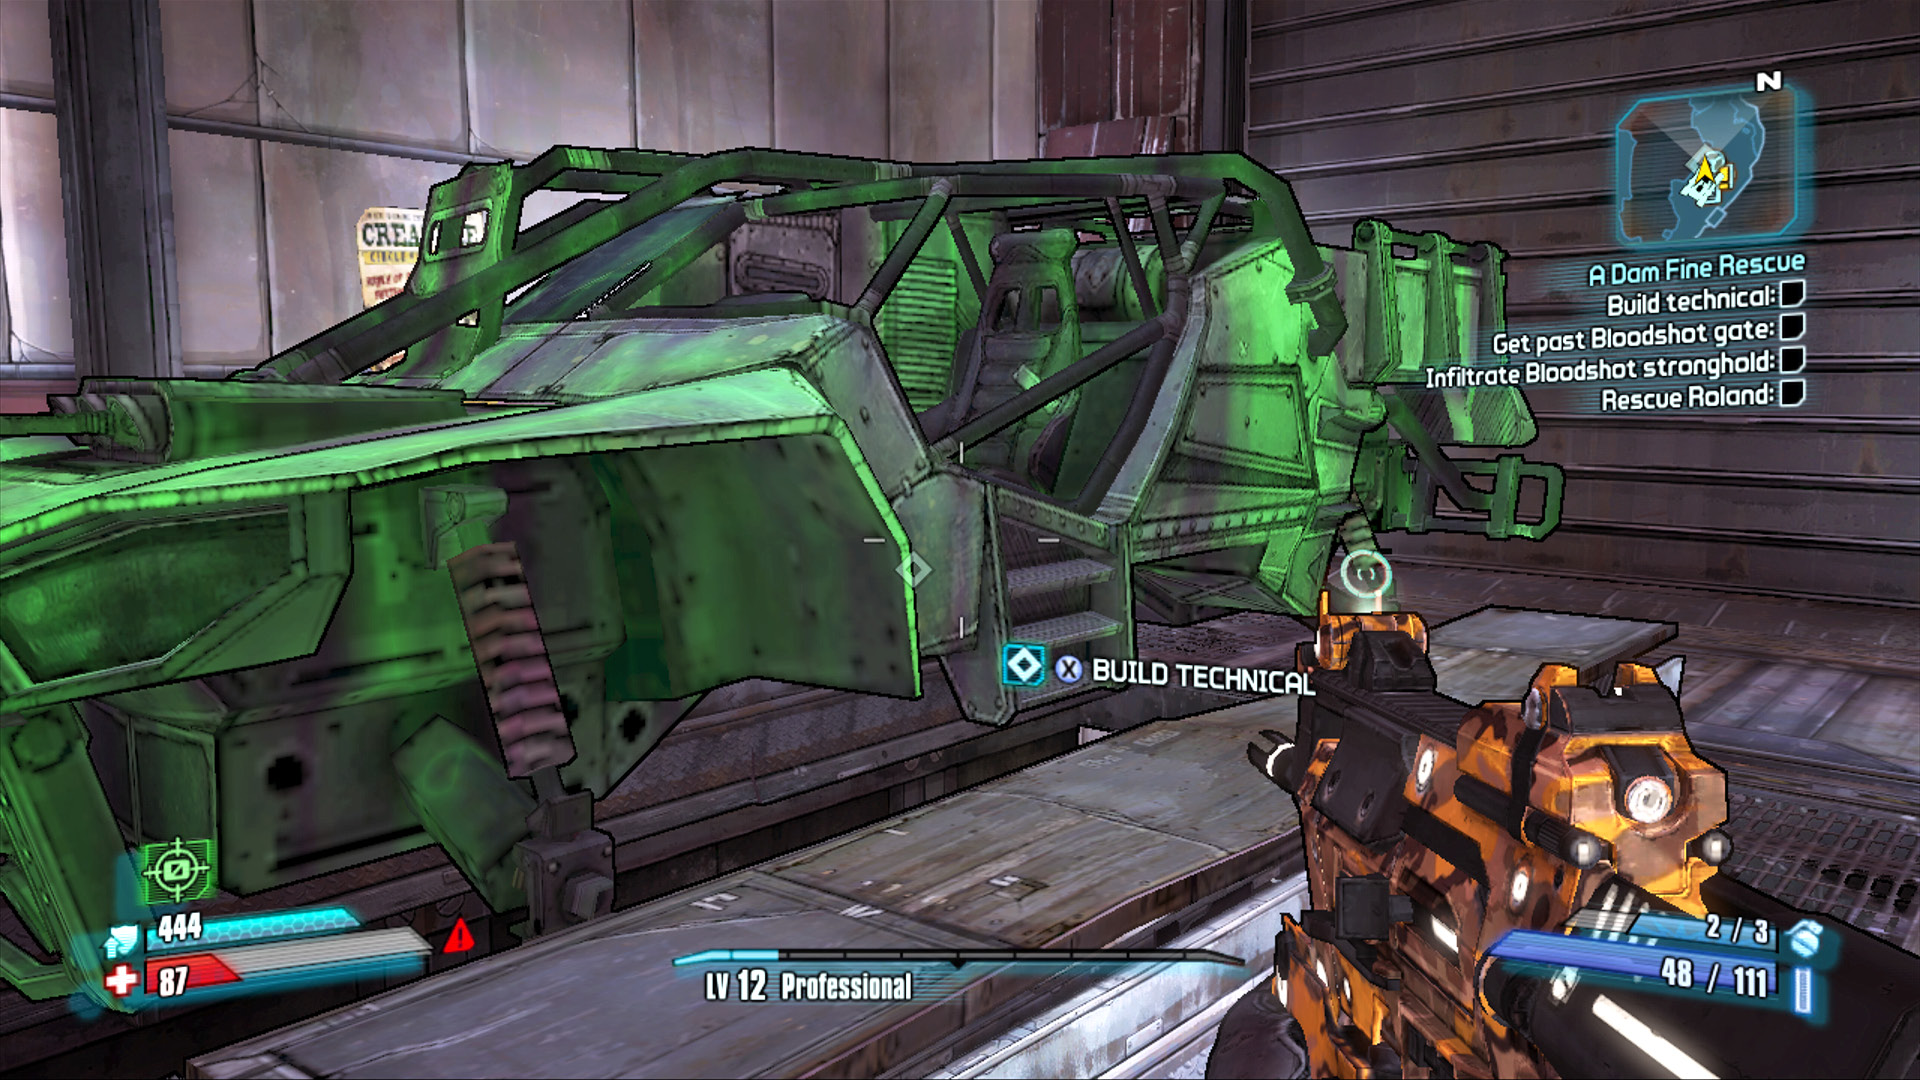
You didn’t expect Ellie to do all the work yourself, did you? Get over there and build that truck!
Undercover Driver
Once back in Three Horns Valley, drive up to the Bloodshot Stronghold gate and honk the horn. Your new ride does the job and tricks the bandits into opening the gate. Wait for the gate to open, and then launch a couple of fuel drums at any Bloodshot members you spot inside. Throw a few more over the walls to the left and right for good measure—you might even take out that turret that was firing at you before!
Enter the compound on foot and take a moment to kill any stragglers who evaded your barrels. Head up the stairs on the right to search for additional ammo. Flanksteak radios in that he’s aware you’re not one of them, but it’s too late—you’ve already cleaned out half of his force! The other half consists of Bad Maw and his merry midgets.
Pick up the Bloodshot Bridge Key that Bad Maw drops and use it to unlock the wheel on the left to lower the drawbridge. Take one last look around the camp to gather up loot and money and to locate the Cult of the Vault symbol.
Bad Maw
Bad Maw’s Vitals
| Health Multiplier | Shield Level | DMG. Multiplier | XP Value | Crit. Areas | Weakness/Res. |
|---|---|---|---|---|---|
|
18 |
— |
4 |
Super Badass |
Head |
|
 / —
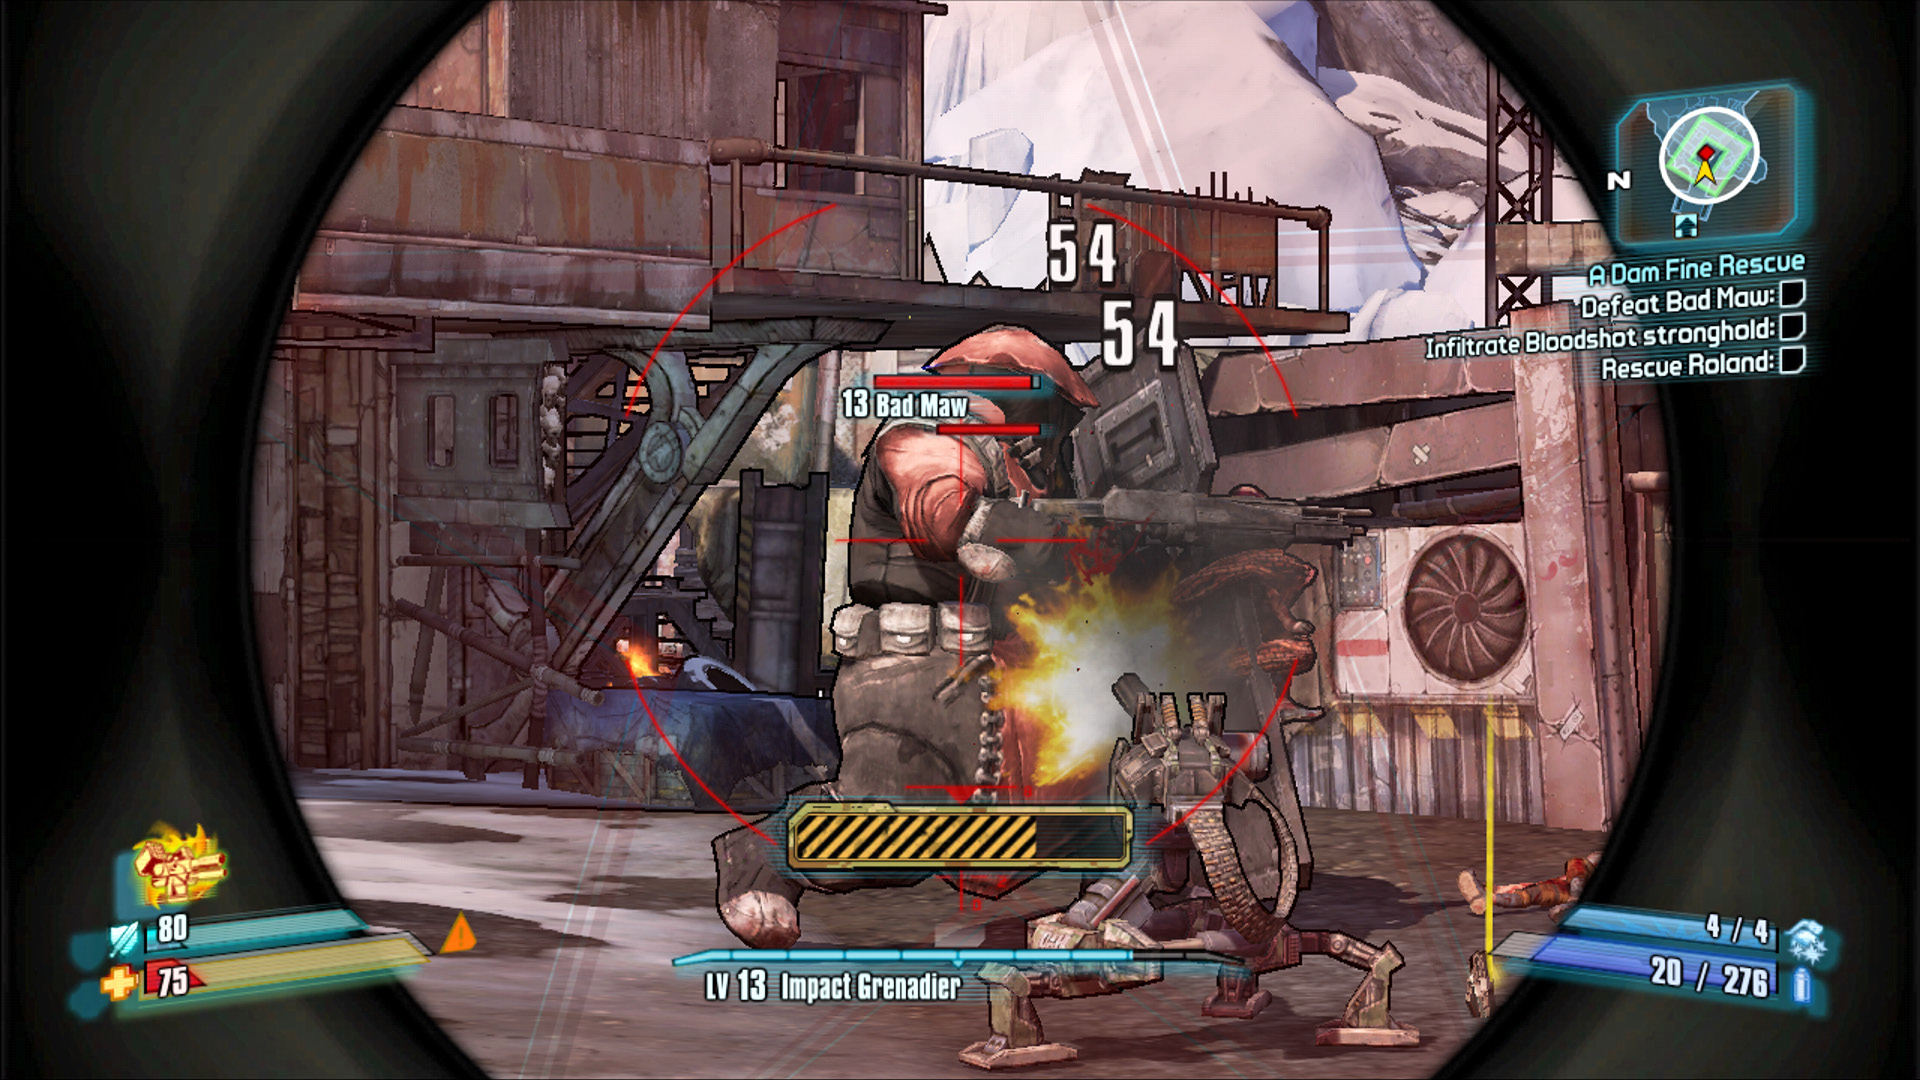
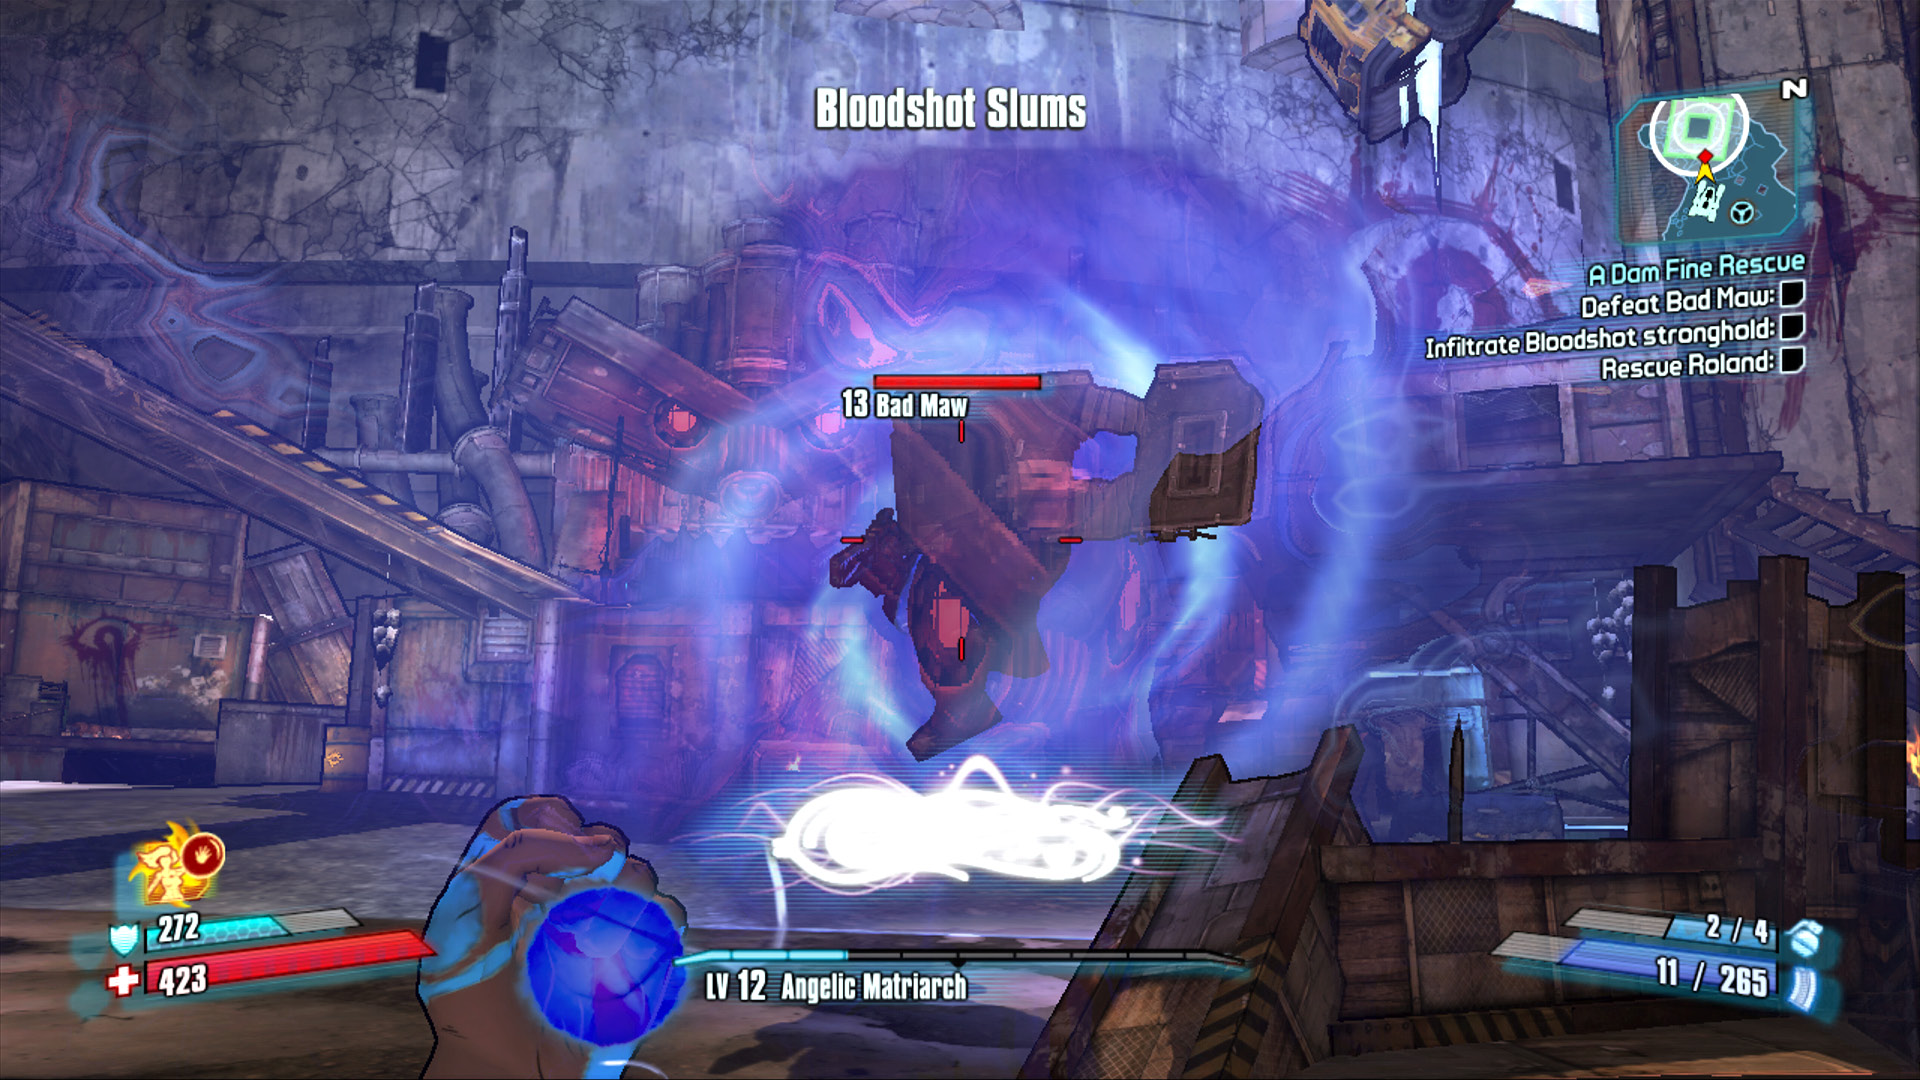
/ —Bad Maw is a particularly tough Nomad Torturer who wields a powerful shotgun in one hand and a large shield with three Midgets strapped to it in the other. Though he is indeed intimidating, and you’d be well-served to keep your distance, he’s defeated quite easily once you know his secret: there’s a large hole in the center of his shield!
Shield-carrying Nomads all make a habit of carrying their shield in front of them, and Bad Maw is no exception. Pick off the merry Midgets one by one to expose the large hole in the center of the shield. Now you have a clear means of harming Bad Maw even with a frontal attack. Keep your distance, and pepper his torso with Fire-based gunfire to set him aflame. It’s important to inflict him with a status effect, whether it be Fire, Corrosive, or Shock, since you’ll get few clean shots at his head.
Lob grenades at Bad Maw while backpedaling around the center of the encampment. Bad Maw continues firing his shotgun at you, but it’s his charging shield-bash attack that you really have to worry about. Do not let him get close to you! Always try to keep at least 10 to 20 yards from him to minimize the damage he can inflict. Use your Action Skills to gain the upper hand, and target any barrels that survived the Catapult Technical’s earlier barrage.
Behind Enemy Lines
The Bloodshot Stronghold interior consist of several very large rooms, many with various elevations and walkways, separated by narrow hallways that offer brief respite from the action. You’ll enter the area in the southeast corner in a quiet corner room with ammo and medical vending machines. Roland is being held captive in a cell at the far end of this semi-circular facility. To find Roland, you must navigate an elongated counter-clockwise loop through a dam crawling with Bruisers, Badass Psychos, Suicide Psychos, and Nomad Torturers, among many others.
Make your way through the first two large rooms by using steady advance-and-retreat maneuvers. Enter the area, shoot the nearest targets, then quickly retreat and use the angles to your advantage to shoot through the doorways without standing in front of them. You’re going to use up a lot of ammo as you proceed north through the first few rooms, so don’t hesitate to retreat south and buy more at the Ammo Dump vending machine, should the need arise.
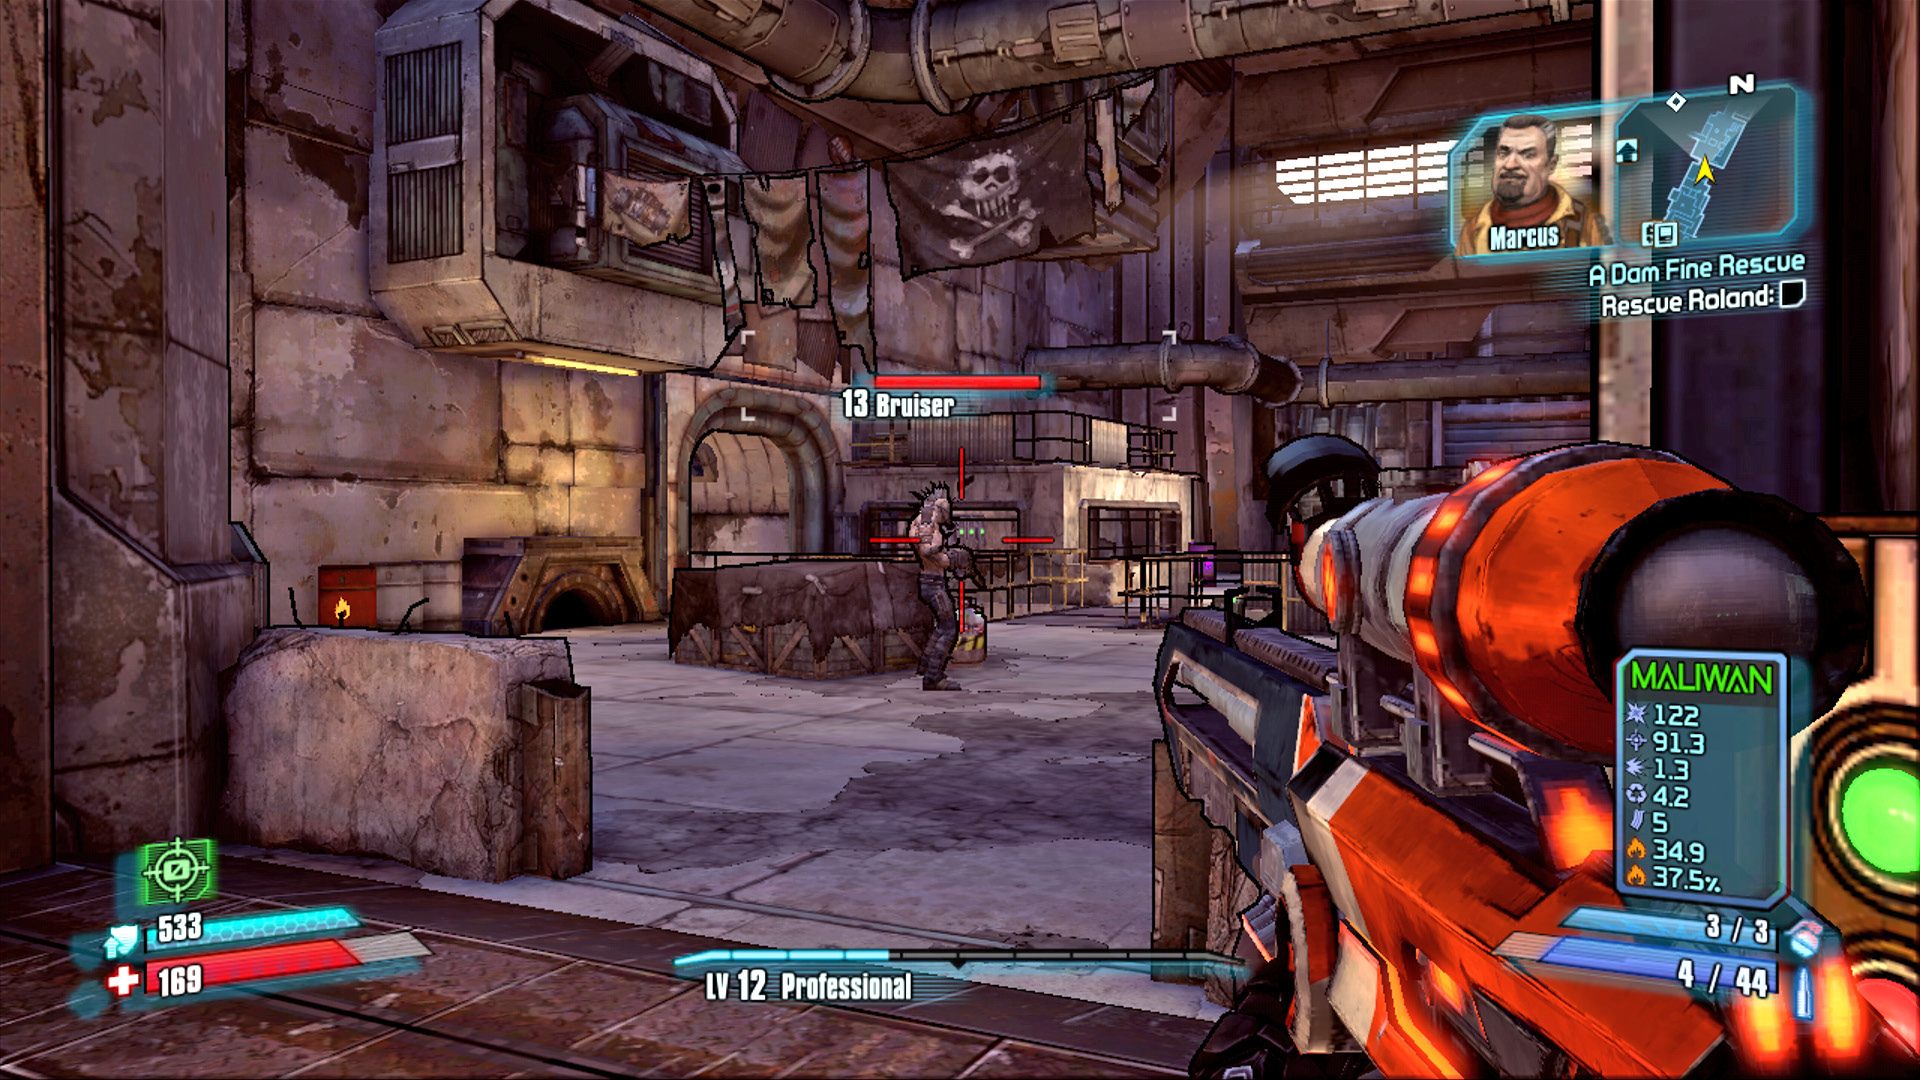
Fire on an angle through the doorways whenever possible to present a smaller target to the enemies in the distance.
Advance past the initial enemy encounter to the break room and collect the first of six lost ECHO Recorders, then take a moment to bounce on the couch on the left—we won’t tell. Snipe into the generator room before advancing beyond the break room to minimize exposure to return fire. Target any nearby Bruisers or Suicide Psychos first, then lob a grenade at the Nomad Torturers who typically guard the rear of the room. The narrow walkways on the left and right, above the trench, funnels the enemies toward your position, provided you don’t advance too far.
Upon entering, take immediate cover in the third large room to avoid the turret at the far end. Depending on your weaponry and skills, you may be able to eliminate the turret without advancing much beyond the southern entrance to the area. This is particularly true for those with powerful sniper rifles and Maya, who can use her Phaselock ability over tremendous distances. Don’t just settle for killing the gunner, as another may take his place—you must destroy the turret to be safe!
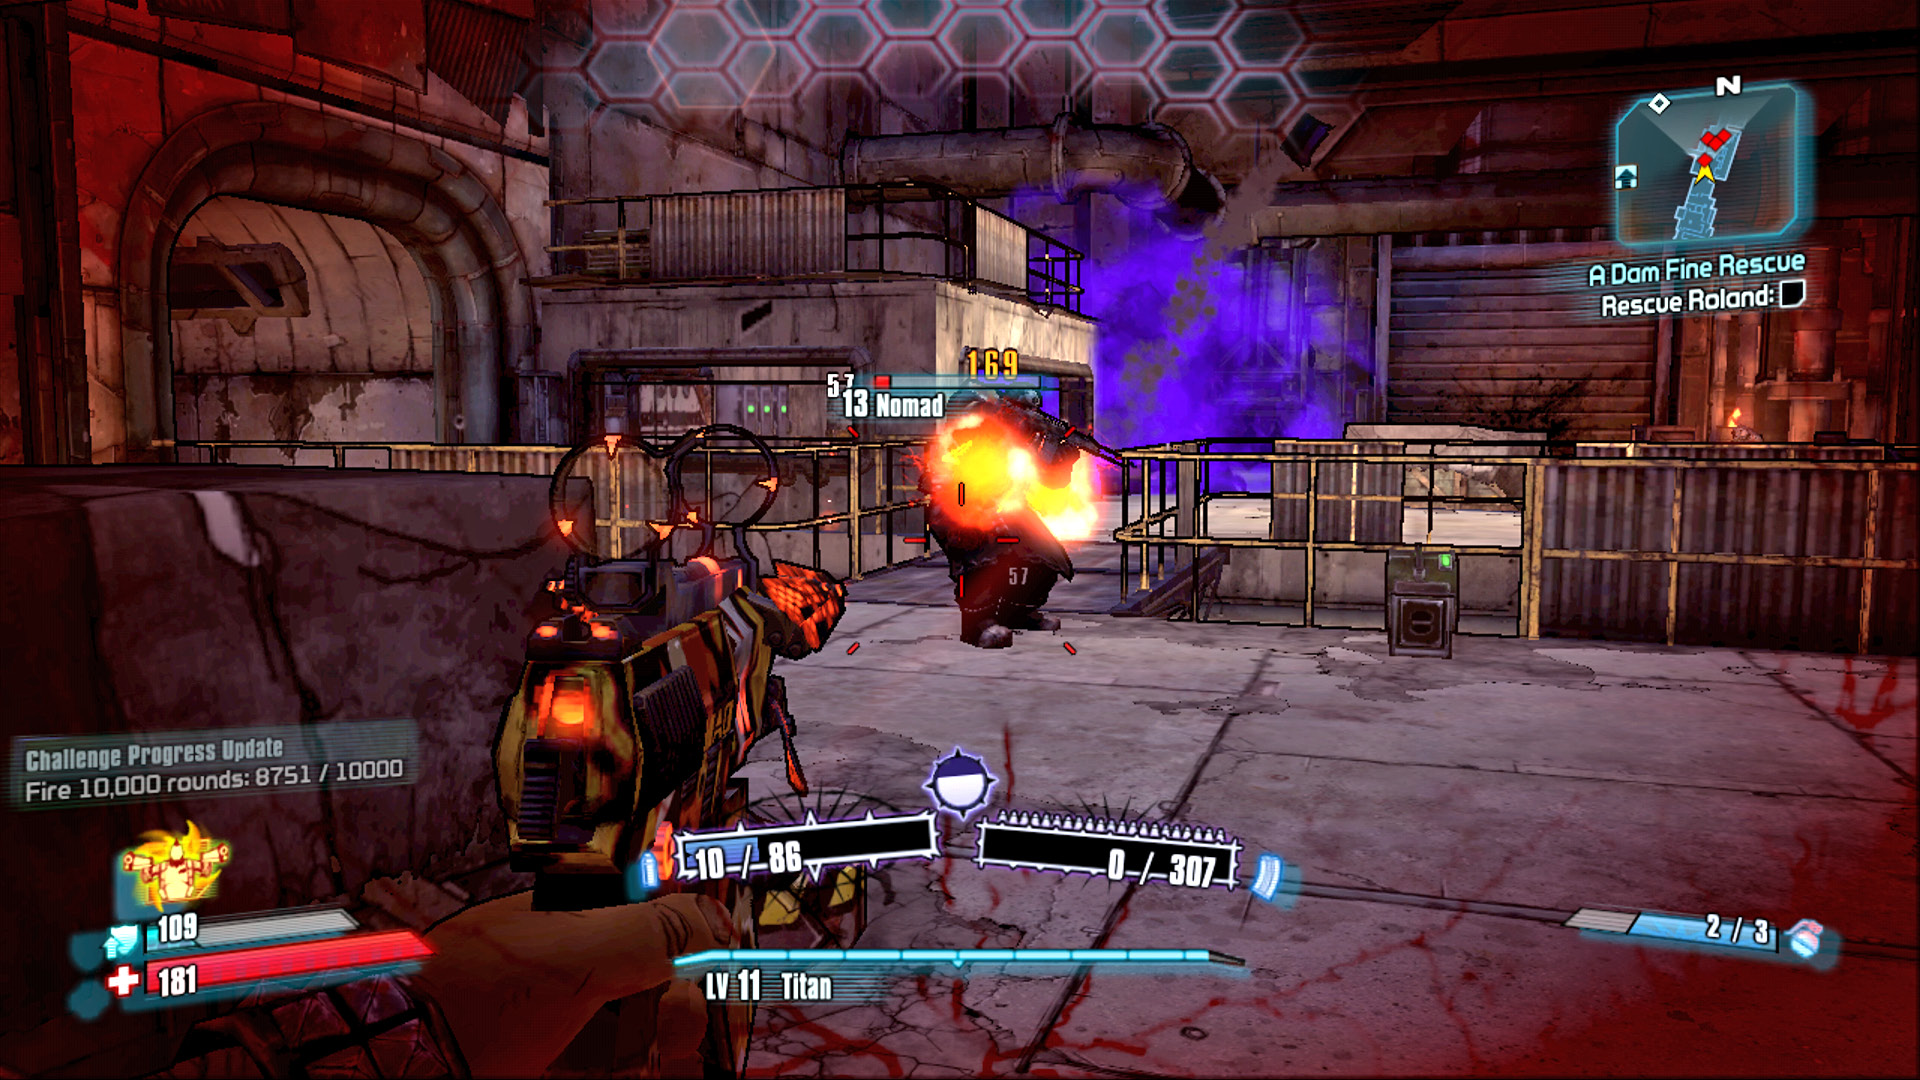
Stay near the entrance to this larger area, and gun the enemies down as they cross the narrow bridge on the left and right.
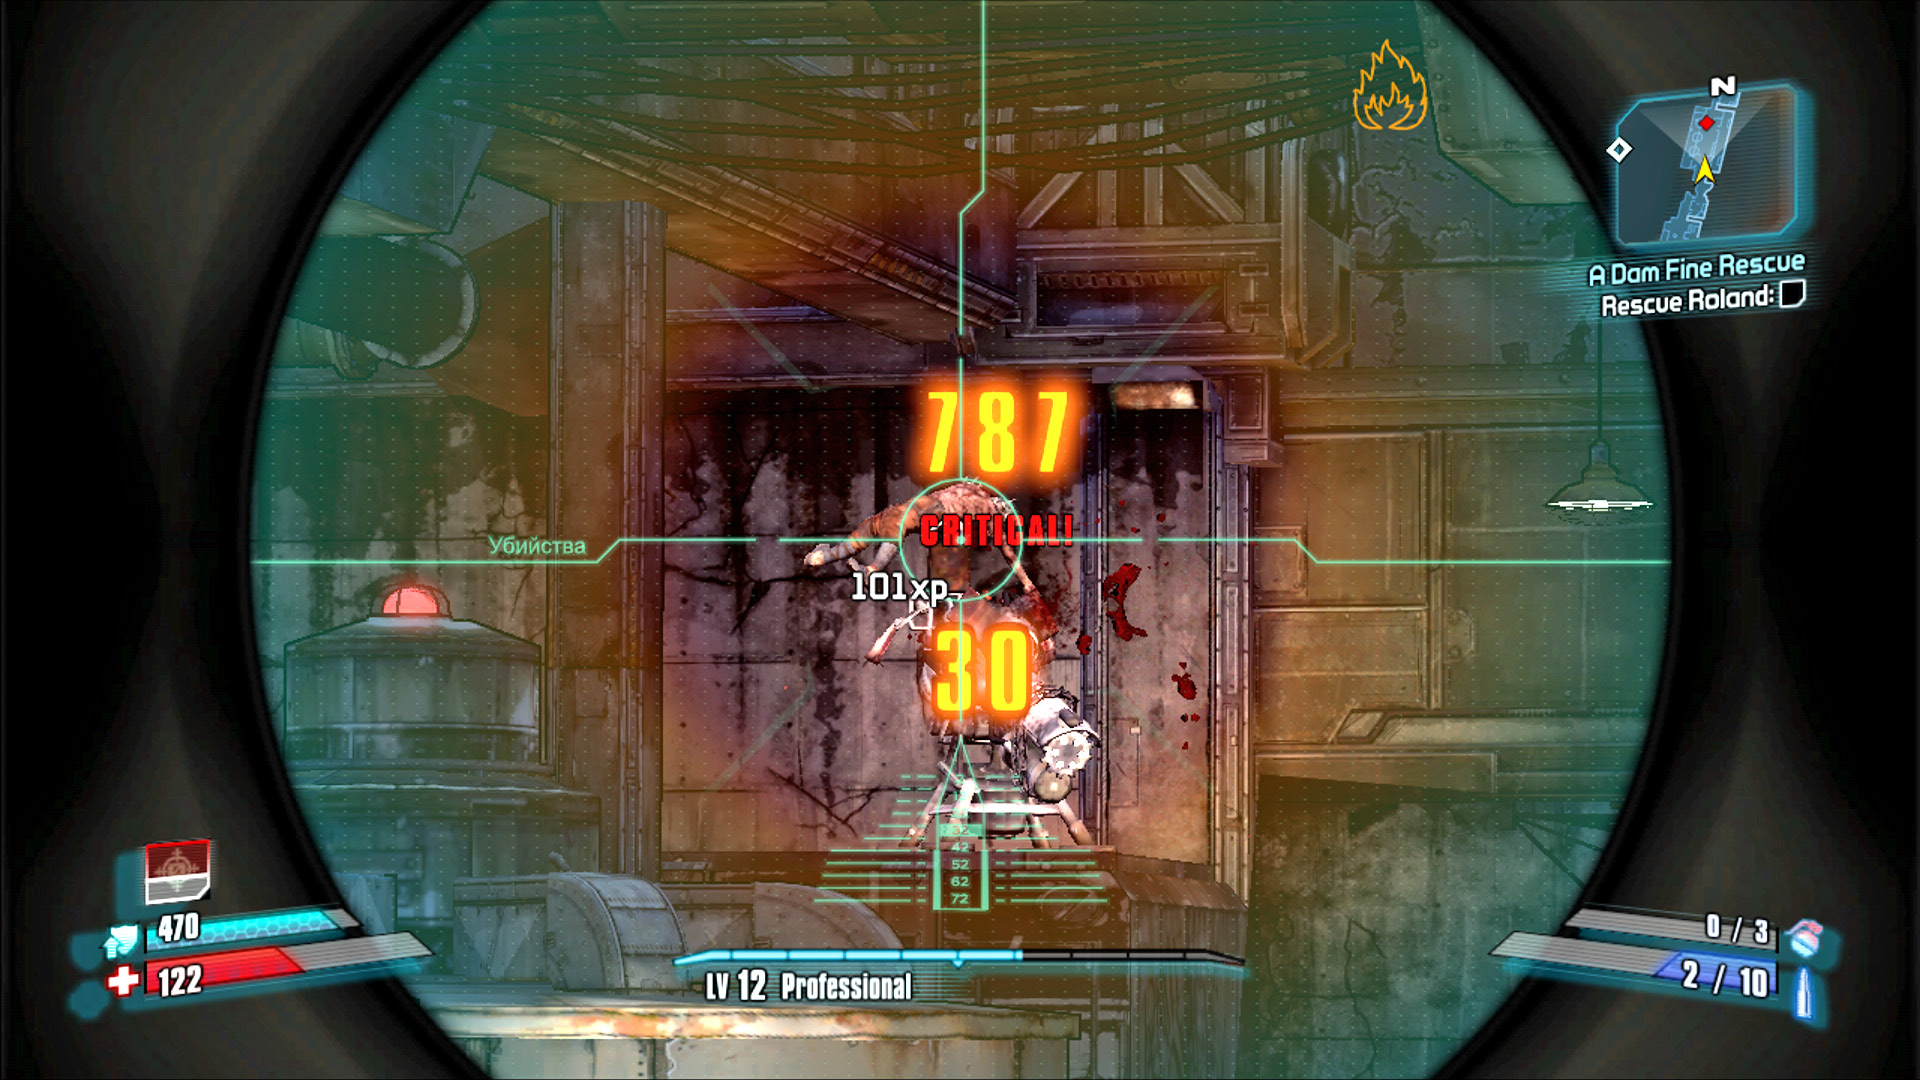
Snipe the gunner using the Bandit Turret if you can, but keep firing until the turret itself is destroyed!
Continue along the right-hand side of the room from cover to cover if you can’t take out the turret from afar with Phaselock or a high-powered sniper rifle. Move up the right side of room, and clear out the enemies behind the beams. Do not rush! Take your time, keep your head down, and watch for gunfire from adversaries on the upper walkway to the left. If you hadn’t already, take out the turret before standing up to grab the second ECHO Recorder. Collect the massive amounts of loot dropped throughout the room, and explore the southwest corner to find another couch to leap onto.
Spiraling out of the Suckhole
Satan’s Suckhole area contains a large multi-level spiraling walkway that rises up along the perimeter of the room above a deadly whirlpool. Move slowly from cover to cover while on the lower level, as you actually have a bit of advantage here. Most enemies cannot shoot you, but the cover up top is lower, making it possible for you to shoot them from down low! Never hesitate to retreat back to the hallway containing the New-U station to allow your shield to recharge or to simply take a deep breath and reset.
Continue up the spiral, and once you get a chance to gain the second floor, focus on getting to the third floor quickly and moving away from any barrels in the area. You’re going to need to take special care to avoid any Suicide Psychos and Bruisers, especially since Bruisers often wield Torgue shotguns that fire explosive rounds.
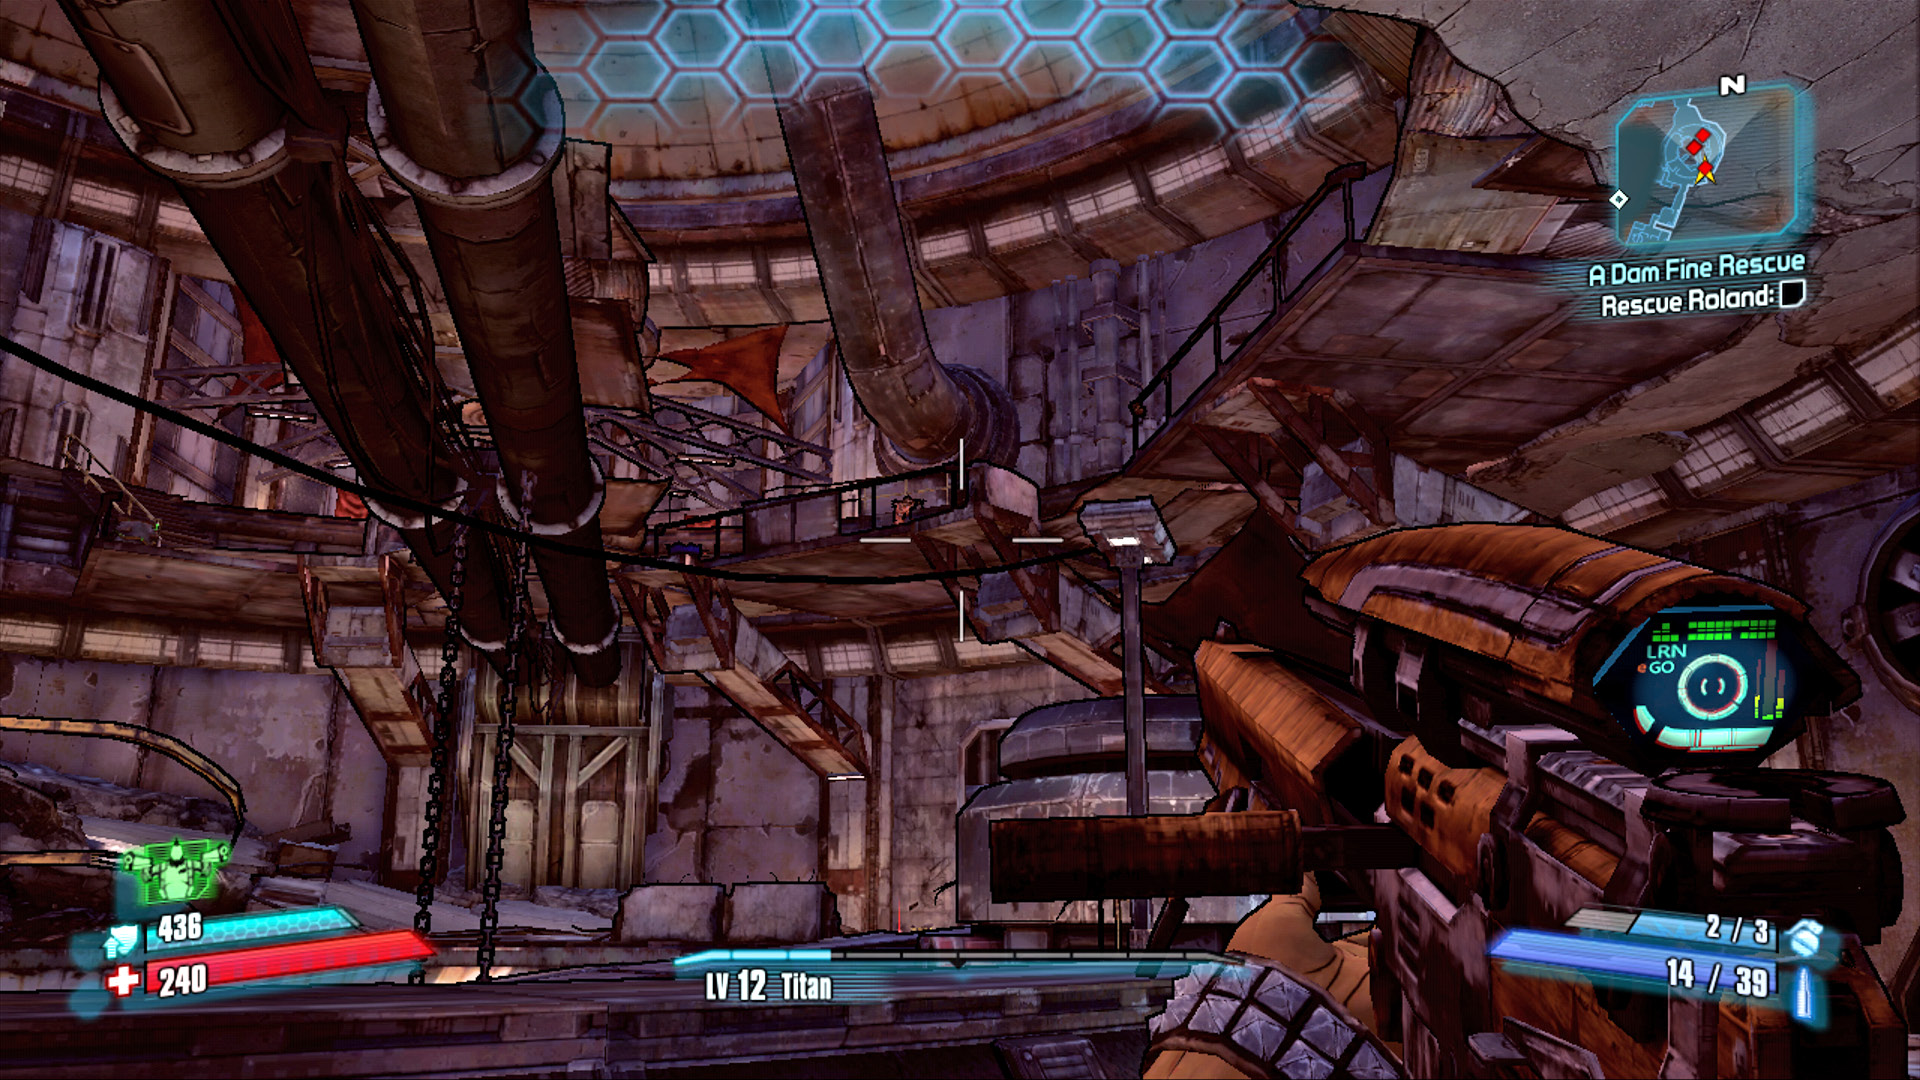
Take out as many of the upper enemies as you can prior to ascending above the ground floor.
Make your way to the southeast corner of the third floor and take cover behind the metal sheeting on the railing. Eliminate the last of the enemies and watch the doors to the northwest, as Mad Mike is set to attack. Mad Mike is a unique Nomad with a powerful rocket launcher and a pretty thick shield. He can be positively lethal if you get stuck down low, as his rockets have wide splash damage. But if you can get to the upper floor and stay in the southeast corner, you can open fire on him as he appears and (provided your aim is true) take him down before he’s much of a threat. If he does end up killing you, however, make your way back to the concrete ramp that leads up to the second floor to draw him out, then consider retreating to lure him down to the lower level, where there’s more cover. Though you can use the central bridge for cover, you don’t want to be stuck underneath him. Bait him into fully descending if you feel trapped below.
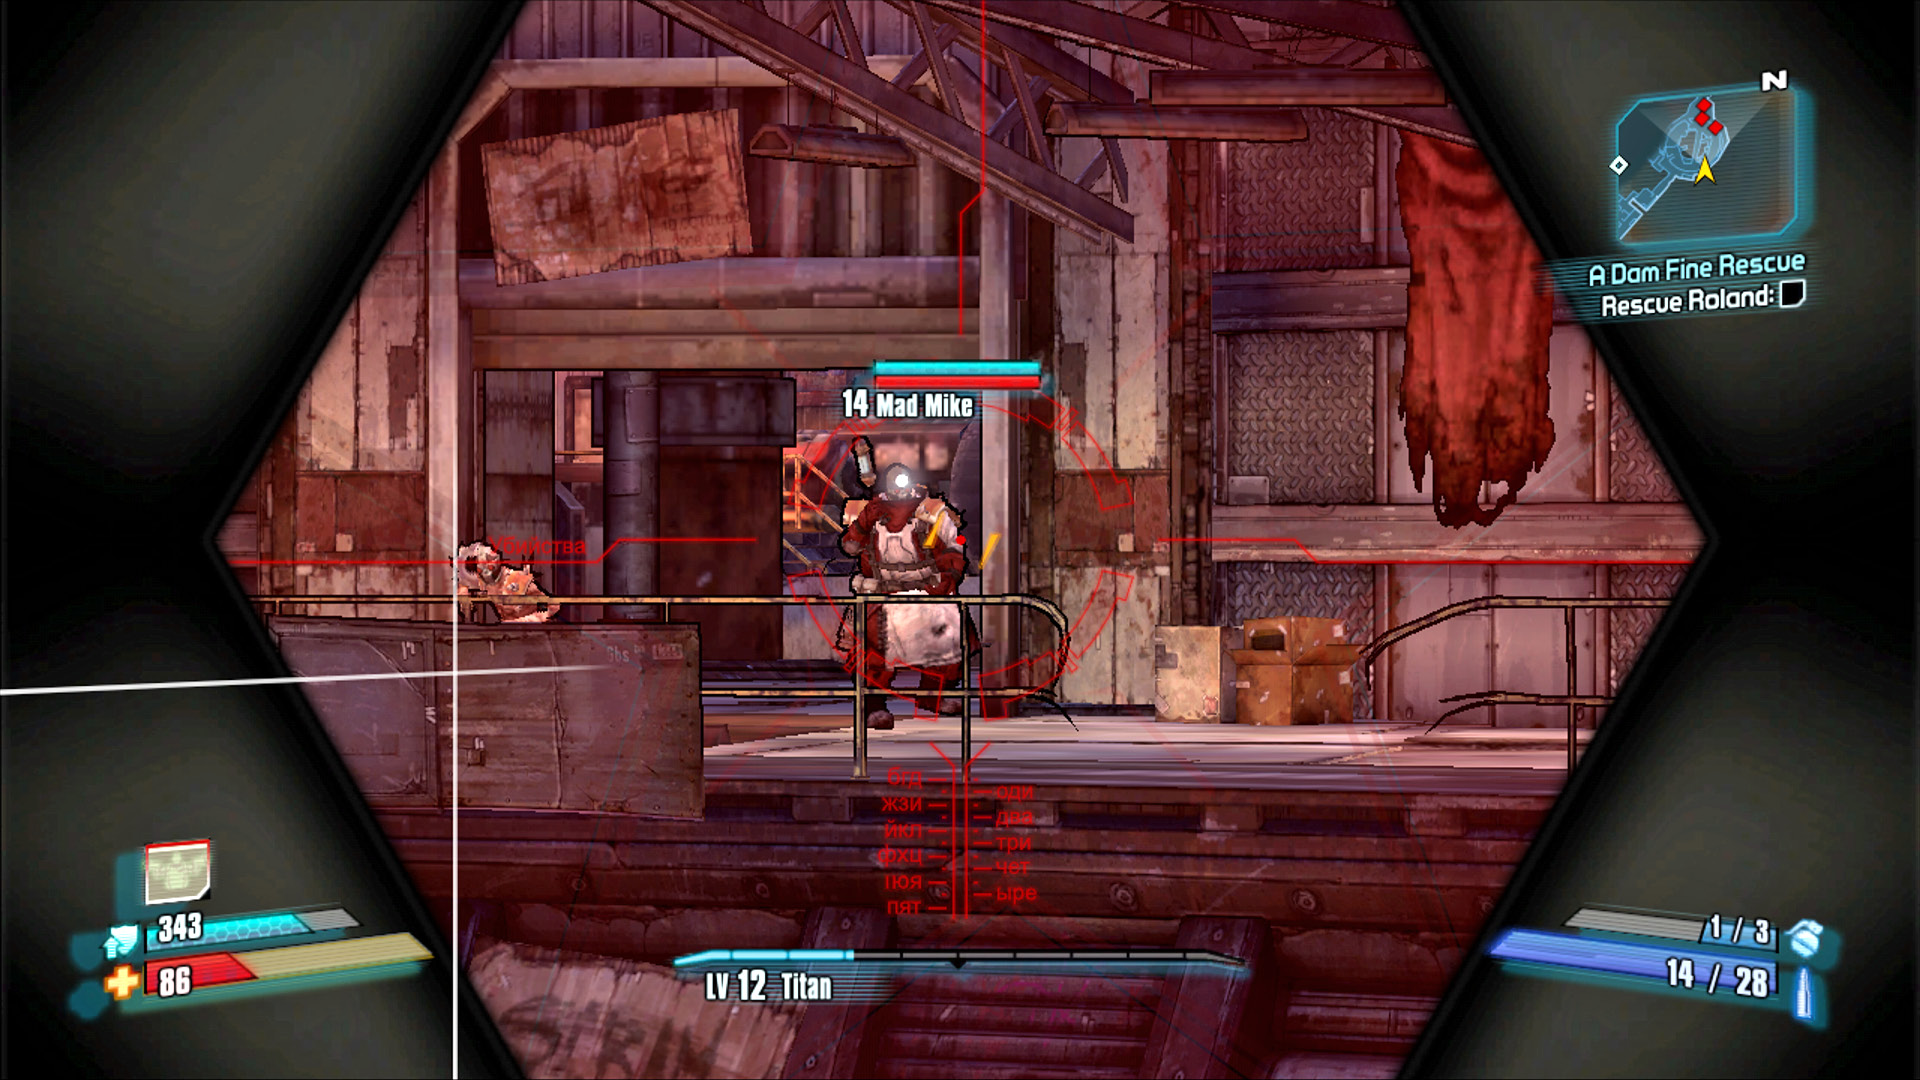
Take cover in the southeast corner of the upper level to be in prime position for sniping Mad Mike as he enters the area.
Southward to the Cell Block
Exit Satan’s Suckhole via the door that Mad Mike had used and round the corner at the northern end of the facility to a large room with multiple tanks and even more Marauders and Bruisers. Hang back and allow your grenades—preferably a Mirv or Bouncing Betty Grenade if you have one—to weaken the nearest batch of enemies. Gun the rest down as they approach either of the small staircases.
Proceed south to the water-filled room just beyond the stairs leading up to the control room. This area is filled with numerous enemies approaching from two holes in the deteriorating superstructure of the dam. Some make their way down the sloping pile of debris in the center of the room, while others attack from the left. Hold your ground on the elevated platform on the northern side of the room, where you enter, and use the barrels placed throughout the room to weed out the foes as they approach. Watch for incoming grenades, and sprint to the far end of this platform (or retreat back into the hallway) to escape the blast. Don’t overlook the ECHO Recorder in the center hut or the couch in the far corner, under the chest.
The cell block isn’t far ahead, just beyond the fifth ECHO Recorder. Note the locked prison cells on either side of the room, particularly cell G4, which contains a large weapons chest.
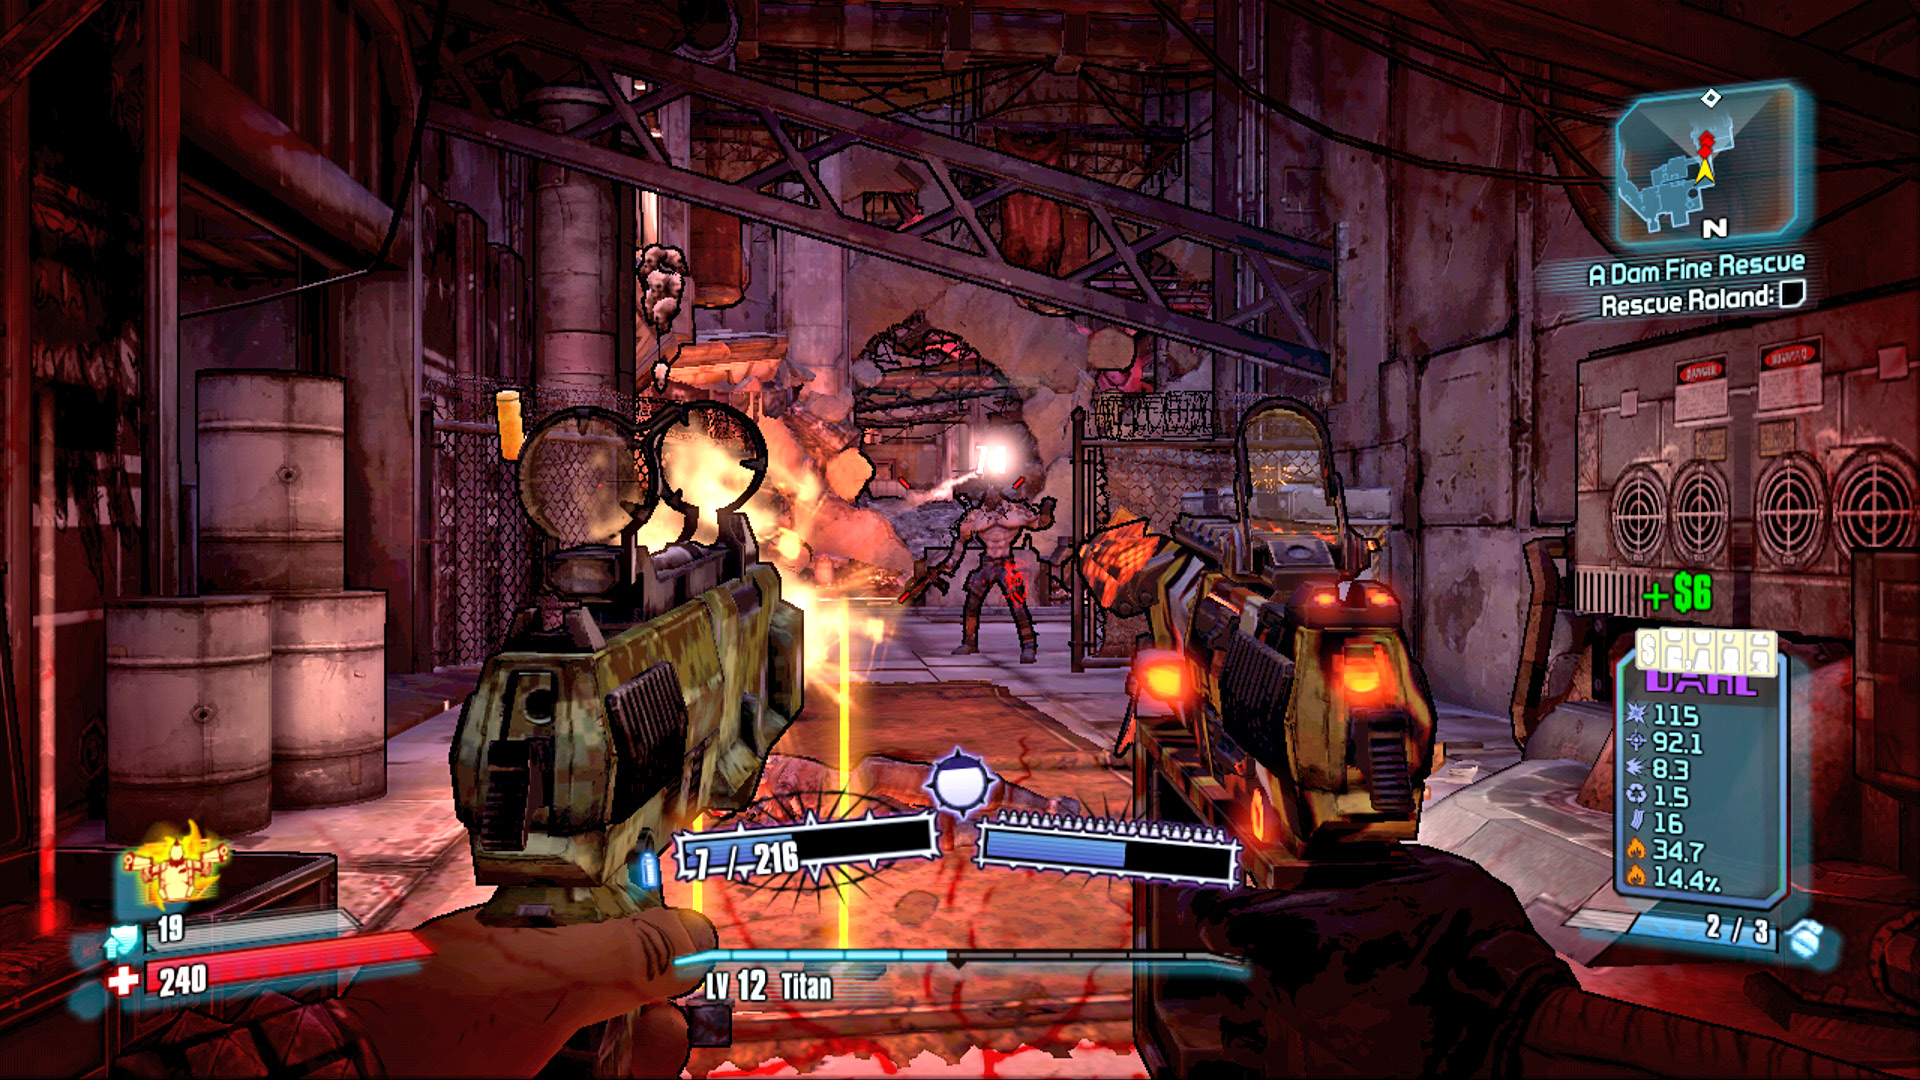
Take out the Bruisers first before they get too close!
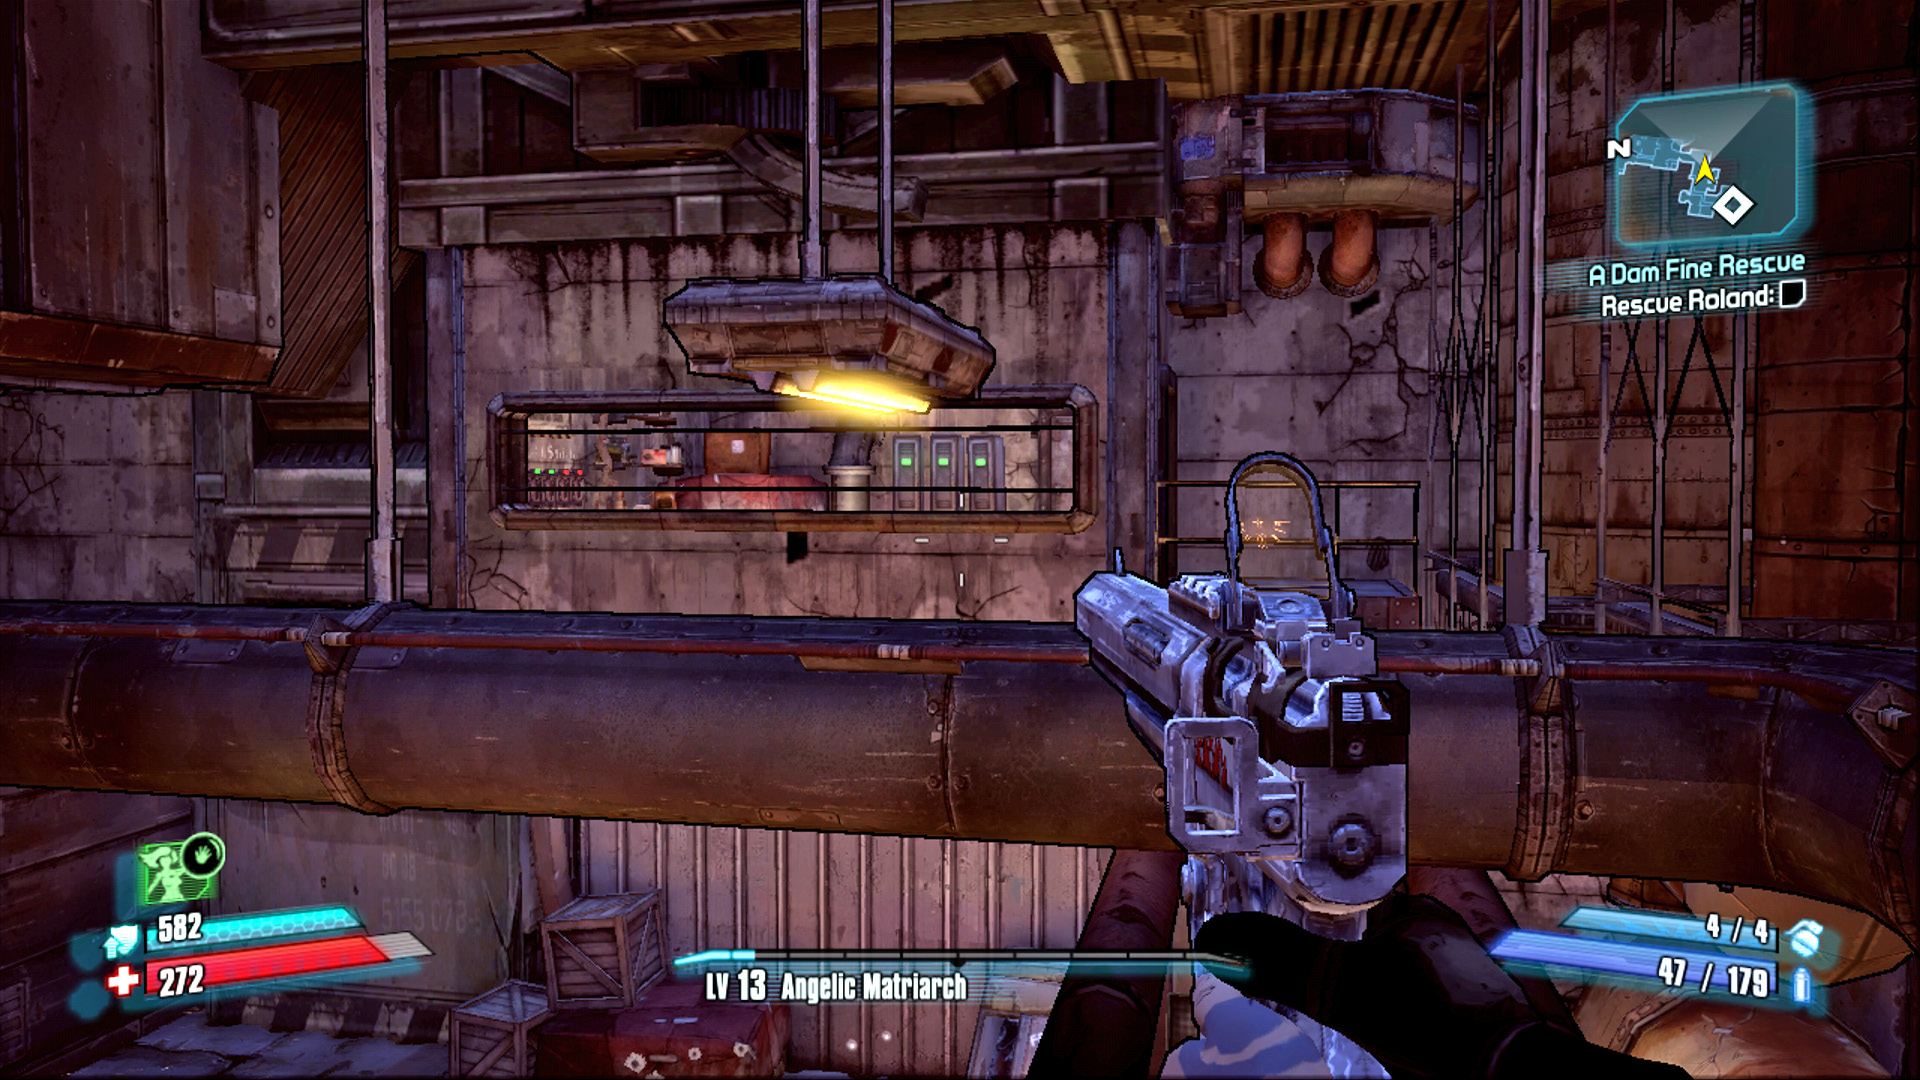
Run along the pipes to the security room, and flip the lever to access the loot inside cell G4 and others.
Only one of the cells is currently open—the one containing the New-U station—but you can unlock the others if desired. Climb the ladder to the left of the cell containing the New-U station and follow the catwalk around to the chest at the end. Return along the catwalk to the red pipes and leap onto them. Run along the pipes to the eastern end of the cell block to enter the guardhouse. Throw the switch to G4 (and any other cells you want to search the toilets of) to get the chest and other loot downstairs. The last two switches don’t work.
Roland is locked away in cell G7 and is waiting for your approach. Unfortunately, the introductions are cut short when a Constructor by the name of W4R-D3N abducts him from his Bloodshot captivity. Though it looks like you’ve reached a dead-end, an EXP Loader enters the cell, activates its combat routine, and promptly self-destructs. Yes, the EXP stands for “Exploding.”
Giving Chase
Handsome Jack has sent an army of Hyperion Loaders to attack the Bloodshot base and kidnap Roland, but hope isn’t lost. Though the Bloodshots are now engaged in all-out war with a mass of Hyperion Loaders, there is time for you to chase after W4R-D3N and bust Roland free before the drop barge comes to take him away.
Switch to a Corrosive weapon if you have one—it doesn’t matter how weak it is—and open fire on the Loaders in the distance. Pick off the weakened Loaders and Bloodshot bandits as they war with one another, and advance beyond the pit in the ground to the door leading to Bloodshot Ramparts. Don’t miss the final ECHO Recorder on the ground on the right before leaving this area.
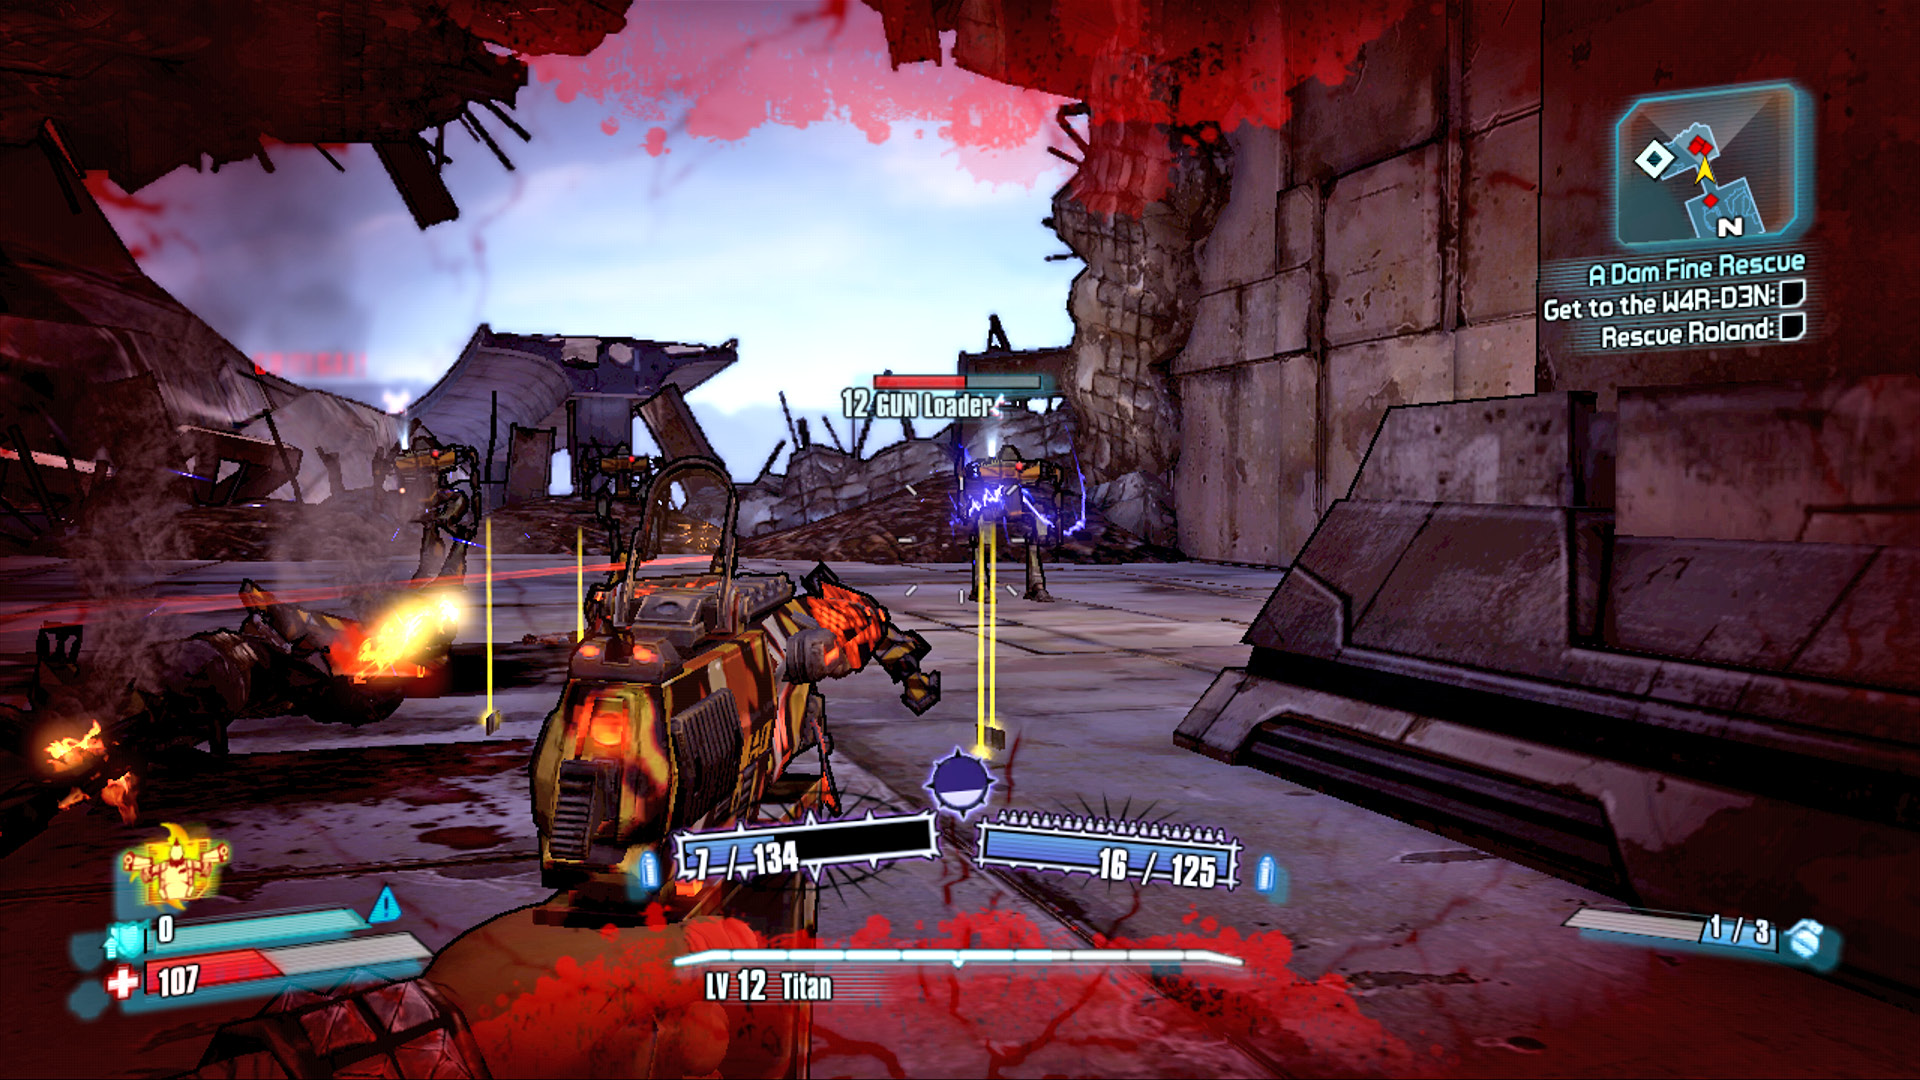
Keep your distance from EXP Loaders and aim to shoot the GUN Loaders in the small red eye on their chest. Target the blue power cell in the heads of EXP Loaders for insta-kills!
Caught in the Crossfire
The surface of the dam has erupted in total war between the Bloodshot gang and Handsome Jack’s Hyperion army. The majority of the Loaders sent to battle on the dam come in two forms: GUN Loaders and EXP Loaders. The GUN Loaders fire machine guns and occasionally throw grenades (a grenade icon appears above them as they ready a grenade). GUN Loaders are susceptible to critical shots to the small red eye located in their chest. EXP Loaders, on the other hand, emit a powerful shockwave that electrifies those around them in attempt to trap them within the blast radius of their self-detonation. The power core within the top of their head, if shot, instantly kills the EXP Loader via premature explosion.
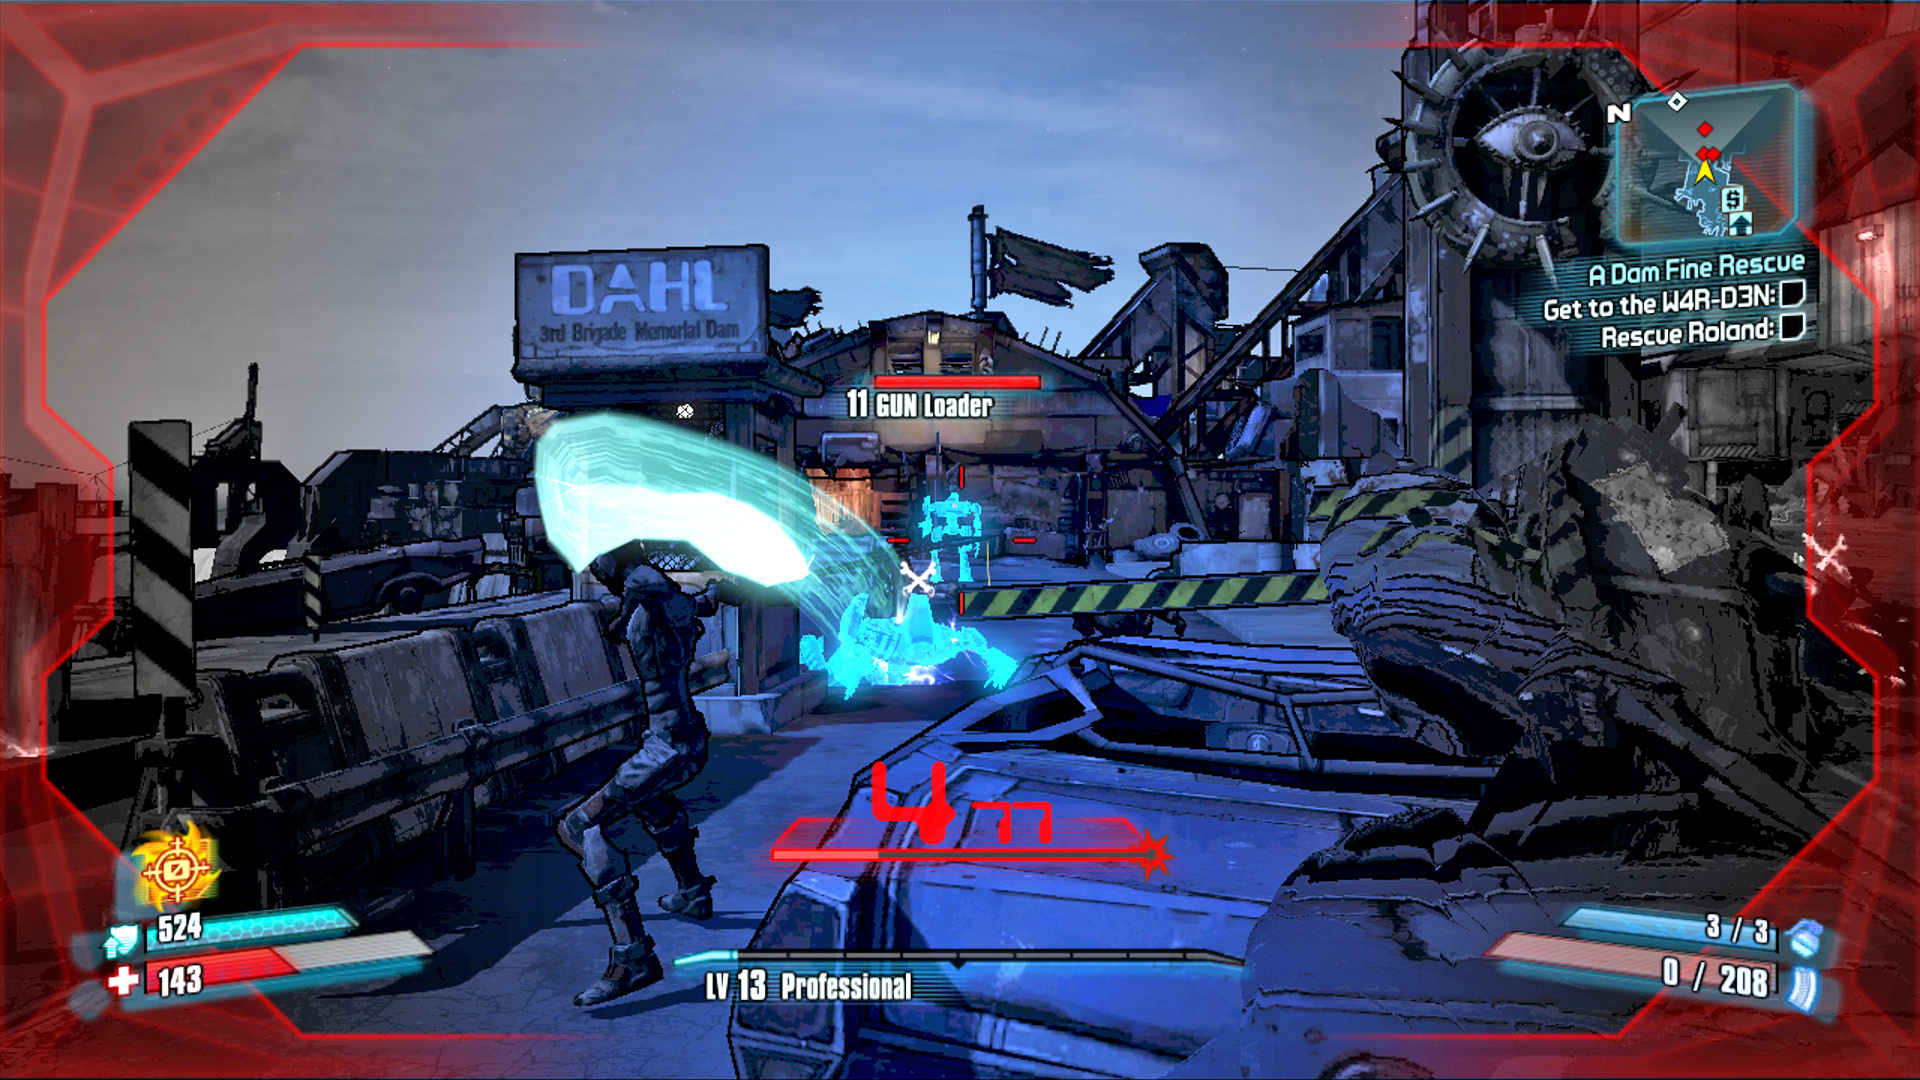
Distract the already distracted enemies with Deception. Just like sniping fish in a barrel!
Though the action is extremely intense in this area, many of the enemies you encounter, at least initially, are distracted by another warring faction. This makes your job quite easy (again, initially). Continue to use your preferred Corrosive or Shock weapon (or explosive if you have neither), and push forward across the crumbling surface of the dam. The drop barge is en route, but you’re not under any deadline to reach Roland (yet).
Cross through either of the two Hyperion containers to span the gap in the bridge and continue on toward the New-U station up ahead. This is where things start getting a bit more intense. Not only do the EXP Loaders attack in greater numbers here, leaping and sprinting straight toward you, but a Badass Loader also joins the fray. Badass Loaders dual wield conventional weapons with their arms while also firing projectiles from twin autocannons on their shoulders. Taking cover is essential! Aim for their weak point, and don’t hesitate to use your Action Skill against them, no matter which class you are.
This area of the dam has multiple levels, and you can head up the left-hand ramp to reach the middle level or ascend again to the third (where you can find another set of car keys). Stay on the lower level until you defeat the Badass Loader, then scour the upper ramps. Repair Surveyors begin to attack in this area, as well. These nuisance drones serve two purposes: to repair damaged Loaders (those with the wrench icon above them) and to electrocute Vault Hunters like yourself. They’re extremely weak—one shot is all it takes with a typical sniper rifle—but they can be very difficult to get a bead on until they straighten out and attack you head-on. Like dealing with rakk, Axton’s Sabre Turret can make quick work of them while leaving you to focus on non-flying threats.
Work your way in a counter-clockwise direction around the back of the massive—MASSIVE—golden statue of Marcus. This area contains many more Loaders and Repair Surveyors and precious few Bloodshots, so expect all of the attention to be focused on you. Approach the Fast Travel Station (stay clear of the doorway to the right of it until absolutely ready to fight W4R-D3N), and take a moment to prepare for the upcoming battle. Although you may be tempted to use this Fast Travel Station to return to Sanctuary and purchase new weapons or ammo, this is a one-way Fast Travel Station (hence the orange lights instead of the typical blue lights). If you leave this area, you’ll have to fight your way back through Bloodshot Stronghold. Don’t go!
Shrine of the Gunbringer
W4R-D3N
W4R-D3N’s Vitals
| Health Multiplier | Shield Level | DMG. Multiplier | XP Value | Crit. Areas | Weakness/Res. |
|---|---|---|---|---|---|
|
16 |
10 |
2 |
Super Badass |
Digistructing eye |
Weak to corrosive impact, resists status effects, resists grenade damage |
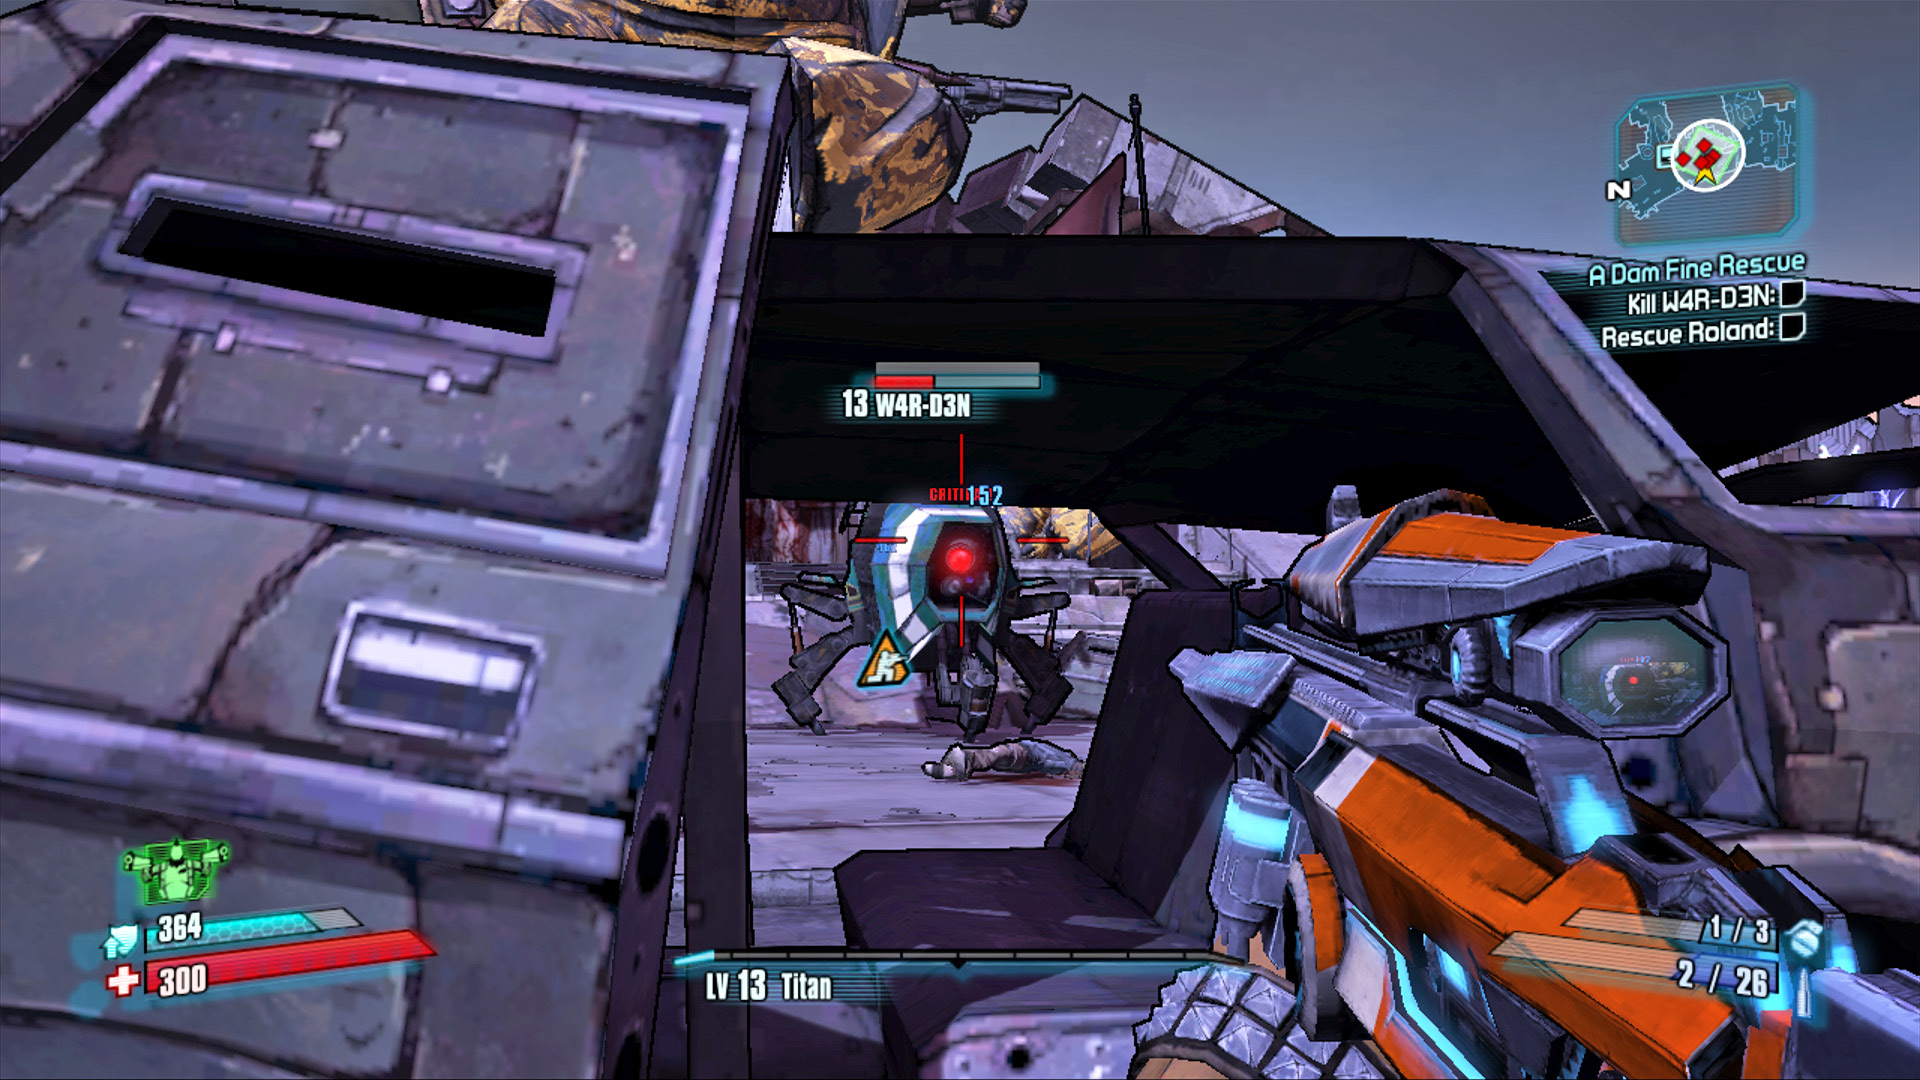
The Hyperion bot that made off with Roland, W4R-D3N, is known as a Constructor. These foes attack with high-powered laser beams and are capable of firing rockets, but that’s not their main purpose. Constructors are so named because their principle function is to construct and deploy an army of Loaders. This is the gift Handsome Jack has given the Hyperion Corporation: a self-replicating army of autonomous bots!
The most important thing to understand when fighting W4R-D3N is that the longer W4R-D3N is functional, the harder this battle becomes. Not only does the Constructor EXP and GUN Loaders, but it even constructs Badass Loaders. And you do not want Badass Loaders flanking you while you’re trying to take out a high-value target like W4R-D3N!
The battle to free Roland can become very difficult if you aren’t properly equipped and can’t keep the bot’s shields down. (Note that Repair Surveyors and Shield Surveyors fly overhead and repair W4R-D3N and its Loaders throughout the battle.) Not only do more Loaders enter the fray, but you are racing against time and must destroy W4R-D3N before the drop barge comes and relocates Roland to the Hyperion prison camp, Friendship Gulag. Once the objective flips to “Kill W4R-D3N,” you have 263.471 seconds before the drop barge arrives (seriously, that is the exact amount of time you have).
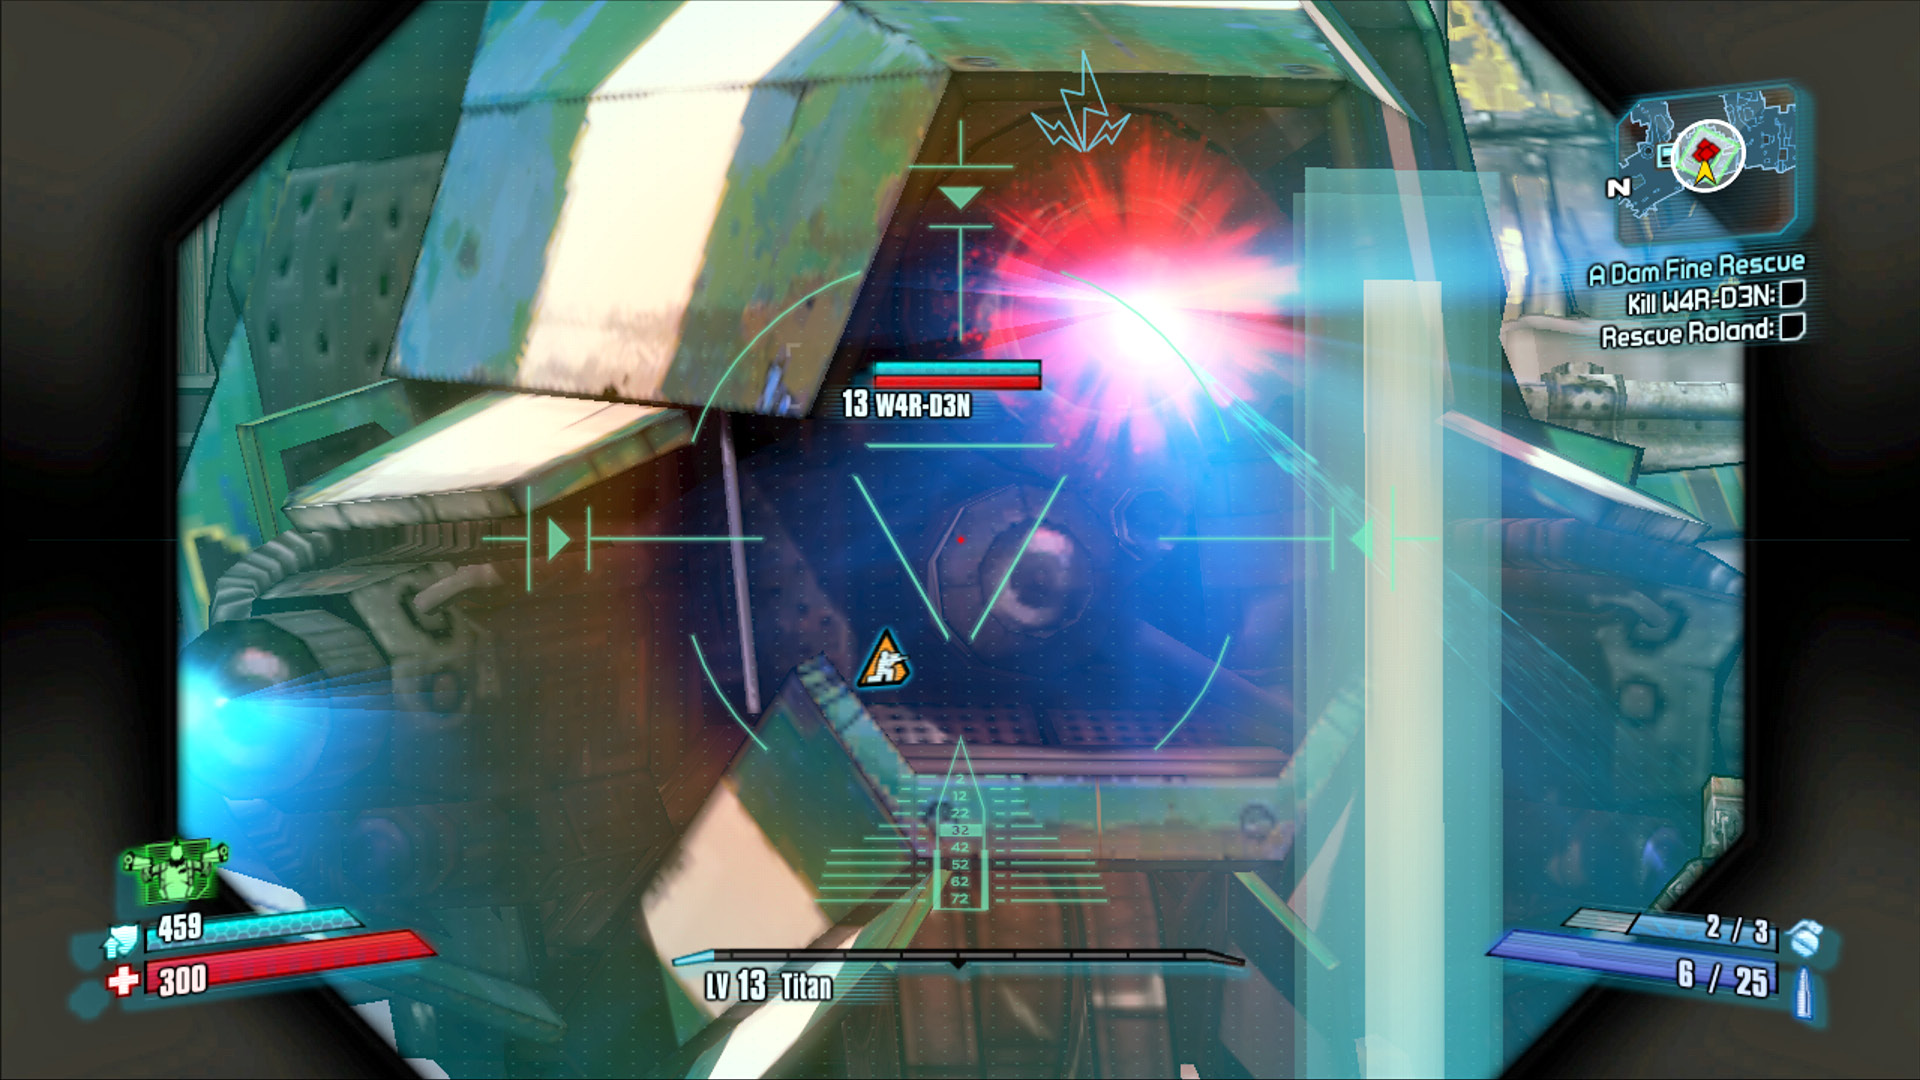
Fortunately, there’s a way to take out W4R-D3N with surprising speed and little risk. Equip your most powerful Shock-based weapon; a sniper rifle is ideal, but any weapon works. Enter the Shrine of the Gunbringer where W4R-D3N is located, and sprint into cover behind the car in the center of the area. Once behind the car, immediately crouch down and begin sniping the bot’s large red eye. This keeps you safe from W4R-D3N’s laser attacks, but it also prevents the Constructor Turret on the ground in front of W4R-D3N from hitting you. Continue firing at the eye for Critical Hits to drain the shield and inflict heavy damage.
Ignore the Loaders and Repair Surveyors as best you can, and once the shields are down, step out from behind the car and hit W4R-D3N with your rocket launcher. It’s also worth lobbing any grenades you have, especially if they are explosive or corrosive. Return to the cover afforded by the husk of the car, and continue sniping W4R-D3N’s eye until it has been destroyed. Whatever you do, don’t try to fire any rockets through the car. Similarly, be extra careful when reloading Tediore weapons in this spot, as they very well may blow up in your face!
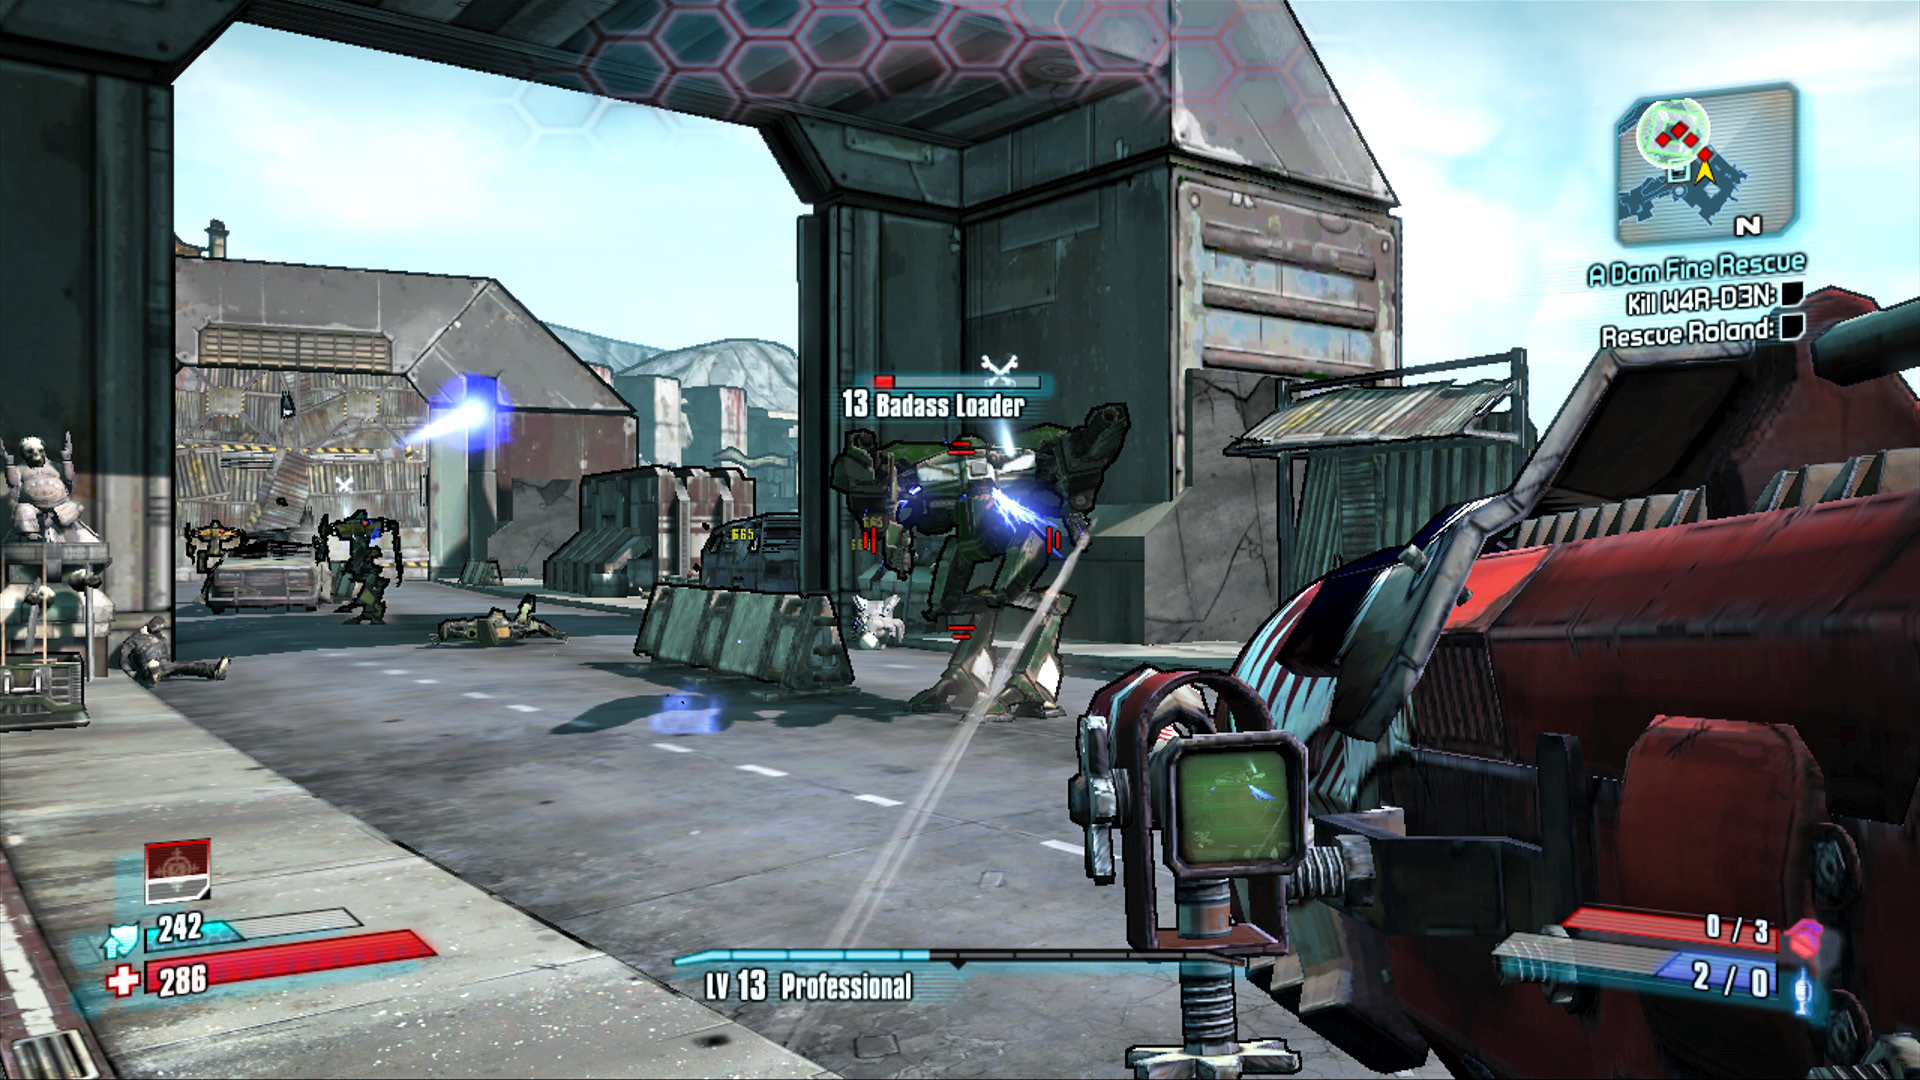
Turret on the Battlefield
Roland doesn’t hesitate to open fire on the remaining Loaders, particularly the Badass Loaders that are bound to attack. The turret he deploys is similar to Axton’s Sabre Turret in appearance only. Roland’s turret has a large bullet-proof shield on either side of it and can heal all teammates within the circle of influence. Take cover behind the shield and enjoy increased health regeneration while you unload your rocket launchers, Corrosive bullets, and anything else you want to throw at the remaining Loaders. Talk to Roland to complete the mission; he’ll head back and wait for you in Sanctuary. Be sure to raid the chests in the area before leaving.
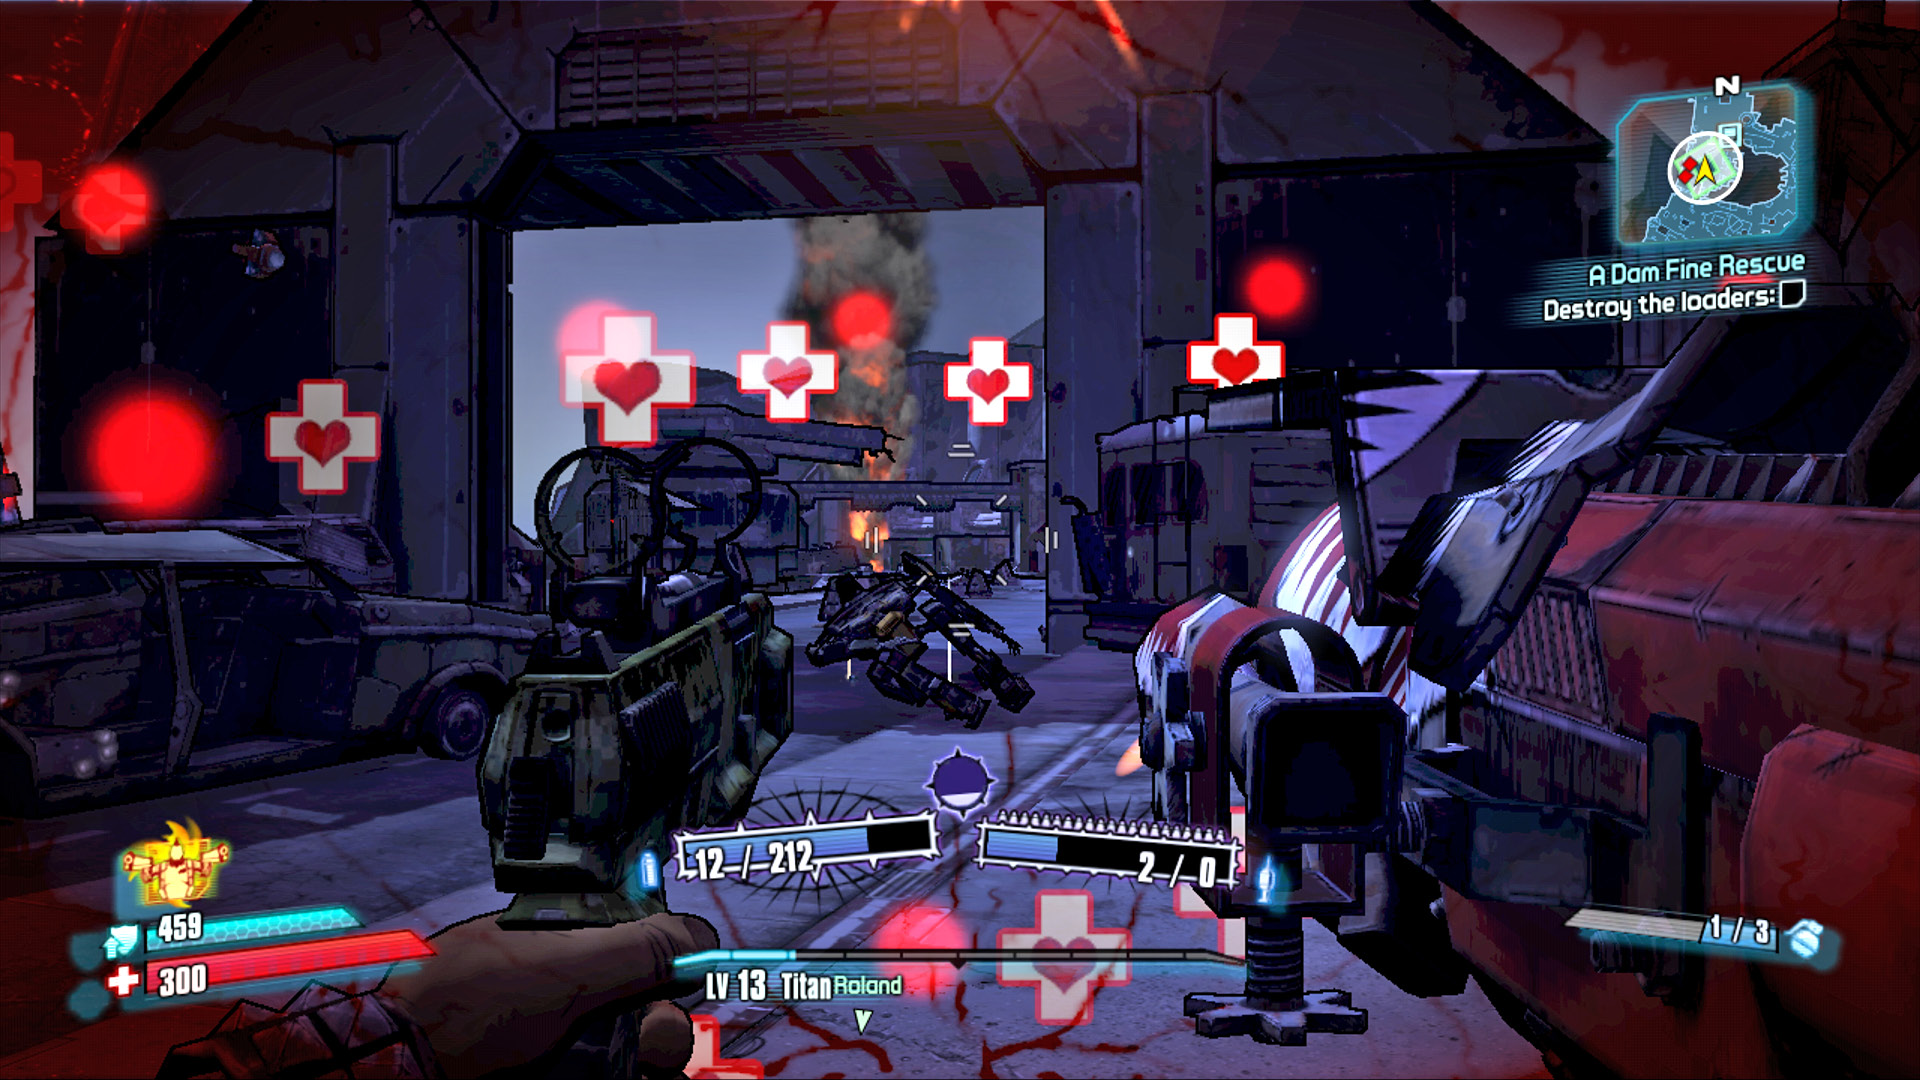
Enjoy the health benefits of Roland’s turret while mopping up the remaining Loaders.
Tundra Express
So named for the Hyperion supply train that screams through it every few minutes (buying anyone caught loitering to close to the tracks a one-way ticket to the nearest New-U station), the area known as Tundra Express is a half-way decent place for gathering intelligence, killing bandits, or eating crumpets. Home to some of Pandora’s more colorful personalities, Tundra Express is absolutely covered in rockets, flame traps, and other explosives—mostly thanks to the area’s most ferocious resident: a (frighteningly) young demolitions expert who calls herself Tiny Tina. Cmdr. Roland’s “top” field agent, the former Vault Hunter Mordecai, also frequents the area—partially because the Hyperion trains that pass by are a great source of information if you plant a remote hacking device on them, and partially because the Varkid Ranch observation tower provides a suitably quiet place to sleep off a hangover.
Speaking of the Varkid Ranch, this area raises metamorphic insects known as Varkids. Supposedly, Varkid fluids make great explosive materials, but dealing with the violent, unstable creatures hardly seems worth it. Fortunately, the hill-like nests are easy to spot and should be readily avoided. The insectoids do make a rather amusing screech when set on fire, though. Heh.
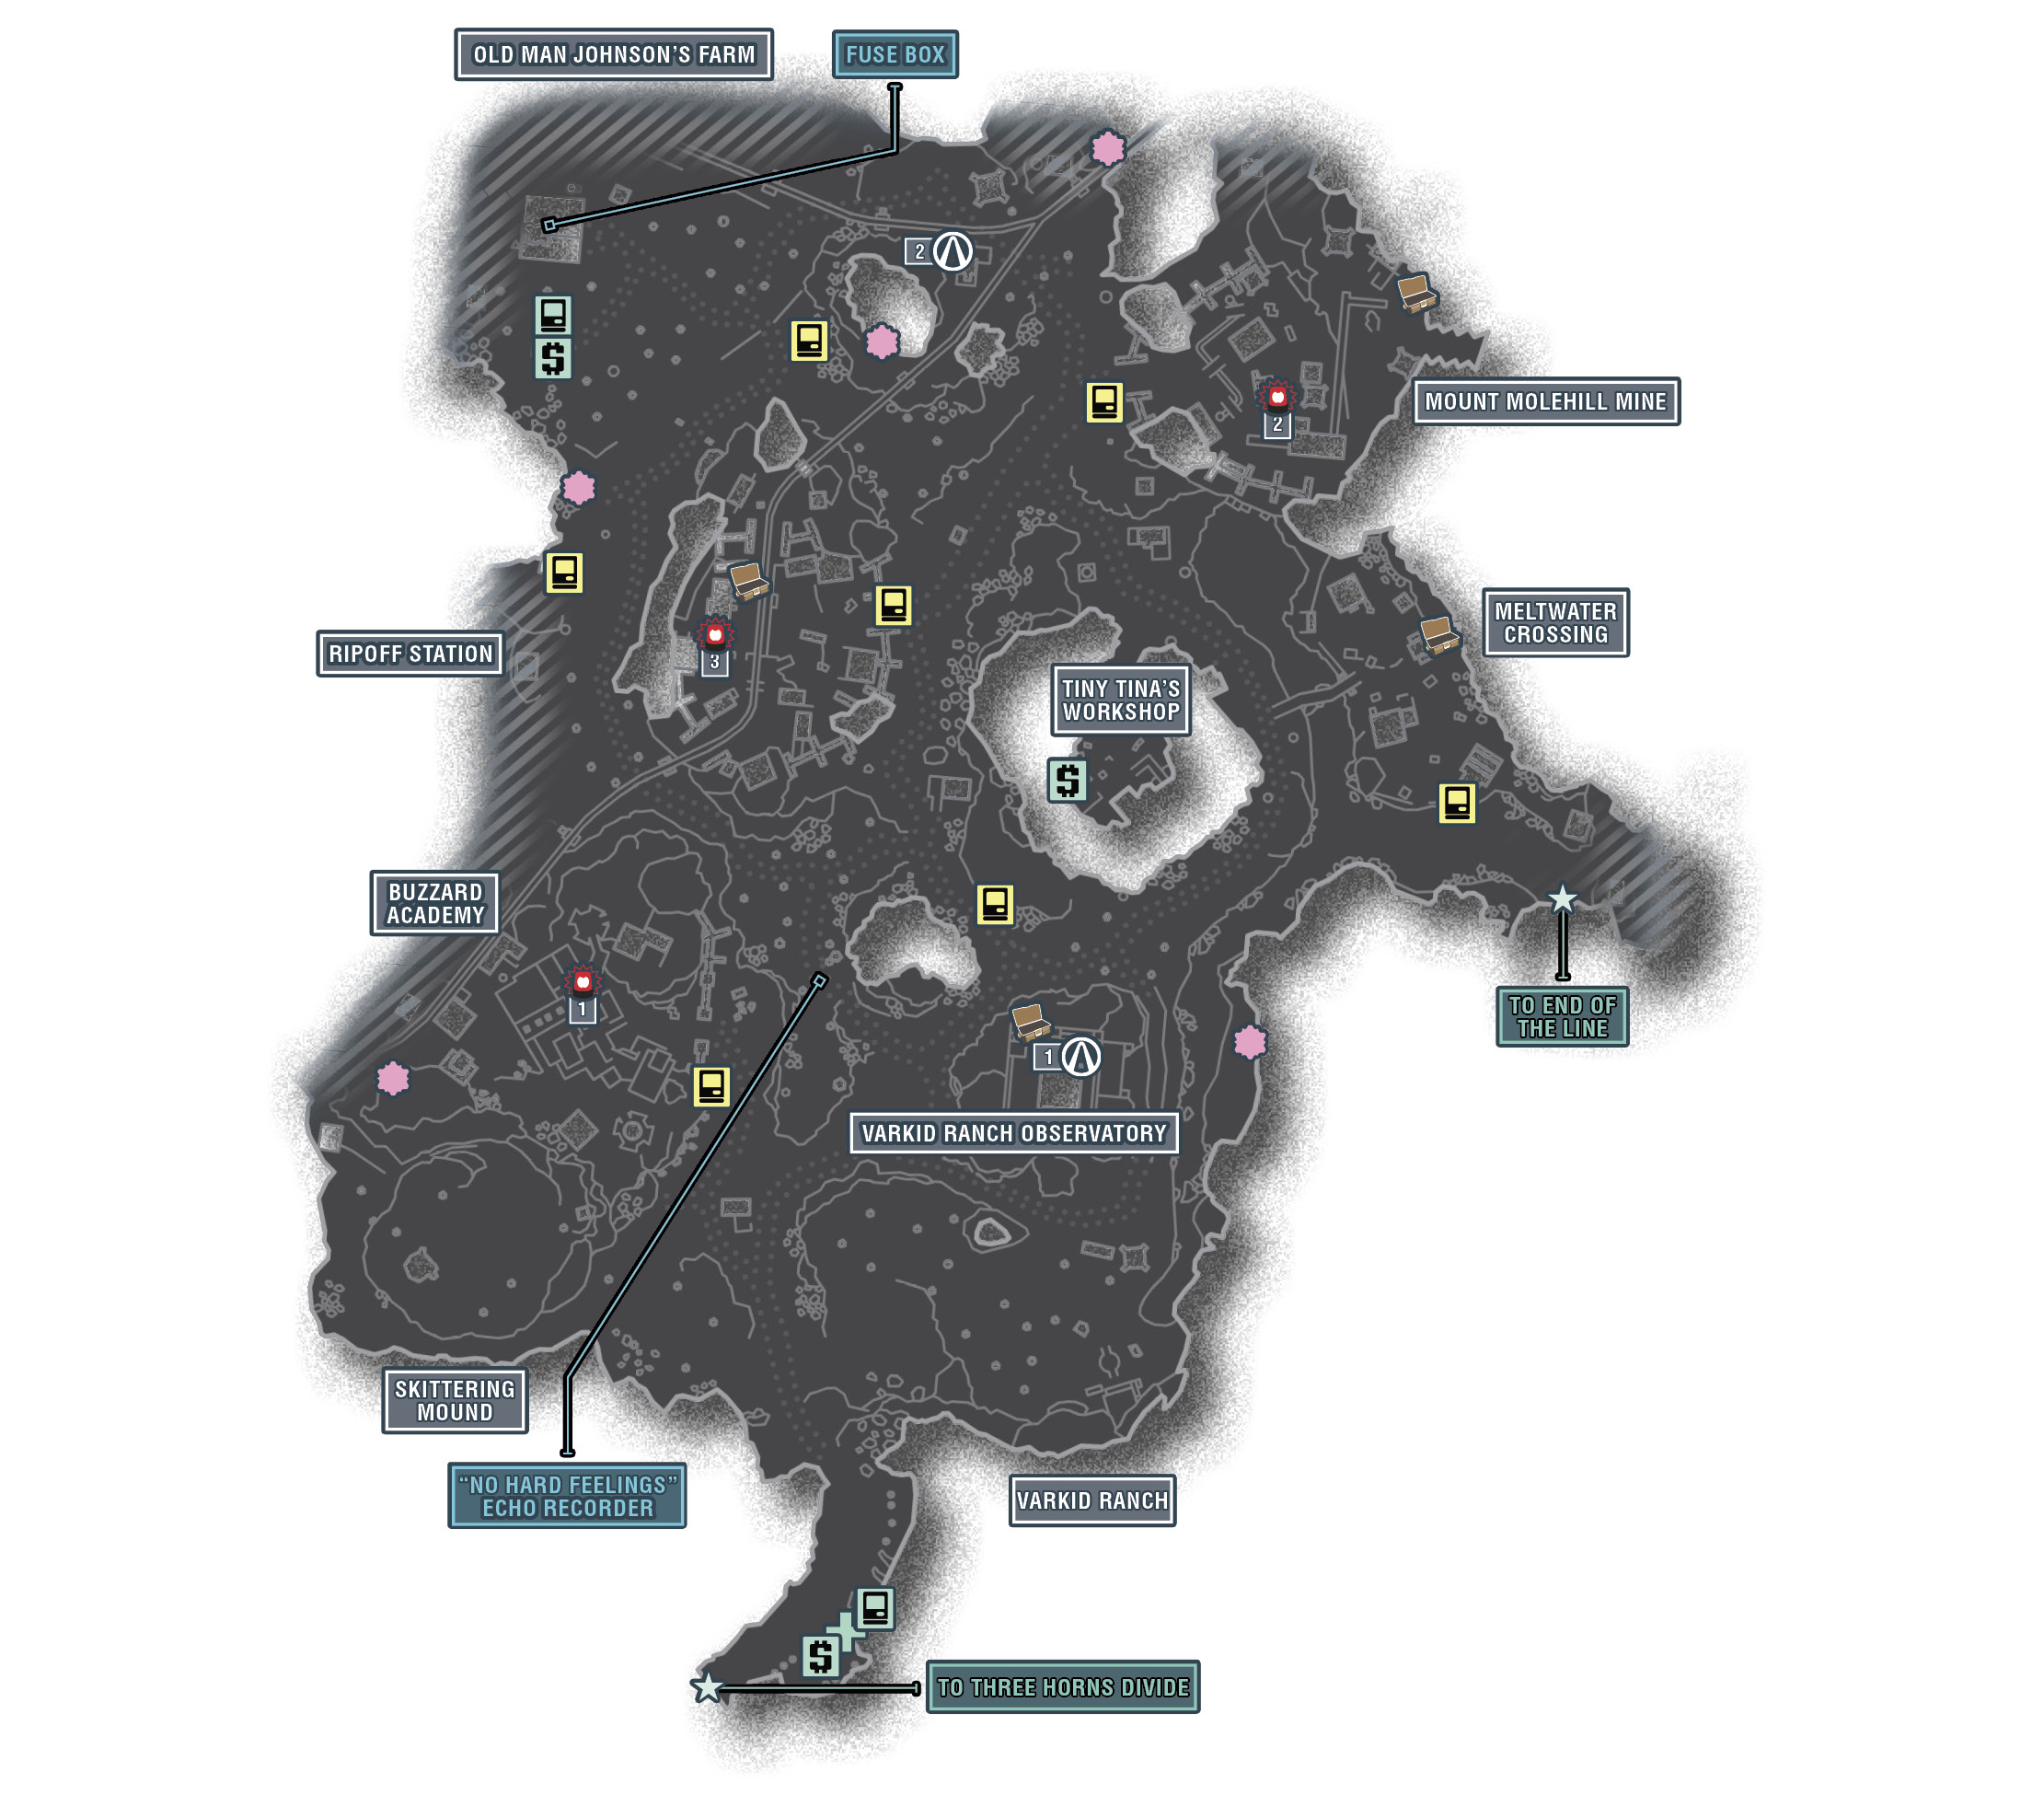
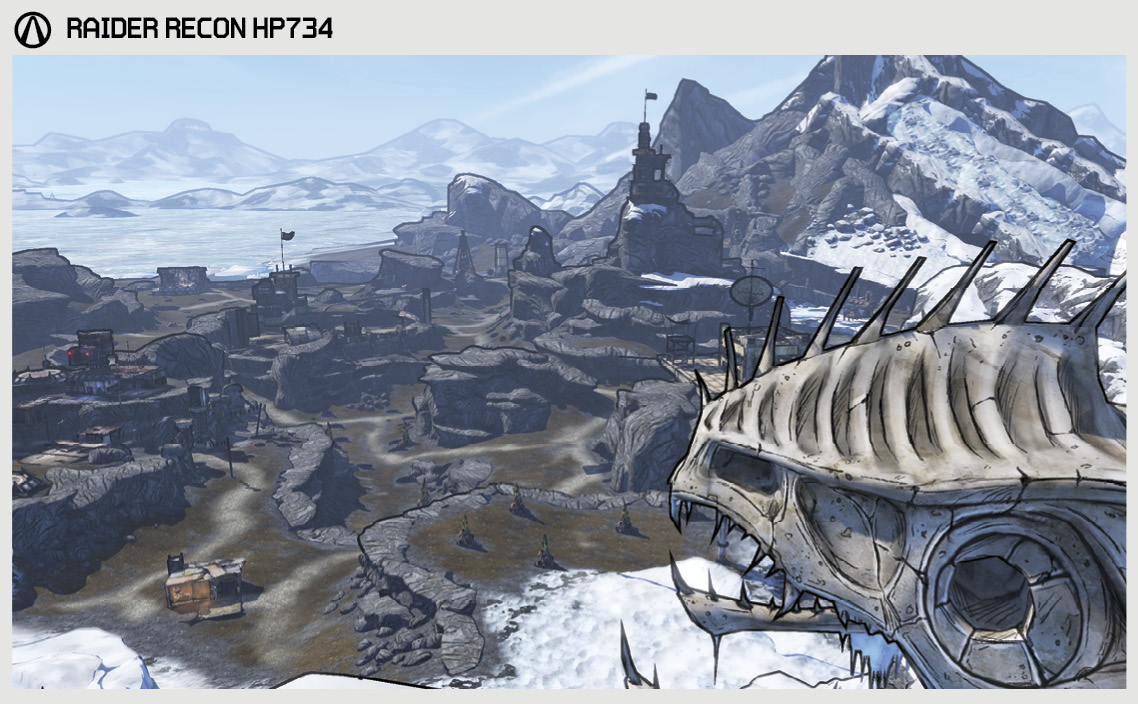
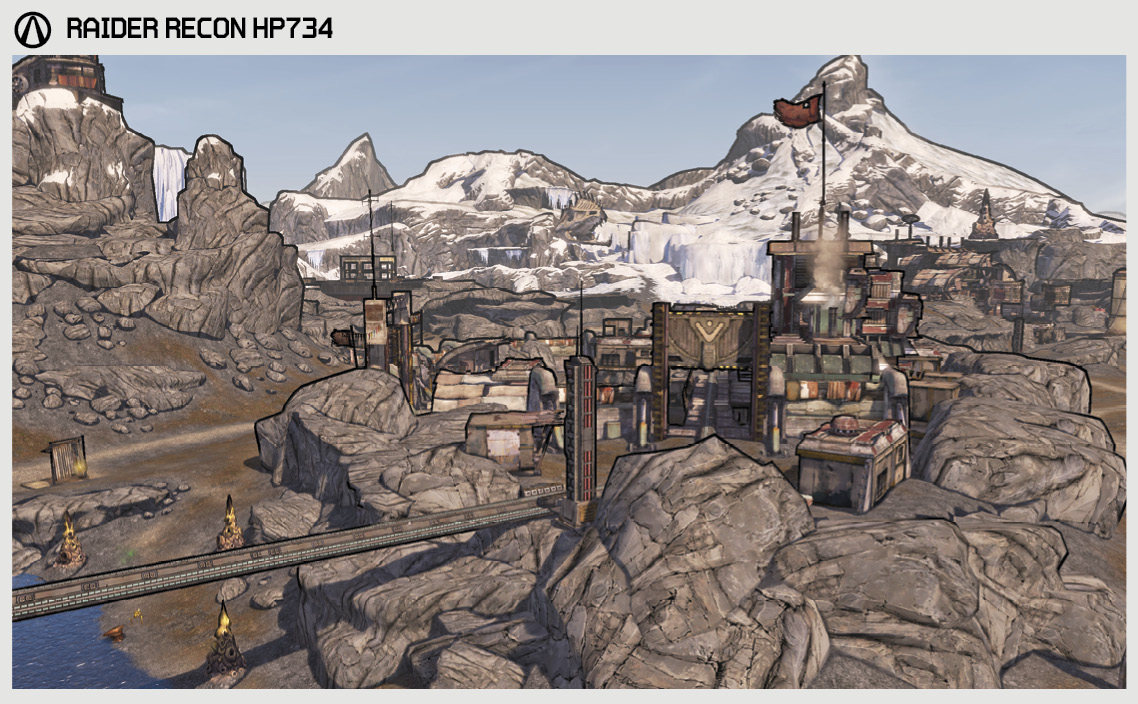
Lastly, there are unconfirmed reports of a forgotten Fast Travel station located somewhere in the area of Old Man Johnson’s Farm. It’s said to still be functional, and could prove useful to anyone trying to cross Tundra Express’ expanse in a hurry.
The Districts of Tundra Express
| Locale | Limited Access? | First Visit |
|---|---|---|
|
Varkid Ranch |
No |
“A Train to Catch” story mission. |
|
Varkid Ranch Observatory |
No |
“A Train to Catch” story mission. |
|
Tiny Tina’s Workshop |
No |
“A Train to Catch” story mission. |
|
Buzzard Academy |
No |
“A Train to Catch” story mission. |
|
Meltwater Crossing |
No |
“A Train to Catch” story mission. |
|
Old Man Johnson’s Farm |
No |
“A Train to Catch” story mission. |
|
Mount Molehill Mine |
No |
“Mine, All Mine” optional mission. |
|
Skittering Mound |
No |
“You’re Cordially Invited: Party Prep” optional mission. |
|
Ripoff Station |
No |
“Pretty Good Train Robbery” optional mission. |
Dangerous Beasts
High Value Targets
| Enemy | Family |
|---|---|
|
Madame von Bartlesby |
Varkid |
|
Prospector Zeke |
Nomad |
 Cult of the Vault
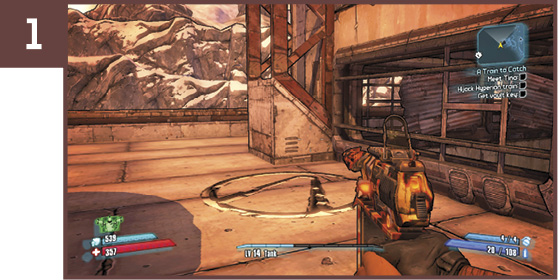
Head due north from Varkid Ranch toward the Varkid Ranch Observatory. Look for the stairs beneath the arch carved into the rocks, and climb the ladder up to the roof of the facility. Proceed around the corner to the right to find the Cult of the Vault symbol.
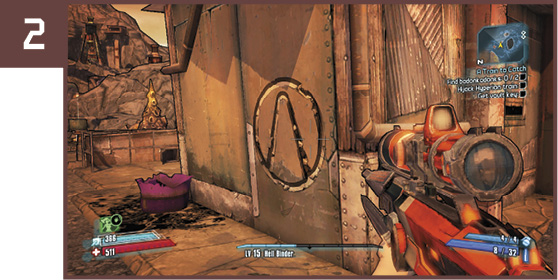
Make your way north from Tiny Tina’s Workshop to the cabin near the fork in the train tracks. Check that no trains are coming, then walk around to the north side of the cabin to find the Cult of the Vault symbol on the side.
 Positive Reinforcements
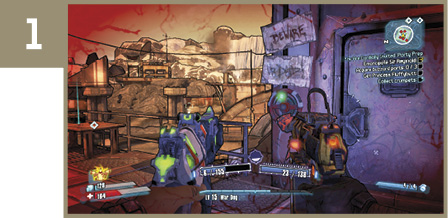
The first alarm you’re likely to find is in the center of Buzzard Academy, right near the crumpets during the “You’re Cordially Invited: Party Prep” optional mission. Kill all of the existing enemies in the area before turning the wheel to summon reinforcements.
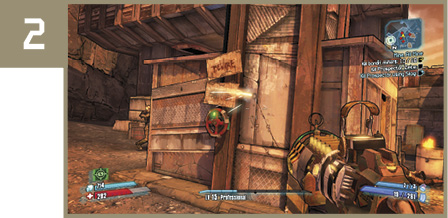
This alarm is in the Mount Molehill Mine area of Tundra Express, on the lower level. Triggering this alarm summons additional Goliath Diggers and Rat Miners, the latter of which can burrow into the ground to escape your attacks. Rat Miners are capable of eluding Raging Digger attacks, so knocking the Goliath’s helmet off may not yield much assistance.
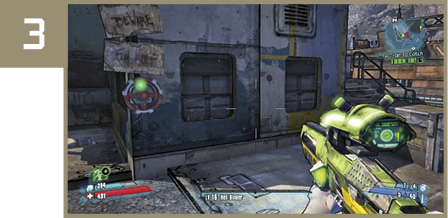
The third alarm is located on the upper train platform at Ripoff Station. Using this alarm after sending a Goliath into a rage is a great way to work on building a Goliath up to God-Liath status. Relocate to the eastern side of Ripoff Station to avoid being hemmed in underneath the station platform when the flood of enemies arrives.
King of the Buzzard World
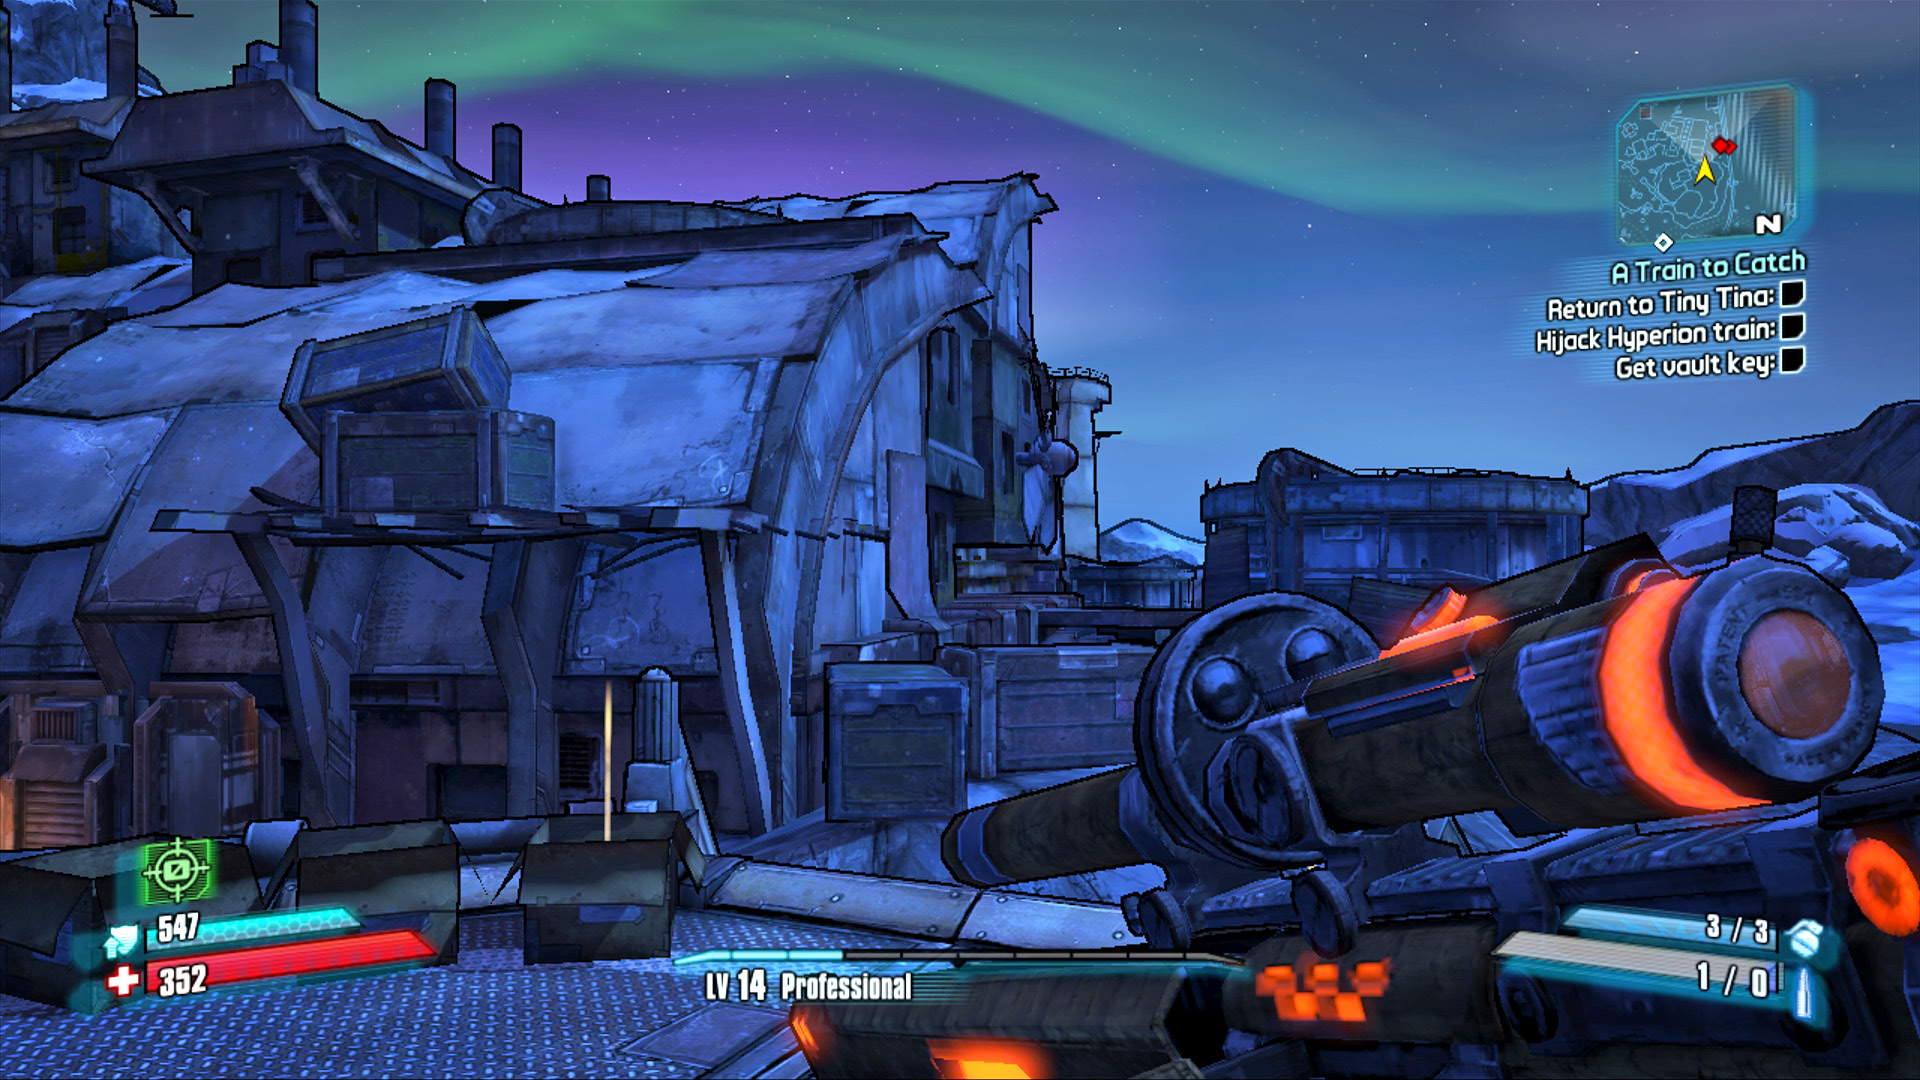
Proceed up the stairs on the north side of Buzzard Academy and continue across the ramp and around the corner to where the second badonkadonk is located in “A Train to Catch.” Look to the building with large curved roof, and leap from the helipad onto the nearby boxes, then onto the wooden platform with the other crates. Use those crates to reach the top of the curved roof, then run and jump to the roof with the smokestacks to complete this Challenge. Check the potty-with-a-view on the adjacent roof to see what goodies are inside.
What’s Yours is Mine
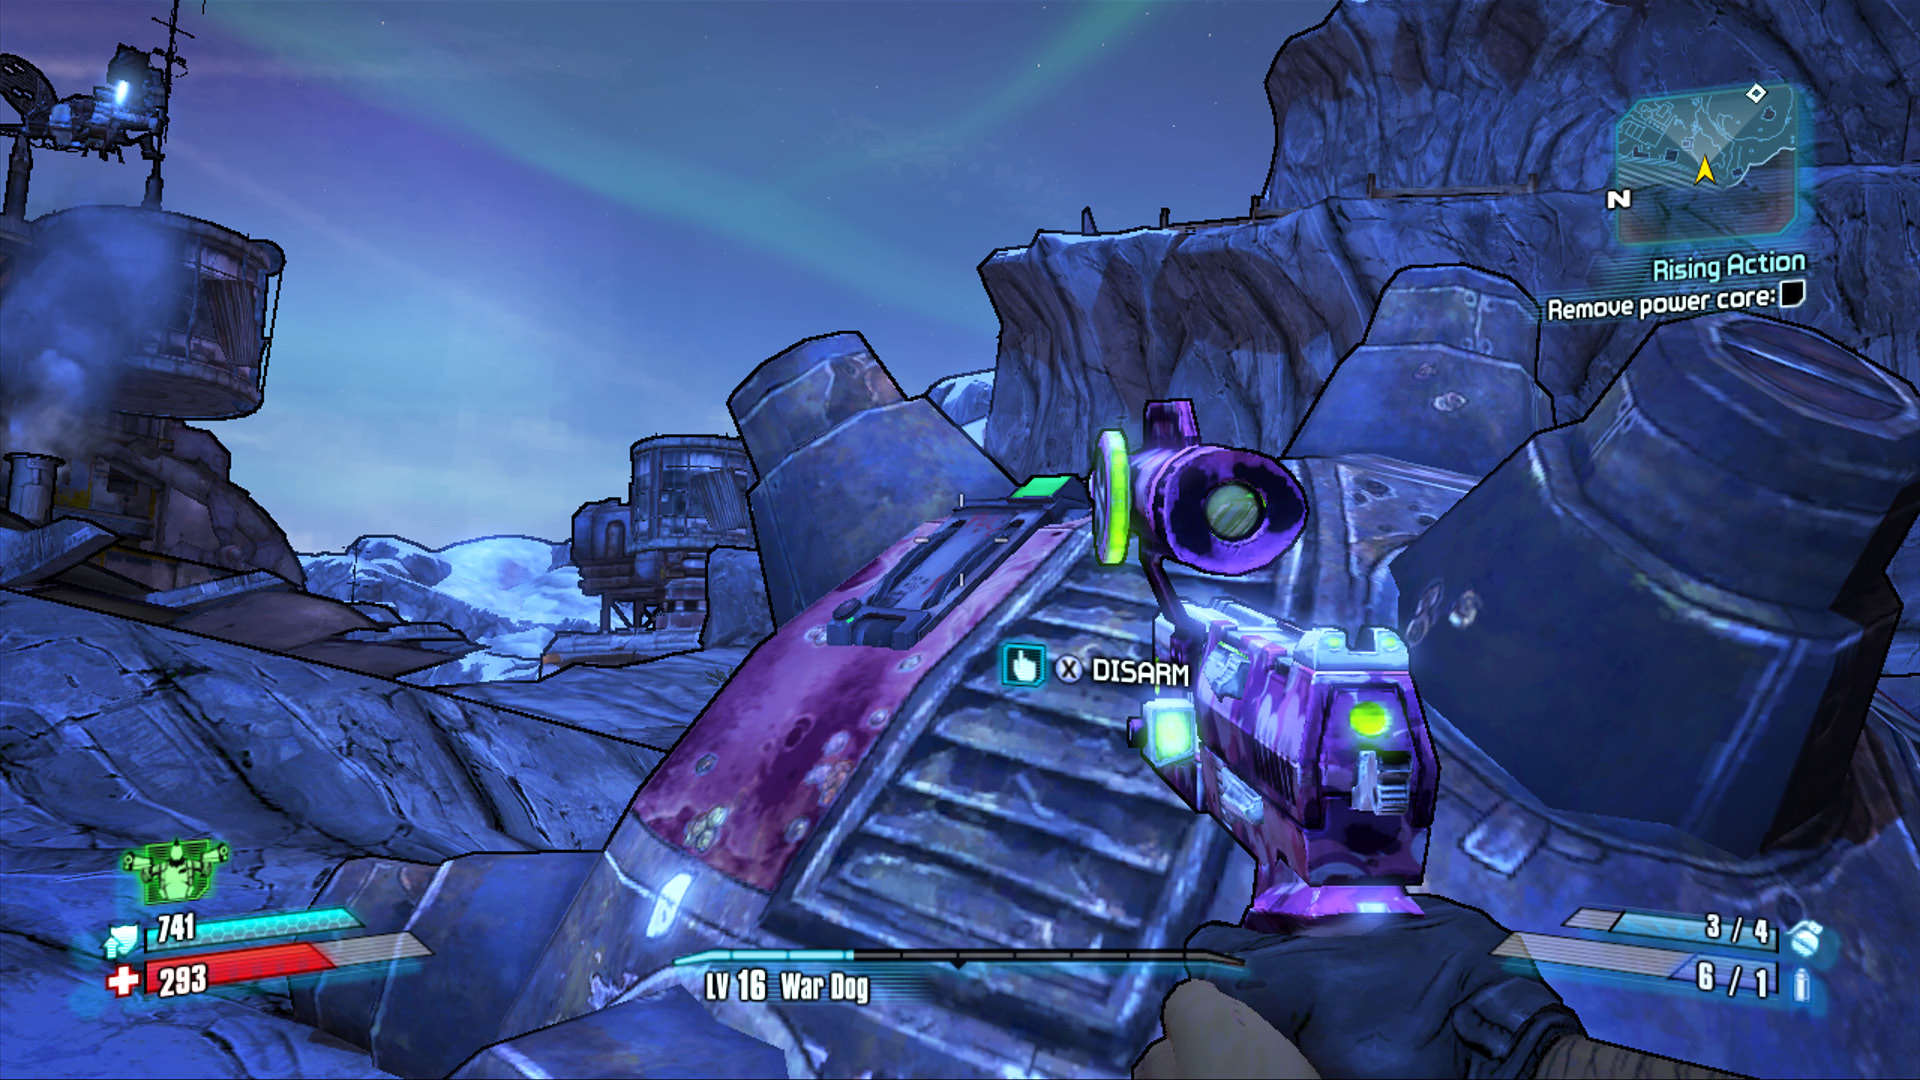
It’s no surprise that a region home to Tiny Tina would be sprinkled with a large number of explosives, but some of these bombs can actually be disarmed—if you’re careful, that is. The large spiked bombs resemble naval mines and come in two general styles: most of them are rusty, red, and lack a disarming switch. These bombs blink faster and faster as you get close to them, but they don’t make a beeping noise. Tiny Tina’s bombs, on the other hand, are bright pink, have a visible green light above a handle, and make a beeping noise when they detect someone nearby. You must approach very slowly, preferably while crouched, and deactivate them by interacting with the lever near the green light. Disarming isn’t difficult as long as you don’t make any sudden movements. Though the bombs do detonate if you fail to be delicate in your approach, you need only leave and return to Tundra Express to reset them (you’ll retain credit for those you previously disarmed). The locations of the bombs are shown on the accompanying map.
Additional Challenges
Bug Off: Kill Madame Von Bartlesby without taking damage from her bug bombs (see “You’re Cordially Invited: Party Prep” optional mission for details).
End of the Line
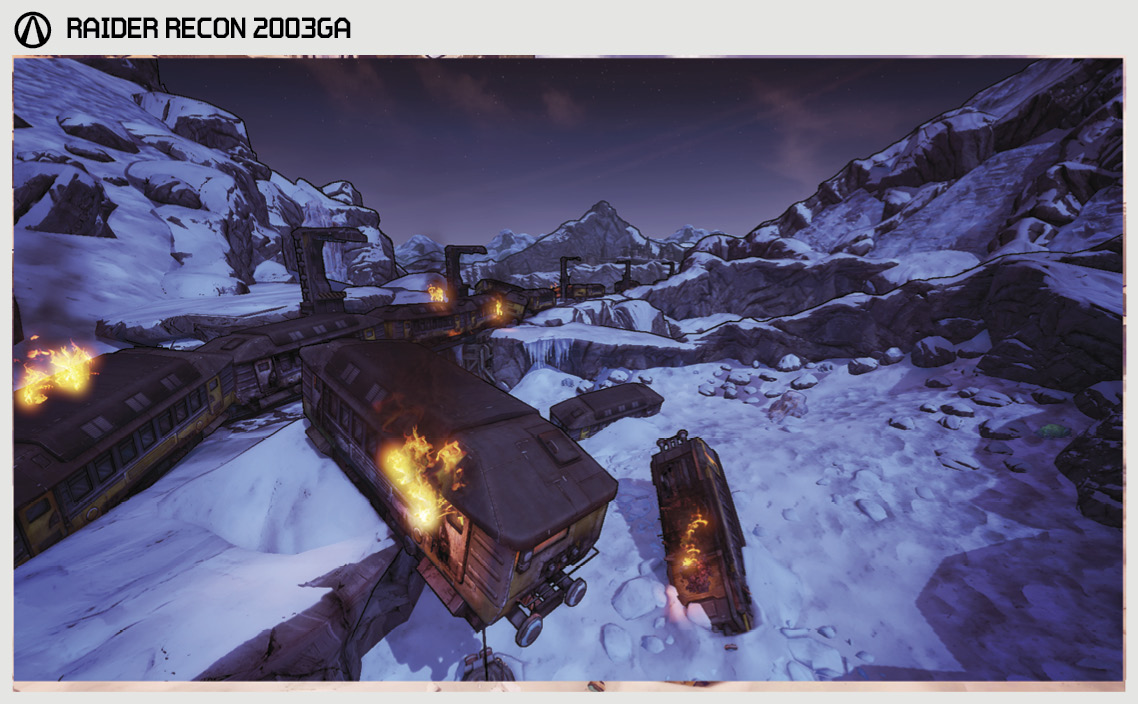
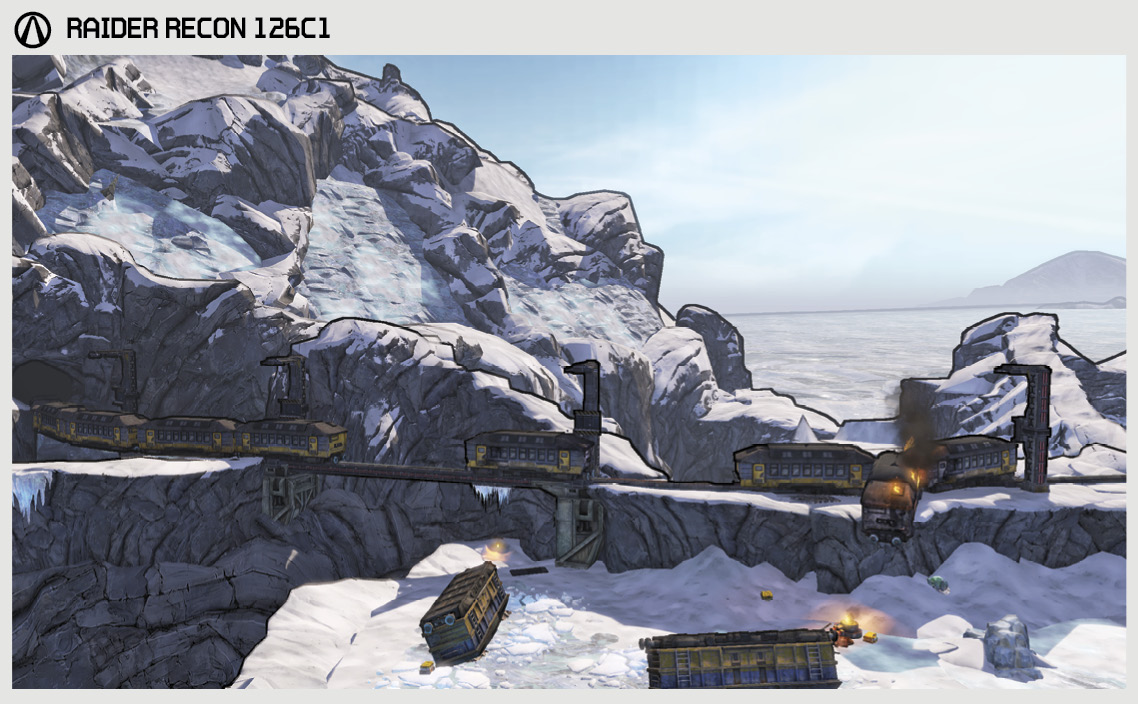
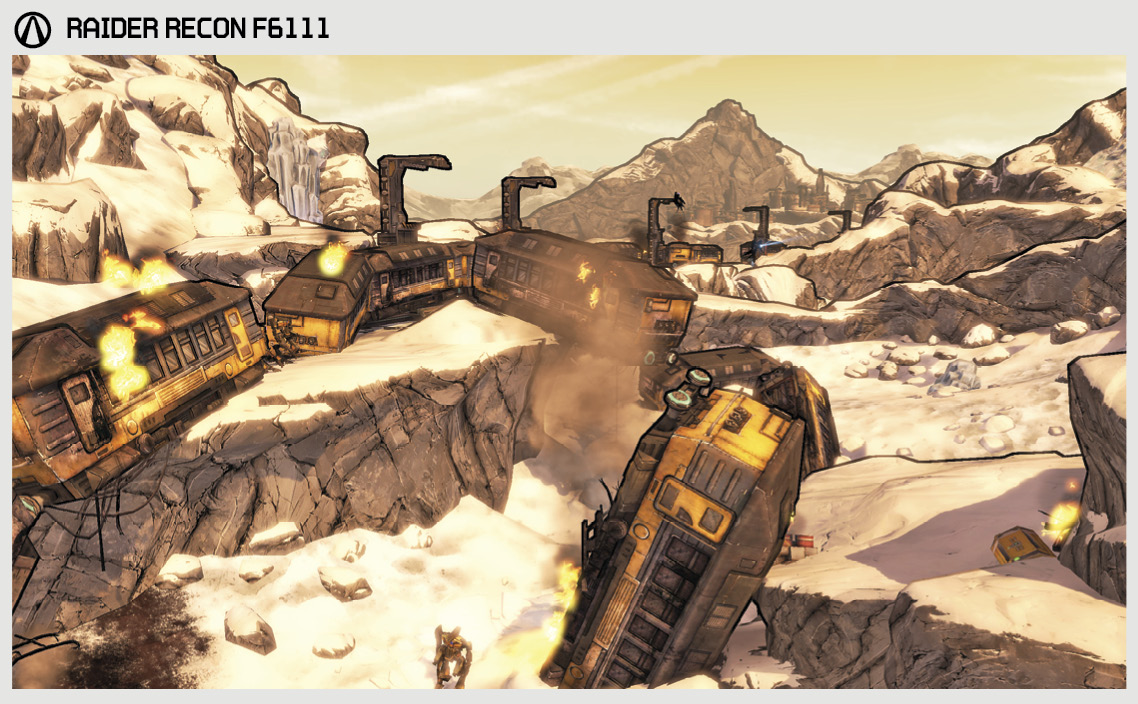
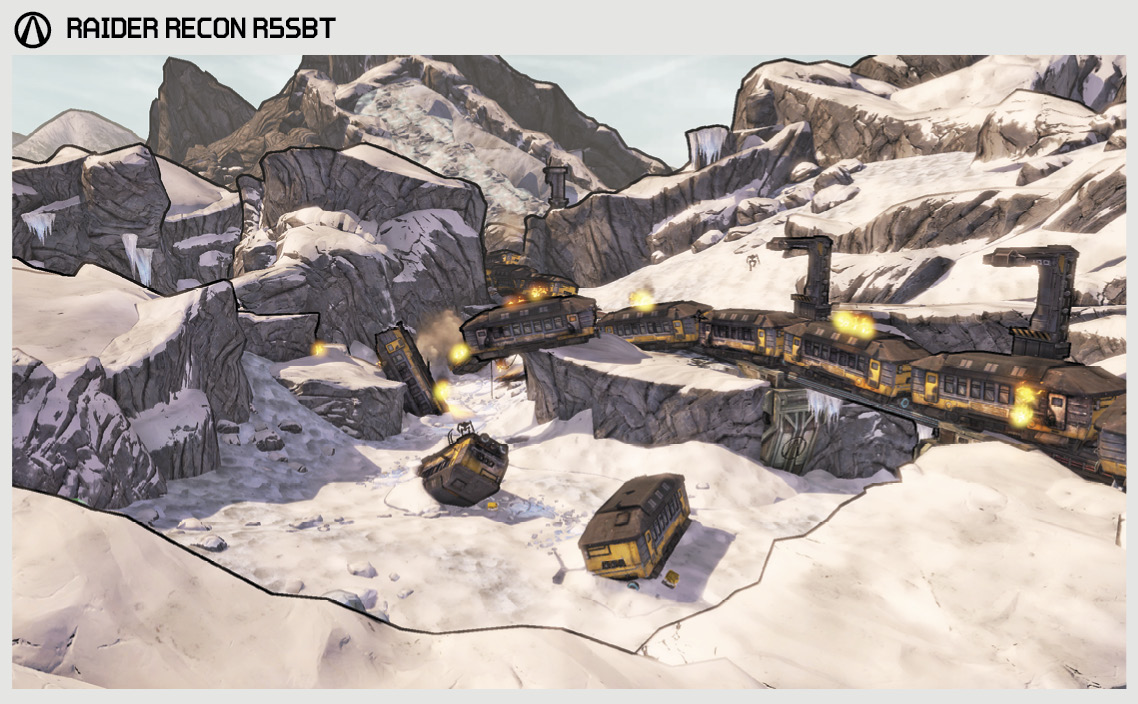
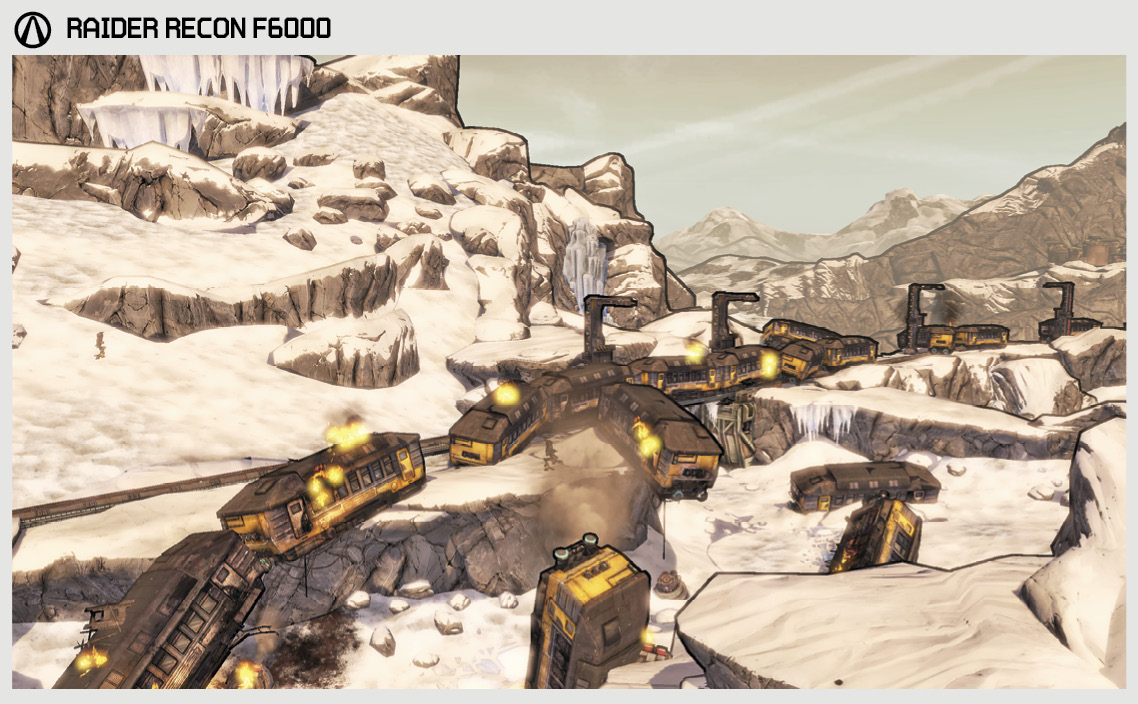
Notable primarily for its large, flaming scrap heap that used to be a Hyperion train, the End of the Line brings to mind all sorts of badass, train-based one-liners. When seeing a flaming Hyperion Loader crawl helplessly from the wreckage, one is tempted to growl: “That was your last stop, jerkbag.” Or maybe: “How was your express train… to hell?”
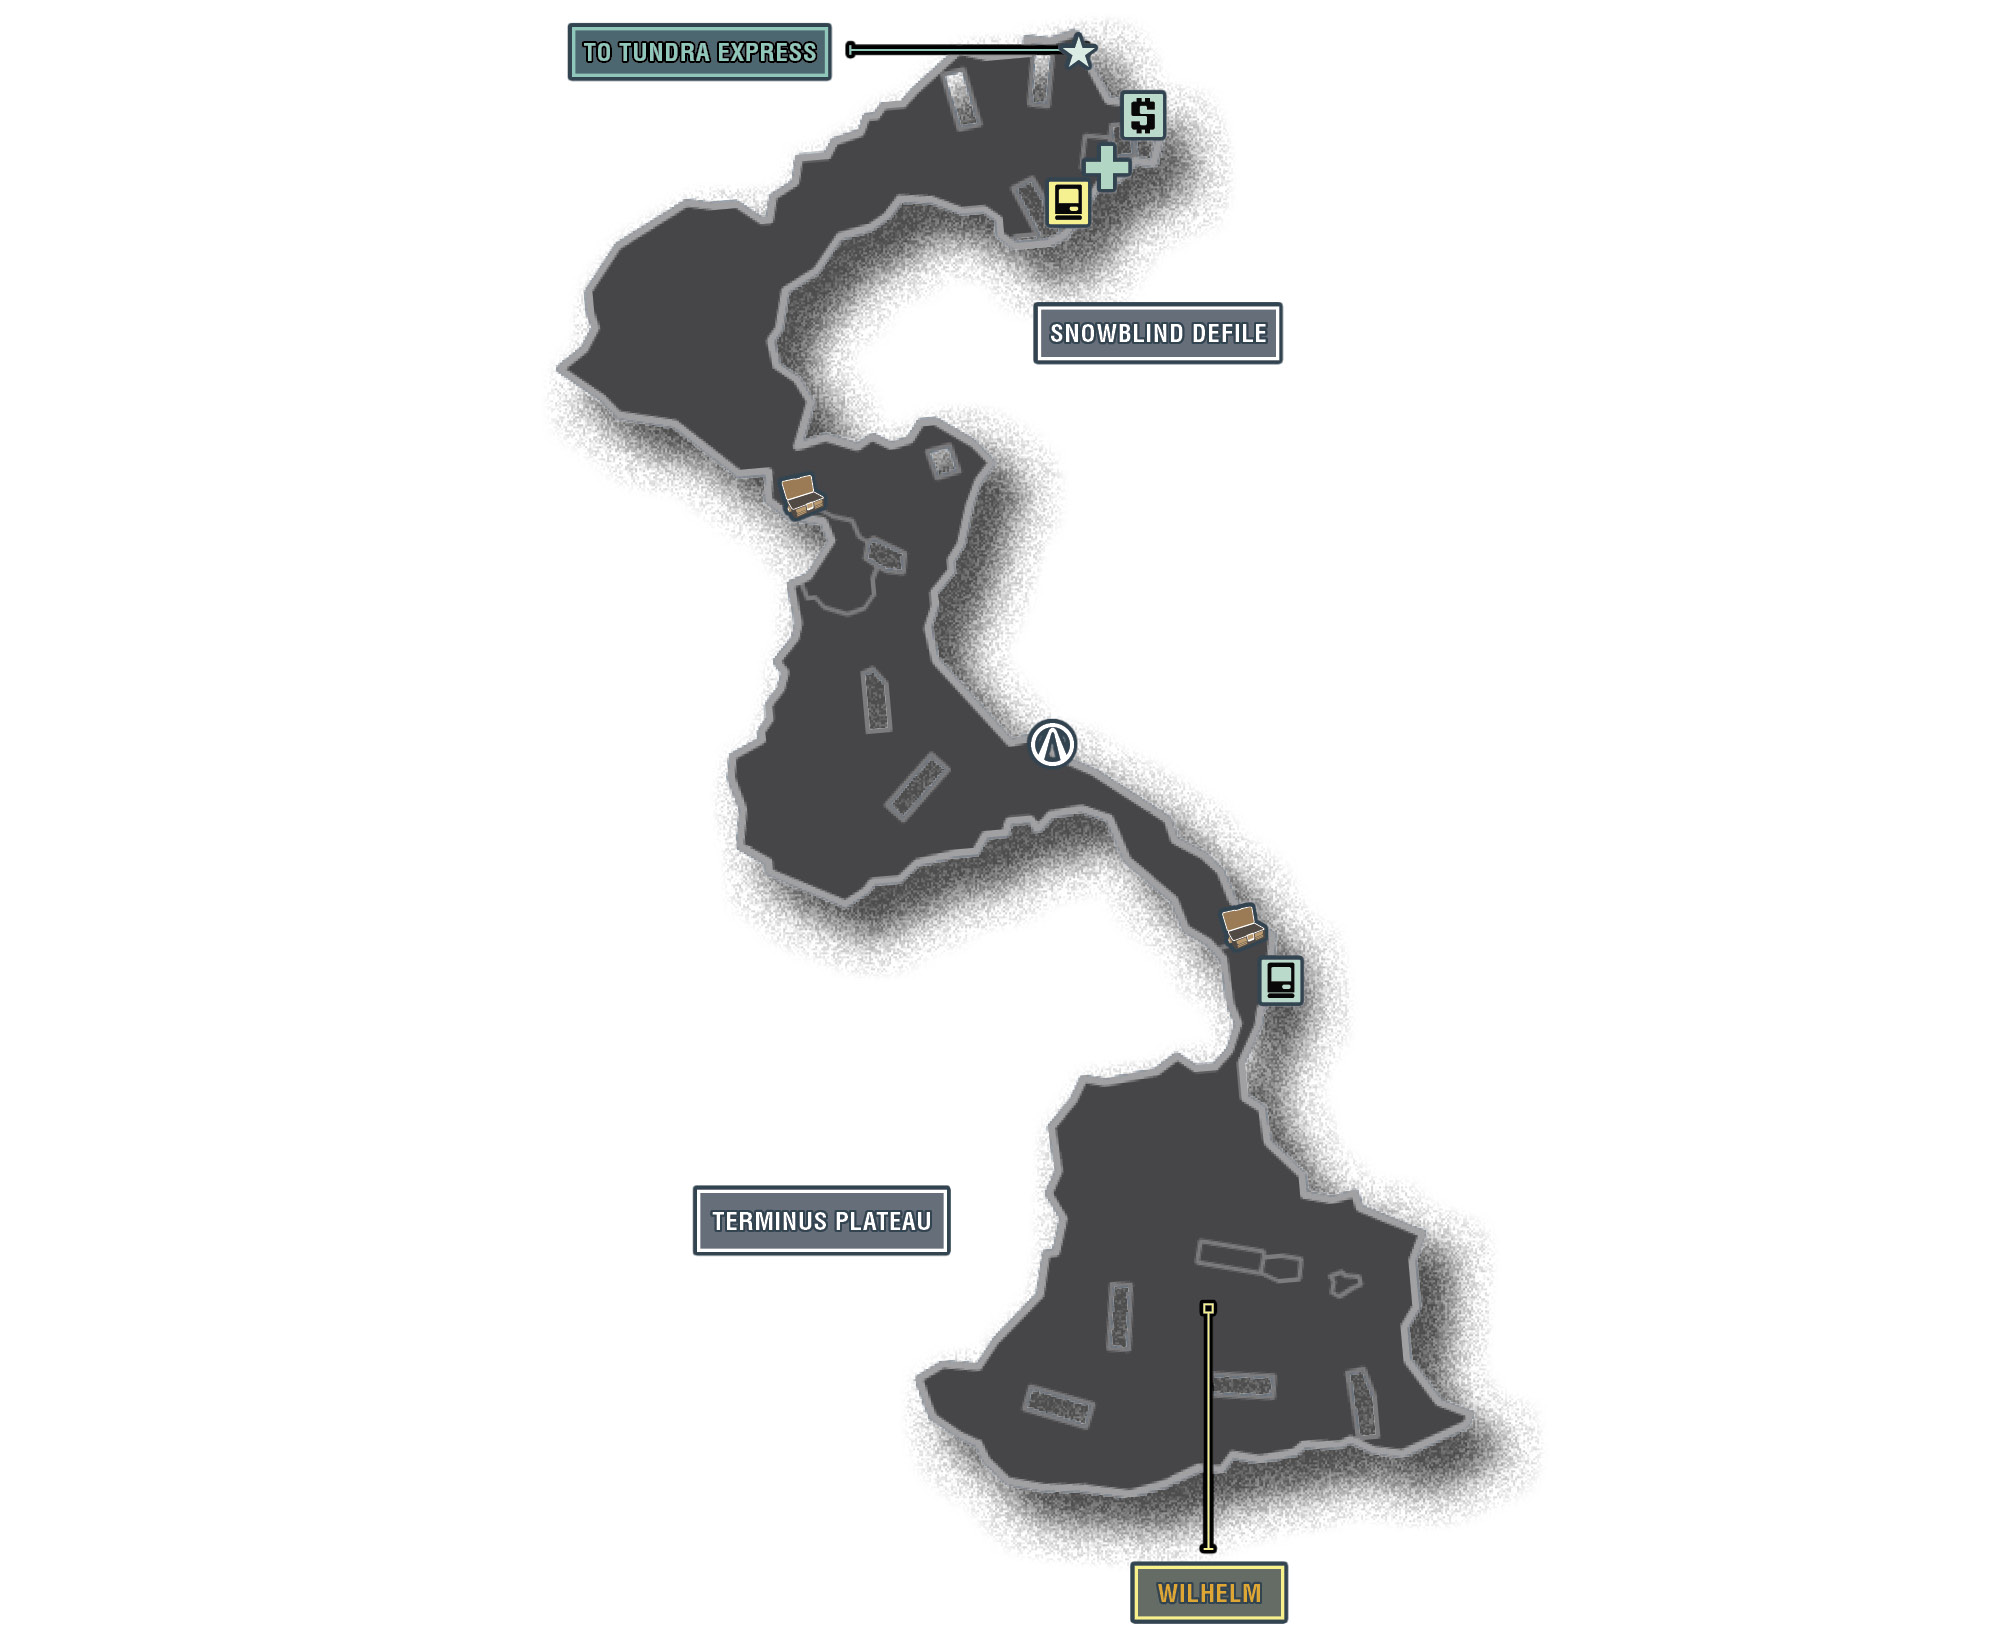
A ruined bridge of your doing leads up to an icy plateau overlooking Tundra Express. The area known fittingly as End of the Line is little more than a wreckage site, crawling with Hyperion’s latest Loaders and Surveyors. There is only one reason for a Vault Hunter to visit this place, and that’s to secure the Vault Key rumored to be on the train.
The Districts of End of the Line
| Locale | Limited Access? | First Visit |
|---|---|---|
|
Snowblind Defile |
No |
“A Train to Catch” story mission. |
|
Terminus Plateau |
No |
“A Train to Catch” story mission. |
Dangerous Beasts
| Enemy Family |
|---|
|
Loaders |
|
Surveyors |
High Value Targets
| Enemy | Family |
|---|---|
|
Wilhelm |
— |
 Cult of the Vault
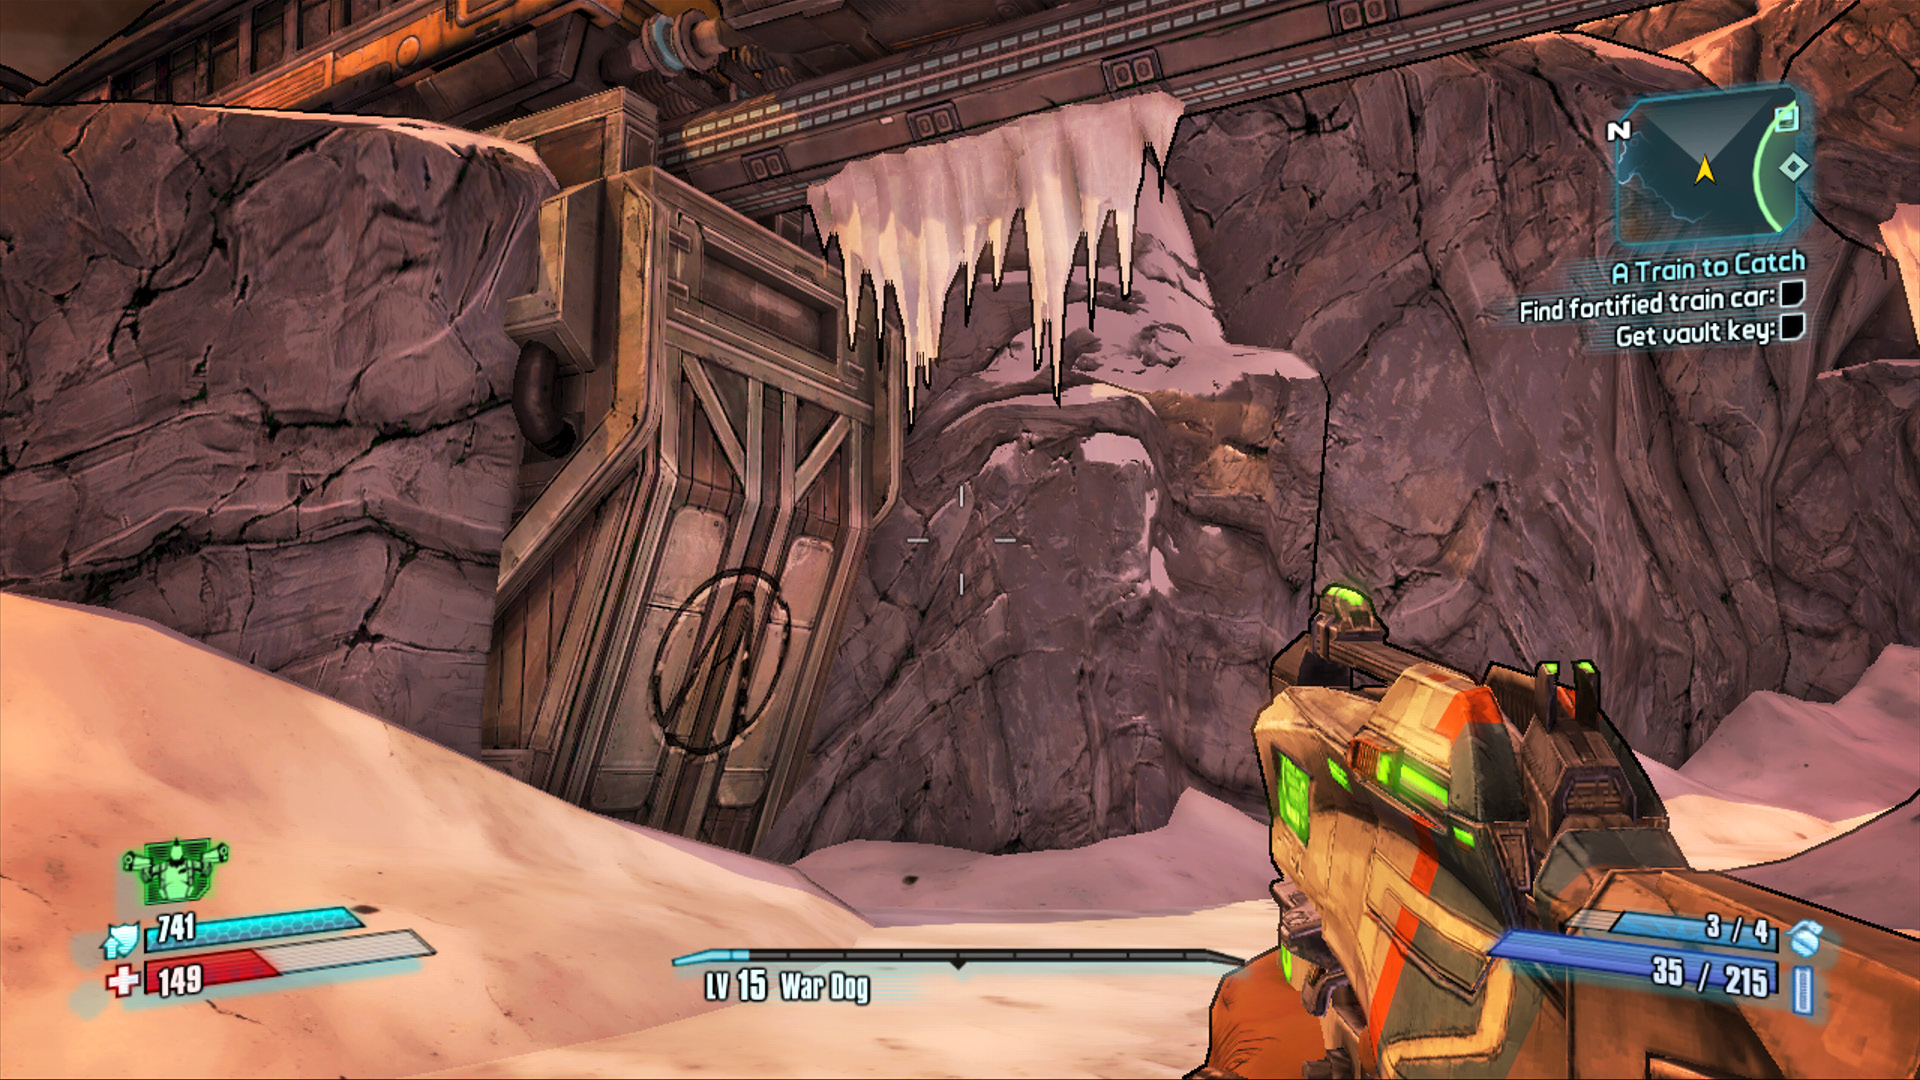
The Cult of the Vault Hunter symbol in this area is among the most easily spotted in all of Pandora. It’s on the left-hand side, just beneath the train trestle you pass before dropping down to Terminus Plateau.
Additional Challenges
Master of All He Surveys: Kill Wilhelm without destroying any of his surveyors (see “A Train to Catch” story mission for details).