
Borderlands 2 Game of the Year Guide Captain Scarlett and Her Pirate's Booty
A Study in Scarlett
|
 Mission Briefing
| Level | Money | XP | Gear |
|---|---|---|---|
|
15 |
$123 |
233 |
Shotgun (green) |
*Money and XP may vary based on player’s level at start of mission.
Off to Wurmwater!
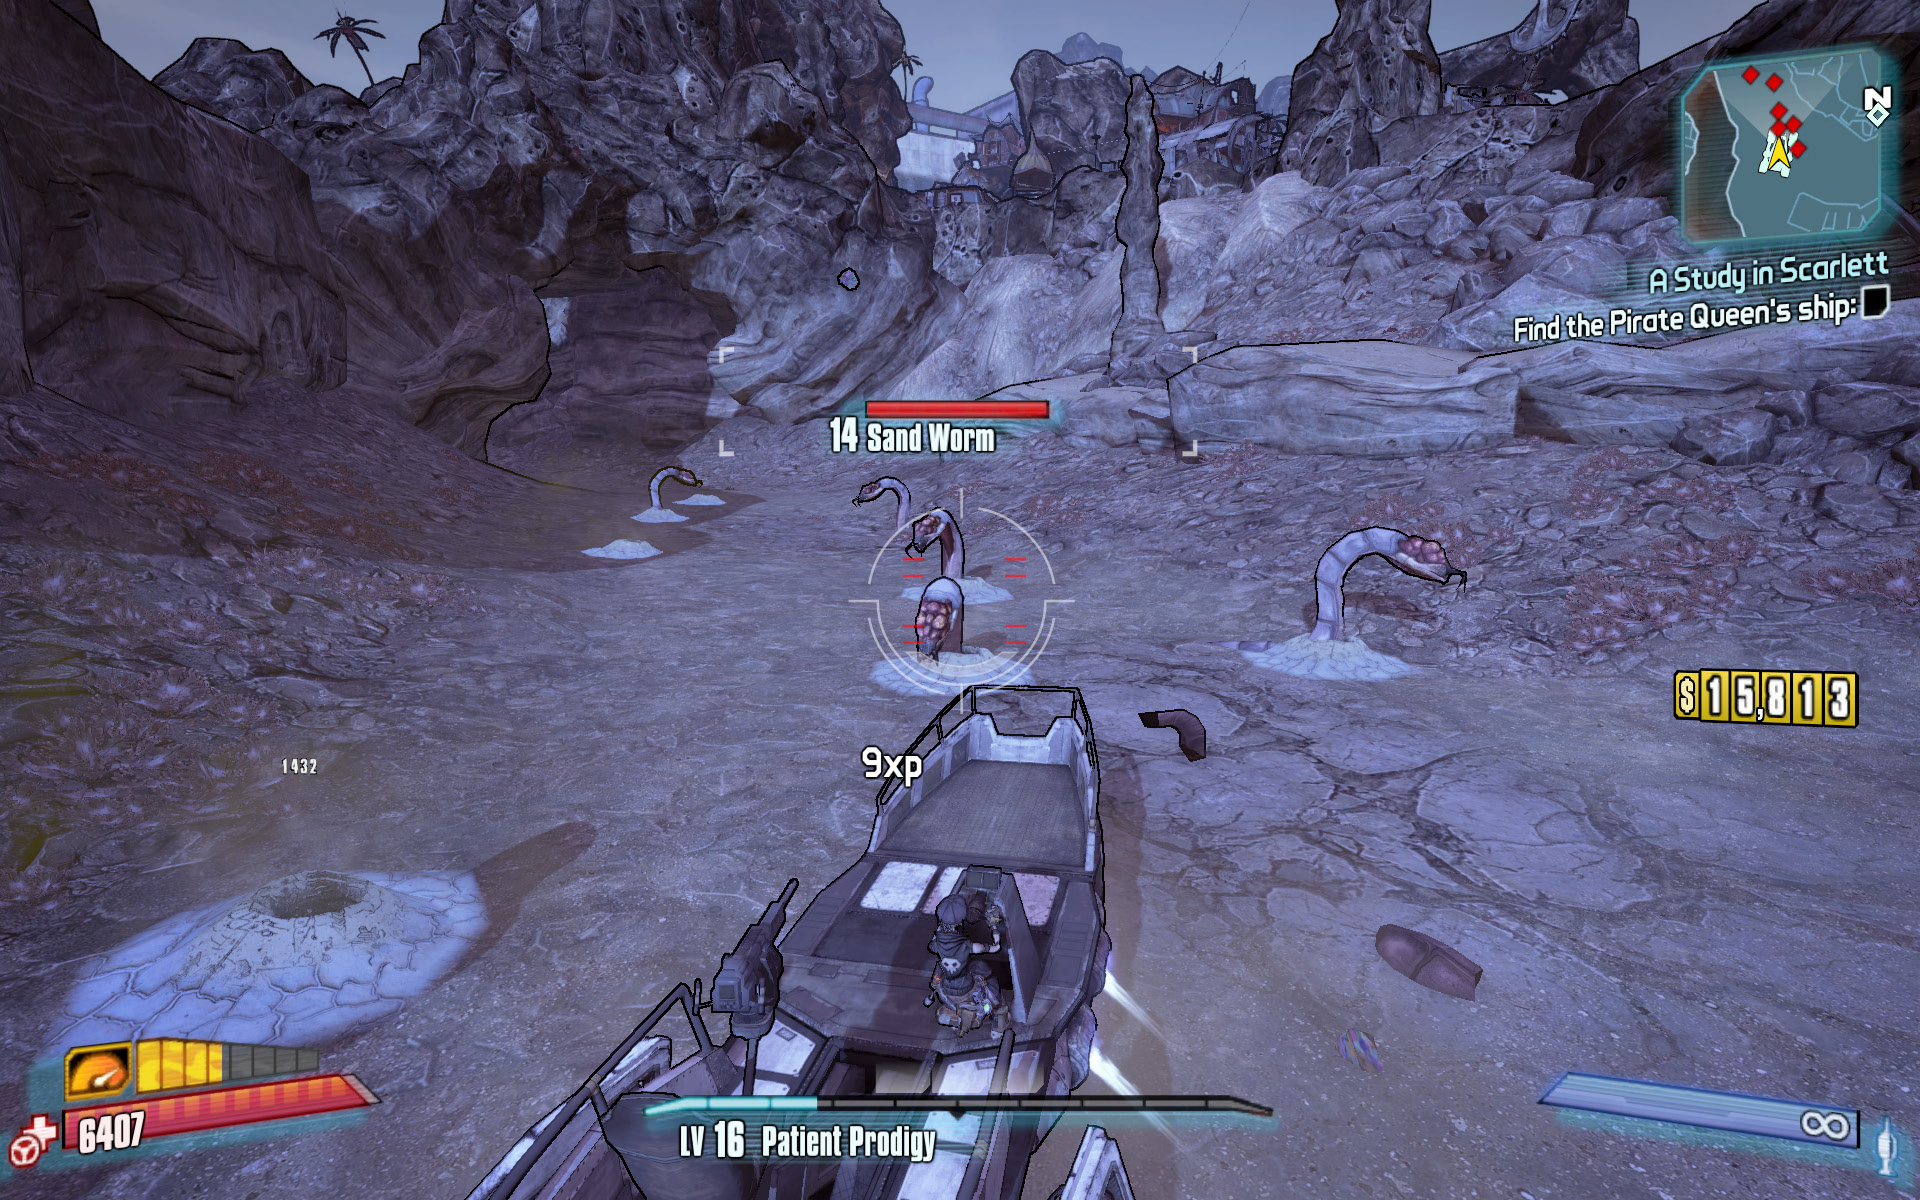
This is a great time to rack up sand worm kills and make progress on the Worm Killer challenge.
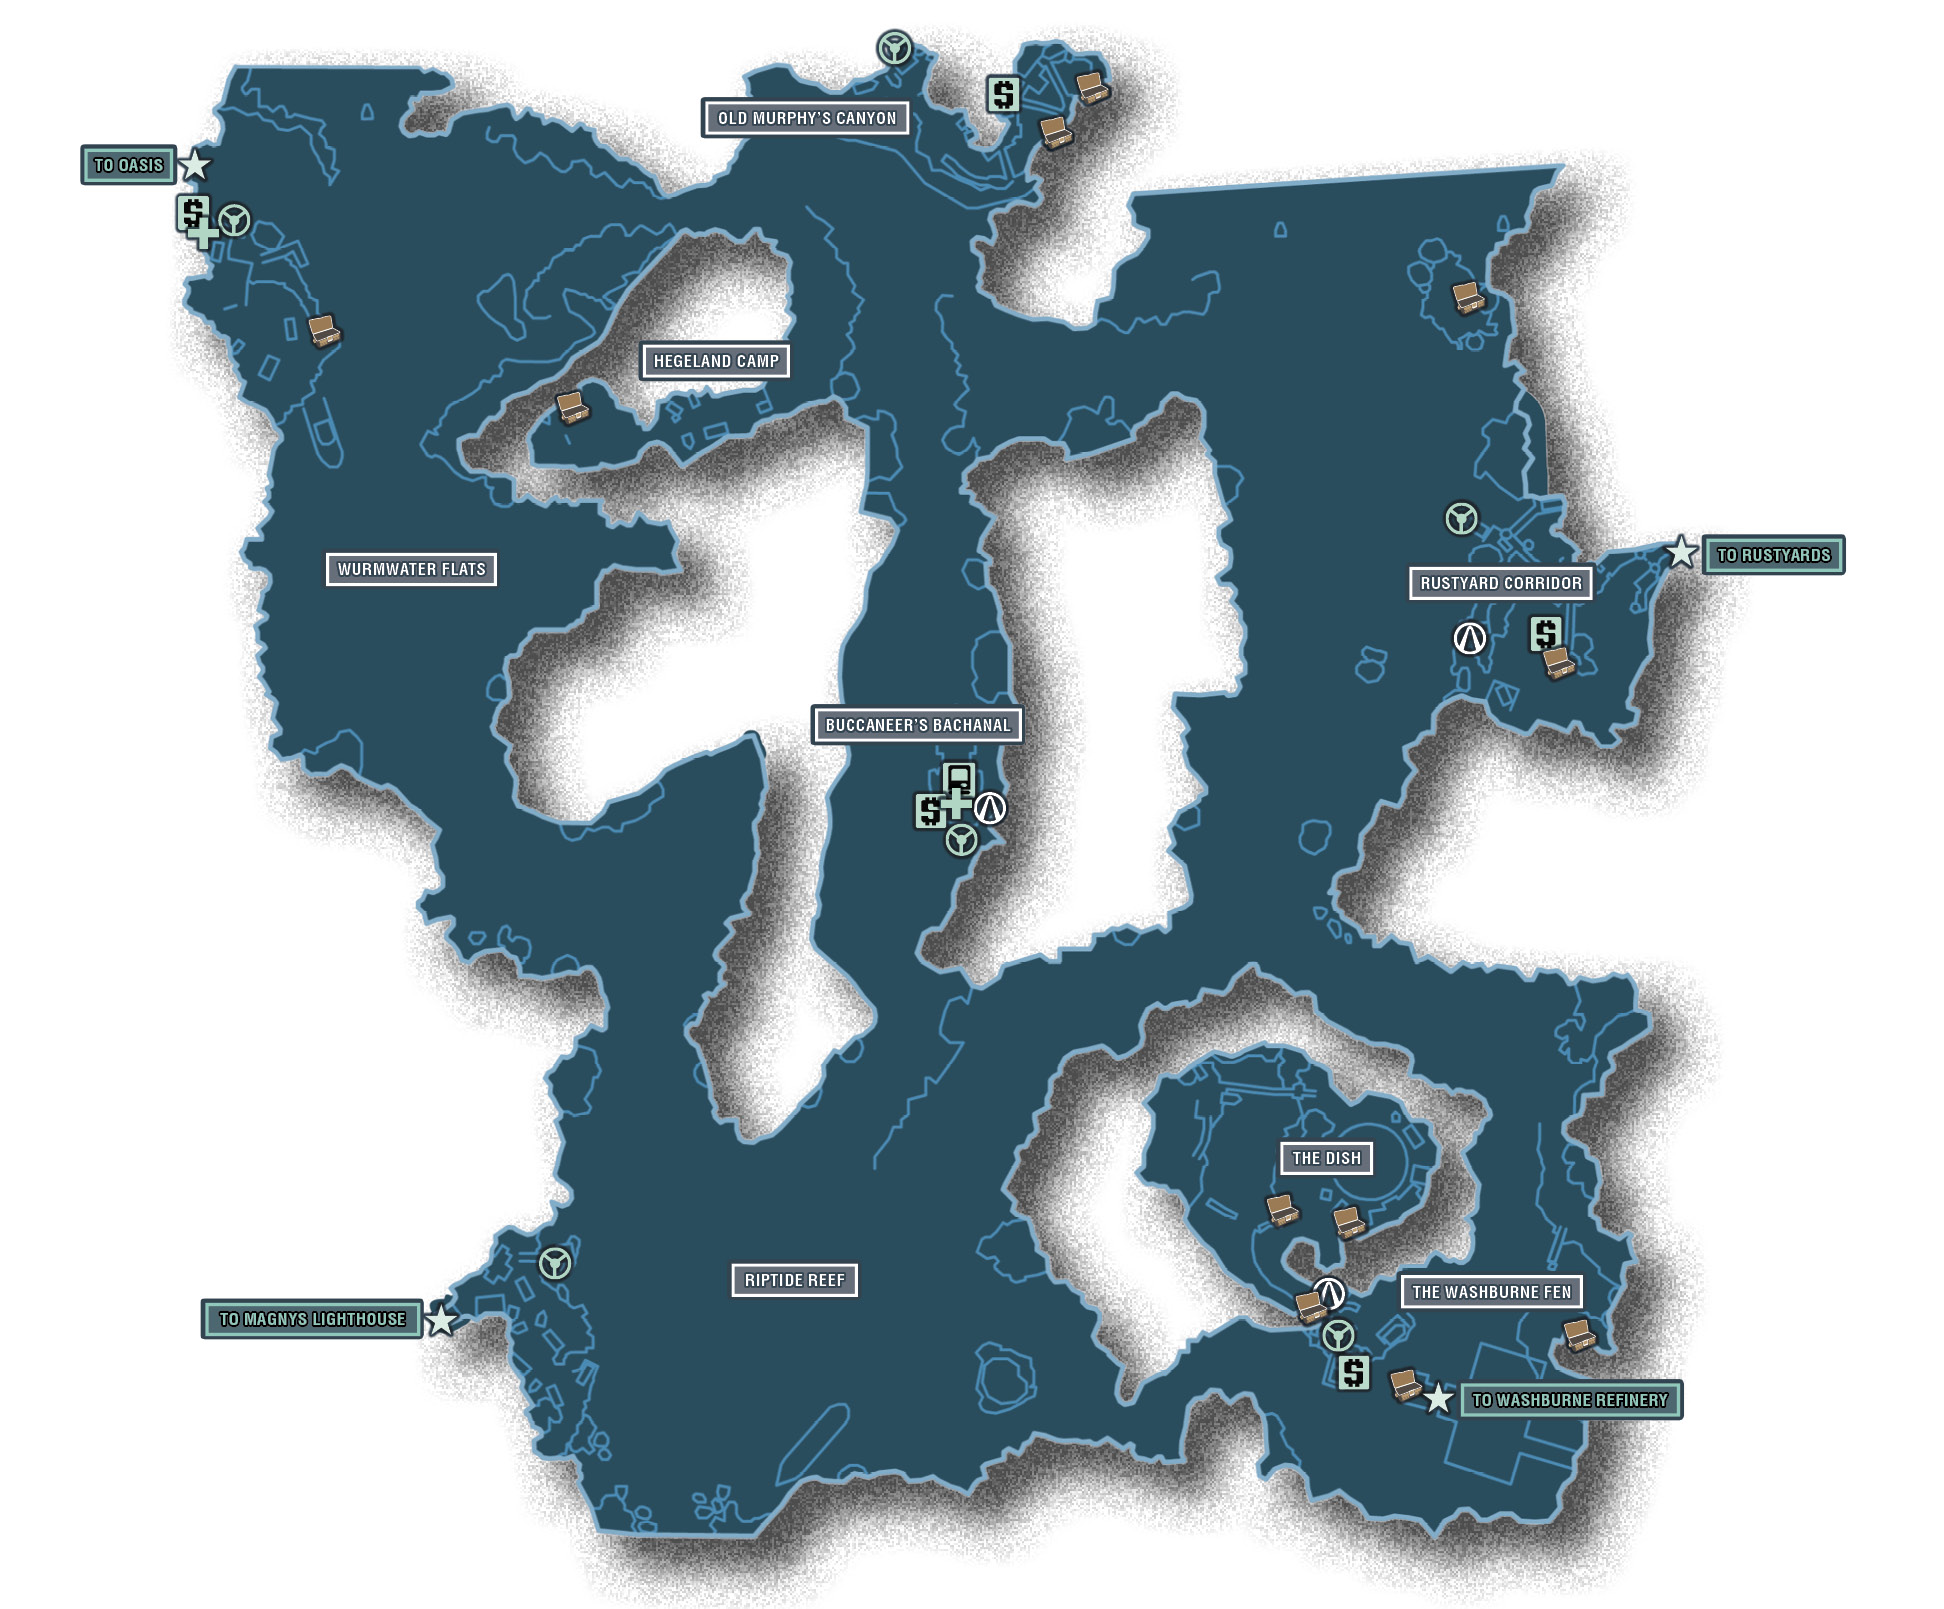
It’s time to sally forth in search of the illustrious Captain Scarlett. The Pirate Queen’s ship is located in nearby Wurmwater, beyond the Wurmwater Passage across the hardened sands of Oasis. Climb aboard a sandskiff (Rocket Hovercraft, preferably) and pilot it to the northeastern corner of Oasis, exiting to Wurmwater.
Once in Wurmwater, descend the hill to Wurmwater Flats and turn to the south. Explore the box canyons and open plains of Wurmwater Flats as you drive the sandskiff in a counterclockwise loop along the periphery of Wurmwater. You’ll soon come to Riptide Reef in the southwest corner, where the path quickly forks to the north. Take the lower left-hand path to enter the narrow canyon known as the Buccaneer’s Bacchanal. Once you get close, Captain Scarlett contacts you by ECHO.
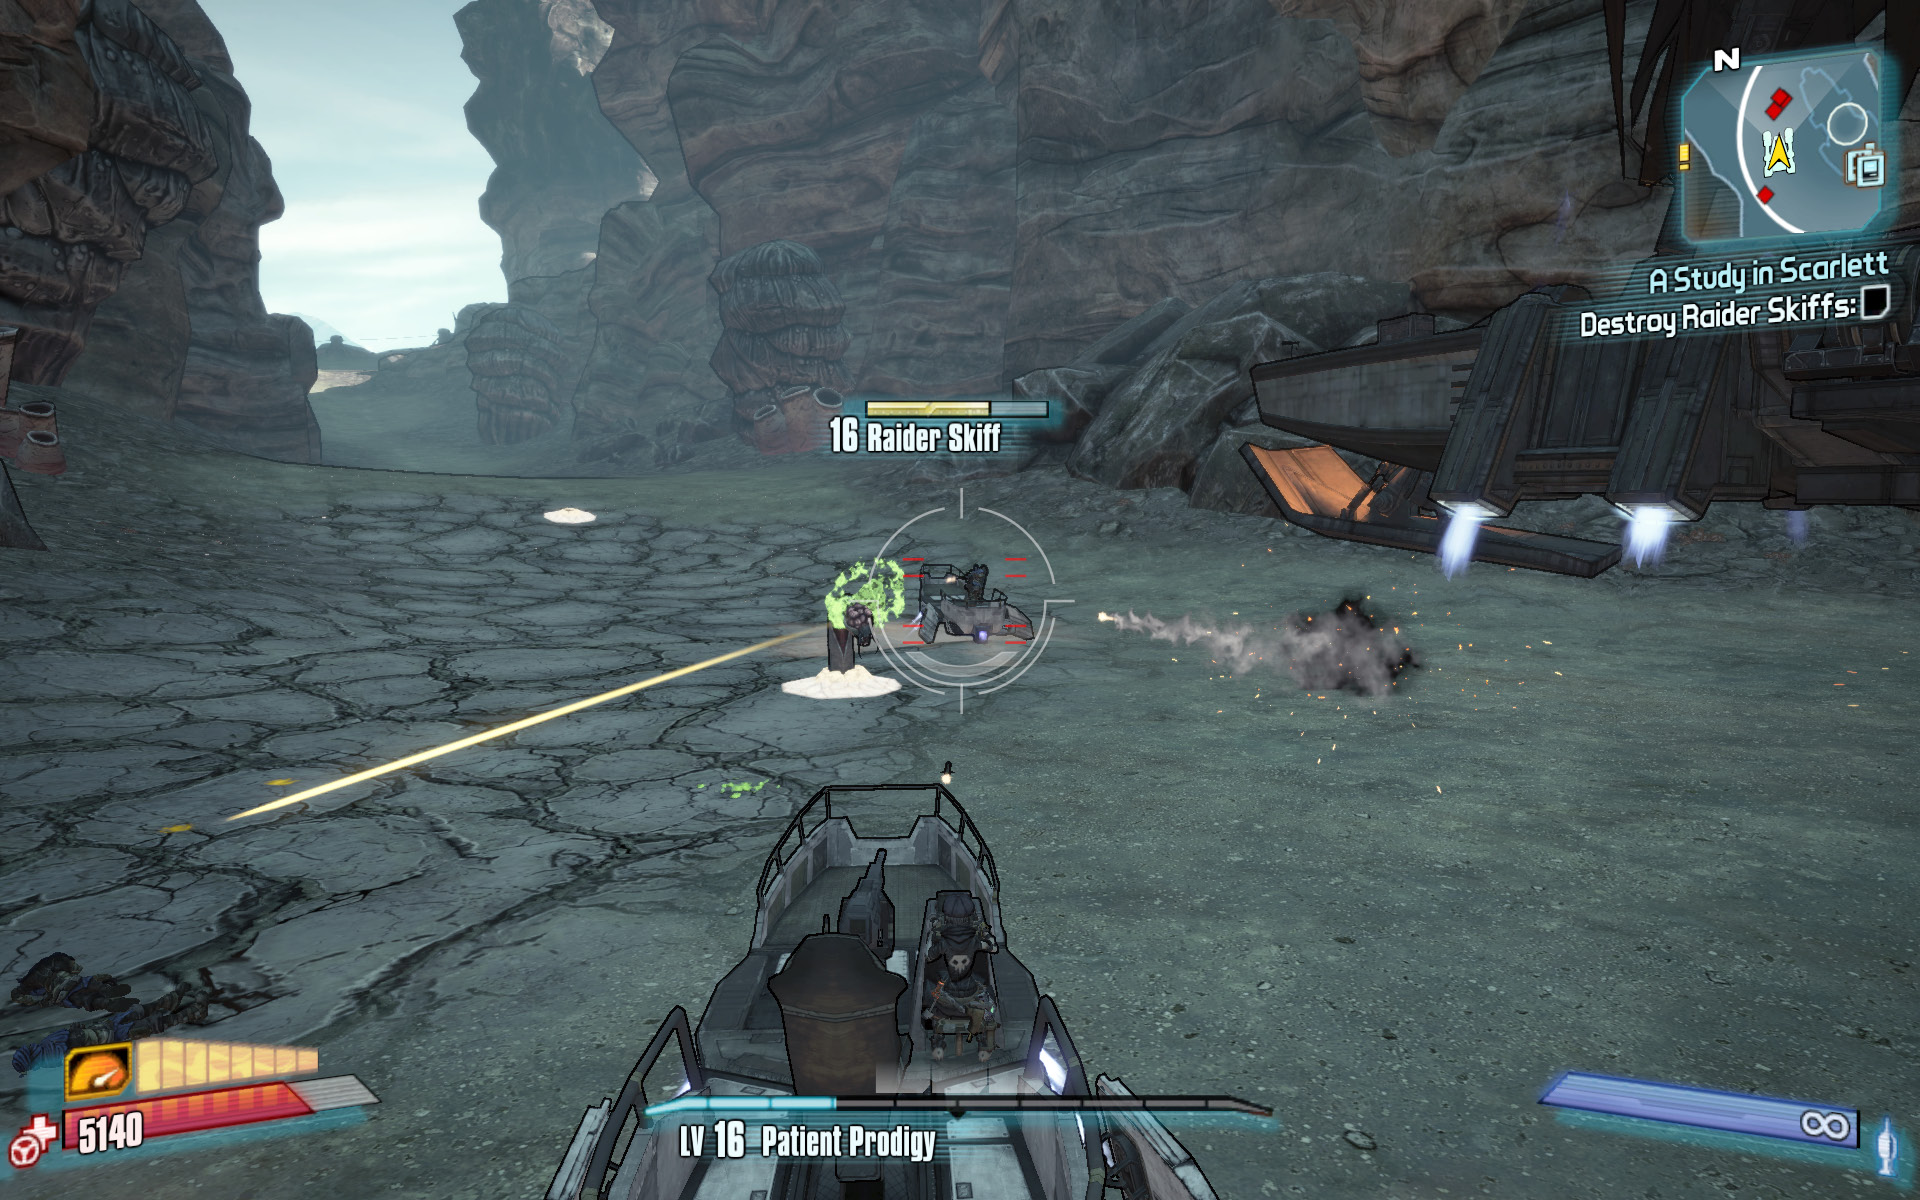
Rockets and harpoons work wonders against Raider Skiffs.
Three Raider Skiffs have been sent out to attack Captain Scarlett and her crew. Prove yourself a trustworthy ally by eliminating these Raider Skiffs. Use your sandskiff’s machine guns and specialty weapon to eliminate the three Raider Skiffs. Steer oblong circles in the canyon to maintain pressure on them. Stay close to the Pirate Queen’s ship, and don’t stop shooting until you’ve defeated all three Raider Skiffs.
Climb the ladder at the rear of the ship and board the lift inside, near the vending machines on the lower deck. The lift takes you to the top deck, where Captain Scarlett awaits.
Wurmwater
If you thought Oasis was dry and dusty, wait until you see Wurmwater! This sprawling maze of rock and sand is as desolate as it gets. The numerous gangs of sand pirates who make their camps in Wurmwater have taken to the cliffs, out of the reach of the sand worms. Elaborate settlements have been built into the canyons, including some precarious walkways high off the ground and out of sight. Of course, not all pirates resort to such makeshift architecture. Captain Scarlett makes her home in Wurmwater, aboard the Buccaneer’s Bacchanal. The decks of her ship are some of the few safe places in the region.
Dangerous Beasts
| Enemy Family |
|---|
|
Sand Worms |
|
Loaders |
|
Pirates |
 Cult of the Vault
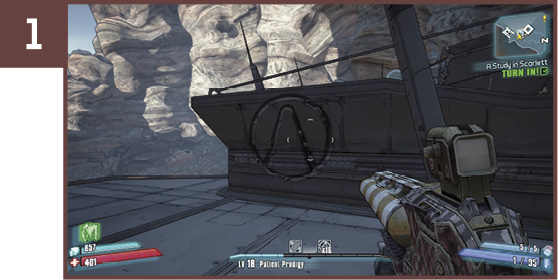
Take the lift to the upper deck of the Pirate Queen’s ship, and turn to the rocks on your right. Drop off the deck onto the platform just below to access the symbol on the top of the starboard hull.
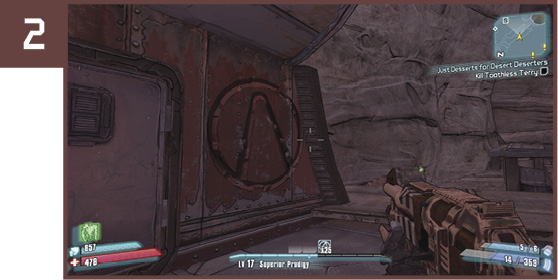
Climb the stairs near the entrance to the Rustyard Corridor, and follow the rope atop the cliff in a southern direction. Skirt the edge of the metal wall, then leap from the large metal spools onto the upper level. The Cult of the Vault symbol is near the door on the left.
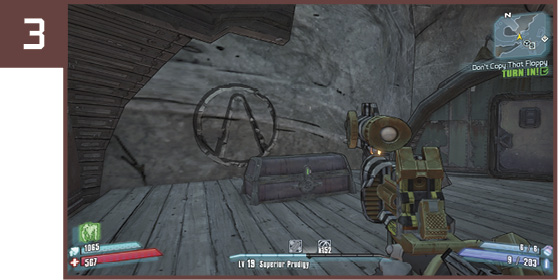
Make your way to the Dish and climb onto the walkway southeast of the satellite dish. Follow the dilapidated walkway as it hugs the side of the cliff back toward the camp, across from the Washburne Refinery entrance. The Cult of the Vault symbol is due north of the Catch-a-Ride on the ground, but you cannot reach it from the Dish.
Refined Tastes
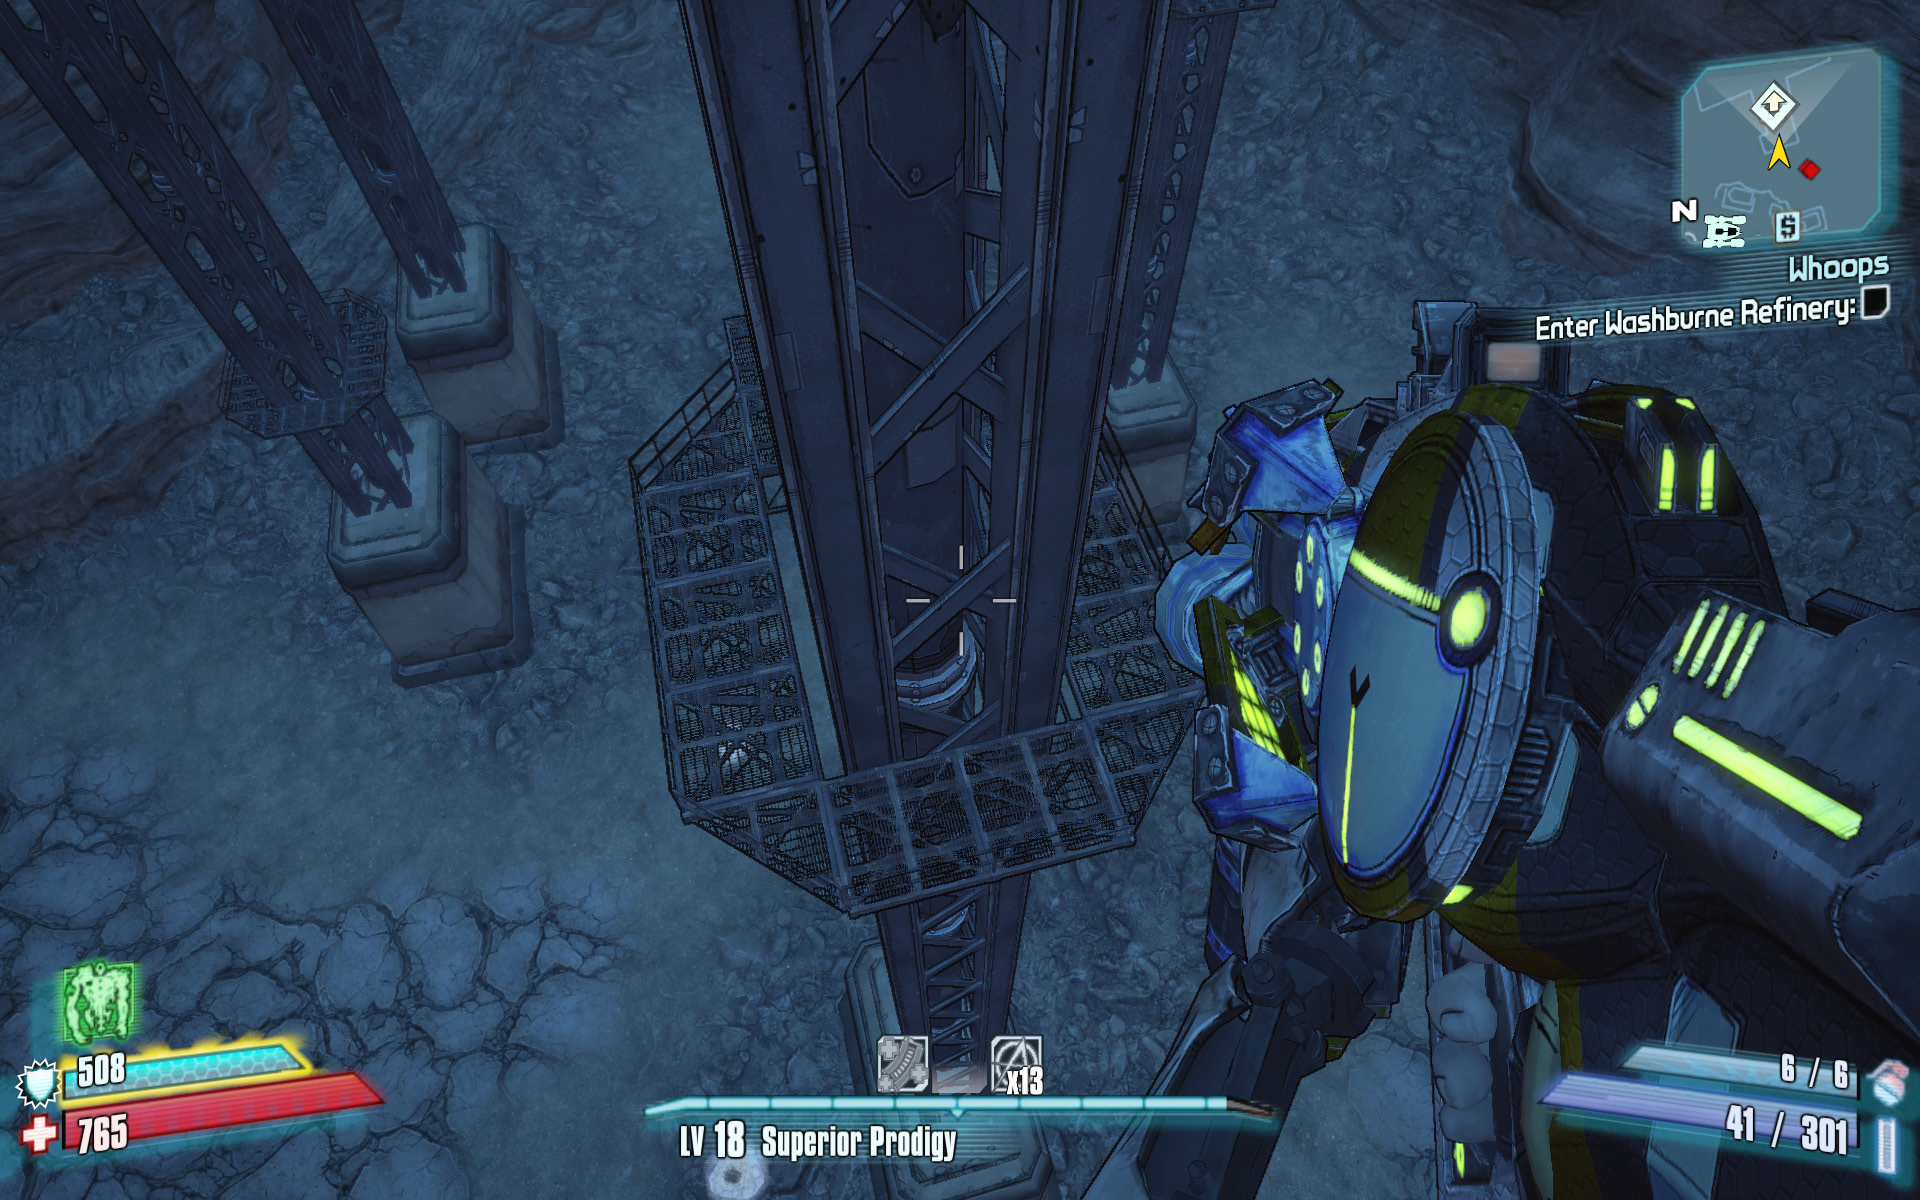
You can access this chest only via the lifts that lead up to the entrance to the Washburne Refinery. Make your way to the lift platform near the vending machine in Washburne Fen, then board the lift. Stand a couple steps back from the eastern edge of the platform, and then just as the platform is about to reach the upper landing, sprint and leap for the catwalk around refinery support. You’ll need to time the jump correctly to land on the metal platform around the support tower. The treasure chest is on the far side of the support tower, out of view.
Skiffless
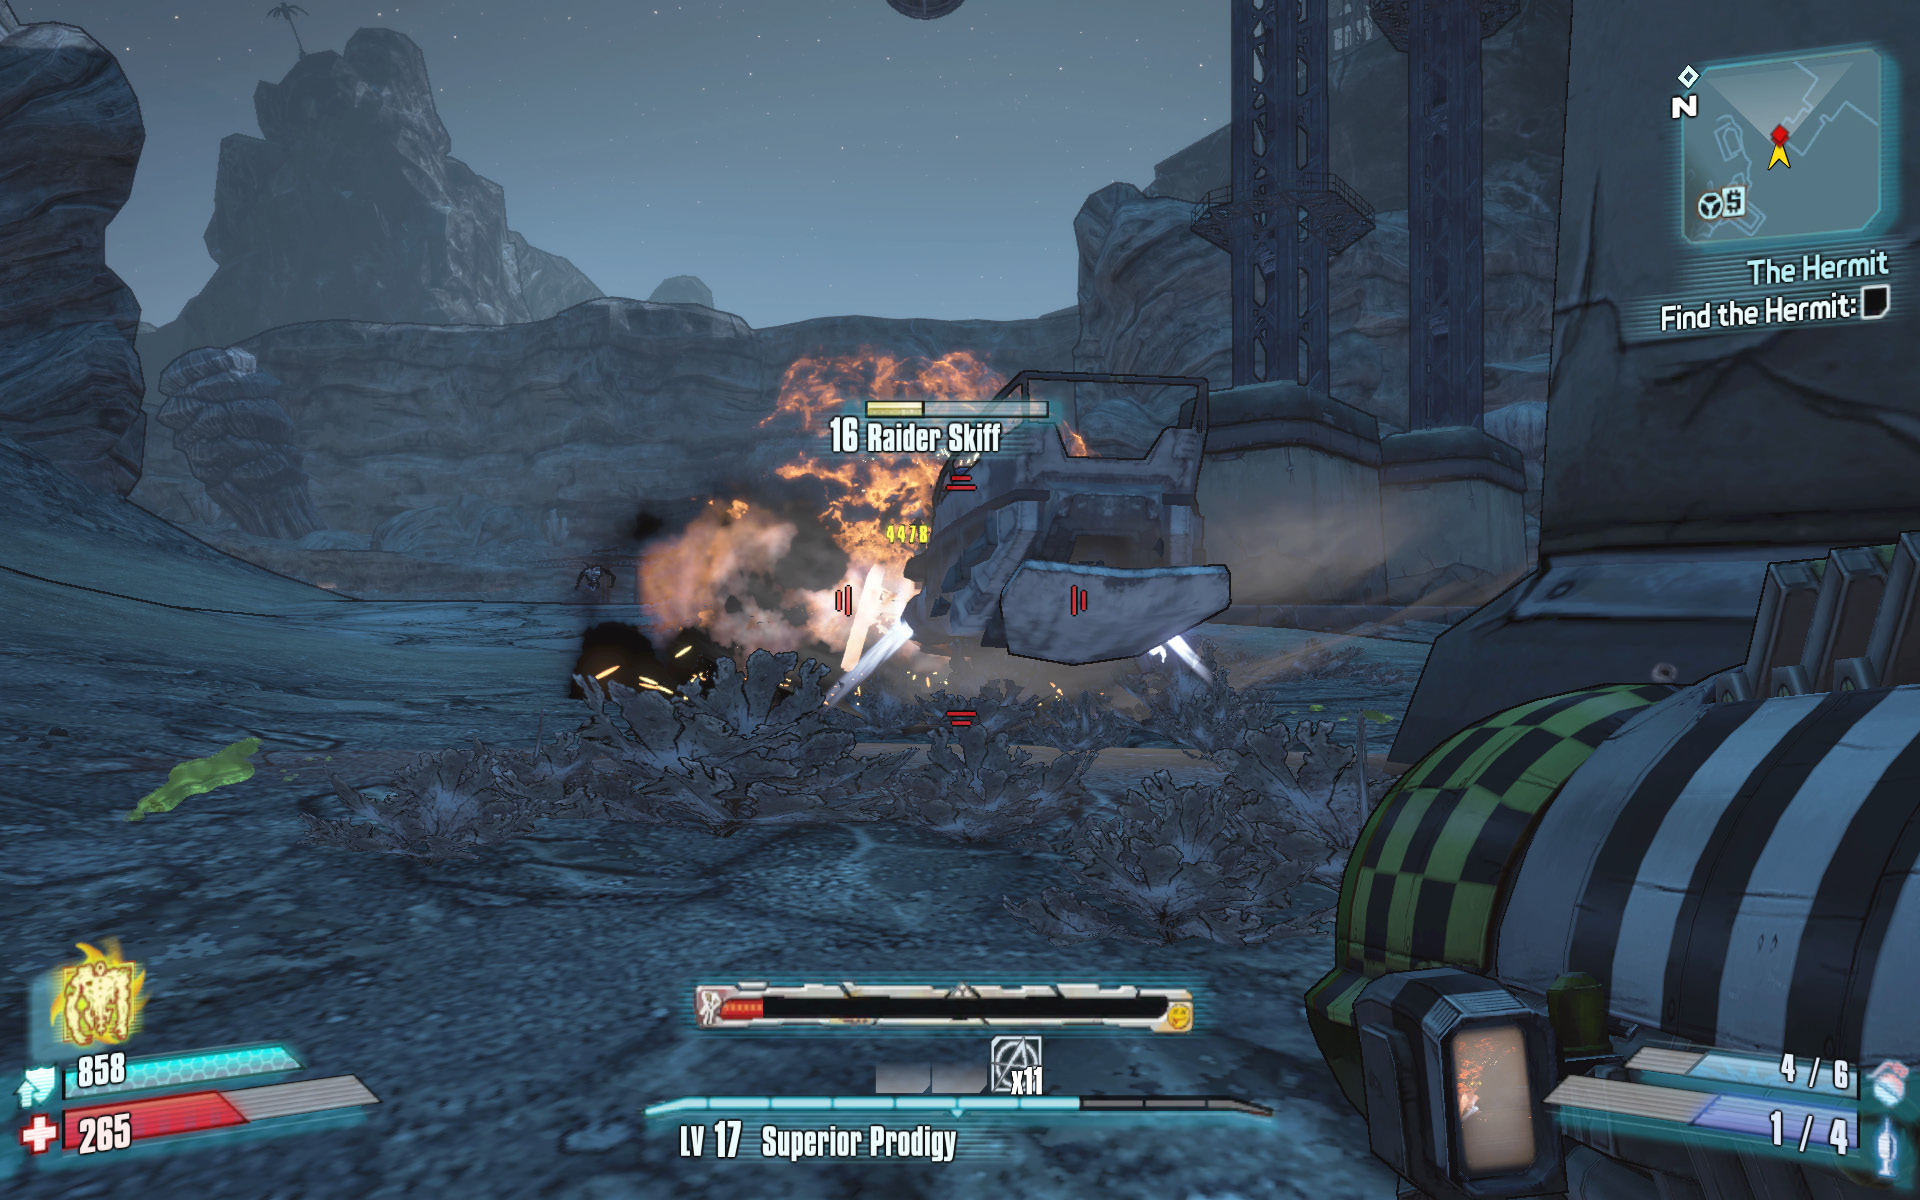
Enter the Wurmwater zone from another area, and head out on foot toward the Riptide Reef or Washburne Fen areas (you must not load a sandskiff to complete this challenge). Raider Skiffs are known to patrol both of these areas. Ready your rocket launcher and watch for a Raider Skiff to appear. Take any available cover that you can to keep safe from sand worms while you target the Raider Skiff. Use your grenades and rocket launcher to destroy the skiff and complete this challenge.
Comb the Desert!
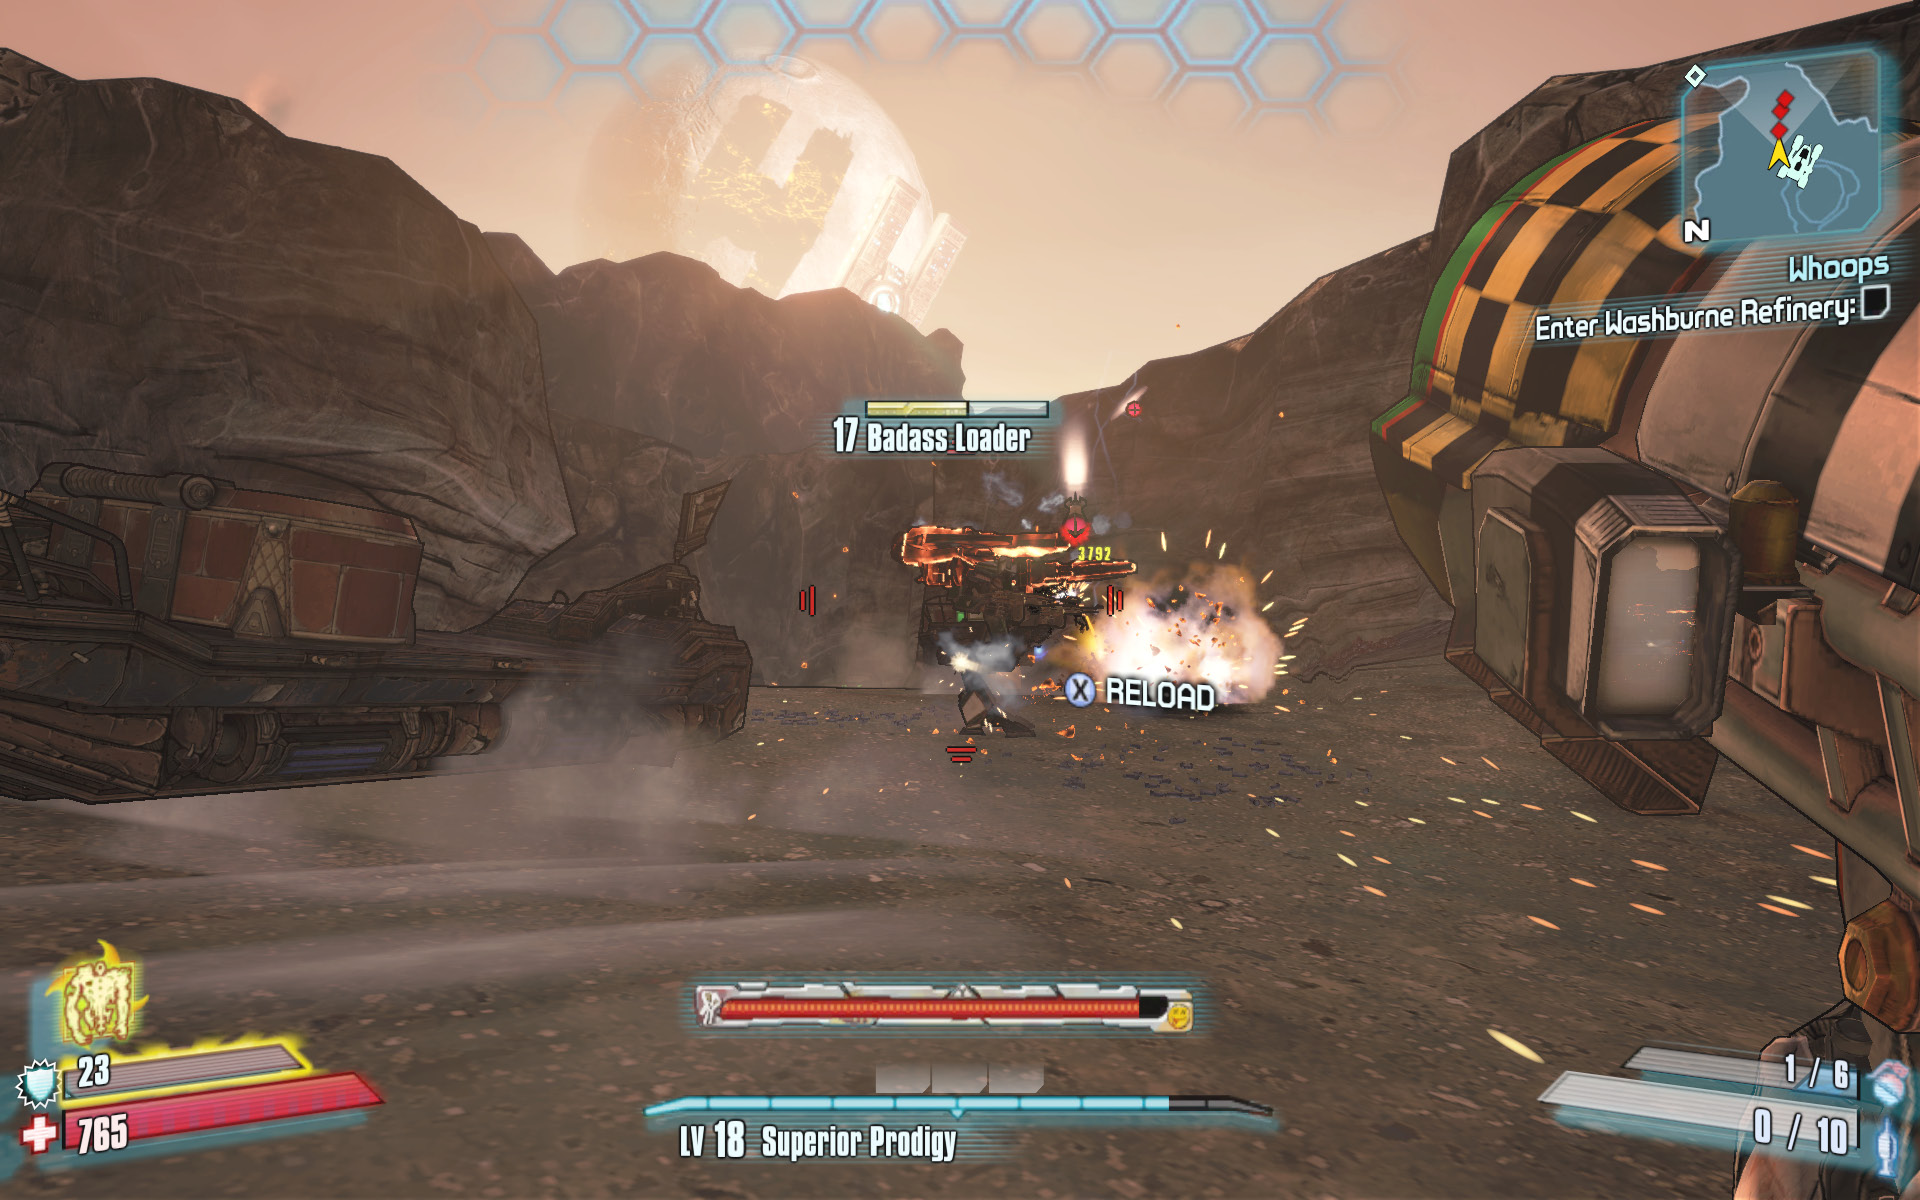
The caravan you attack in the “Two Easy Pieces” mission isn’t the only caravan crossing Wurmwater. Be on the lookout for an identical caravan of three skiffs guarded by three Badass Loaders and attack them to complete this challenge. Soften them up with your rockets or harpoons, then hop off the sandskiff and let them have it with a rocket launcher or (better yet) some slag and corrosive elemental weaponry! The caravan is often encountered between Washburne Fen and Rustyard Corridor. Loot the treasure chests on the skiffs for some valuable gear!
Hayter’s Folly
This serpentine water-filled cavern lies beneath the sands of Wurmwater and is not only one of the most dangerous areas in this section of Pandora, but also one of the most serene. Visitors seeking a meeting with the notorious Sandman must wade through crystalisk-infested waters and battle past packs of ravenous skags to reach their target. Hayter’s Folly is far larger than first-time visitors expect it to be. And only the most thorough explorers will have the secrets of the cave revealed to them. Explore high and low, and you may be rewarded.
Dangerous Beasts
| Enemy Family |
|---|
|
Pirates |
High Value Targets
| Enemy | Family |
|---|---|
|
Grendel |
Bullymong |
 Cult of the Vault
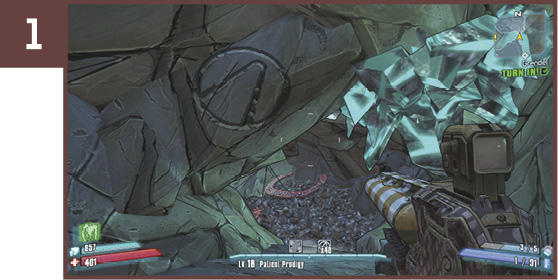
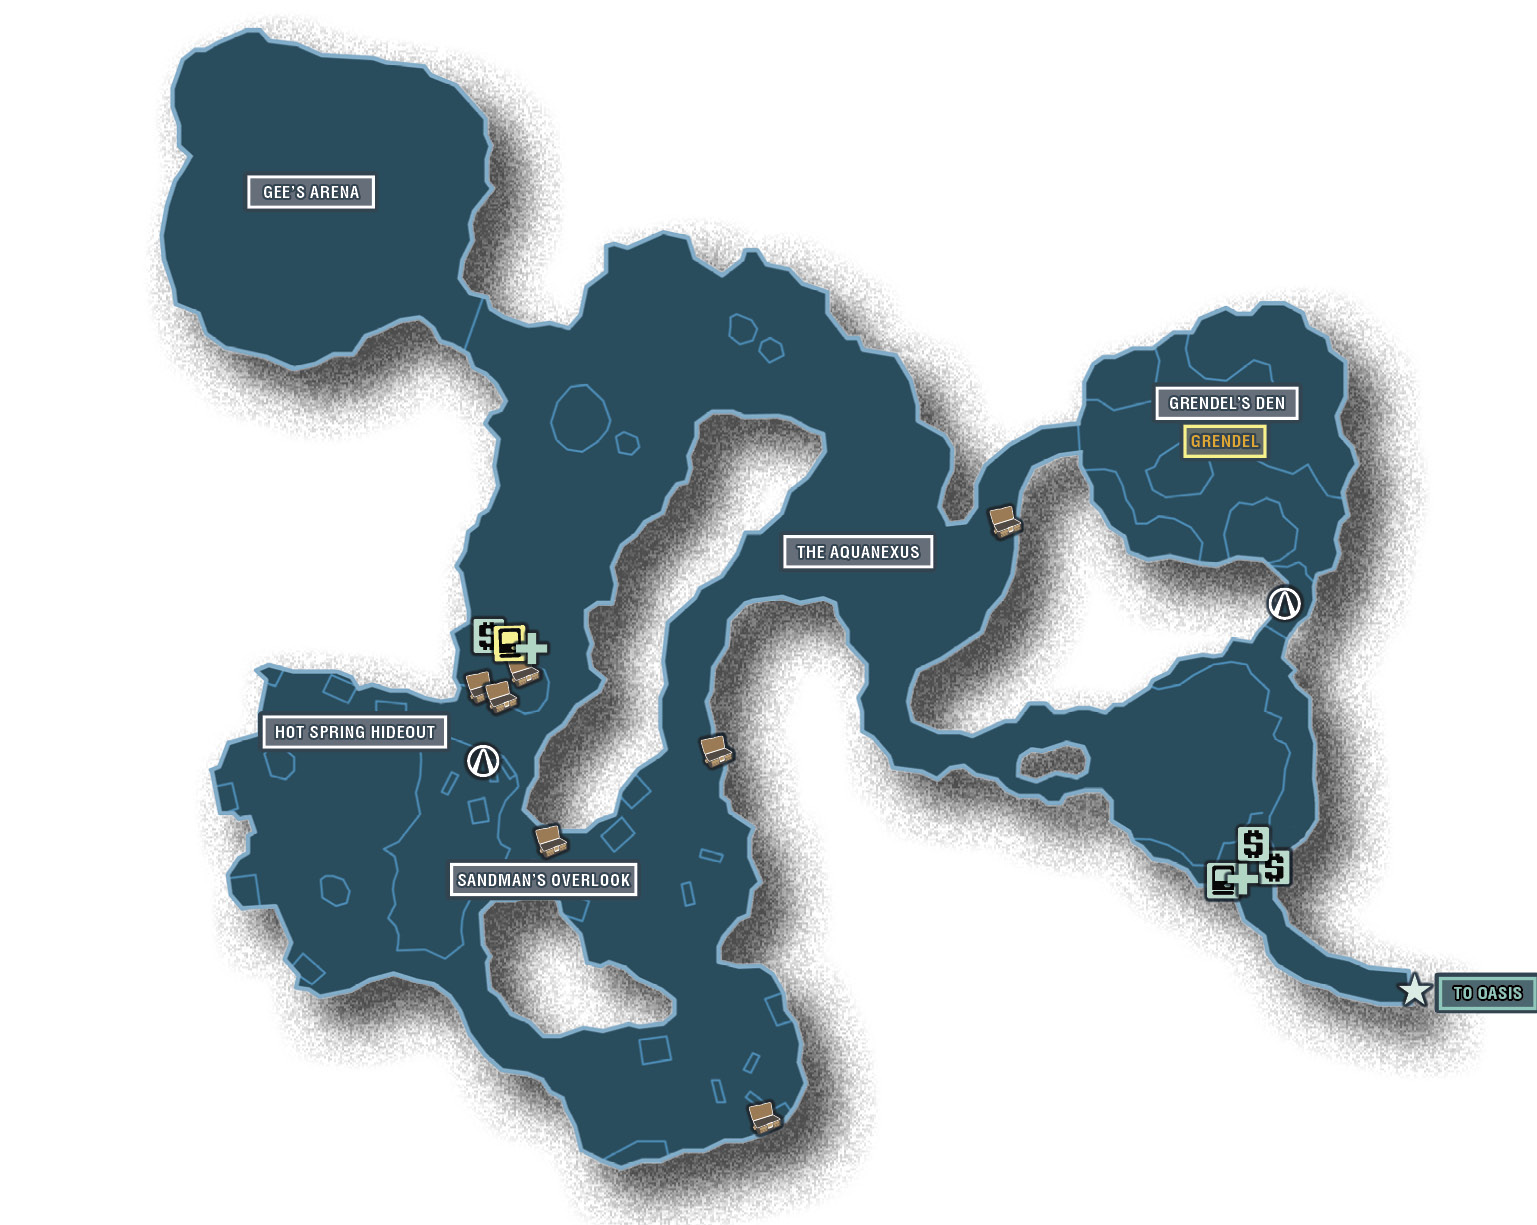
Defeat Grendel, and make your way out of her area along the upper narrow path. Continue up the hill, then turn around to face the crystals on the ceiling. The Cult of the Vault symbol is on the rocks to your left.
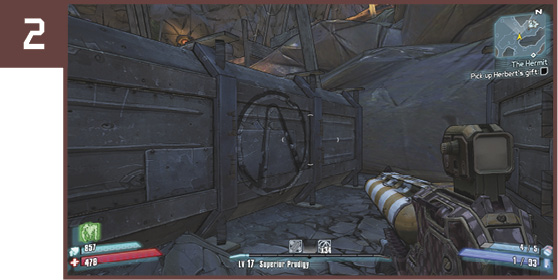
Face the “Wet Reward” secret area in Hot Spring Hideout, and locate the two shipping containers off to the right. This Cult of the Vault symbol is on the side of the nearest container, facing east.
Master of My Domain
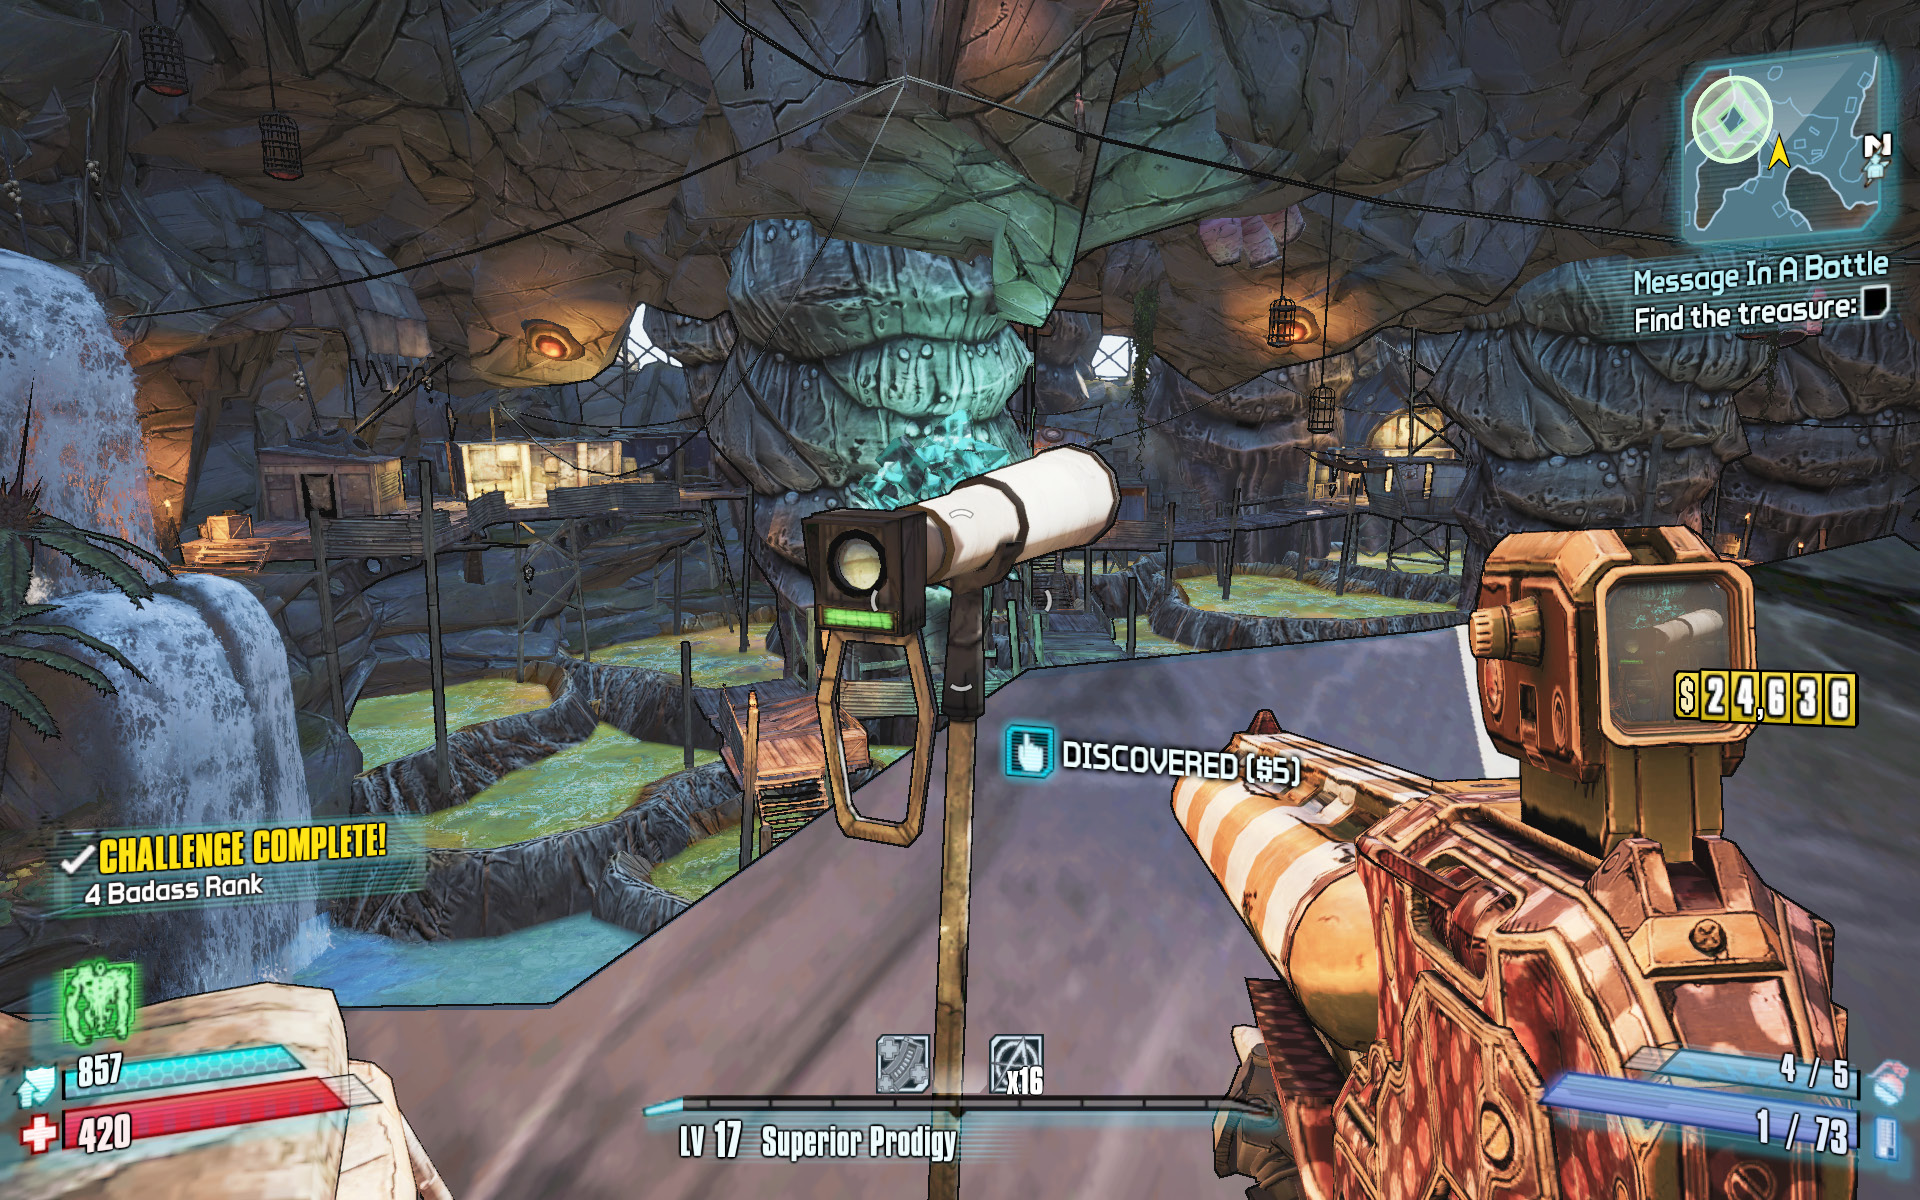
Step out onto the deck in Sandman’s Overlook to find a telescope and couch up above the Hot Spring Hideout area. Pay $5 to use the telescope and complete this challenge.
Playing Chicken in My Sleep
Complete this challenge by killing Sandman and The Big Sleep before killing any of their minions. Stay out in the water, and take on The Big Sleep while Sandman hangs back on the dock. Be extra careful with explosives, and resist using the Sabre Turret or Deathtrap Action Skills so you don’t accidentally kill any minions. The Big Sleep is the tougher of the two and less likely to have any minions nearby when you fight him. Switch to a shotgun, and charge Sandman at point-blank range after you kill his sidekick.
Wet Reward
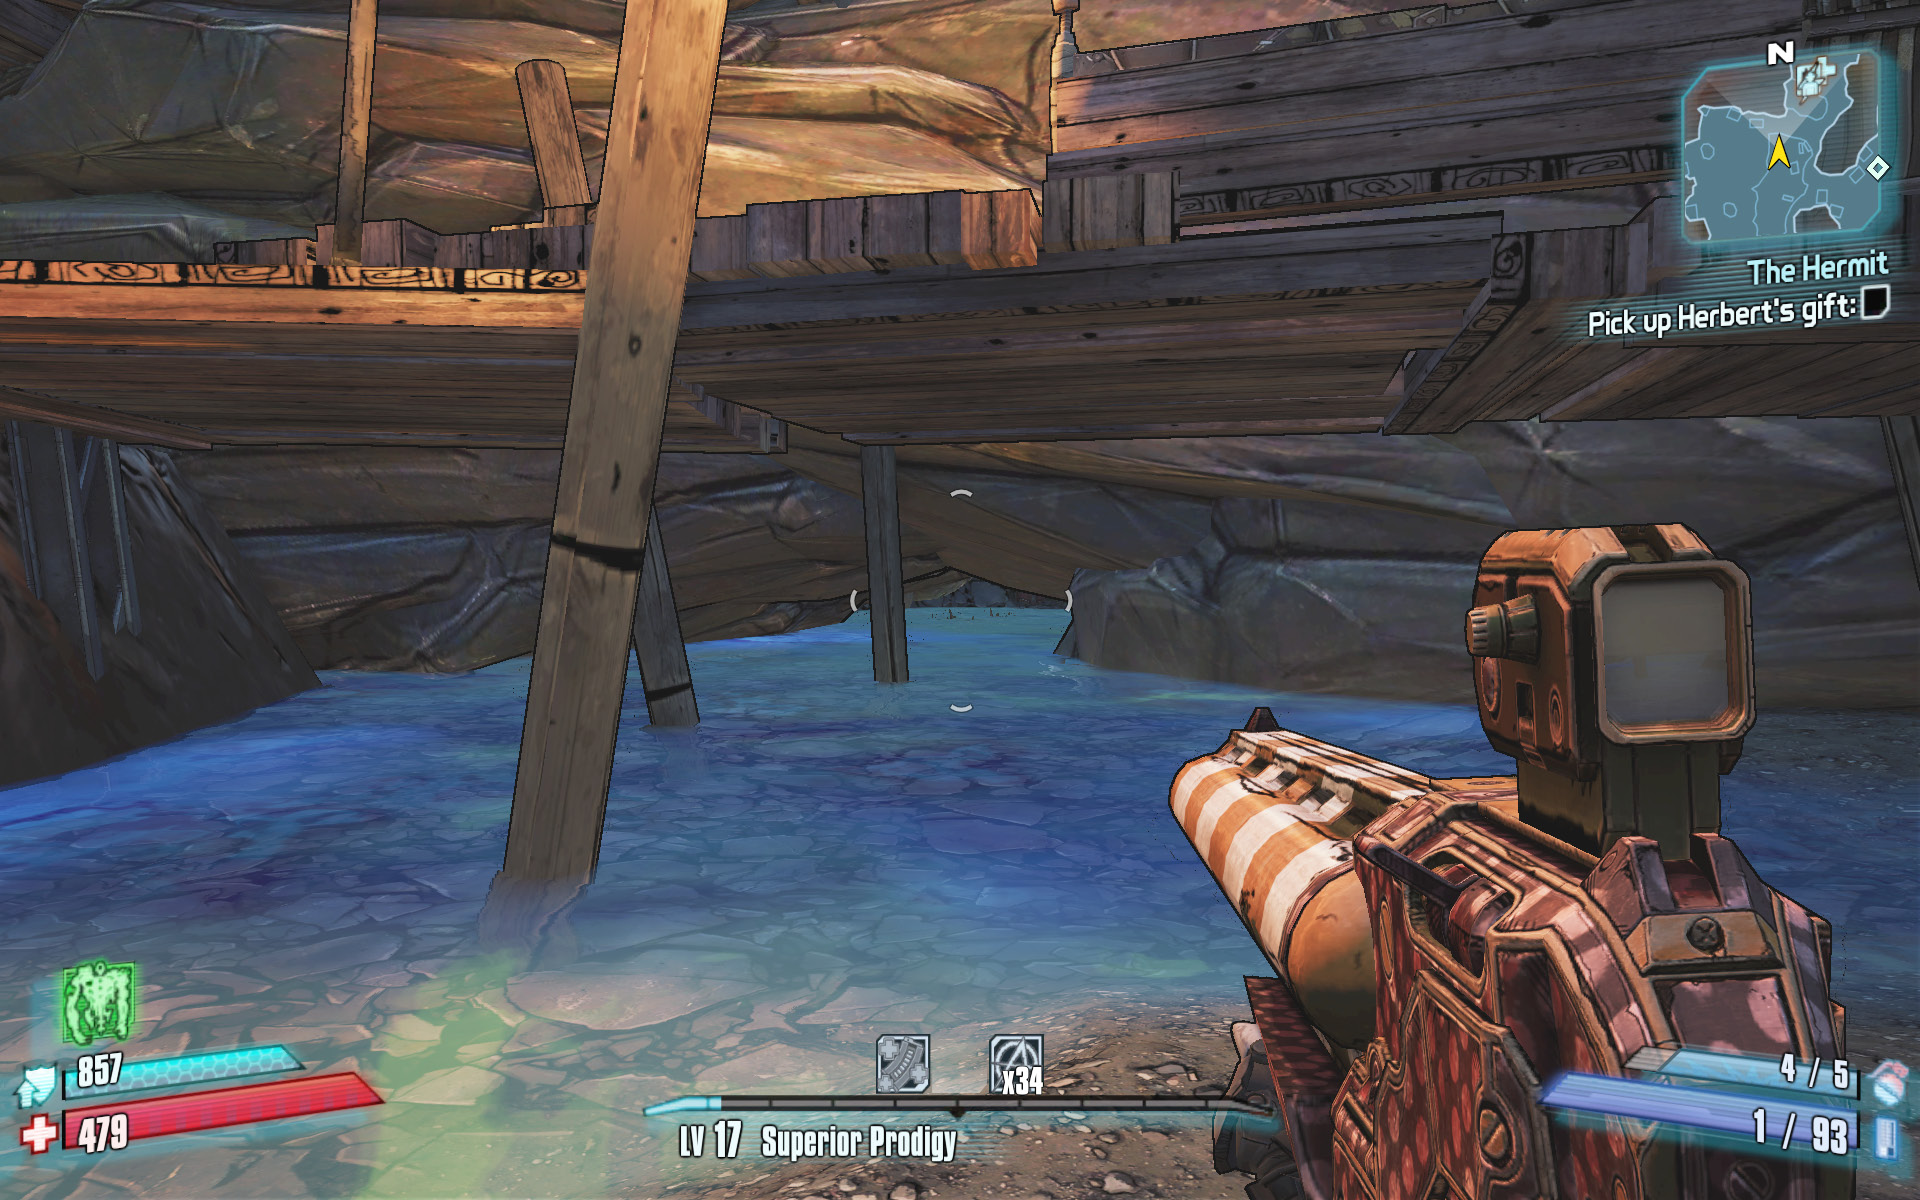
Make your way to Hot Spring Hideout in the southwest corner of Hayter’s Folly, and drop into the water on the north side of the floor. Crouch down beneath the walkway and rocks, then head north through the water-filled crack to uncover a pair of hidden treasure chests.