
Borderlands 2 Game of the Year Guide Captain Scarlett and Her Pirate's Booty
Crazy About You
|
 Mission Briefing
| Level | Money | XP | Gear |
|---|---|---|---|
|
17 |
$617 |
1451 |
Grenade Mod (green) or Pistol (green) |
*Money and XP may vary based on player’s level at start of mission.
Pandora’s Creepiest Stalker
Herbert knows where the compass piece is, but he’s far more interested in the fact that you seem to have an “in” with Scarlett. And boy, does he love Scarlett! He’s recorded an endless collection of audio tapes for her, and he wants you to retrieve four of them for him. Bring back those tapes, and he’ll give you the compass piece.
Each of the four tapes is located beyond that old ship north of Herbert’s shack. Drop off the ledge to the area near the bottom of the anchor elevator, and fight your way past the spiderants and into the area known as Coobie Gorge to the north. Spiderants are particularly vulnerable in their tail, but they suffer damage no matter where you shoot them. The Fire Spiderants are immune to fire attacks, so switch elementals if you’re attacking with fire weapons.
The first of Herbert’s tapes is due north, at the end of Coobie Gorge (see the in-game map). Continue past the bridge on the left to the large spiderant nest to find it. Once you have it, return the way you came, and cross the bridge to the west. The way into Maroonie’s Clipper is gated shut, but two Anchormen open the gate and attack as you draw near. Quickly slather them in slag, then switch to a corrosive or fire weapon to do them in.
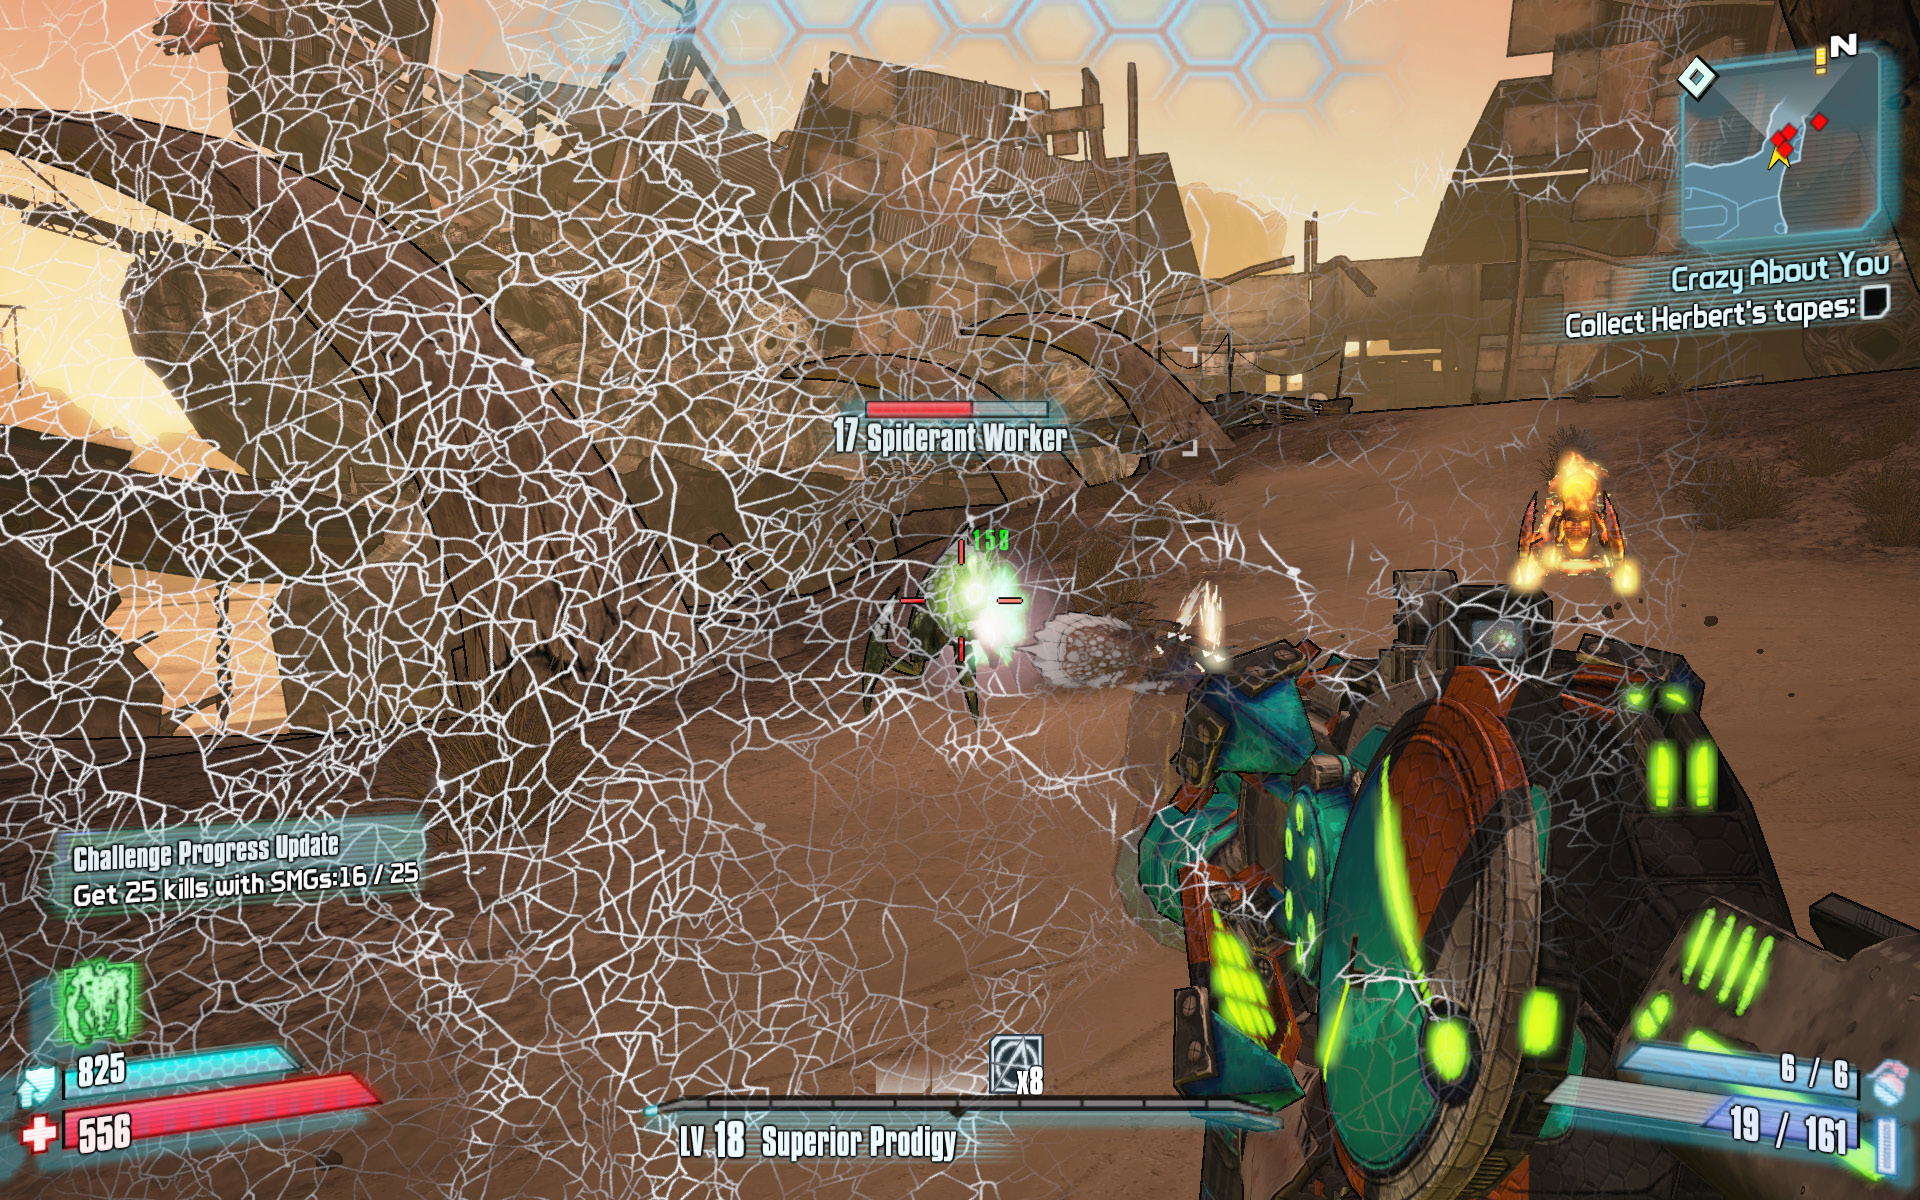
A spiderant’s web spit can slow your movement and obstruct your vision.
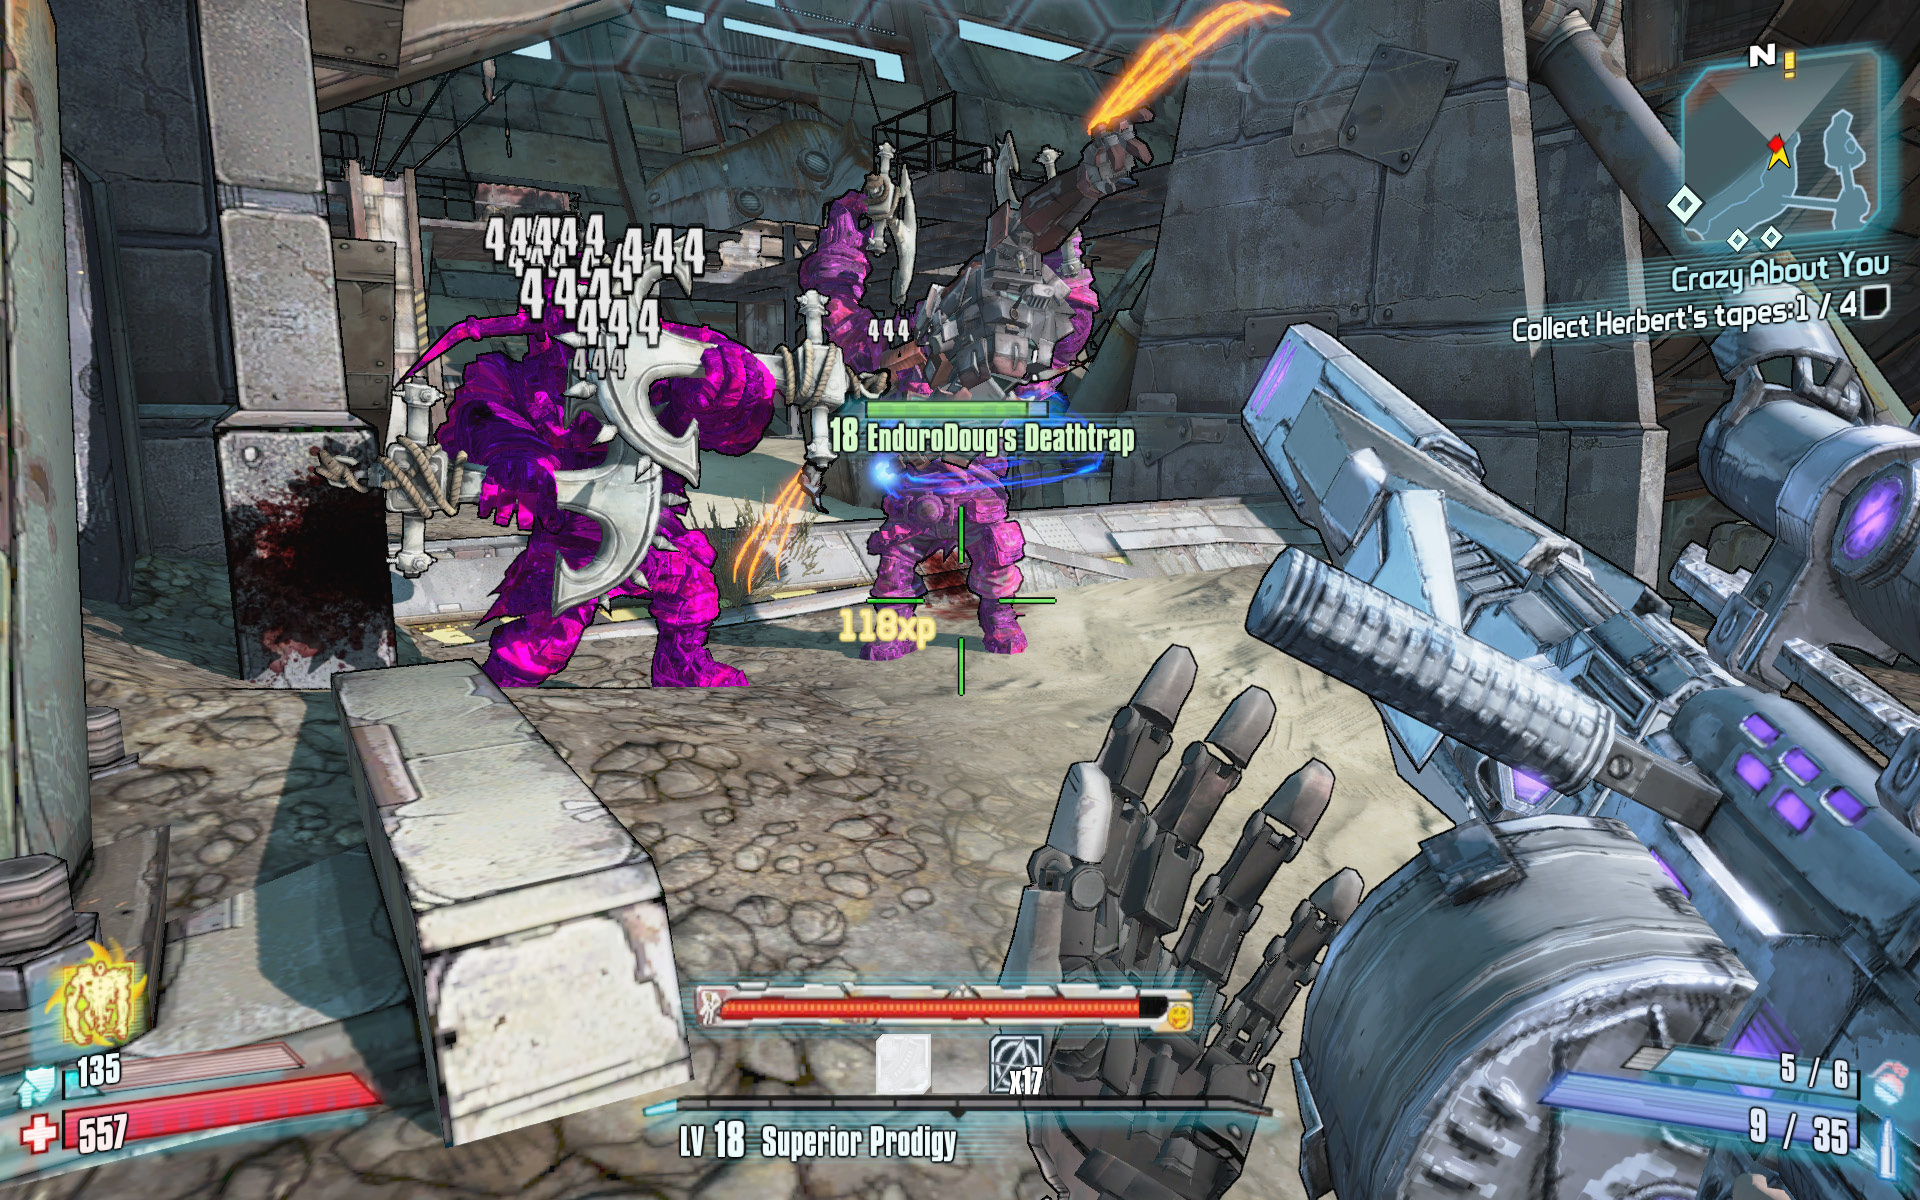
Slag the Anchormen, then switch to another elemental weapon for bonus damage.
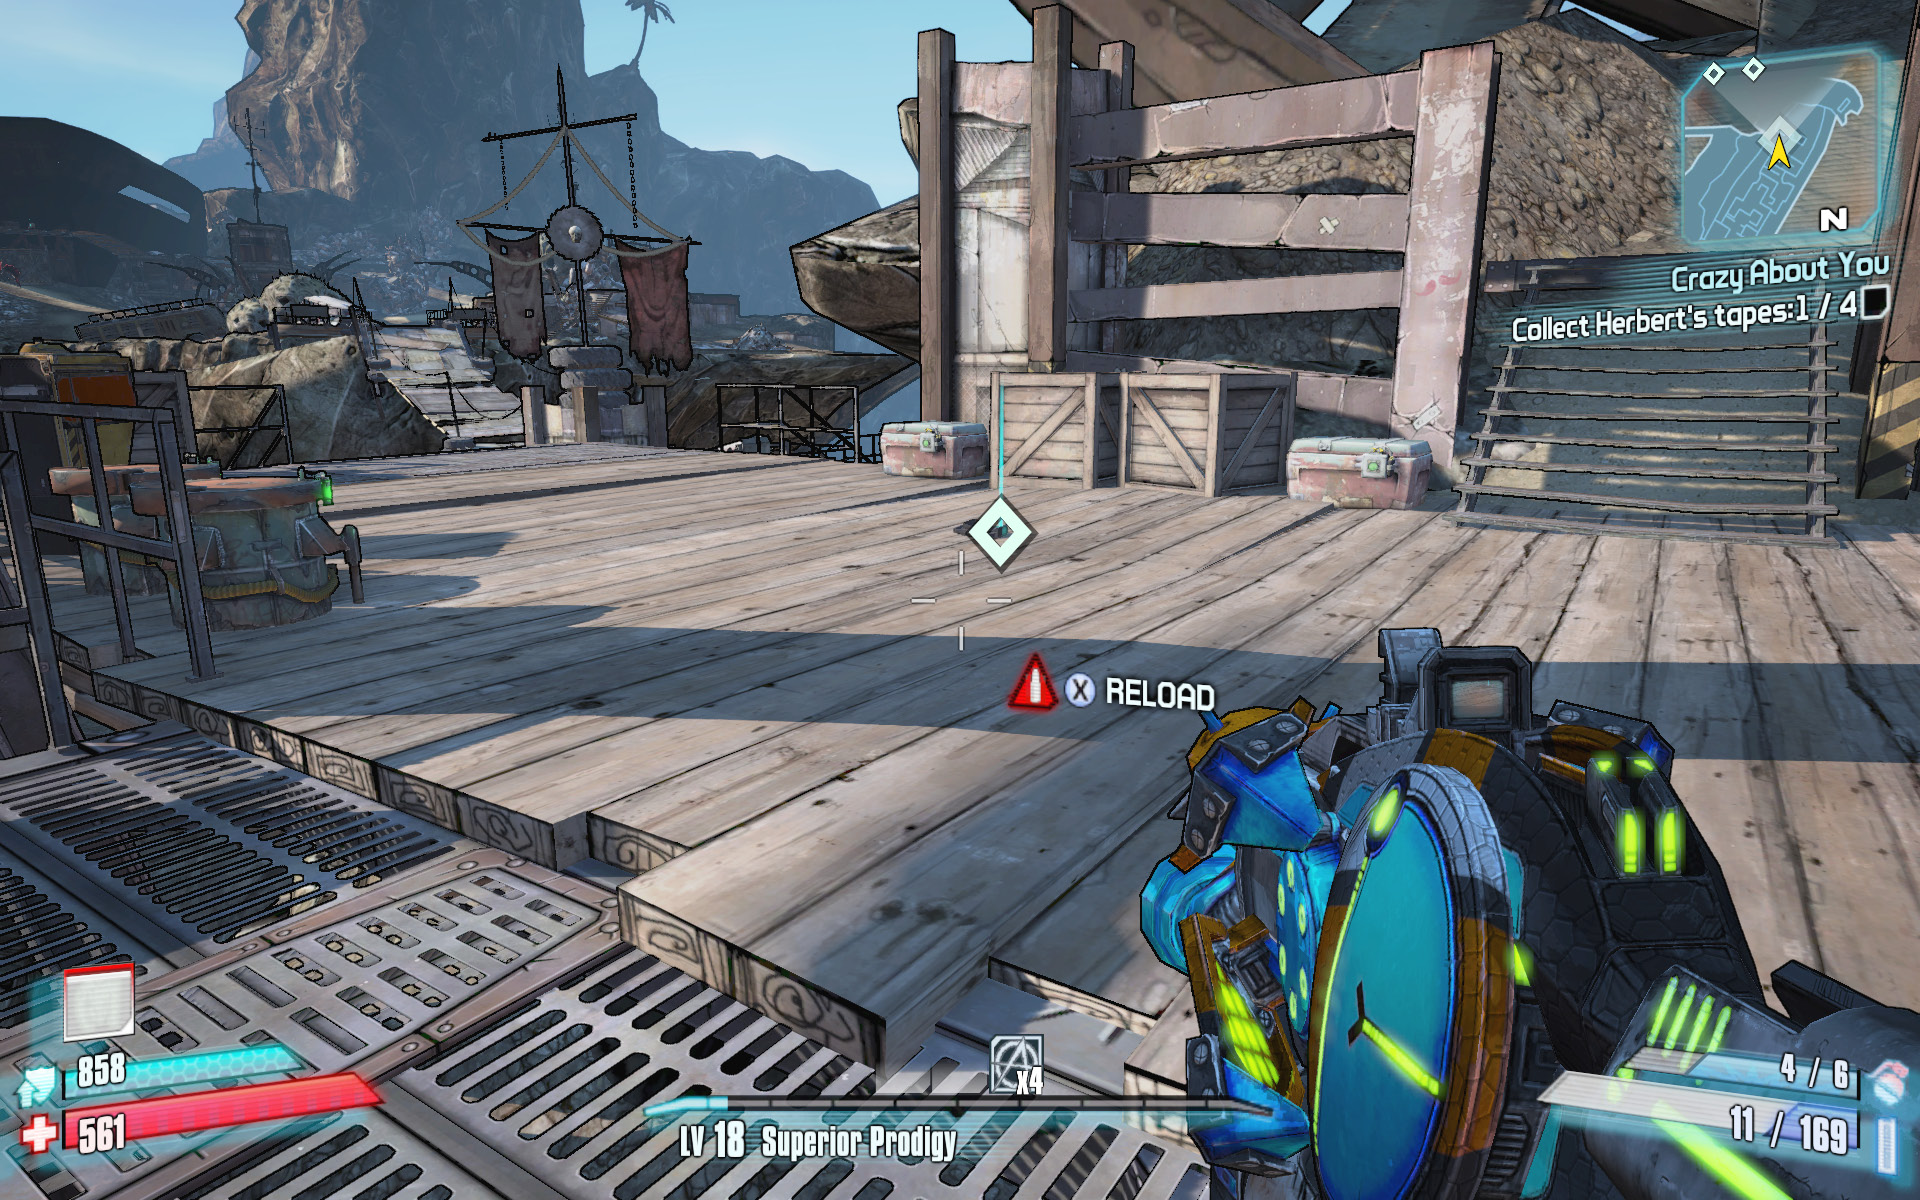
Grab the second tape, then head across the bridge to the south.
Fight your way westward through the interior remains of Maroonie’s Clipper. The numerous shacks, cabins, and shipping containers not only host many lootable containers, but also provide excellent cover from the pirate attacks. This is particularly important as you near the stairs—lob a grenade at the pirates above your position, then duck into a container for cover. The second of Herbert’s tapes is on the deck at the west end of Maroonie’s Clipper, right near the checkpoint.
The next tape is in the Dreg Scrapyard just across the bridge to the south. Take a minute to kill any spiderants lurking about, then climb the larger piles of garbage in the center of the scrapyard to find it. The fourth tape is a bit farther off the main path of travel. Continue through the Dreg Scrapyard to the south, and make your way out onto the metal walkway past the spiderant nest. The final tape is atop a chair next to a weapon chest. This platform is located directly above the path leading onto the giant ship, where you can see spiderants and Anchormen battling.
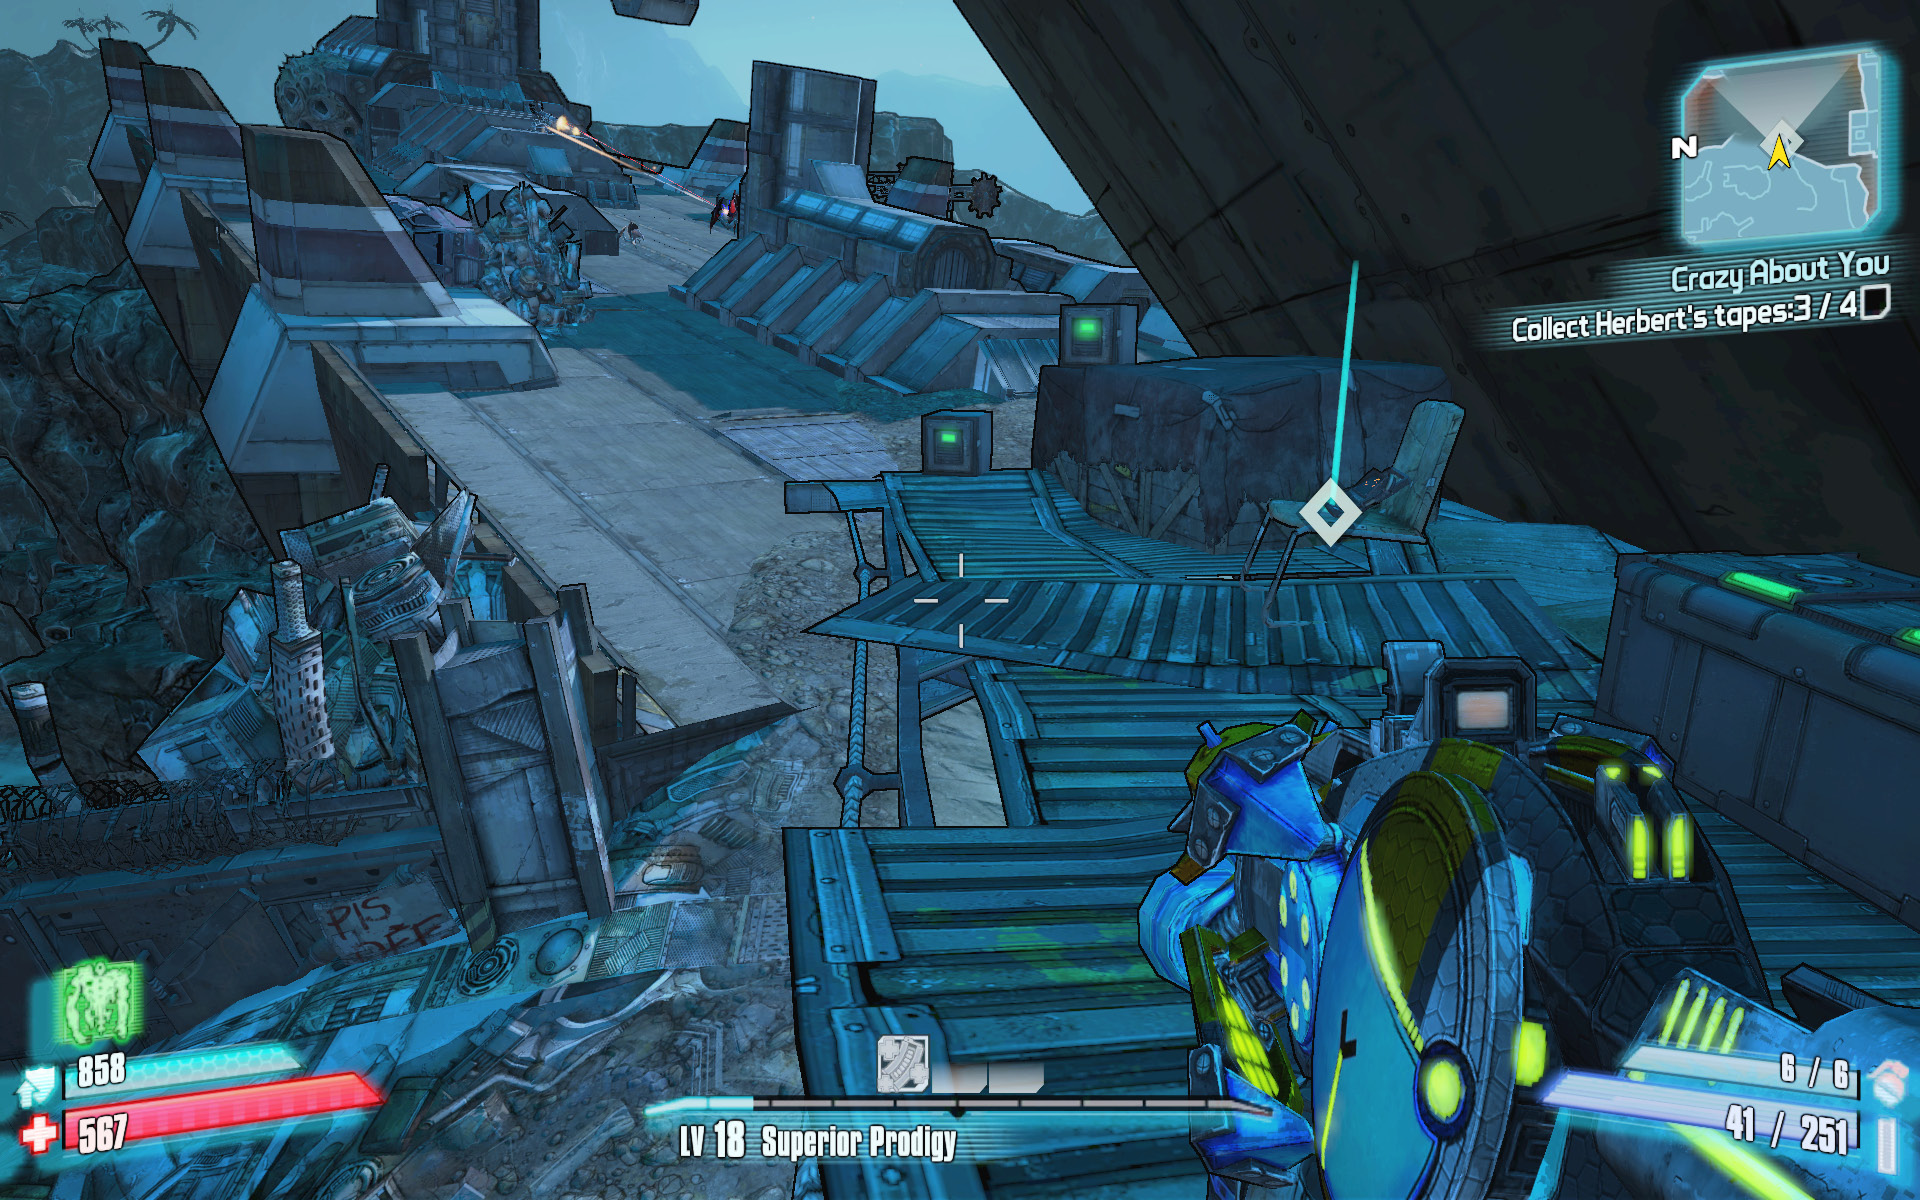
The final tape is on a metal walkway above the path leading onto the large ship.
Battle past the Spiderant Sentinels and any surviving Anchormen on the deck of the large freighter en route to the bow. The easiest way back to Herbert is to leap off the bow down onto the path near above the anchor elevator. Don’t worry if you fall to the lower ledge, since you need only call for the elevator and ride it back up to Herbert’s shack. Herbert had the fourth compass piece all along, and he keeps it right inside that treasure chest by his steps. The lock won’t budge, so you’ll have to shoot it open.
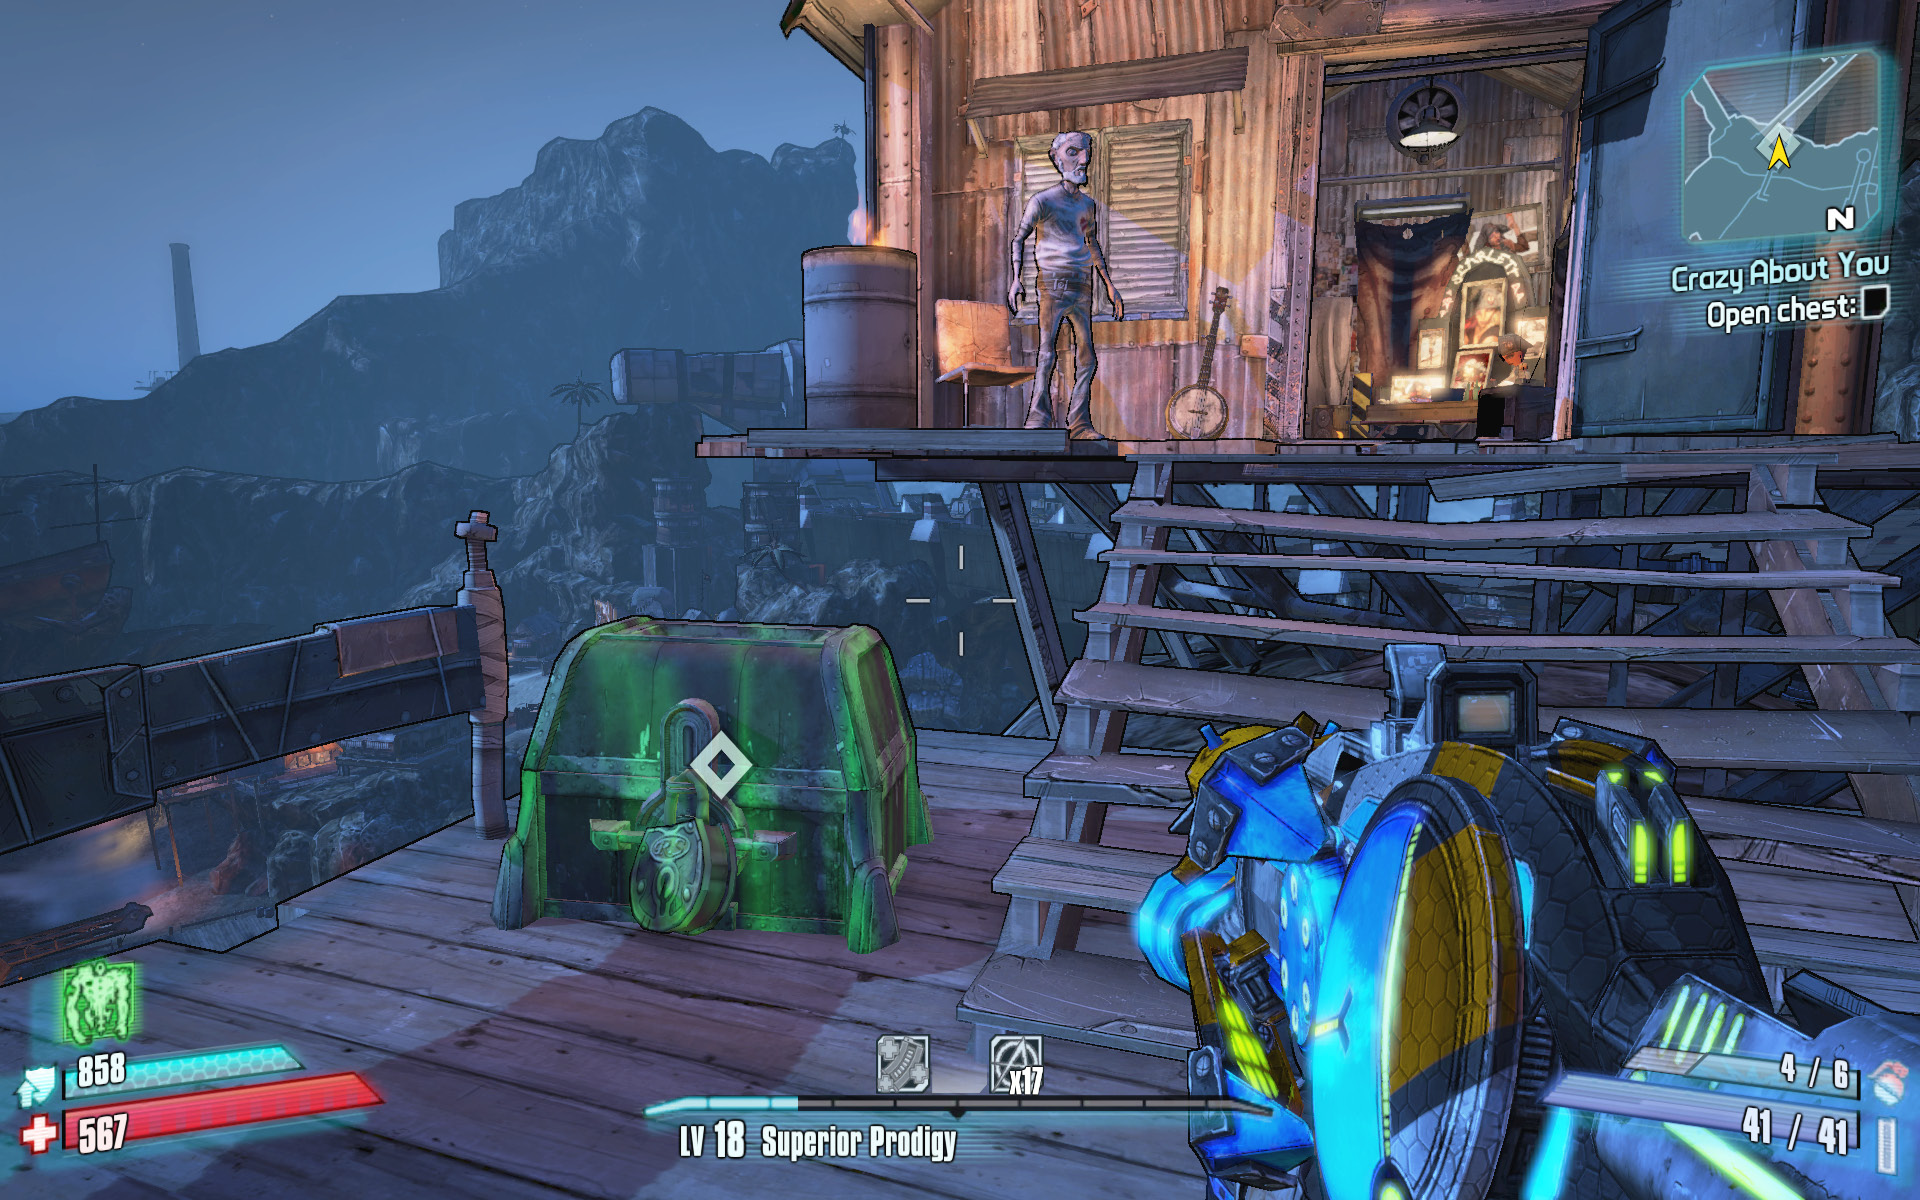
Shoot the lock when prompted, then open the chest. You’ll need to talk with Herbert to figure out what to do next.
Just Dessert for Desert Deserters
Fight, or die. Or run away and get killed at a later occasion.
Optional Mission Rewards
| Level | Money | XP | Gear |
|---|---|---|---|
|
17 |
$154 |
5806 |
Shotgun (blue) |
*Money and XP may vary based on player’s level at start of mission.
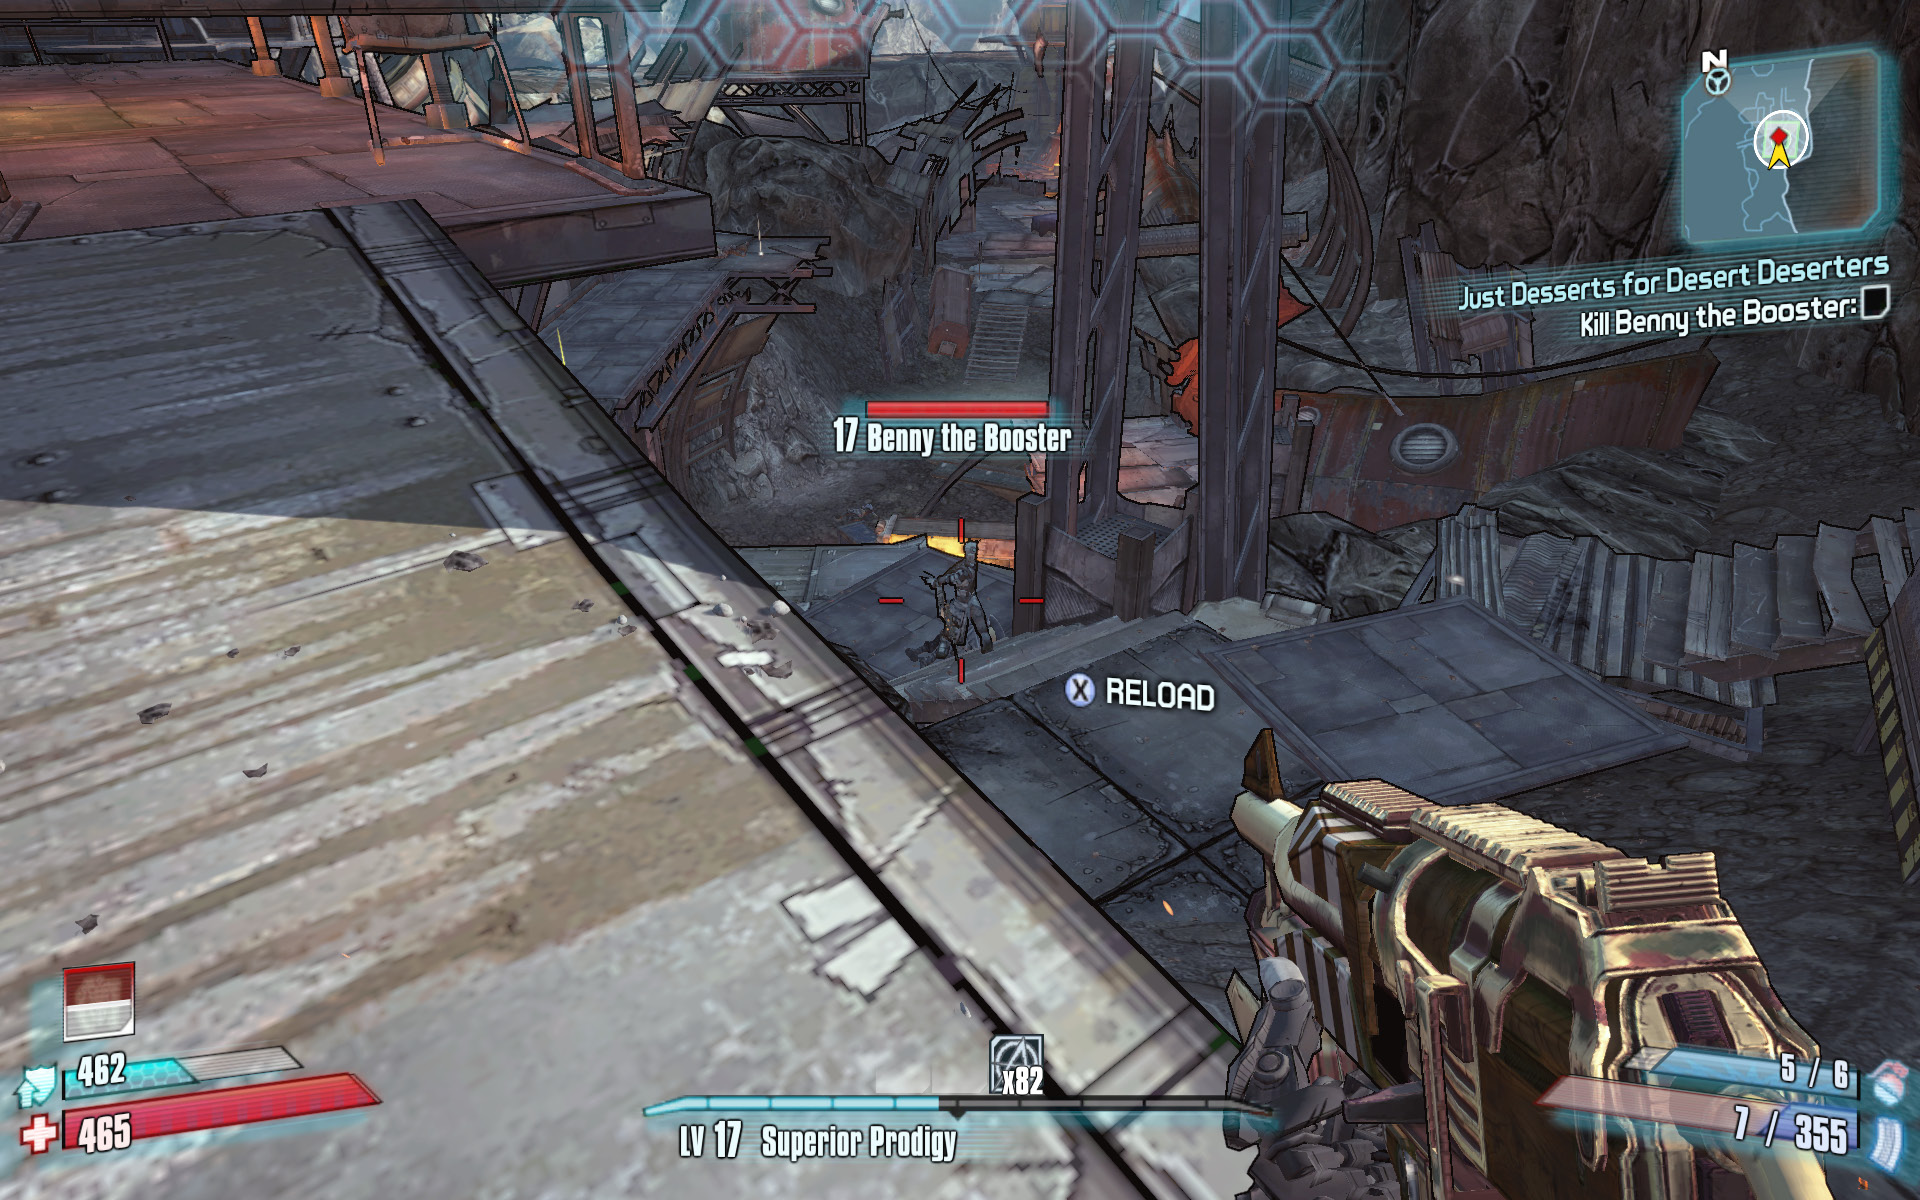
Captain Scarlett wants you to track down three of her former crewmembers who not only deserted the ship, but have gone on to lead small pirate gangs of their own. They’re scattered far and wide throughout Oasis, but you can use the Fast Travel stations to journey from zone to zone and track them down.
The first target is Benny the Booster, and he’s located in the Canyon Deserter Camp in Oasis. Use a sandskiff to reach the camp. Stick to the upper walkway as you loop southward through the camp, past the numerous pirates, to where Benny the Booster is hanging out. This allows you to get the drop on him. Lob a fire grenade down at him, and open fire. Benny the Booster doesn’t pose much of a threat, especially if you manage to stay above him.
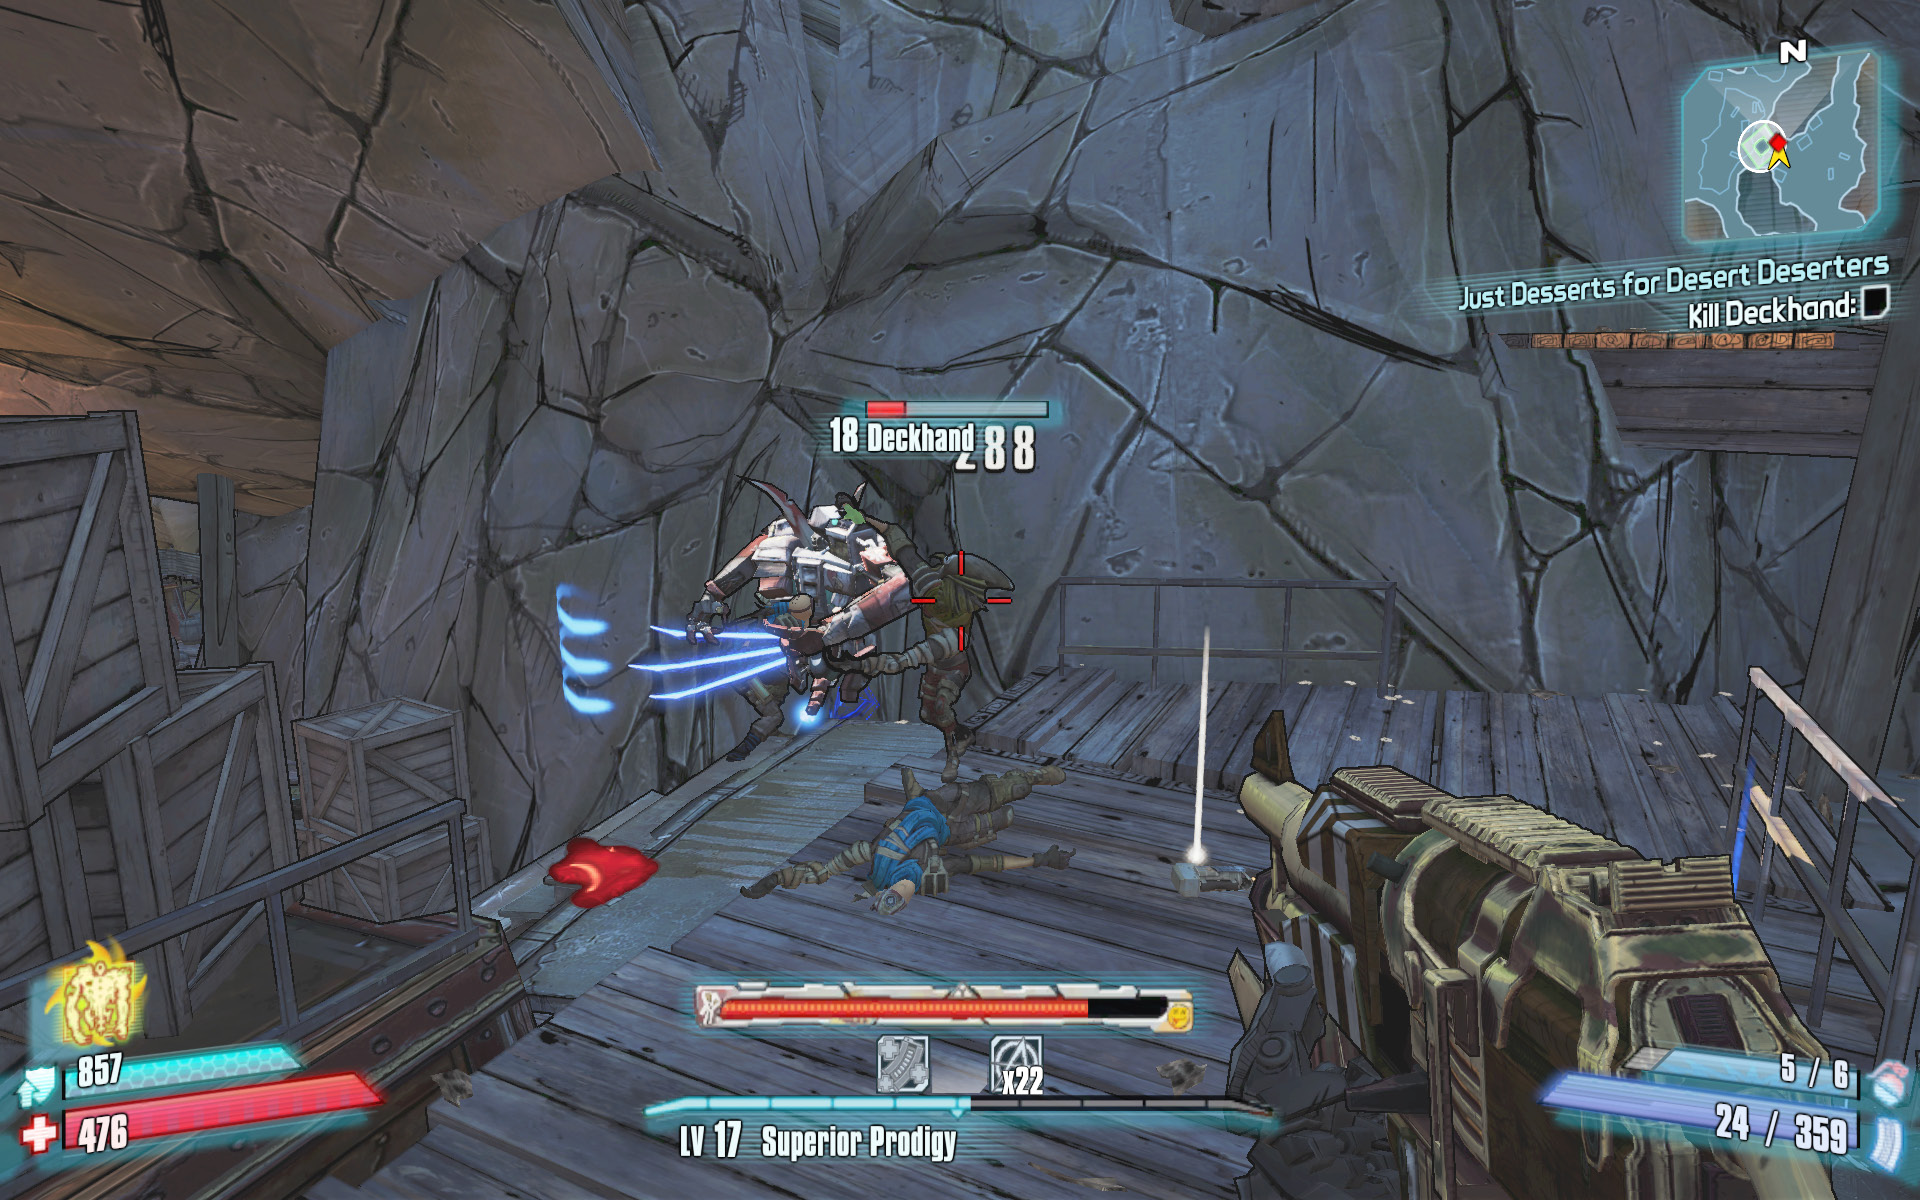
The next target, Deckhand, is located in Hayter’s Folly. Use the elevator in Aquanexus to reach the upper area beyond Hot Spring Hideout, and follow the walkway to Sandman’s Overlook. This is a great opportunity to use Sandman’s telescope if you haven’t already (doing so earns you four Badass Ranks). Look for Deckhand on the walkway with the numerous wooden crates. He’s a little guy—not much bigger than Sandman—and dies as quickly as his meager title would suggest. Just be sure to refrain from using any grenades, given the tight confines of Sandman’s Overlook. Instead, opt for a bladed shotgun or assault rifle so you can inflict heavy melee damage if he gets too close.
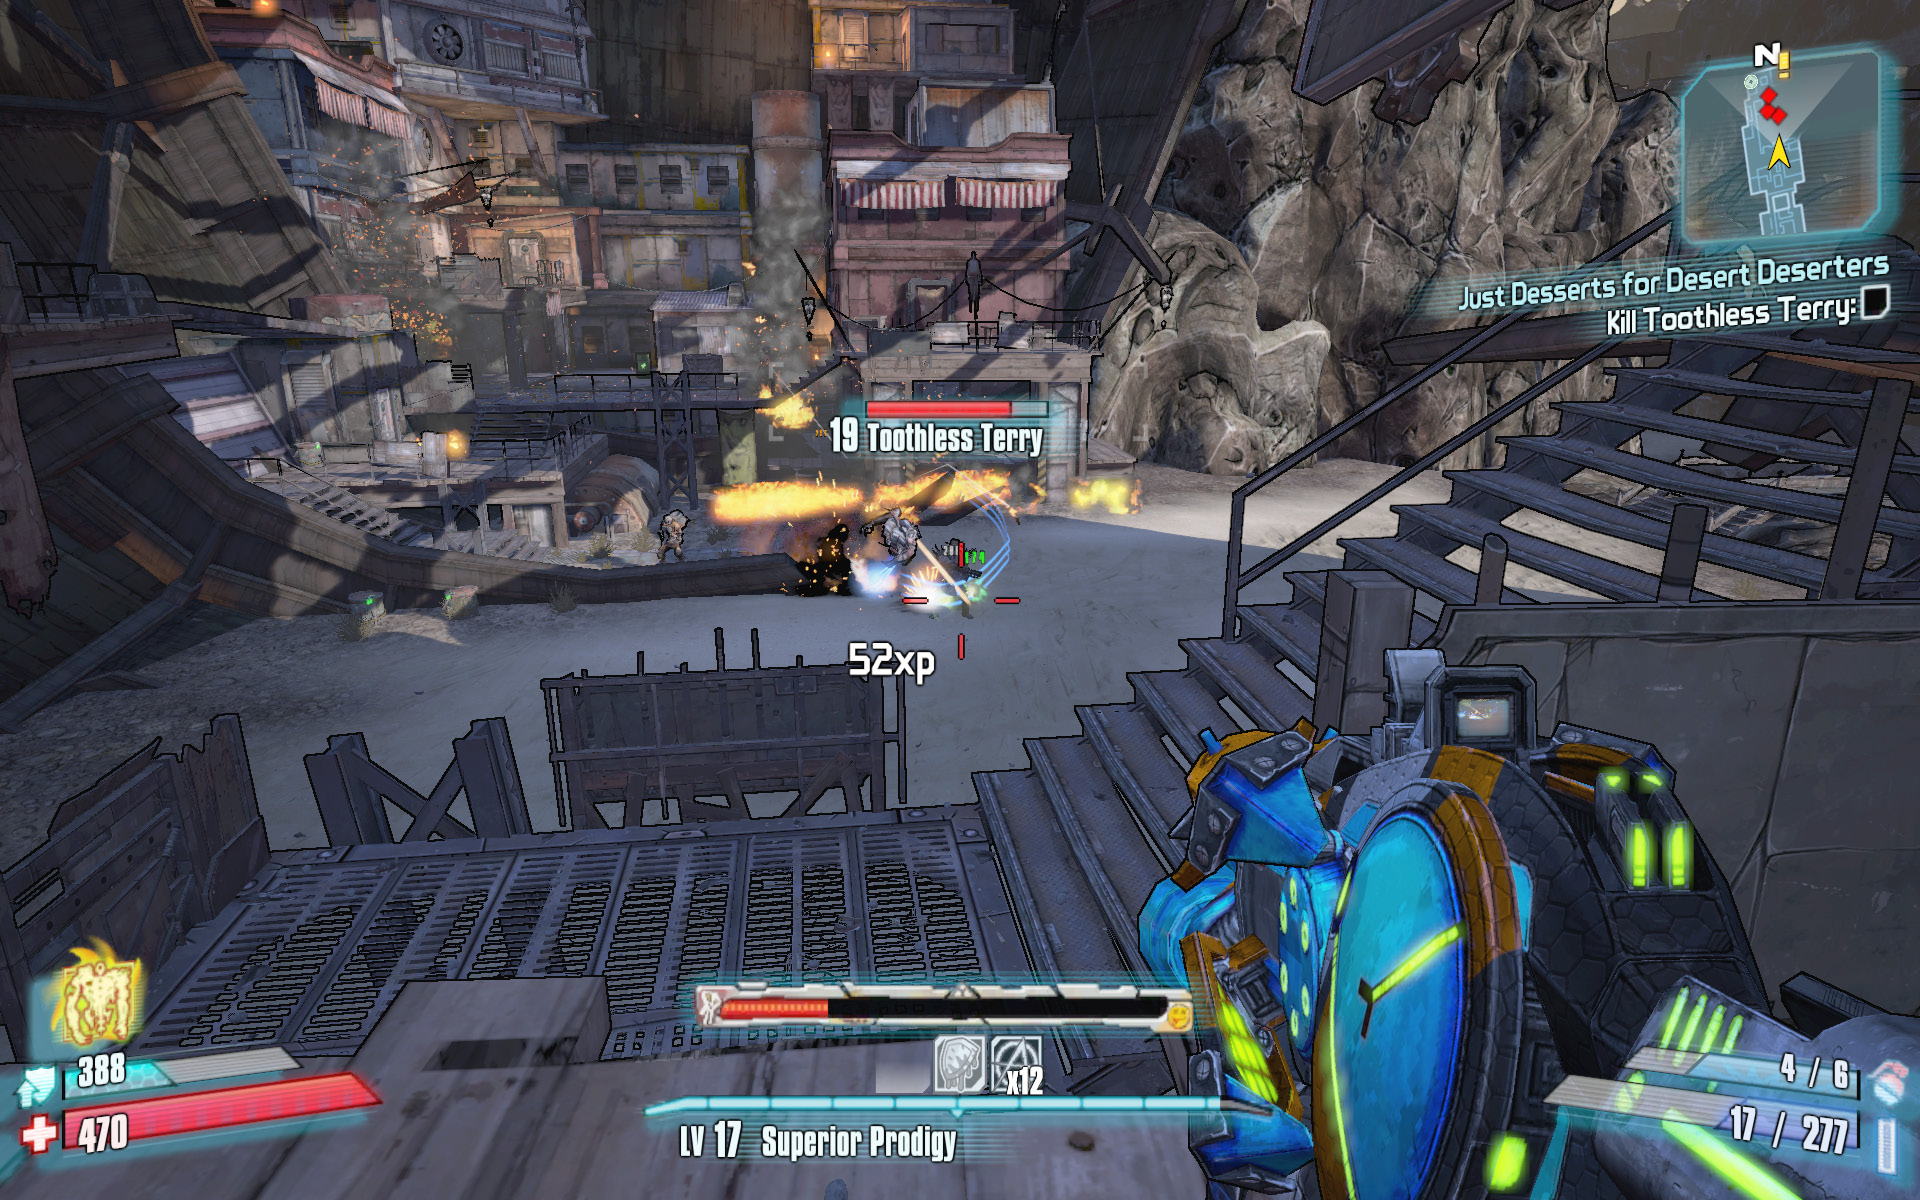
The third and final target goes by the name Toothless Terry, and he can be found at the north end of the Rusty Cog Settlement in the Rustyards. Stick to the eastern side of the settlement as you advance through the third section of the old ship, as this grants you a clear view of the area where Toothless Terry is located. Lob grenades at him, douse him with fire or corrosive attacks, and even fire your rocket launcher if you’d like. Just make sure that you have a clean shot at him and that you’re not about to fire a rocket directly into a nearby railing.
Message in a Bottle (4 of 5)
A genie in a bottle! No, wait… it’s another message.
Optional Mission Rewards
| Level | Money | XP | Gear |
|---|---|---|---|
|
17 |
$617 |
290 |
Relic (blue) |
*Money and XP may vary based on player’s level at start of mission.
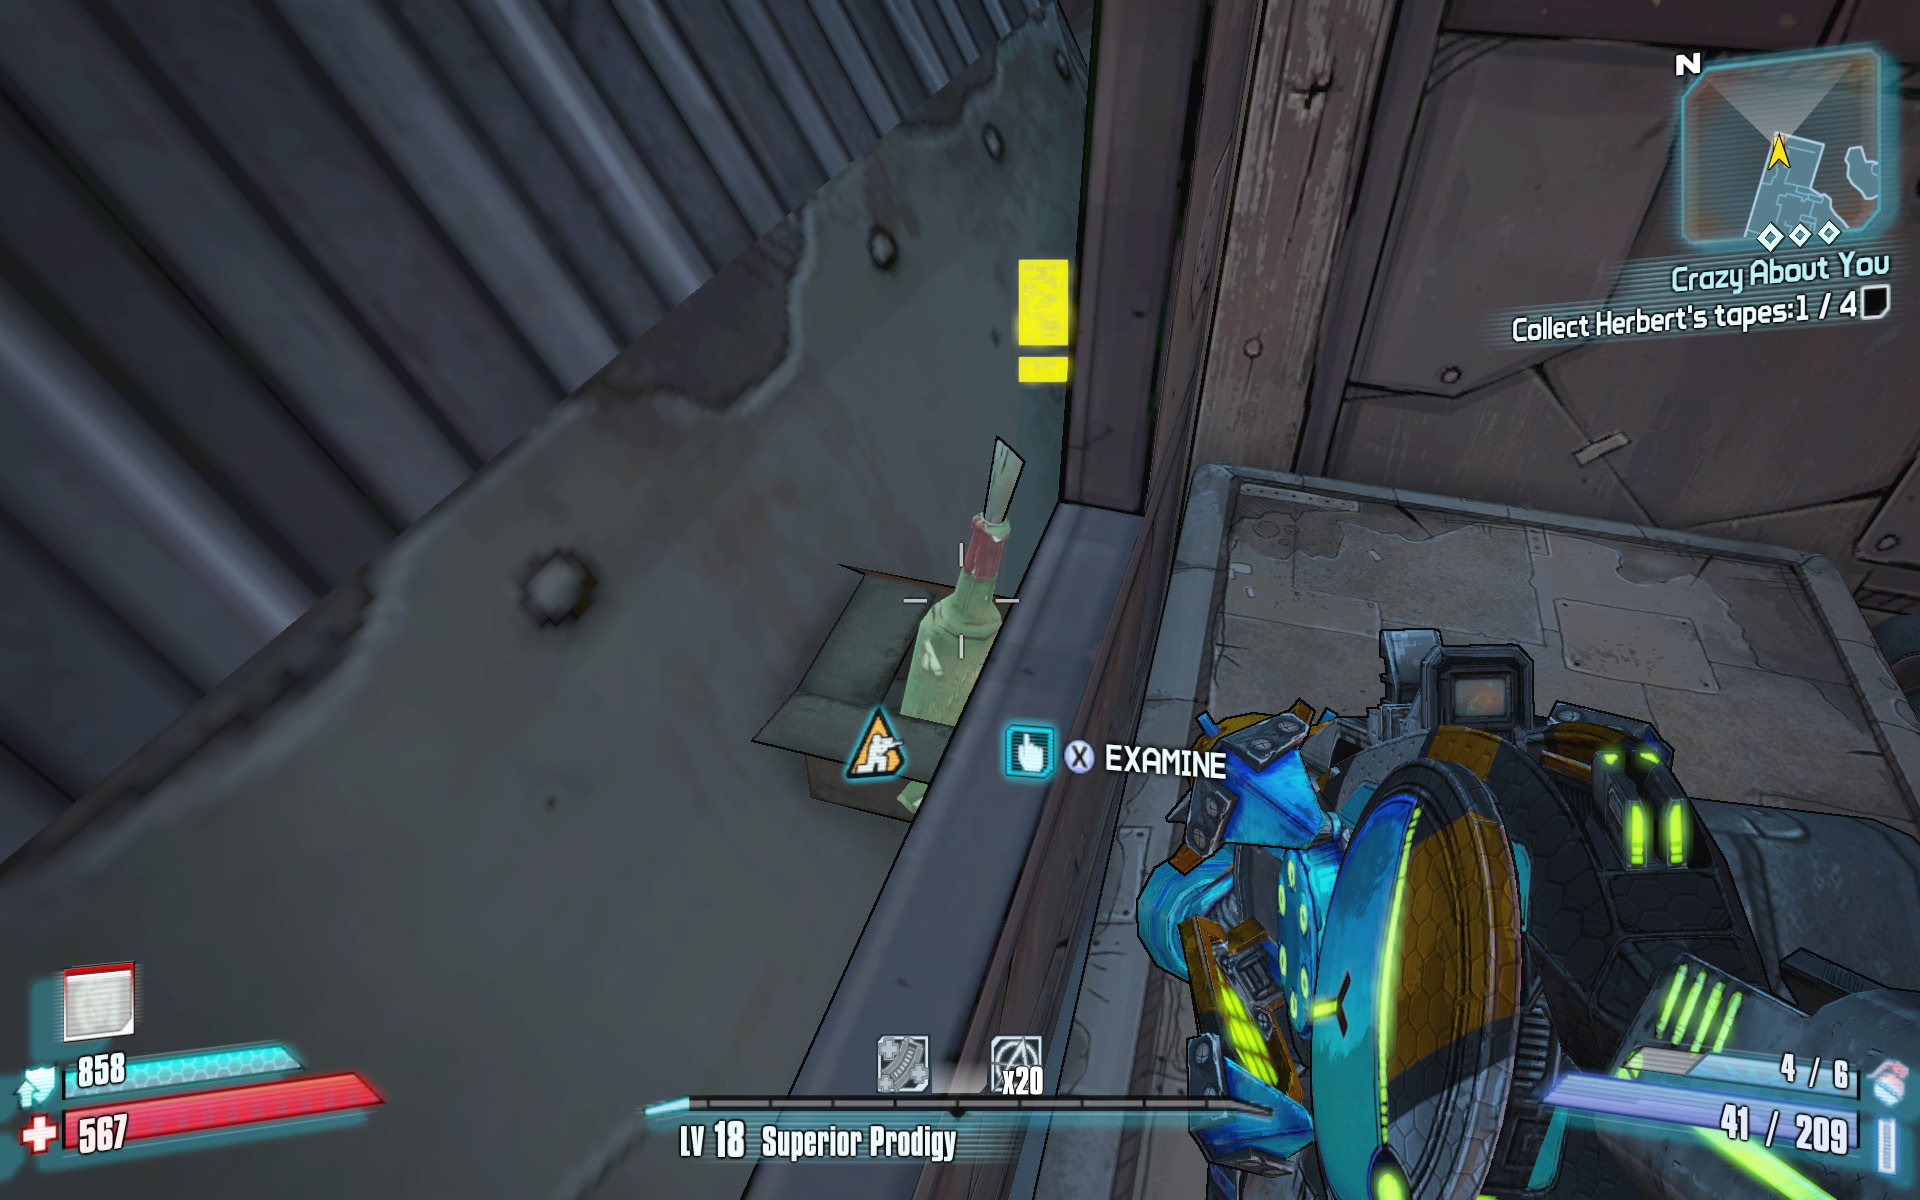
The lost bottle containing this mission is located in the northwest corner of Maroonie’s Clipper in the Rustyards. Even with the “!” appearing on the mini-map, it can still be tricky to spot. Hop onto the table on the left side of the small cabin atop the stairs, and look out the old window to spot the bottle.
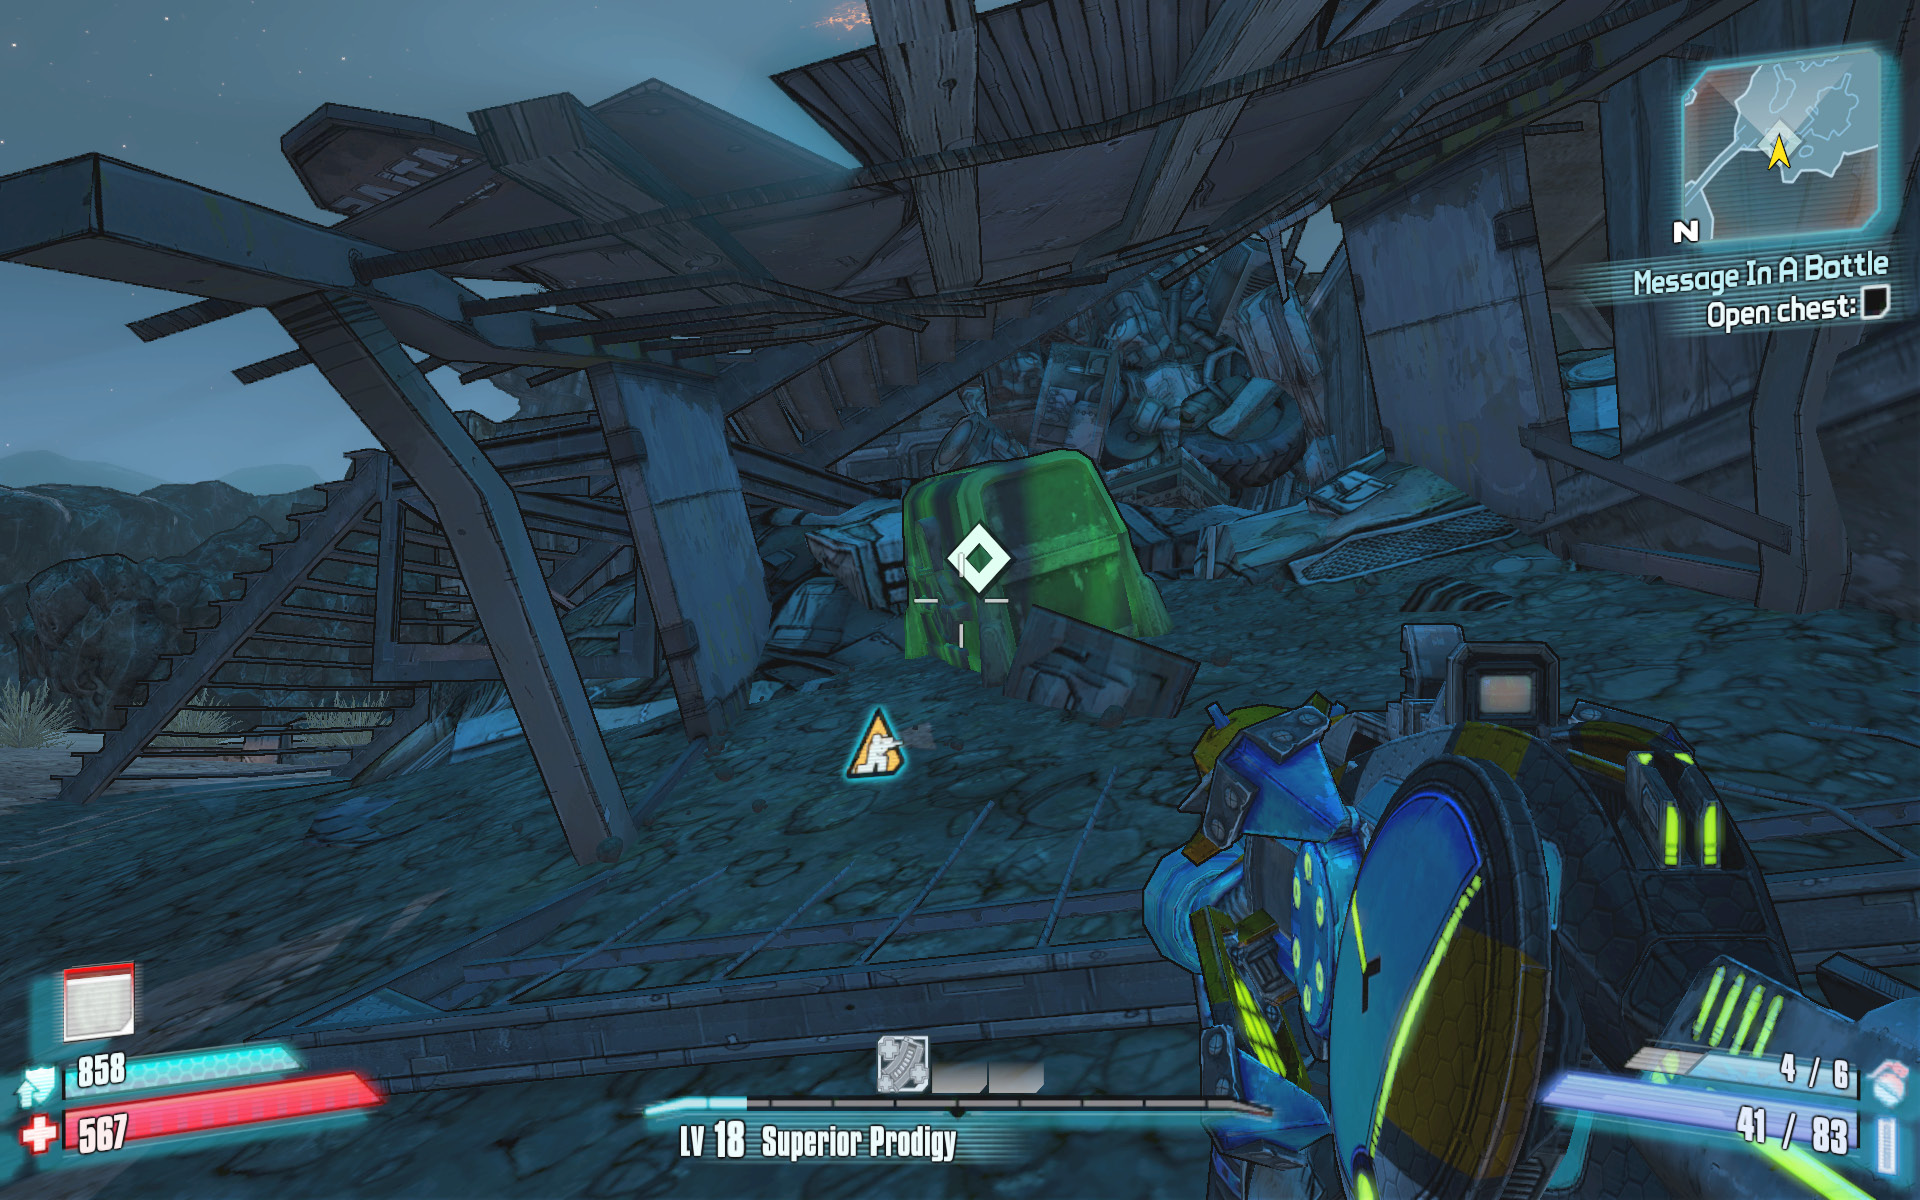
The treasure is in the Dreg Scrapyard, but the “X” can be really difficult to spot, especially at night. The buried treasure is under a dilapidated platform, near the metal stairs on the northwest side of the junkyard, closes to the bridge you cross to reach the area. It’s on the side of the junkyard nearest Maroonie’s Clipper. Open the chest to gain Captain Blade’s Otto Idol, which returns a portion of your health after each kill but comes with a reduced Second Wind timer.
Catch a Ride, and Also Tetanus
Help an old buddy.
Optional Mission Rewards
| Level | Money | XP | Gear |
|---|---|---|---|
|
18 |
$692 |
1604 |
— |
*Money and XP may vary based on player’s level at start of mission.
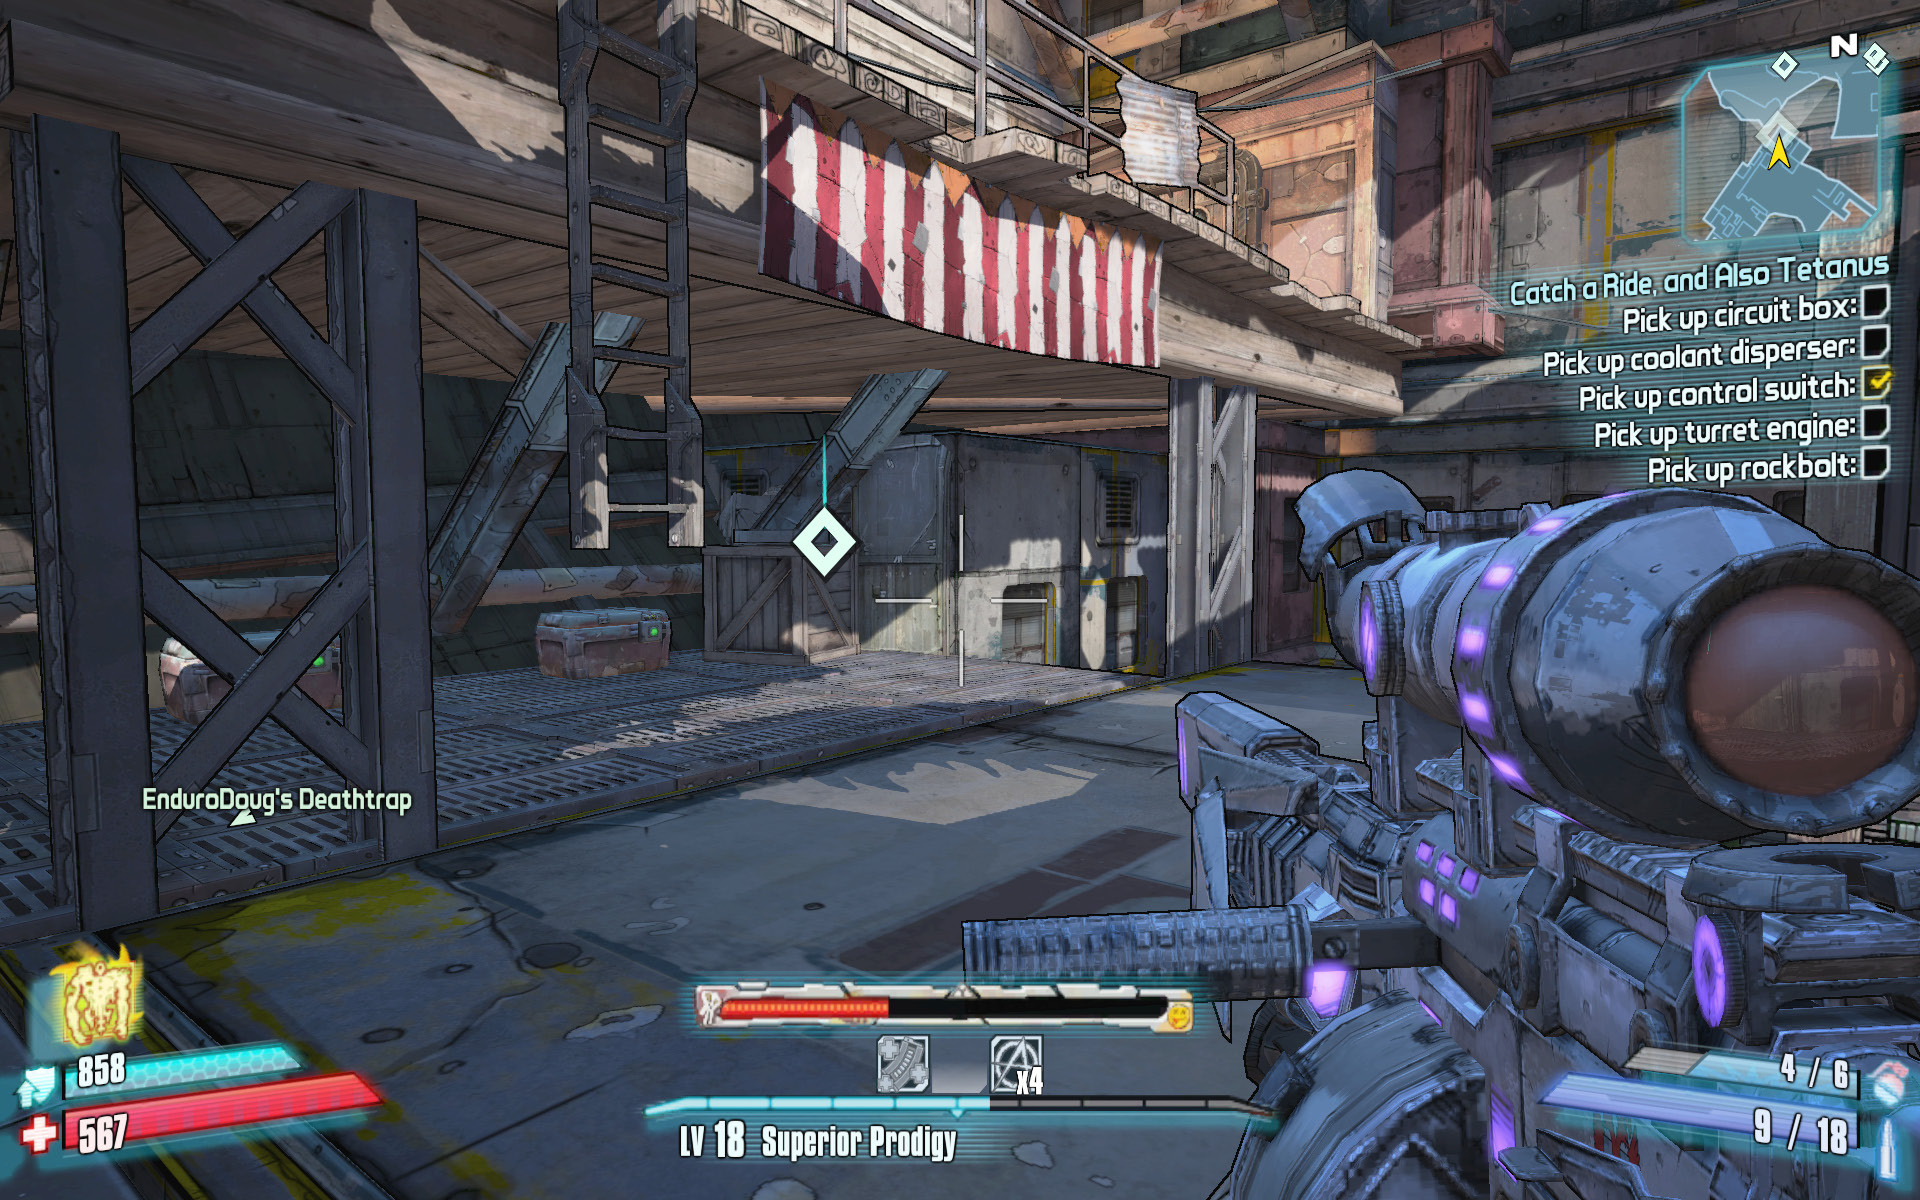
Scooter needs you to gather up five miscellaneous vehicle parts, each of which has been scattered throughout the Rustyards. The parts aren’t hard to find—you’ve likely been to each of their locations already during the “Crazy about You” mission. Use your trip back through the Rustyards during this mission as an opportunity to find the five Scarlett dolls and locate the Cult of the Vault symbols, if you haven’t done so already. The five parts are in the following locations, presented in the order that you’ll find them during a clockwise loop through the area.
Control Switch: On the upper west side of the Rusty Cog Settlement, in the first section of the ship.
Circuit Box: In the far northwest corner of the Rusty Cog Settlement, where the ship opens up to the bridge.
Rockbolt: On the small ship atop Tittleman’s Point near Coobie Gorge. Leap across the gaps in the bridge to reach it.
Coolant Disperser: In the back northwest corner of Maroonie’s Clipper, right near the lost bottle and Scarlett doll.
Turret Engine: Located near the crates atop the large platform in the Dreg Scrapyard, near the junk piles and spiderant nests.
Washburne Refinery
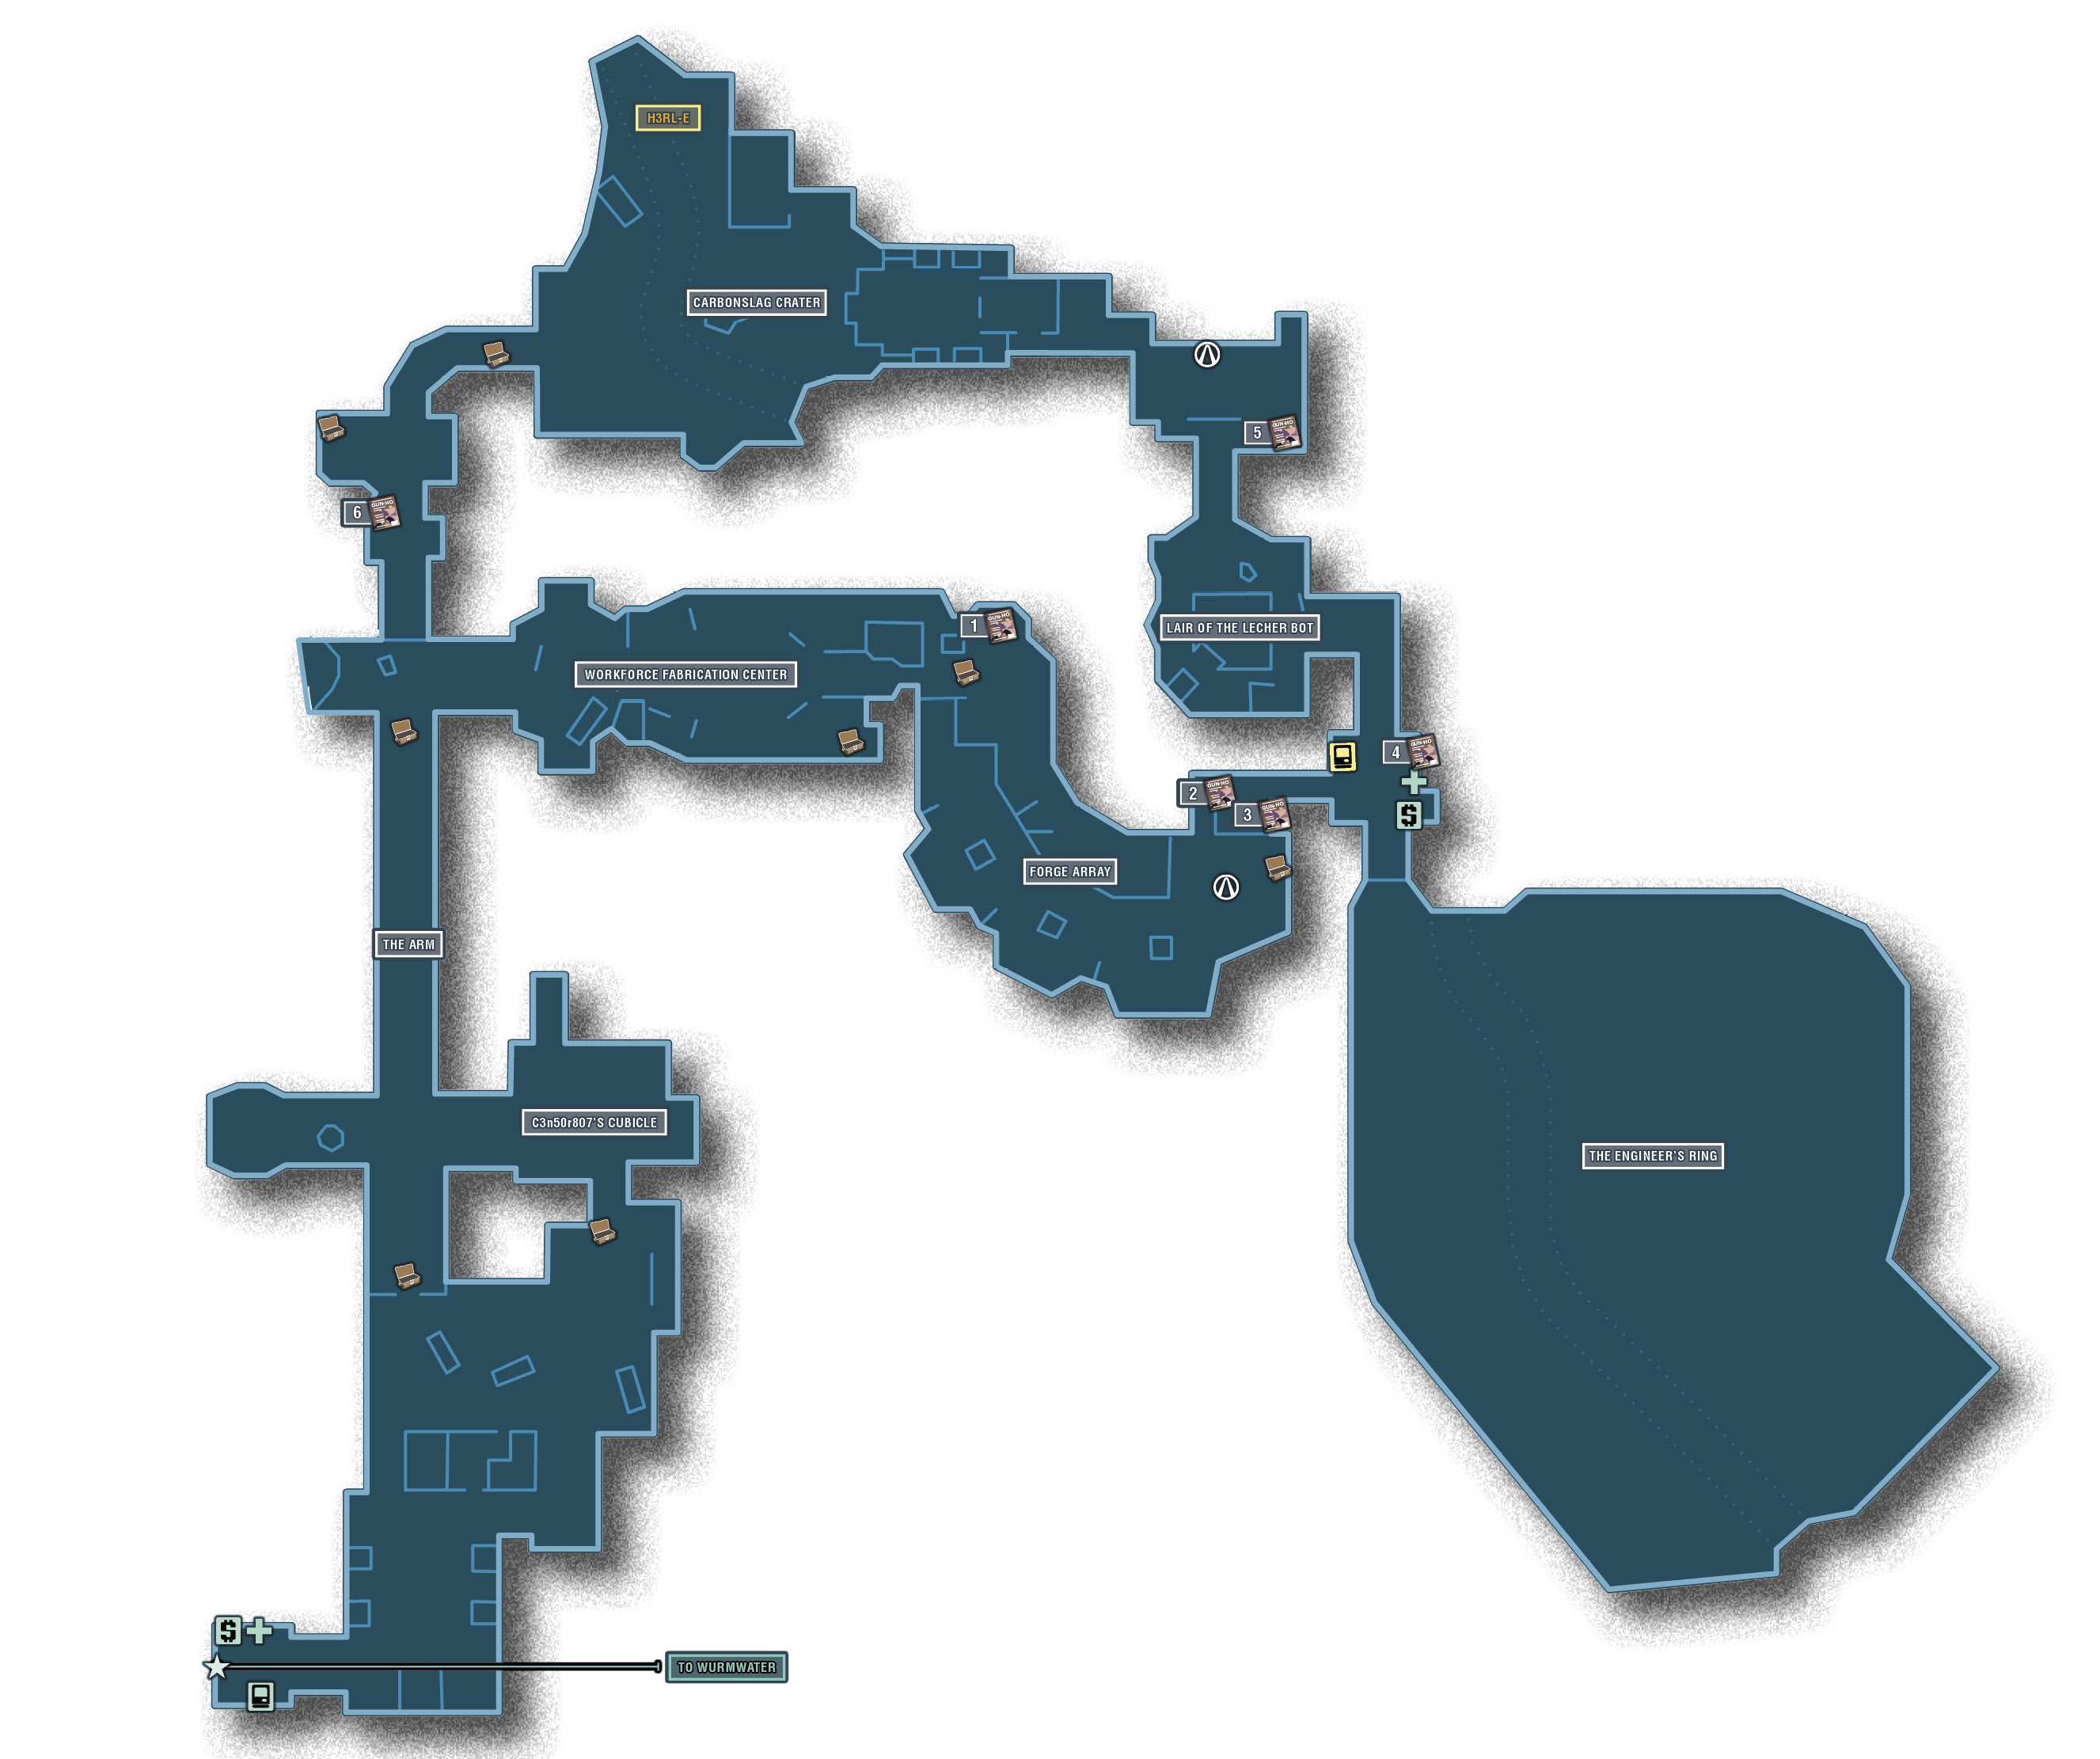
High atop the cliffs at the north end of Wurmwater resides the Washburne Refinery, an enclosed facility where a well-trained workforce of Hyperion Loaders spends their days mining slag and poly-kryten. The refinery is the shape of a figure eight and contains all manner of Loaders, ranging from the quest-giving C3n50r807 to the wickedly violent H3RL-E, so named for its ability to hurl explosive barrels in quick succession. No matter where you are in the Washburne Refinery, you can be sure to encounter hostile robotic workers. Loaders are deployed digitally from spawning stations, often in a surprising move. Resource gatherers are advised to bring a corrosive weapon.
Dangerous Beasts
| Enemy Family |
|---|
|
Loaders |
High Value Target
| Enemy | Family |
|---|---|
|
H3RL-E |
Loader |
 Cult of the Vault
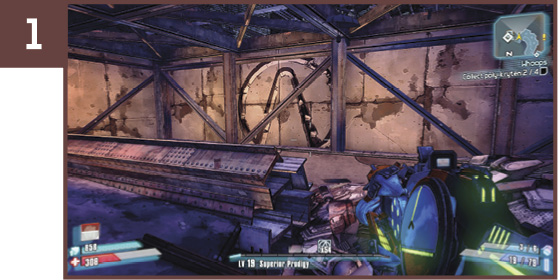
Proceed to the eastern end of the Workforce Fabrication Center, and descend the stairs leading beneath the metal walkway. The symbol is on the wall beyond a pile of scrap metal.
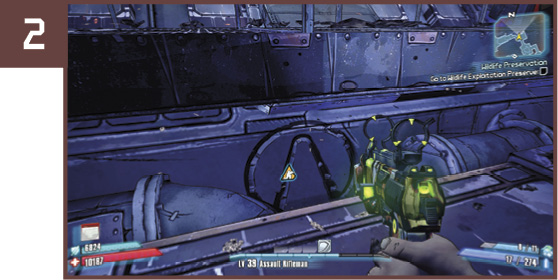
This Cult of the Vault symbol is on the north side of the room just beyond the Lair of the Lecher-Bot. Leap over the walkway railing to get close enough to the pipes where the symbol is located to interact with it.
Arm Thyself
Proceed past Carbonslag Crater to the maintenance corridor where the path turns back to the south. Run and leap over the hole in the floor near the minecart, and watch as the shuttered door automatically opens to reveal this secret closet and treasure chest.
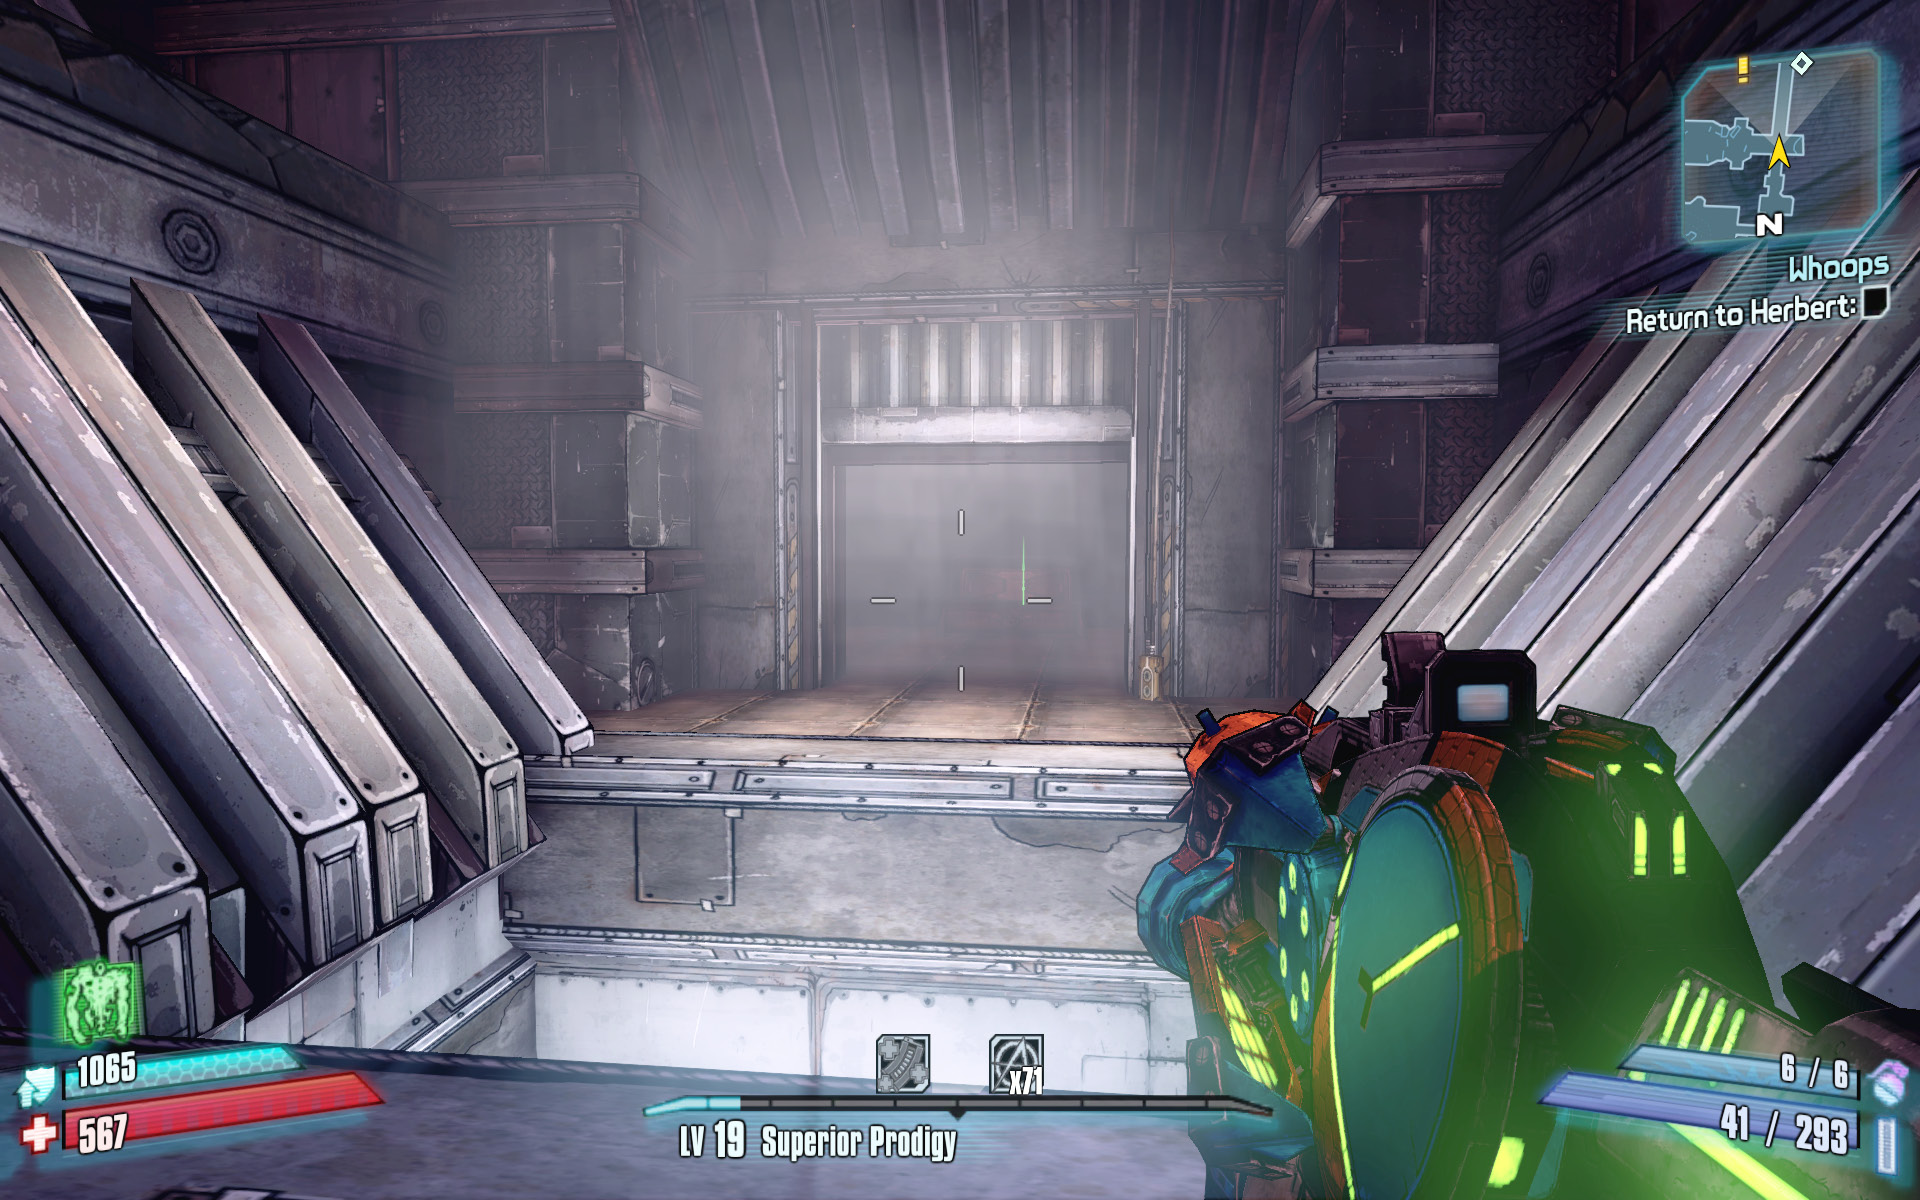
 I Get It for the Articles
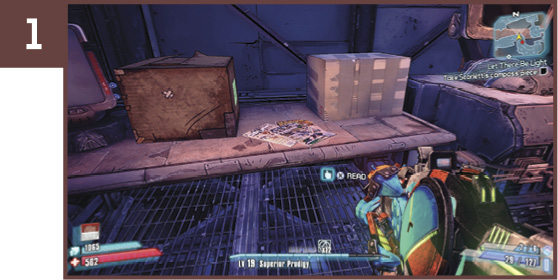
The first set of magazines is in the Workforce Fabrication Center, on a desk beneath the stairs in the northwest end of the semi-circular room.
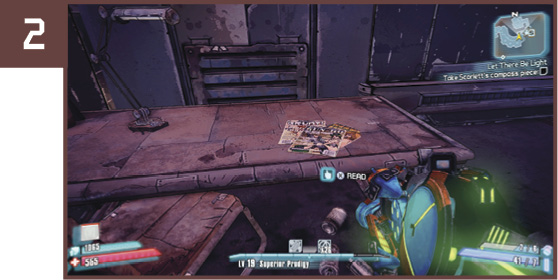
This set of magazines is on a table in the northeast end of the Workforce Fabrication Center, just west of the stairs leading to Forge Array.
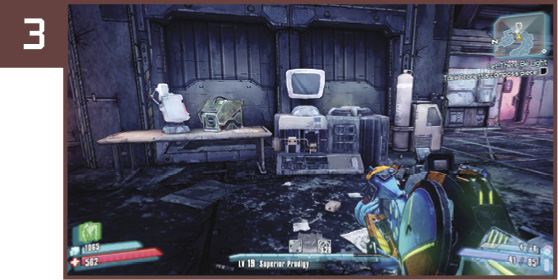
The next group of magazines is located near the ammo case and monitor, across the room from the treasure chest.
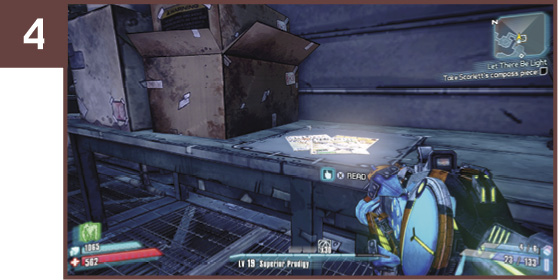
The room north of the vending machines and New-U Station contains the next set of magazines, placed on a table near the boxes.
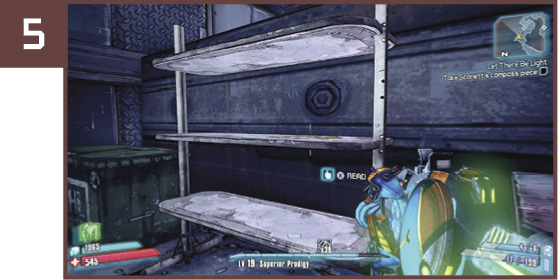
Advance past the Lair of the Lecher-Bot, and immediately descend the stairs in the next room. The magazines are on the shelves in the southeast corner of this room.
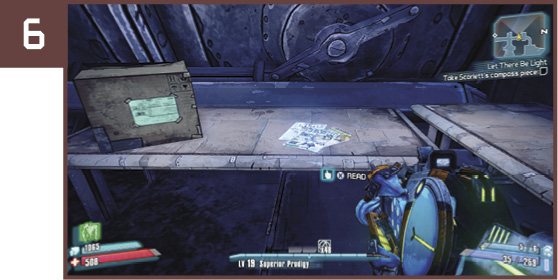
The final group of magazines is in the room just beyond Carbonslag Crater. Get them from the table on the right before dropping through the hole to The Arm.