
Borderlands 2 Game of the Year Guide Walkthrough
Data Mining
|
 Mission Briefing
| Level | Money | XP | Gear |
|---|---|---|---|
|
28 |
$214 |
10474 |
Relic (White) or Relic (White) |
*Money and XP may vary based on player’s level at start of mission.
You’ve made it across the bridge from Eridium Blight; now it’s time to make a push for the Hyperion Info Stockade over in neighboring Arid Nexus Badlands. Deploy a vehicle from the Catch-a-Ride, and drive due north to the main pipeline—Mordecai figures you could use the ladder to climb onto it and use it as a bridge to the Badlands. Unfortunately, another drilling-induced tremor suddenly breaks the ladder loose just as you’re about to climb up. Figures. On the bright side, there appears to be a slight crack in the pipeline, and Mordecai thinks you can use this to your advantage. If you increase the pressure on the pipe, you just might be able to blow your way into the pipeline.
Turn the vehicle around and head south toward Pump Station 1, as indicated by the waypoint on your minimap. Turn east at the Hyperion Truth Network and drive under the multi-colored flags draped along the pipeline. These flags are your cue that you’re approaching from the right direction.
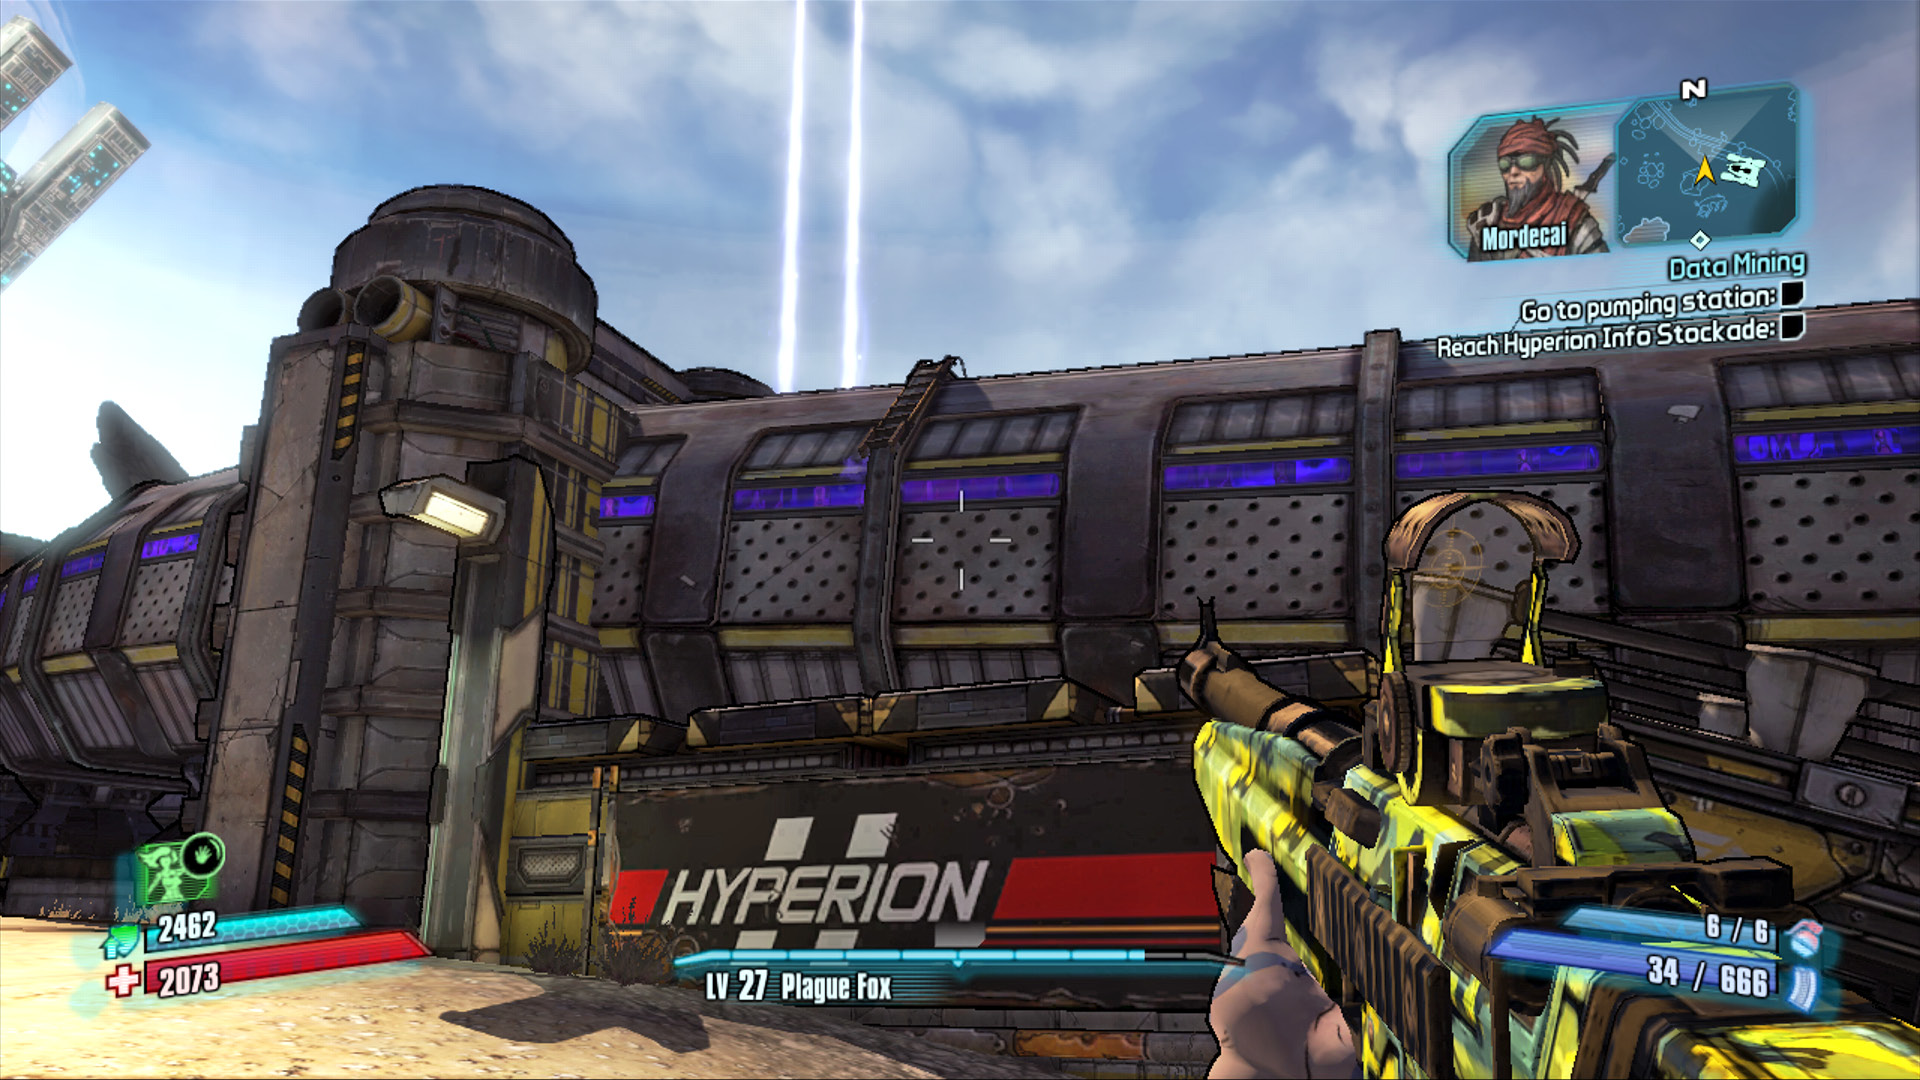
So much for climbing the ladder onto the pipeline! You’re going to have to find another way in.
Pump It Up
Park the vehicle, and reach for your Shock and Corrosive weaponry. The pumping station is guarded by a combination of Hyperion Infiltrators—which attack with cloaking devices much like stalkers—and RPG Loaders, among others. Target the Hyperion Infiltrators with your Shock weaponry to disable the cloaking apparatus of the Infiltrators, then set to targeting the others with Corrosive attacks. Enter Eridium Pump Station 1, and turn the two valves to increase the pressure on the pipe. Explore the elevated area to the south of the valves to find extra loot and to eliminate any additional Hyperion enemies in the area—it’s worth trying to harvest as much XP as possible at this point.
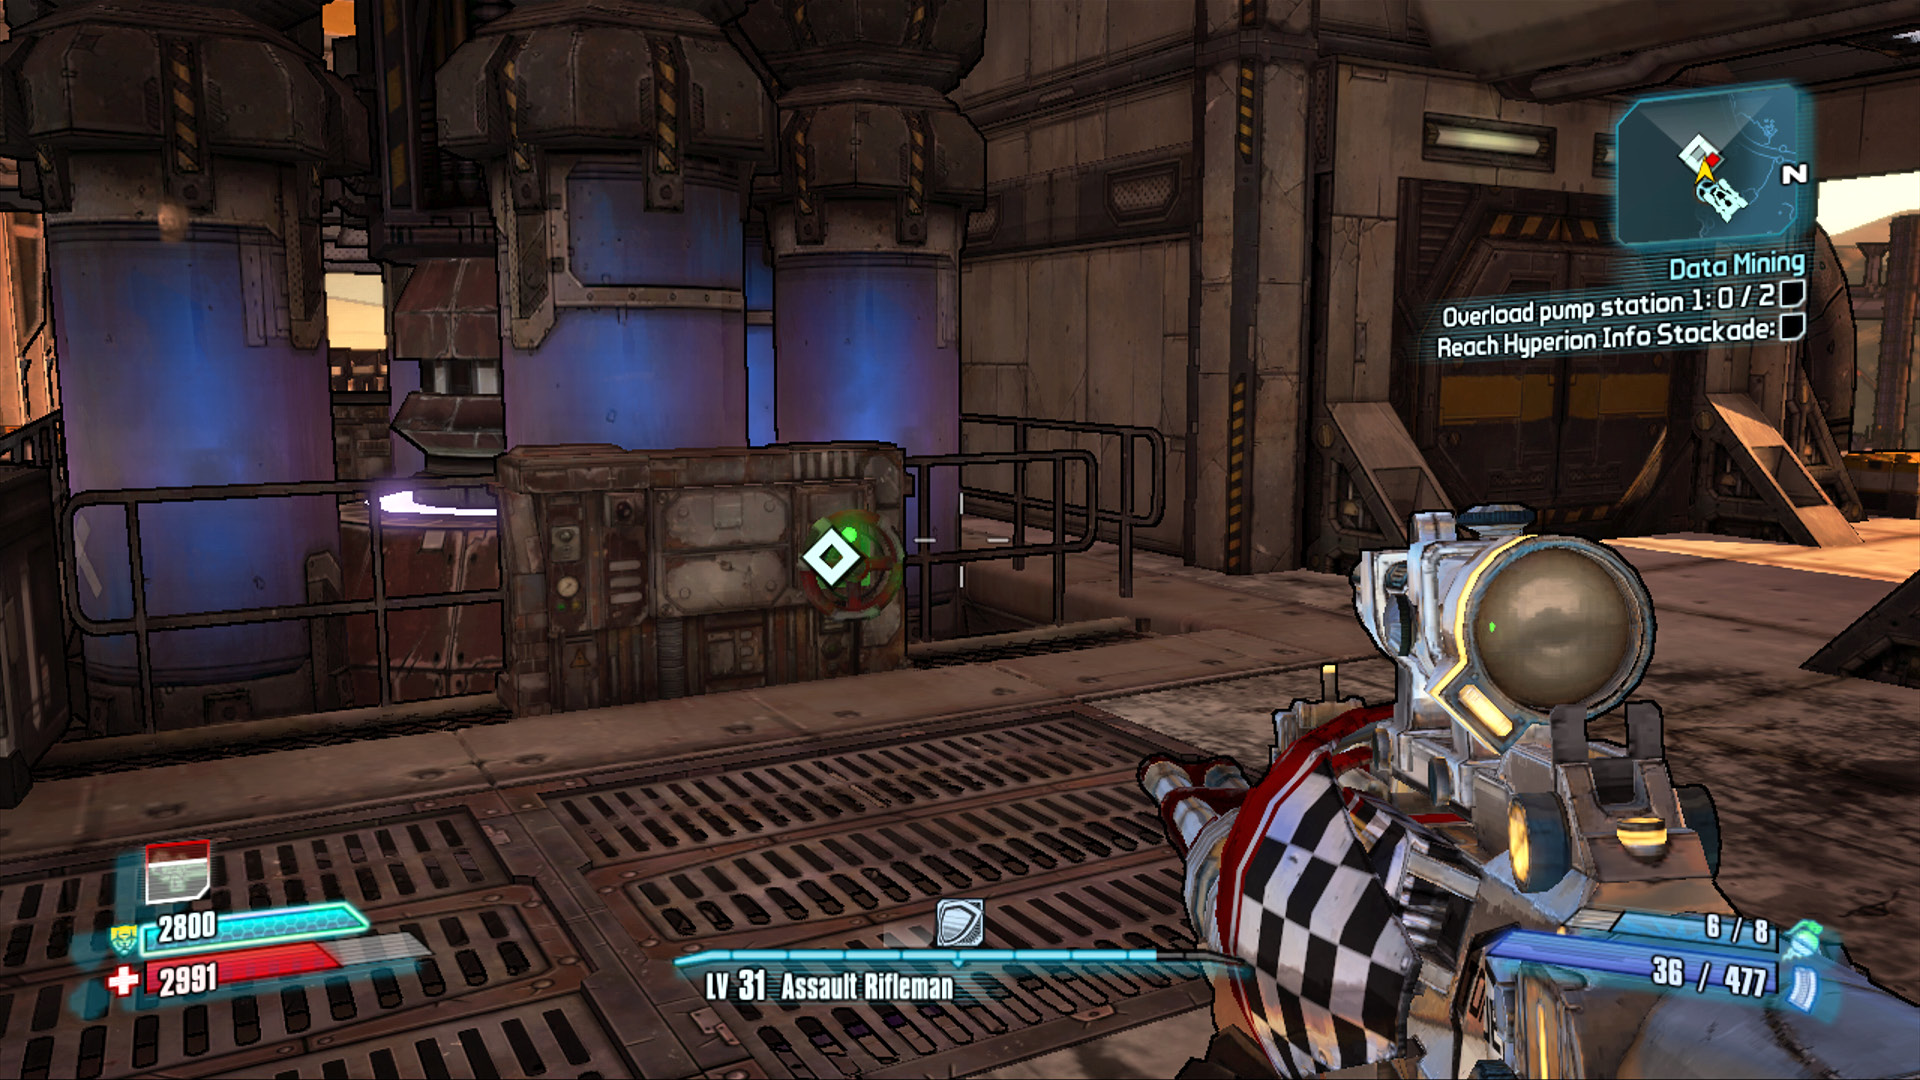
Destroy the Hyperion forces first, then turn the two valves to increase the pressure on the pipeline.
Turning the valves at the first pump station definitely helped to raise the pressure on the pipeline; now you need to do the same at Eridium Pump Stations 2 and 3. Head to Pump Station 3 first, as overloading Pump Station 2 requires a bit more effort. Drive west across the map and enter on foot. Don’t go for the valves right away, and don’t make a move for the chest on the left, either! First, get to the north side of the room and brace yourself for an army of Hyperion Soldiers, RPG Loaders, and Repair Surveyors. This fight can get pretty intense, so have some grenades on hand—preferably Shock, Explosive, or Corrosive. The Hyperion Soldiers almost universally have shields, so be patient. Take out the Repair Surveyors as the opportunity arises, but keep on the lookout for RPG Loaders. Silence the room before turning your attention to the two valves controlling the pumps. Loot the numerous containers and chests to replenish your ammo reserves before heading east to the other pump station.
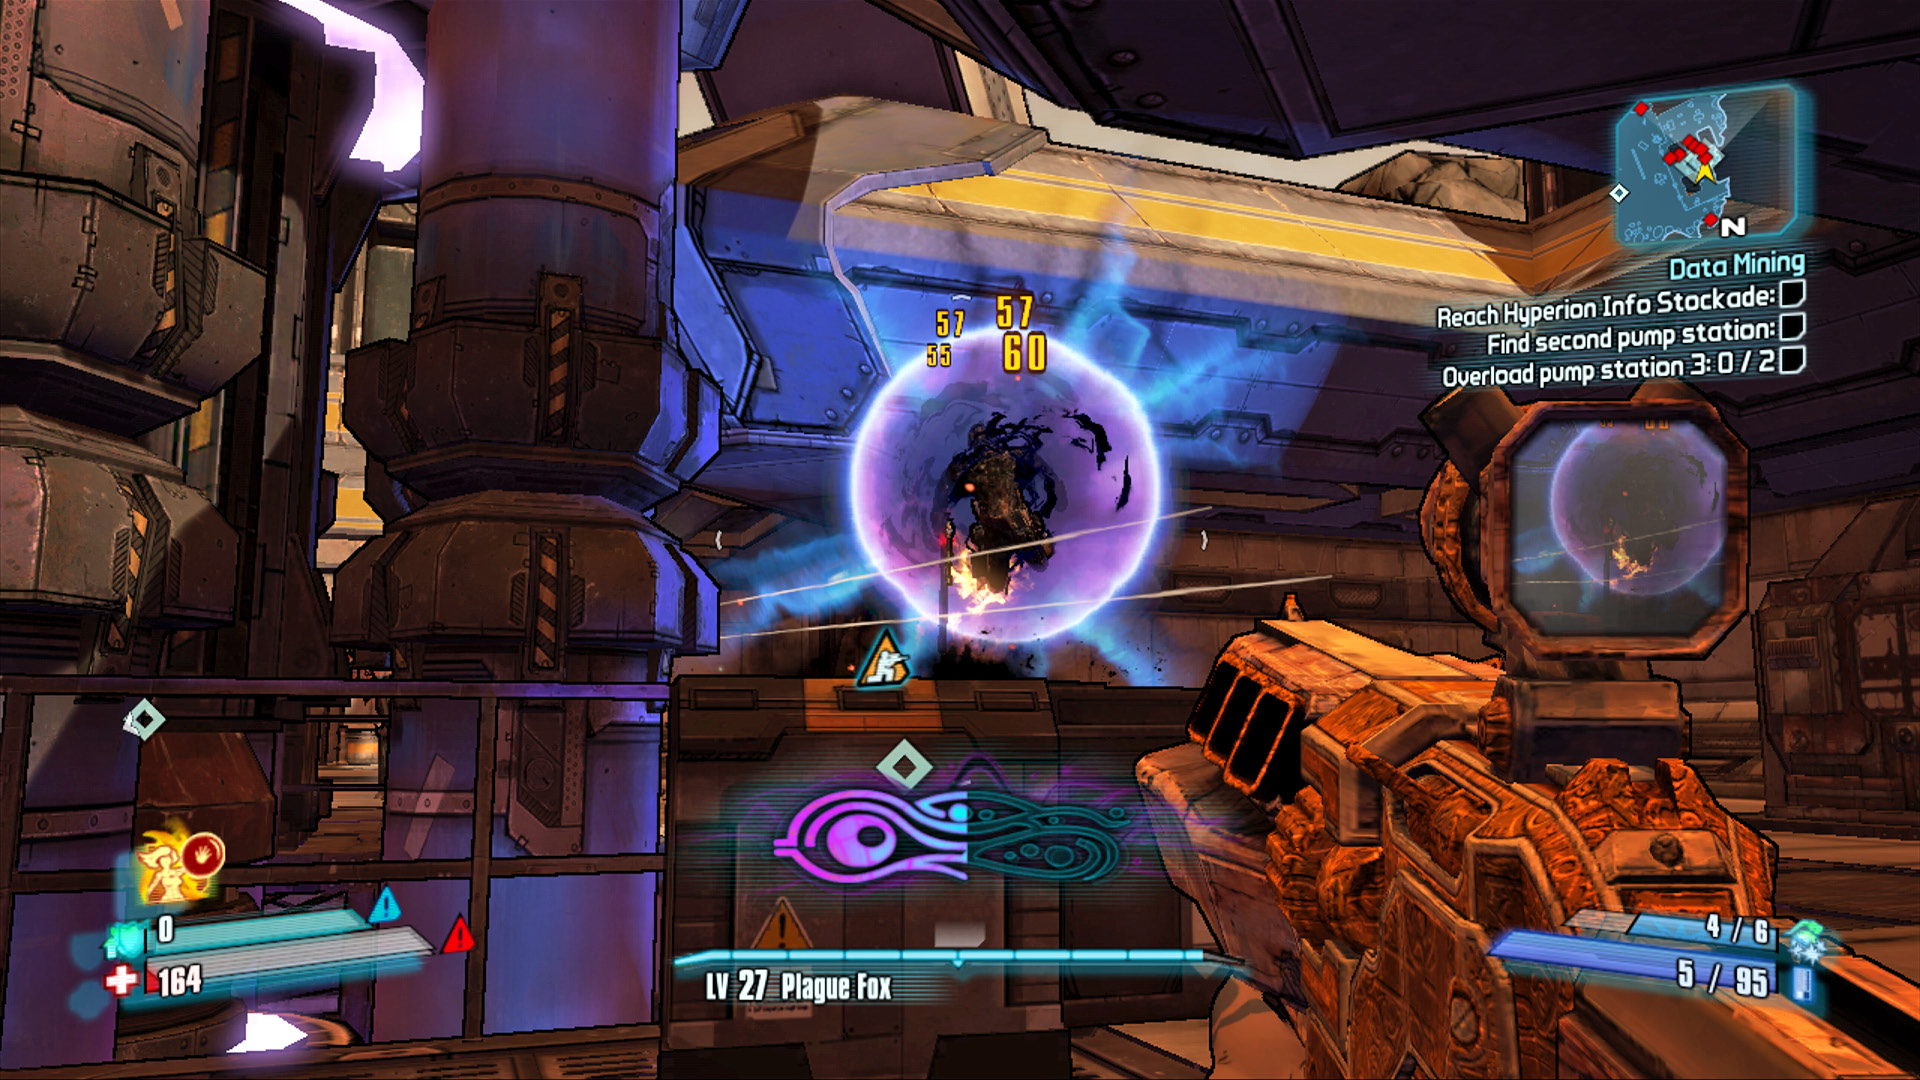
Phaselocking a Hyperion Soldier is one way to make sure he doesn’t cloak and sneak away.
Eridium Pump Station 2 is located in the northeast corner of Arid Nexus Boneyard, but the station’s inner workings are all underground. Ride the elevator down to the underground station, and start down the curved hallway. This leads to the valves, along with a large number of loaders. Use your Action Skill and any grenades you have in this hallway to eliminate the enemies before advancing past the corner. Kill the first two waves, then advance to the stairs on the right and draw out the next couple of foes. Try to toss Corrosive grenades at the feet of the ION Loaders just as they start raising their bubble shields. Time it correctly, and you’ll trap them inside the bubble with the grenade.
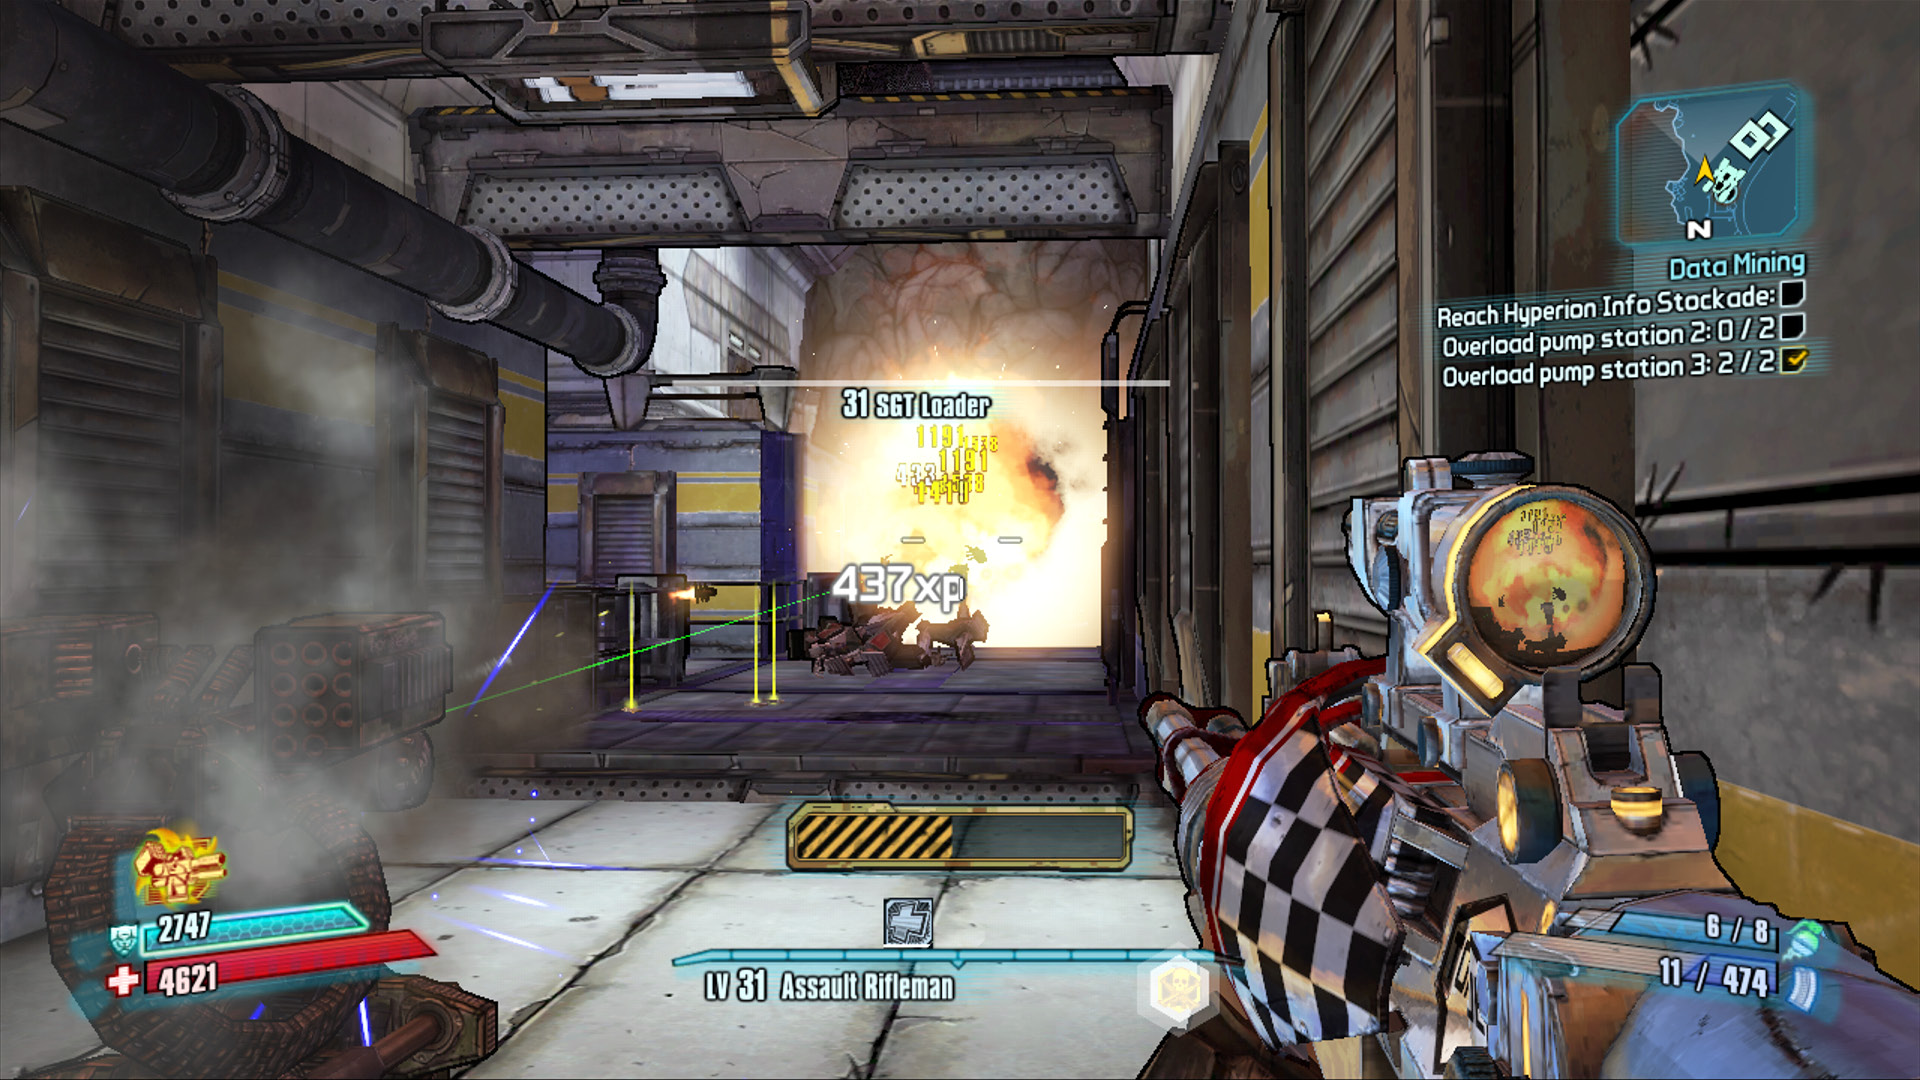
Remain safely in the corridor nearest the elevator and let the shotgun-wielding SGT Loaders funnel toward you for maximum results!
Turn the valves, and return the way you came. Get in your car and drive back to the pipeline to the north. Line the vehicle up with the makeshift ramp in front of the pipeline, hit the turbo, and launch the vehicle right into the pipe to break it. Enter the pipe on foot, and head left to the ladder leading up to the top of the Transmix Regulator Station.
A small contingent of Hyperion forces guards the upper level, but not enough to stop you from reaching the Arid Nexus Badlands. Fight your way to the eastern side of this upper level, and continue to Arid Nexus Badlands.
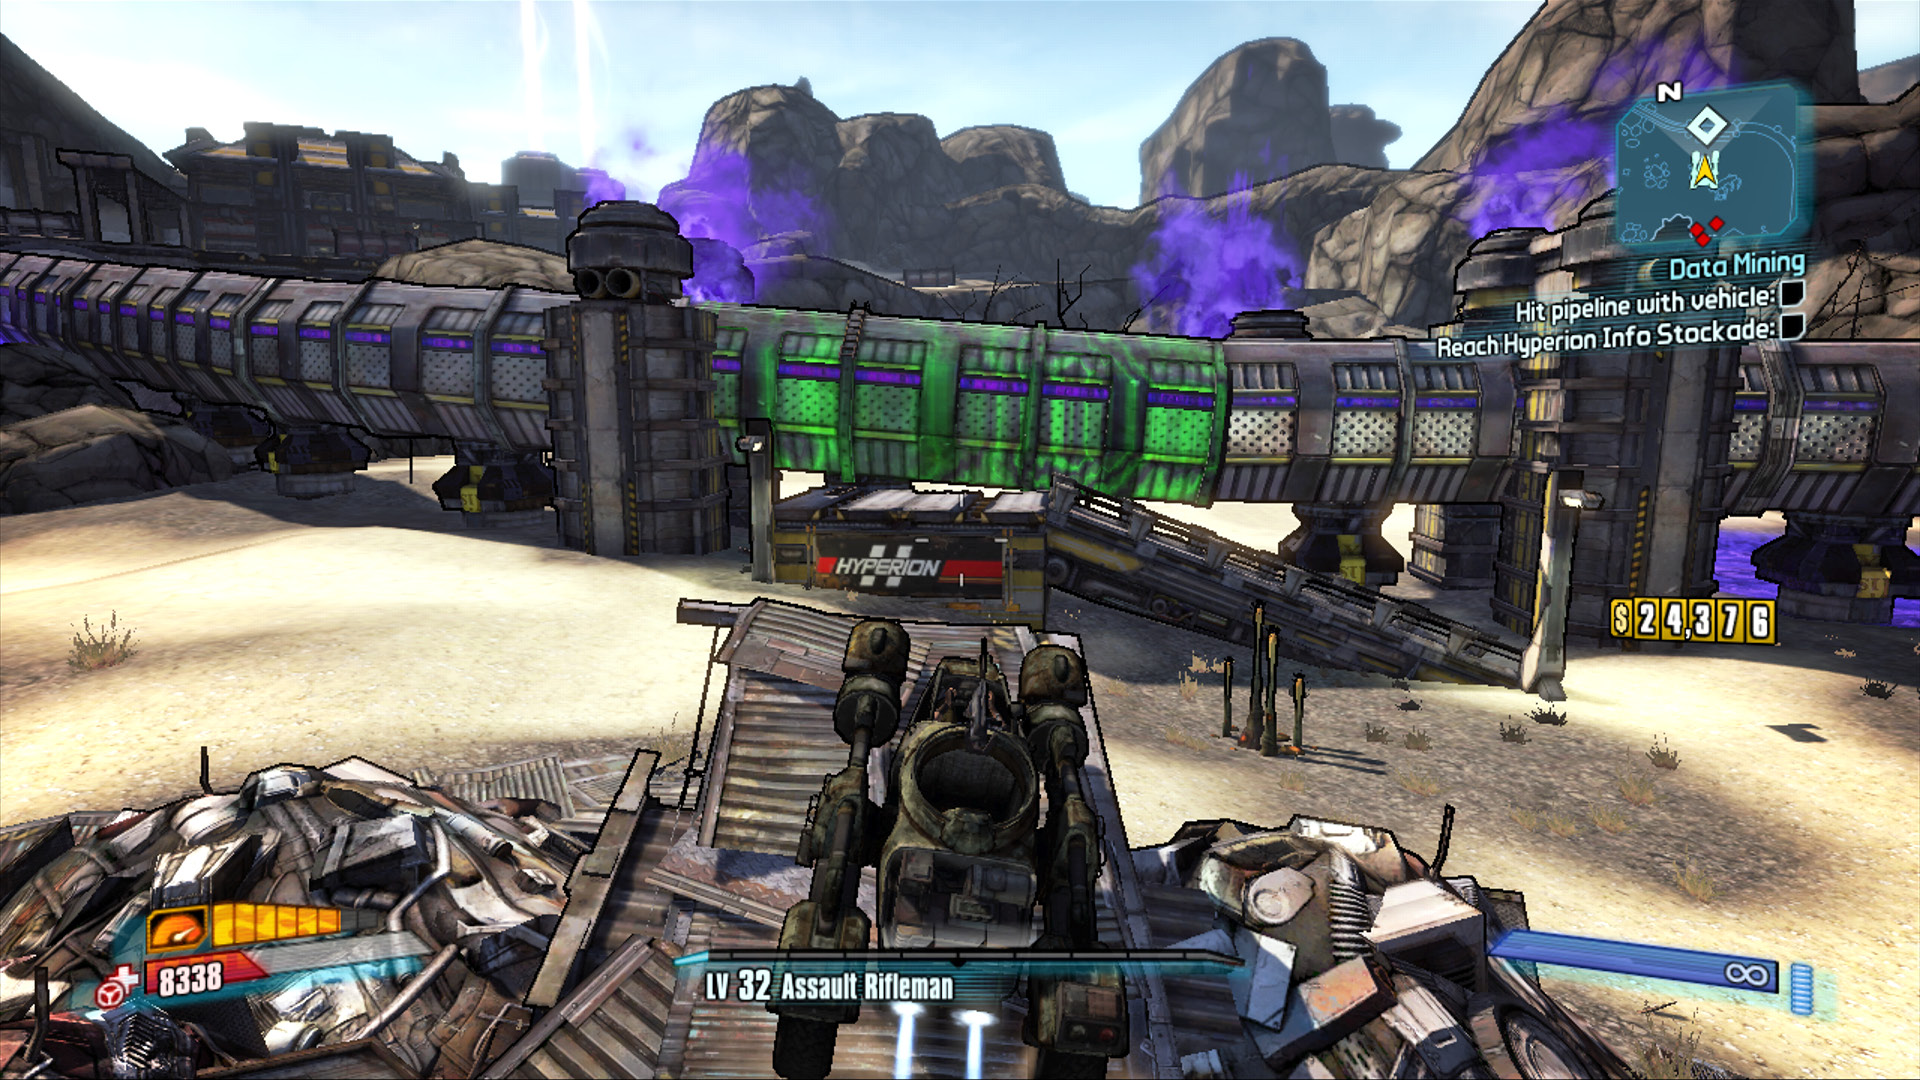
Hit the turbo boost and let it fly right into the section of pipe glowing green.
Arid Nexus Badlands
Arid Nexus Badlands is a wild desert filled with skag dens, JNK Loaders, and the sad abandoned carcass of what was once the thriving town of Fyrestone. The only thing not falling into disrepair is the Hyperion Info Stockade, the maximum security facility you’re about to risk your hide to enter.
Head north past the first skag den toward the Hyperion Info Stockade, made visible by the massive white beacons of light shining into the sky. The only way to reach it is via the platform lift that rises up to the highway in the northeast corner of the region.
Taking the High Road
Continue north to the fenced desolation that was Fyrestone. Fyrestone’s residents are long gone, and the city is now home to nothing more than a shambling band of JNK Loaders cobbled together from the rusty debris fields. Well, that and a loader by the name of Bonehead 2.0 that can be shot down just as easily as the others.
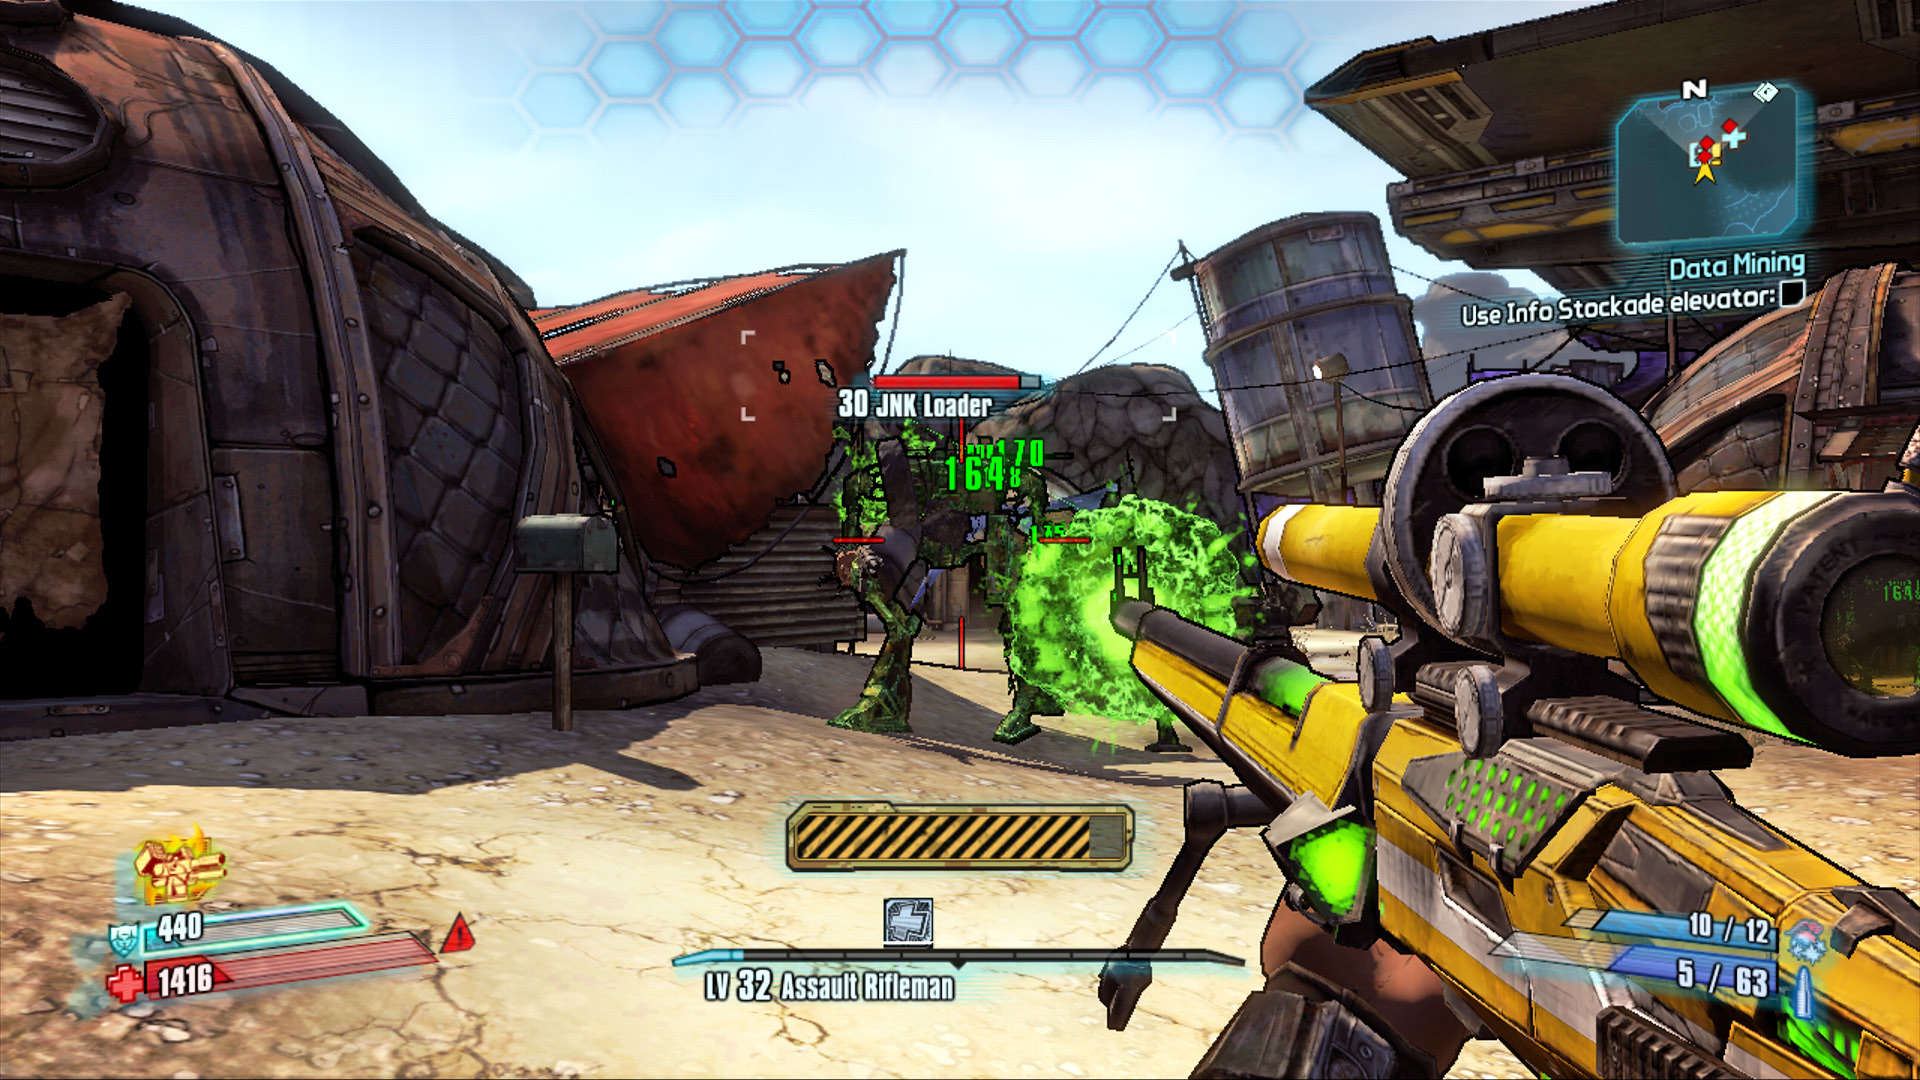
JNK Loaders may be cobbled together from scrap, but they can still hit you pretty hard. Soak them in Corrosive gunfire ASAP!
Load up on ammo, equip your best Corrosive weaponry, and ensure that no JNK Loaders or skags remain in the area—it’s very important that you have no distractions for the fight to come. Slowly make your way north out of Fyrestone past the junk piles, and follow along the path beneath the highway. A massive loader by the name of Saturn soon lands atop the highway in effort to stop you from reaching the stockade.
Saturn
Saturn’s Vitals
| Health Multiplier | Shield Level | DMG. Multiplier | XP Value | Crit. Areas | Weakness/Res. |
|---|---|---|---|---|---|
|
80 |
— |
8 |
Boss |
— |
|
 / —
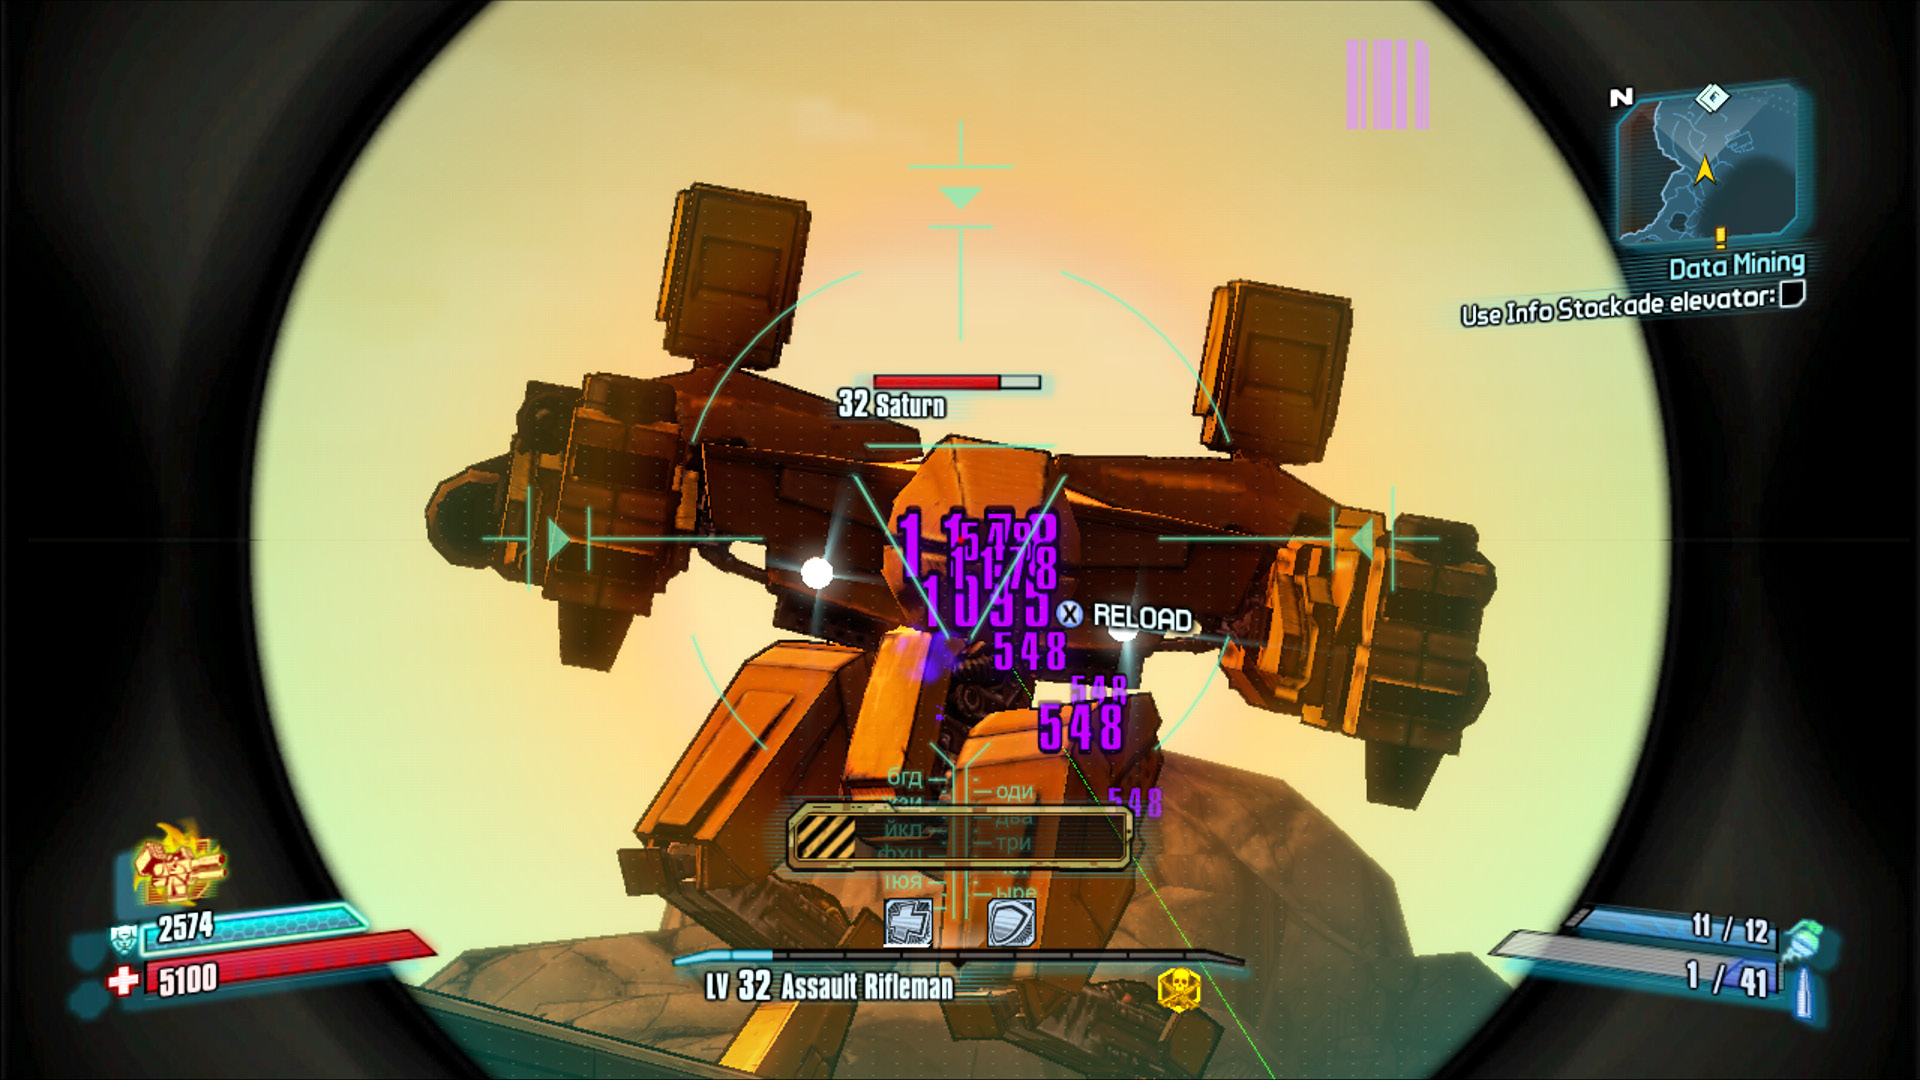
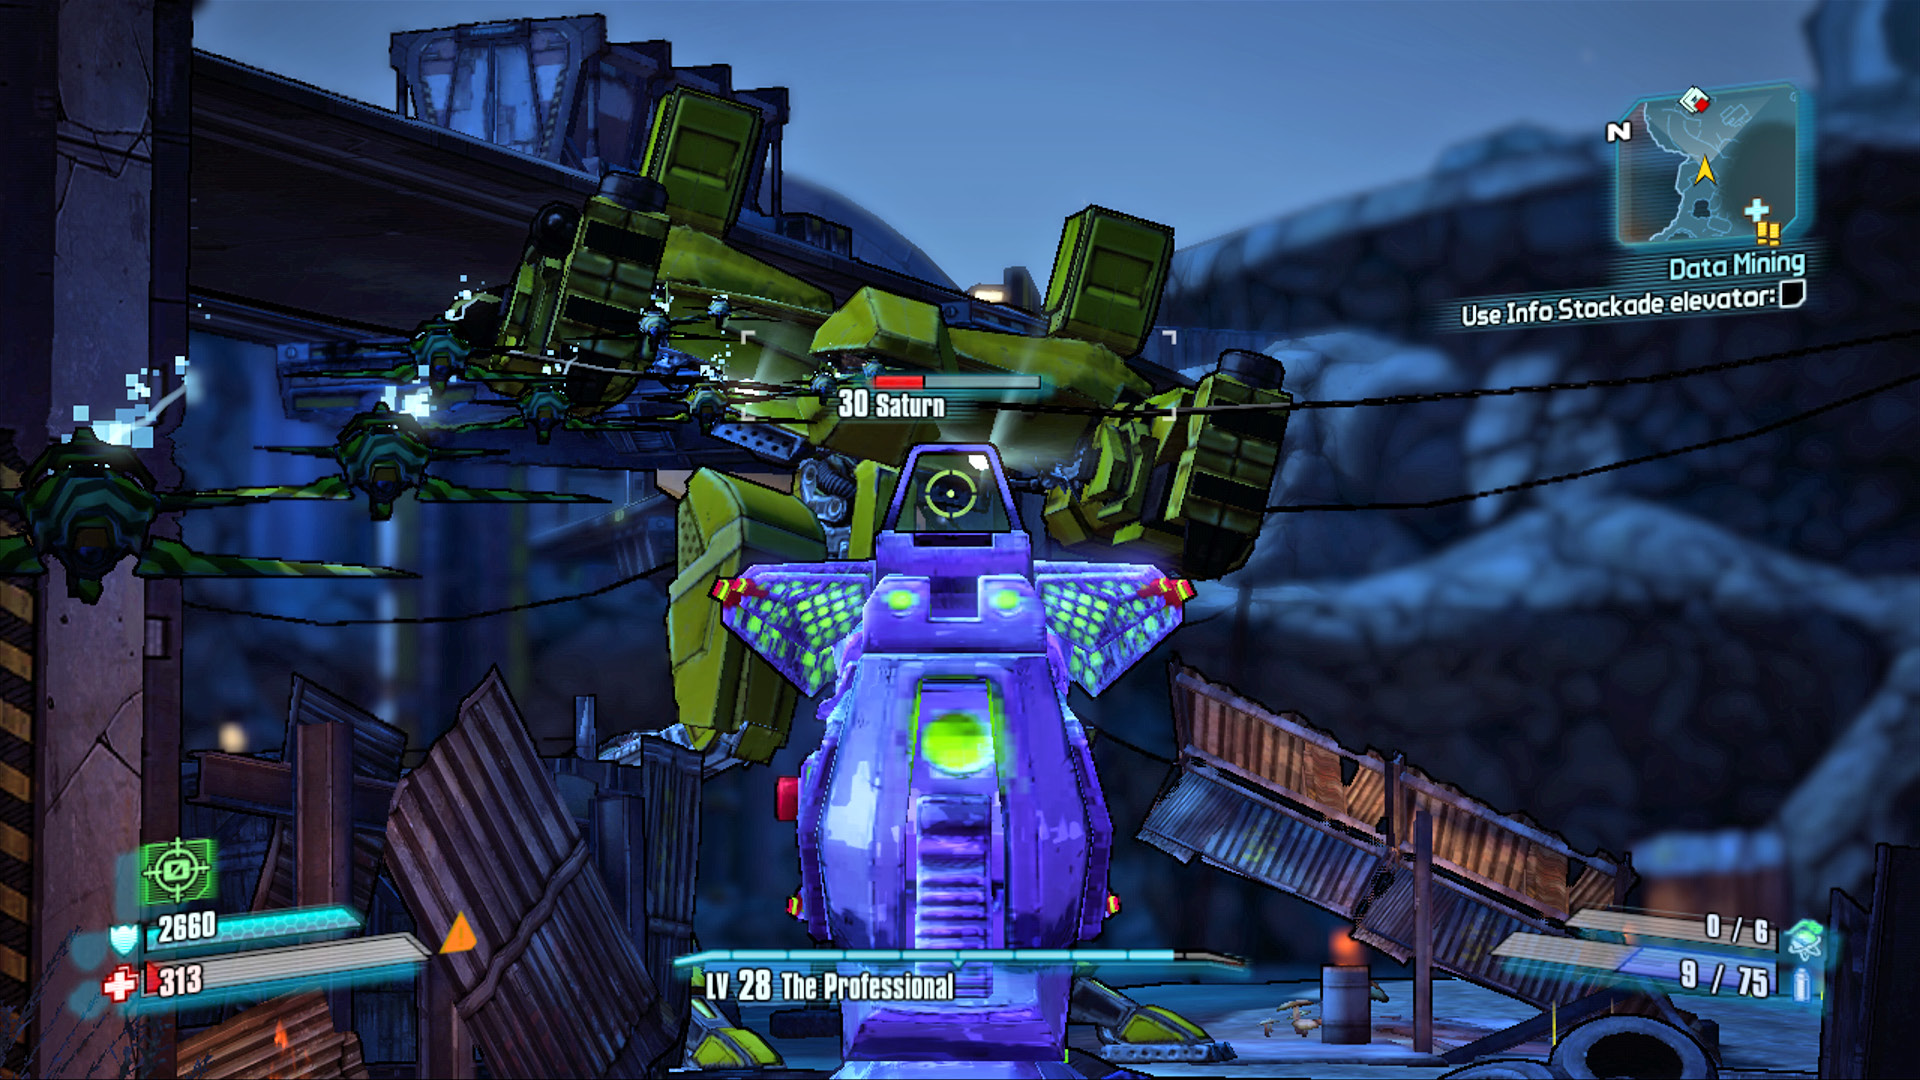
/ —The first thing to do when you see Saturn is to immediately retreat to the northern edge of Fyrestone—to take Saturn on out in the open is suicide, especially if you don’t have at least three people in your party. Immediately open fire on Saturn with a few rounds from your best Corrosive weapon to draw him down from the highway to ground level. Saturn’s massive size restricts him to the area between Fyrestone and the lift you need to ride up to reach the highway. If you’re going to fight him (see note below for tips on avoiding him), then you need to stay behind cover in Fyrestone. It’s not sexy, but the most surefire way to defeat Saturn is by strafing in and out of cover near the garbage piles and fencing on the left-hand side in Fyrestone.
Saturn has but two major attacks, each of which can down you with just one or two hits. His main attack is to fire a stream of six consecutive homing rockets that fly at a high speed, are extremely accurate, and pack tremendous splash damage. Not only is it important to take cover from these attacks, but you must remember to leave a buffer between yourself and whatever it is you’re taking cover behind. Otherwise, the splash damage could eat you up! Saturn also attacks by raising his shoulder flaps to deploy a barrage of smaller arcing projectiles. He also has a mini turret (note the second health bar) that can be easily destroyed with a few rounds from your guns, but don’t do it! They’re your lifeline to a Second Wind if you should get downed, so leave them intact whenever possible.
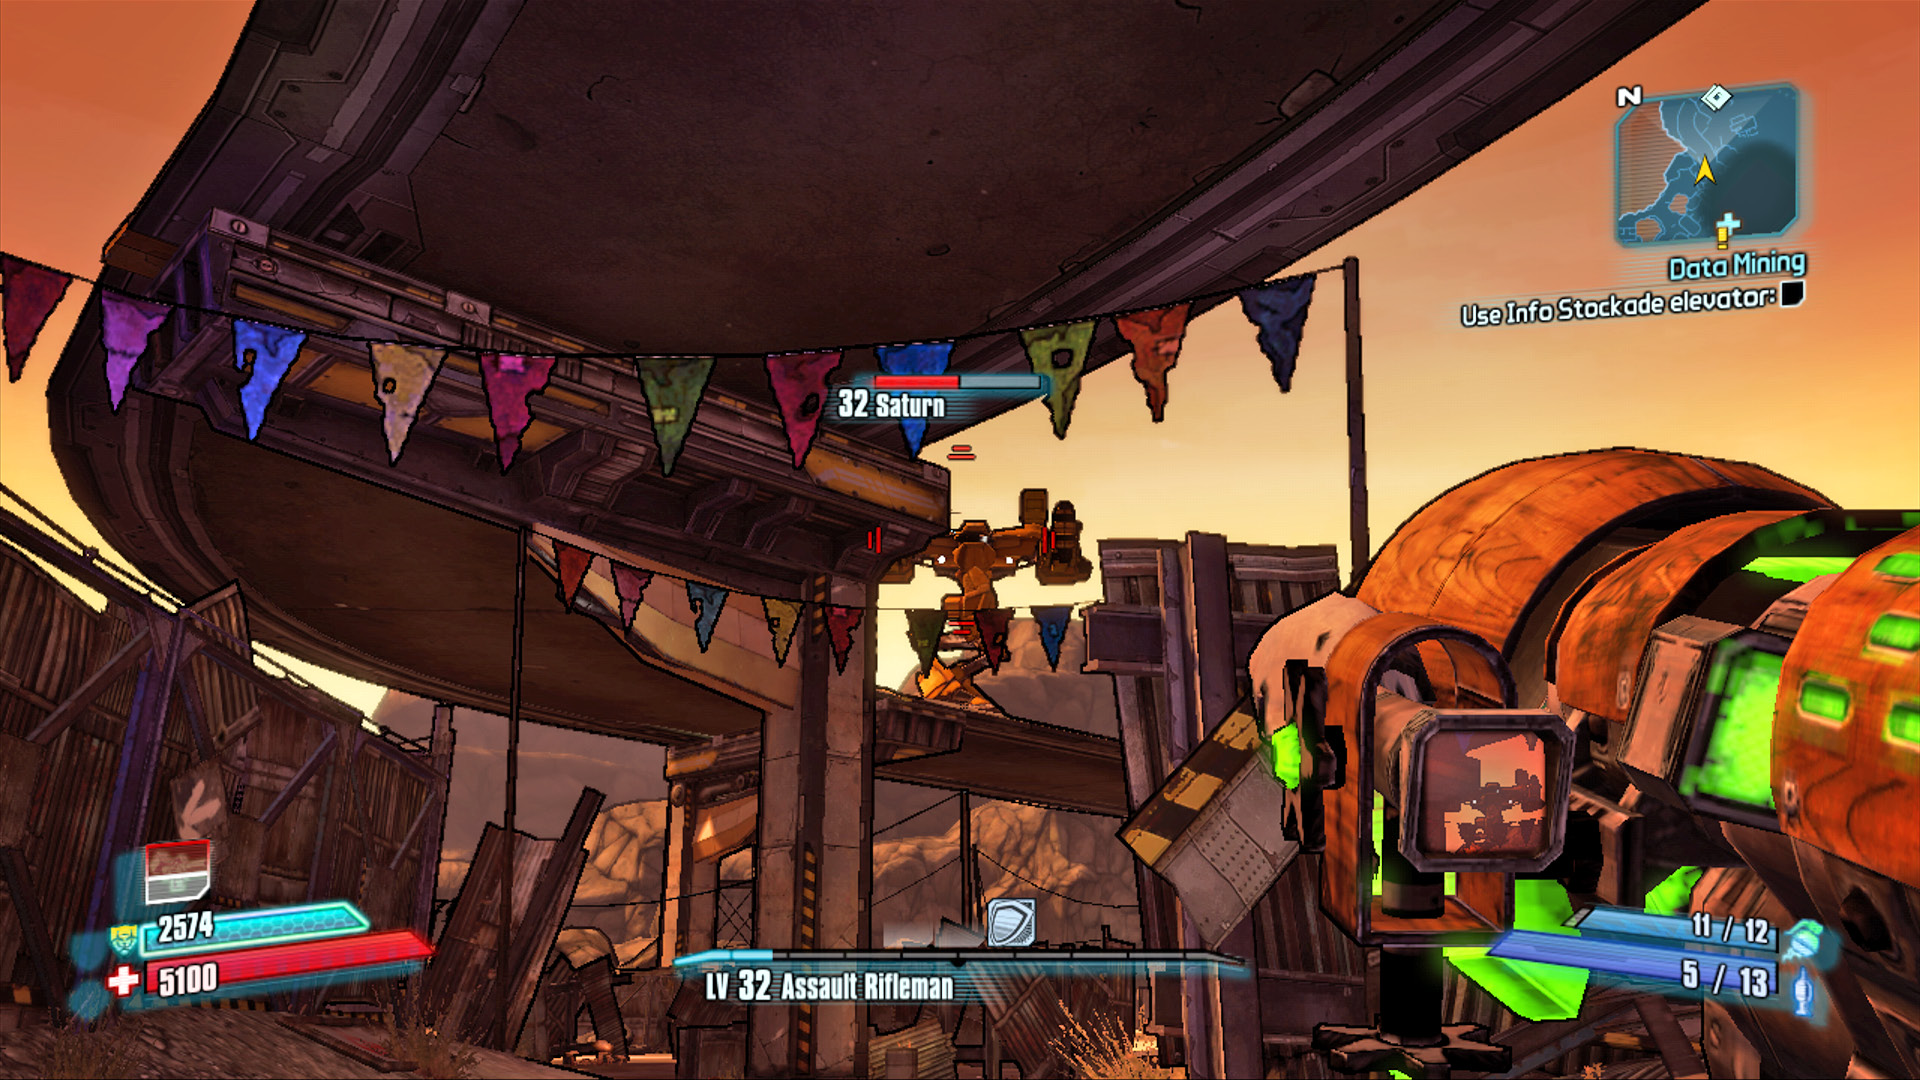
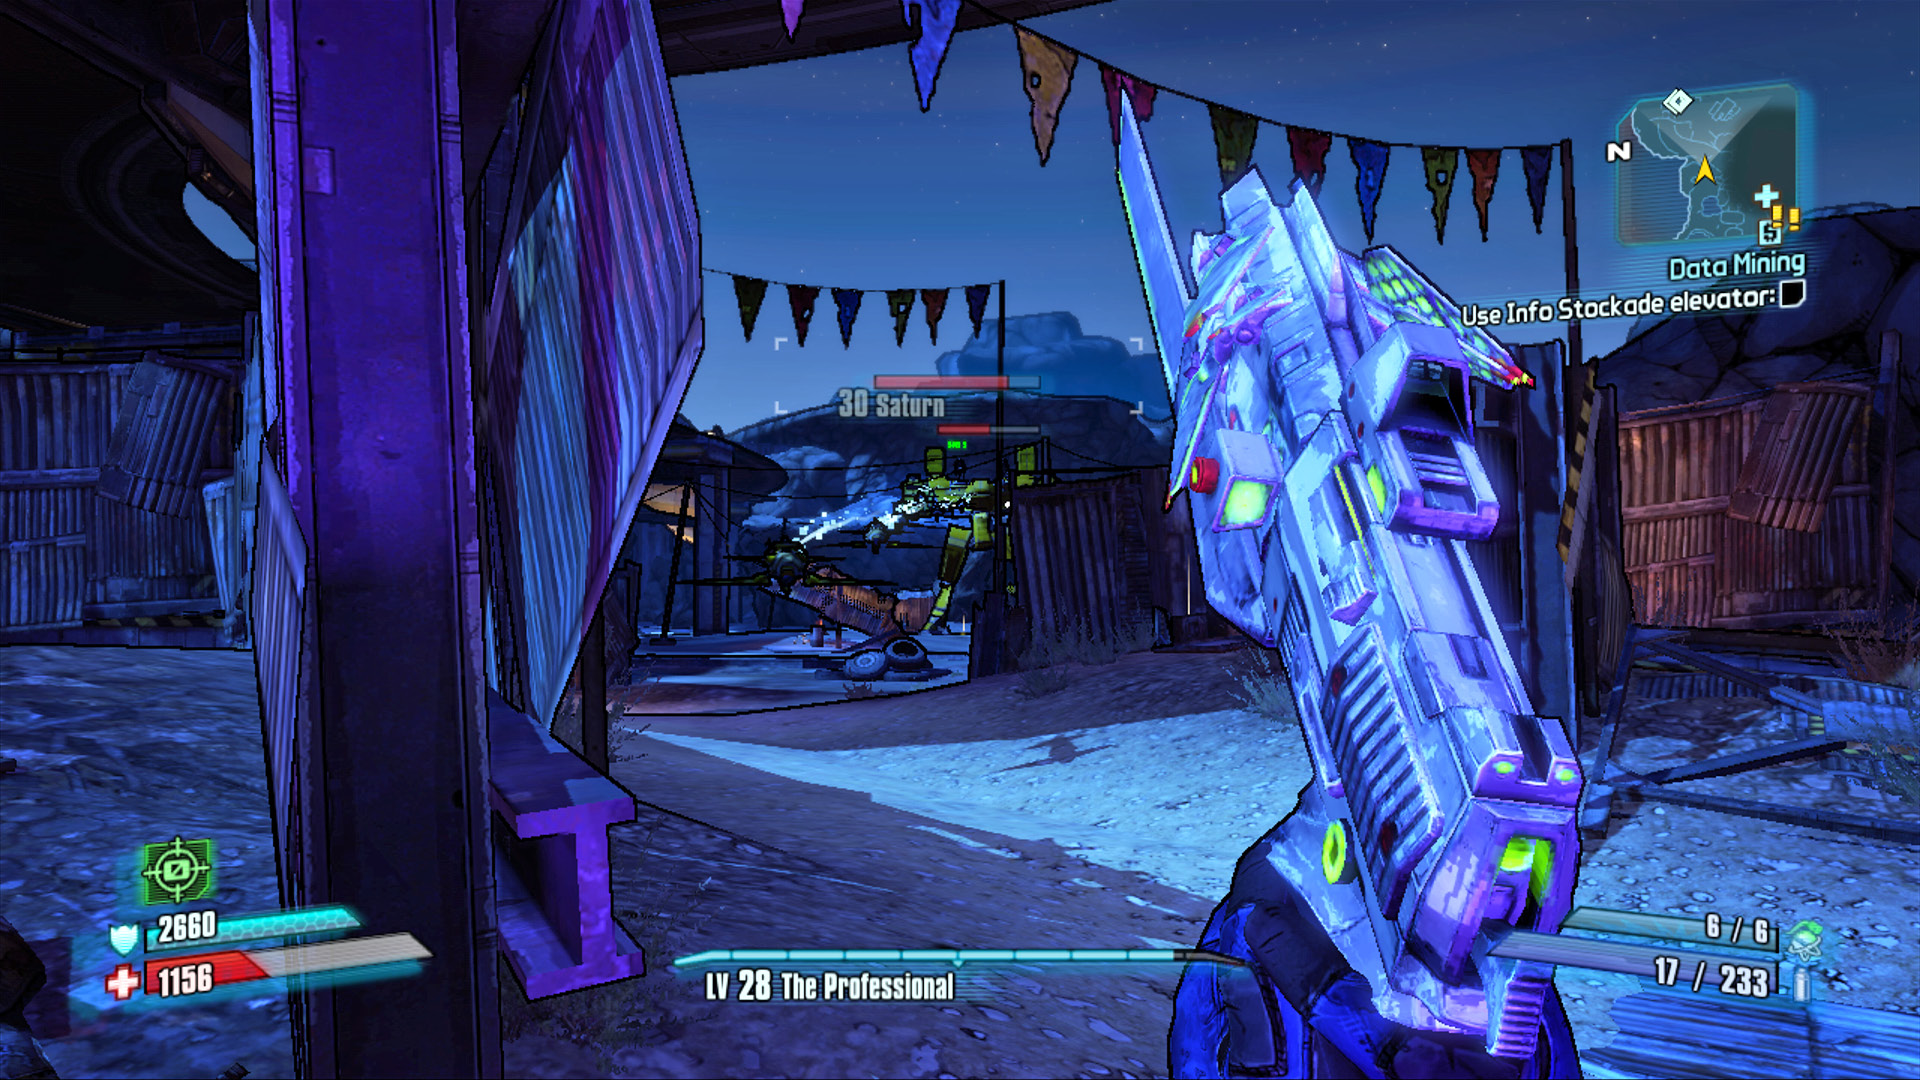
Back away from Saturn toward Fyrestone, and step around the corner on the left toward the pile of junk. The L-shaped corrugated fencing here combines well with the overhead highway to keep you protected from each of Saturn’s attacks. Stand behind the junk pile away from the fence, wait for Saturn’s next barrage of homing rockets to crash harmlessly into the fence, then step out to the right and open fire on his head. Quickly duck back behind cover, reload your weapon, and repeat. You can mix in some rockets and grenades if you want to try to speed the battle up, but patience and discipline are the rules of the day. Maintain this strategy, and you’ll be all but guaranteed a clean victory over Saturn, the Hyperion Corporation’s deadliest and most feared loader!
Open Sourcing the Map Data
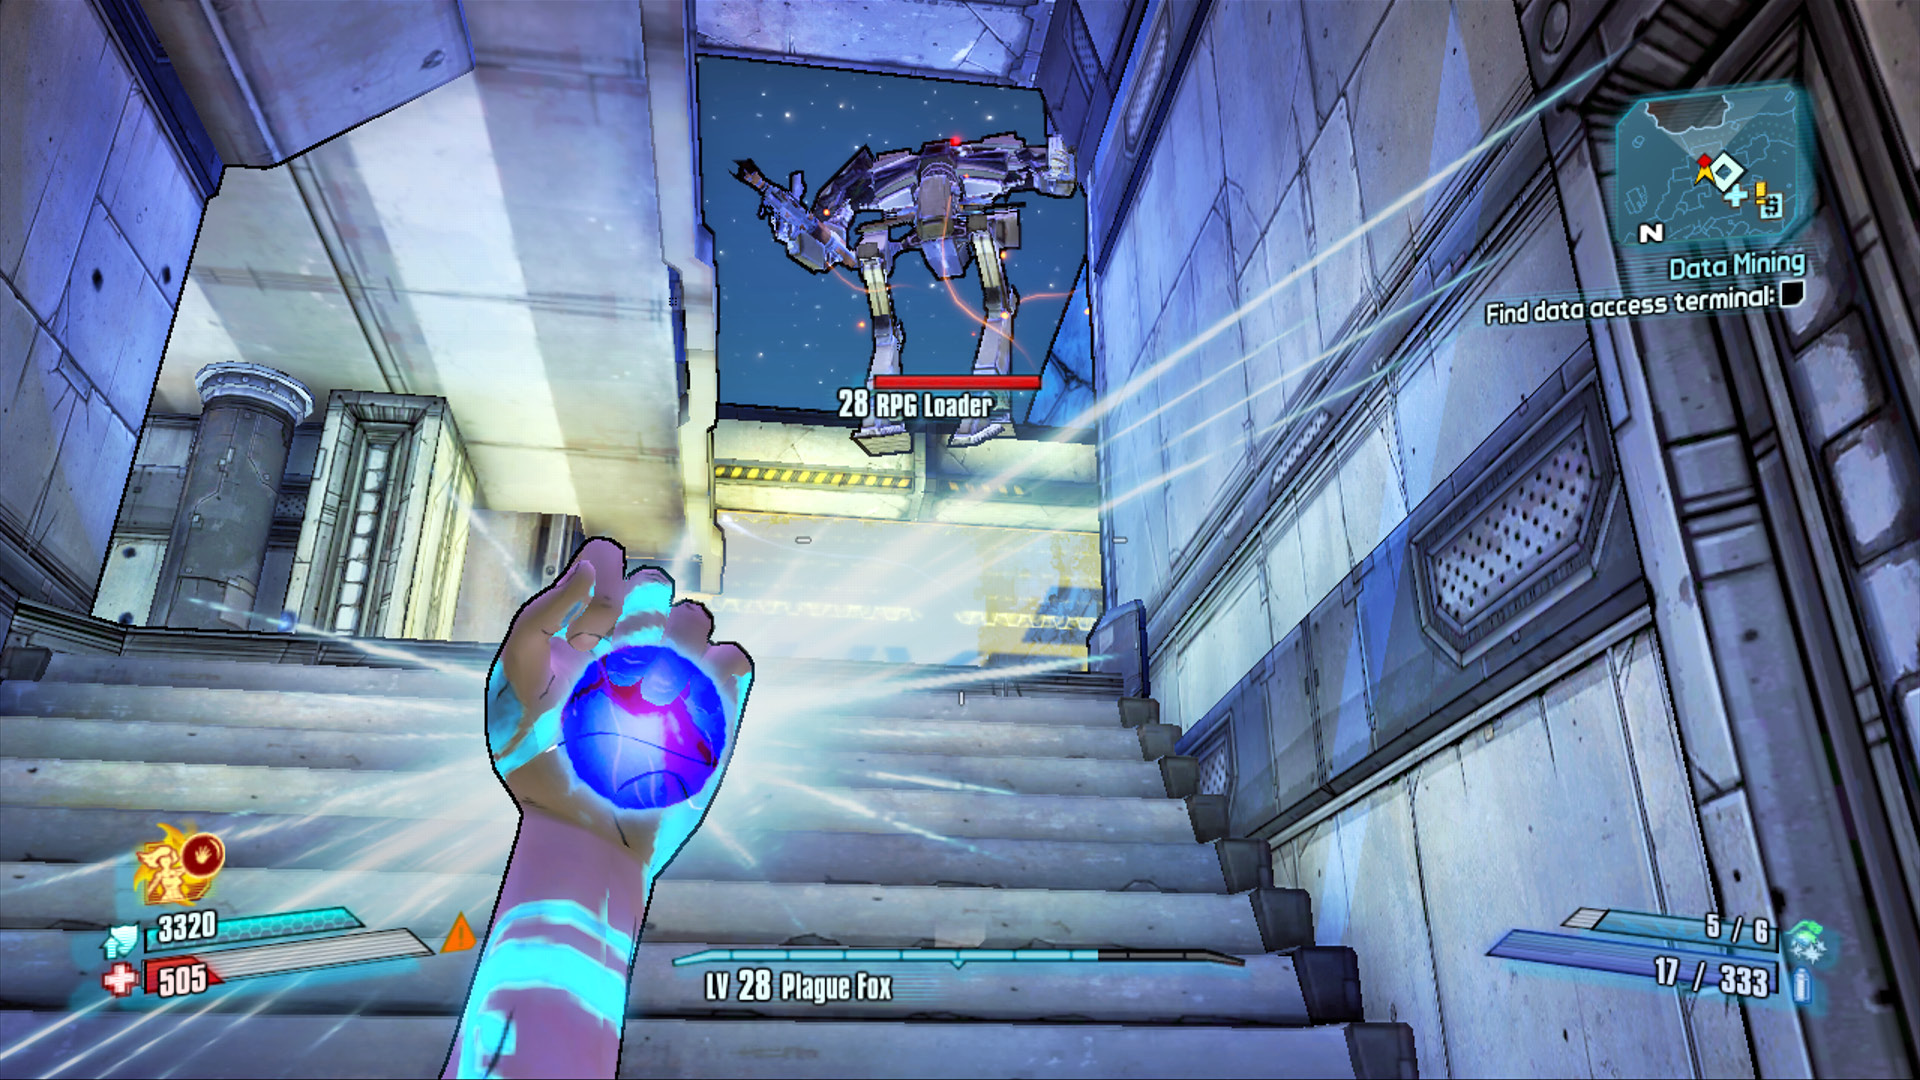
You can either run past the Badass Constructor and flank it from the inside, or go head-to-head from on the highway.
With Saturn destroyed (and his resulting loot shower thoroughly cleaned up), return to the vending machines in Fyrestone and replenish your ammo and health supplies. Ride the lift up to the New-U station, and start heading back along the highway as it winds its way south to the Hyperion Info Stockade. Deal with the loaders you encounter exactly where they appear, and continue to advance slowly as a Badass Constructor and multiple RPG Loaders are prepping to attack just outside the entrance to the facility. Use the containers and barriers on the highway for cover while you fend them off with Corrosive grenades and a rocket launcher, if you have one handy. You’re almost there; this is no time to hold back!
Keep your wits about you as you head inside; multiple Hyperion Soldiers are set to follow close behind you via the walkway leading from the highway into the stockade. Clear the lower level of the facility and loot the chests, then head upstairs and do the same. No additional enemies attack on the lower two levels once you’ve put down the initial defense force at the entrance.
Ascend to the third floor, and quickly kill the ION and RPG Loaders that deploy on the southwest and northeast platforms. Eliminate these adversaries, then climb the ladder to the chest on the fourth floor platform. Return to the third floor, and loot the multiple containers and chests on the third floor before rounding the corner on the northeast side of the floor to the info center. Use the terminal to download the Warrior location, then retrieve the map data.
As soon as you start downloading the Warrior location, two Badass Constructors attack on those same platforms where the other loaders were. Attack the one nearest the map download station first, as there’s less cover near it and the other Badass Constructor can’t hit you thanks to the wall in the center. Play the angles, and attack the other Badass Constructor next. Retrieve the data and head south through Fyrestone and back to the Fast Travel station. Return to Mordecai at once!
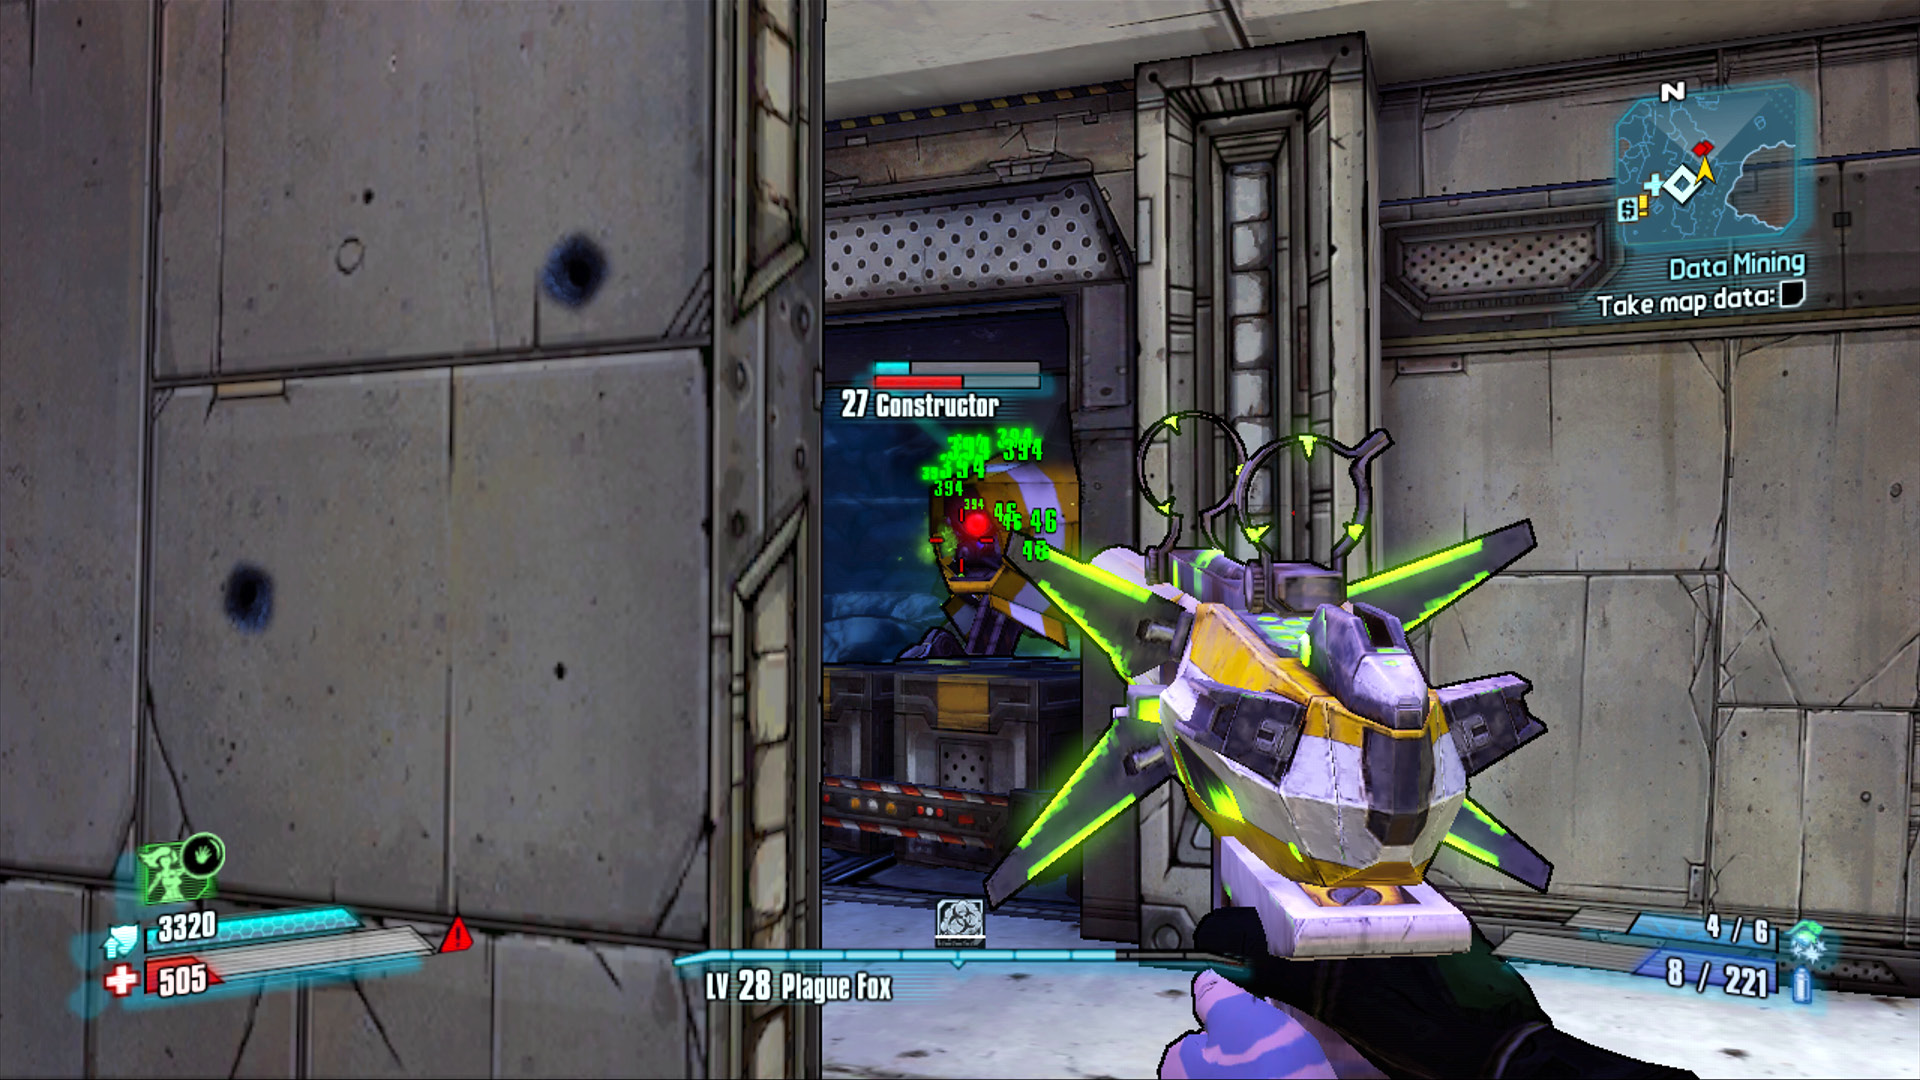
Peer out from around the corner to get a clean shot on the Badass Constructor without exposing yourself to counterattacks.
Hero’s Pass
Hero’s Pass is a unique locale in that it is almost entirely man-made. After Hyperion uncovered the location of what they initially assumed to be another Vault, they tunneled directly through a mountain range. As a result, all it’ll take is a single misstep to send even a seasoned Vault Hunter like yourself to a fiery death in the lava river below. Unfortunately, Hero’s Pass is the only path to the Warrior that we’ve been able to locate. This is our last chance. If we’re going to stop Handsome Jack and put an end to all this, you’re going to have to fight your way through this final gauntlet of Hyperion’s most elite troops. Good luck, Vault Hunter. You’re going to need it.
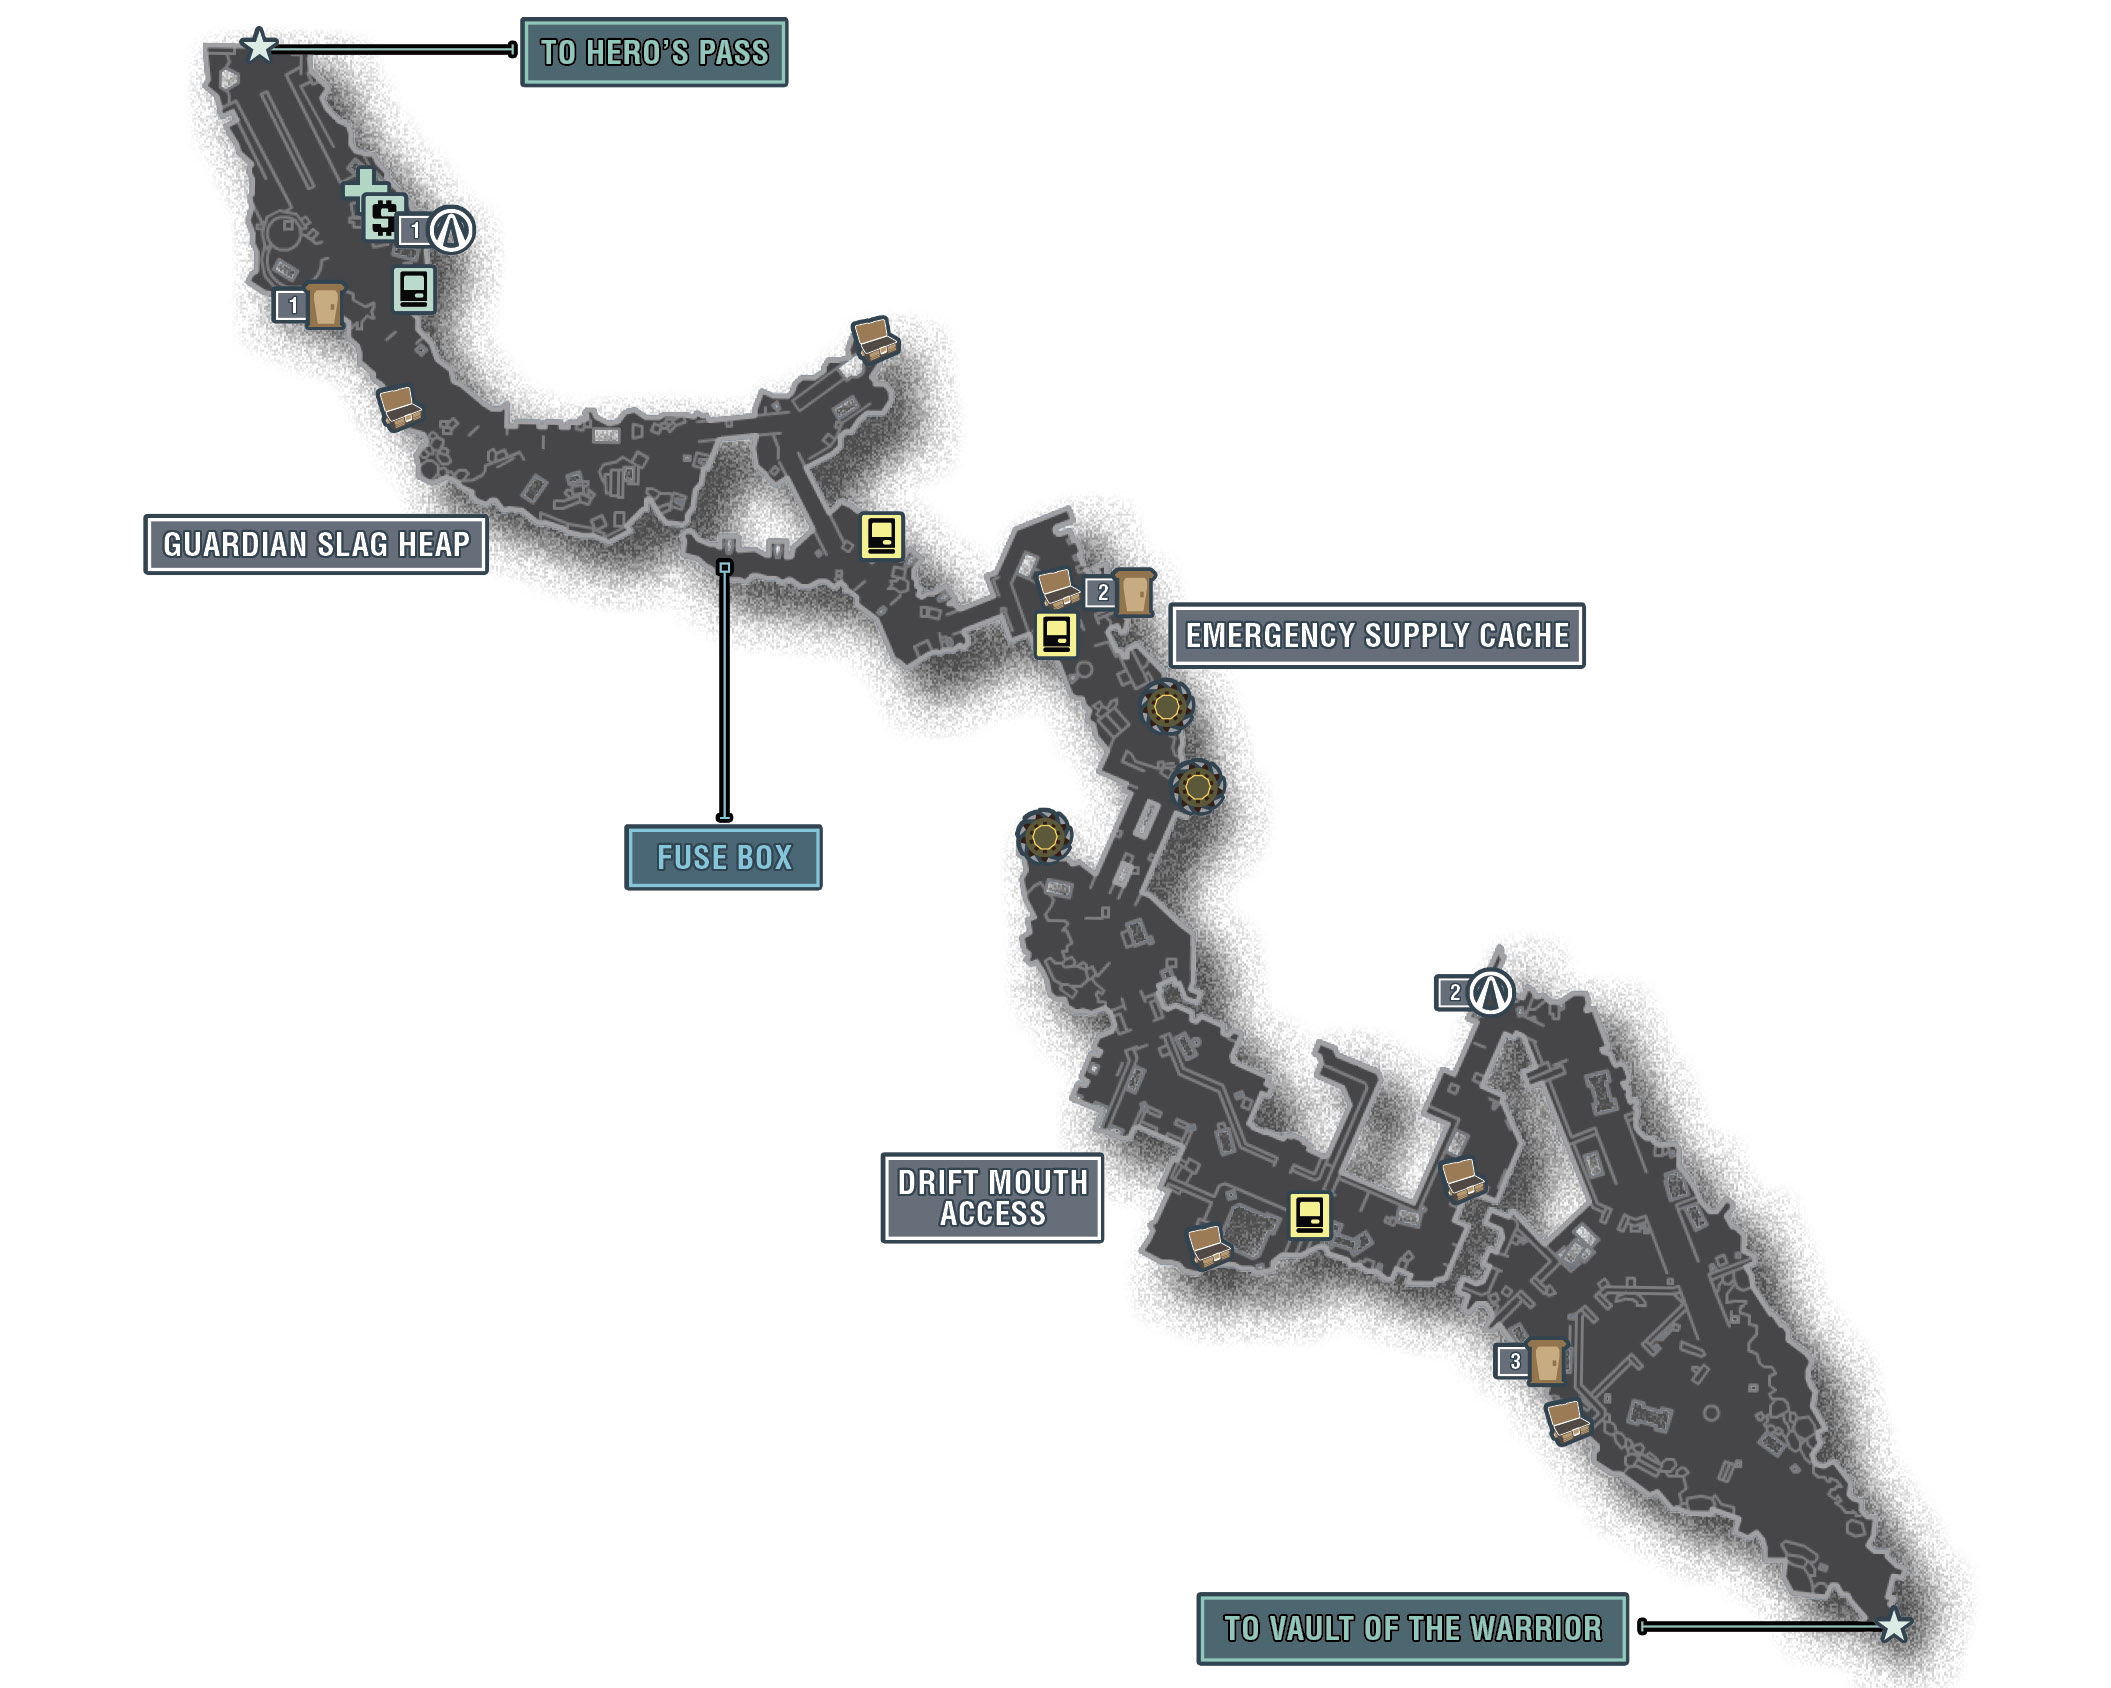
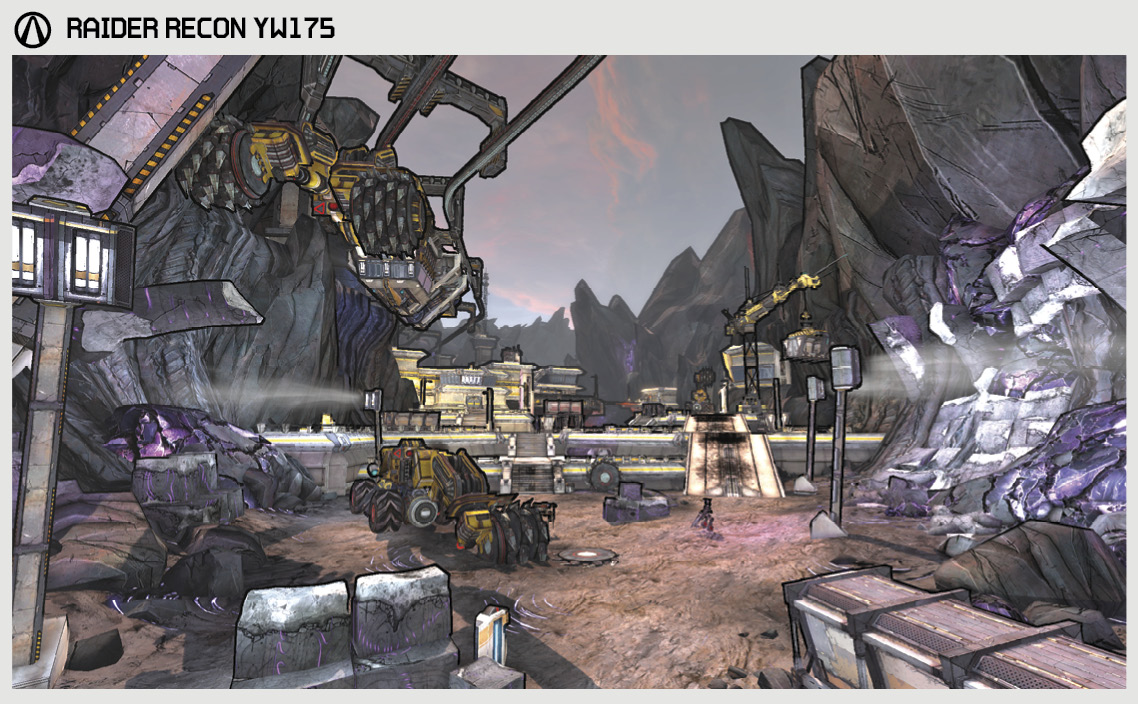
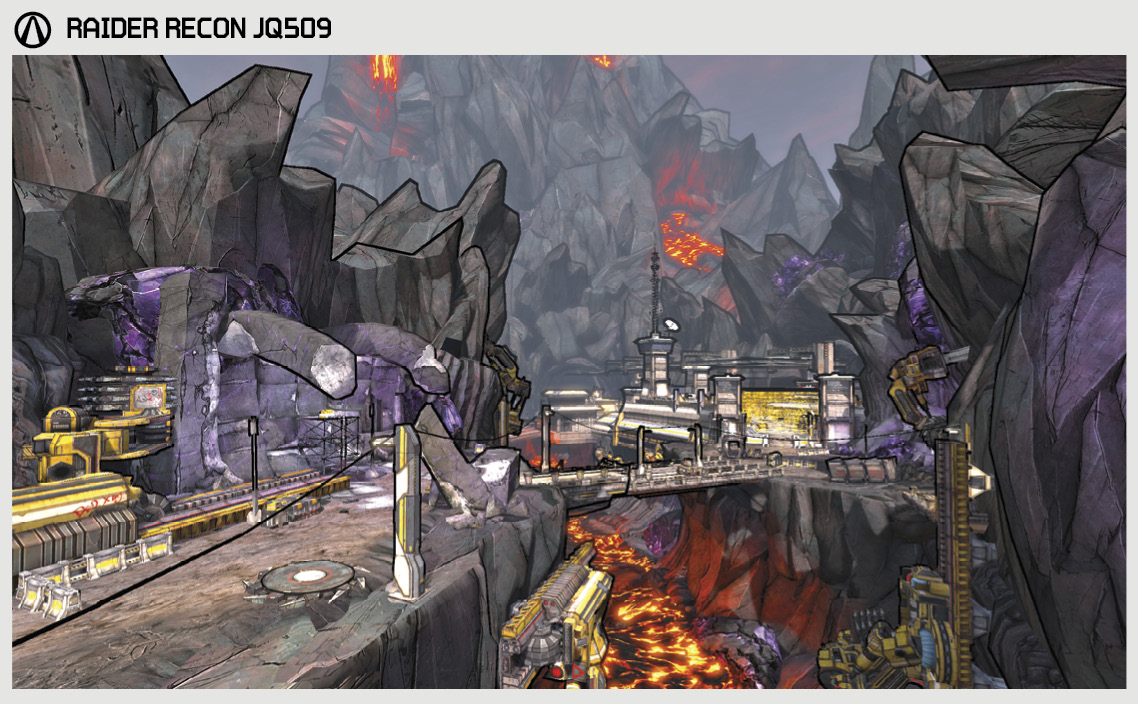
The Districts of Hero’s Pass
| Locale | Limited Access? | First Visit |
|---|---|---|
|
Guardian Slag Heap |
No |
“Talon of God” story mission. |
|
Emergency Supply Cache |
No |
“Talon of God” story mission. |
|
Drift Mouth Access |
No |
“Talon of God” story mission. |
Dangerous Beasts
| Enemy Family |
|---|
|
Loaders |
|
Engineers |
|
Hyperion Soldiers |
|
Constructors |
High Value Targets
| Enemy | Family |
|---|---|
|
— |
— |
 Cult of the Vault
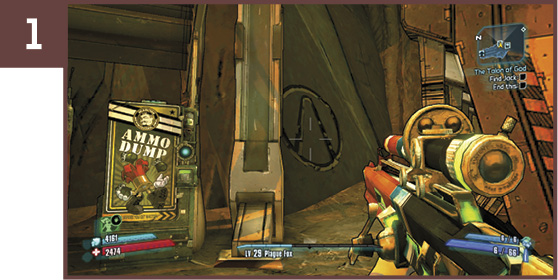
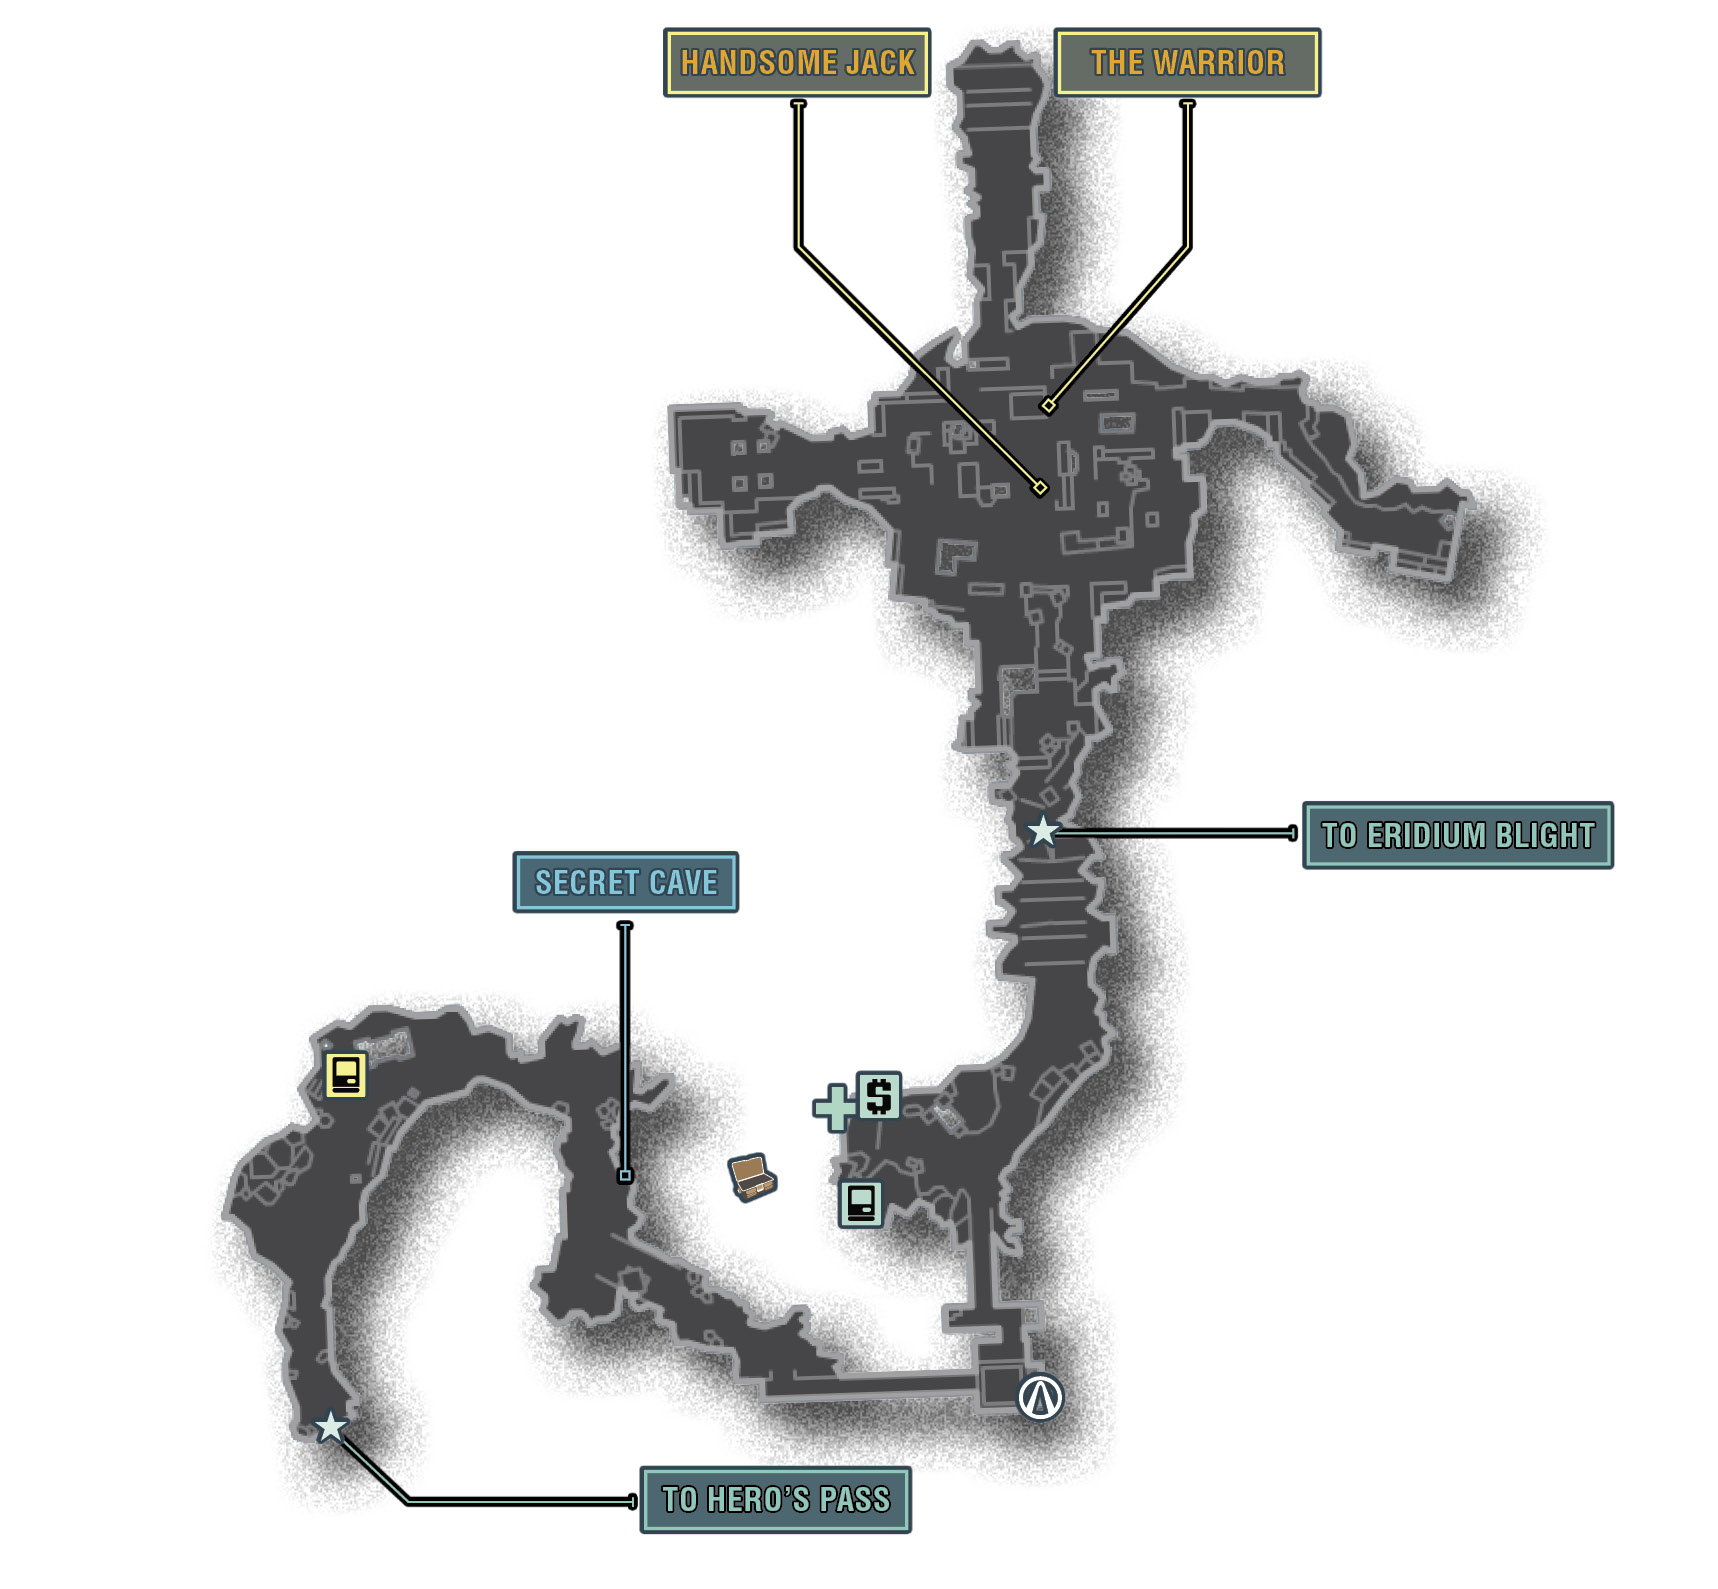
The first of two Cult of the Vault symbols at Hero’s Pass is just to the right of the vending machines immediately near the entrance. Don’t miss it in your rush to kick Hyperion ass!
This Cult of the Vault symbol is beneath the platform at the end of the bridge near the stairs. Though you can see it from the rocks to the west, it’s only accessible from the east. Duck beneath the platform, and leap across the buttresses to reach it.
 Environmental Protection
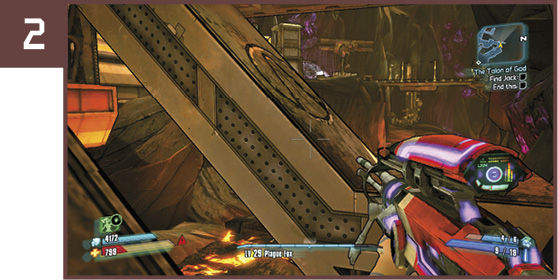
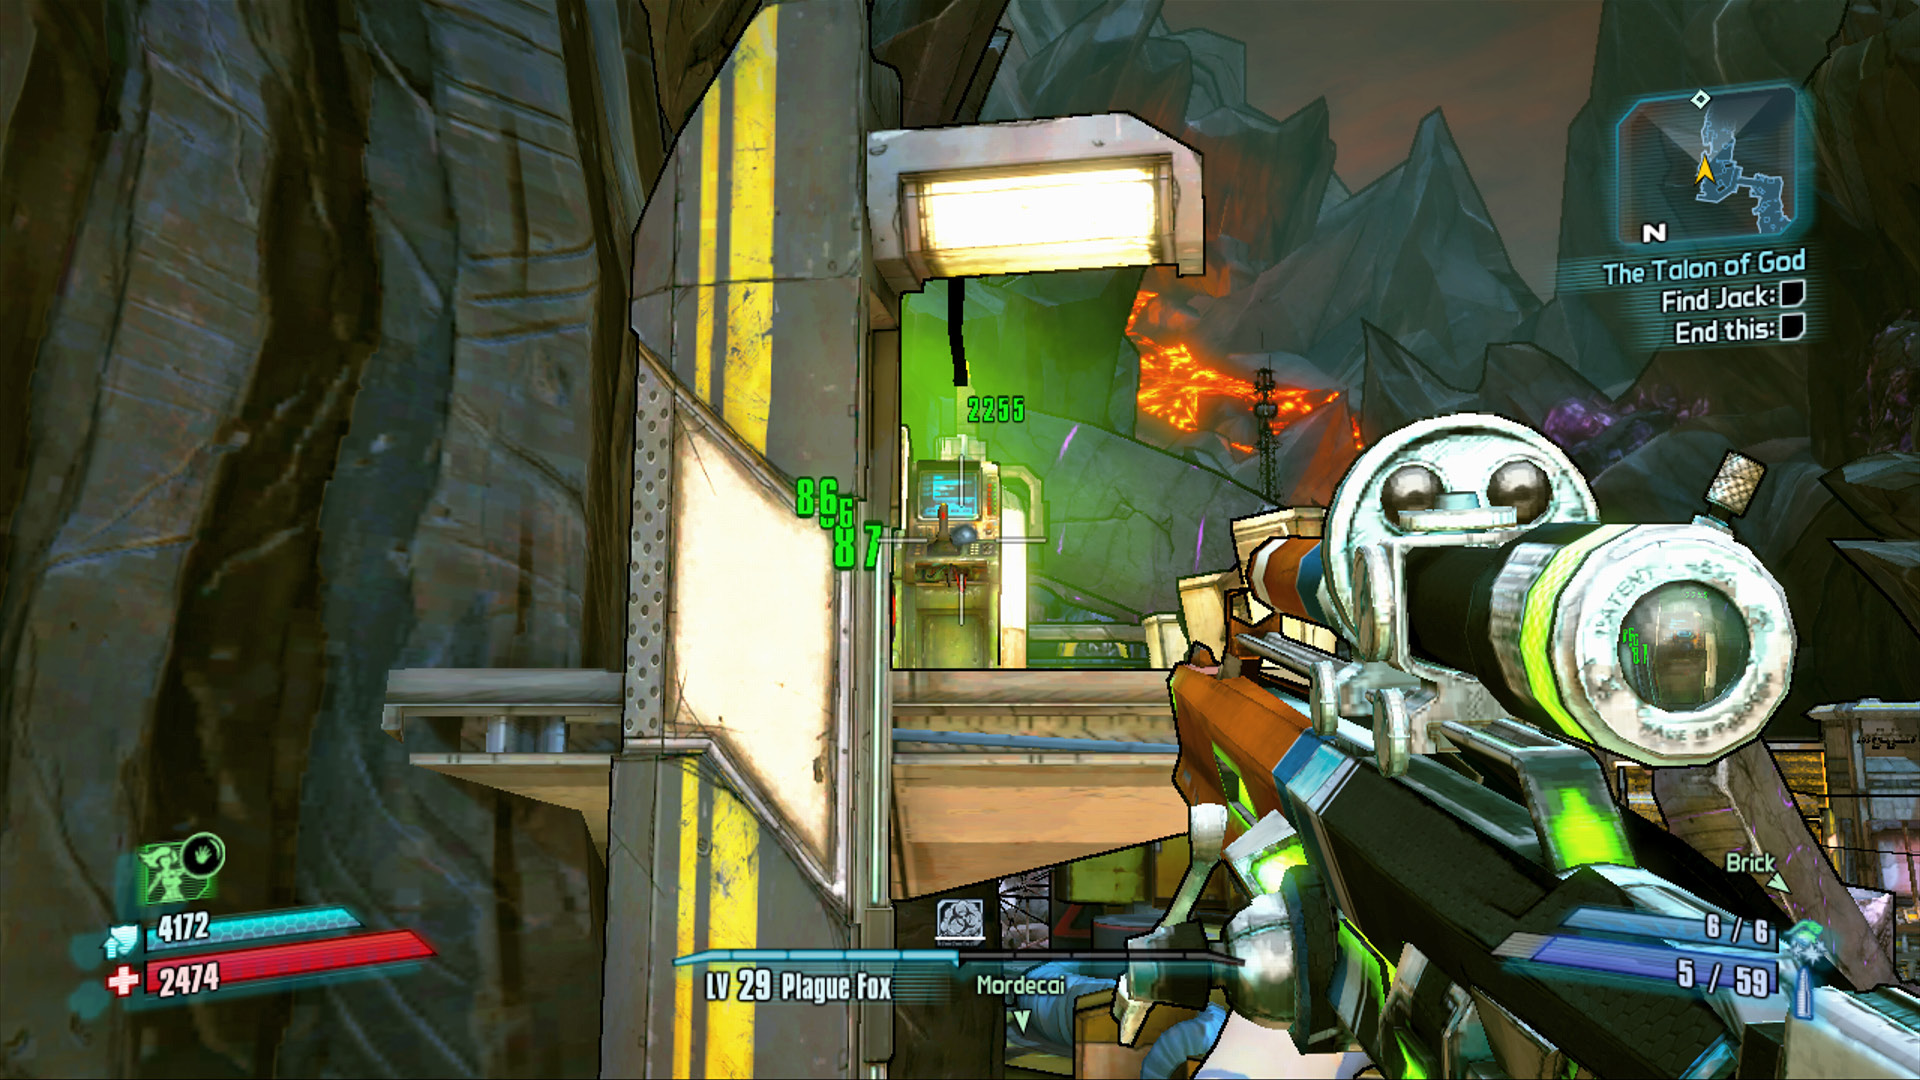
There are three large digger arms scattered throughout Hero’s Pass—four if you include the one that’s not in service—that are busy tearing up the subterranean landscape and causing the earthquakes that are making life so tough up on the surface. Each of these massive mechanical mining machines (try saying that four times fast) is controlled by a nearby computer terminal. Fire a few rounds into each of the computer terminals alongside the operational digging arms to ensure they never dig again. Their locations are marked on the map, and all three are located near the center of Hero’s Pass.
 When Nature Calls
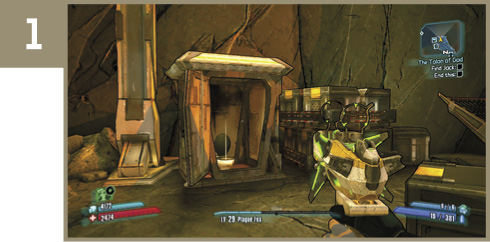
The first Engineer bathroom is just south of the vending machines on the right-hand side of the main path. Open the door to see what’s inside.
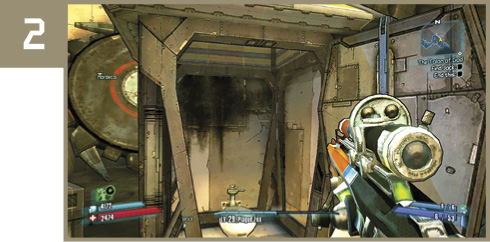
The next bathroom is in the Emergency Supply Cache area on the left-hand side. If you reach the first active grinder arm, you’ve gone too far.
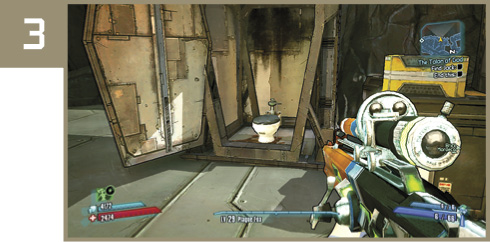
The final Engineer’s bathroom is on the south side of the last concrete section of the Hero’s Pass approach. Access it before descending to the bare dirt near the digging equipment.
Vault of the Warrior
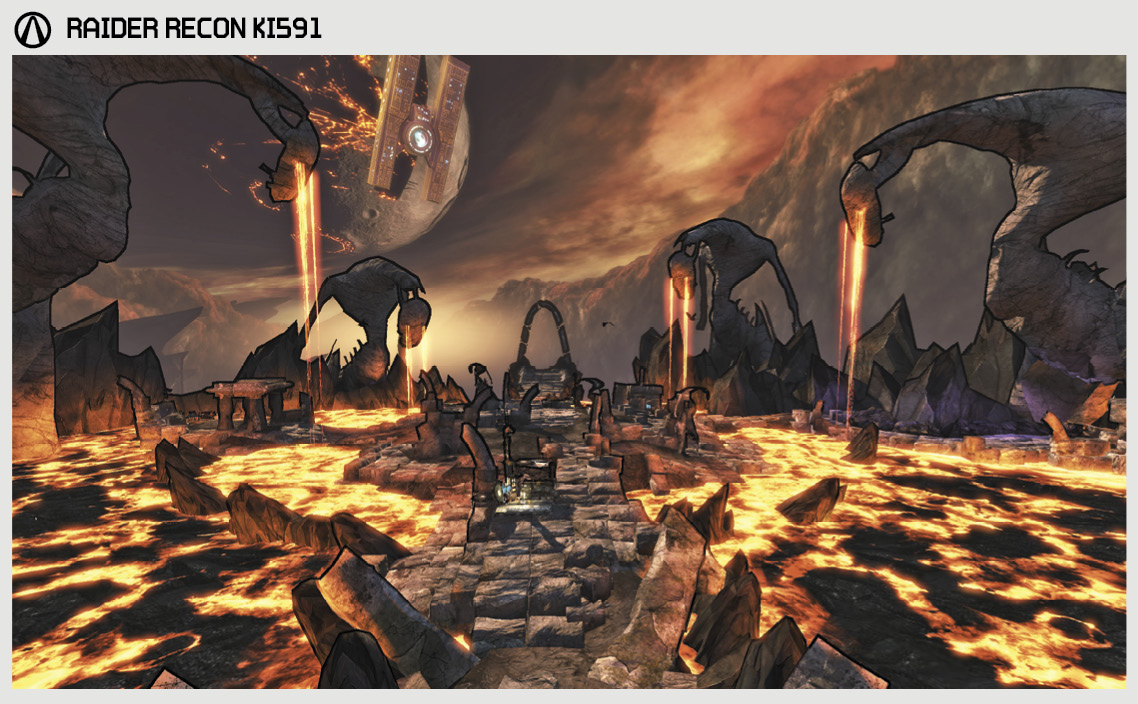
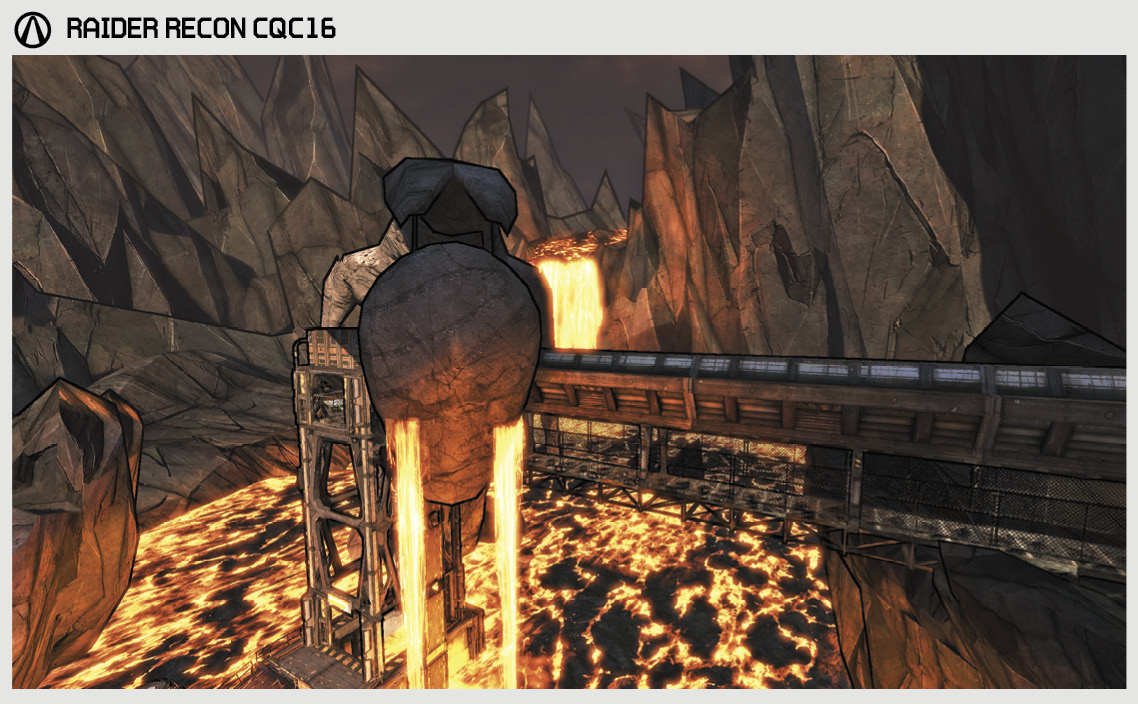
The Warrior lives. You should probably put a stop to that. This magma-filled crater is where the fate of Pandora will be decided—where Handsome Jack and his Warrior will face off against the might of the Vault Hunters once and for all. At this point, all of us back here in Sanctuary would like to say, “Try not to die.”
Dangerous Beasts
| Enemy Family |
|---|
High Value Targets
| Enemy | Family |
|---|---|
|
— |
— |
 Cult of the Vault
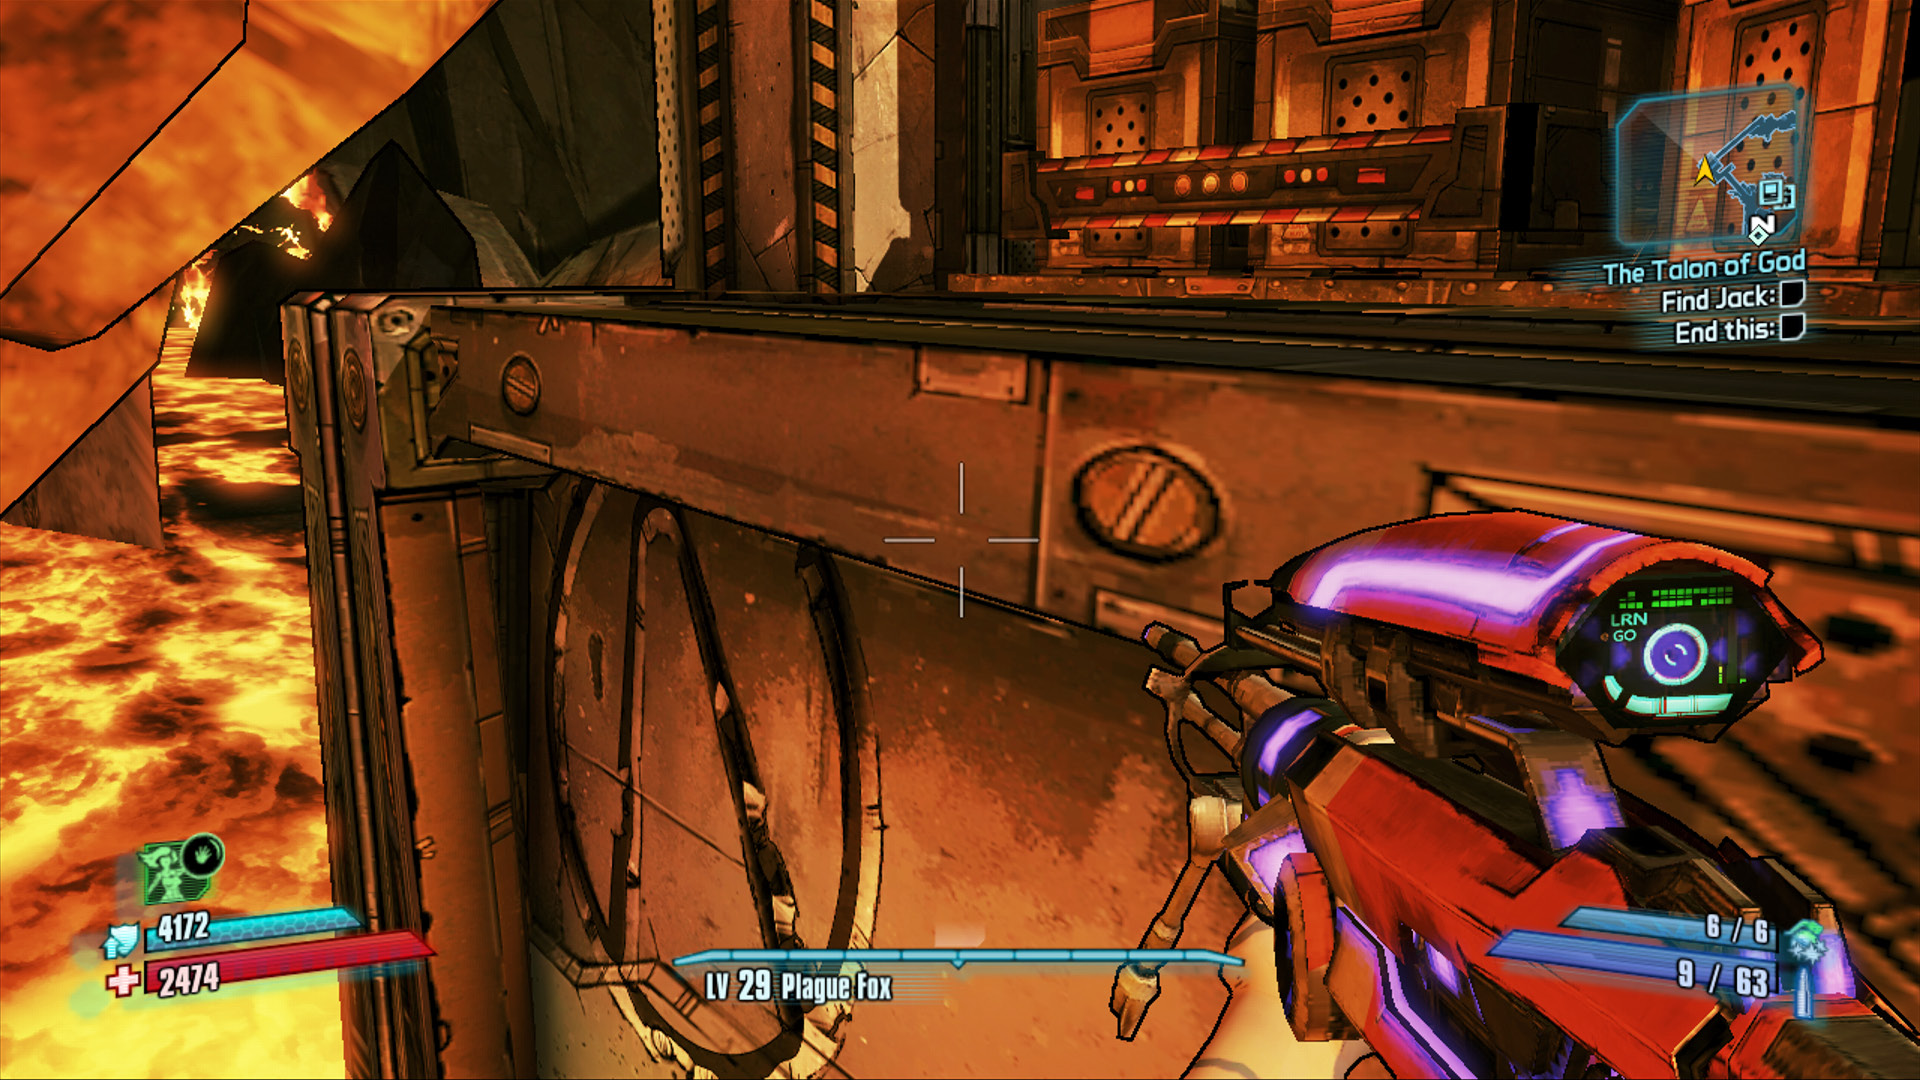
The lone Cult of the Vault symbol in this area is in the southernmost corner of the area on the foundation beneath the elevator you ride down toward the Fast Travel station. Carefully leap for the platform with the crates nearest the lava.
Dying of the Light
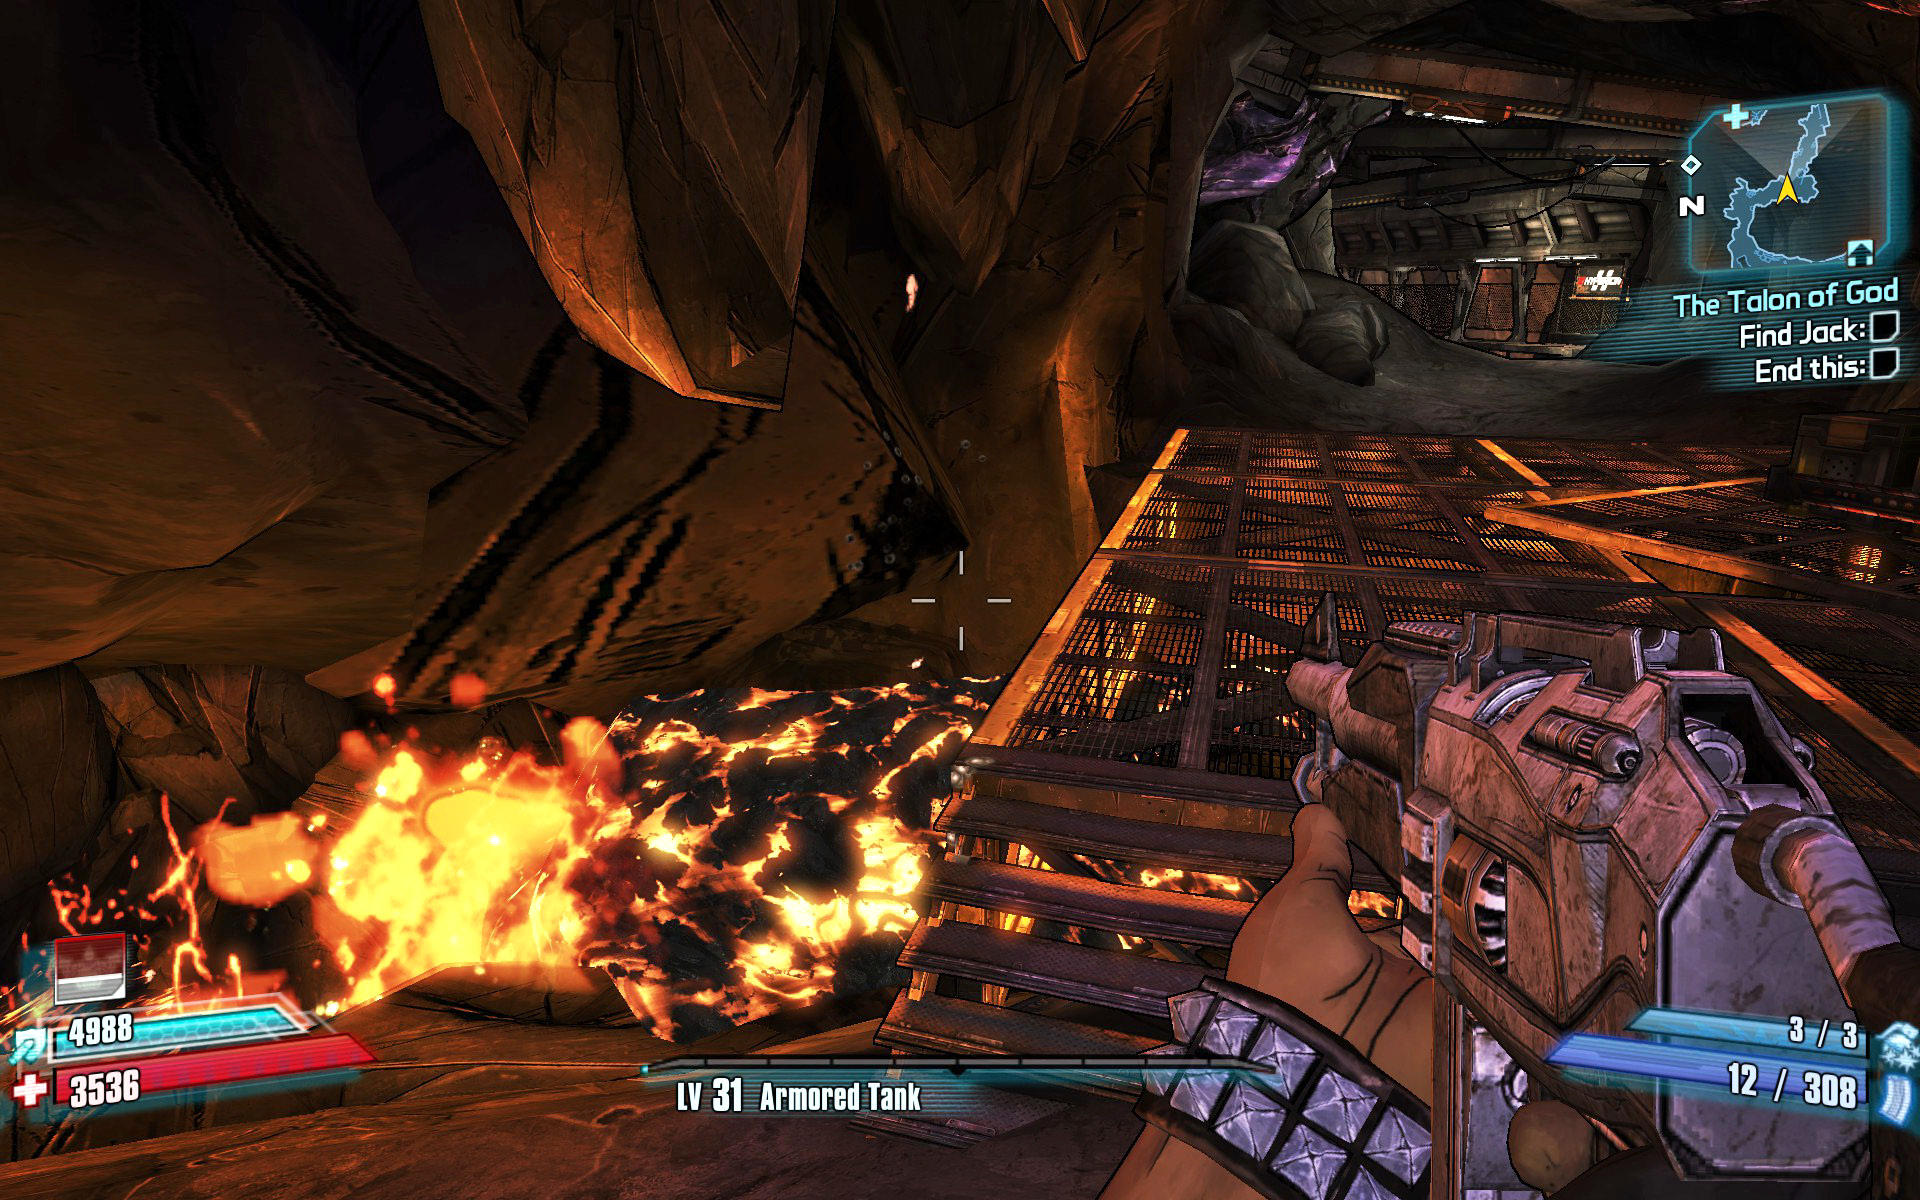
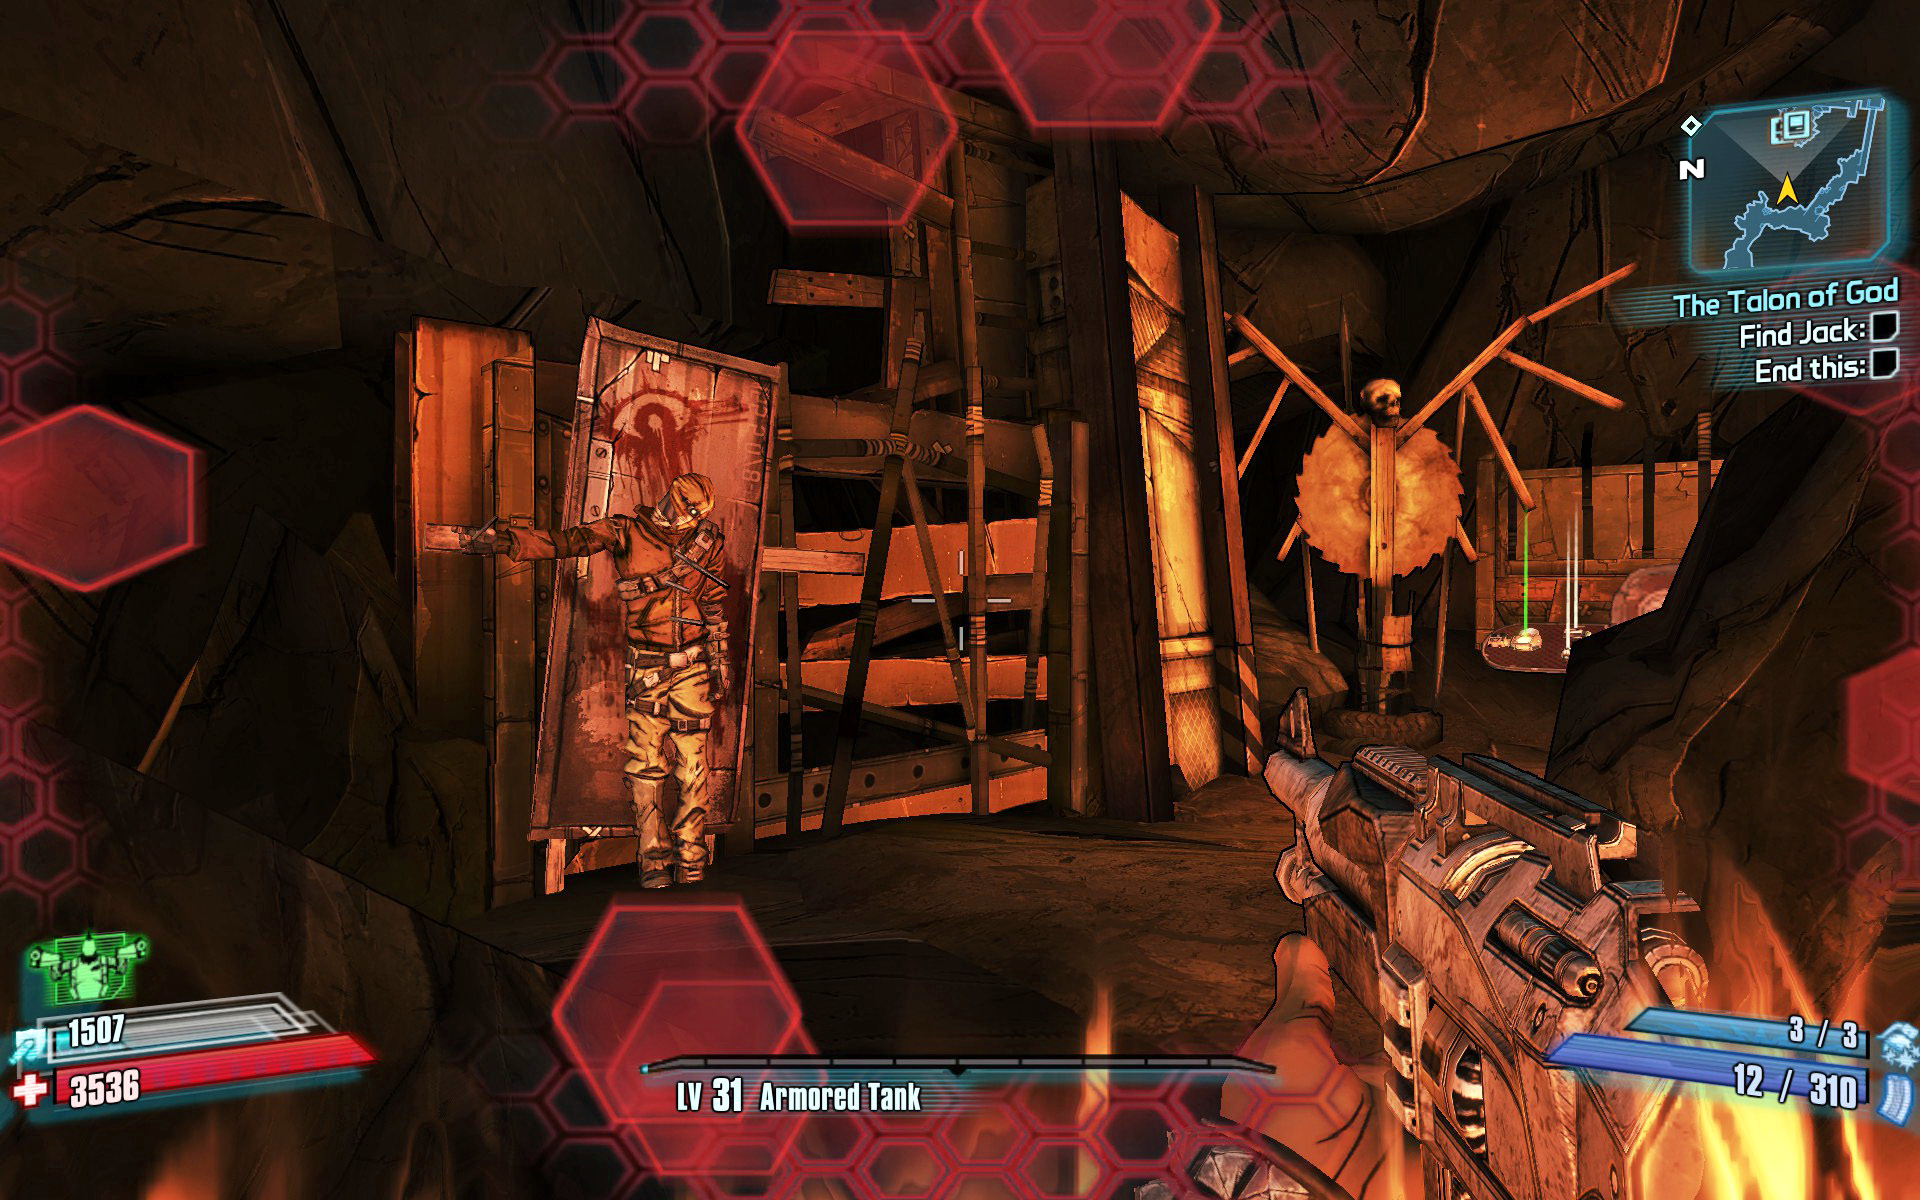
Loop around the semi-circular path near the entrance to the Vault of the Warrior until you come to a metal bridge over a river of lava. Make sure your shield is fully replenished, and leap down into the lava on the left. Quickly run to the left until you spot a bandit staked to a board on the right. Ignore his arm pointing in the other direction, and leap to the safety of the cave where he stands. Approach the chest tucked into the back of the cave to find the last of the fire worshippers.
Additional Challenges
The Warrior’s Way: Kill the Warrior without shooting his heart (see “The Talon of God” story mission for details).
Terramorphous Peak
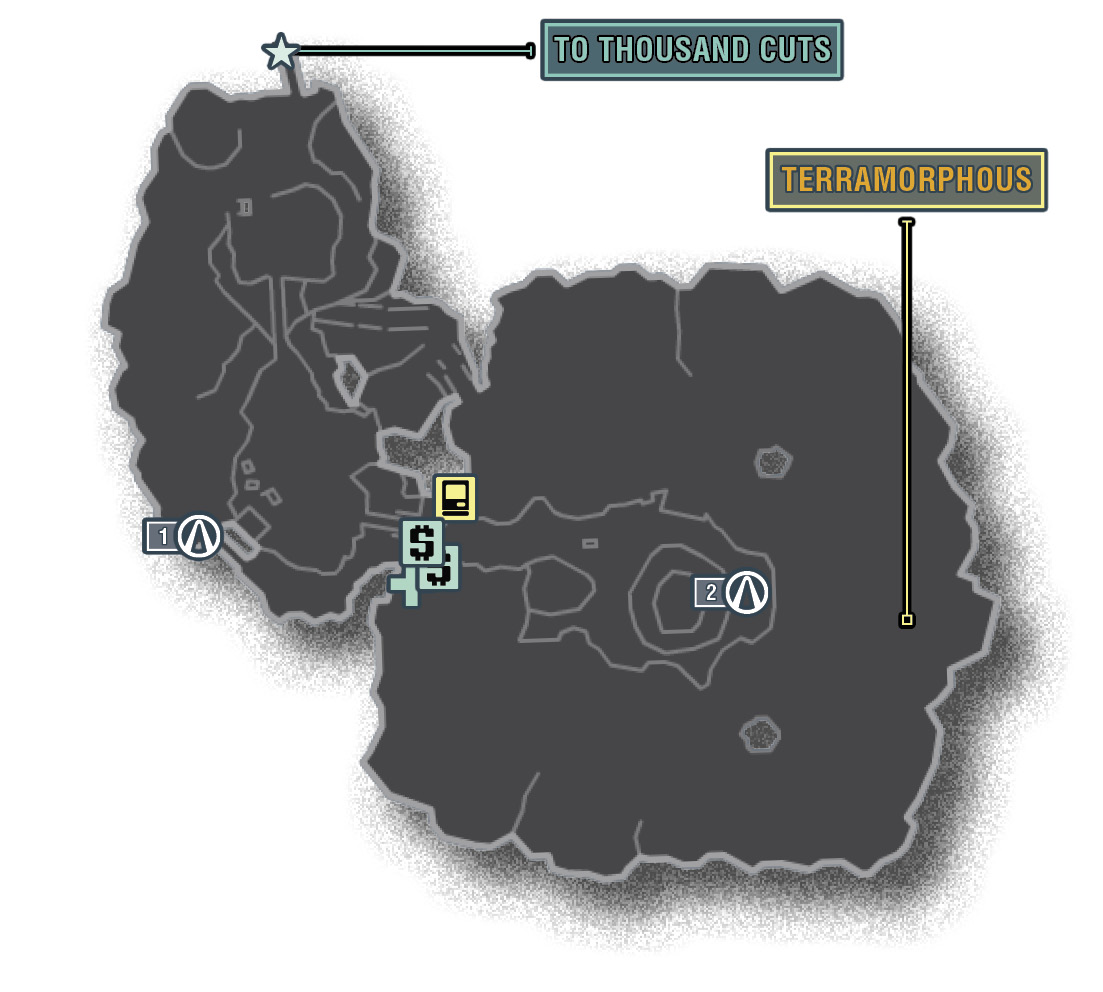
Everything we “know” about the area called Terramorphous Peak is strictly hypothetical. Why? Because nobody has ever made it back alive to report their findings. Maps and legends hint at a cave deep in the side of the cliffs in Thousand Cuts that possess an altar whereupon the foolhardy may place an Eridium offering in exchange for a trip to Terramorphous Peak. This is highly, highly unadvisable, since it’s tantamount to suicide. One by one, these would-be heroes make the trip in hopes of being the one—the first—to slay the region’s gargantuan namesake thresher. Whether they end up being devoured or simply get knocked off the thousand-foot cliff is anyone’s guess.
High Value Targets
| Enemy | Family |
|---|---|
|
Terramorphous |
Thresher |
 Cult of the Vault
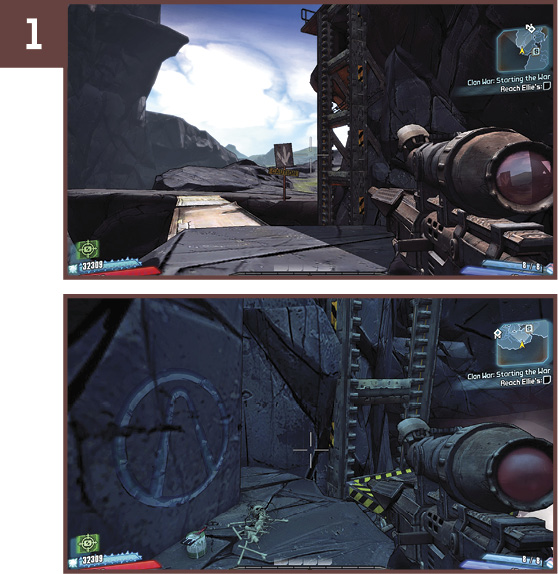
The first of two Cult of the Vault symbols at Terramorphous Peak is on the south side of the area, beneath the arrow and caution sign. Run off the ledge toward the sign, and push toward the rock wall to avoid landing on the auto-raising lift. The symbol is on the rock wall below.
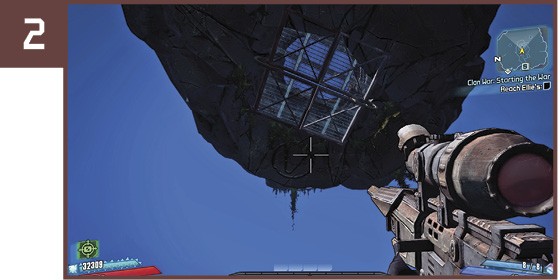
This symbol is undoubtedly the most difficult to reach in all of Pandora. Drop through the trap door to fight Terramorphous, and note the Cult of the Vault symbol on the underside of the upper level, adjacent to the trap door. The only way to reach it is with Terramorphous’ help. With a little luck, he’ll rise up under you and send you flying into the air toward that overhanging peninsula of rock. Repeatedly tap the “Use” button on your controller to hit it the instant the button prompt flashes on the screen.